Articles
How To Replace Sprayer Hose On Kitchen Sink
Modified: October 19, 2024
Learn how to easily replace the sprayer hose on your kitchen sink with this step-by-step guide. Find helpful tips and articles here.
(Many of the links in this article redirect to a specific reviewed product. Your purchase of these products through affiliate links helps to generate commission for Storables.com, at no extra cost. Learn more)
Introduction
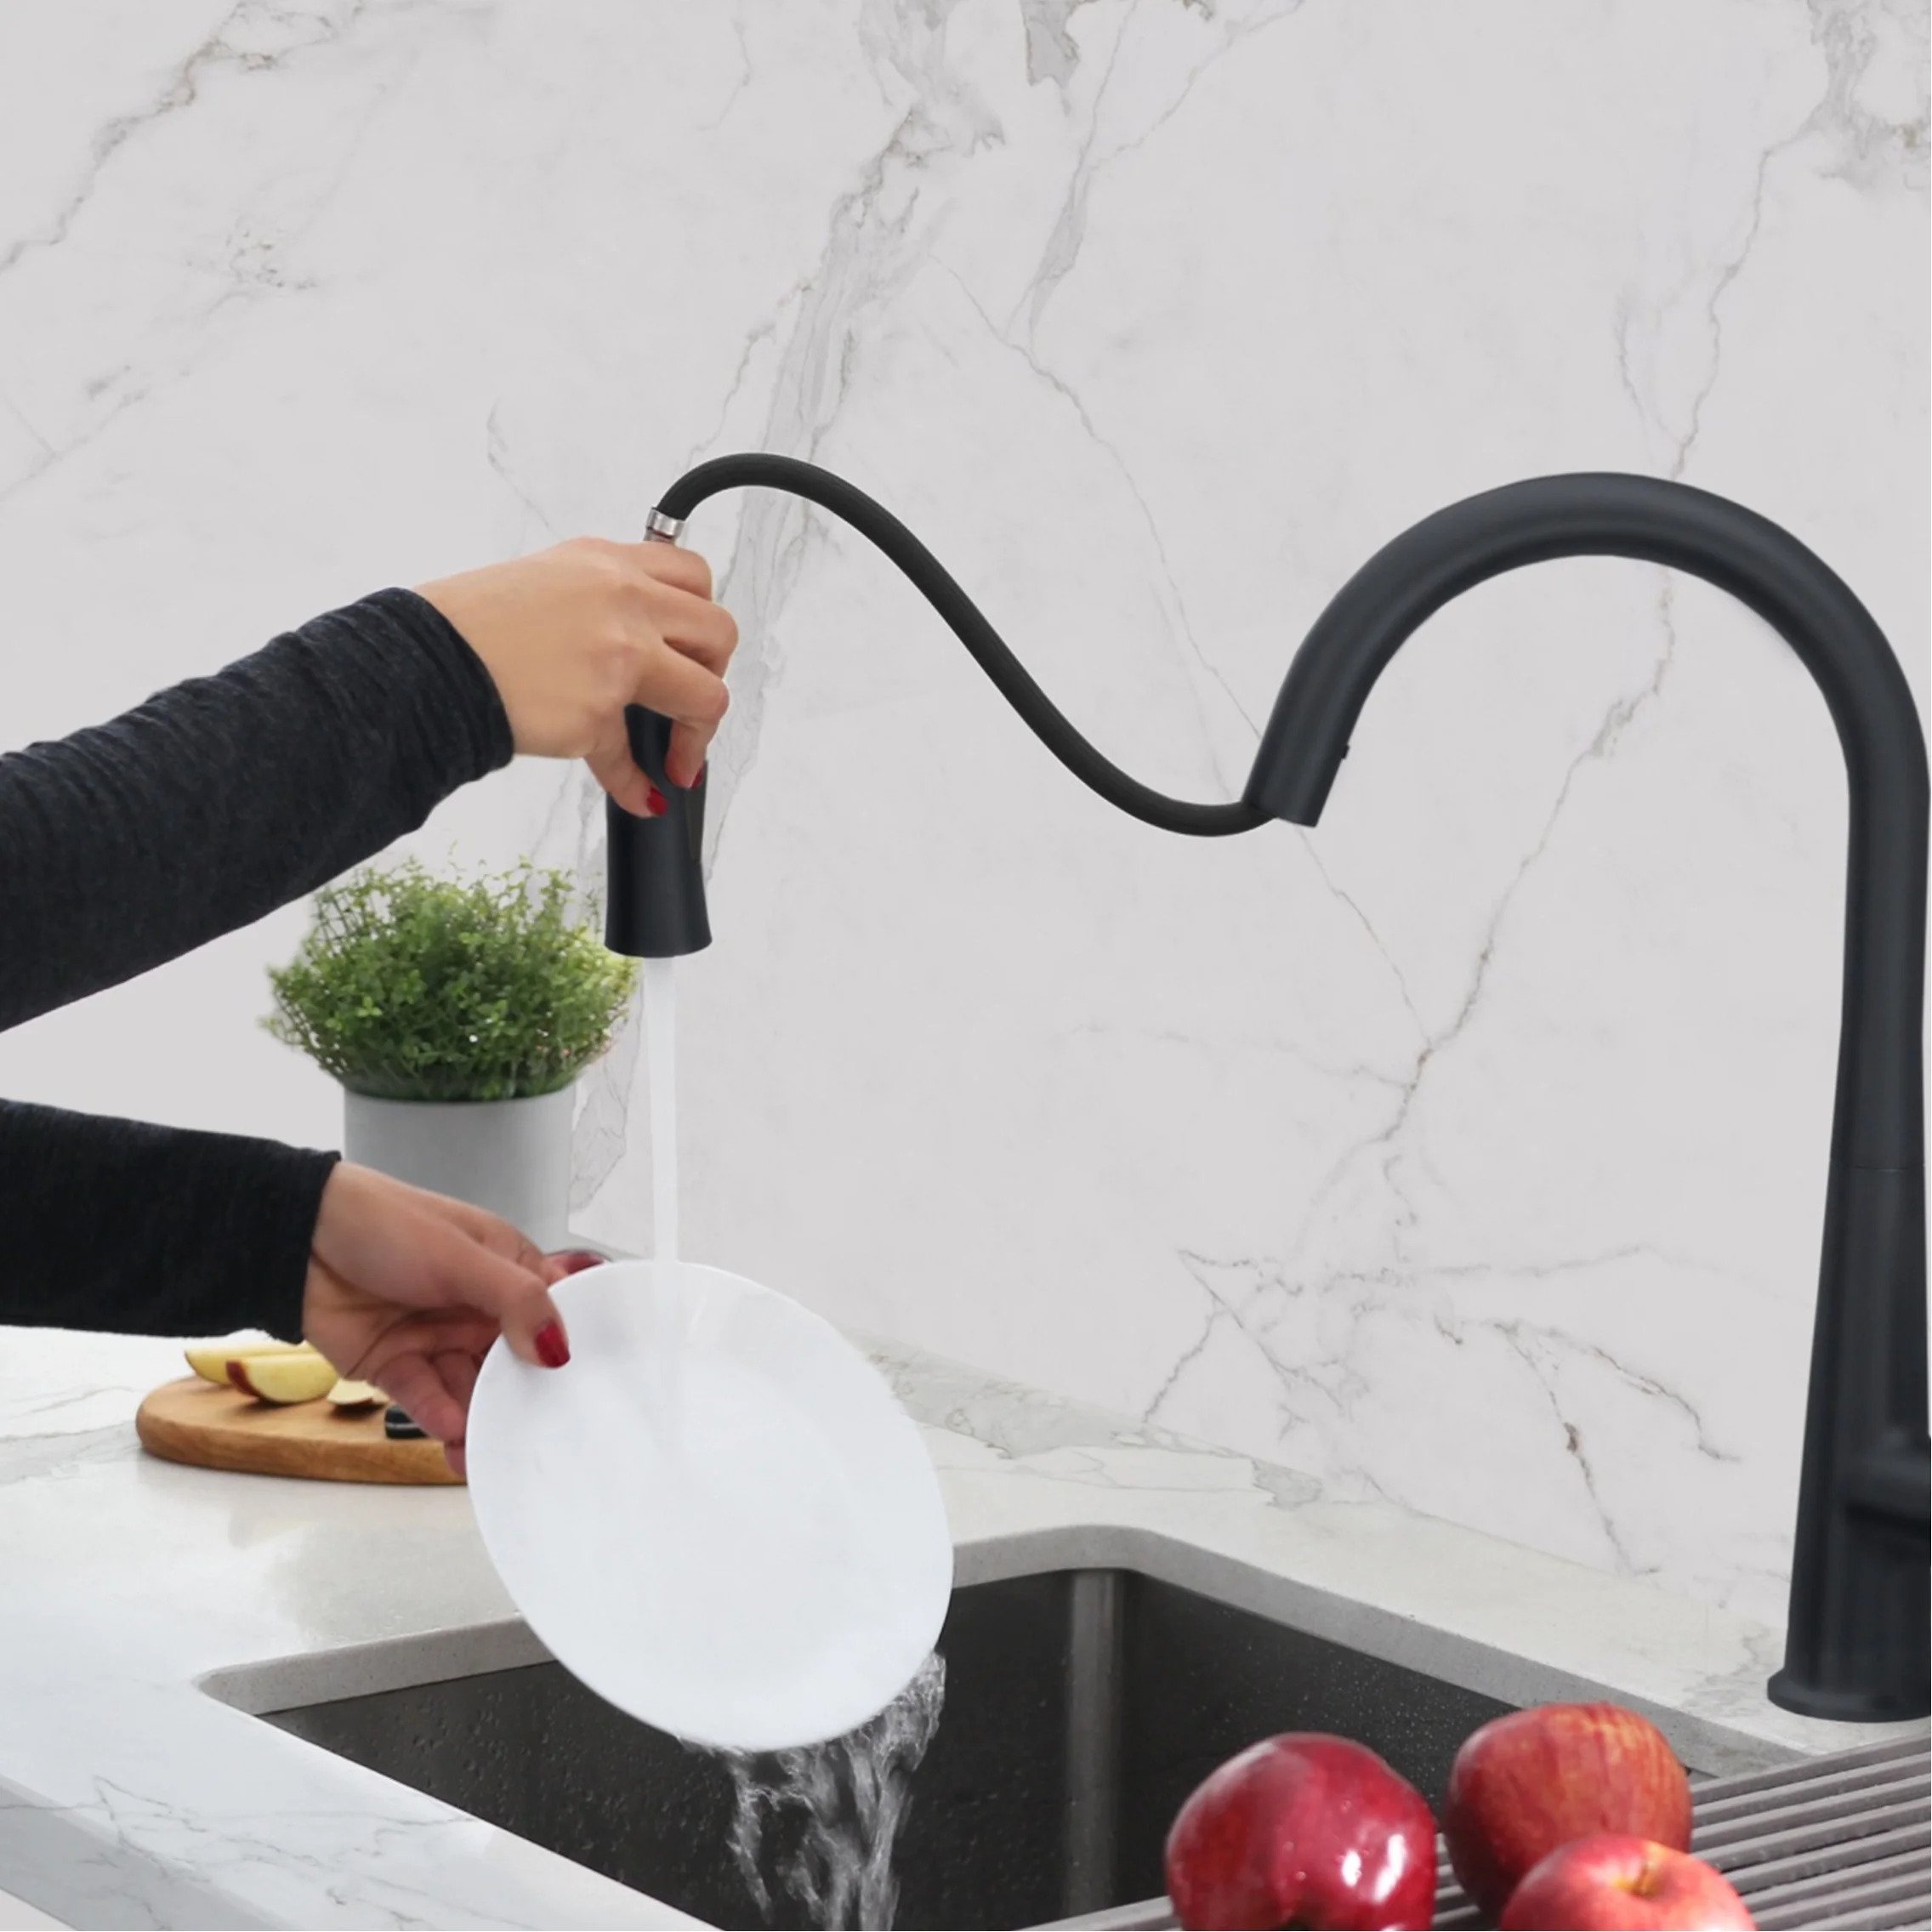
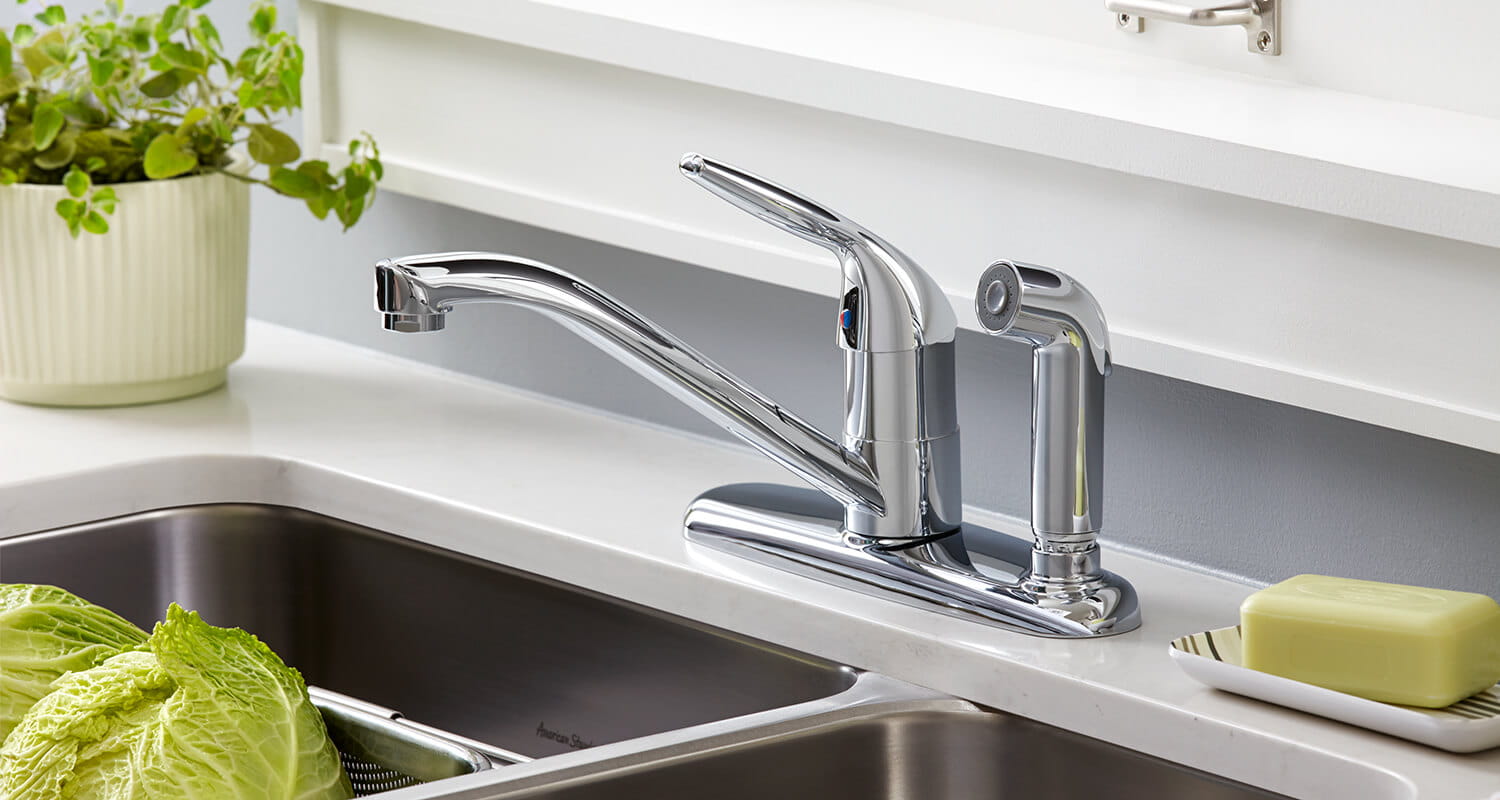
Replacing a sprayer hose on a kitchen sink is a relatively simple and straightforward process that can be done by most homeowners. The sprayer hose is an essential part of the kitchen sink, which allows for easy rinsing and cleaning of dishes and sink surfaces. Over time, however, the sprayer hose may become worn out or develop leaks, requiring a replacement.
In this article, we will guide you through the step-by-step process of replacing a sprayer hose on a kitchen sink. We will provide you with a list of necessary tools and materials, offer tips on preparing the workspace, guide you through the removal of the old sprayer hose, and walk you through the installation of the new one. By following these instructions, you’ll be able to restore full function and efficiency to your kitchen sink sprayer.
Before we dive into the process, it’s important to note that safety should always be a priority. Make sure to turn off the water supply to the sink before starting any work. Additionally, if you are unsure or uncomfortable with any step of the process, it’s always recommended to consult a professional plumber for assistance.
Now that we have covered the basics, let’s move on to the first step: gathering the necessary tools and materials for the job.
Key Takeaways:
- Replacing a kitchen sink sprayer hose is a manageable DIY task that requires gathering the right tools, preparing the workspace, and following step-by-step instructions. With the proper approach, homeowners can restore their sink’s functionality efficiently.
- After successfully installing a new sprayer hose, homeowners should test its functionality, inspect for leaks, and ensure proper water flow and spray patterns. Regular maintenance and periodic inspections will help prolong the sprayer hose’s lifespan.
Read more: How To Replace Sink Sprayer
Step 1: Gather the necessary tools and materials
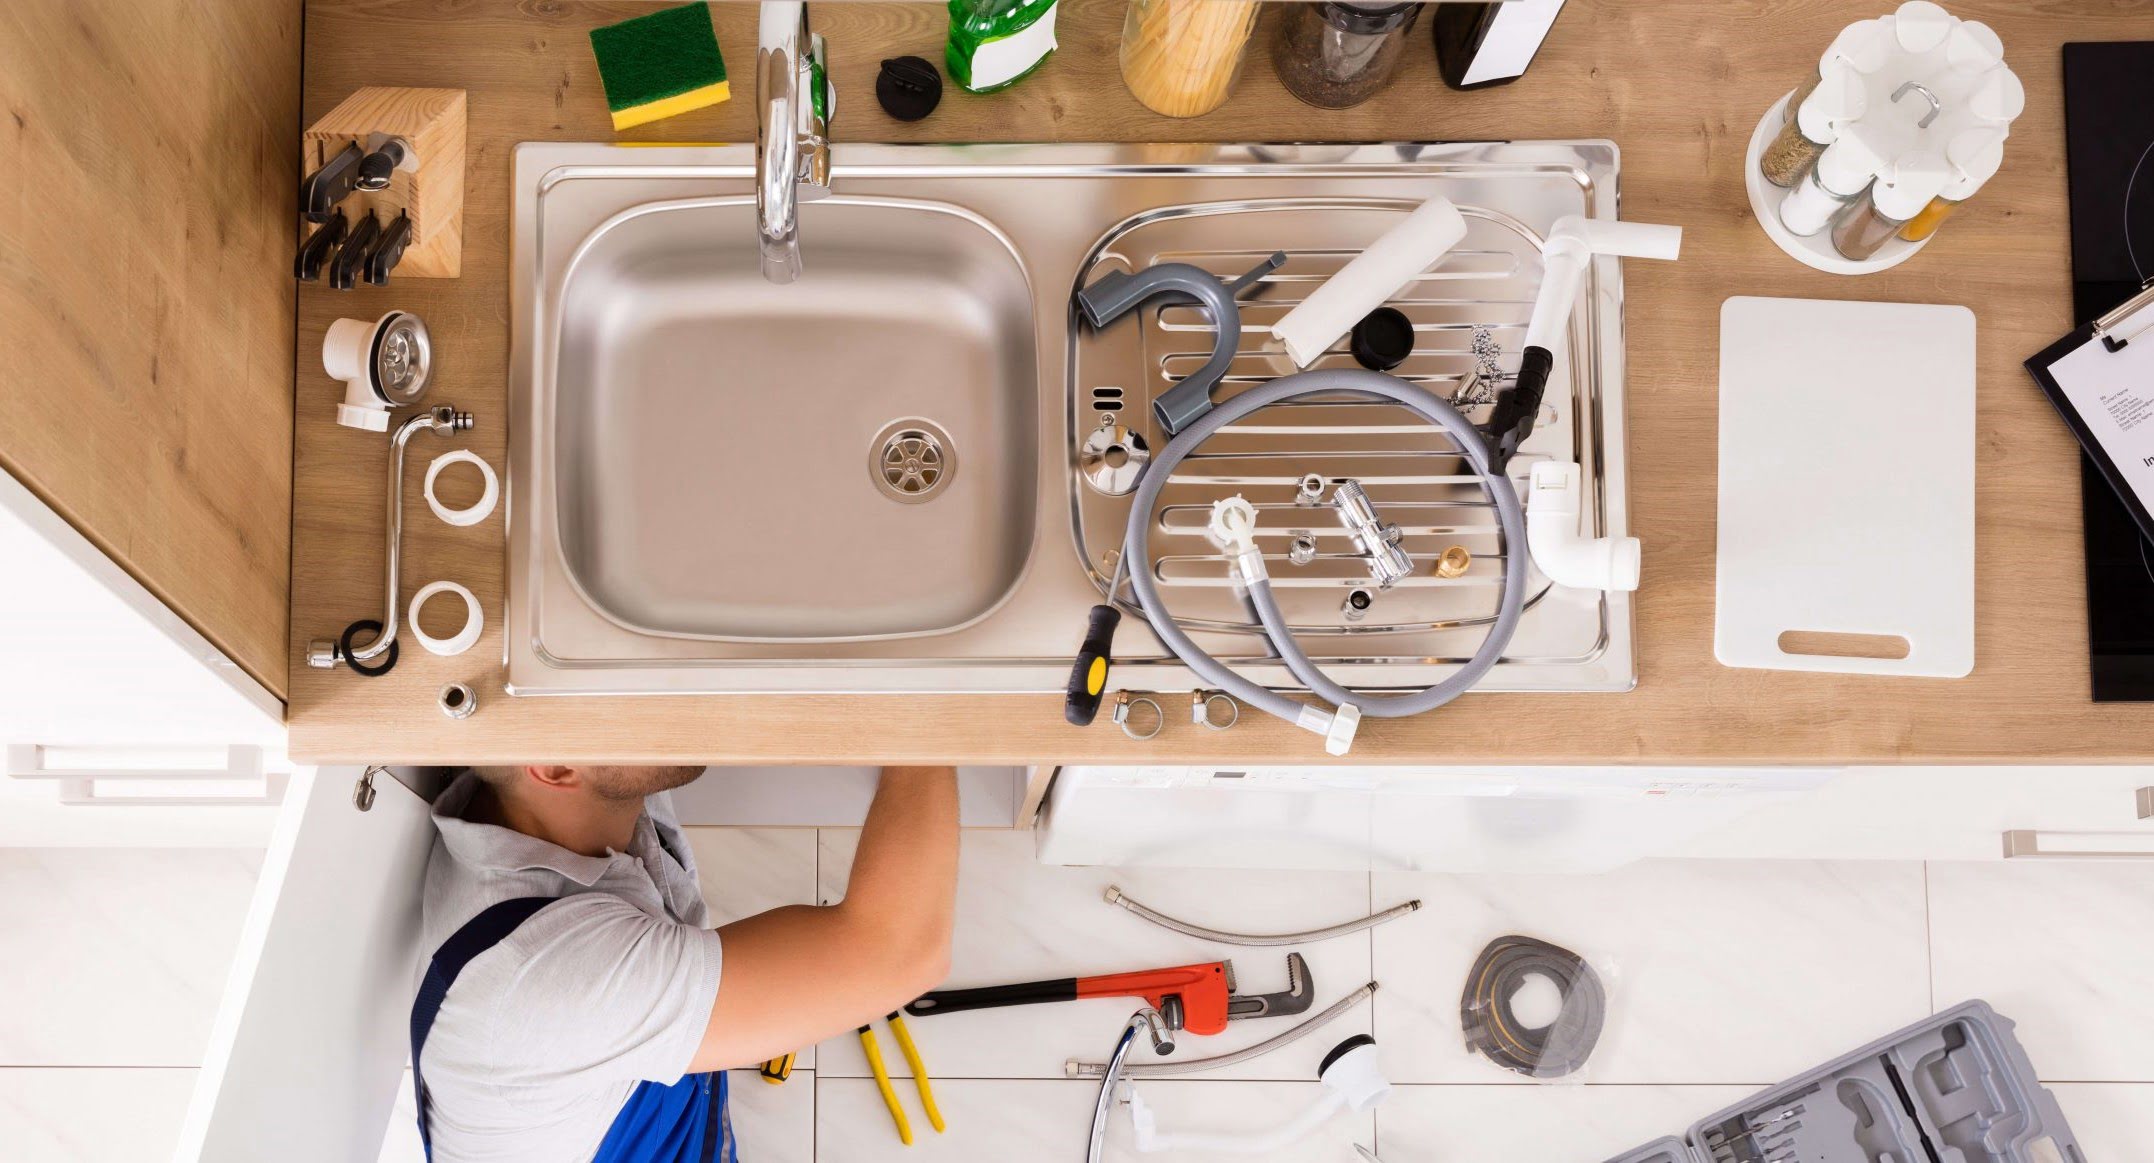
Before you begin the process of replacing the sprayer hose on your kitchen sink, it’s important to gather all the necessary tools and materials. Having everything at hand will make the process smoother and more efficient. Here’s a list of what you’ll need:
1. Adjustable wrench: This tool will be essential for loosening and tightening various connections during the replacement process. Make sure you have a wrench that can fit the sizes of the fittings on your sprayer hose.
2. Replacement sprayer hose: Look for a sprayer hose that is compatible with your kitchen sink’s model. You can find these at your local home improvement store or online. Ensure that the hose length matches your needs.
3. Teflon tape: Often referred to as plumber’s tape, Teflon tape helps ensure a tight seal between threaded connections. It’s a good idea to have some on hand to use during the installation process.
4. Bucket or container: You’ll need something to catch any water that may leak out during the process. Keep a bucket or container nearby to minimize mess and make cleanup easier.
5. Towel or rag: Having a towel or rag handy will allow you to wipe any water spills or clean up any debris that may accumulate during the replacement process.
6. Safety gloves: It’s always a good idea to protect your hands while working on your sink. Wear a pair of safety gloves to prevent any accidental cuts or injuries.
By having these tools and materials ready before you start, you can ensure a smoother and more efficient replacement process. Once you have everything gathered, you’re ready to move on to the next step: preparing the workspace.
Step 2: Prepare the workspace
Before you begin replacing the sprayer hose on your kitchen sink, it’s important to prepare the workspace to ensure a smooth and efficient process. By taking the time to prepare, you can minimize the risk of damage and make the task easier. Here’s how to prepare your workspace:
1. Clear the area: Remove any items or objects from around the sink area to create a clear and clutter-free workspace. This will give you ample room to move and work comfortably.
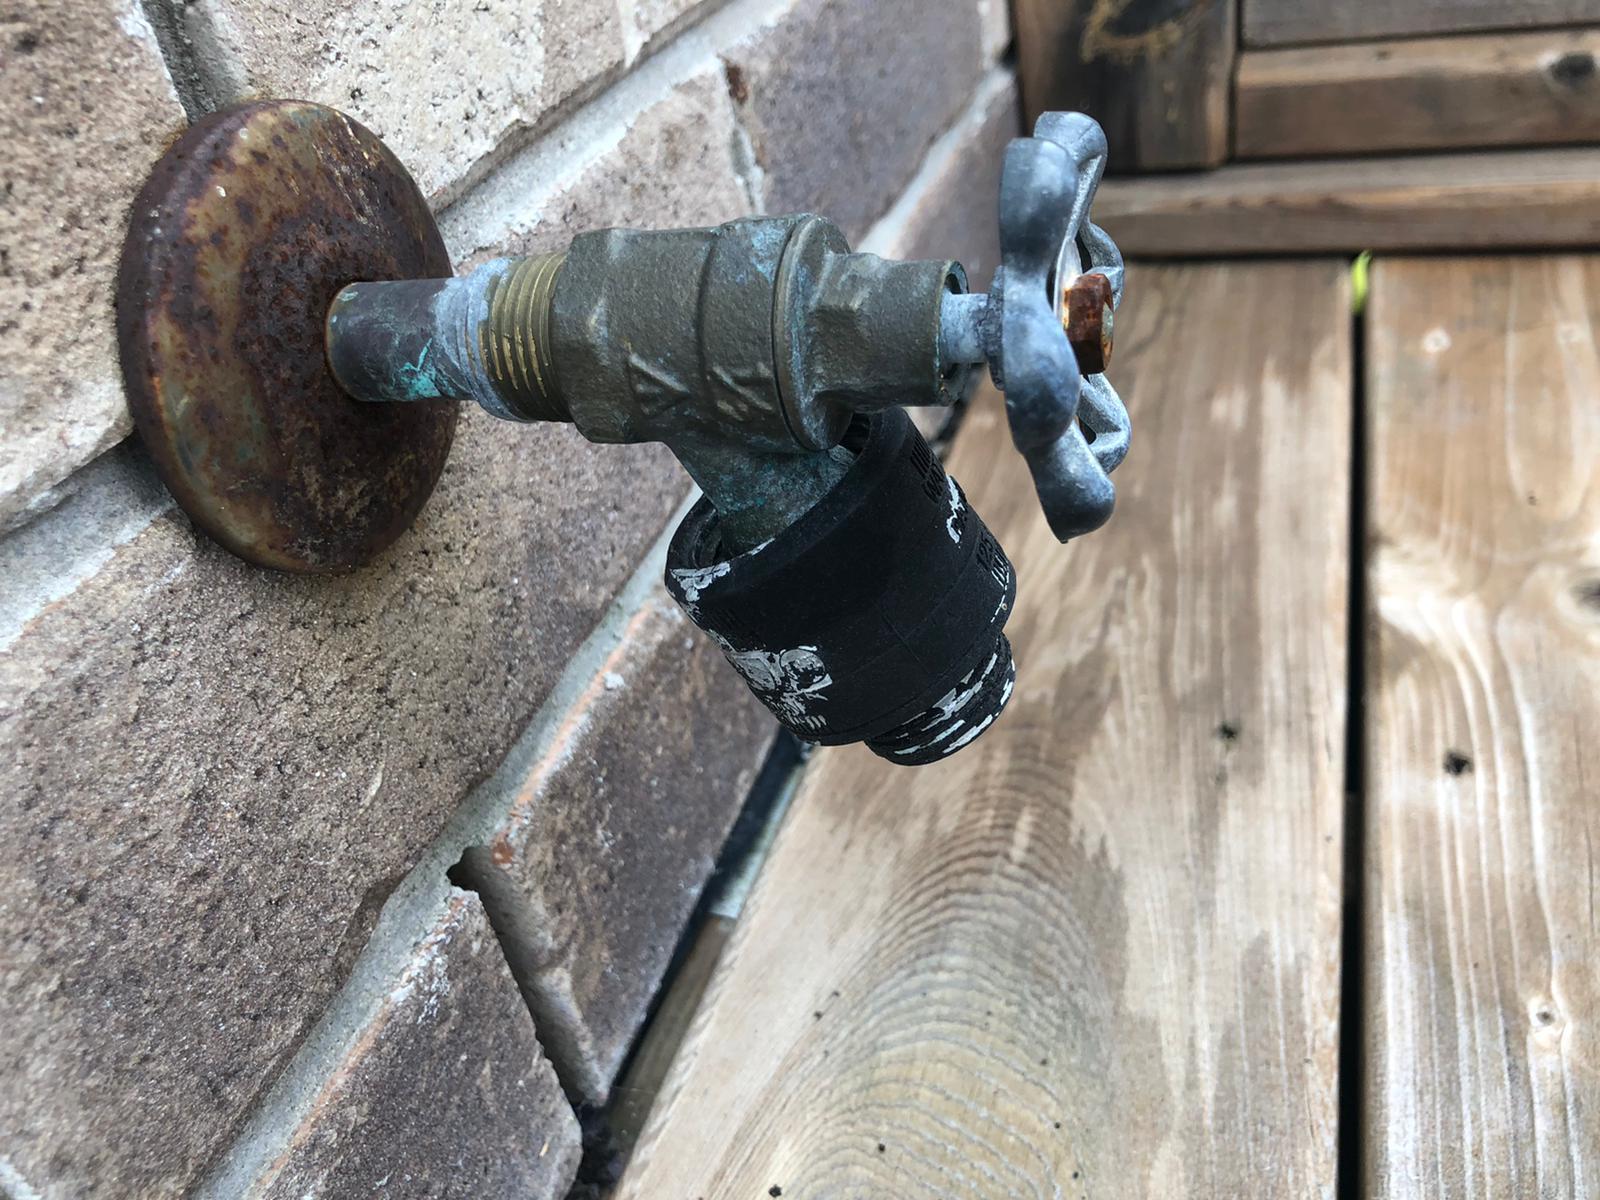
2. Turn off the water supply: Locate the shut-off valves under the sink and turn them clockwise to shut off the water supply. This step is crucial to prevent any water leaks or accidents while working on the sprayer hose.
3. Release any remaining water pressure: To release any remaining water pressure in the lines, turn on the faucet and let the water run for a few seconds until it stops. This will prevent any water from spraying out when you disconnect the sprayer hose.
4. Lay down a protective layer: Place a towel or rag on the floor of the cabinet under the sink. This will help catch any water that may drip during the removal and installation process, preventing it from damaging the cabinet or causing a mess.
5. Organize your tools and materials: Lay out all the tools and materials you gathered in the previous step on a nearby countertop or workspace. This will make it easier to access them when needed, saving you time and frustration.
By following these steps to prepare your workspace, you’ll create an organized and safe environment for replacing the sprayer hose on your kitchen sink. Once everything is in order, you’re ready to move on to the next step: removing the old sprayer hose.
Step 3: Remove the old sprayer hose
Now that you have gathered the necessary tools and materials and prepared your workspace, it’s time to remove the old sprayer hose from your kitchen sink. Follow these steps to ensure a successful removal process:
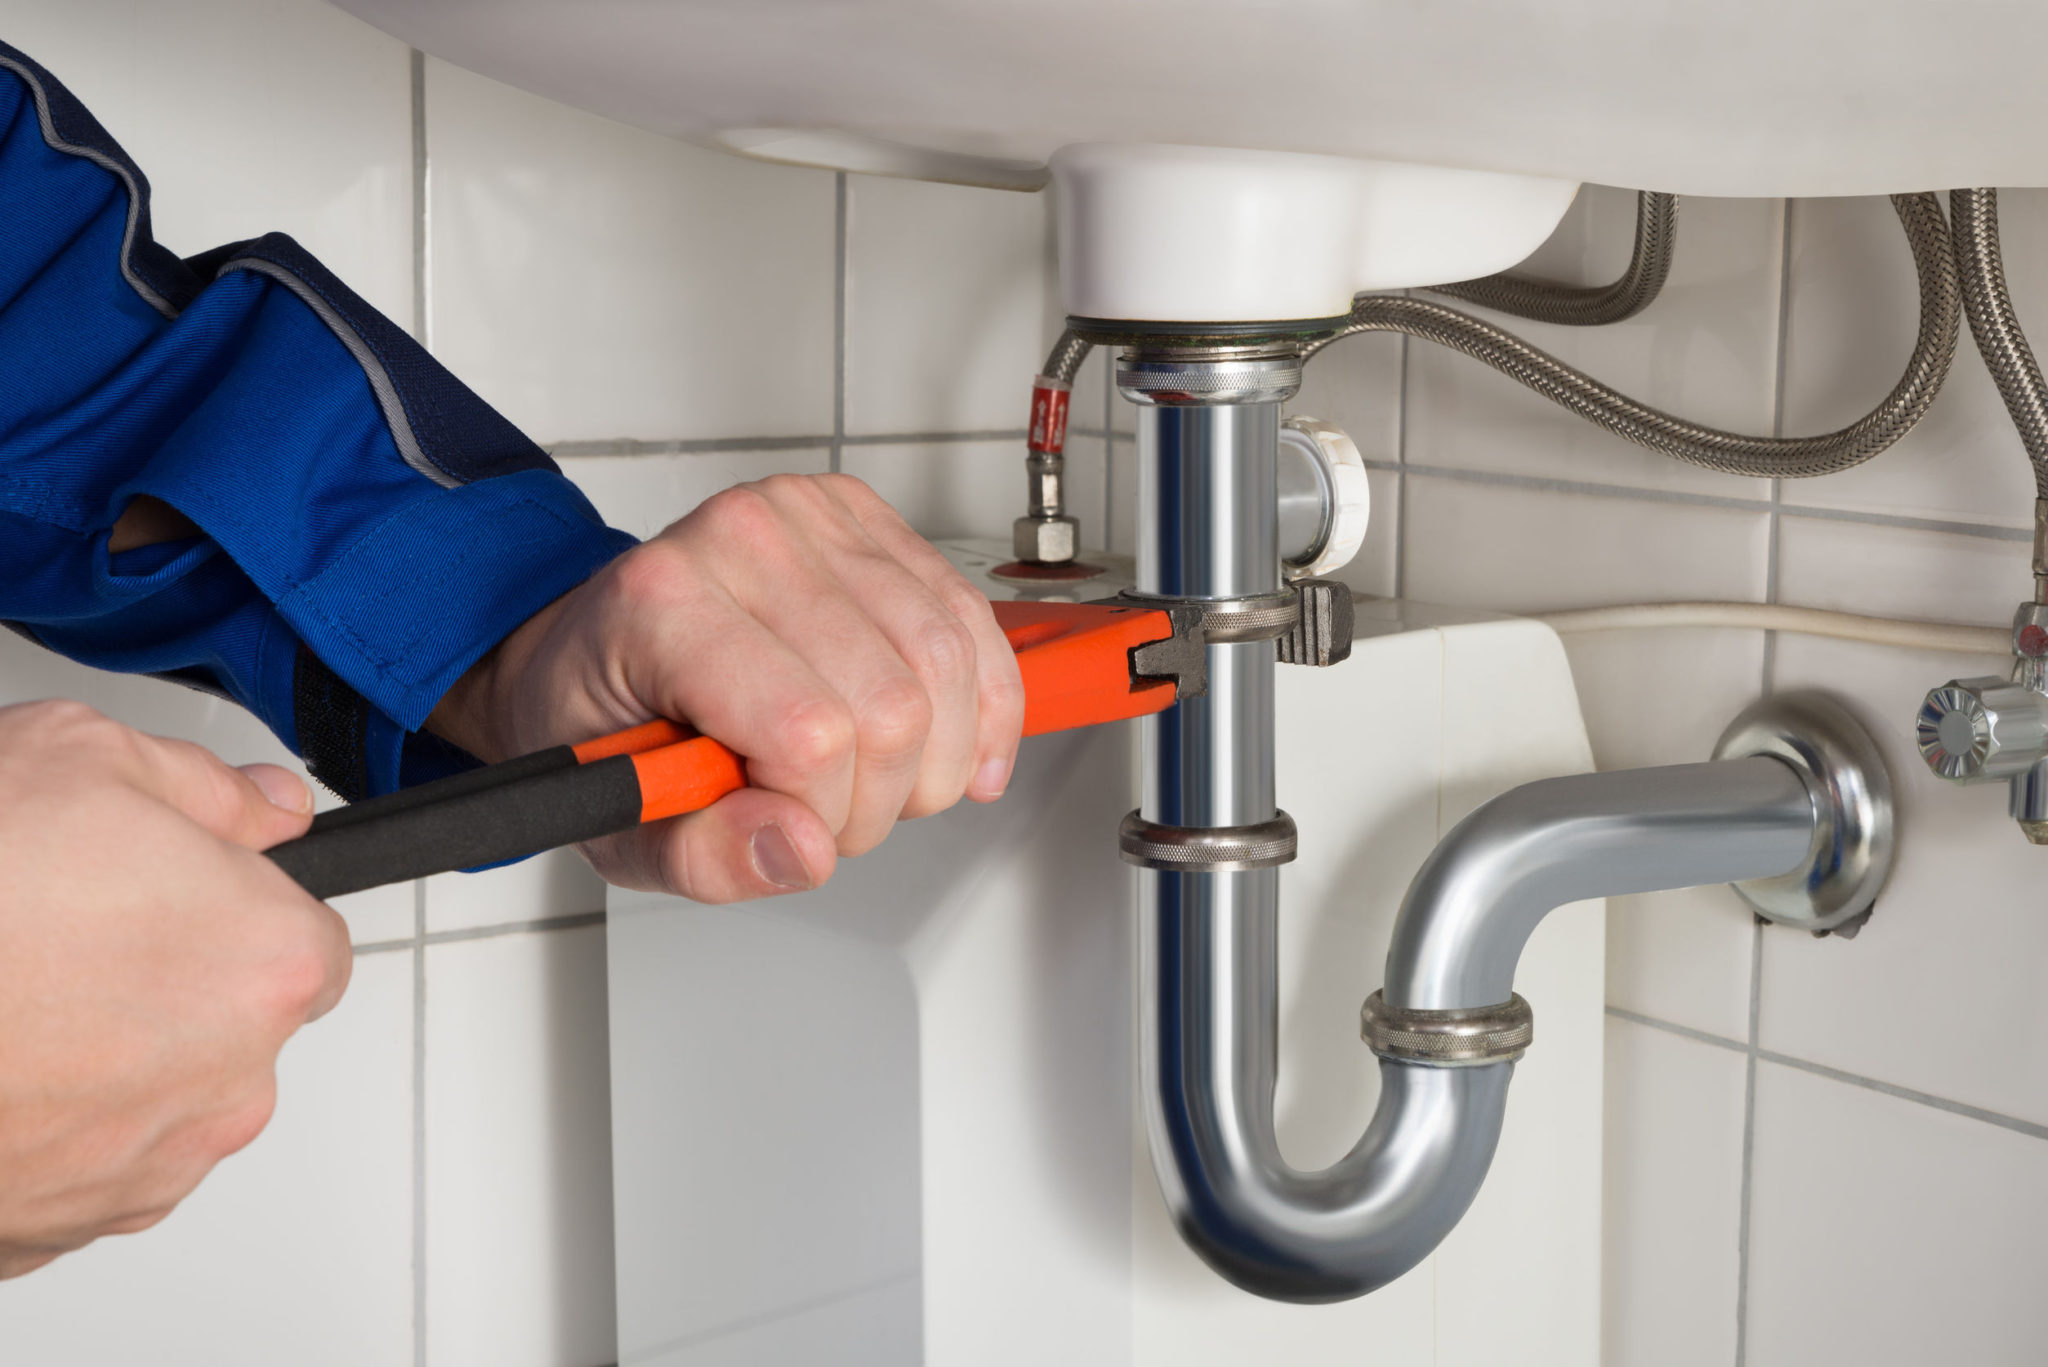
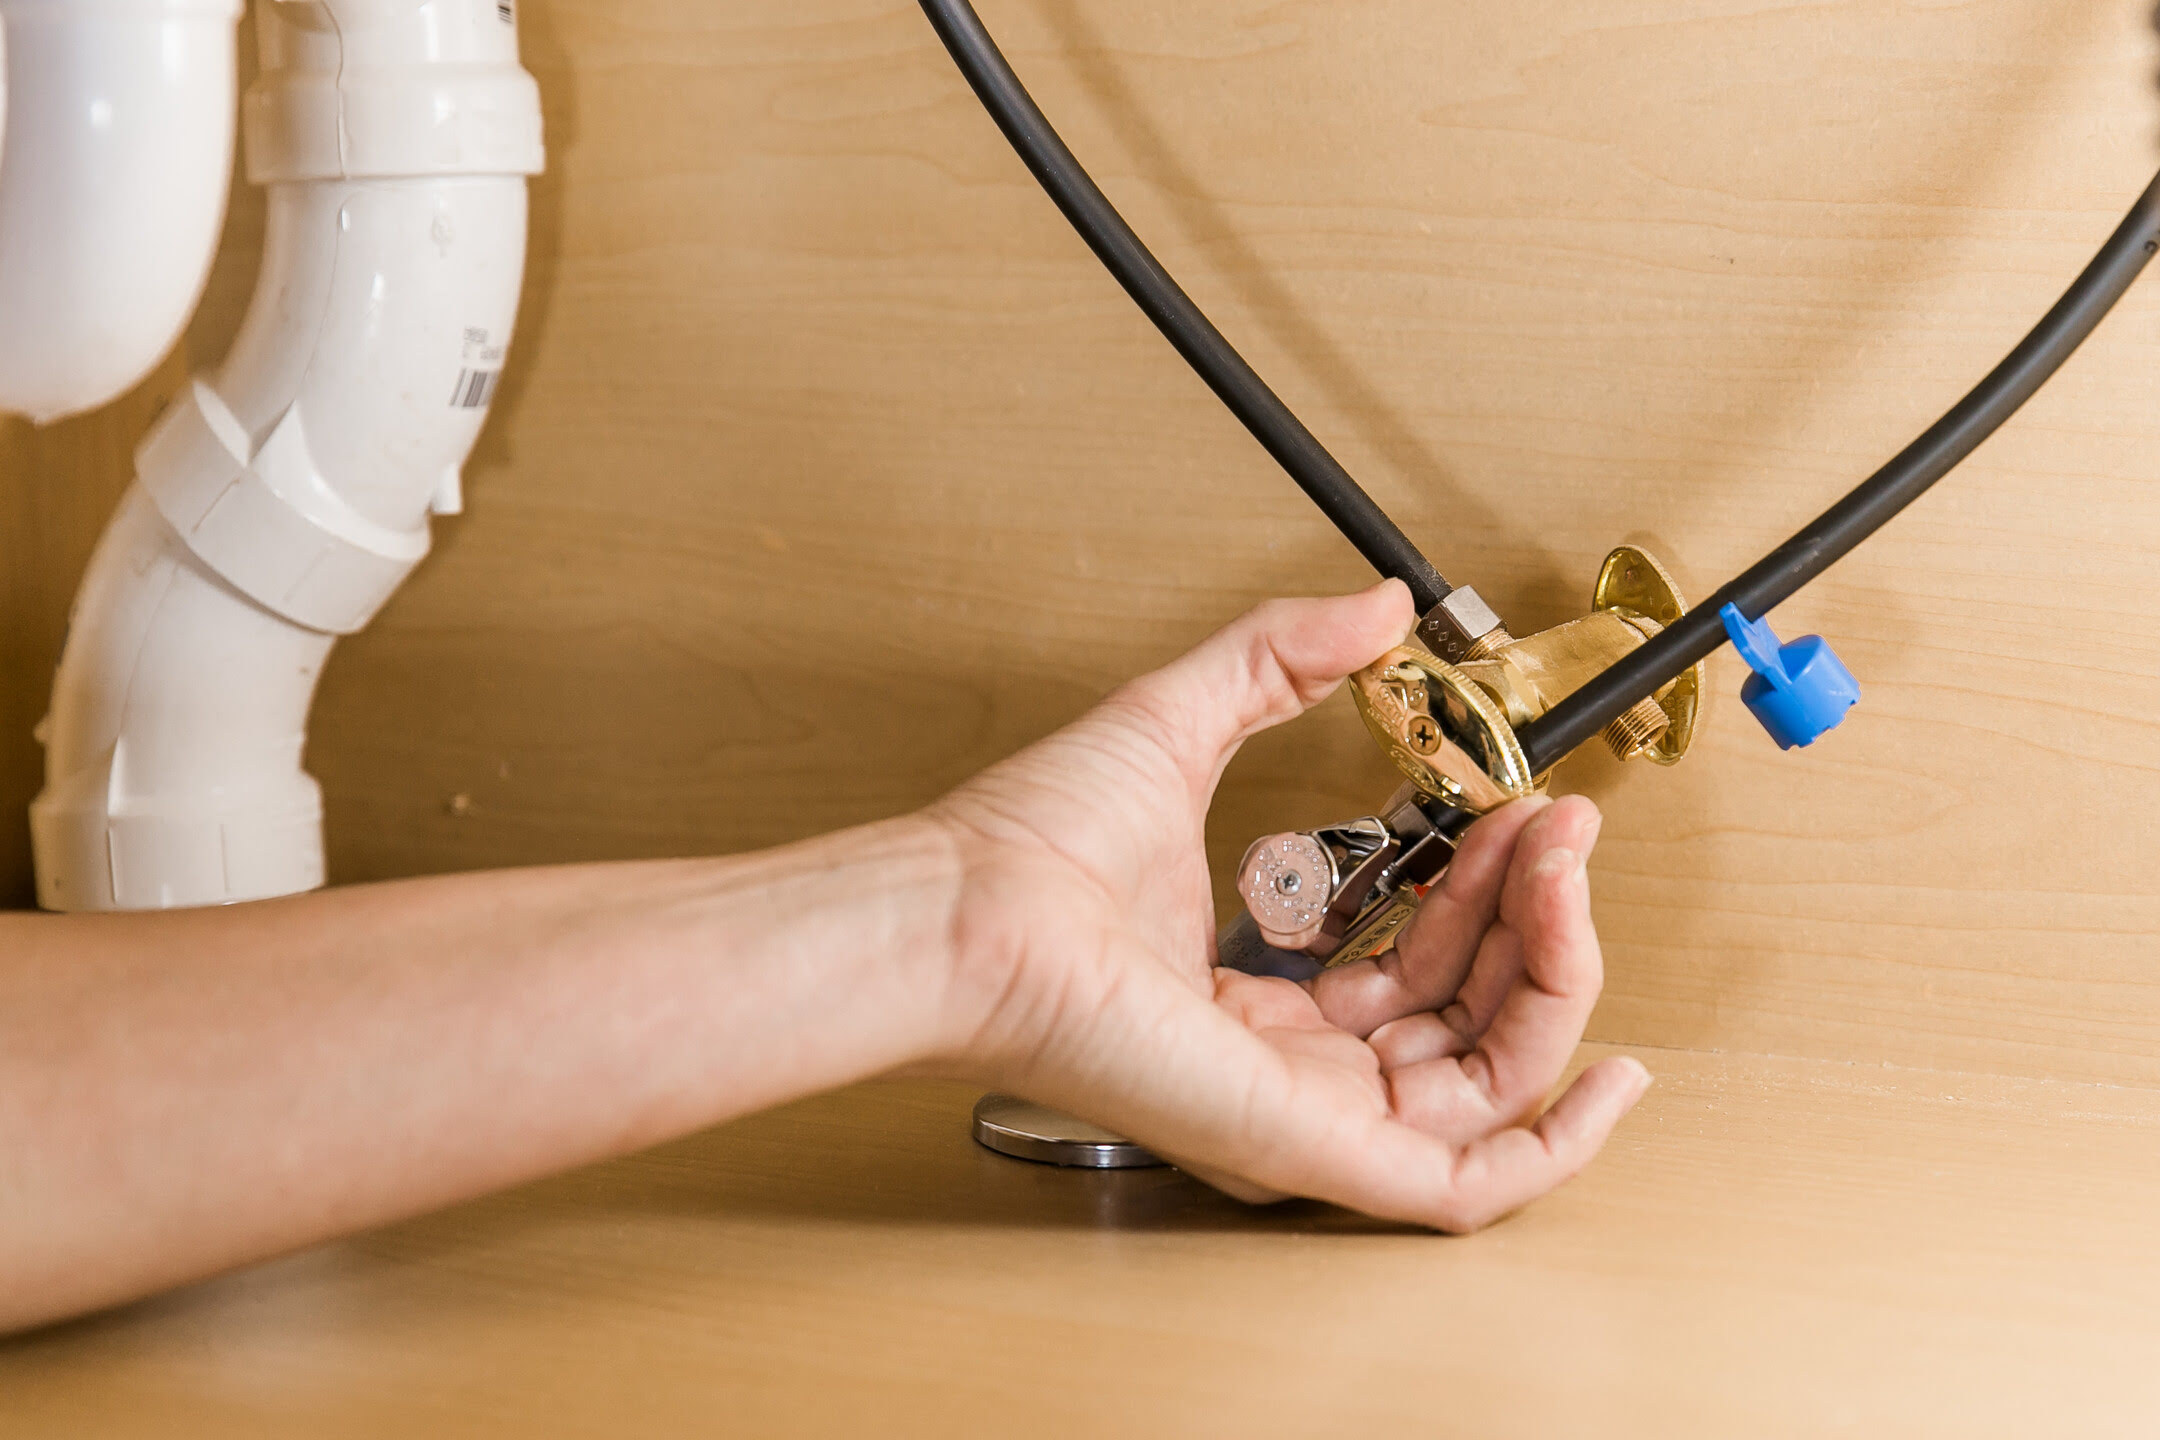
1. Locate the sprayer hose connection: Look underneath the sink near the base of the faucet for the connection point of the sprayer hose. It will typically be a threaded nut or a quick-connect fitting.
2. Loosen the connection: Depending on the type of connection, use your adjustable wrench to either turn the threaded nut counterclockwise or release the quick-connect fitting. Loosen it carefully but firmly, ensuring not to damage any surrounding parts.
3. Disconnect the sprayer hose: Once the connection is loosened, gently pull the sprayer hose away from the faucet assembly. There may be some residual water that drips, so be prepared with your towel or rag to catch any spills.
4. Detach the sprayer hose from the spray head: Locate the other end of the sprayer hose, which is typically connected to the spray head. Depending on the design, you may need to twist or push a release button to detach it from the spray head. Carefully disconnect the sprayer hose from the spray head.
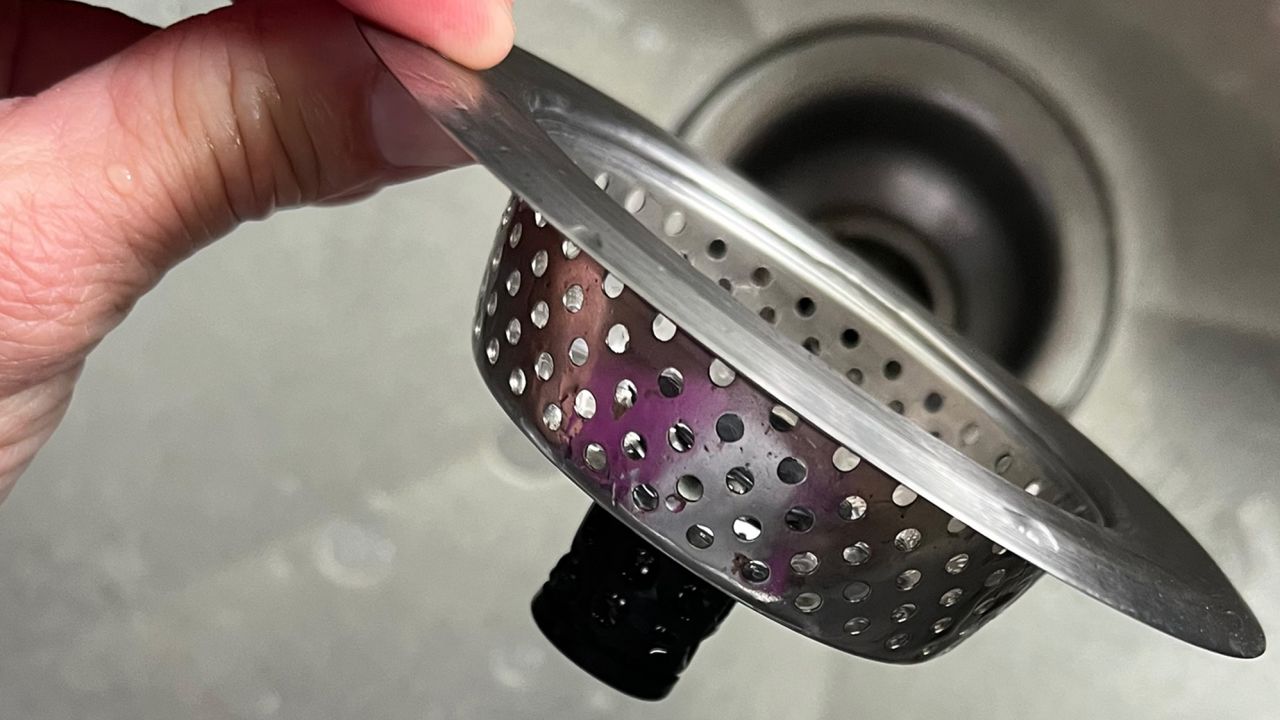
5. Inspect the old sprayer hose: Take a moment to inspect the old sprayer hose for any signs of damage or wear. Pay attention to any leaks, cracks, or corrosion that may have contributed to its malfunction. This will help determine if it needs to be replaced or if the problem lies elsewhere.
6. Dispose of the old sprayer hose: Properly dispose of the old sprayer hose in accordance with your local recycling or waste disposal guidelines. If the hose is still in good condition, you may consider donating it or repurposing it for other projects around the house.
By following these steps, you have successfully removed the old sprayer hose from your kitchen sink. Now, it’s time to move on to the next step: purchasing a replacement sprayer hose.
When replacing the sprayer hose on a kitchen sink, make sure to turn off the water supply before starting the process. This will prevent any leaks or water damage while you work.
Step 4: Purchase a replacement sprayer hose
With the old sprayer hose successfully removed from your kitchen sink, it’s time to purchase a replacement that will restore functionality to your sprayer. Here’s how to go about purchasing a suitable replacement sprayer hose:
1. Measure the length: Measure the length of the old sprayer hose to ensure that you purchase a replacement of the appropriate size. This will help prevent any issues with installation and ensure a proper fit.
2. Check compatibility: Take note of the make and model of your kitchen sink and faucet. Consult the manufacturer’s manual or website to determine the compatible sprayer hose options. If you’re unsure, reach out to the manufacturer’s customer support for assistance.
3. Visit a home improvement store: Head to your local home improvement store or plumbing supply store to find a replacement sprayer hose. Make sure to bring the measurements and any relevant information about your kitchen sink and faucet to help the store staff guide you to the right product.
4. Online purchase: If you prefer the convenience of online shopping, you can browse various online retailers that offer kitchen sink sprayer hose replacements. Look for reputable sellers and check product reviews to ensure quality and customer satisfaction.
5. Consider quality and warranty: Look for a sprayer hose made from durable materials that will withstand frequent use and potential water pressure. Additionally, check if the product comes with a warranty to ensure that you’re covered in case of any defects or issues.
6. Purchase the replacement: Once you have identified the suitable replacement sprayer hose, make the purchase either in-store or online. Ensure that you have selected the correct length and model to avoid any installation difficulties.
By following these steps, you will be able to purchase a replacement sprayer hose that fits your kitchen sink and meets your needs. With the new sprayer hose in hand, you’re ready to move on to the next step: installing it in your kitchen sink.
Read more: How To Fix Sink Sprayer
Step 5: Install the new sprayer hose
Now that you have purchased a replacement sprayer hose for your kitchen sink, it’s time to install it. Follow these steps to ensure a successful installation process:
1. Apply Teflon tape: Start by wrapping a few layers of Teflon tape around the threads of the sprayer hose’s connection point. This will help create a secure and leak-free seal.
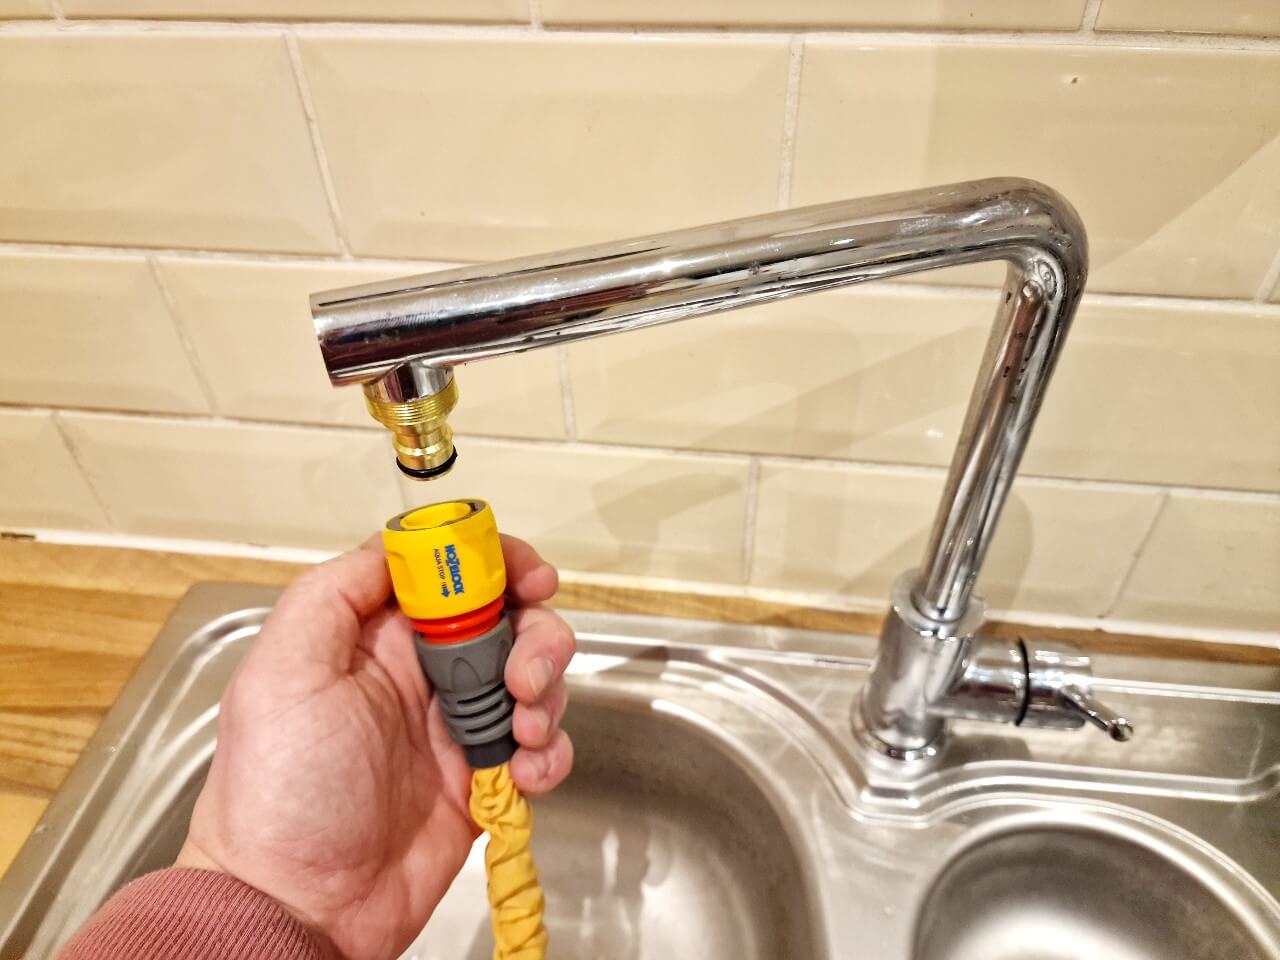
2. Attach the sprayer hose to the spray head: Take the new sprayer hose and connect it to the spray head. Depending on the design, you may need to twist or push the hose into place until it clicks securely.
3. Connect the sprayer hose to the faucet assembly: Position the other end of the sprayer hose at the base of the faucet assembly. Use your adjustable wrench to tighten the threaded nut or engage the quick-connect fitting. Make sure it is snug but not overly tightened to avoid damaging the connections.
4. Turn on the water supply: Once the sprayer hose is securely connected, turn on the water supply to the kitchen sink by opening the shut-off valves underneath. This will allow water to flow through the new sprayer hose.
5. Test for leaks: Turn on the faucet and activate the sprayer. Check for any leaks around the connections and joints of the sprayer hose. If you notice any leaks, tighten the connections slightly to secure them. If the leak persists, you may need to reapply Teflon tape or replace the faulty component.
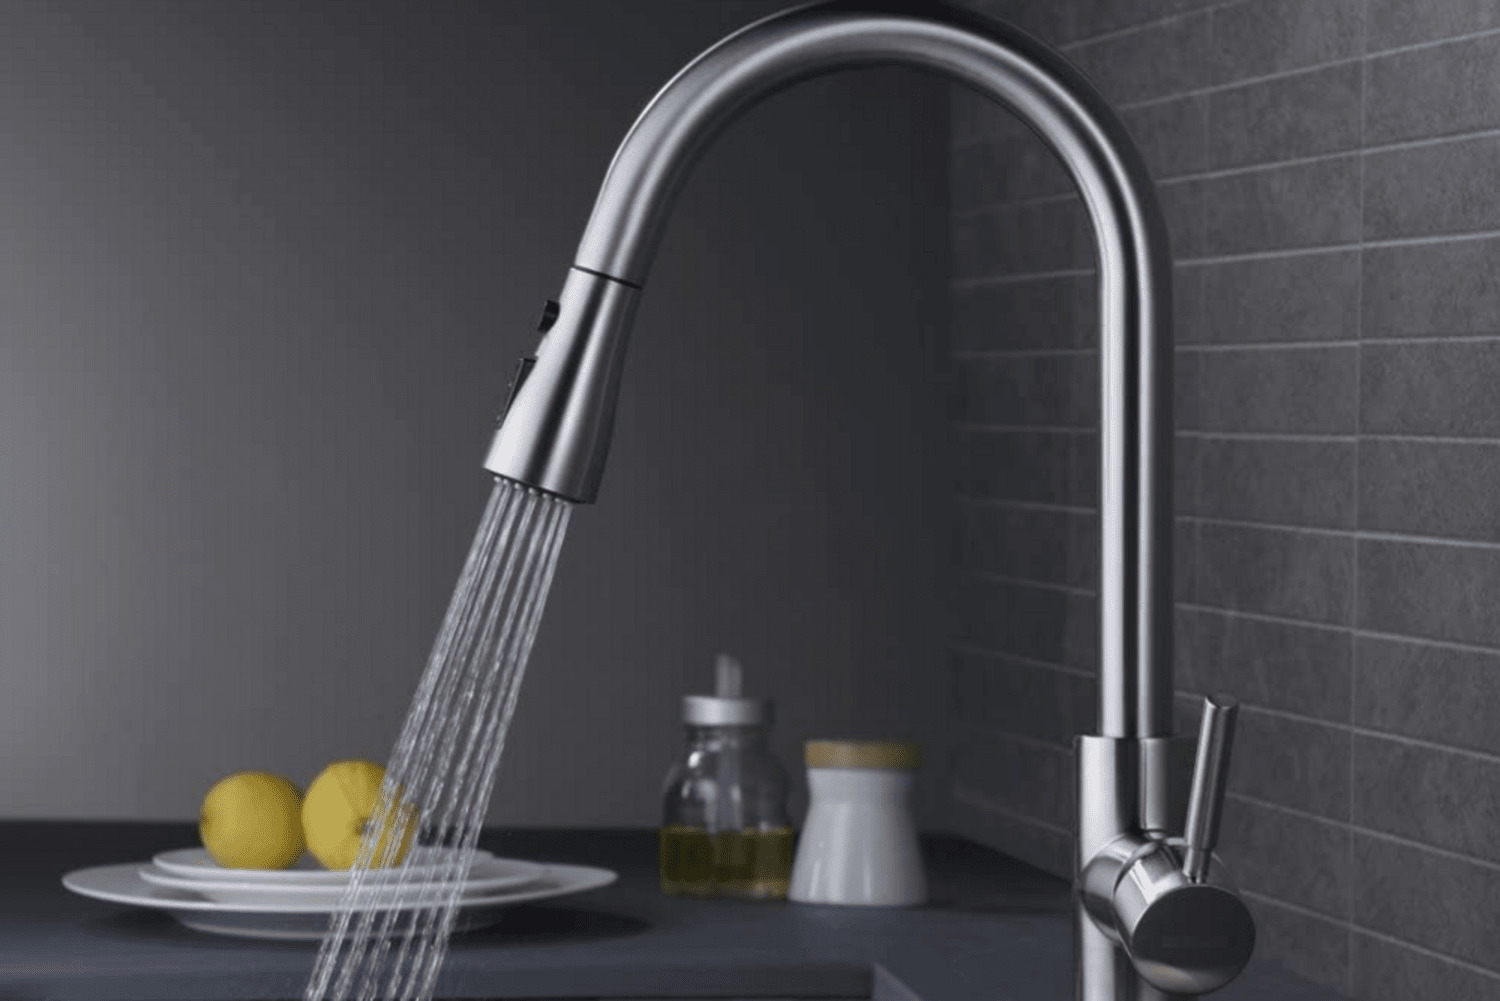
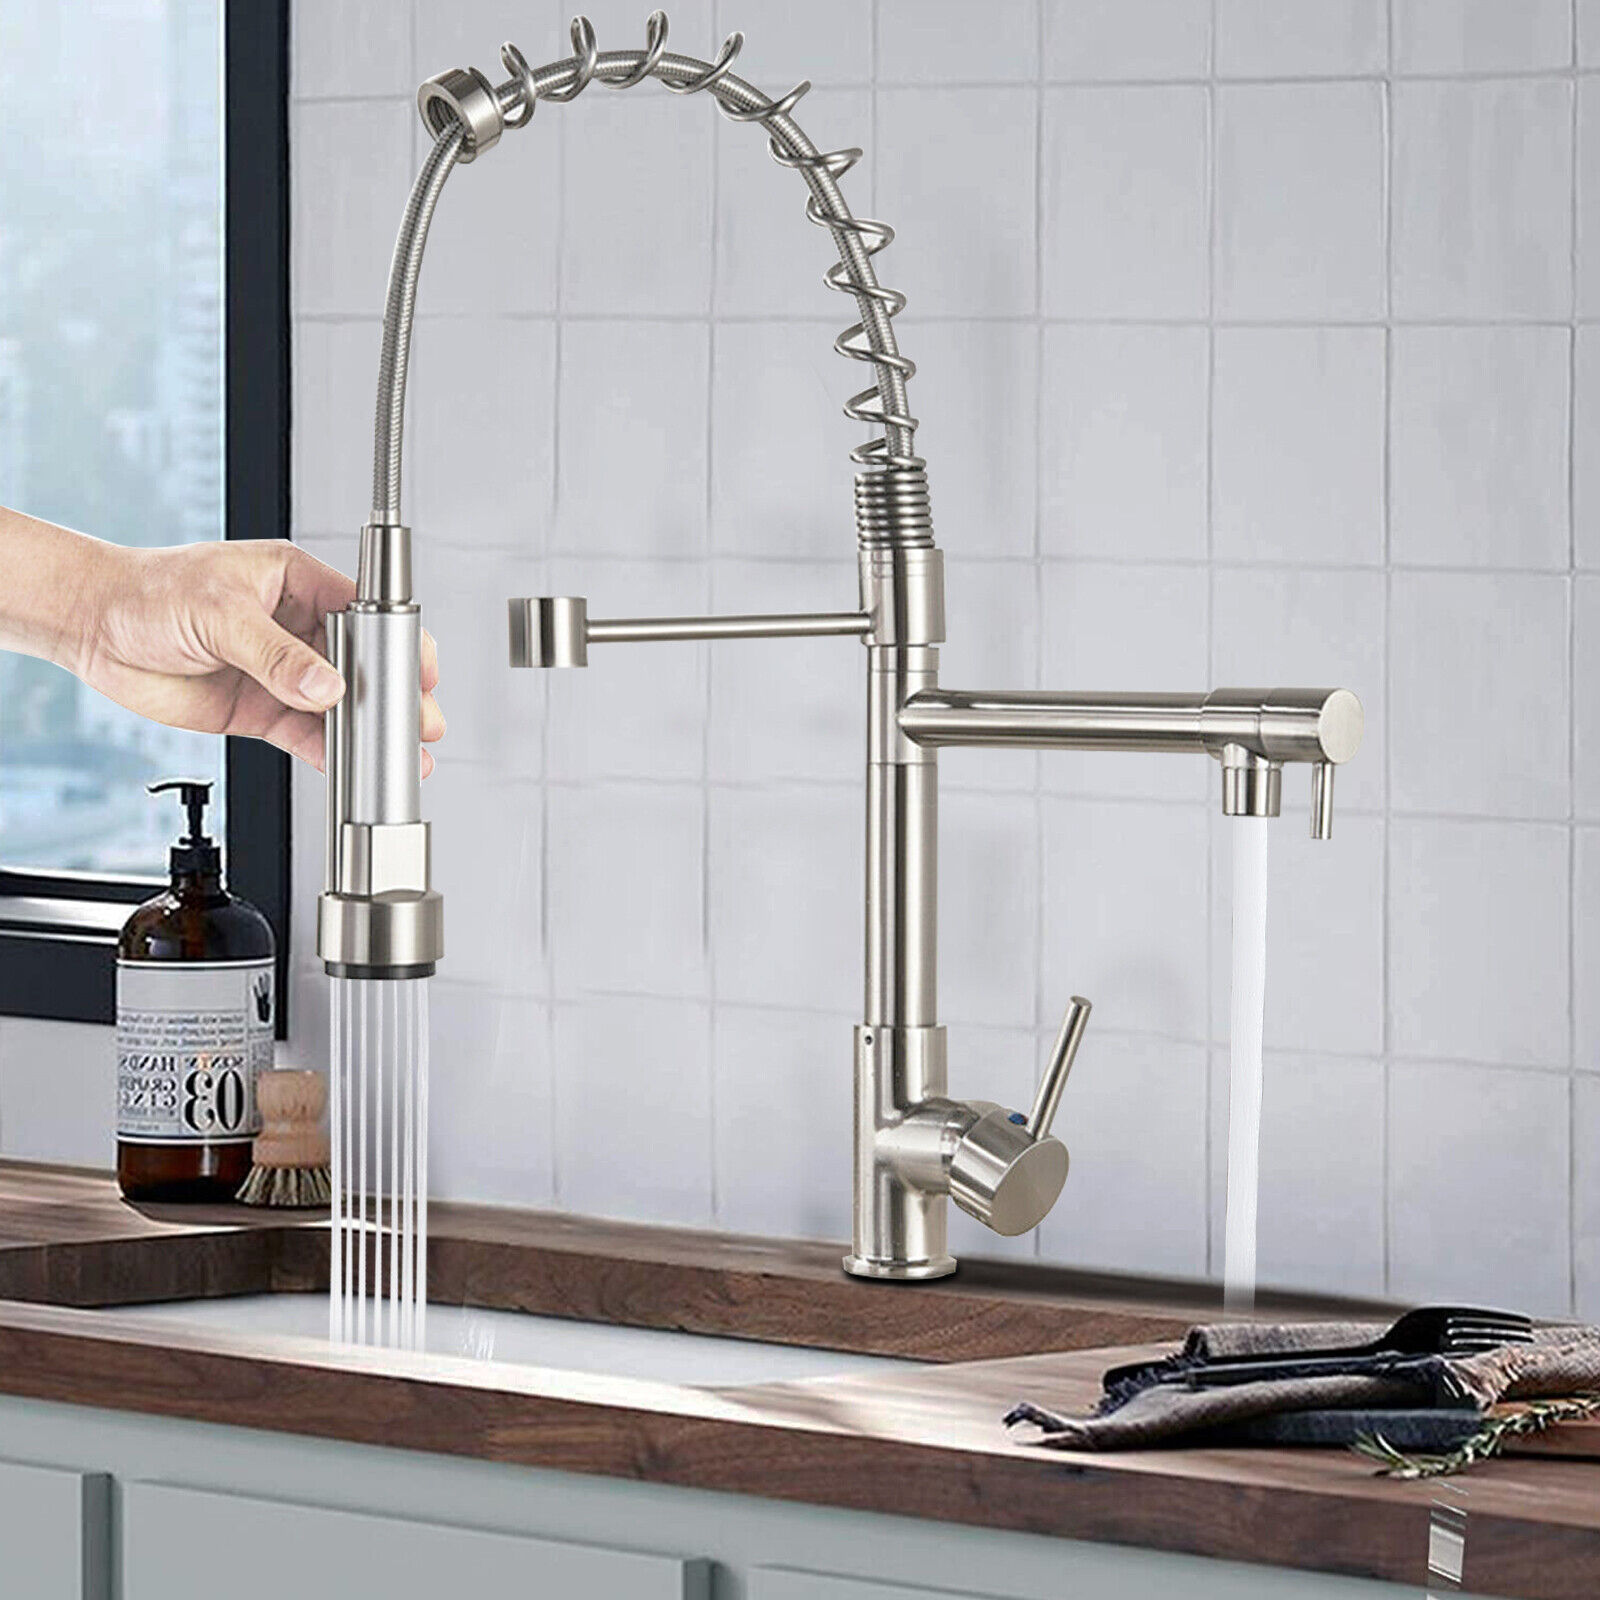
6. Proper functioning: Verify that the new sprayer hose is functioning properly by testing its water flow and spray pattern. Ensure that there are no kinks or restrictions in the hose that may disrupt its performance.
By following these steps, you have successfully installed the new sprayer hose on your kitchen sink. Now, it’s time to move on to the final step: testing the new sprayer hose to ensure its functionality.
Step 6: Test the new sprayer hose
After successfully installing the new sprayer hose on your kitchen sink, it’s important to test its functionality to ensure everything is working properly. Follow these steps to test the new sprayer hose:
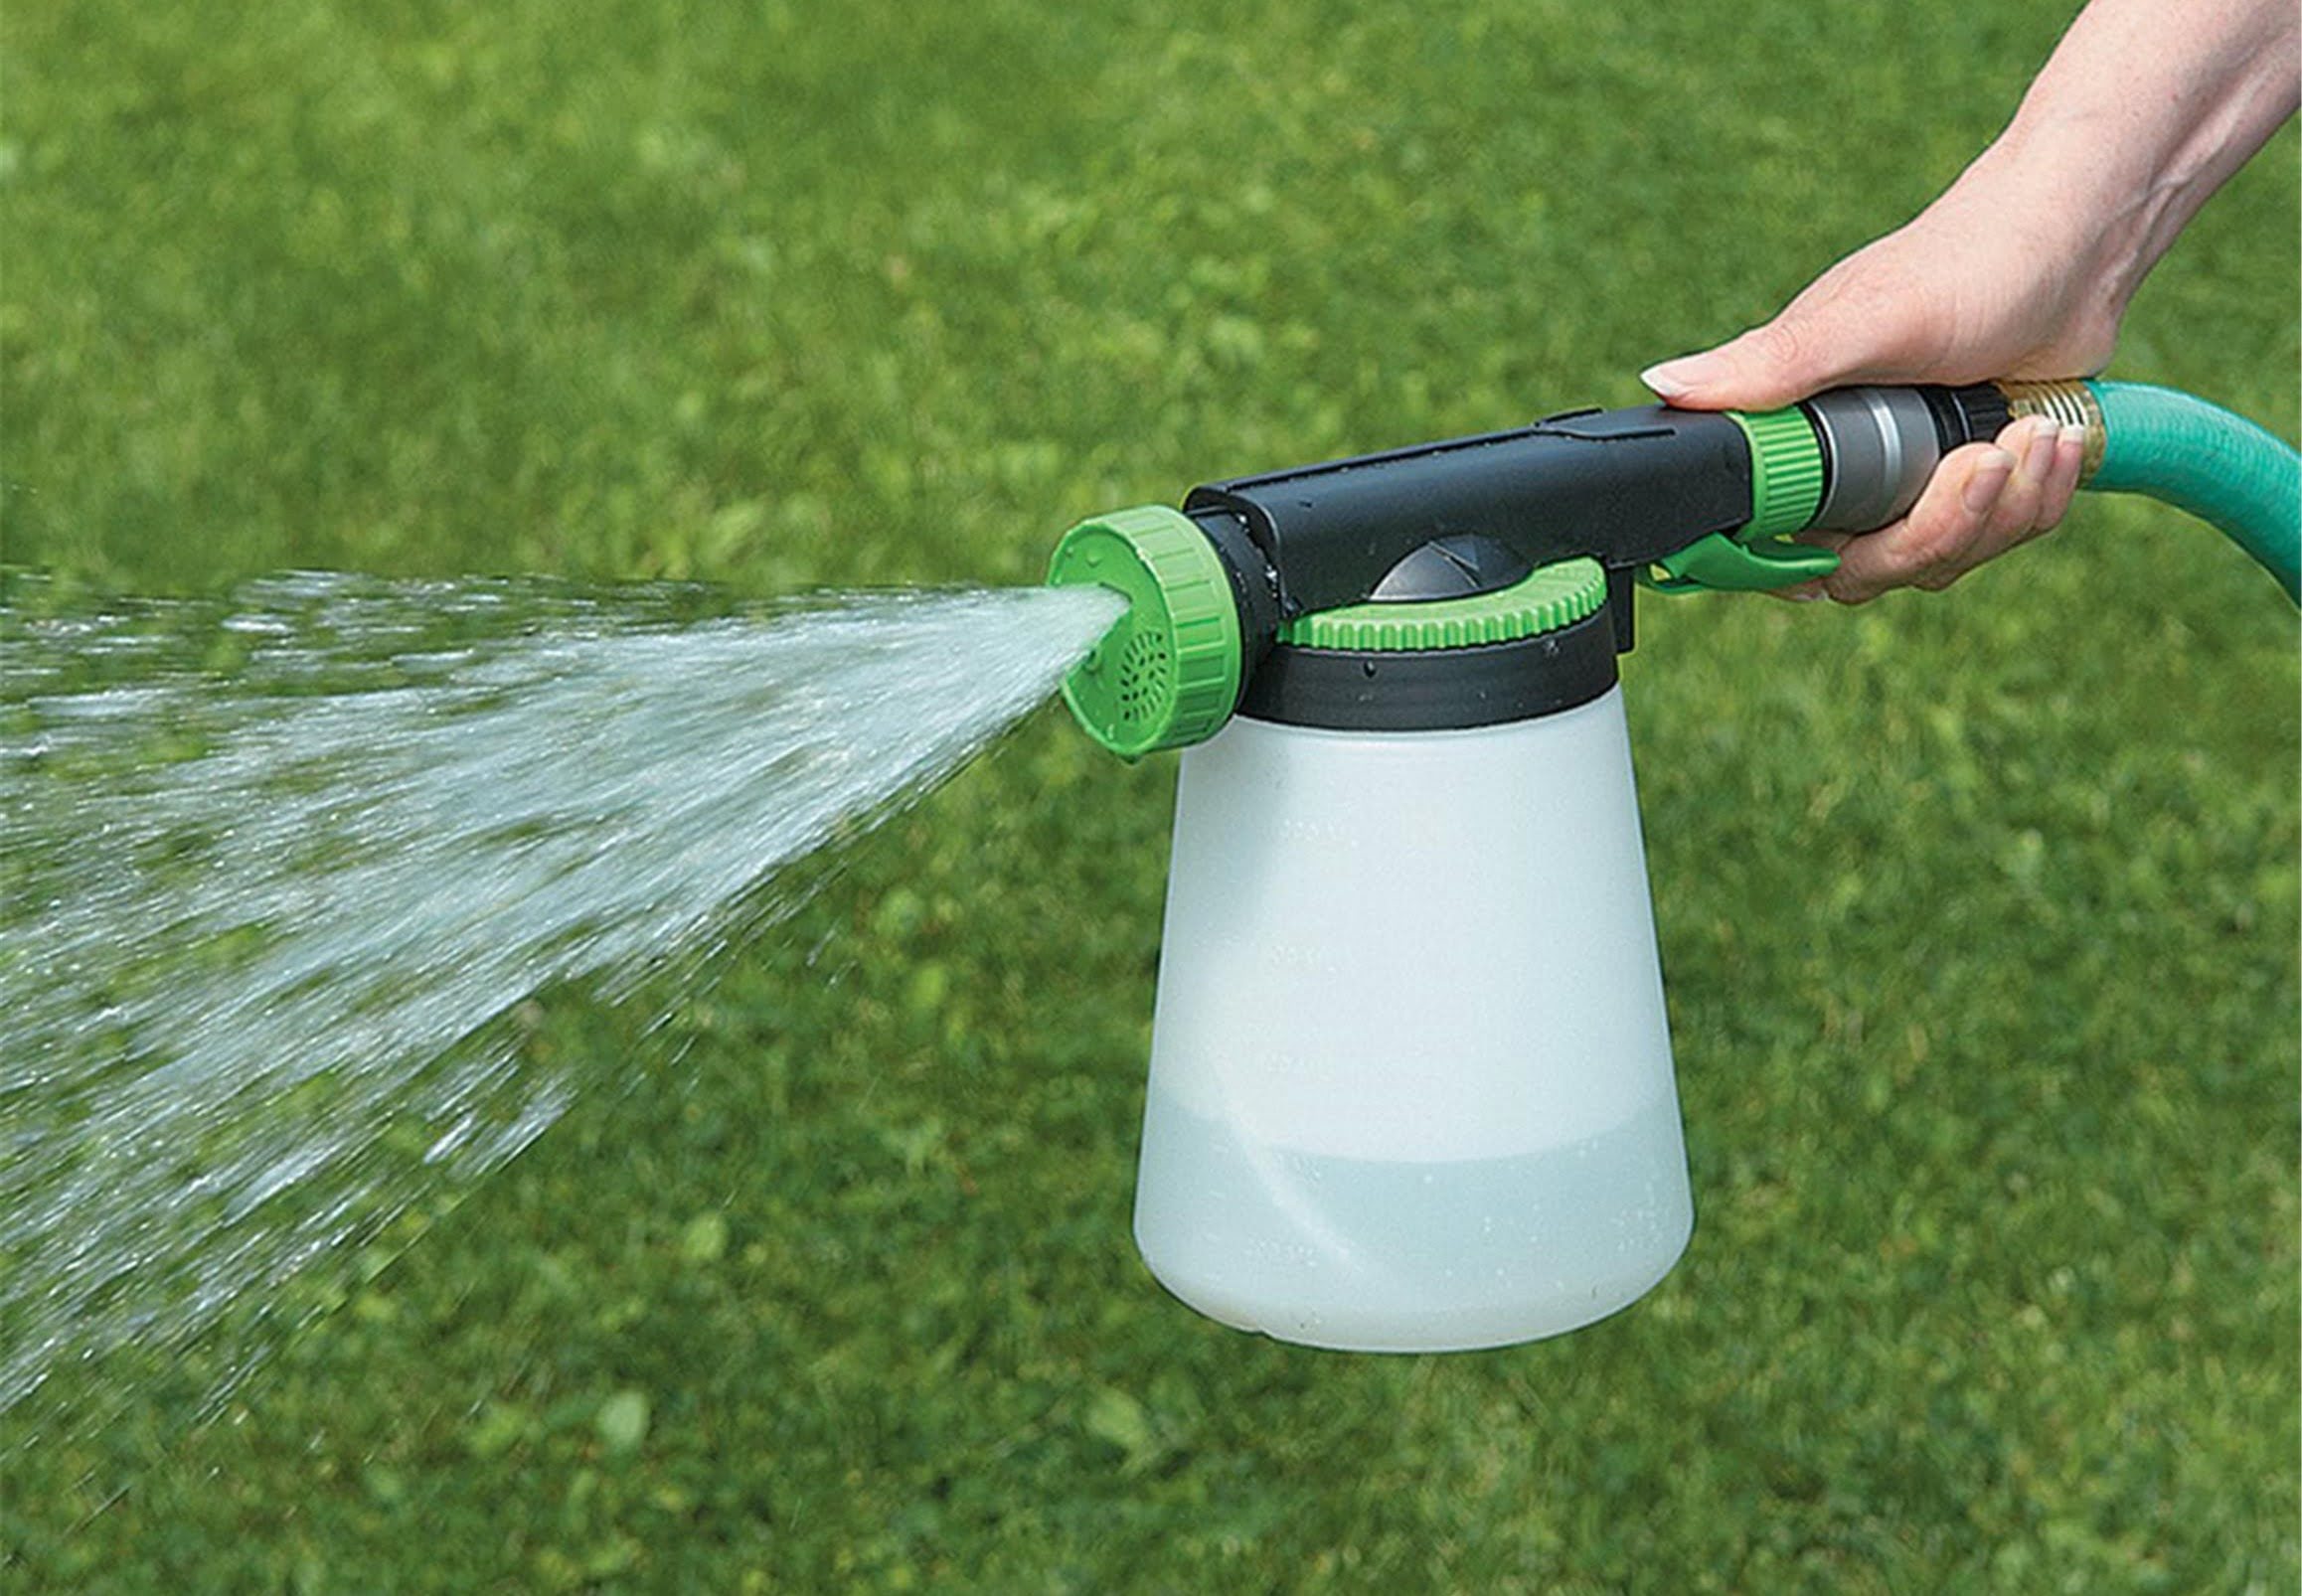
1. Activate the sprayer: Turn on the faucet and activate the sprayer by squeezing the handle or pressing the control button. This will allow water to flow through the sprayer hose and out of the spray head.
2. Check for proper water flow: Make sure the water flows steadily and smoothly through the sprayer hose. If you notice any reduction in water flow or irregular water patterns, there may be an issue with the installation. Check for any kinks or restrictions in the hose and ensure all connections are tight.
3. Test different spray modes: Many sprayer hoses come with different spray modes, such as a powerful jet or a wider spray. Test each mode to ensure they are functioning correctly. Switch between the different modes and observe the water flow and spray pattern.
4. Inspect for leaks: While the sprayer is in use, carefully inspect all the connections for any signs of leakage. Pay close attention to the connections at the spray head and faucet assembly. If you notice any leaks, tighten the connections or replace faulty components if necessary.
5. Check for proper retraction: If your sprayer hose has a retractable feature, test it by pulling out the sprayer hose and releasing it. The hose should smoothly retract back into the faucet assembly without any issues. If there are any problems with retraction, inspect the retractable mechanism and make any necessary adjustments.
6. Clean up and final adjustments: Once you have tested the new sprayer hose and confirmed its proper functionality, clean up any water spills or debris that may have accumulated during the testing process. Make any final adjustments to the connections if needed.
By following these steps and conducting a thorough test of the new sprayer hose, you can ensure that it is working as expected and providing efficient water flow and functionality. Congratulations on successfully replacing the sprayer hose on your kitchen sink!
As a final note, remember to periodically inspect and maintain your sprayer hose to ensure its longevity. Regular cleaning and checking for any signs of damage or leaks will help prevent future issues and keep your kitchen sink sprayer in optimal working condition.
Conclusion
Replacing the sprayer hose on your kitchen sink is a task that can be easily accomplished by most homeowners with a little bit of knowledge and the right tools. By following the step-by-step process outlined in this article, you can successfully replace the sprayer hose and restore the functionality of your kitchen sink sprayer.
Throughout the process, we covered the necessary steps, from gathering the tools and materials, to preparing the workspace, removing the old sprayer hose, purchasing a replacement, installing the new sprayer hose, and finally testing its functionality. By taking the time to gather the right tools, prepare the workspace, and follow the installation instructions, you can ensure a smooth and effective replacement process.
Remember, safety should always be a priority when working on any plumbing fixtures. Always turn off the water supply before starting any work and exercise caution when handling tools and making connections. If you’re uncertain or uncomfortable with any step of the process, it’s always wise to consult a professional plumber for assistance.
By successfully replacing your sprayer hose, you can enjoy the convenience and functionality of your kitchen sink sprayer for years to come. Whether you need to rinse off dishes, clean the sink, or fill pots with water, a properly functioning sprayer hose will make these tasks easier and more efficient.
Don’t forget to periodically inspect and maintain your sprayer hose to keep it in optimum condition. Regular cleaning, checking for leaks, and addressing any issues promptly will help prevent future problems and ensure the longevity of your sprayer hose.
We hope this article has provided you with the guidance and knowledge needed to replace the sprayer hose on your kitchen sink. With a little effort and the right tools, you can accomplish this task successfully and enjoy the benefits of a fully functional kitchen sink sprayer.
Frequently Asked Questions about How To Replace Sprayer Hose On Kitchen Sink
Was this page helpful?
At Storables.com, we guarantee accurate and reliable information. Our content, validated by Expert Board Contributors, is crafted following stringent Editorial Policies. We're committed to providing you with well-researched, expert-backed insights for all your informational needs.


0 thoughts on “How To Replace Sprayer Hose On Kitchen Sink”