
Articles
How To Install A Hose Bib
Modified: October 20, 2024
Learn how to install a hose bib with step-by-step instructions. Get tips and advice on installing hose bibs in our informative articles section.
(Many of the links in this article redirect to a specific reviewed product. Your purchase of these products through affiliate links helps to generate commission for Storables.com, at no extra cost. Learn more)
Introduction
Welcome to this comprehensive guide on how to install a hose bib! Whether you’re a seasoned DIY enthusiast or just starting out, this step-by-step tutorial will provide you with all the information you need to successfully install a hose bib in your home or outdoor space.
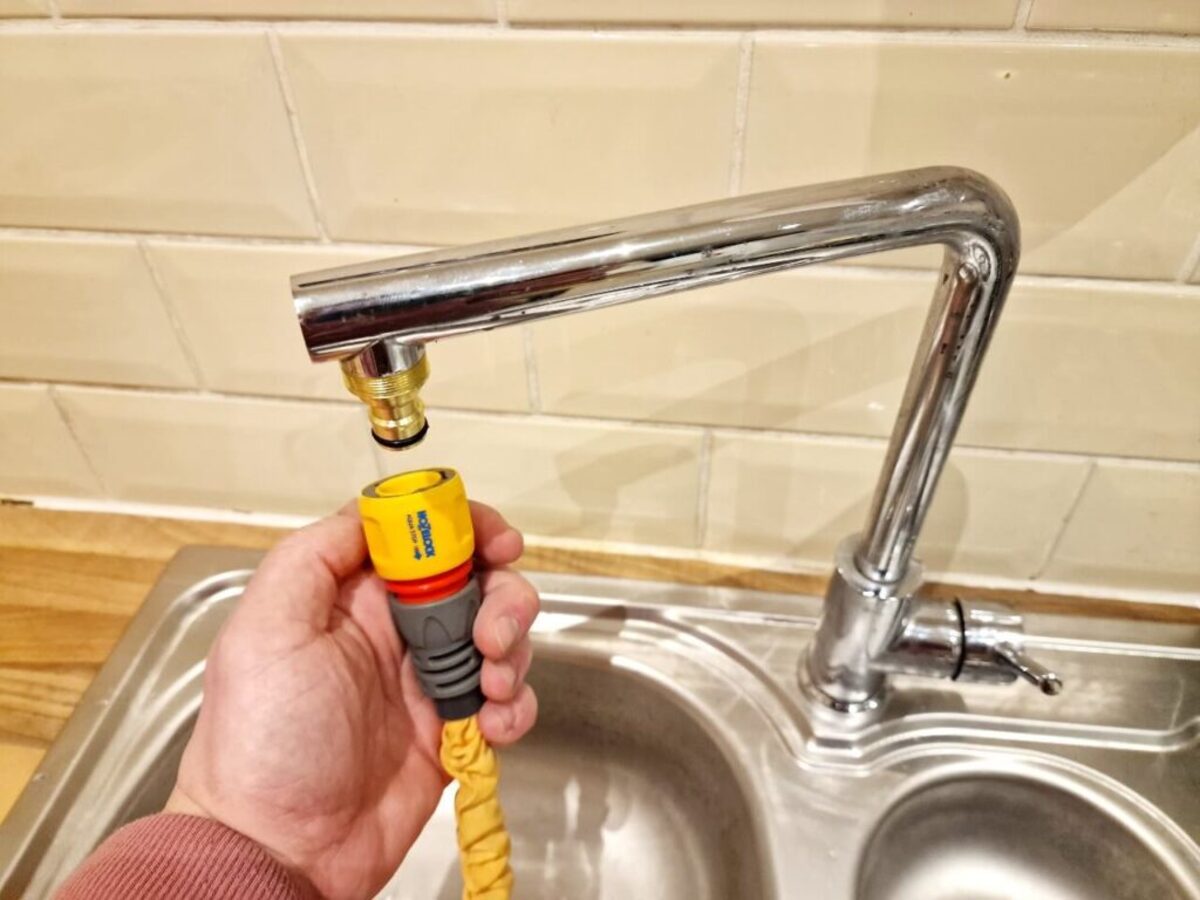
A hose bib, also known as an outdoor faucet or spigot, is a crucial component for conveniently accessing water outdoors. It allows you to connect a garden hose, wash your car, water your plants, or perform other outdoor tasks that require a water source.
Installing a hose bib may seem like a daunting task, but with the right tools, materials, and a bit of guidance, it can be a straightforward process. By following these steps, you’ll be able to securely and effectively install a hose bib without any hassle.
Before we dive into the installation process, it’s essential to ensure that you have all the necessary tools and materials at your disposal. This will help streamline the installation and prevent any delays or interruptions during the process. Let’s take a look at what you’ll need.
Key Takeaways:
- Installing a hose bib is a straightforward process that enhances outdoor water access for gardening, car washing, and more. Prioritize safety, proper preparation, and thorough testing to ensure a successful installation.
- By following the step-by-step guide, you can confidently install a hose bib, enjoy the convenience it offers, and maintain it for long-term functionality. Always consult professionals if unsure or uncomfortable with any installation tasks.
Read more: What Is A Hose Bib In Plumbing
Step 1: Gather the necessary tools and materials
Before you begin the hose bib installation, it’s crucial to gather all the necessary tools and materials. Having everything readily available will make the process smoother and more efficient. Here’s a list of items you’ll need:
- Hose bib: Choose a hose bib that suits your needs and preferences. It should be durable, weather-resistant, and equipped with a shut-off valve.
- Adjustable wrench: You’ll need an adjustable wrench to tighten and loosen nuts and bolts during the installation.
- Teflon tape: Teflon tape is essential for creating a watertight seal between the hose bib and the water supply line. It helps prevent leaks.
- Plumber’s tape: Plumber’s tape, also known as thread seal tape, is used to seal pipe threads and prevent leaks.
- Drill: A drill will be necessary if you need to create holes in the installation area to mount the hose bib.
- Screwdriver: A screwdriver is useful for attaching or removing screws during the installation process.
- Pipe wrench: If you’re connecting the hose bib to an existing water supply line, a pipe wrench will come in handy for loosening and tightening the fittings.
- PVC pipe cutter: If you need to cut PVC pipes to fit the hose bib, a PVC pipe cutter will be necessary.
- PVC glue: If you’re working with PVC pipes, you’ll require PVC glue to secure the joints.
- Safety goggles and gloves: Safety should be a priority during any installation project. Protect your eyes with safety goggles and your hands with gloves.
Once you have gathered all the necessary tools and materials, you’ll be ready to proceed with the installation process. Keep these items within reach to ensure a smooth and efficient installation experience.
Step 2: Locate the ideal placement for the hose bib
Choosing the right location for your hose bib is crucial for convenience and functionality. You’ll want to select a spot that is easily accessible and provides ample water flow without any obstructions. Here’s how to determine the ideal placement:
1. Examine your outdoor space: Take a walk around your property and evaluate potential locations for the hose bib. Consider areas near your garden, patio, or driveway where you’re likely to use a hose frequently.
2. Accessibility: Choose a location that is easy to reach and doesn’t require excessive stretching or bending when using the hose. Ideally, it should be within a comfortable distance from where you’ll be using the hose most often.
3. Avoid obstructions: Ensure there are no obstacles, such as shrubs, walls, or structures, blocking the area where you plan to install the hose bib. This will provide easy access and prevent any potential damage to the hose or obstructions in the water flow.
4. Water source proximity: Locate a spot that is close to an existing water supply line. This will simplify the installation process, as you won’t have to extend the water line significantly. However, if there isn’t a water line nearby, you’ll need to plan for running a new line to the chosen location.
5. Drainage considerations: Keep in mind any potential issues with drainage in the selected area. Make sure water won’t pool or collect around the hose bib, as this can cause damage and freeze during colder months.
Once you’ve identified the ideal placement for your hose bib, mark the spot using chalk or tape for easy reference during the installation process.
Now that you have determined the best location for your hose bib, it’s time to move on to the next step: turning off the main water supply.
Step 3: Turn off the main water supply
Before starting the installation process, it’s essential to turn off the main water supply to ensure safety and prevent any water leakage. Follow these steps to turn off the water supply:
1. Locate the main water shut-off valve: The main shut-off valve is typically located where the water enters your home. It could be in the basement, crawl space, utility room, or near the water meter. If you’re unsure about the location, consult your home’s plumbing diagram or contact a professional plumber for assistance.
2. Shut off the valve: Once you’ve located the main shut-off valve, use an adjustable wrench to turn it clockwise (to the right) until it is fully closed. This will stop the water flow to your entire house.
3. Drain the existing water: After shutting off the main valve, open a few faucets in your home to drain any remaining water from the pipes. This will help release any pressure and minimize the risk of water sprouting when you disconnect the old water supply line.
4. Test the water supply: To ensure the water is completely shut off, check a faucet inside your home to confirm that no water is coming out. If any water continues to flow, double-check that the main shut-off valve is fully closed.
By turning off the main water supply, you’re ensuring a safe and dry environment for the hose bib installation process. Proceed to the next step to prepare the installation area.
Step 4: Prepare the installation area
Preparing the installation area is crucial for a successful hose bib installation. This step involves cleaning the area, making necessary adjustments, and ensuring a secure and stable foundation. Follow these steps to properly prepare the installation area:
1. Clean the area: Clear away any debris, dirt, or obstructions from the chosen location where you will install the hose bib. Use a broom or brush to sweep the area and remove any loose particles or leaves.
2. Measure and mark: Using a tape measure and a marker, measure the precise location where you’ll mount the hose bib. Mark the spots where you’ll need to make holes for screws or brackets to secure the fixture in place.
3. Adjust the height: Consider the height at which you want to install the hose bib. It should be at a comfortable level for you to access and use without straining. Keep in mind that the hose bib should be positioned slightly downward to allow for proper drainage when the water is turned off.
4. Secure the mounting surface: If you’ll be mounting the hose bib on a wall or structure, ensure that the surface is sturdy and can support the weight. Use a level to ensure that the mounting surface is straight and even to prevent any water leakage or pressure issues.
5. Create holes if needed: Based on your marked spots, use a drill to create pilot holes for the screws or brackets that will secure the hose bib. Be sure to use the appropriate drill bit size for the screws you’ll be using.
By taking the time to properly prepare the installation area, you’re ensuring a solid foundation for the hose bib and minimizing the chances of any issues down the line. Once the area is well-prepared, you’re ready to move on to the next step: actually installing the hose bib!
When installing a hose bib, make sure to use Teflon tape on the threads to prevent leaks. Tighten the bib securely to the wall to ensure a proper seal.
Read more: How To Replace A Hose Bib On A Brick House
Step 5: Install the hose bib
Now that you have prepared the installation area, it’s time to install the hose bib. Follow these steps to securely attach the hose bib to the designated location:
1. Apply plumber’s tape: Before attaching the hose bib, wrap a few layers of plumber’s tape around the threaded end of the water supply line. This helps create a tight seal and prevents leakage.
2. Insert the water supply line: Carefully insert the threaded end of the water supply line into the hose bib. Rotate it clockwise to tighten the connection, ensuring a snug fit. Use an adjustable wrench to tighten it further, if needed. Be careful not to overtighten, as it can cause damage to the fittings or lead to leaks.
3. Mount the hose bib: Align the hose bib with the pilot holes you created in the installation area. Insert screws through the holes and use a screwdriver or drill to secure the hose bib firmly in place. Ensure it is level and aligned properly.
4. Check for stability: Give the hose bib a gentle tug to ensure it is securely mounted and won’t come loose easily. If it feels unstable, tighten the screws further to secure it better.
5. Verify proper orientation: Check that the hose bib is facing the desired direction for easy access and connection with a hose. It should be positioned in a way that allows the hose to lie flat and effortless utility.
Congratulations! You have successfully installed the hose bib. However, your installation process is not complete just yet. The next step involves connecting the hose bib to the water supply line.
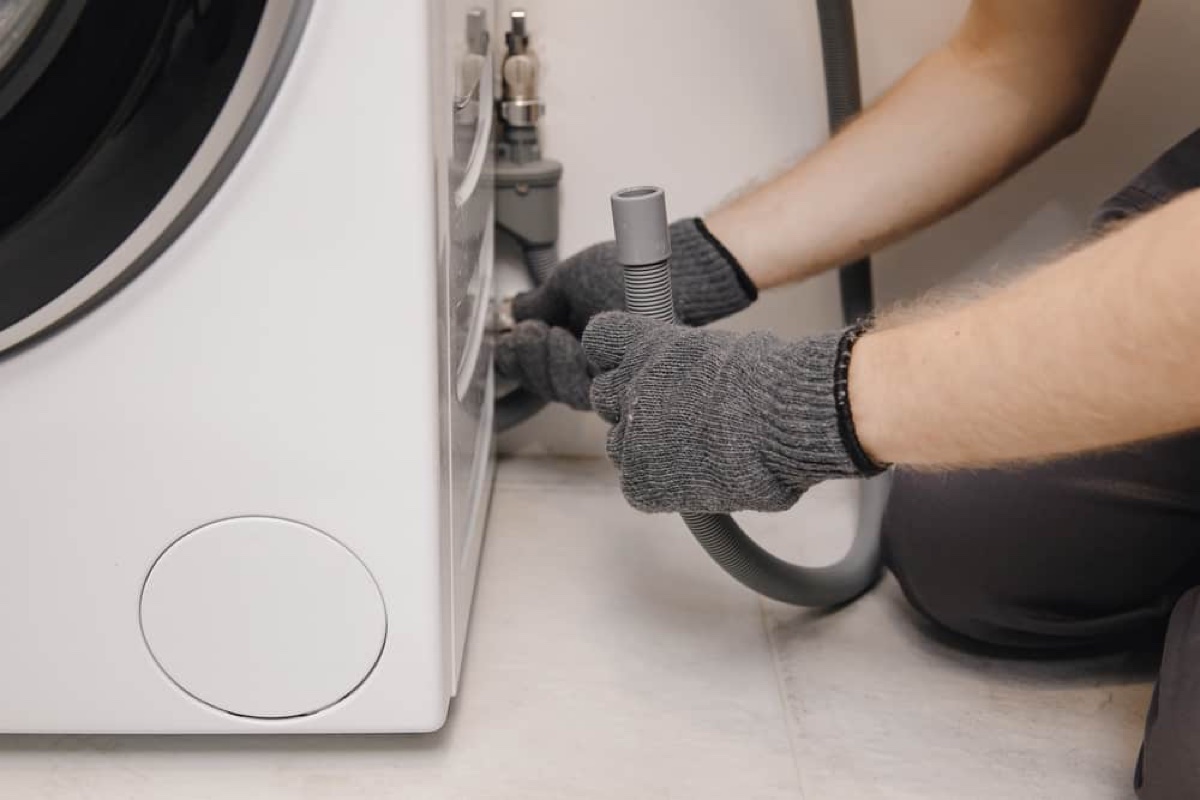
Step 6: Connect the hose bib to the water supply line
With the hose bib securely installed, it’s time to connect it to the water supply line. Follow these steps to ensure a proper connection:
1. Turn off the main water supply: Before connecting the hose bib, make sure the main water supply is still turned off. This will prevent any water flow while you make the connection.
2. Apply Teflon tape: Wrap a few layers of Teflon tape around the threaded end of the hose bib where it will connect to the water supply line. This tape will create a tight seal and help prevent any leaks.
3. Connect the water supply line: Insert the threaded end of the water supply line into the hose bib and rotate it counterclockwise (to the left). As you tighten it, ensure it is snug but not over-tightened.
4. Use a pipe wrench if necessary: If the water supply line requires a more secure connection, you can use a pipe wrench to tighten it further. However, be cautious not to overtighten, as it may damage the fittings.
5. Check for leaks: Once the connection is made, turn on the water supply momentarily to check for any leaks. Observe the hose bib and the connection point to ensure water isn’t escaping. If there are any leaks, turn off the water supply again and make adjustments as needed.
6. Test the flow: Turn on the water supply and test the flow by opening the hose bib’s shut-off valve. Check for proper water flow and pressure. If everything seems to be functioning correctly, proceed to the final step.
Remember, it’s crucial to ensure a secure connection and prevent leaks to avoid any potential water damage or wastage.
With the hose bib securely connected to the water supply line, it’s time to move on to the next step: testing the hose bib for leaks.
Step 7: Test the hose bib for leaks
After connecting the hose bib to the water supply line, it’s essential to test it for any potential leaks. By performing this step, you can ensure that the installation is successful and prevent any water wastage or property damage. Follow these steps to test the hose bib for leaks:
1. Turn on the water supply: Turn on the main water supply or the valve that controls the water flow to the hose bib.
2. Inspect the hose bib and connection: Carefully observe the hose bib and the connection point to the water supply line. Look for any signs of water dripping or leaking. Pay close attention to the threaded areas and any visible joints.
3. Verify the shut-off valve: Check that the shut-off valve on the hose bib is fully closed when not in use. Make sure it stops the water flow completely when turned off.
4. Test with water pressure: If there are no leaks, connect a garden hose to the hose bib and turn on the water. Gradually increase the water pressure to check for any leaks or drips. Pay attention to the hose bib itself, as well as the connections to the hose.
5. Look for hidden leaks: Sometimes, leaks may not be immediately noticeable. Check the area surrounding the hose bib and the water supply line for any signs of water accumulation or dampness.
If you notice any leaks during the testing process, close the shut-off valve and tighten the connections as needed. If the leak persists, you may need to reapply Teflon tape or consult a professional plumber for assistance.
Once you have confirmed that the hose bib is leak-free and functioning correctly, you’re ready for the final step: restoring the main water supply.
Step 8: Restore the main water supply
With the hose bib successfully installed, connected, and tested for leaks, it’s time to restore the main water supply to your home. This final step will allow water to flow through the hose bib and make it ready for immediate use. Follow these steps to restore the main water supply:
1. Double-check the hose bib and connections: Before restoring the water supply, do a final inspection of the hose bib and the connections. Make sure everything is secure, tightened, and leak-free. If you notice any issues, address them before proceeding.
2. Locate the main shut-off valve: Locate the main water shut-off valve that you turned off earlier in the installation process. The valve is typically in the same position or area as when you initially shut it off.
3. Turn on the main water supply: Using an adjustable wrench, turn the main water shut-off valve counterclockwise (to the left) to open it. Gradually open the valve to allow water to flow back into the water supply lines of your home.
4. Check for any water leaks: As the water supply is restored, keep a close eye on the hose bib and its surrounding area for any new leaks or drips. If you notice any issues, quickly turn off the main water supply and address the problem accordingly.
5. Test the hose bib: Once the main water supply is restored, test the hose bib by turning on the shut-off valve. Open the valve gradually to control the water flow and check for proper operation. Ensure there are no leaks or irregularities.
With the main water supply successfully restored and the hose bib in proper working condition, you can now enjoy the convenience of having an outdoor water source at your disposal. Remember to turn off the hose bib after each use and during colder months to prevent freezing and potential damage.
Congratulations! You have completed the installation process for your new hose bib. By following these steps, you have equipped your outdoor space with a reliable water source for various tasks and activities. Enjoy the convenience and versatility that a hose bib provides!
Disclaimer: The information provided in this guide is for educational purposes only. Always exercise caution and consult a professional if you are unsure or uncomfortable performing any installation tasks.
Read more: How To Install Dryer Vent Hose
Conclusion
Congratulations on successfully installing a hose bib! By following the step-by-step guide provided in this article, you have learned how to gather necessary tools and materials, locate the ideal placement, turn off and restore the main water supply, prepare the installation area, install the hose bib, connect it to the water supply line, test for leaks, and finally, restore the main water supply.
Installing a hose bib can greatly enhance the functionality and convenience of your outdoor space. Whether you use it for gardening, washing your car, or other outdoor activities requiring a water source, having a hose bib allows for easy access to water right where you need it.
Remember to always prioritize safety during the installation process. Use the appropriate tools, follow safety precautions, and consult professionals whenever necessary. Following proper installation techniques and diligently testing for leaks will help prevent any water wastage or property damage.
Now that you have successfully completed the installation process, you can enjoy the benefits of having a hose bib in your outdoor area. Make sure to properly maintain and care for your hose bib to prolong its lifespan and ensure optimal performance.
Thank you for following this comprehensive guide on how to install a hose bib. We hope that it has been informative and helpful in guiding you through each step of the installation process. If you have any questions or need further assistance, don’t hesitate to reach out to a professional plumber or refer to manufacturer guidelines specific to your hose bib model.
Happy gardening, washing, and enjoying outdoor activities with your newly installed hose bib!
Frequently Asked Questions about How To Install A Hose Bib
Was this page helpful?
At Storables.com, we guarantee accurate and reliable information. Our content, validated by Expert Board Contributors, is crafted following stringent Editorial Policies. We're committed to providing you with well-researched, expert-backed insights for all your informational needs.

0 thoughts on “How To Install A Hose Bib”