
Articles
How To Bend Half-Inch Conduit
Modified: October 20, 2024
Learn how to bend half inch conduit with our informative articles. Find step-by-step guides, tips, and techniques to master conduit bending.
(Many of the links in this article redirect to a specific reviewed product. Your purchase of these products through affiliate links helps to generate commission for Storables.com, at no extra cost. Learn more)
Introduction
Welcome to our comprehensive guide on bending half inch conduit! Whether you’re a DIY enthusiast or a professional electrician, knowing how to bend conduit is an essential skill. Conduit bending allows for the efficient installation of electrical wiring, protecting and organizing the cables within a structure.
In this article, we will walk you through the step-by-step process of bending half inch conduit. We will discuss the tools and materials needed, provide detailed instructions on measuring and marking the conduit, securing it in place, and executing the bending techniques. We will also cover how to check the bend for accuracy and safety. By the end of this guide, you will have the knowledge and confidence to complete your conduit bending projects.
Before we dive into the bending techniques, let’s take a moment to understand what half inch conduit is and why it is commonly used in electrical installations.
Key Takeaways:
- Master the art of bending half inch conduit with precision and confidence, ensuring efficient and organized electrical wiring installations for both residential and commercial projects.
- Prioritize safety, proper measurements, and technique selection to achieve accurate and reliable conduit bends, enhancing the functionality and aesthetics of your electrical systems.
Read more: How To Bend An Electrical Conduit
Understanding Half Inch Conduit
Half inch conduit, also known as 1/2″ EMT (Electrical Metallic Tubing), is a type of conduit commonly used in residential and commercial electrical applications. It is made of galvanized steel or aluminum and is available in various lengths.
EMT conduit is lightweight, easy to work with, and provides protection for electrical cables. It is suitable for both indoor and outdoor installations and is commonly used for wiring in walls, ceilings, and underground applications.
Now that we have a basic understanding of half inch conduit, let’s gather the necessary tools and materials before we begin the bending process.
Key Takeaways:
- Master the art of bending half inch conduit with precision and confidence, ensuring efficient and organized electrical wiring installations for both residential and commercial projects.
- Prioritize safety, proper measurements, and technique selection to achieve accurate and reliable conduit bends, enhancing the functionality and aesthetics of your electrical systems.
Read more: How To Bend An Electrical Conduit
Understanding Half Inch Conduit
Half inch conduit, also known as 1/2″ EMT (Electrical Metallic Tubing), is a type of conduit commonly used in residential and commercial electrical applications. It is made of galvanized steel or aluminum and is available in various lengths.
EMT conduit is lightweight, easy to work with, and provides protection for electrical cables. It is suitable for both indoor and outdoor installations and is commonly used for wiring in walls, ceilings, and underground applications.
One of the key advantages of half inch conduit is its versatility. It can accommodate a wide range of electrical wiring sizes, making it ideal for various electrical projects. The half inch designation refers to the internal diameter of the conduit, accommodating wires of the same diameter or smaller.
Additionally, half inch conduit is corrosion-resistant, ensuring durability and longevity in different environments. It is also cost-effective compared to other types of conduit, making it a popular choice among electricians and contractors.
When selecting half inch conduit, it is important to choose the appropriate material based on your specific needs. Galvanized steel conduit provides superior strength and is typically used in more rugged applications, such as outdoor installations or areas prone to physical damage. Aluminum conduit, on the other hand, is lightweight and corrosion-resistant, making it suitable for indoor installations or areas with low moisture exposure.
Furthermore, it is crucial to consider the local building codes and regulations when working with half inch conduit. Familiarize yourself with any special requirements or restrictions that may apply to your specific project. Adhering to these codes ensures the safety and compliance of your electrical installation.
Now that we have a better understanding of half inch conduit, let’s move on to the next section where we will discuss the tools and materials you will need for bending the conduit.
Tools and Materials Needed
Before you begin bending half inch conduit, it’s important to gather all the necessary tools and materials. Having the right equipment will ensure a smooth and successful bending process. Here is a list of the essential tools and materials you’ll need:
- Half inch EMT conduit: Make sure you have enough length for your project.
- Conduit bender: Choose a bender specifically designed for half inch conduit.
- Tape measure: Use it for accurate measurements.
- Permanent marker or pencil: This will be used to mark the conduit.
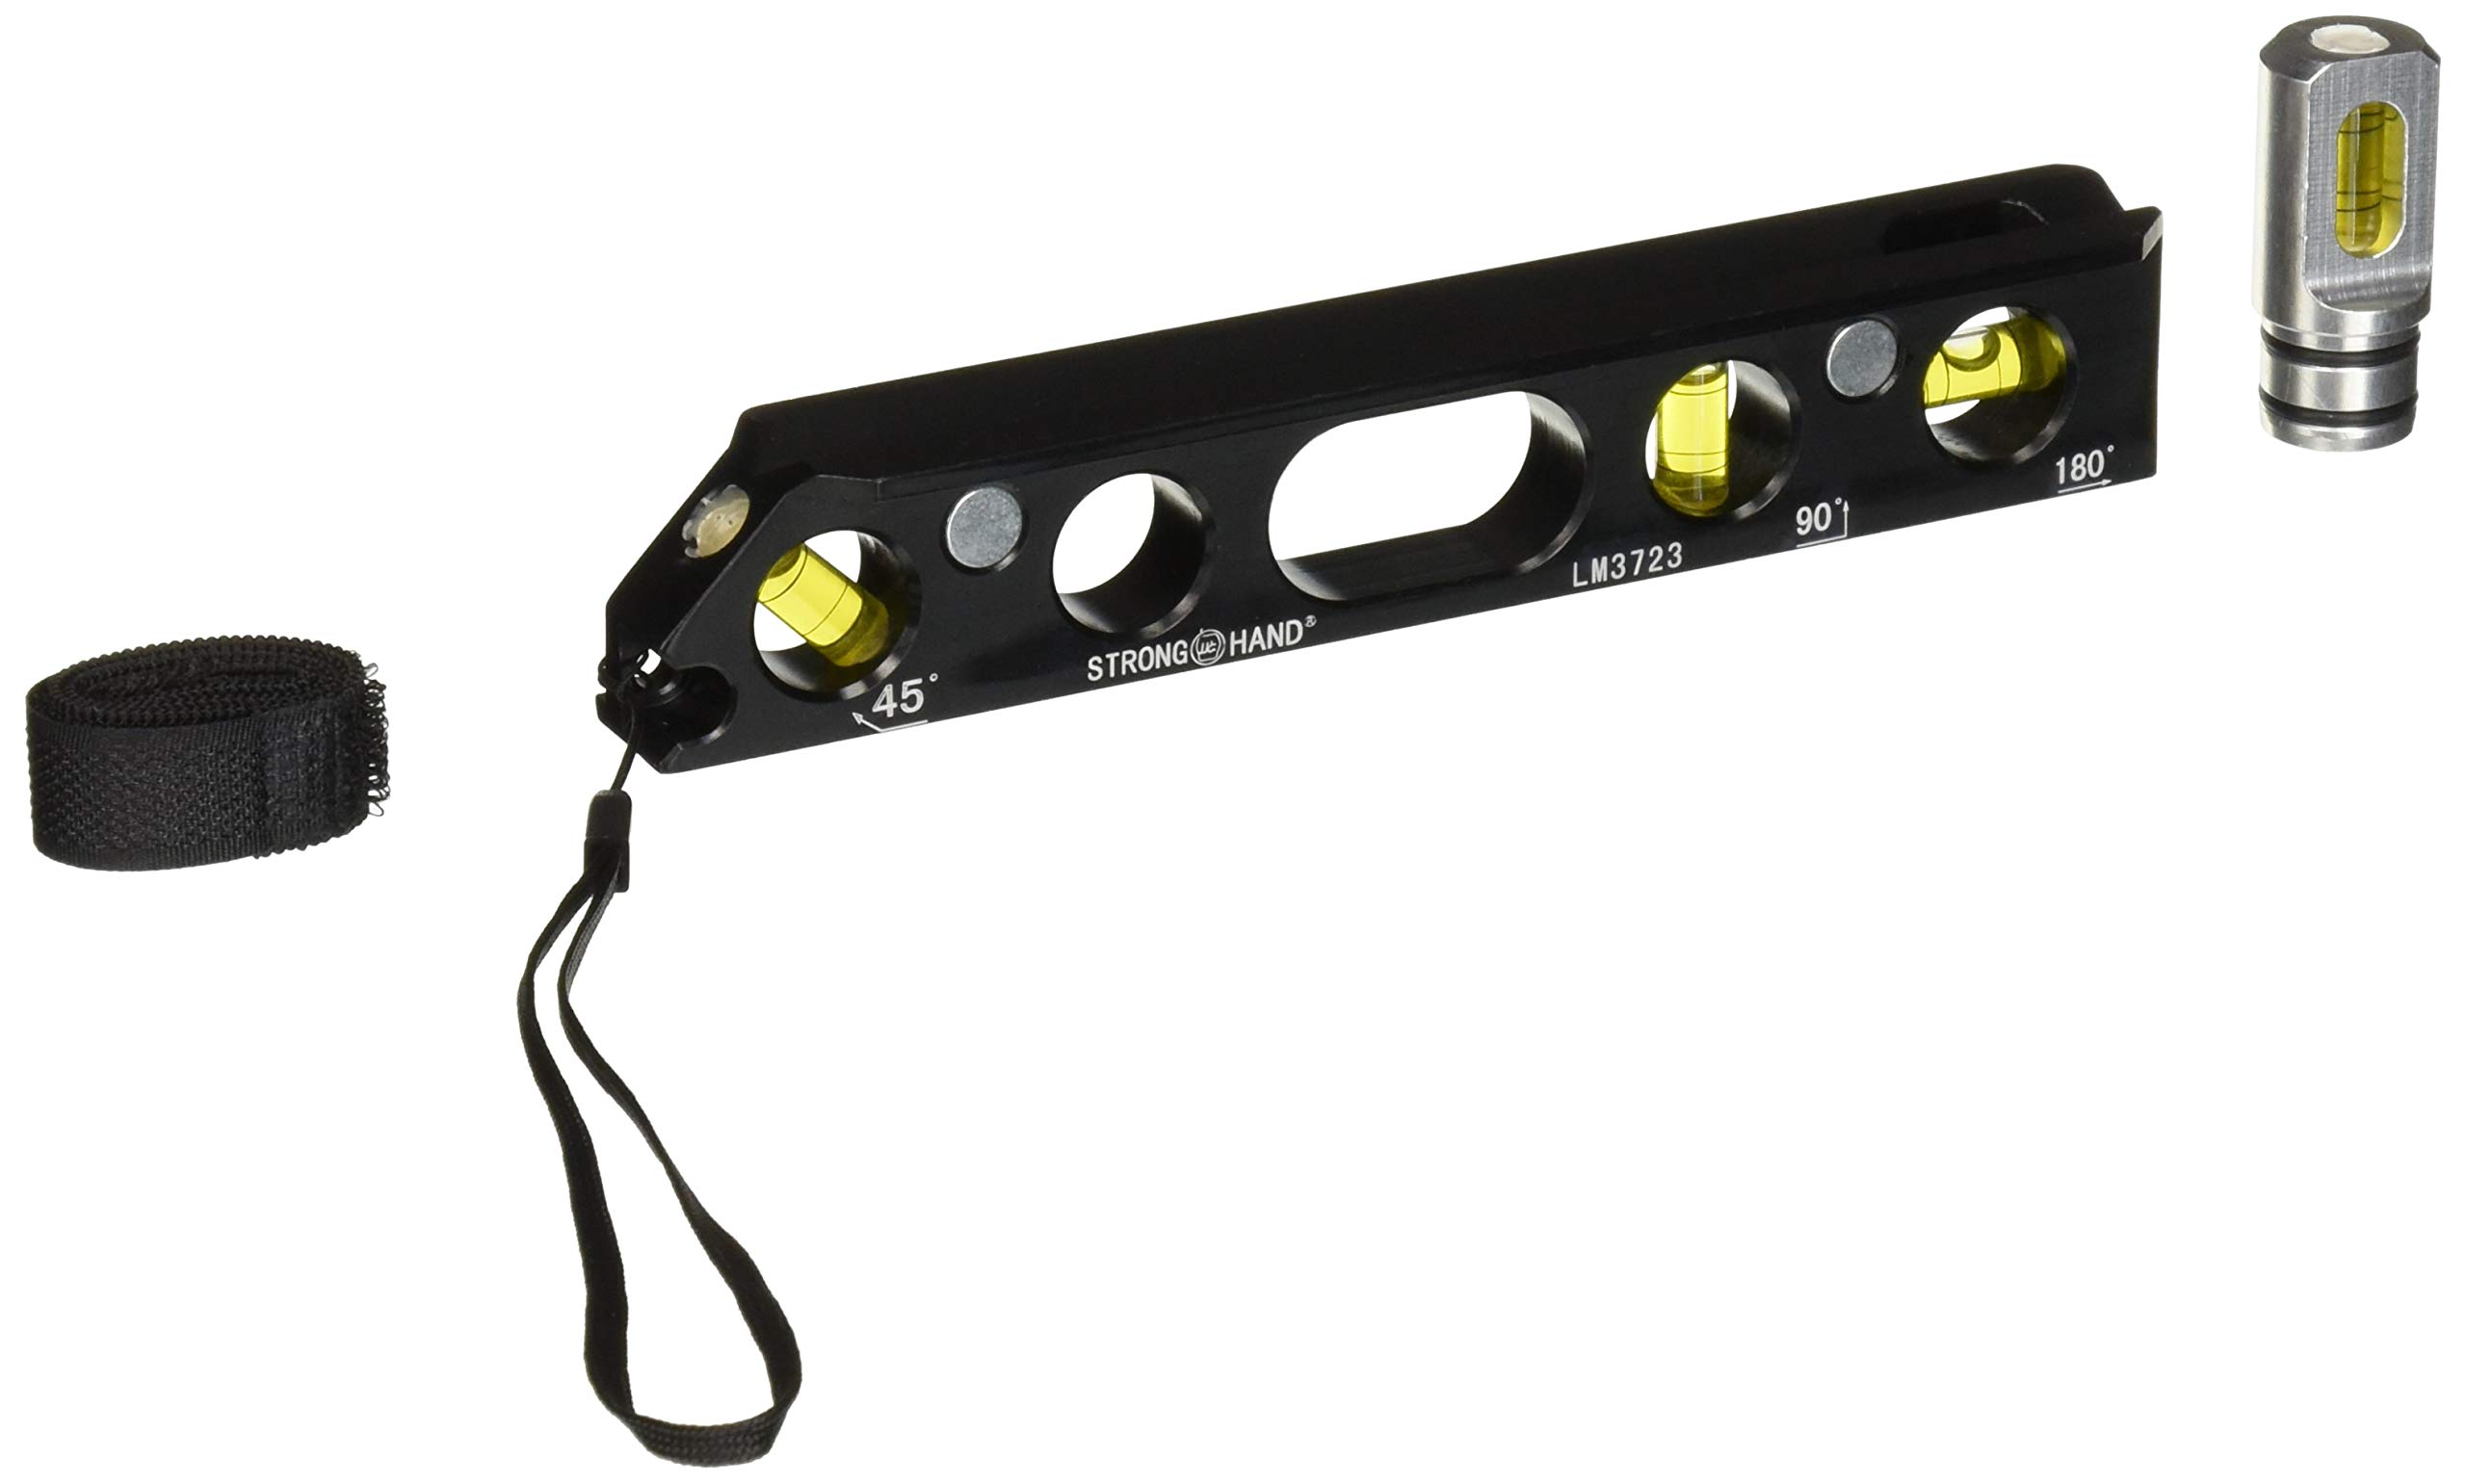
- Level: It’ll help you ensure the straightness of the conduit.
- Work gloves: Protect your hands from cuts and abrasions.
- Safety glasses: Keep your eyes protected from debris and flying particles.
- Ear protection: If you’re working in a noisy environment, earplugs or earmuffs are essential.
- Flat surface or workbench: A stable work surface is necessary for bending the conduit.
- Saw or conduit cutter: Use it to cut the conduit to the desired length.
- Deburring tool: This will help smooth out any sharp edges after cutting.
It’s important to note that some tools and materials may vary depending on the specific bending technique you’re using or the complexity of your project. Always refer to the instructions provided with your bending tool and follow the manufacturer’s recommendations.
Once you have gathered all the necessary tools and materials, you’re ready to move on to the next step: measuring and marking the conduit.
Step 1: Measuring and Marking
Before bending the half inch conduit, it’s crucial to accurately measure and mark the locations where the bends need to be made. This step ensures precision and prevents any mistakes in the bending process. Here’s how to measure and mark the conduit:
- Start by placing the conduit on a flat surface or workbench. Ensure it is fully extended and straight.
- Using a tape measure, measure the length of the conduit needed for your project. Mark the desired cutting point with a permanent marker or pencil. Take into account any offset bends that may be required.
- If you need multiple bends in the conduit, use the tape measure and marker to indicate the spacing and angles of the bends. Measure from the end of the conduit and make the necessary markings.
- Double-check your measurements and markings to ensure accuracy. Remember that precise measurements are essential for a successful conduit bending process.
It’s important to note that when measuring and marking the conduit, it’s recommended to measure from the end of the conduit rather than the beginning of the bend. This ensures that the final length of the conduit will match your intended measurements.
Once you have finished measuring and marking the conduit, you can proceed to the next step: securing the conduit in place.
Read more: How To Measure Conduit Bending
Step 2: Securing the Conduit
After measuring and marking the half inch conduit, the next step is to secure it in place. This step is crucial to prevent the conduit from moving or slipping during the bending process. Here’s how to secure the conduit:
- Place the conduit in a vise or secure it using clamps, ensuring it is held firmly in place. This will provide stability and prevent any unwanted movement while bending.
- Position the conduit so that the marked bending point is easily accessible and visible.
- Ensure the conduit is aligned straight with the bending tool or bender. This is important to achieve accurate and consistent bends.
By securing the conduit properly, you will have greater control during the bending process, resulting in precise and reliable bends. It’s crucial to take your time and double-check that the conduit is securely held in place before proceeding to the next step.
Pro Tip: If you don’t have access to a vise or clamps, you can ask a partner to hold the conduit firmly while you perform the bending. However, always prioritize safety and ensure proper precautions are taken to avoid any accidents or injuries.
Once the conduit is securely in place, you’re ready to move on to the actual bending techniques. In the next step, we will discuss the different techniques you can use to bend half inch conduit.
When bending half inch conduit, use a conduit bender and make sure to measure and mark the bending points accurately to achieve the desired angle without kinking the conduit.
Step 3: Bending Techniques
Now that the half inch conduit is securely in place, it’s time to start bending. There are different bending techniques that can be used, depending on the angle and direction of the bend required for your project. Here are some common bending techniques:
- Manual Hand Bending: This technique involves using your physical strength and leverage to bend the conduit. It is suitable for small bends or projects where a bender tool is not available. To manually bend the conduit, position yourself at the appropriate bending location and apply steady pressure to create the desired angle.
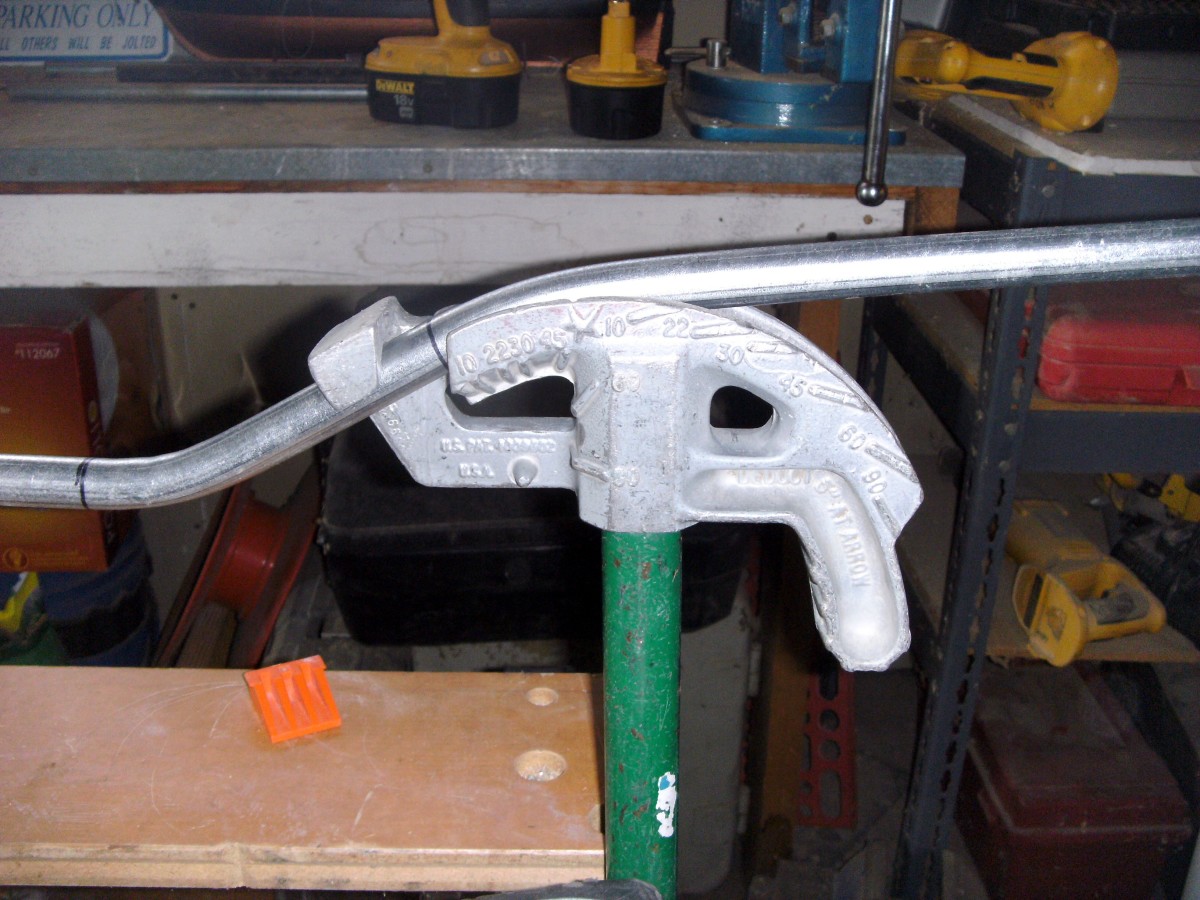
- Bender Tool Method: A bender tool provides accuracy and consistency in creating bends. The bender tool has markings and a handle that allows you to bend the conduit at specific angles. Follow the instructions provided with your bender tool to ensure proper usage and precise bending.
- Box Bender Method: This method is commonly used for creating larger bends in the conduit. A box bender, also known as a hickey bender, is used to achieve bends at angles greater than 90 degrees. The conduit is placed in the box bender, and pressure is applied to create the desired bend.
When using any bending technique, it’s important to apply consistent and steady pressure to avoid kinks or distortions in the conduit. Take your time and make sure you are using the proper technique for the specific angle and direction of the bend.
Pro Tip: If you’re new to bending conduit or unsure about the technique, it’s always a good idea to practice on scrap conduit before working on your actual project. This will help you familiarize yourself with the bending process and ensure you achieve the desired results.
Each bending technique has its advantages and considerations, so choose the one that is best suited for your project. Once you’ve successfully bent the conduit, it’s time to move on to the next step: checking the bend for accuracy and safety.
Step 4: Checking the Bend
After bending the half inch conduit using your preferred technique, it’s crucial to check the bend for accuracy and safety. This step ensures that the conduit is correctly bent and meets the requirements of your project. Here’s how to check the bend:
- Use a level to check the straightness of the bend. Place the level along the length of the bent portion and ensure it is perfectly aligned. This will help you identify any twists or misalignments in the bend.
- Verify the angle by using a protractor or an angle finder tool. Compare the bent angle to the intended angle, as indicated by your measurements and markings. Ensure that they match or are within an acceptable range of tolerance.
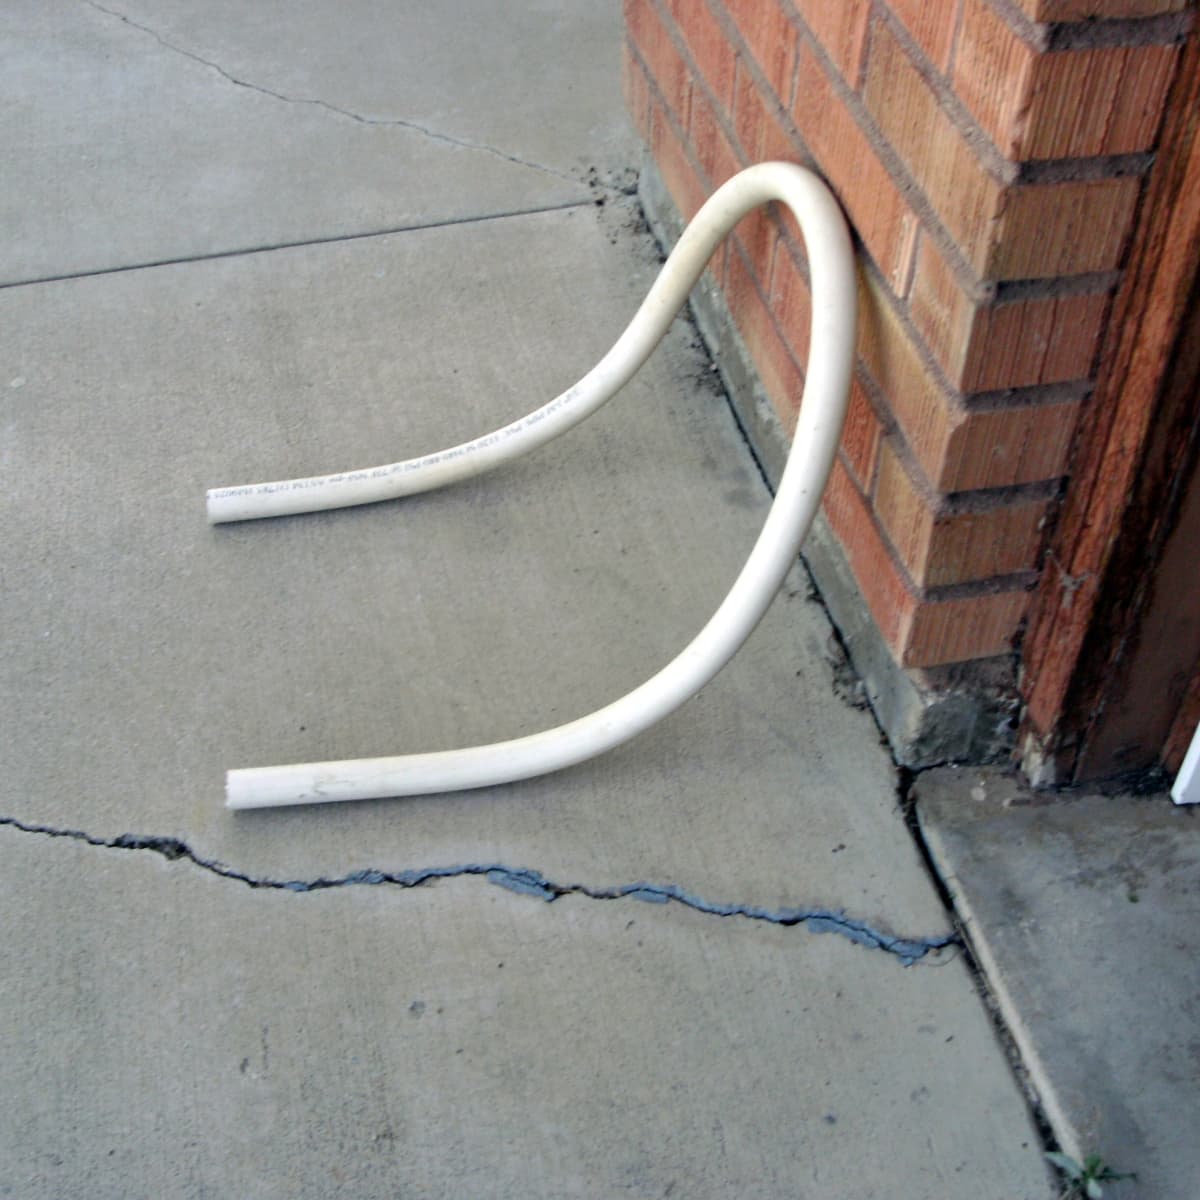
- Inspect the bend for any cracks, kinks, or deformities. Run your fingers along the surface of the bend and check for any irregularities. These can weaken the conduit and compromise its functionality.
If you find any issues with the bend, or if it doesn’t meet the desired specifications, you may need to re-bend the conduit. Carefully unbend the conduit and make any necessary adjustments before proceeding.
Pro Tip: If you’re working on a complex project with multiple bends, it’s a good practice to check the alignment and accuracy of each bend before moving on to the next one. This ensures that the overall conduit layout is precise and avoids any cumulative errors.
Once you are satisfied with the bend and it passes the inspection for accuracy and safety, you can proceed to the next step: making multiple bends if required.
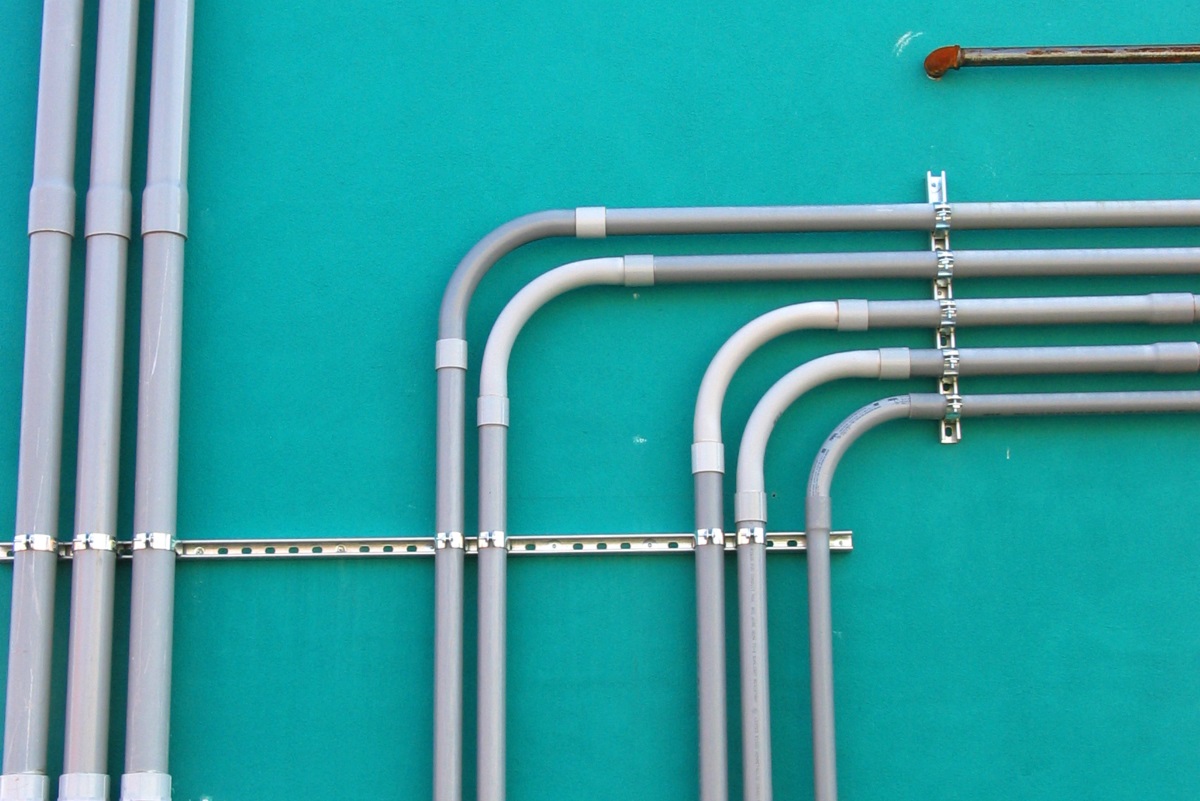
Step 5: Making Multiple Bends
In some electrical installations, you may need to make multiple bends in the half inch conduit to accommodate the layout and routing of the wiring. Making multiple bends requires careful planning and execution to ensure proper alignment and sufficient clearance. Here’s how to make multiple bends:
- Start by identifying the locations where the additional bends are needed. Use your measurements and markings as a guide.
- Using the same technique as before, place the conduit in the bender or use a hickey bender to create the desired bends at the appropriate locations. Take into account any angle or spacing requirements specified by your project.
- After each bend, check the accuracy, alignment, and clearance of the previous bend before making the next one. This ensures that the multiple bends are properly coordinated and result in a clean and functional conduit layout.
- Continue the process until you have successfully made all the necessary bends. Remember to check each bend individually and as a whole to maintain accuracy and symmetry.
When making multiple bends, it’s important to consider factors such as the overall length of the conduit, the angle of each bend, and the distance between bends. Proper planning and execution will help you achieve a well-organized conduit system that meets the requirements of your electrical installation.
Pro Tip: If you’re unsure about the sequence of bends or the best way to achieve multiple bends, consider creating a bending table or using a conduit bending software. These resources can provide guidance on the order and angles of bends to achieve the desired layout.
Once all the multiple bends are in place and have been checked for accuracy, you’re ready to move on to the final step: removing the conduit from the bending tools and securing it in its final location.
Read more: How To Bend Offset Conduit
Step 6: Removing the Conduit
After successfully bending the half inch conduit and ensuring its accuracy, the final step is to remove the conduit from the bending tools and secure it in its final location. Here’s how to remove the conduit:
- If you used a bender tool, release the conduit from the bender by loosening the hold or releasing any locking mechanisms. Take care not to apply excessive force that could damage the conduit or the tool.
- If you used a hickey bender, carefully slide the conduit out of the box bender, ensuring that it doesn’t twist or kink as you remove it.
- Inspect the conduit for any signs of damage or deformities, especially around the bending point. Smooth out any sharp edges or burrs using a deburring tool to ensure the conduit is safe to handle.
- Carefully transport the bent conduit to its final installation location, taking precautions to prevent any further bending, twisting, or damage during transportation.
- Once in the installation location, secure the conduit using appropriate supports, straps, or fasteners as required by local building codes. Ensure that the conduit is securely fastened and properly aligned.
- Double-check the alignment and clearance of the bent conduit, especially if it was a part of a complex layout with multiple bends. Make any necessary adjustments to maintain proper functionality and aesthetics.
By following these steps, you can successfully remove the bent conduit from the bending tools and securely install it in its final position. Take your time to ensure that the conduit is properly supported, aligned, and free from any damage or deformities.
Pro Tip: If you need to make additional adjustments or modifications to the conduit after it has been installed, always adhere to proper safety protocols. Turn off the electrical power and consult a licensed electrician when necessary.
Congratulations! You have now completed the process of bending and installing half inch conduit. With these skills, you’ll be able to efficiently and effectively handle various electrical wiring installations.
Remember, practice and experience are key to mastering conduit bending. The more you work with different conduit types and bending techniques, the more confident you will become. Always prioritize safety and consult professional electricians or local building authorities if you have any doubts or concerns.
Now that you’re equipped with the knowledge and know-how, go ahead and tackle your next conduit bending project with confidence!
Conclusion
Congratulations on completing our comprehensive guide on bending half inch conduit! By following the step-by-step instructions and understanding the necessary tools and techniques, you are now equipped with the skills to successfully bend and install conduit for your electrical projects.
Throughout this guide, we covered the fundamental concepts of half inch conduit, including its construction, versatility, and commonly used materials. We also discussed the essential tools and materials needed for the bending process, ensuring that you are well-prepared before starting your project.
We walked you through the step-by-step process of measuring and marking the conduit, securing it in place, and utilizing different bending techniques to achieve the desired bends. We emphasized the importance of checking each bend for accuracy and safety, as well as making multiple bends with proper planning and execution.
Lastly, we explained the process of removing the conduit from the bending tools and securely installing it in its final location. We emphasized the importance of proper support and alignment to ensure a functional and aesthetically pleasing conduit system.
Remember, practice makes perfect. Don’t be discouraged if you don’t achieve flawless bends right away. With time and experience, you will become more proficient in bending conduit and achieving precise results.
It’s crucial to always prioritize safety while working on electrical projects. Adhere to local building codes and regulations, wear protective gear, and consult with professionals if you’re uncertain about any aspect of the installation process.
Now that you have the knowledge and skills to confidently bend half inch conduit, you’re ready to take on your next electrical installation project. Enjoy the process, stay safe, and create efficient and organized wiring systems with your newly acquired expertise.
Best of luck with your future bending endeavors!
Frequently Asked Questions about How To Bend Half-Inch Conduit
Was this page helpful?
At Storables.com, we guarantee accurate and reliable information. Our content, validated by Expert Board Contributors, is crafted following stringent Editorial Policies. We're committed to providing you with well-researched, expert-backed insights for all your informational needs.


0 thoughts on “How To Bend Half-Inch Conduit”