Home>Renovation & DIY>Home Renovation Guides>How To Bend Formica Backsplash
Home Renovation Guides
How To Bend Formica Backsplash
Modified: August 28, 2024
Learn how to bend Formica backsplash in this comprehensive home renovation guide. Get expert tips and tricks for a flawless DIY project.
(Many of the links in this article redirect to a specific reviewed product. Your purchase of these products through affiliate links helps to generate commission for Storables.com, at no extra cost. Learn more)
Introduction
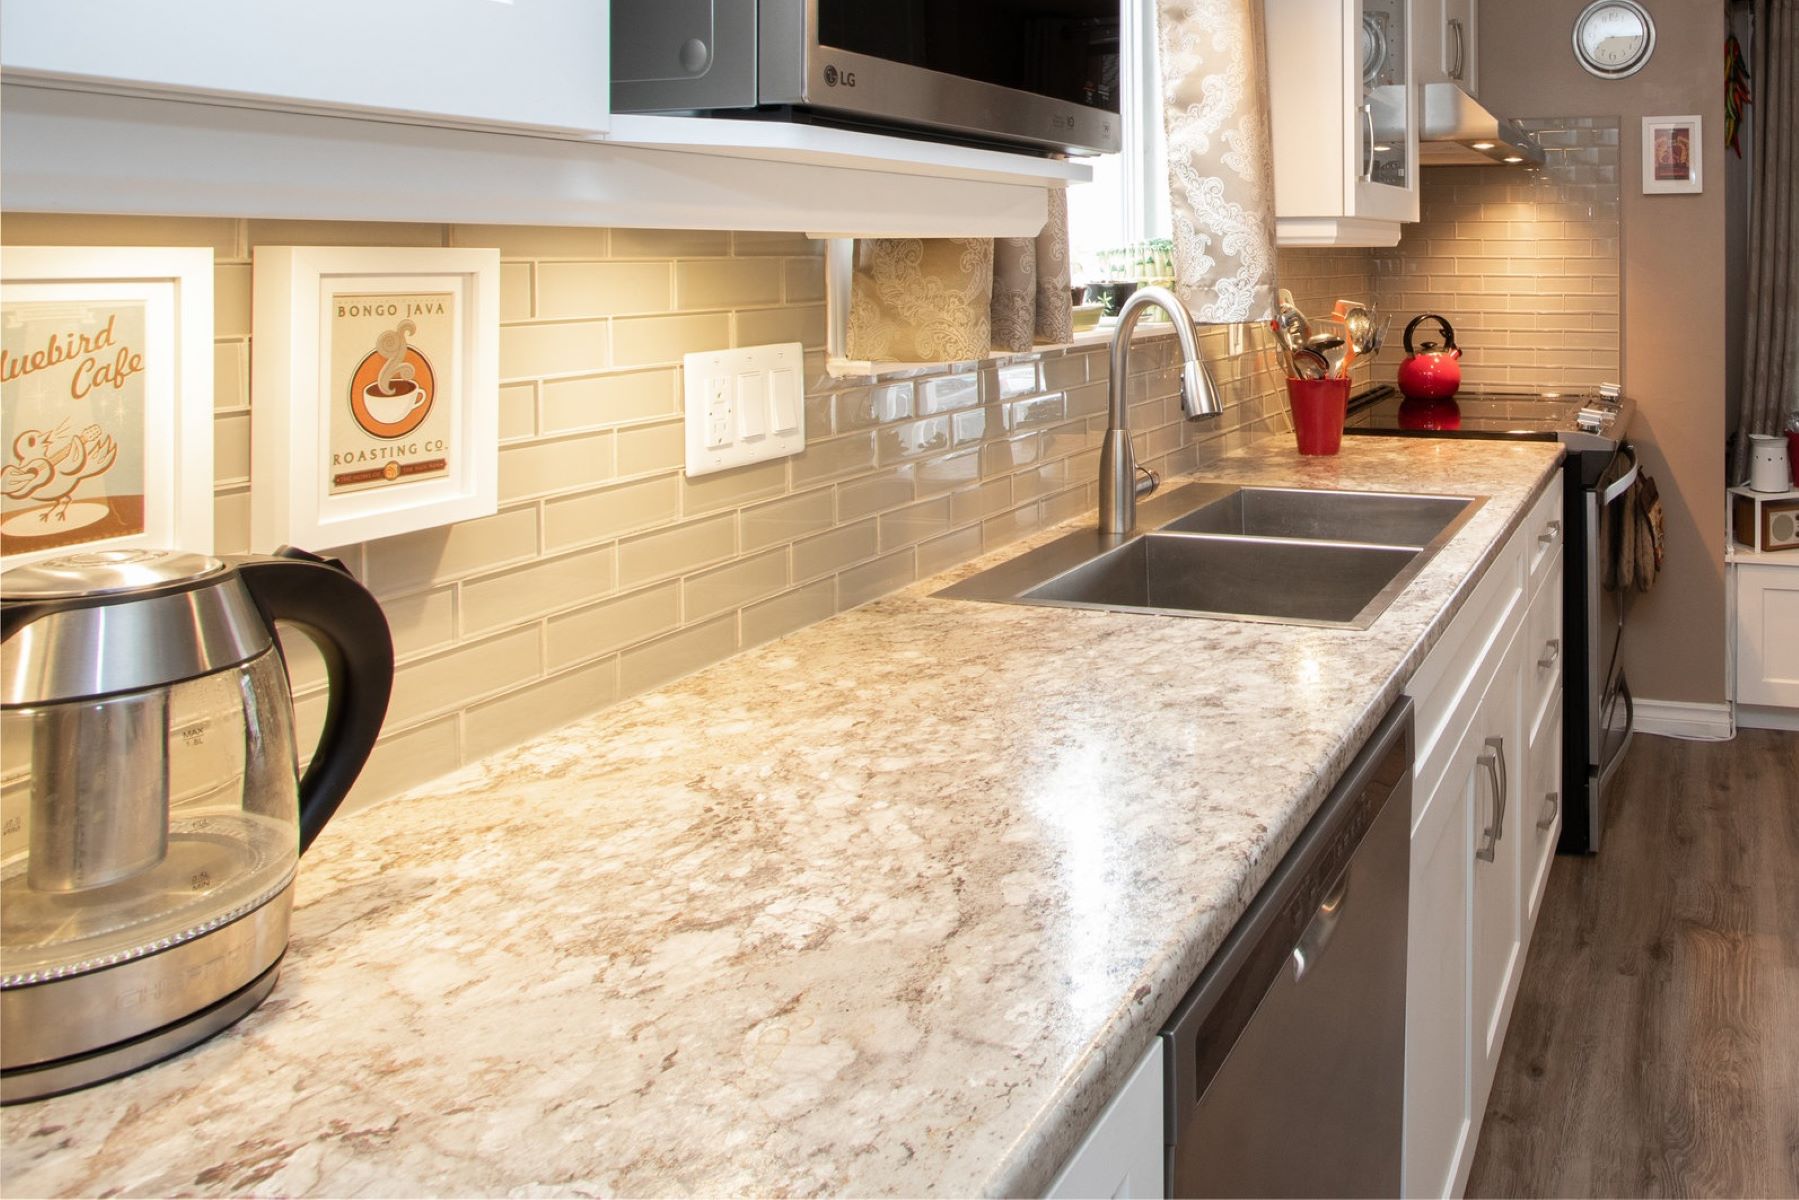
Bending a Formica backsplash is a valuable skill for any DIY enthusiast or home renovation aficionado. Whether you're looking to revamp your kitchen or bathroom, knowing how to bend Formica can add a touch of elegance and functionality to your space. Formica, a durable and versatile laminate material, is commonly used for countertops and backsplashes due to its resistance to heat, moisture, and wear. By learning the art of bending Formica, you can customize your backsplash to fit unique design preferences and architectural nuances.
In this comprehensive guide, we will walk you through the step-by-step process of bending Formica backsplashes with precision and finesse. From the essential tools and materials required to the finishing touches that elevate the final result, you'll gain a thorough understanding of this transformative technique. Whether you're a seasoned DIY enthusiast or a novice looking to expand your skill set, this guide will equip you with the knowledge and confidence to tackle this project with ease.
So, roll up your sleeves, gather your tools, and let's dive into the world of bending Formica backsplashes. With a bit of patience, creativity, and attention to detail, you'll soon be on your way to crafting a stunning and functional backsplash that perfectly complements your living space.
Key Takeaways:
- Master the art of bending Formica to create a custom backsplash that adds elegance and personality to your space. With precision and care, transform a functional element into a stunning focal point that reflects your unique style.
- Elevate your Formica backsplash with finishing touches that enhance visual appeal and durability. Seal edges, smooth and polish, add trim and accessories, and conduct a final inspection for a flawless and enduring result.
Read more: How Much Is Formica Countertops
Tools and Materials Needed
To embark on the journey of bending a Formica backsplash, you'll need a carefully curated selection of tools and materials. Each item plays a crucial role in ensuring the success and precision of the bending process. Here's a comprehensive list to guide you through this essential phase of your project:
Tools:
- Circular Saw: A high-quality circular saw equipped with a fine-toothed blade is indispensable for cutting the Formica sheets to the desired size and shape.
- Router: A router with a flush-trim bit is essential for trimming the edges of the Formica to achieve a smooth and seamless finish.
- Clamps: Sturdy clamps are necessary to secure the Formica sheets in place during the cutting and bending process, ensuring stability and accuracy.
- Jigsaw: A jigsaw with a fine-toothed blade is ideal for making intricate cuts and curves on the Formica sheets, especially when customizing the design of the backsplash.
- Heat Gun: A heat gun is a key tool for bending Formica, as it allows for controlled application of heat to soften the laminate for shaping.
- Safety Gear: Safety should always be a priority. Ensure you have protective eyewear, gloves, and a dust mask to safeguard yourself during the cutting and bending processes.
Materials:
- Formica Sheets: Select high-quality Formica sheets in the desired color and finish for your backsplash. Ensure the sheets are of the appropriate thickness to facilitate bending without compromising durability.
- Contact Adhesive: A reliable contact adhesive is essential for securing the Formica sheets to the substrate, ensuring a strong and lasting bond.
- Masking Tape: High-quality masking tape is useful for marking cut lines on the Formica sheets and securing them in place during the cutting and bending stages.
- Substrate Material: Depending on the existing surface, you may require a suitable substrate material such as plywood or MDF to support and anchor the Formica backsplash.
- Sandpaper: Fine-grit sandpaper is essential for smoothing the edges and surfaces of the Formica sheets, allowing for a professional and polished finish.
- Measuring Tools: Accurate measurements are crucial. Have a tape measure, straight edge, and pencil on hand to mark and measure the Formica sheets precisely.
By ensuring you have these tools and materials at your disposal, you'll be well-prepared to tackle the intricate and rewarding process of bending Formica backsplashes with confidence and precision.
Preparing the Formica Backsplash
Before delving into the art of bending Formica, it's crucial to lay a solid foundation by preparing the Formica backsplash for the transformative process ahead. This phase sets the stage for a seamless and successful bending experience, ensuring that the Formica sheets are primed and ready for the intricate shaping to come.
Read more: How To Polish Formica Countertops
Cleaning and Measuring
The initial step in preparing the Formica backsplash involves meticulous cleaning and precise measurements. Thoroughly clean the surface where the Formica will be applied, ensuring it is free from dust, grease, and any other residues that could hinder adhesion. Once the surface is pristine, take accurate measurements to determine the dimensions required for the Formica sheets. Use a tape measure and a straight edge to mark the precise cutting lines on the Formica, ensuring a tailored fit for your backsplash.
Cutting the Formica
With the measurements in place, it's time to cut the Formica sheets to the desired size and shape. Utilize a circular saw equipped with a fine-toothed blade to make clean and precise cuts, following the marked lines meticulously. Exercise caution and patience during this phase, as accuracy in cutting is paramount for a seamless and professional finish.
Applying Contact Adhesive
Once the Formica sheets are cut to size, it's essential to apply contact adhesive to both the substrate and the back of the Formica. Ensure the adhesive is spread evenly and liberally, creating a strong and uniform bond between the two surfaces. Take care to follow the manufacturer's instructions for the specific adhesive being used, as proper application is crucial for the long-term durability of the backsplash.
Securing the Formica
After applying the adhesive, carefully position the Formica sheets onto the prepared substrate, aligning them precisely according to the measured dimensions. Utilize clamps to secure the sheets in place, allowing the adhesive to set and create a robust bond. Take the time to ensure that the Formica is firmly and evenly pressed onto the substrate, minimizing the risk of air pockets or uneven adhesion.
Read more: Where To Buy Formica Countertops
Trimming the Edges
With the Formica securely in place, use a router fitted with a flush-trim bit to trim the edges, creating a smooth and seamless finish. This step is crucial for achieving a professional and polished look, ensuring that the edges of the Formica backsplash are uniform and free from any excess material.
By meticulously preparing the Formica backsplash through cleaning, measuring, cutting, adhesive application, securing, and edge trimming, you'll establish a solid groundwork for the subsequent bending process. This meticulous preparation lays the groundwork for a successful and visually stunning Formica backsplash that will elevate the aesthetic and functionality of your space.
Bending the Formica Backsplash
With the Formica backsplash meticulously prepared and securely affixed to the substrate, the transformative process of bending the laminate material unfolds. Bending Formica requires precision, patience, and a methodical approach to ensure that the material conforms to the desired shape without compromising its integrity. The following steps outline the intricate process of bending Formica to achieve a customized and visually striking backsplash.
Marking the Bending Line
Before applying heat to the Formica, it's essential to mark the bending line accurately. Using a pencil and a straight edge, carefully delineate the precise line along which the Formica will be bent. This step is crucial for maintaining control and ensuring that the bending process yields the intended shape without deviations.
Applying Heat
Once the bending line is marked, it's time to apply controlled heat to the Formica. Utilize a heat gun to gradually and evenly heat the area along the marked line. Exercise caution to avoid overheating or scorching the material, as consistent and moderate heat application is key to softening the Formica for shaping.
Read more: How To Bend Glass
Shaping the Formica
As the Formica gradually softens under the heat, gently and steadily bend it along the marked line to achieve the desired curvature. This process demands finesse and attentiveness to ensure that the material bends smoothly and uniformly without any abrupt creases or irregularities. The gradual shaping of the Formica is a delicate dance between heat application and manual manipulation, requiring a steady hand and a keen eye for detail.
Holding the Formica in Place
Once the desired curvature is achieved, hold the Formica in place to allow it to cool and set in the bent position. This step is critical for ensuring that the Formica retains the newly formed shape, creating a seamless and visually appealing curve that enhances the aesthetic appeal of the backsplash.
Verifying the Bend
After the Formica has cooled, verify the bend to ensure that it aligns with the intended design and fits seamlessly within the overall layout of the backsplash. This meticulous verification step allows for any necessary adjustments to be made before proceeding to the finishing touches, ensuring that the bent Formica meets the exact specifications and design vision.
By meticulously following these steps, you'll master the art of bending Formica to create a customized and visually captivating backsplash that adds a touch of elegance and personality to your living space. The bending process, when executed with precision and care, elevates the Formica backsplash from a functional element to a stunning focal point that reflects your unique style and attention to detail.
Finishing Touches
With the Formica backsplash expertly bent and seamlessly integrated into your living space, the final phase of this transformative journey involves adding the finishing touches that elevate the visual appeal and durability of the backsplash. These meticulous steps ensure that your Formica backsplash not only exudes elegance and style but also stands the test of time in the face of daily use and environmental factors.
Read more: What Are Formica Countertops
Sealing the Edges
One of the crucial finishing touches for a Formica backsplash is sealing the edges to safeguard against moisture infiltration and enhance the overall aesthetic. Utilize a high-quality edge banding or sealant specifically designed for laminate materials to seal the exposed edges of the Formica. This step not only fortifies the edges against moisture but also imparts a polished and seamless appearance to the backsplash, creating a cohesive and professional finish.
Smoothing and Polishing
After sealing the edges, take the time to smooth and polish the entire surface of the Formica backsplash. Use fine-grit sandpaper to gently smooth any rough edges or imperfections, ensuring a flawless and tactilely pleasing finish. Following this, apply a laminate polish or wax to the surface, buffing it to a radiant sheen. This process not only enhances the visual allure of the backsplash but also provides an additional layer of protection, making it easier to clean and maintain over time.
Installing Trim and Accessories
To further enhance the aesthetic impact of your Formica backsplash, consider installing complementary trim and accessories. Selecting a coordinating trim that complements the color and design of the backsplash can add a refined and cohesive touch to the overall look. Additionally, incorporating accessories such as decorative tiles or accent pieces can infuse personality and character into the backsplash, transforming it into a captivating focal point within your space.
Final Inspection and Touch-Ups
Before concluding the project, conduct a thorough inspection of the entire Formica backsplash. Verify the integrity of the bent area, ensuring that it aligns seamlessly with the surrounding surfaces and meets your design expectations. Address any minor imperfections or irregularities with precision, making any necessary touch-ups to guarantee a flawless and visually striking result.
By meticulously attending to these finishing touches, you'll elevate your Formica backsplash from a functional element to a stunning and enduring feature within your home. The attention to detail and care invested in these final steps ensures that your Formica backsplash not only meets but exceeds your expectations, leaving you with a space that exudes sophistication and charm for years to come.
Frequently Asked Questions about How To Bend Formica Backsplash
Was this page helpful?
At Storables.com, we guarantee accurate and reliable information. Our content, validated by Expert Board Contributors, is crafted following stringent Editorial Policies. We're committed to providing you with well-researched, expert-backed insights for all your informational needs.


0 thoughts on “How To Bend Formica Backsplash”