Articles
How To Measure Conduit Bending
Modified: August 28, 2024
Learn how to measure conduit bending accurately with these informative articles. Discover essential tips and techniques to ensure precise and efficient conduit installation.
(Many of the links in this article redirect to a specific reviewed product. Your purchase of these products through affiliate links helps to generate commission for Storables.com, at no extra cost. Learn more)
Introduction
Conduit bending is a vital skill for electricians and other professionals in the construction industry. Whether you are installing electrical wiring in a commercial building or running conduit in an industrial setting, being able to bend conduit accurately is crucial for a successful installation.
The process of conduit bending involves shaping metal pipes into specific angles and curves to accommodate the layout and requirements of the electrical system. Accurate conduit bending ensures that wires can be easily pulled through the system and avoids any kinks or sharp bends that could damage the wires or compromise the overall functionality of the system.
In this article, we will explore the various aspects of measuring conduit bending, including the equipment and tools needed, understanding conduit types and sizes, safety precautions, measuring techniques, bending methods, common mistakes to avoid, and troubleshooting and correcting bends.
By the end of this article, you will have a solid understanding of conduit bending and be equipped with the knowledge and skills to accurately measure and bend conduit for your electrical installations.
Key Takeaways:
- Accurate conduit bending is crucial for successful electrical installations. Prioritize safety, use proper measuring techniques, and avoid common mistakes for precise and consistent conduit bends.
- Understanding conduit types, selecting the right equipment, and employing proper bending methods are essential for mastering the art of conduit bending. Prioritize accuracy and quality for successful electrical installations.
Read more: How To Bend An Electrical Conduit
Equipment and Tools Needed
Before you begin conduit bending, it is essential to gather the necessary equipment and tools to ensure a smooth and efficient process. Here are the key items you will need:
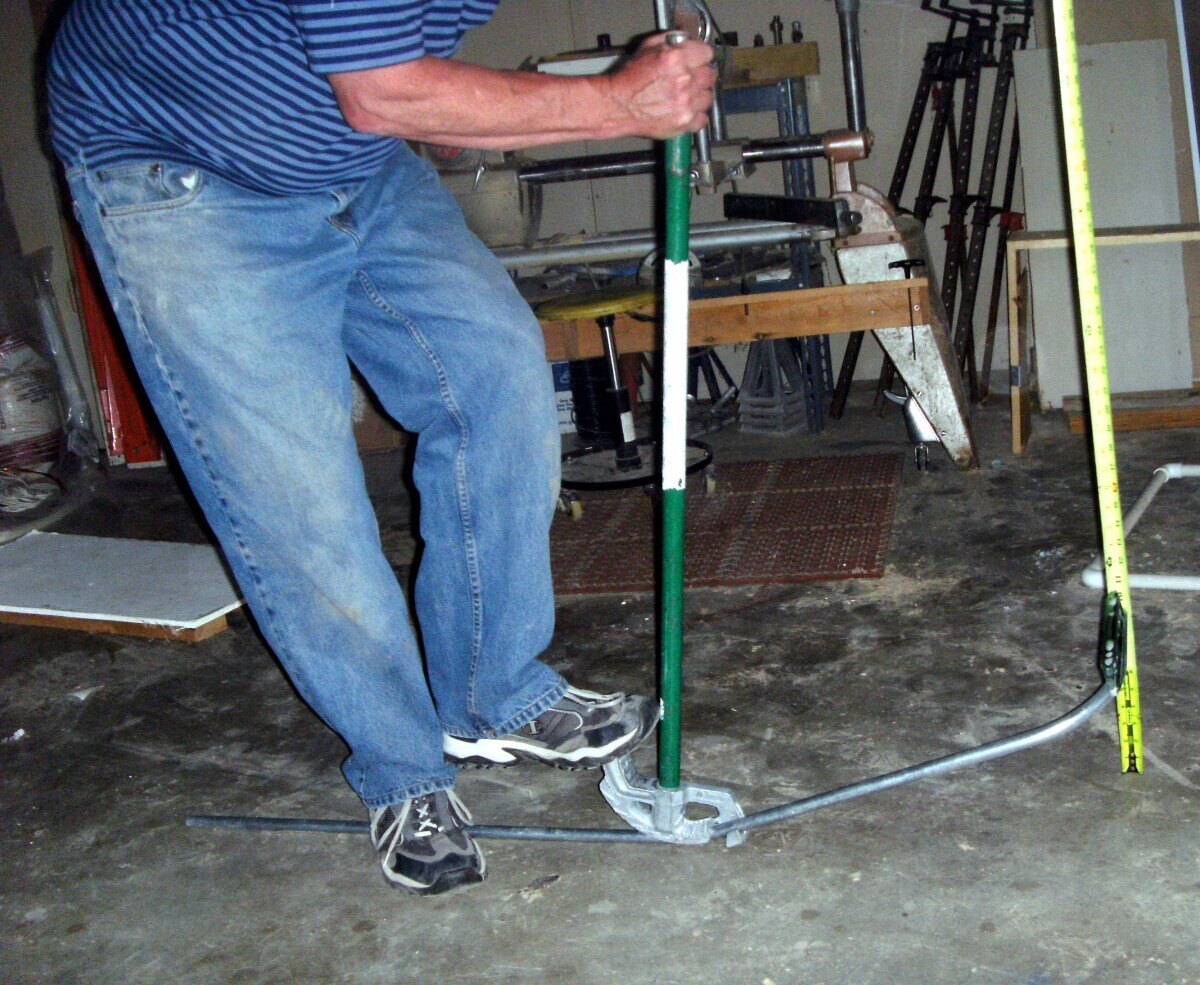
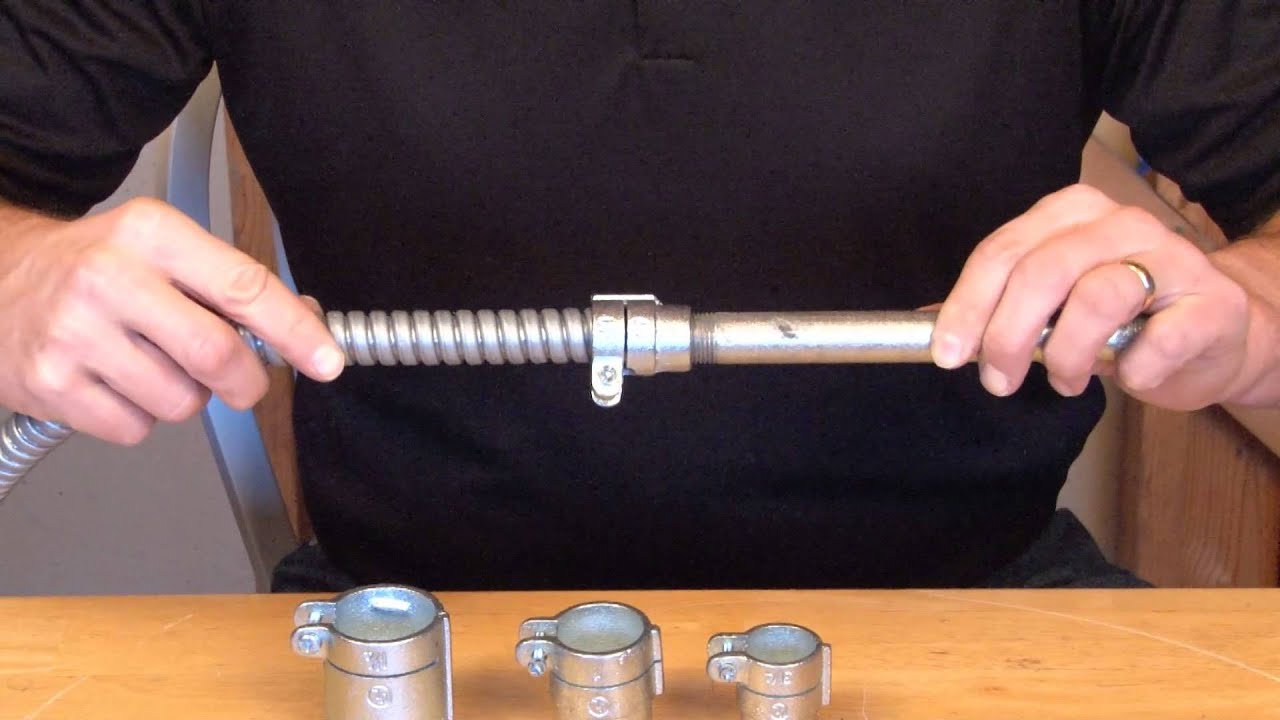
- Bender: The bender is the primary tool used to shape the conduit. There are various types of benders available, including manual, electric, and hydraulic benders. The choice of bender will depend on the size and type of conduit you are working with.
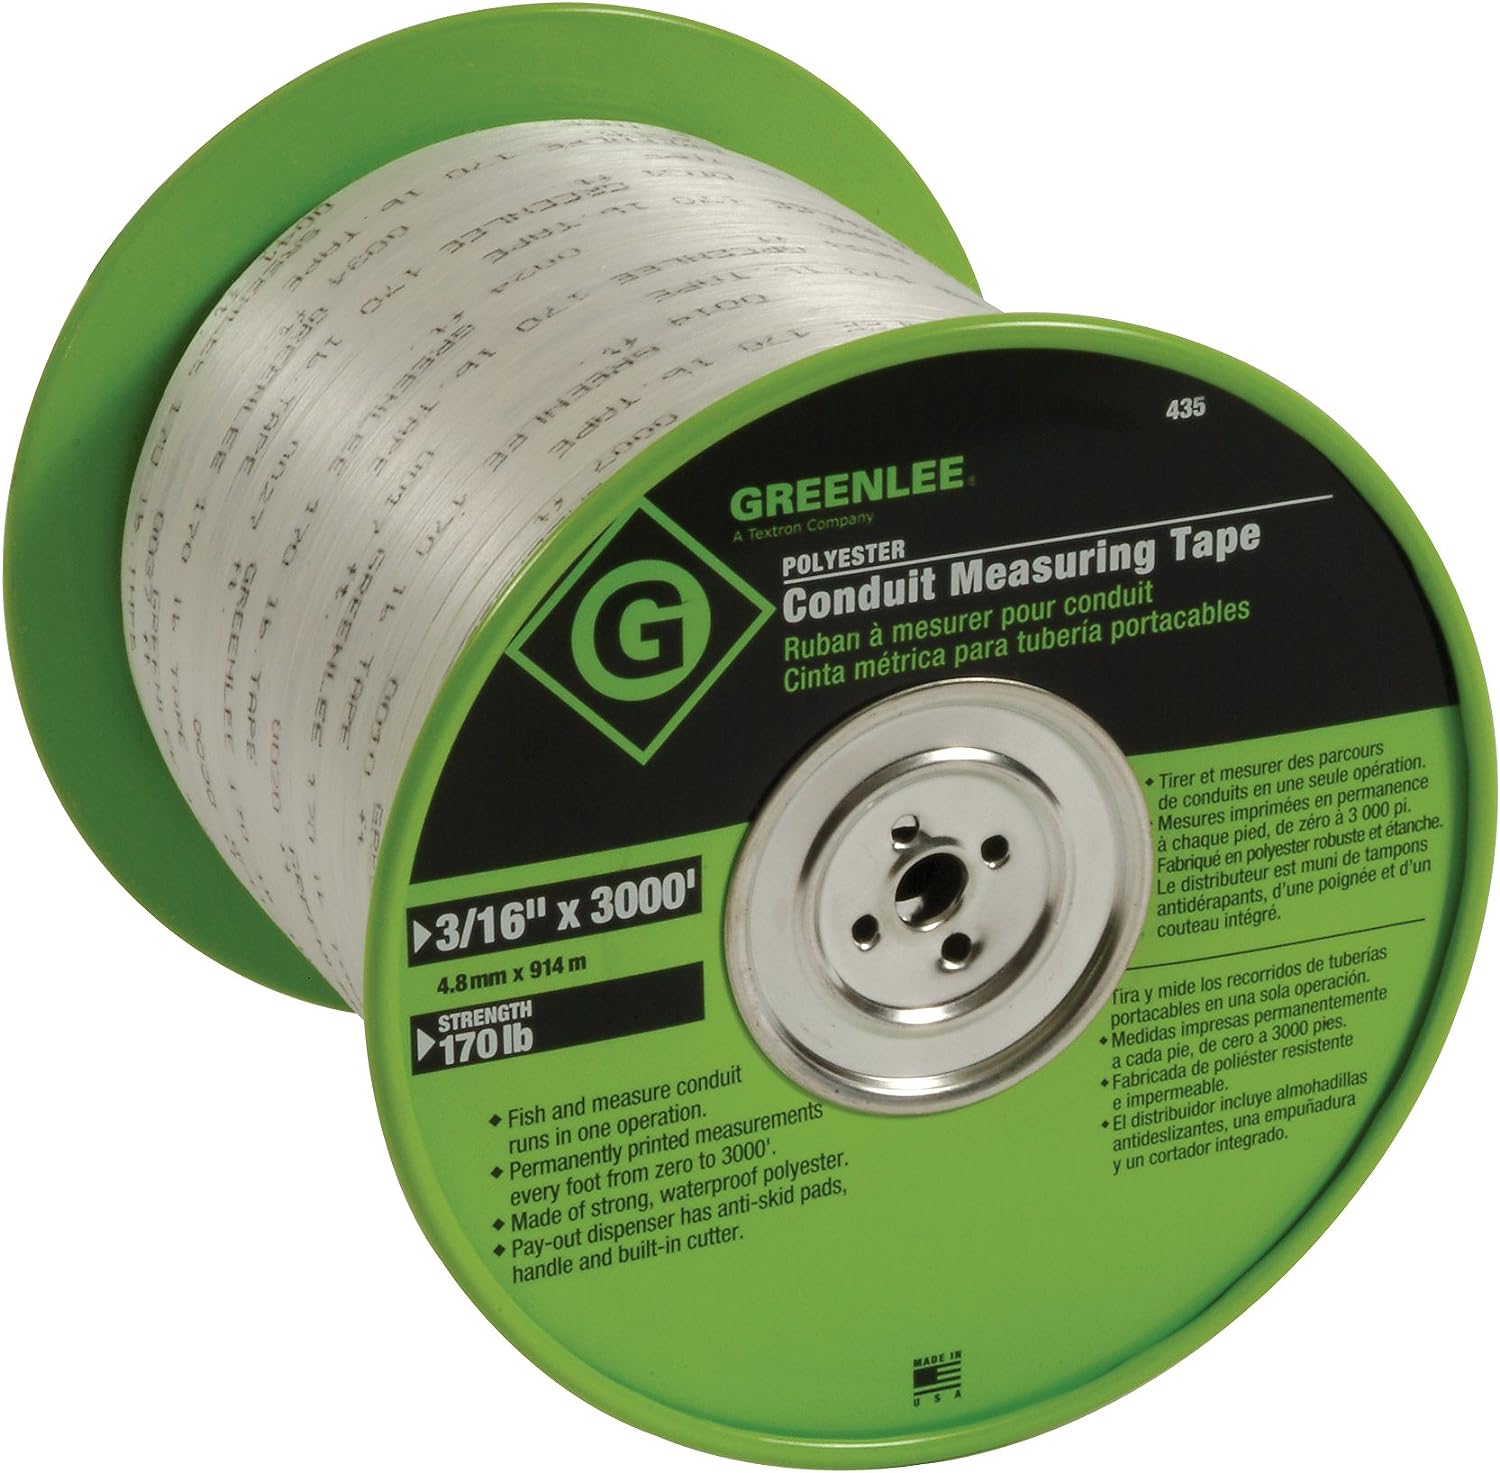
- Tape Measure: A reliable tape measure is essential for accurate measurements. Look for a tape measure that is at least 25 feet long and has clear markings for easy reading.
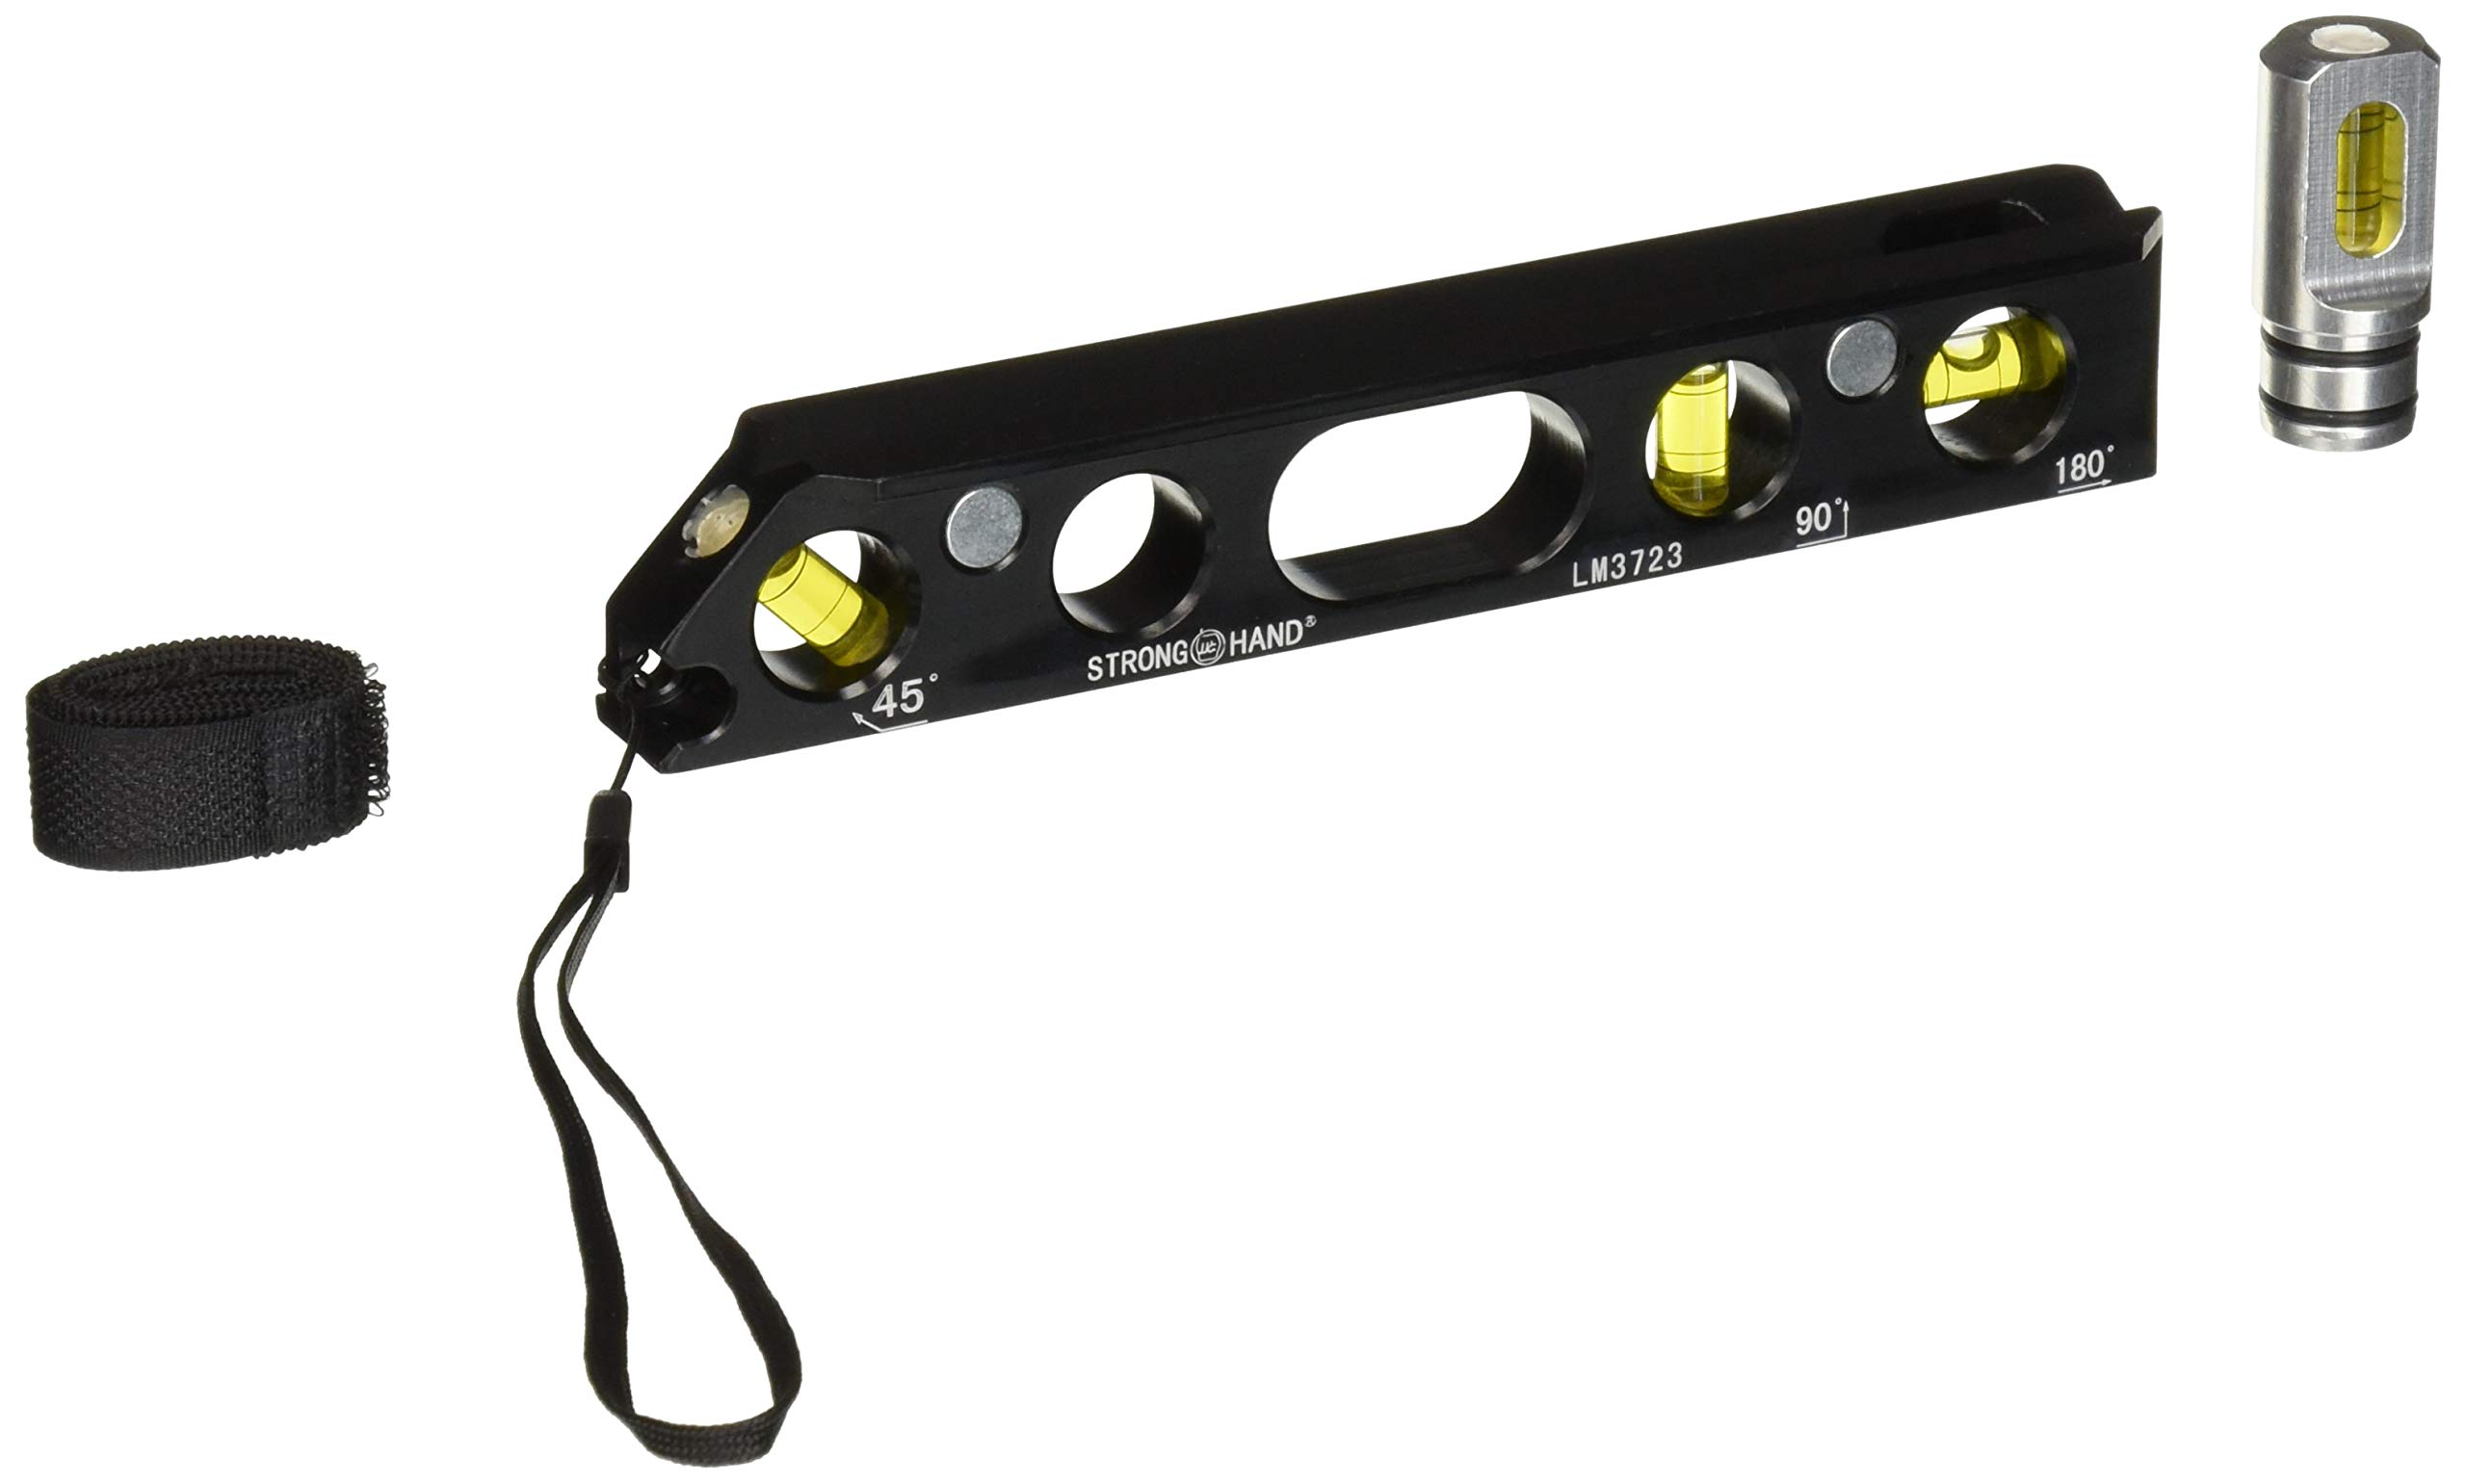
- Level: A level is used to ensure that the conduit is bent at the desired angle. A digital level or a bubble level can help you achieve precise bends.
- Marker: A marker is used to mark the conduit for accurate measurements and bending points.
- Deburring Tool: A deburring tool is used to remove any burrs or sharp edges from the conduit after cutting. This helps ensure smooth wire installation and prevents damage to the insulation.
- Conduit Cutter: If you need to cut the conduit to a specific length, a conduit cutter will come in handy. It provides clean and precise cuts.
- Personal Protective Equipment (PPE): Safety should always be a priority when working with conduit. Make sure to wear appropriate PPE, including safety glasses, gloves, and a hard hat, to protect yourself from potential hazards.
Having the right equipment and tools will not only make the conduit bending process easier but also ensure that the end result is of high quality. Always invest in reliable and durable tools to guarantee a professional outcome.
Understanding Conduit Types and Sizes
Before you can accurately measure and bend conduit, it is important to have a good understanding of the different types and sizes of conduit available. Conduit is available in various materials, such as metal and PVC, and comes in different sizes to accommodate different wiring needs.
The two most common types of conduit used in electrical installations are:
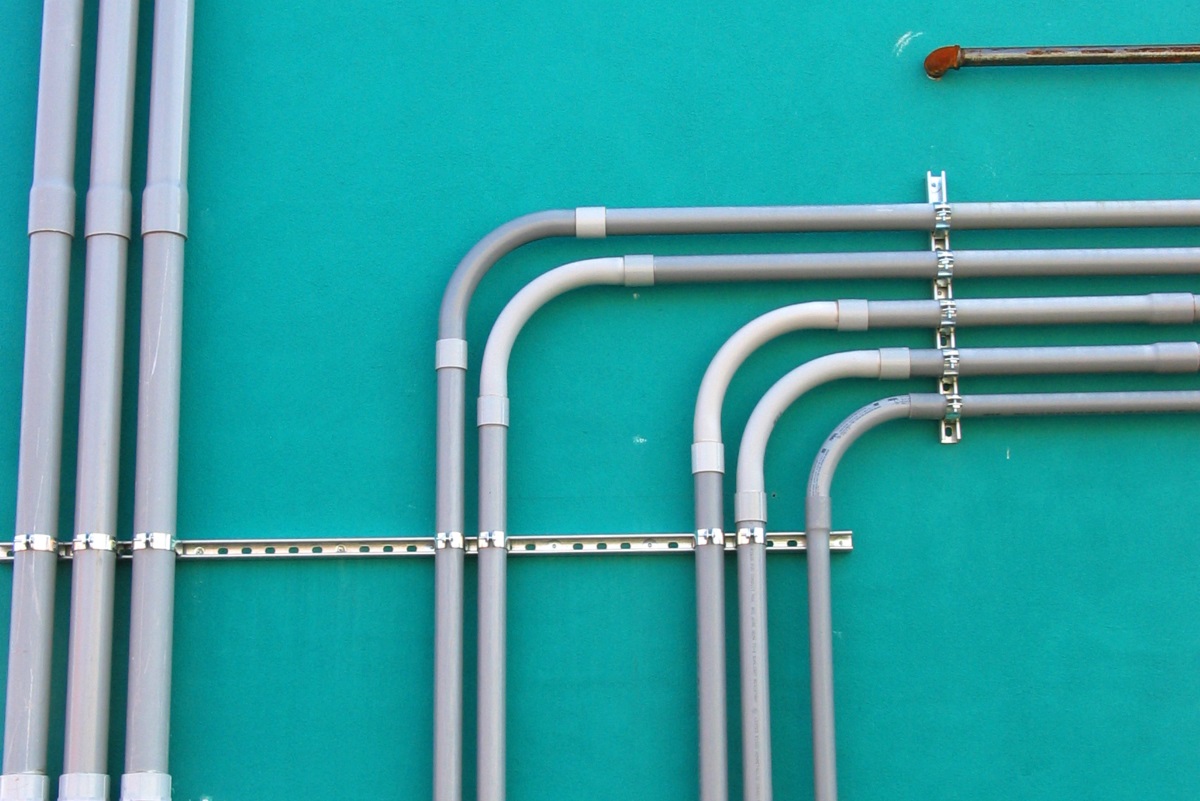
- Metal Conduit: Metal conduit, also known as rigid conduit, is made from steel or aluminum and provides excellent protection for electrical wiring. It is commonly used in commercial and industrial settings where durability is crucial. Metal conduit is available in different sizes, including ½-inch, ¾-inch, 1-inch, 1 ¼-inch, and so on.
- PVC Conduit: PVC conduit, made from polyvinyl chloride, is a popular choice for residential electrical installations. It is lightweight, easy to install, and resistant to corrosion. PVC conduit is available in various sizes, ranging from ½-inch to 4 inches.
When selecting the appropriate size of conduit for your project, consider the number and size of wires that will be running through the conduit. It is important to choose a conduit size that provides ample space for the wires while allowing for easy installation and maintenance.
Understanding conduit types and sizes is crucial for accurate measurements and bends. Ensure that you have the correct conduit for your specific project to guarantee a successful installation.
Safety Precautions
When working with conduit bending, it is important to prioritize safety to avoid any potential accidents or injuries. Here are some essential safety precautions to keep in mind:
- Wear Proper Personal Protective Equipment (PPE): Always wear safety glasses, gloves, and a hard hat to protect yourself from potential hazards. Additionally, wear appropriate clothing that covers your body and avoid loose-fitting clothing that can get caught in machinery.
- Inspect Tools and Equipment: Before starting any work, inspect your tools and equipment to ensure they are in good working condition. Check for any damaged or worn-out parts that need to be replaced.
- Use the Correct Bender and Attachments: Ensure that you are using the appropriate bender and attachments for the type and size of conduit you are working with. Using the wrong equipment can result in inaccurate bends or even damage to the conduit.
- Secure the Conduit Properly: Make sure the conduit is securely clamped or held in place before bending to prevent it from moving or shifting during the process.
- Double-Check Measurements: Take accurate measurements multiple times to avoid any errors. It is better to spend a little extra time double-checking measurements than to have to redo the bending because of a mistake.
- Use Proper Body Mechanics: Bending conduit can require physical effort, so it is important to use proper body mechanics to avoid strain or injury. Lift with your legs, not your back, and avoid twisting or overexerting your muscles.
- Clear the Work Area: Remove any obstacles or debris from the work area that could cause accidents or tripping hazards. Keep the work area clean and organized.
- Follow Electrical Safety Guidelines: Adhere to all electrical safety guidelines and regulations when working with conduit and electrical wiring. Ensure that the power is turned off before manipulating or working near live electrical components.
Remember, safety should always be the top priority when working with conduit bending. By following these safety precautions, you can minimize the risk of accidents and create a safe working environment for yourself and others involved in the project.
Measuring Techniques for Conduit Bending
Accurate measurements are crucial for successful conduit bending. Here are some key measuring techniques to help you achieve precise bends:
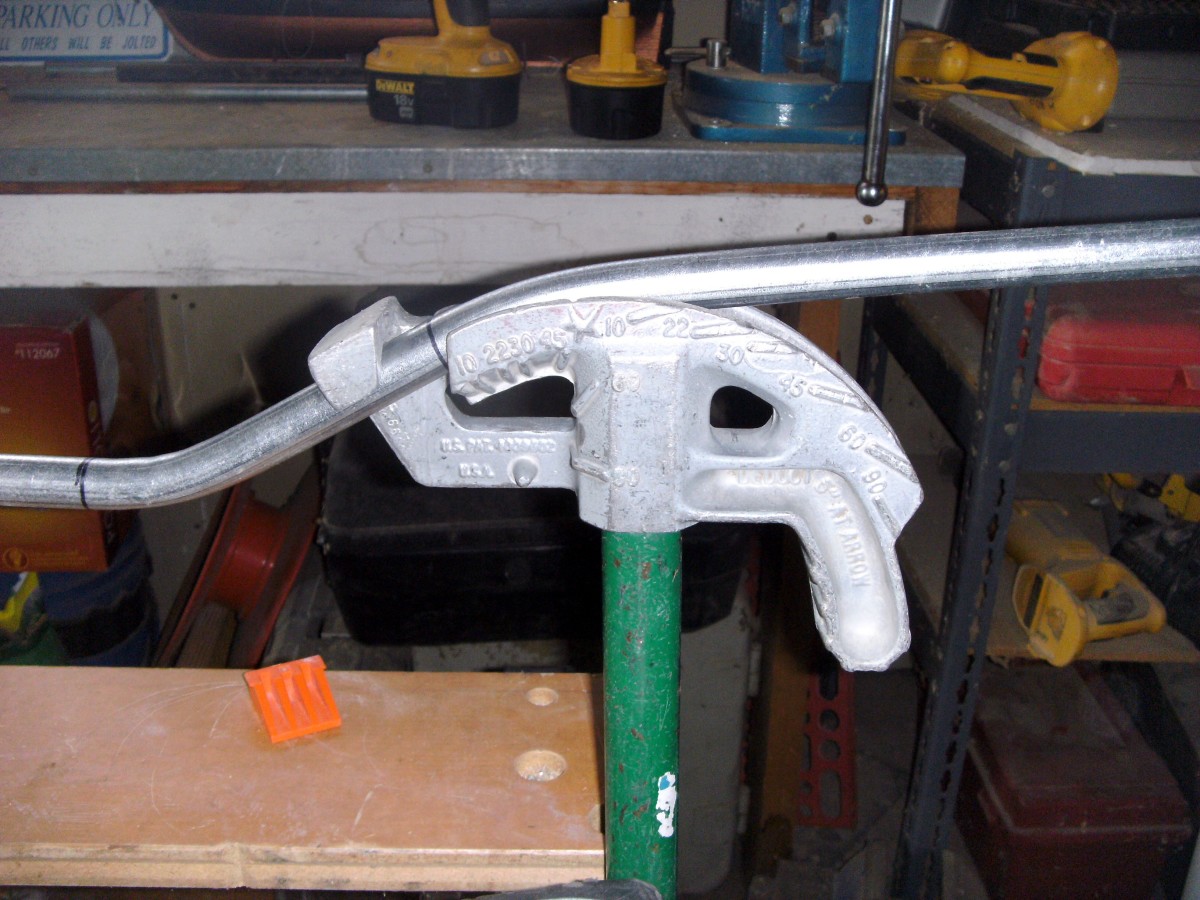
- Measurement Conversion: Conduit measurements are typically marked in inches, but you may need to convert the measurements to degrees when using a bender. Familiarize yourself with the conversion chart provided by the manufacturer to ensure accurate measurements.
- Bend Deduction: When measuring and marking the conduit for bending, it is important to take into account the bend deduction. The bend deduction is the length of conduit taken up by the bend itself. It varies depending on the angle of the bend and the size of the conduit. Refer to bend deduction tables or use a bend deduction calculator to determine the appropriate deduction for your specific bends.
- Take Parallel Measurements: To ensure accurate bends, measure and mark the conduit at two or more points parallel to each other. This helps verify that the conduit is straight and allows you to make any necessary adjustments before bending.
- Use a Depth Gauge: A depth gauge is a handy tool that helps determine the depth of bends. It ensures that you achieve consistent bends by providing a reference point for the start and end of the bend.
- Consider the Conduit Bend Radius: Different conduit sizes have specific bend radius requirements. It is important to take into account the bend radius to prevent damaging the conduit and wires inside. Refer to manufacturer specifications or industry standards to determine the appropriate bend radius for the conduit you are working with.
- Account for Conduit Shrinkage: Metal conduit can shrink slightly when bent. To compensate for this, add a small amount to your measurements before marking and bending the conduit. This will ensure the final bent conduit matches the required measurements.
- Use Clear and Accurate Markings: Make sure your measurements are clear and precise, and use metal-friendly markers that won’t easily rub off. Take your time and double-check your markings before proceeding with the bending process.
By applying these measuring techniques, you can ensure accurate and consistent bends in your conduit, resulting in a well-executed electrical installation. Take the time to master these techniques as they are fundamental for successful conduit bending.
When measuring conduit bending, always use a conduit bending guide to ensure accurate angles and measurements. This will help you avoid costly mistakes and rework.
Read more: How To Bend Offset Conduit
Bending Methods
When it comes to conduit bending, there are different methods you can employ depending on the type of conduit, the bending angle, and the tools at your disposal. Here are some common bending methods:
- Hand Bending: Hand bending is a manual bending method that involves using a hand bender and the force applied by the electrician to shape the conduit. This method is commonly used for smaller conduit sizes and simpler bends. Hand bending requires proper technique and strength to achieve accurate bends.
- Mechanical Bending: Mechanical bending involves the use of power-driven benders, such as electric or hydraulic benders. These benders can be operated manually or through programmable controls. Mechanical bending is often used for larger conduit sizes and complex bends where precise angles and consistency are required.
- Segmented Bending: In segmented bending, multiple smaller bends are made at varying angles along the length of the conduit to achieve the desired bend. This method is useful for bends that cannot be achieved with a single bend or when space constraints limit the length of the conduit that can be used.
- Saddle Bending: Saddle bending is used to create bends in conduit that need to wrap around an obstacle or fixture. It involves making two parallel bends on either side of the obstacle, resembling a saddle shape. Saddle bending requires precise measurements and careful calculation of the bending points.
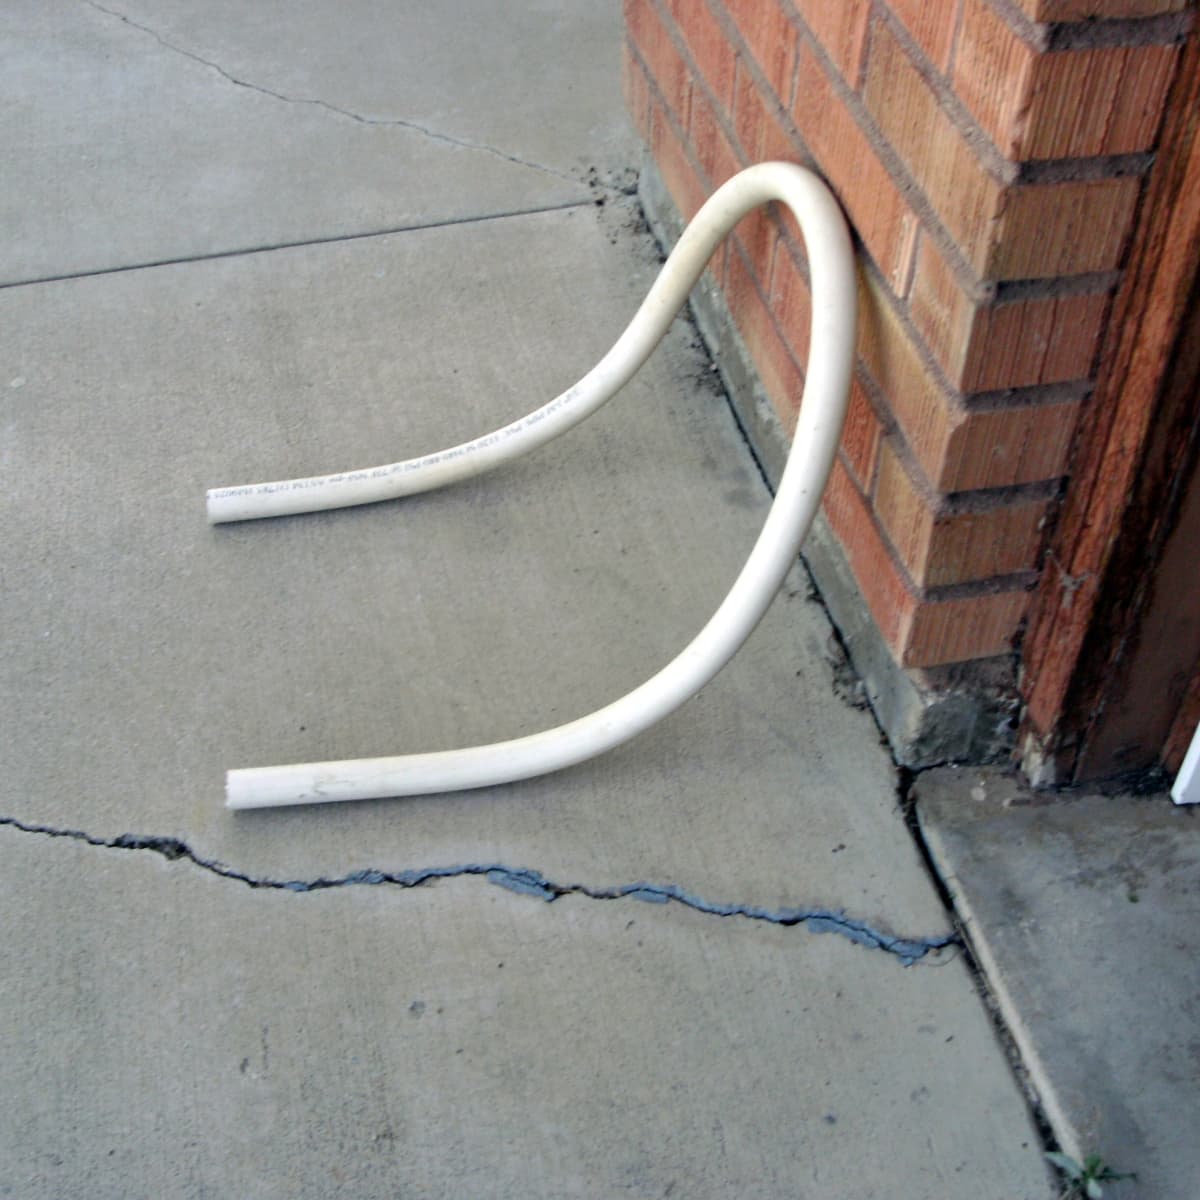
- Offset Bending: Offset bending is used when you need to change the direction of conduit horizontally or vertically without bending it at a specific angle. It involves making two bends, one in each direction, with a straight section in between. Offset bending is commonly used when routing conduit around obstacles or going through a wall.
- Back-to-Back Bending: In back-to-back bending, two bends are made in opposite directions to create an “S” shape with the conduit. This method is often used for conduit that needs to change direction multiple times within a short distance.
- Roll Bending: Roll bending is used when you need to create a curve in the conduit with a larger radius. It involves using a specialized bending machine or an incremental bending technique to gradually shape the conduit into a smooth radius.
The choice of bending method will depend on factors such as the complexity of the bend, the conduit size, and the available tools. It is important to select the appropriate method and carefully execute the bends to ensure accuracy and maintain the integrity of the conduit.
Common Mistakes to Avoid
Conduit bending requires precision and attention to detail. To ensure successful bends and a high-quality electrical installation, it is important to avoid common mistakes that can compromise the integrity of the conduit. Here are some common mistakes to watch out for:
- Inaccurate Measurements: Failing to take accurate measurements or not considering the bend deduction can result in bends that are not aligned properly or do not fit the intended space. Always double-check your measurements and follow the appropriate bending guidelines.
- Improper Bender Placement: Placing the bender incorrectly on the conduit can lead to bends that are off-angle or out of alignment. Make sure to position the bender at the appropriate bending point and secure it firmly.
- Over-Bending or Under-Bending: Applying too much force or not enough force during the bending process can result in bends that are over or under the desired angle. Take your time and apply consistent pressure to achieve the desired bend.
- Incorrect Use of Bender Marks: Bender marks indicate the depth to which the conduit should be inserted into the bender. Using the wrong bender marks or misinterpreting them can lead to incorrect bends. Always refer to the manufacturer’s instructions or bending charts for the correct bender marks to use.
- Ignoring Conduit Shrinkage: Metal conduit can shrink slightly after bending. Neglecting to account for this shrinkage when measuring and marking the conduit can result in bends that fall short of the desired length. Make sure to factor in conduit shrinkage to achieve accurate bends.
- Not Deburring the Conduit: Failing to deburr the conduit after cutting can leave sharp edges that can damage wires or cause injury. Always use a deburring tool to remove any burrs or rough edges from the inside and outside of the conduit.
- Insufficient Support: Inadequate support for the conduit during bending can cause it to vibrate, slip, or move out of position. Ensure that the conduit is securely held in place using clamps or a vise to maintain stability during the bending process.
- Skipping Safety Measures: Neglecting to wear proper PPE, not following electrical safety guidelines, or working in a cluttered and unsafe environment increases the risk of accidents and injuries. Always prioritize safety and take necessary precautions to protect yourself and others.
By avoiding these common mistakes and practicing proper techniques, you can achieve accurate, well-executed conduit bends for your electrical installations.
Troubleshooting and Correcting Bends
Even with careful measurements and execution, sometimes bends may not turn out as desired. It is important to have troubleshooting techniques in place to correct any inaccuracies or deformities in the conduit bends. Here are some solutions for troubleshooting and correcting bends:
- Measure and Compare: If a bend does not meet the required angle or length, measure it and compare it to the desired measurements. This will help identify any discrepancies and guide the corrective action.
- Heat and Re-bend: For minor deviations or bends that are close to the desired angle, gentle re-bending using heat may correct the bend. Apply heat evenly to the area of the bend using a heat gun or torch, and gradually re-bend the conduit to the desired angle.
- Segment Re-bending: If a large section of the conduit bend is inaccurate, segment re-bending can be applied. Cut the incorrect section of the conduit, and using the appropriate methods, re-bend the segments separately to achieve the desired bend. Connect the segments using coupling or a connector.
- Re-bend with Reverse Direction: In some cases, a bend may be accurate in terms of angle but with the wrong direction. To correct this, measure the existing bend, reverse the bending direction, and re-bend the conduit to the required angle with the correct direction.
- Use Offset Bending: If a bend is completely inaccurate or cannot be corrected, an offset bend can be applied to route the conduit around the obstacle or reroute it to the desired location. Measure the offset distance and use the appropriate bending techniques to create the offset bend.
- Inspect and Repair Deformed Conduit: If the conduit itself is deformed or damaged during the bending process, it may need to be replaced. Inspect the conduit for any cracks, kinks, or flattened sections. Cut out the damaged portion and replace it with a new section of conduit.
- Seek Guidance from Experienced Professionals: If you are unsure about troubleshooting or correcting a bend, don’t hesitate to seek advice from experienced professionals or consult industry resources. They can provide guidance and solutions to help you rectify the issue.
Remember, troubleshooting and correcting bends may require practice and experience. Always take the necessary time and care to achieve accurate bends, and be prepared to implement corrective measures when needed. Prioritizing accuracy and quality will ensure a successful conduit bending process.
Conclusion
Conduit bending is a critical skill for electricians and professionals in the construction industry. Accurate measurements and precise bends are essential for successful electrical installations. In this article, we have explored various aspects of conduit bending, including the equipment and tools needed, understanding conduit types and sizes, safety precautions, measuring techniques, bending methods, common mistakes to avoid, and troubleshooting and correcting bends.
By following proper procedures and techniques, such as taking accurate measurements, selecting the appropriate bending method, and using the correct tools, you can achieve accurate and consistent conduit bends. It is crucial to stay focused, pay attention to detail, and prioritize safety throughout the conduit bending process.
Remember to double-check your measurements, properly position the bender, and account for factors like bend deduction and conduit shrinkage. Utilize troubleshooting techniques if bends are not accurate, and seek guidance from experienced professionals when needed.
Mastering the art of conduit bending requires practice and experience. With time and dedication, you can develop the skills necessary to create precise bends that meet the requirements of your electrical installations. By always striving for accuracy, you can ensure the integrity and effectiveness of the electrical systems you work on.
So, whether you are installing conduit in a commercial building, running electrical wiring in an industrial setting, or working on a residential project, remember the importance of measuring conduit bending accurately and employing proper techniques. Your attention to detail and commitment to quality will contribute to successful electrical installations and safe, reliable electrical systems.
Frequently Asked Questions about How To Measure Conduit Bending
Was this page helpful?
At Storables.com, we guarantee accurate and reliable information. Our content, validated by Expert Board Contributors, is crafted following stringent Editorial Policies. We're committed to providing you with well-researched, expert-backed insights for all your informational needs.


0 thoughts on “How To Measure Conduit Bending”