Articles
How To Bend Offset Conduit
Modified: October 20, 2024
Learn how to bend offset conduit with our informative articles.
(Many of the links in this article redirect to a specific reviewed product. Your purchase of these products through affiliate links helps to generate commission for Storables.com, at no extra cost. Learn more)
Introduction
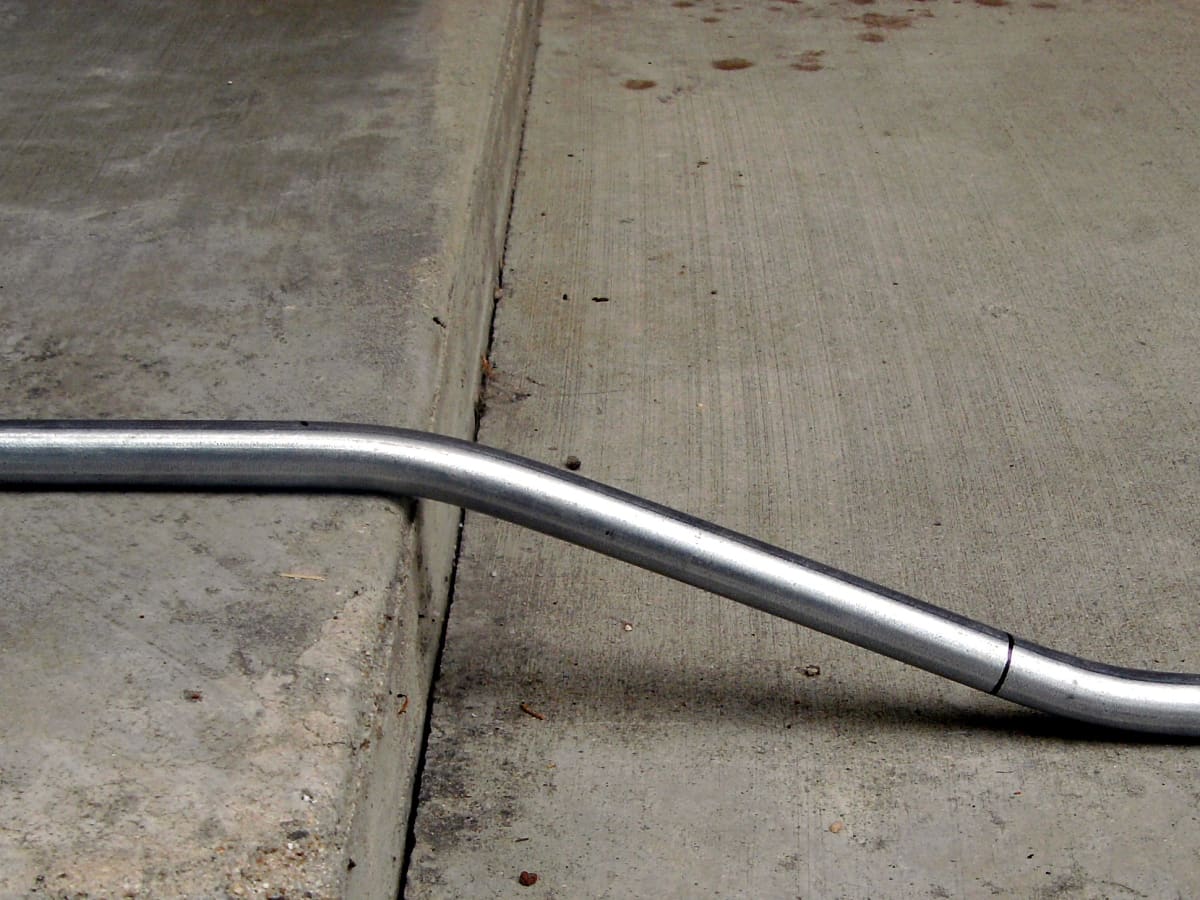
When it comes to electrical installations, using proper conduit bends is crucial for a neat and efficient wiring system. Offset conduit bends are commonly used to navigate around obstacles or to change the direction of the conduit. While it may seem challenging, bending offset conduit is a skill that can be mastered with the right tools and technique.
In this article, we will guide you through the step-by-step process of bending offset conduit. Whether you are a professional electrician or a DIY enthusiast, this guide will help you achieve accurate and clean bends for your electrical projects. So let’s dive in and learn how to bend offset conduit like a pro.
Key Takeaways:
- Master the skill of bending offset conduit with the right tools and technique to achieve accurate and clean bends for your electrical projects, whether you’re a professional electrician or a DIY enthusiast.
- Prioritize safety, take accurate measurements, and ensure proper installation to create a neat and efficient electrical system, saving time and effort in the long run.
Read more: How To Bend An Electrical Conduit
Tools and Materials Needed
Before you begin bending offset conduit, make sure you have the following tools and materials ready:
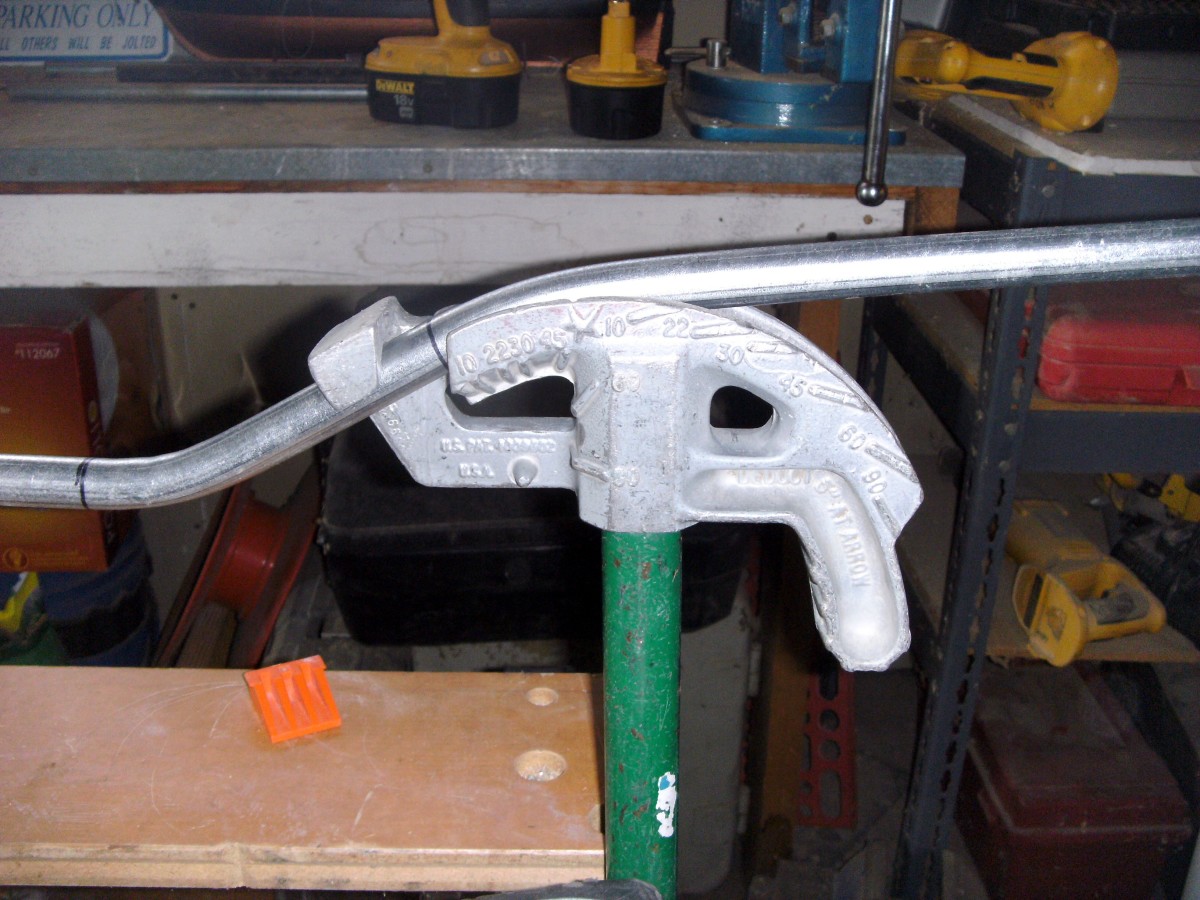
- Conduit Bender: A conduit bender is an essential tool for accurately bending conduit. Make sure you have a bender that is specifically designed for the size of conduit you are working with.
- Tape Measure: A tape measure is needed to measure and mark the conduit for bending.
- Marker or Chalk: You will need a marker or chalk to make precise marks on the conduit.
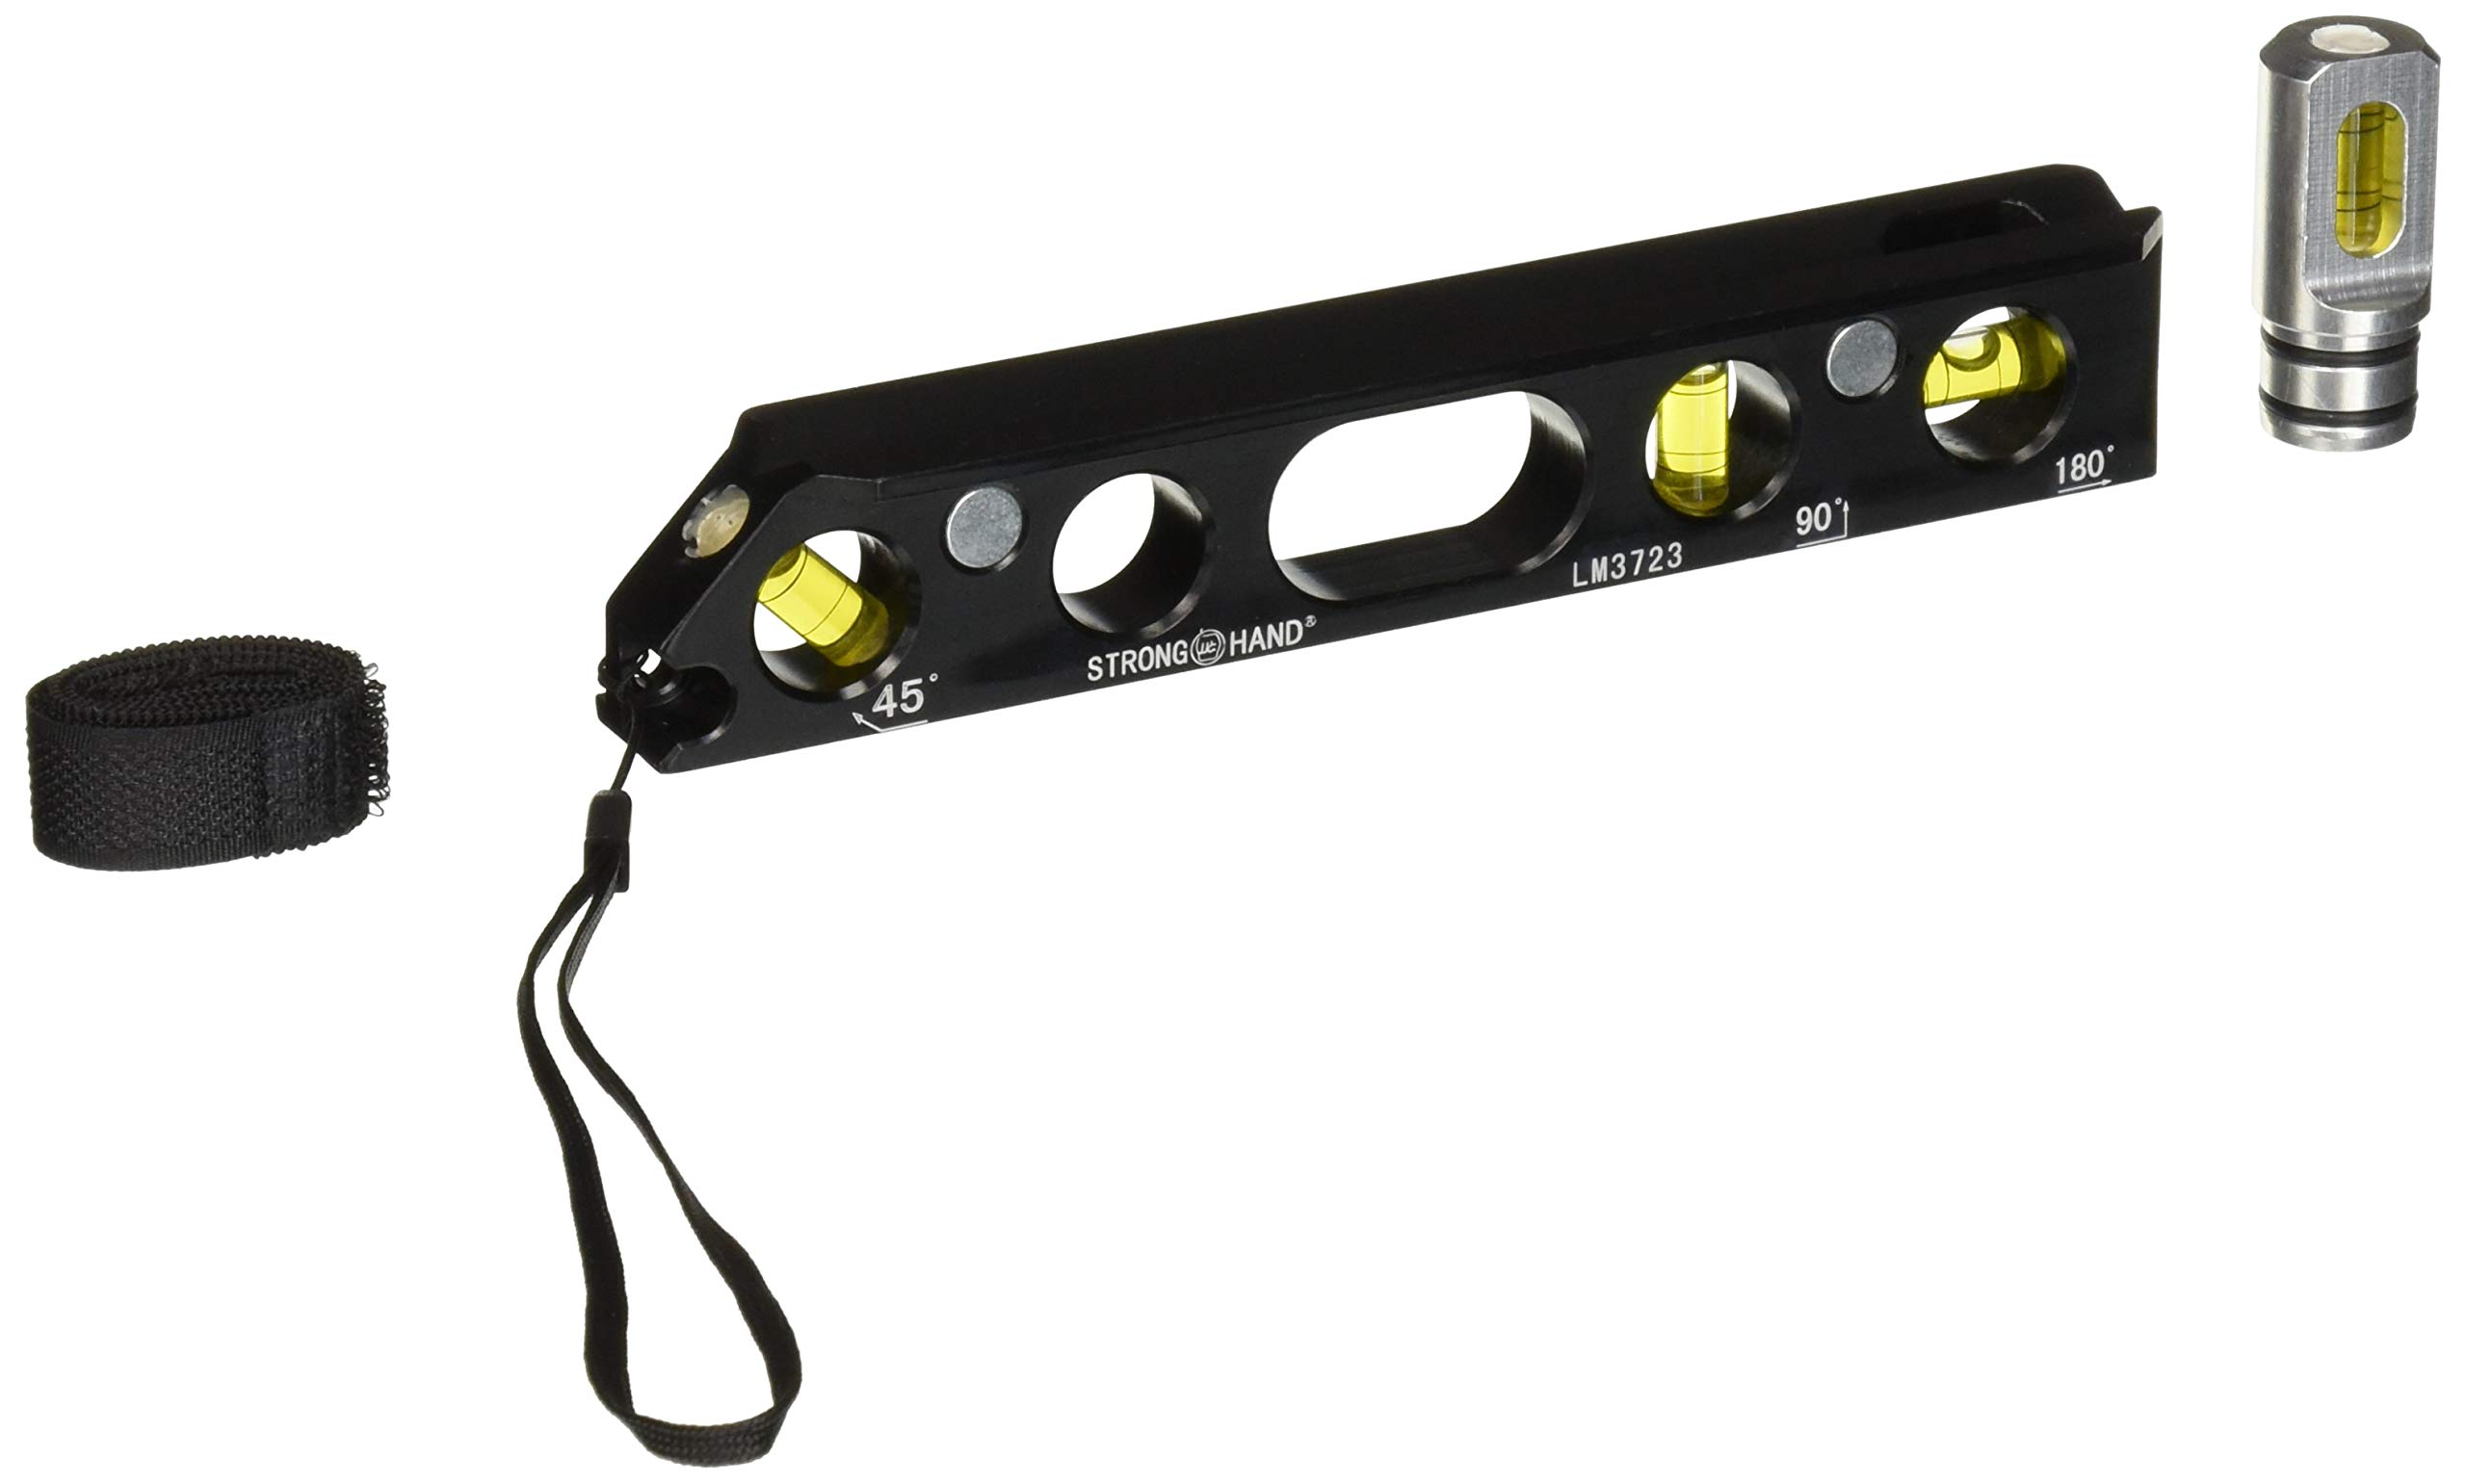
- Level: A level will help ensure that your conduit bends are straight and aligned correctly.
- Personal Protective Equipment (PPE): Safety should always be a priority, so make sure you have appropriate PPE such as safety glasses and gloves.
- Conduit: Of course, you will need the conduit itself. Choose the appropriate size and material for your project.
- Conduit Connectors and Couplings: You may need connectors and couplings to join the bent conduit to other sections or devices.
Having these tools and materials ready will help ensure a smooth and efficient bending process.
Step 1: Measure and Mark the Conduit
The first step in bending offset conduit is to accurately measure and mark the location of the bend on the conduit. Following these steps will help ensure precise bends:
- Start by measuring the length of conduit required for the offset. Use a tape measure to measure from the starting point to the desired final location of the bend.
- Once you have determined the required length, use a marker or chalk to mark the starting point on one end of the conduit.
- Using the same measurement, mark the desired endpoint of the bend on the opposite end of the conduit. This will help you visualize where the bend should be placed.
- Using a tape measure or a conduit bending guide, measure and mark the exact distance from the starting point to the bend point. This will ensure the bend is in the correct location.
- Using a level or straight edge, draw a line connecting the starting point and the bend point.
- Double-check your measurements and markings to ensure accuracy before moving on to the next step.
Taking the time to properly measure and mark the conduit will help you achieve the desired bend and avoid any mistakes or miscalculations in the bending process.
Step 2: Prepare the Bender
Once you have measured and marked the conduit, it’s time to prepare the conduit bender for the bending process. Follow these steps to ensure proper preparation:
- Select the appropriate bending shoes or dies for the size of conduit you are working with. Different sizes of conduit require different shoes to achieve accurate bends.
- Attach the bending shoe securely to the bender by aligning the shoe’s pins with the corresponding holes on the bender.
- Make sure the shoe is tightly secured to the bender, as any looseness or movement can result in inaccurate bends.
- Check the alignment of the bender by ensuring that the shoe is parallel to the handle of the bender. This will ensure that your bends are straight and true.
- If necessary, adjust the alignment of the bender by loosening the shoe and aligning it properly before tightening it back in place.
- Inspect the bender for any damage or wear that could affect the bending process. Replace any worn or damaged parts to ensure safe and accurate bends.
By properly preparing the bender, you will be ready to perform the bending process with confidence and precision. Take the time to ensure that the bender is in optimal condition for the best results.
Step 3: Position the Conduit in the Bender
With the bender prepared, it’s time to position the conduit in the bender to begin the bending process. Follow these steps to position the conduit correctly:
- Align the starting point mark on the conduit with the arrow or pointer on the bender. This will serve as a reference point for the bending process.
- Hold the conduit firmly in place against the bender, making sure it is parallel to the handle of the bender.
- Ensure that the end of the conduit is secured within the bending shoe, resting against the back of the shoe.
- Double-check the alignment of the conduit and adjust if necessary to ensure it is properly positioned in the bender.
Properly positioning the conduit in the bender is essential for achieving accurate and precise bends. Taking the time to align the conduit properly will help you create clean and professional-looking bends.
When bending offset conduit, always measure and mark the distance for the offset, use a conduit bender to make the bends, and check the angle with a level before securing the conduit in place.
Read more: How To Measure Conduit Bending
Step 4: Bend the Conduit
Now that the conduit is securely positioned in the bender, it’s time to start the bending process. Follow these steps to bend the conduit correctly:
- Hold the handle of the bender with one hand and apply pressure to begin the bending process. Use a smooth and steady motion to avoid any sudden or jerky movements.
- Apply consistent pressure to the handle, gradually bending the conduit to the desired angle. Refer to your marked bend point as a guide to ensure you achieve the correct angle.
- Continue bending the conduit until it reaches the desired angle. Take your time and maintain control over the bending process to avoid overbending or underbending.
- Once you have achieved the desired bend, release the pressure on the handle and carefully remove the bent conduit from the bender.
- Inspect the bend to ensure it is smooth and without any kinks or deformations. If any issues are found, you may need to redo the bending process.
Remember to work slowly and steadily during the bending process to prevent damage to the conduit or produce inaccurate bends. Take your time and make any necessary adjustments along the way to achieve the desired outcome.
Step 5: Check the Bend
After bending the conduit, it is important to check the accuracy and quality of the bend. Follow these steps to check the bend:
- Inspect the bend visually to ensure that it matches the desired angle and shape. Use your marked bend point as a reference.
- Use a level or straight edge to check the straightness of the bend. Place the level or straight edge along the inside and outside of the bend to check for any deviations or unevenness.
- If any adjustments are necessary, gently reposition or correct the bend using the bender and repeat the previous steps.
- Double-check the measurements of the bend to ensure it matches your initial markings and specifications.
By checking the bend, you can ensure that it meets the required standards and specifications. This step is essential for a successful installation and a professional-looking result.
Step 6: Repeat the Bending Process
Depending on your electrical project, you may need to create multiple offset conduit bends. Follow these steps to repeat the bending process:
- Measure and mark the location for the next bend on the conduit, following the same procedure as mentioned in Step 1.
- Position the conduit in the bender, aligning the starting point mark with the arrow or pointer on the bender, as explained in Step 3.
- Bend the conduit using steady pressure, following the steps described in Step 4, until it reaches the desired angle.
- Check the quality and accuracy of the bend, just as you did in Step 5, to ensure it meets the required standards.
- Repeat the bending process for any additional offsets needed for your electrical installation.
It’s important to maintain consistency in your bending technique and take the time to verify the quality of each bend. This will ensure that all the conduits are correctly positioned and aligned for seamless installation.
Step 7: Install the Bent Conduit
Once you have successfully bent the conduit to the desired angles, it’s time to install it in your electrical system. Follow these steps to install the bent conduit:
- Carefully position the bent conduit in the appropriate location, making sure it aligns with the designated path and connects securely with other conduit sections or devices.
- Use conduit connectors and couplings, if necessary, to join the bent conduit to other sections or devices in the electrical system. Ensure that the connections are tight and secure.
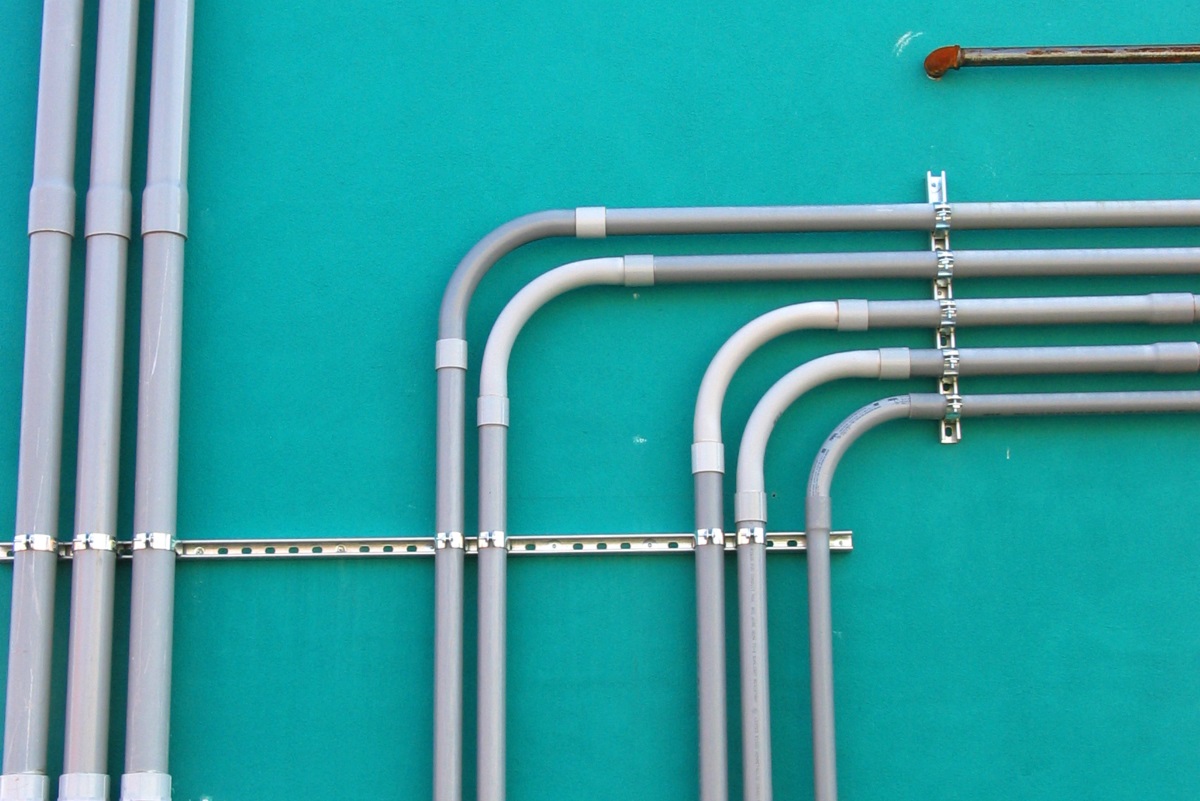
- Check the alignment and positioning of the bent conduit to ensure that it is straight and parallel with other conduits or walls.
- If needed, secure the conduit to the walls or ceiling using appropriate fasteners, such as conduit straps or clamps.
- Double-check all connections and make sure the conduit is properly supported and free from any tension or stress points.
Proper installation of the bent conduit is essential to ensure an effective and efficient electrical system. Take your time to ensure that all connections are secure and the conduit is adequately supported.
Read more: How To Bend Plastic Electrical Conduit
Conclusion
Bending offset conduit may seem like a daunting task, but with the right tools, technique, and attention to detail, it can be accomplished successfully. By following the step-by-step guide outlined in this article, you can confidently bend conduit to navigate around obstacles or change the direction of your electrical wiring system.
Remember, taking accurate measurements, properly preparing the bender, and positioning the conduit correctly are crucial for achieving accurate and clean bends. Checking the quality of each bend and ensuring proper installation are also important steps to achieve a professional-looking result.
Whether you are a professional electrician or a DIY enthusiast, mastering the skill of bending offset conduit is a valuable asset. It allows you to create a neat and efficient electrical system, saving both time and effort in the long run.
Always prioritize safety while working with electrical systems, and make sure to wear appropriate personal protective equipment. If you are unsure about any aspect of the bending process, consult with a professional or seek further guidance.
With practice, patience, and attention to detail, you can become proficient in bending offset conduit and tackle any electrical installation with confidence.
Frequently Asked Questions about How To Bend Offset Conduit
Was this page helpful?
At Storables.com, we guarantee accurate and reliable information. Our content, validated by Expert Board Contributors, is crafted following stringent Editorial Policies. We're committed to providing you with well-researched, expert-backed insights for all your informational needs.


0 thoughts on “How To Bend Offset Conduit”