Articles
How To Bend An Electrical Conduit
Modified: October 20, 2024
Learn how to bend electrical conduit with helpful articles and step-by-step guides. Gain the skills you need for successful conduit installation.
(Many of the links in this article redirect to a specific reviewed product. Your purchase of these products through affiliate links helps to generate commission for Storables.com, at no extra cost. Learn more)
Introduction
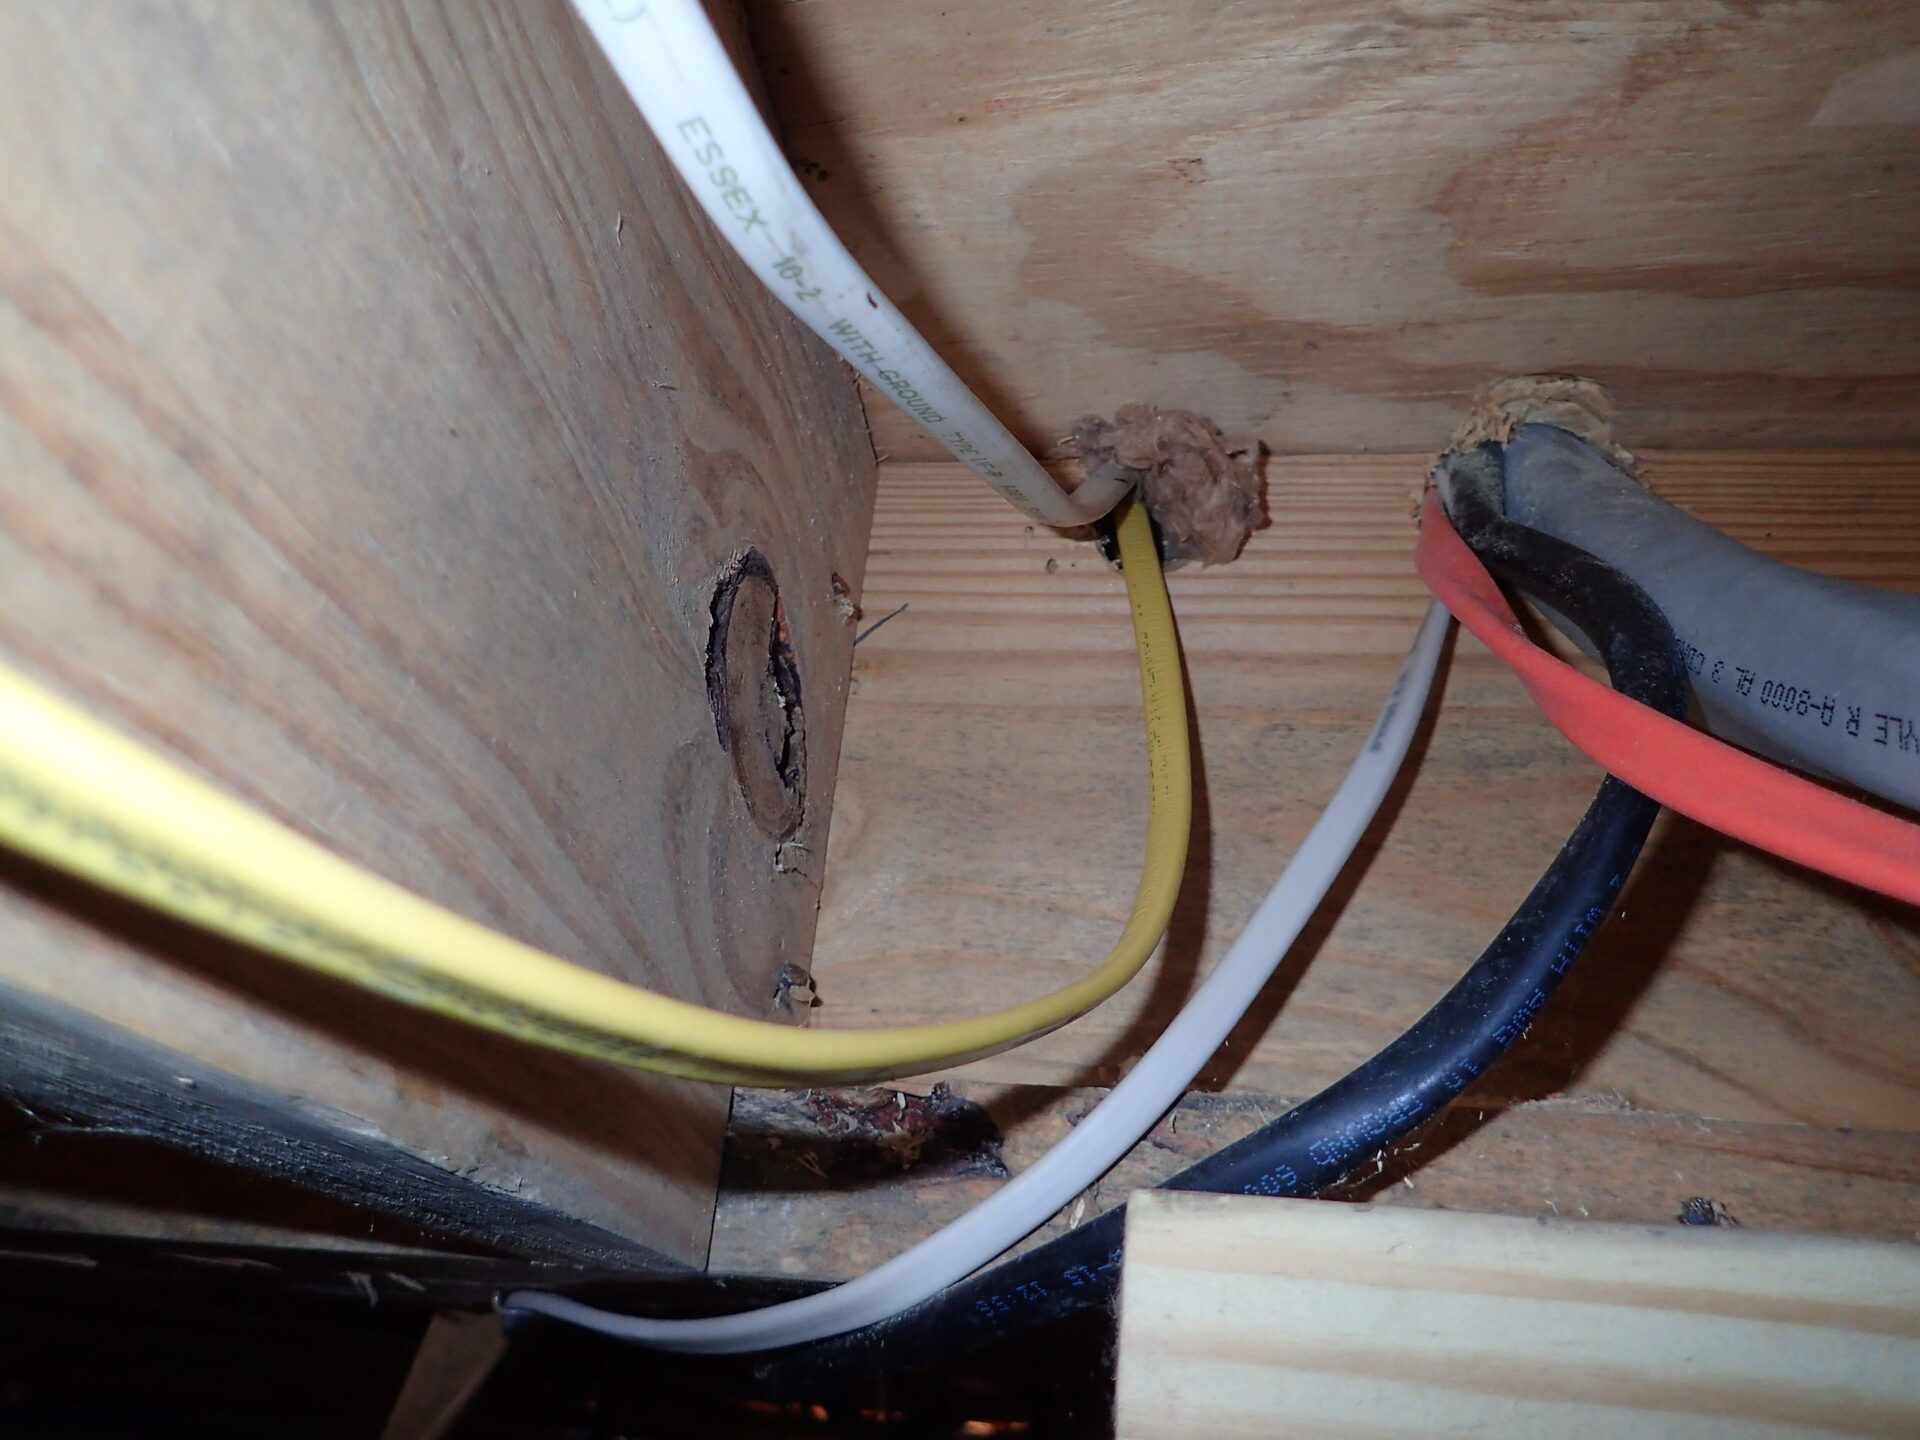
Electrical conduit bending is a fundamental skill that every electrician should master. It involves shaping tubes made of metal or plastic in order to route and protect electrical wiring. Whether you are an aspiring electrician looking to learn the trade or a DIY enthusiast interested in tackling your own electrical projects, understanding how to properly bend conduit is essential.
Conduit bending not only ensures the neat and organized installation of electrical wiring, but it also contributes to the overall safety and efficiency of electrical systems. By bending conduit accurately, you can create smooth bends that maintain proper wire fill and reduce the risk of wire damage or overheating.
In this article, we will guide you through the basics of electrical conduit bending and provide you with useful tips and techniques to help you become proficient in this important skill.
Key Takeaways:
- Mastering conduit bending is crucial for safe and efficient electrical installations. Prioritize safety, use the right tools, and practice basic and advanced bending techniques to achieve professional results.
- Understanding different types of conduit, planning bends around obstacles, and avoiding common mistakes are essential for successful conduit bending. Prioritize safety, practice precision, and seek guidance to master this valuable skill.
Read more: How To Bend Plastic Electrical Conduit
Safety Precautions
Prior to starting any electrical conduit bending project, it is crucial to prioritize safety and take the necessary precautions. Working with electricity can be hazardous, so it is important to follow these guidelines:
- Always wear personal protective equipment (PPE) such as safety glasses, gloves, and a helmet to protect yourself from potential hazards.
- Ensure that the power supply to the area where you will be working is switched off to avoid electric shock.
- Inspect the conduit for any damage or defects before bending. If you notice any cracks or dents, replace the conduit to avoid compromising its structural integrity.
- Always work in a well-ventilated area to minimize the risk of exposure to hazardous fumes or gases.
- Use appropriate bending tools and equipment to avoid injury. Make sure that tools are in good condition and properly maintained.
- Keep your work area clean and free from clutter to prevent tripping hazards.
- When bending conduit near live electrical circuits, always maintain a safe distance and be mindful of the potential for accidental contact.
- Do not attempt to bend conduit that is filled with wires. Remove the wires from the conduit before bending.
- If you are unsure about any aspect of conduit bending or encounter difficulties, seek advice from a qualified electrician or professional.
By adhering to these safety precautions, you can minimize the risk of accidents or injuries while working on electrical conduit bending projects. Remember, safety should always be the top priority when working with electricity.
Tools and Equipment
Having the right tools and equipment is essential for successful electrical conduit bending. Here is a list of the common tools and equipment you will need:
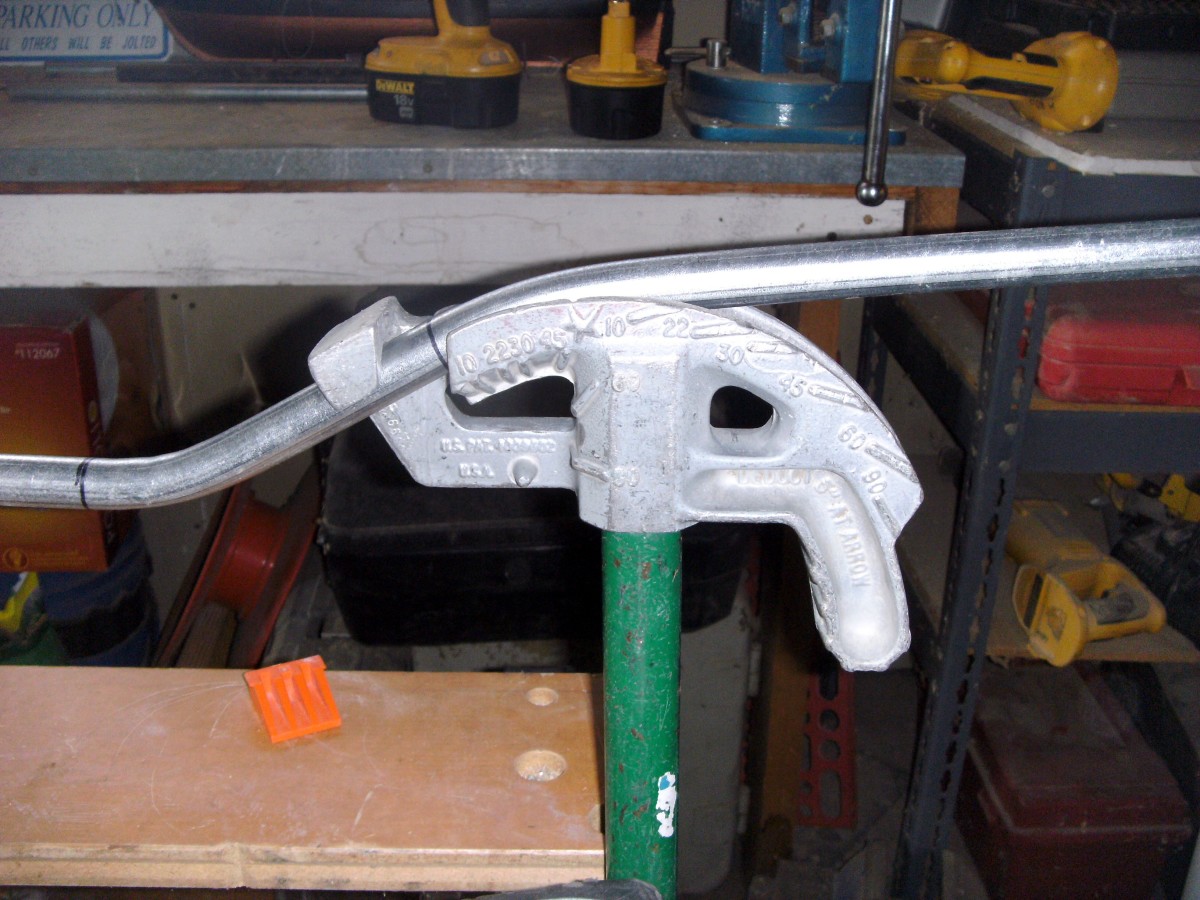
- Pipe Bender: A pipe bender is the primary tool used for bending conduit. It is available in different sizes to accommodate various conduit diameters.
- Measuring Tape: A measuring tape is necessary to accurately measure and mark the location for bends.
- Hacksaw or Conduit Cutter: These tools are used to cut the conduit to the desired length.
- Deburring Tool: A deburring tool is used to remove any sharp edges or burrs from the cut end of the conduit.
- Level: A level helps ensure that the conduit is properly aligned during installation.
- Marker or Chalk: These tools are used to mark the conduit for bending.
- Gloves: It is essential to wear gloves to protect your hands from cuts and abrasions while handling the conduit.
- Safety Glasses: Safety glasses protect your eyes from flying debris or sparks.
- Mask: If you are working with metal conduit and need to make cuts, wearing a mask can protect you from inhaling metal shavings.
It is important to use quality tools that are suitable for the specific type and size of conduit you are working with. Using the correct tools will not only make the bending process easier, but it will also result in more accurate and professional-looking bends.
Investing in good-quality tools will also ensure durability and longevity. Regular inspection and maintenance of your tools are necessary to keep them in optimal condition and prolong their lifespan.
Before starting any project, make sure you have all the necessary tools and equipment readily available. This will save you time and allow you to focus on the task at hand.
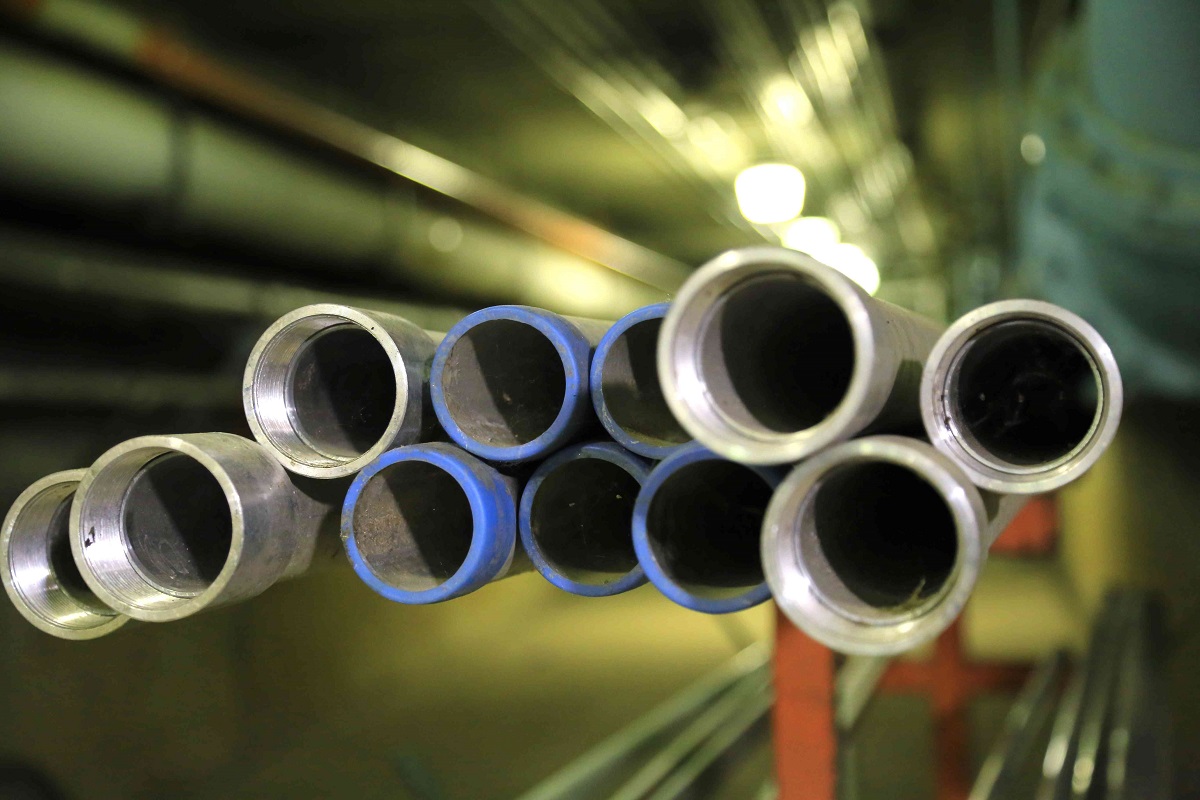
Types of Electrical Conduit
Electrical conduit comes in various forms, each designed for specific applications and environments. Understanding the different types of conduit will help you choose the most suitable option for your project. Here are some common types of electrical conduit:
- Rigid Metal Conduit (RMC): RMC is a thick-walled steel conduit that provides excellent protection for electrical wires. It is the strongest and most durable type of conduit but is also the heaviest and more difficult to bend.
- Intermediate Metal Conduit (IMC): IMC is a lighter and more affordable alternative to RMC. It is made of galvanized steel and provides adequate protection for electrical wiring.
- Electrical Metallic Tubing (EMT): EMT is a thin-walled conduit made of steel. It is lightweight, easy to bend, and commonly used in residential and commercial applications. However, it offers less protection compared to RMC and IMC.
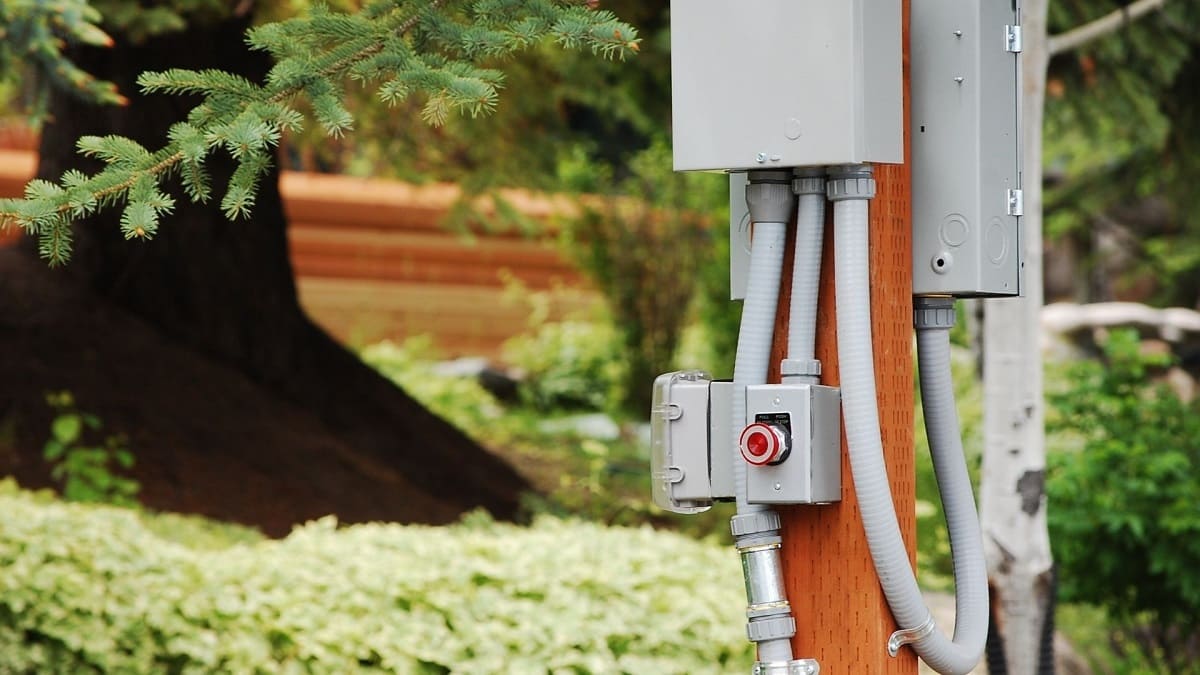
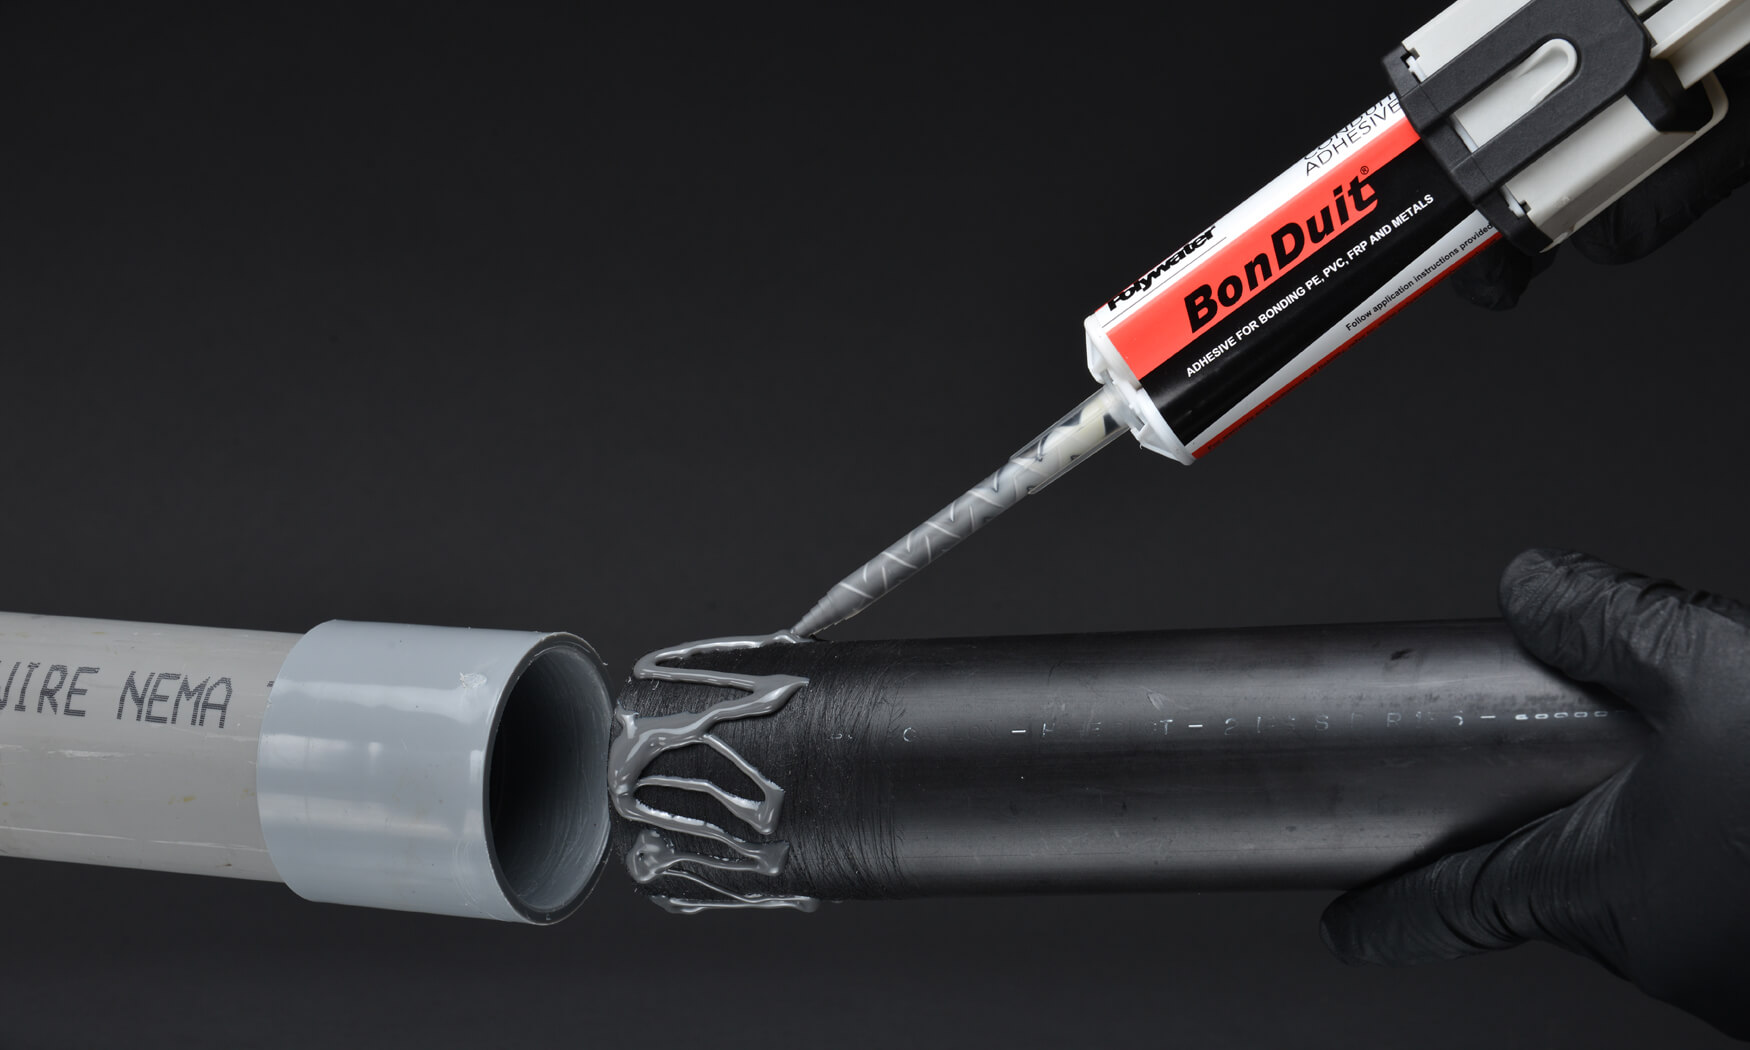
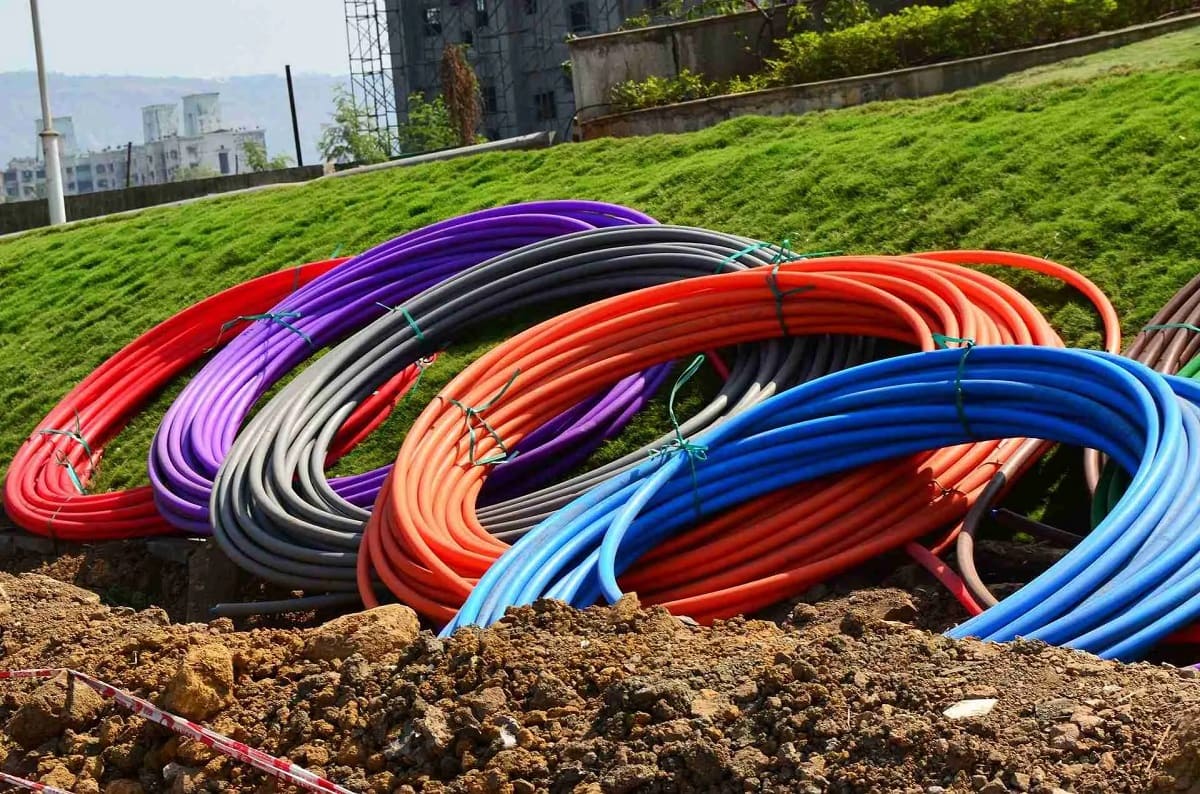
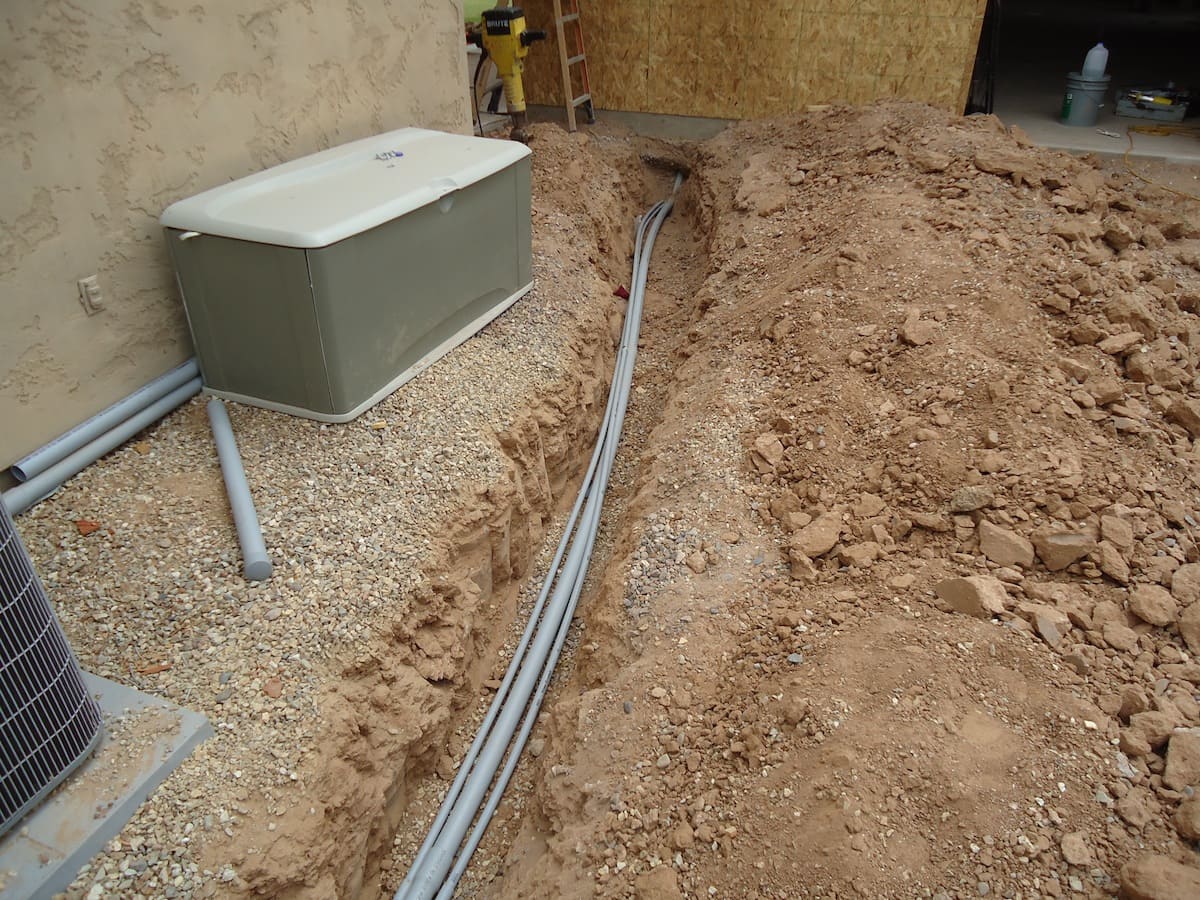
- PVC Conduit: PVC conduit is made of durable plastic and is resistant to corrosion and chemicals. It is easy to work with, lightweight, and commonly used for underground and outdoor applications.
- Flexible Metal Conduit (FMC): FMC is a flexible, corrugated metal conduit that allows for easier installation and routing in tight spaces. It is commonly used in areas where more flexibility is required.
- Liquidtight Flexible Conduit (LFMC): LFMC is similar to FMC but has a waterproof coating, making it suitable for wet or damp locations.
When selecting the appropriate conduit for your project, consider factors such as the environment, wiring conditions, and local building codes. It is important to consult with a professional or refer to the National Electrical Code (NEC) to ensure compliance and safety.
Remember, choosing the correct type of conduit is crucial to ensure the proper protection and functionality of your electrical wiring system. Take into account the specific requirements of your project and make an informed decision based on the available options.
Understanding Conduit Bending
Conduit bending is the process of shaping electrical conduit to fit various angles and bends as required by the installation. It involves calculating and determining the correct dimensions and angles to ensure that the conduit runs smoothly and efficiently without kinks or excessive bends.
Before you start bending conduit, it is important to understand a few key concepts:
- Centerline Radius: The centerline radius refers to the distance from the center of the conduit to the center of the bend. It helps determine the size and shape of the bend.
- Gain: The gain is the additional length of conduit required to accommodate the bend. It ensures that the overall length of the conduit remains consistent after bending.
- Take-Up: Take-up is the distance that the conduit needs to be shortened to account for the gain. It is measured from the face of the bender to the starting reference point for the bend.
By understanding these concepts, you can accurately calculate the measurements and angles required for bending conduit.
The key to successful conduit bending is proper planning and measurement. Start by determining the length of conduit needed for the installation. Measure and mark the starting point of the bend on the conduit, and then use a pipe bender to create the desired angle or curve.
It is important to note that larger conduit sizes require larger bender sizes to achieve the desired bend radius and angle. Each type of conduit has different bending characteristics, so it is crucial to refer to manufacturer guidelines and recommended bending techniques.
Remember to mark the conduit accurately to ensure consistent and precise bends. Use a level to check the straightness of the conduit to guarantee alignment during installation.
By understanding the fundamentals of conduit bending and applying proper calculation techniques, you can achieve professional-looking bends that meet the requirements of your electrical installation.
When bending electrical conduit, always use a conduit bender designed for the specific type and size of conduit you are working with to ensure accurate bends and prevent damage to the conduit.
Read more: How To Measure Conduit Bending
Basic Bending Techniques
Mastering basic bending techniques is essential for every electrician or DIY enthusiast who wants to excel in conduit bending. Here are some fundamental techniques to help you achieve accurate and professional bends:
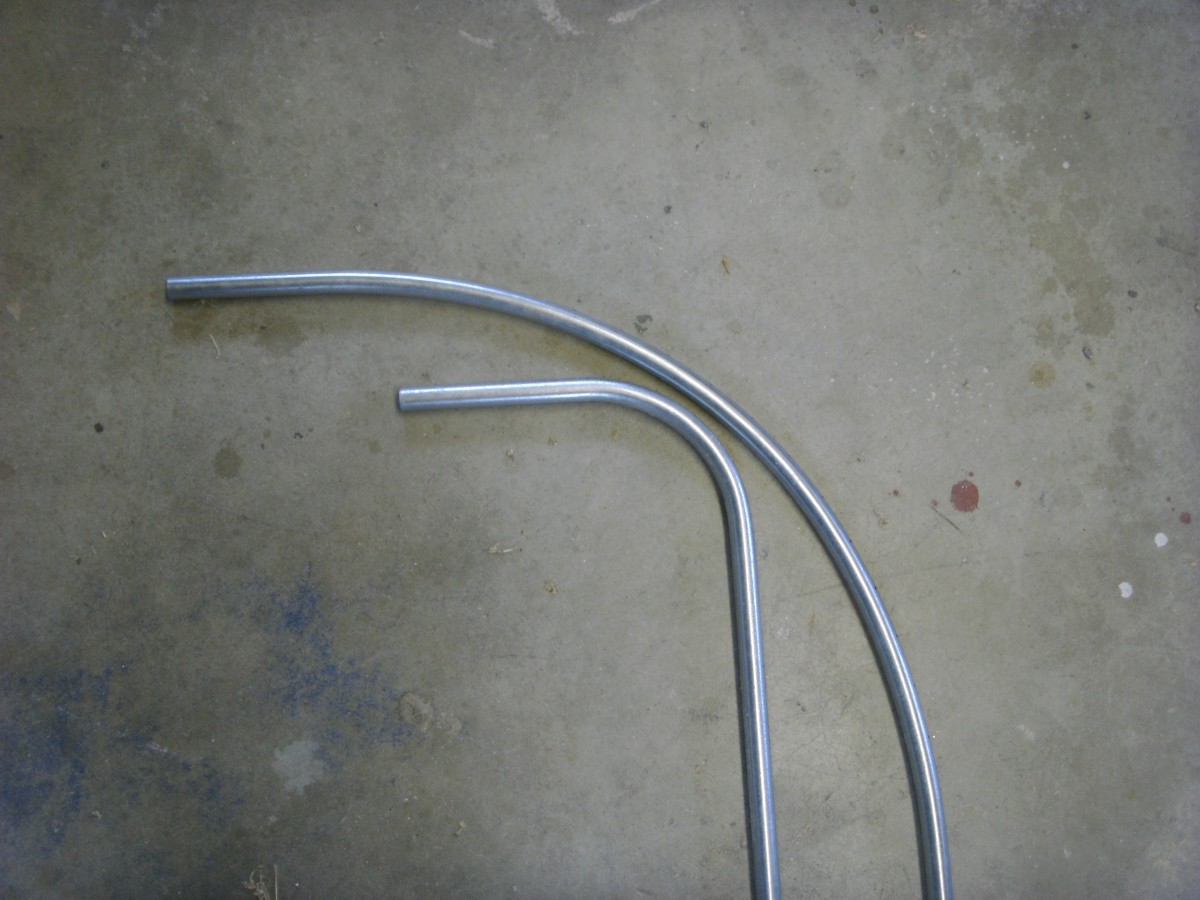
- Offset Bend: An offset bend is used to change the direction of the conduit without creating a 90-degree angle. To create an offset bend, measure the distance you want the offset to be from the starting point, mark it on the conduit, and then use the bender to create the desired angle.
- Stub-Up Bend: A stub-up bend is used to create a vertical rise at the end of a conduit run. Measure the desired height of the stub-up, mark it on the conduit, and then use the bender to create a 90-degree angle.
- Back-to-Back Bend: A back-to-back bend is used to create two bends in opposite directions, allowing conduits to run parallel or perpendicular to each other. To achieve this, mark the desired location of the bends on the conduit, and then use the bender to create the first bend. Rotate the conduit and create the second bend in the opposite direction.
- Three-Point Saddle Bend: A three-point saddle bend is used to create a support for a conduit to run parallel to a surface. Measure and mark the desired location of the saddle on the conduit, then use the bender to create two bends, one on each side of the saddle mark. Measure the distance between the two bends and create a third bend in the opposite direction, connecting the two bends and forming a saddle-shaped bend.
When using a pipe bender, it is important to position yourself correctly to exert proper force and control. Use your body weight and leverage to control the bending process and ensure smooth and accurate bends.
Practice is crucial when learning these bending techniques. Start with scrap conduit to familiarize yourself with the bender and gain confidence in your abilities. As you gain experience, you will become more proficient in creating precise and consistent bends.
Remember to always measure, mark, and double-check your calculations before bending the conduit. Accuracy is key to achieving professional results and avoiding costly mistakes.
By mastering these basic bending techniques, you will be well on your way to becoming a skilled conduit bender capable of tackling a wide range of electrical installations.
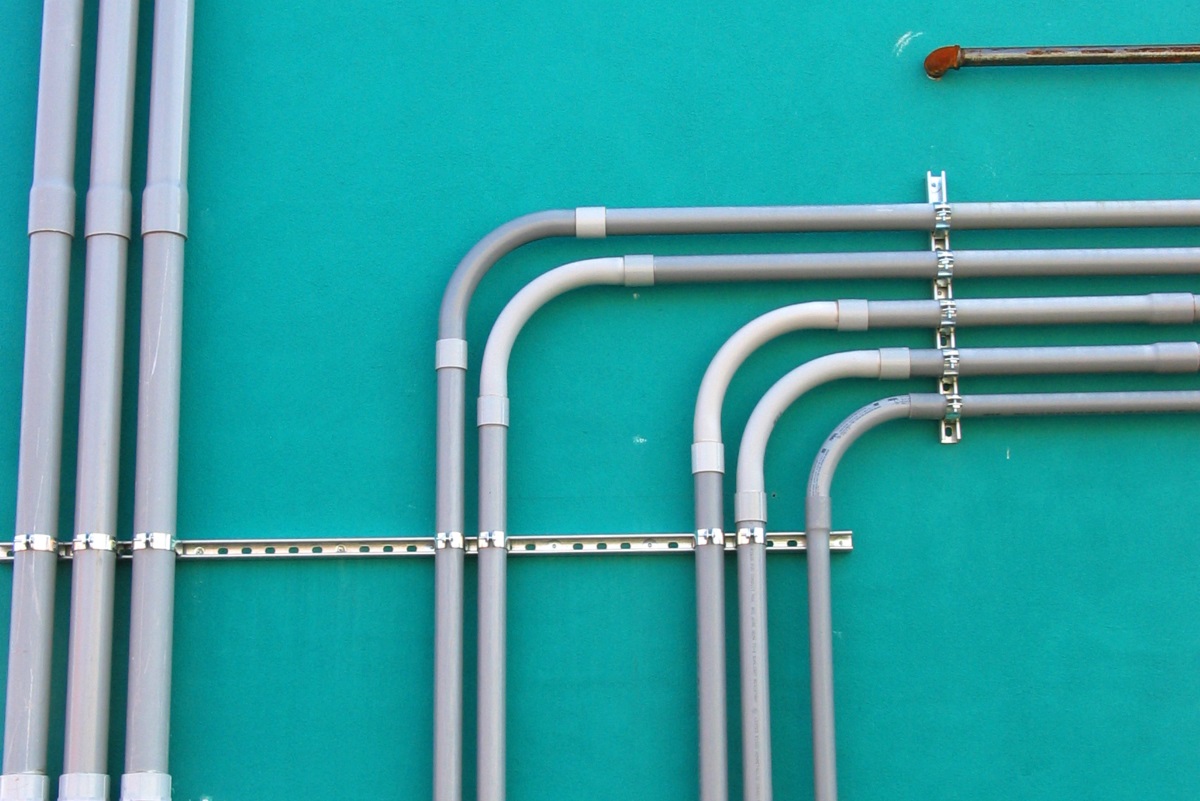
Bending Conduit in Different Angles
Bending conduit in different angles adds versatility to your electrical installation and allows you to navigate around corners, obstacles, and architectural features. Here are some important tips to keep in mind when bending conduit in various angles:
- 90-Degree Bend: A 90-degree bend is the most common angle used in conduit installations. To create a 90-degree bend, measure the distance from the starting point to the point where the bend is required. Mark this distance on the conduit and use a pipe bender to make a sharp 90-degree bend.
- 45-Degree Bend: A 45-degree bend is often used when a more gradual turn is needed. Measure the required distance for the bend, mark it on the conduit, and use the bender to create a smooth arc with a 45-degree angle.
- Less than 90-Degree Bend: For bends that are less than 90 degrees, such as 30 or 60 degrees, it is important to calculate the take-up and gain accurately. Measure and mark the distance for the bend, referencing the desired angle, then use the bender to achieve the desired angle by adjusting the position of the conduit.
- More than 90-Degree Bend: When bending conduit in angles greater than 90 degrees, it is often necessary to make multiple bends. Calculate the total angle required and divide it into two or more smaller bends. Use a straight coupling to join the individual bends together to achieve the desired angle.
It is essential to use a level to ensure that the conduit remains straight during the bending process. This will ensure that the bends are even and aligned correctly.
Additionally, when making bends in conduit, be mindful of the type of conduit being used. Some types, such as PVC conduit, require special heat treatment or the use of bending springs to achieve smooth bends without kinks or distortions.
Remember to always measure accurately and proceed with caution when bending conduit at different angles. Taking your time and double-checking your measurements will help you achieve precise bends and ensure a successful electrical installation.
Practice and experience will further refine your skills in bending conduit at various angles. With time, you will develop a better understanding of the bending process and gain confidence in your ability to create professional-looking bends.
Bending Conduit Around Obstacles
When working on electrical installations, you may encounter obstacles such as walls, beams, or other structural elements that require you to bend conduit around them. Here are some important considerations and techniques for bending conduit around obstacles:
- Assess the Obstacle: Before beginning the bending process, carefully examine the obstacle and plan the routing of the conduit. Take measurements and consider the best approach to maneuver the conduit around the obstacle while maintaining proper clearances and alignment.
- Plan the Bend Points: Determine the locations where the conduit needs to bend to navigate around the obstacle. Measure and mark these points on the conduit, allowing for the required angles and clearance.
- Use Multiple Bends: In many cases, you may need to make multiple bends to navigate the conduit around the obstacle smoothly. Calculate the angles required for each bend and use a bender to achieve the desired angles and curves.
- Positioning and Bending Technique: Proper positioning is crucial when bending conduit around obstacles. Use a bender to make each bend individually, ensuring that the conduit remains aligned and straight during the process. Take your time and use the appropriate bending technique to achieve accurate and reliable bends.
- Consider Conduit Types: Depending on the nature of the obstacle and routing requirements, you may need to consider using flexible conduit, such as liquidtight flexible conduit (LFMC) or flexible metal conduit (FMC). These types of conduits can offer more flexibility and ease of installation when navigating around obstacles.
- Secure the Conduit: Once you have successfully bent the conduit around the obstacle, secure it using appropriate straps, brackets, or clamps. This will ensure that the conduit remains in place and maintains its intended path.
Bending conduit around obstacles requires careful planning, precise measurements, and strategic bending techniques. It is important to visualize the desired path and plan the bends accordingly to achieve the desired results.
Regular practice and hands-on experience will refine your skills in bending conduit around obstacles. As you encounter different scenarios, you will learn to adapt and find creative solutions to navigate around various obstacles in electrical installations.
Remember to always refer to local building codes and regulations to ensure compliance with bending requirements and clearance guidelines.
With patience, practice, and attention to detail, you can successfully navigate conduit around obstacles, ensuring a clean and professional electrical installation.
Common Bending Mistakes and How to Avoid Them
When it comes to conduit bending, even experienced electricians can make mistakes that can affect the integrity and functionality of the electrical installation. Here are some common bending mistakes and tips on how to avoid them:
- Incorrect Measurements: One of the most common mistakes is inaccurate measurements. Always double-check your measurements before making a bend to ensure that the conduit will fit properly in the desired location. Taking precise measurements will help avoid unnecessary bends and adjustments.
- Improper Bender Alignment: Bender alignment is crucial for achieving accurate bends. Make sure that the bender is properly aligned with the mark on the conduit, ensuring that the bend starts and ends at the correct points. Incorrect alignment can lead to uneven bends and may require rework.
- Over or Under Bending: Applying too much force or not enough force when making a bend can result in over or under bending the conduit. This can lead to inaccurate angles and difficulty in fitting the conduit together properly. Use proper technique and apply consistent pressure to create smooth and accurate bends.
- Using Incorrect Bender Size: Choosing the wrong bender size for the conduit diameter can cause significant issues. If the bender is too small, it will result in a tighter bend radius and potential damage to the conduit. If the bender is too large, it can lead to shallow bends and difficulty in achieving the desired angle.
- Lack of Bender Support: Supporting the bender properly is essential to maintain control and stability during the bending process. Make sure the bender is secure and properly aligned with the mark on the conduit. Using your body weight and ensuring a solid stance will aid in maintaining control throughout the bend.
- Not Deburring the Conduit: Neglecting to deburr the conduit after making a cut can result in sharp edges and burrs. These can damage the wiring or cause injury during installation. Always use a deburring tool to smooth out the cut end of the conduit before proceeding with bending.
To avoid these common bending mistakes, it is important to take your time, pay attention to details, and follow proper techniques. Review your measurements and calculations before making a bend and ensure that you are using the right tools and equipment for the job.
Practicing on scrap conduit and seeking guidance from experienced professionals can help you refine your bending skills and avoid common mistakes. Continuously learning and improving your technique will lead to more accurate and professional-looking bends.
Remember, patience and precision are key when it comes to conduit bending. By taking the time to avoid these common mistakes, you can ensure high-quality and reliable electrical installations.
Read more: How To Bend Offset Conduit
Conclusion
Electrical conduit bending is a fundamental skill that allows for the proper routing and protection of electrical wiring. By mastering the art of conduit bending, you can ensure the safe and efficient installation of electrical systems in various environments.
In this article, we have covered the important aspects of electrical conduit bending, including safety precautions, essential tools and equipment, different types of conduit, understanding conduit bending techniques, bending conduit in different angles, navigating around obstacles, common bending mistakes to avoid, and tips for achieving accurate bends.
It is crucial to prioritize safety when working with electricity. Wearing personal protective equipment, switching off the power supply, and using properly maintained tools are just a few of the safety precautions to keep in mind.
Having the right tools and equipment for conduit bending is essential. Pipe benders, measuring tapes, hacksaws, and deburring tools are just a few examples of the tools needed for successful conduit bending.
Understanding the different types of conduit available, such as rigid metal conduit (RMC), electrical metallic tubing (EMT), and PVC conduit, allows you to choose the appropriate conduit for each installation.
Knowing the basics of conduit bending, including centerline radius, gain, and take-up, provides a solid foundation for accurately measuring and shaping conduit to fit specific angles and bends.
Through practice and experience, you can master basic bending techniques, such as offset bends, stub-up bends, back-to-back bends, and three-point saddle bends, which will allow you to customize conduit installations to meet the unique requirements of each project.
Bending conduit in different angles and navigating around obstacles requires careful planning, precise measurements, and strategic bending techniques. Using multiple bends and considering conduit types, such as flexible conduit, can help you overcome obstacles and achieve the desired routing.
Avoiding common bending mistakes, such as incorrect measurements, improper bender alignment, and using the wrong bender size, contributes to the overall success and efficiency of conduit installations.
In conclusion, electrical conduit bending is a valuable skill that every electrician should master. By following safety precautions, utilizing the proper tools and equipment, understanding the different types of conduit, and honing your bending techniques, you can ensure accurate and professional-looking conduit installations.
Remember, practice makes perfect. Continuously refine your skills, seek guidance when needed, and never stop learning. With dedication and commitment, you can become proficient in electrical conduit bending and contribute to the safe and reliable operation of electrical systems.
Frequently Asked Questions about How To Bend An Electrical Conduit
Was this page helpful?
At Storables.com, we guarantee accurate and reliable information. Our content, validated by Expert Board Contributors, is crafted following stringent Editorial Policies. We're committed to providing you with well-researched, expert-backed insights for all your informational needs.


0 thoughts on “How To Bend An Electrical Conduit”