Articles
How To Build A Linen Closet
Modified: September 1, 2024
Learn how to build a linen closet for your bedroom furniture collection with our step-by-step guide. Create a functional and stylish storage solution today!
(Many of the links in this article redirect to a specific reviewed product. Your purchase of these products through affiliate links helps to generate commission for Storables.com, at no extra cost. Learn more)
Introduction
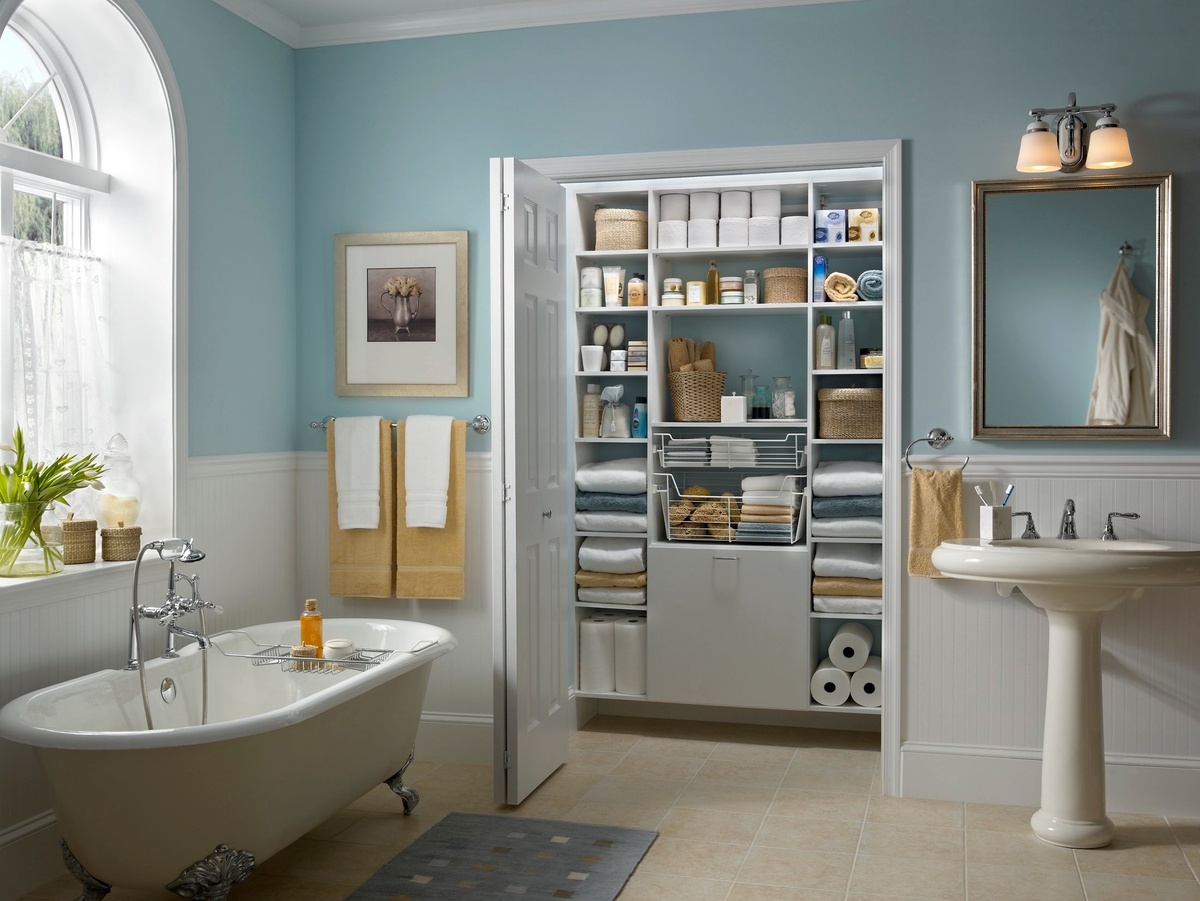
Welcome to the ultimate guide on how to build a linen closet. A linen closet is an essential storage area in any home, providing a dedicated space to keep towels, bed sheets, blankets, and other linens organized and easily accessible. Whether you’re starting from scratch or renovating an existing space, this step-by-step guide will walk you through the process of creating a functional and stylish linen closet.
Having a well-organized linen closet not only makes it easier to find what you need but also helps to maximize space and reduce clutter in your home. By following these steps, you’ll be able to create a custom linen closet that suits your specific storage needs and complements the overall design of your home.
Before we dive into the details, it’s important to note that building a linen closet requires some basic carpentry skills and tools. If you’re not comfortable with DIY projects, it’s always a good idea to consult a professional or enlist the help of a skilled friend or family member. Now, let’s get started on building your dream linen closet!
Key Takeaways:
- Create a custom linen closet by measuring the space, gathering materials, planning the design, and installing shelves or cabinets. Organize and stock your closet for a functional and stylish storage solution.
- Building a linen closet requires careful planning, attention to detail, and creativity. Maximize space, enhance organization, and enjoy the convenience of a well-designed storage area for your linens.
Read more: How To Build A Wardrobe Closet
Step 1: Measure the Space
The first step in building a linen closet is to measure the available space. Find an empty wall or alcove in your home where you want to install the closet. Use a tape measure to record the height, width, and depth of the space. It’s important to be accurate with your measurements to ensure that your linen closet will fit perfectly.
Consider the items that you plan to store in the linen closet. If you have bulky comforters or large bath towels, make sure to account for their dimensions when measuring the depth of the space. Allow for enough clearance so that you can easily access and remove items from the shelves.
Once you have your measurements, take note of any obstacles or obstructions that may affect the installation of the linen closet. This could include electrical outlets, light switches, or HVAC vents. You’ll need to plan your design accordingly to work around these obstacles.
Keep in mind that the height of your linen closet should be practical for your needs. If you have limited vertical space, consider installing shelves with adjustable heights to maximize storage capacity. Additionally, if you have high ceilings, you can opt for taller cabinets or shelves to take advantage of the vertical space.
Before moving on to the next step, double-check your measurements to ensure accuracy. This will help you plan and purchase the right materials and prevent any headaches during the installation process. Make a note of your measurements and keep them handy as you move forward with building your linen closet.
Step 2: Gather Materials and Tools
Now that you have measured the space for your linen closet, it’s time to gather the necessary materials and tools. Having everything you need on hand will make the construction process smoother and more efficient. Here’s a list of essential items you’ll need:
- Wood or prefabricated cabinets: Depending on your preference and skill level, you can choose to build your own custom cabinets or purchase pre-made ones. Opt for sturdy and durable materials that can withstand the weight of your linens.
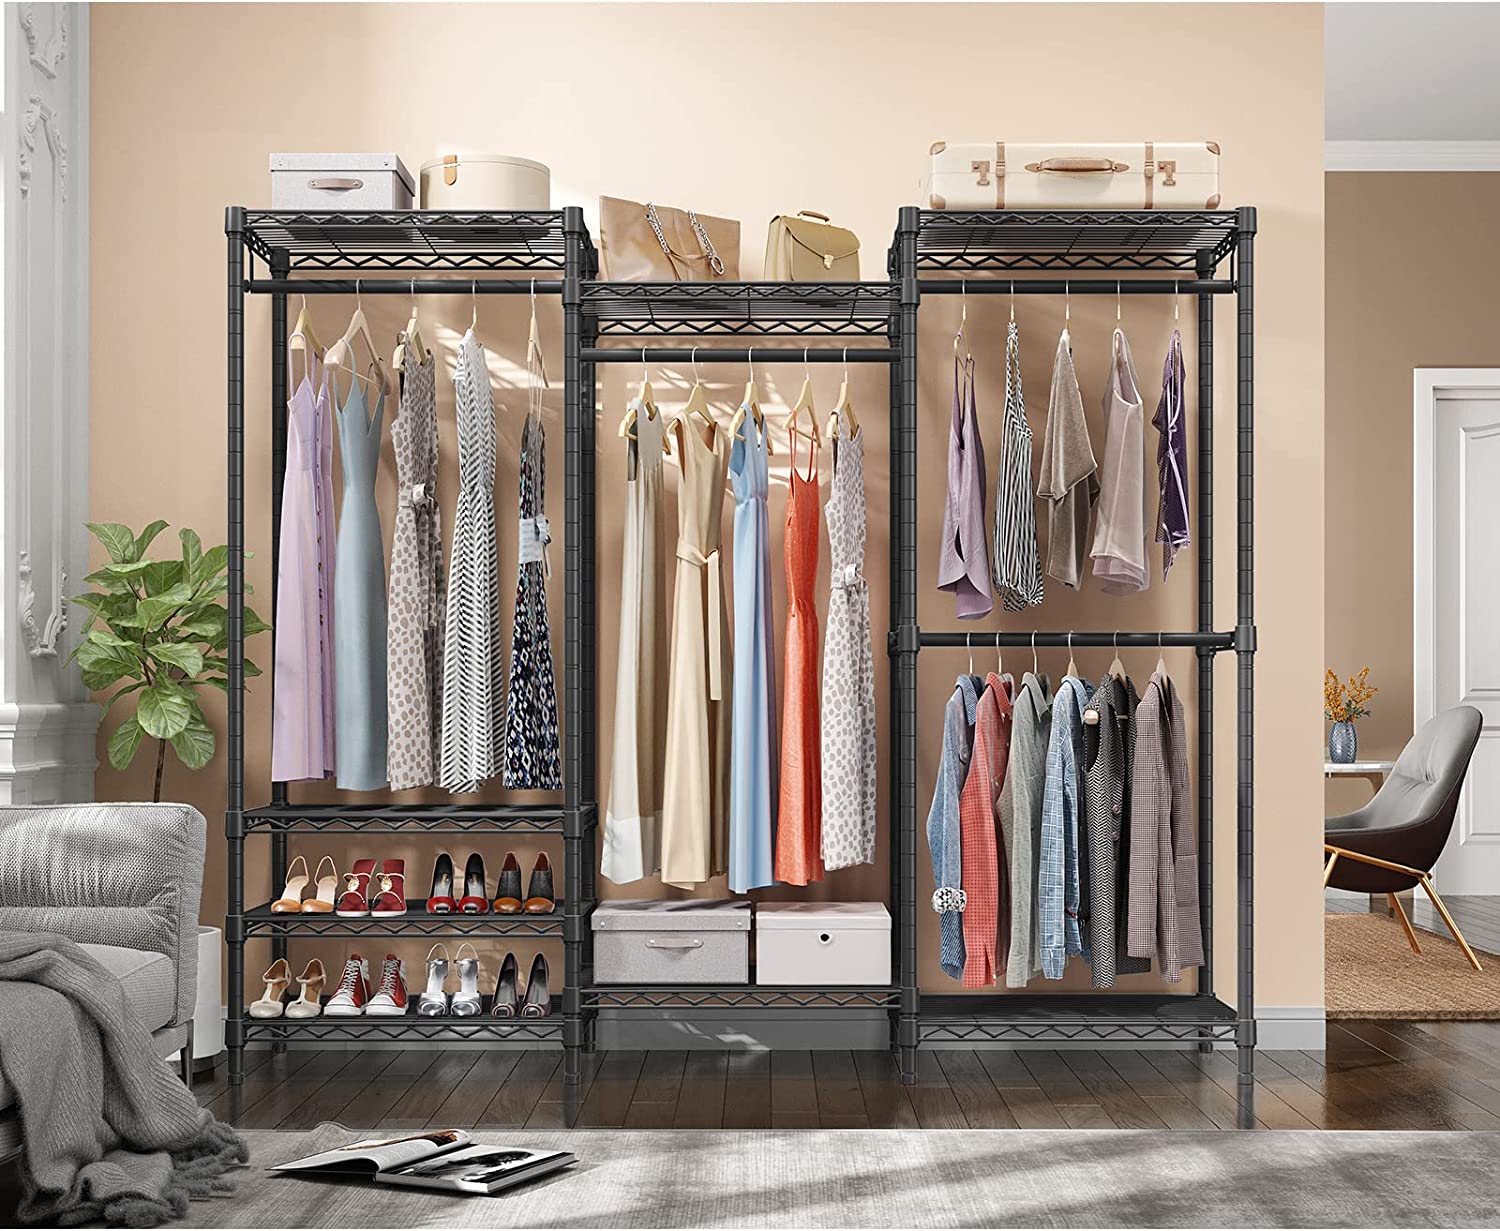
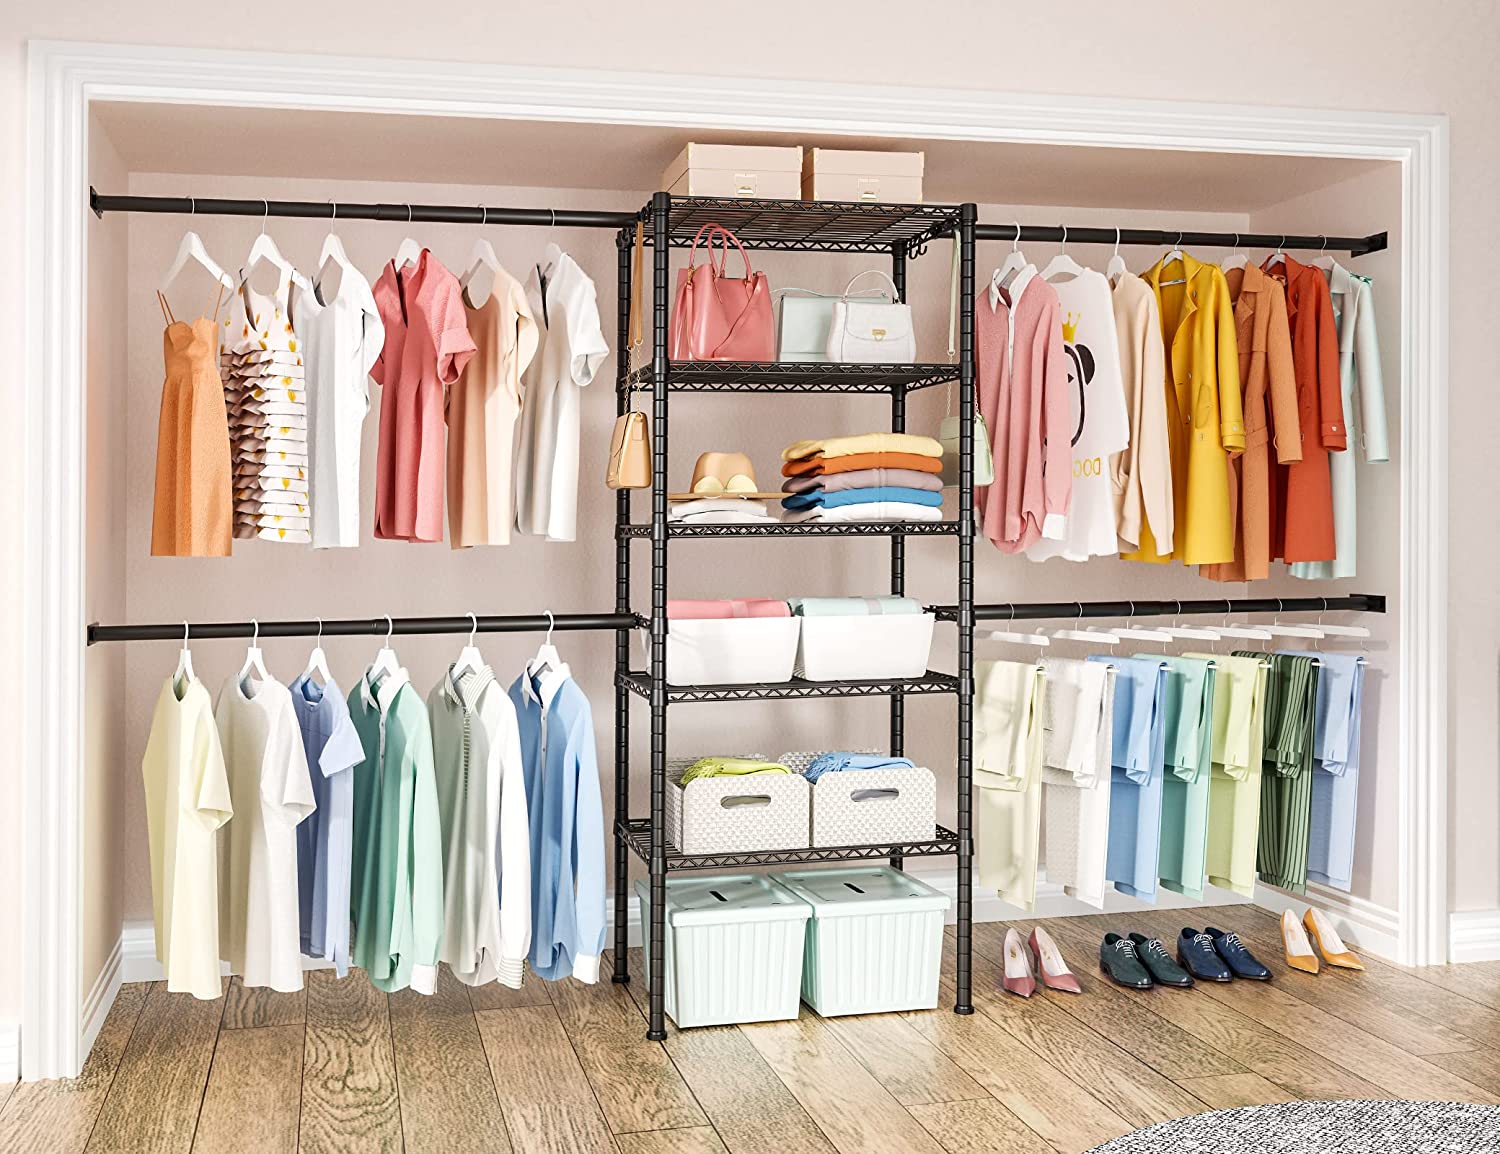
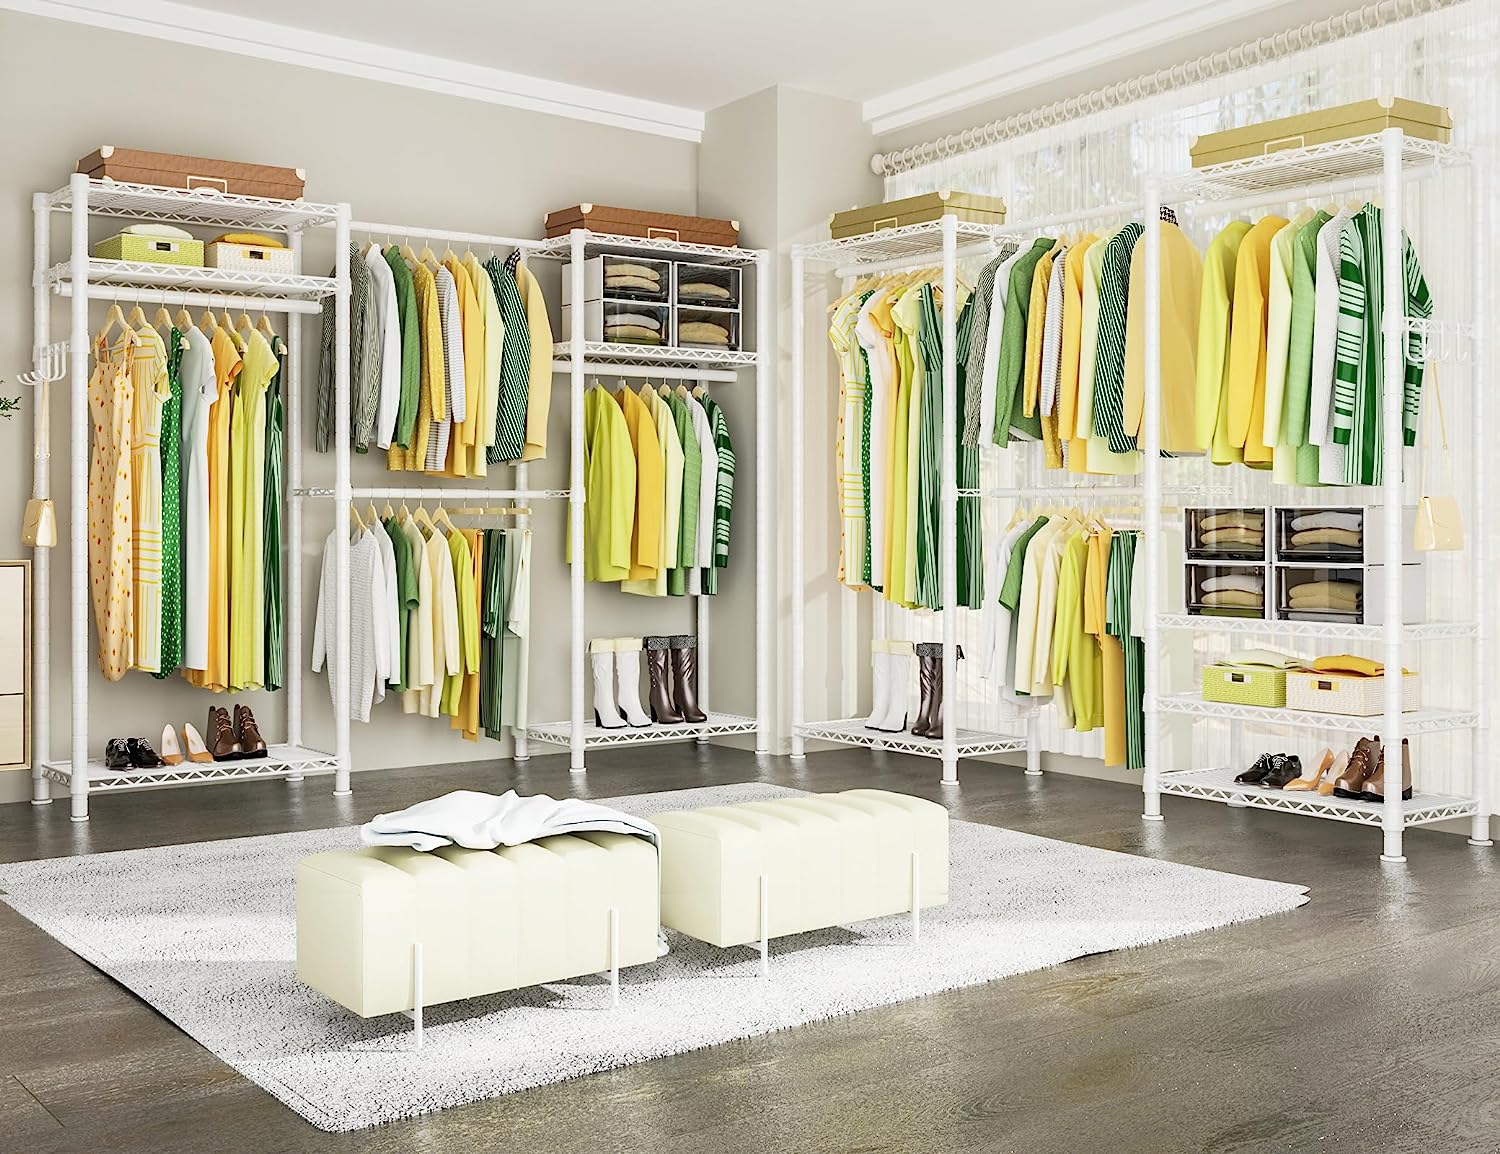
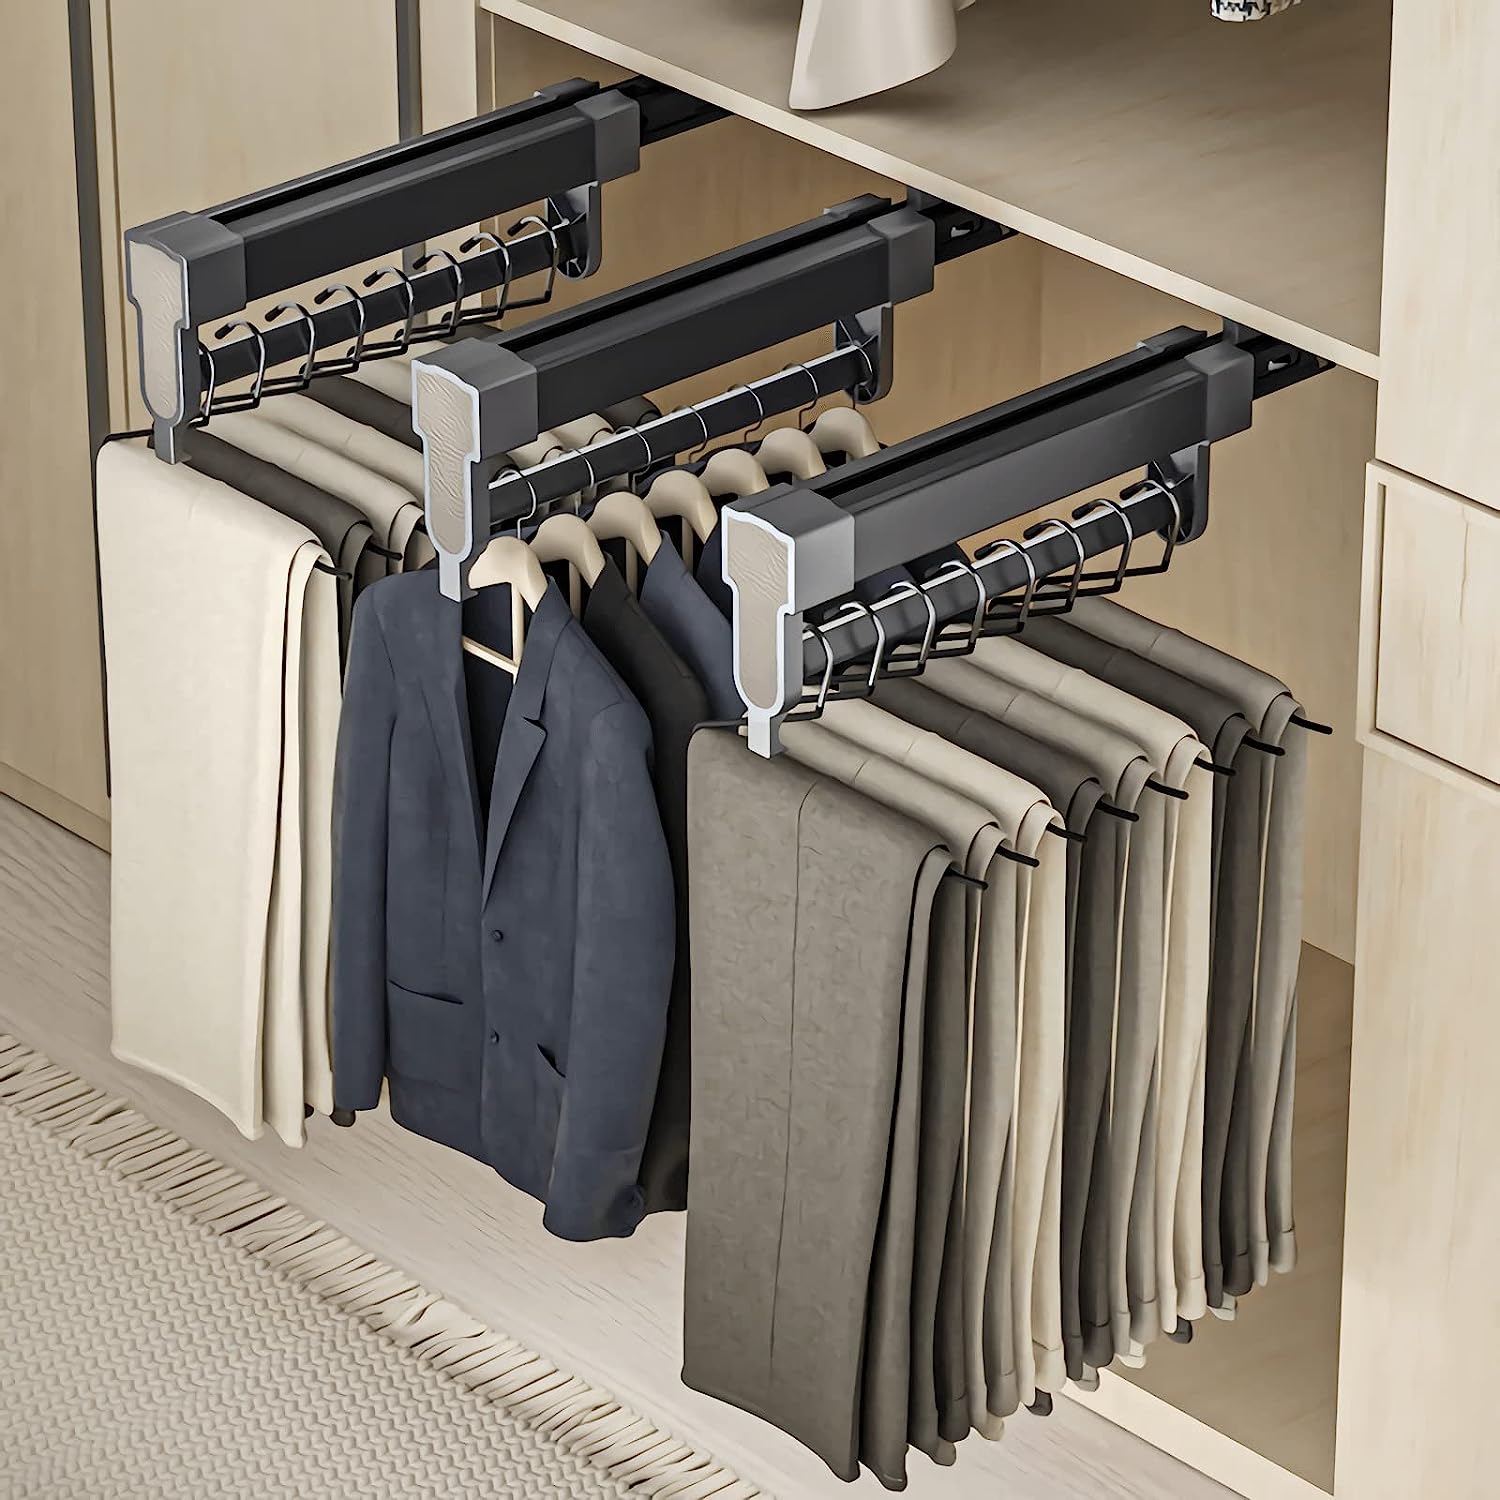
- Shelving: Decide on the type of shelving you want to install in your linen closet. You can choose between adjustable wire shelves, solid wood shelves, or a combination of both. Consider the weight capacity of the shelves and ensure they are suitable for holding your linens.
- Hardware: Select the necessary hardware, such as screws, nails, hinges, and drawer pulls, depending on the design and functionality of your linen closet.
- Paint or finish: If you’re planning to customize the look of your linen closet, choose a paint color or finish that complements your home’s decor. Make sure to select a paint or finish suitable for the type of wood or material you’re working with.
- Tools: Gather basic carpentry tools such as a tape measure, level, drill, saw, screwdriver, and hammer. These tools will help you with measuring, cutting, assembling, and installing the components of your linen closet.
- Safety gear: Don’t forget to equip yourself with safety goggles, gloves, and a dust mask to protect yourself during the construction process.
Before purchasing any materials, double-check your measurements to ensure you’re buying the right quantities and sizes. Consider the layout and design of your linen closet to determine the specific components and hardware you’ll need.
Once you’ve gathered all the materials and tools, you’re ready to move on to the next step – removing any existing shelves or cabinets in the space where you plan to install your linen closet.
Step 3: Remove Existing Shelves or Cabinet
Before you can begin installing your new linen closet, you’ll need to remove any existing shelves or cabinets in the designated space. This step is essential to create a clean canvas for your new storage solution. Here’s how to remove existing shelves or cabinets:
- Clear the area: Remove any items that may be stored on the existing shelves or inside the cabinet. Take this opportunity to declutter and organize your linens, as you’ll be transferring them to the new linen closet later.
- Use caution: If the existing shelves or cabinet are securely attached to the wall, be cautious when removing them to avoid damaging the surrounding area. Use a pry bar or screwdriver to carefully remove any screws or nails securing the shelves or cabinet in place.
- Repair and patch: After removing the shelves or cabinet, you may notice holes or damage in the wall. Take the time to repair and patch any imperfections using spackle or putty. Allow the patched areas to dry completely before moving on.
If the existing shelves or cabinet are in good condition, you may consider repurposing them in another area of your home or donating them instead of discarding them. This is a sustainable option that reduces waste and maximizes resourcefulness.
Once you have removed the existing shelves or cabinet and prepared the wall for the new linen closet, you’re ready to move on to the next step – planning the design and layout of your linen closet.
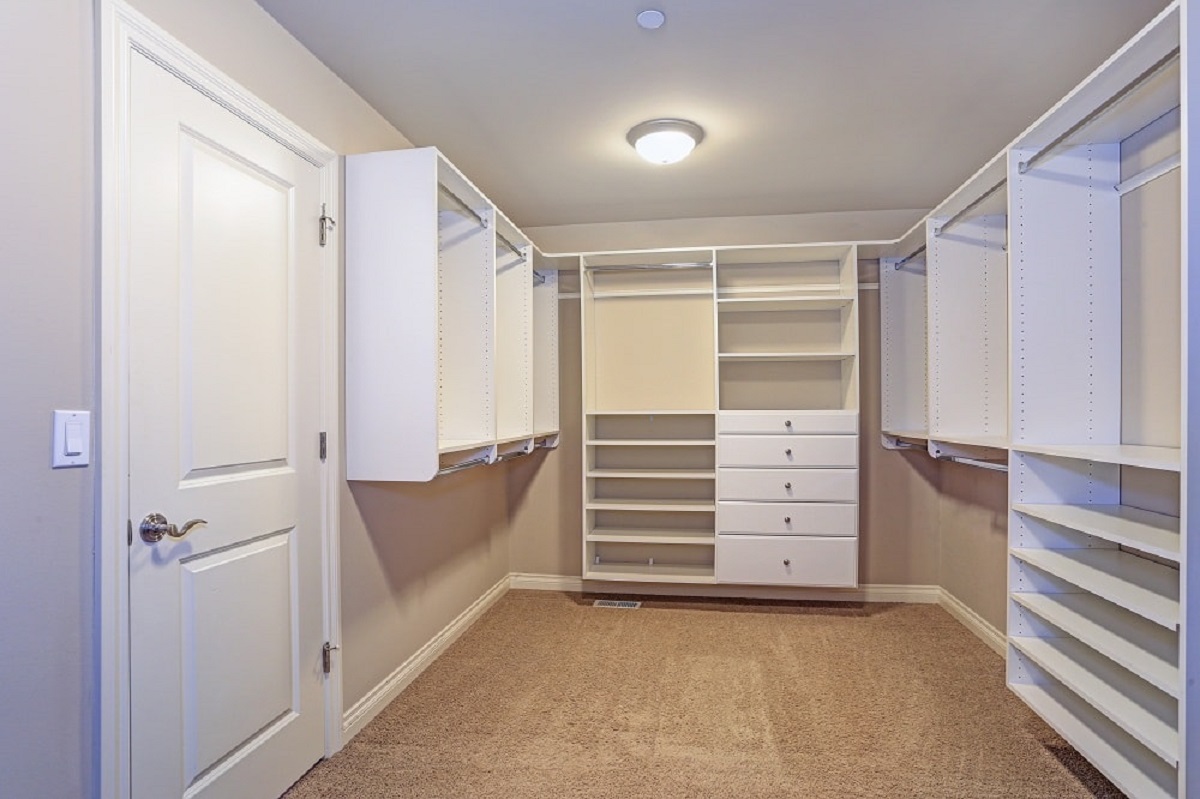
Step 4: Plan the Design and Layout
Now that you have a blank canvas after removing the existing shelves or cabinet, it’s time to plan the design and layout of your new linen closet. This step is crucial as it determines the functionality and aesthetic appeal of the storage space. Here are some key considerations:
- Assess your storage needs: Take into account the types of linens you’ll be storing in the closet. Consider the height and width requirements for items such as towels, sheets, and blankets. This will help you determine the number of shelves and their spacing.
- Utilize vertical space: If your ceiling height allows, consider adding extra shelves or cabinets higher up to maximize vertical storage. However, ensure that these higher shelves are easily accessible or are used for items that are not frequently needed.
- Consider adjustable shelves: Adjustable shelves provide flexibility in accommodating items of varying heights. This allows you to adapt the closet’s storage configuration as your needs change over time.
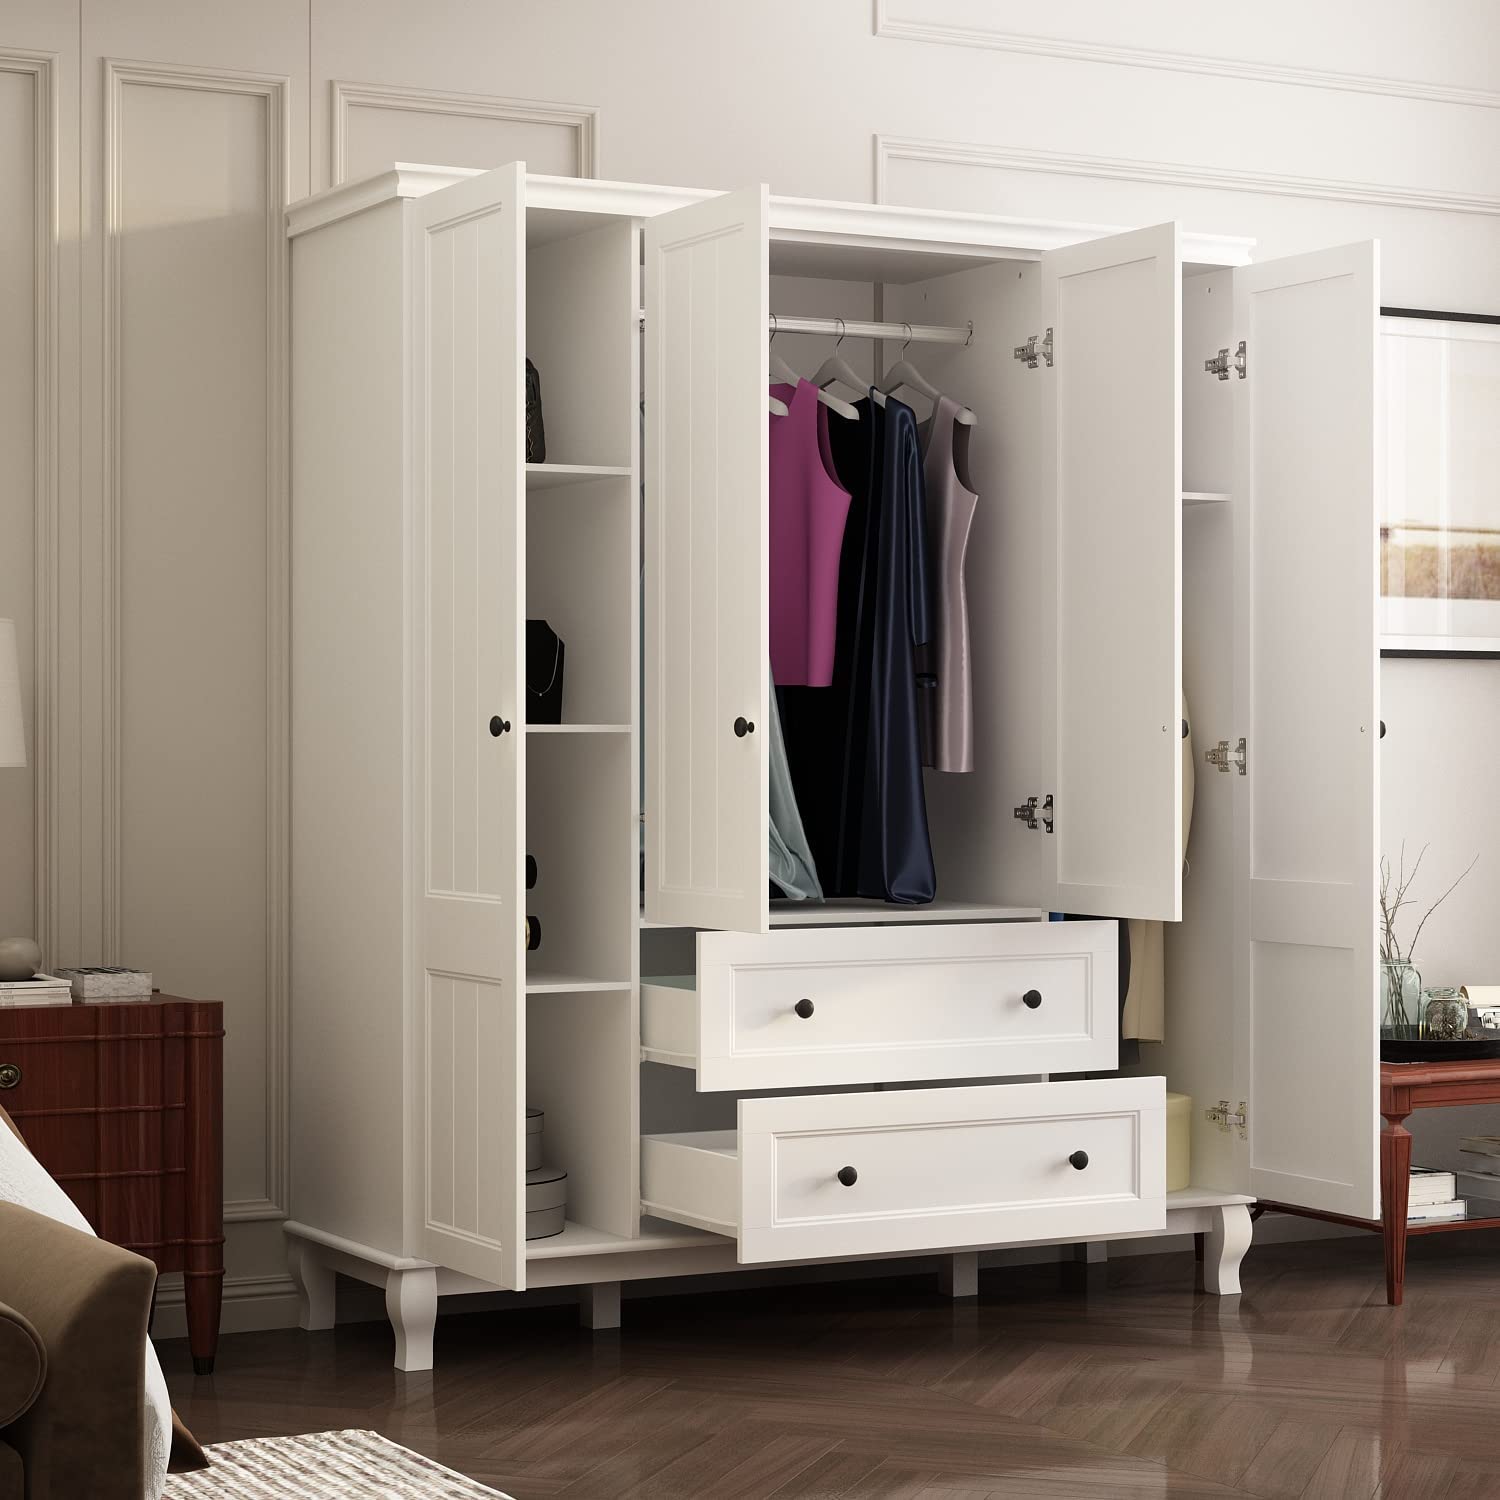
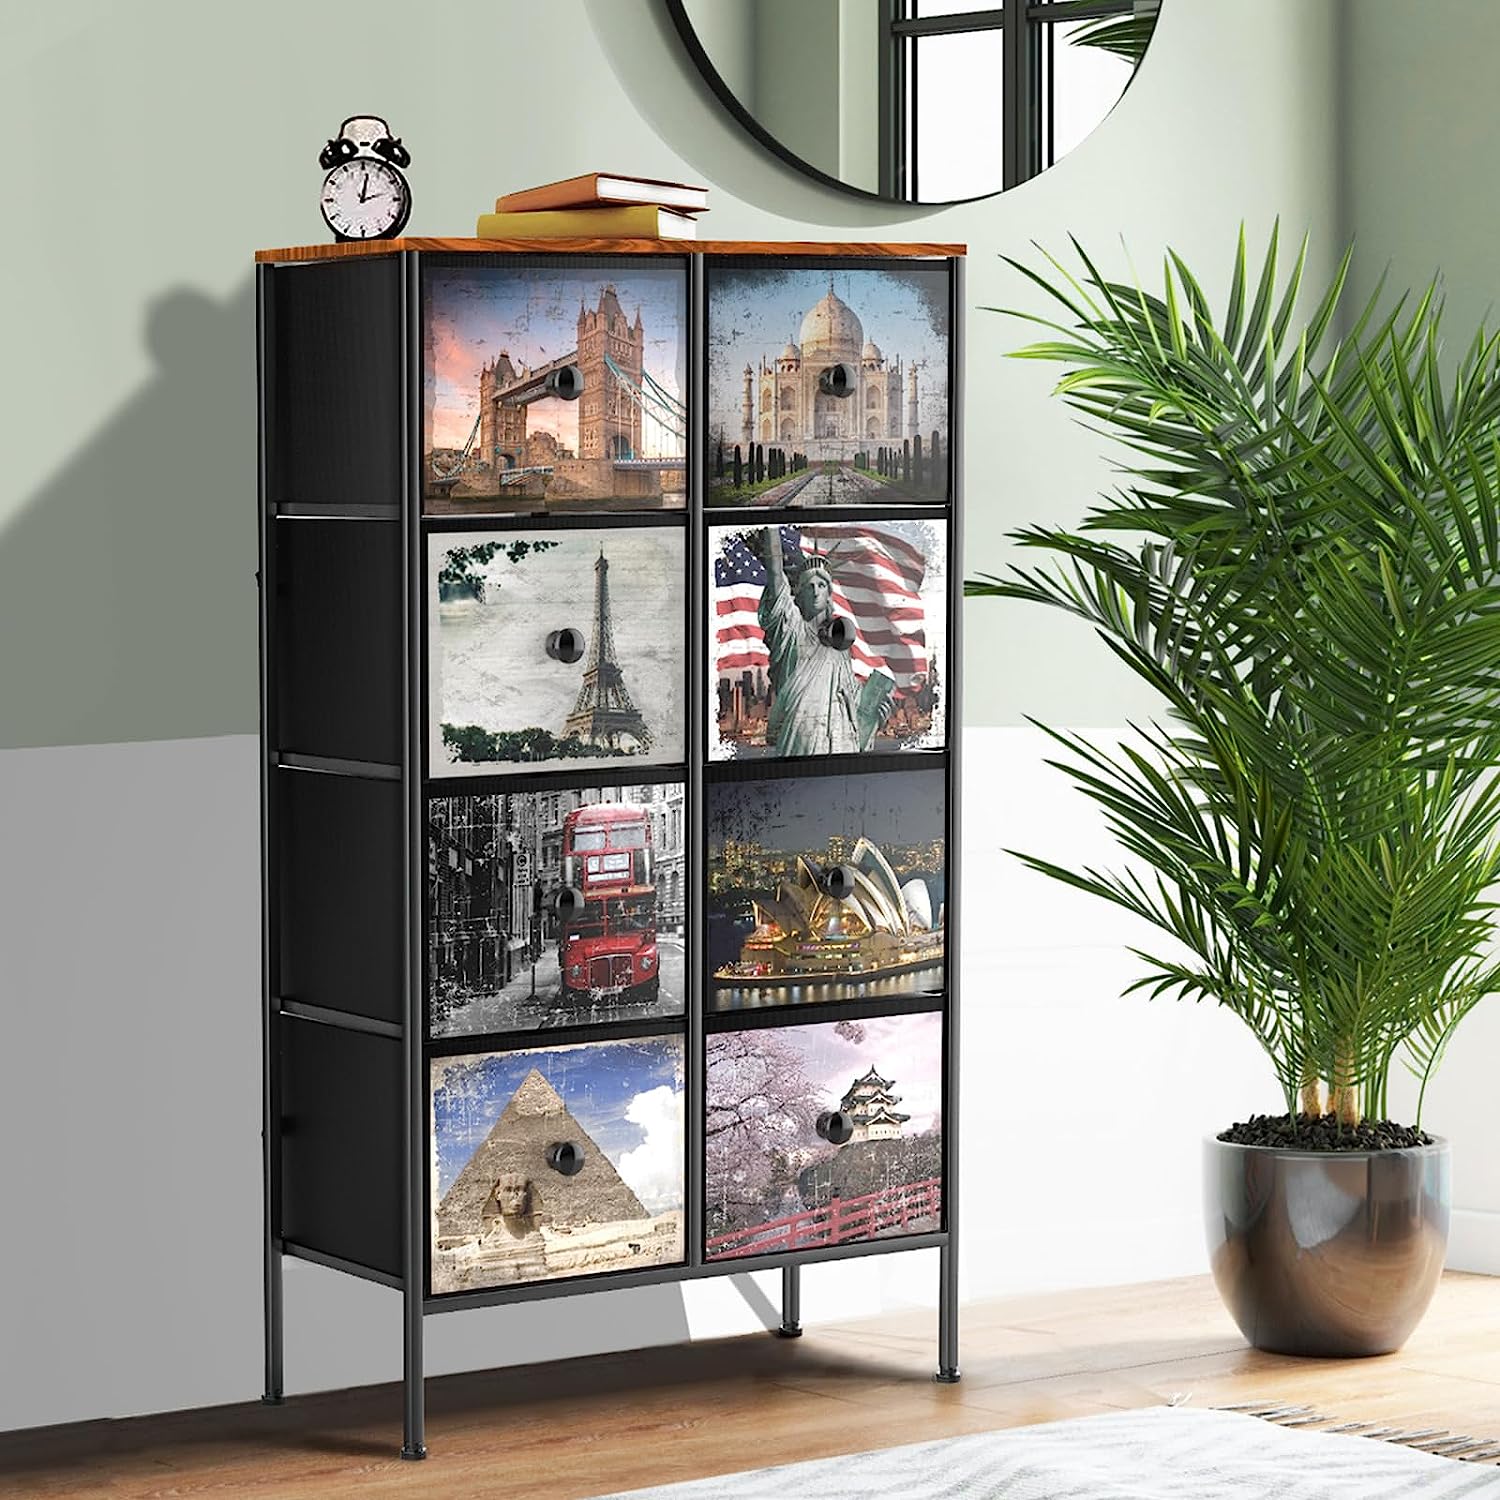
- Add drawers or bins: Integrate drawers or bins into your linen closet design to store smaller items or organize linens by category. This offers additional functionality and keeps everything neatly sorted.
- Plan for ventilation: Ensure proper airflow within the closet to prevent any musty odors or mildew growth. Consider leaving gaps between shelves or using wire shelving to allow air circulation.
- Incorporate lighting: If the closet area is dimly lit, consider adding lighting fixtures to improve visibility. LED strip lights or overhead fixtures are ideal choices to illuminate the space and make it easier to locate specific items.
- Adhere to safety precautions: Keep in mind the weight capacity of the shelves and make sure they are properly installed to prevent accidents or shelf collapse. Distribute heavier items towards the bottom and place lighter items on top.
Take the time to sketch out your design on paper or use a digital design tool. This will help you visualize the layout before you start installing the shelves or cabinets. Consider the overall aesthetic of your home and choose materials and finishes that complement the existing decor.
Once you have a solid plan in place, you’re ready to move on to the next step – installing the shelves or cabinet in your linen closet.
When building a linen closet, consider adjustable shelving to accommodate different sized items. This will allow for flexibility and efficient use of space.
Read more: How To Build Drawers For Closet
Step 5: Install the Shelves or Cabinet
With your design and layout plan ready, it’s time to start installing the shelves or cabinet in your linen closet. This step requires careful measurements, precise cuts, and proper assembly. Follow these steps to ensure a successful installation:
- Mark the desired shelf height: Use a pencil or masking tape to mark the desired height for each shelf. Consider the spacing between shelves to accommodate the items you’ll be storing.
- Attach shelf brackets: Install shelf brackets according to the marked height on each side of the closet. Use a level to ensure they are straight and even. If using adjustable wire shelving, follow the manufacturer’s instructions for installation.
- Place the shelves: Carefully place the shelves on top of the brackets or secure them to the brackets using screws or clips. Ensure they are level and sturdy.
- If building a cabinet: If you’re building a cabinet from scratch, follow your design plan and cut the panels and shelves to the specified dimensions. Assemble the cabinet using the appropriate tools and hardware, such as screws or nails. Use a level to ensure the cabinet is upright and properly aligned.
- Secure the cabinet: If you’re installing a cabinet, anchor it to the wall for added stability and safety. Use wall screws or brackets to secure it at the top and bottom of the cabinet.
- Test the stability: Before loading the shelves or cabinet with linens, give them a gentle shake to ensure they are securely attached to the wall and can withstand the weight of your items.
Remember to refer to your design plan and measurements throughout the installation process to maintain consistency and accuracy. Take your time and double-check that everything is level and properly aligned before moving on.
Once the shelves or cabinet are securely installed, you’re ready to move on to the next step – painting or finishing your linen closet to enhance its appearance.
Step 6: Paint or Finish the Closet
After installing the shelves or cabinet in your linen closet, it’s time to give it a finishing touch. Painting or finishing the closet not only enhances its appearance but also offers protection to the wood or materials used. Follow these steps to create a polished and cohesive look:
- Clean the surfaces: Before painting or finishing, ensure that all surfaces are clean and free from any dust or debris. Use a damp cloth or mild cleaner to wipe down the shelves or cabinet.
- Prepare the surfaces: If you’re painting unfinished wood, lightly sand the surfaces to create a smooth and even texture. Remove any sanding residue before proceeding.
- Choose a finish: Select a paint color or finish that matches your home’s decor and personal preference. Consider using a satin or semi-gloss finish, as they are easier to clean and more resistant to moisture and stains.
- Protect surrounding areas: Use painter’s tape to protect adjacent walls or surfaces from accidental paint or finish splatters. Place drop cloths or old sheets on the floor to protect it from any drips or spills.
- Apply the paint or finish: Use a brush or roller to apply the paint or finish onto the surfaces of the shelves or cabinet. Apply multiple thin coats for an even and smooth finish, allowing each coat to dry completely before applying the next.
- Touch up as necessary: Inspect the painted or finished surfaces for any imperfections or missed spots. Use a smaller brush or touch-up roller to fix any areas that require additional attention.
- Allow for proper drying time: Follow the manufacturer’s instructions for drying time. Avoid placing items on the shelves or using the closet until the paint or finish has fully cured to prevent any damage or sticking.
Remember to work in a well-ventilated area and wear appropriate safety gear, such as gloves and a mask, when painting or applying finishes. Take your time to ensure a clean and professional-looking result.
Once the paint or finish has dried, you’re ready to move on to the next step – adding lighting to your linen closet (optional).
Step 7: Add Lighting (Optional)
Adding lighting to your linen closet can significantly enhance visibility, making it easier to locate items and create a more inviting and functional storage space. While this step is optional, it can make a significant difference in the overall usability and aesthetic of your closet. Follow these steps to add lighting to your linen closet:
- Assess the existing lighting: Determine if there is already sufficient lighting in the closet area. If the area is well-lit, you may not need additional lighting. However, if the space is dimly lit or lacks proper illumination, adding lighting fixtures can greatly improve visibility.
- Choose the type of lighting: Decide on the type of lighting that suits your needs and complements the design of your linen closet. Consider options such as overhead lighting, LED strip lights, or battery-operated puck lights.
- Plan the lighting placement: Determine the best placement for the lighting fixtures within the closet. Consider positioning the lights above or below each shelf or focusing the lighting on specific areas where you’ll need more visibility.
- Install the lighting fixtures: Follow the manufacturer’s instructions to install the chosen lighting fixtures. This may involve wiring the fixture to a power source or using adhesive for easy installation. Be sure to adhere to safety precautions and consult a professional if needed.
- Consider motion-sensor lights: To enhance convenience and energy efficiency, you may opt for motion-sensor lights that turn on automatically when you open the closet door. This eliminates the need for an additional switch and ensures that the lights are only activated when necessary.
- Test the lighting: Once the lighting fixtures are installed, test them to ensure they are working correctly and provide adequate illumination inside the linen closet. Make any adjustments or modifications as needed.
- Secure wiring and check for safety: If you have installed hardwired lighting fixtures, ensure that all wiring is properly concealed and secured to prevent any accidents or entanglement. Double-check that there are no exposed wires or loose connections.
Adding lighting to your linen closet not only improves functionality but also adds a touch of elegance to the space. It allows you to easily locate and access your linens, especially in low-light situations. However, always prioritize safety and follow electrical safety guidelines when working with any electrical components.
Once the lighting is installed and functioning correctly, you’re ready to move on to the final step – organizing and stocking your newly built linen closet.
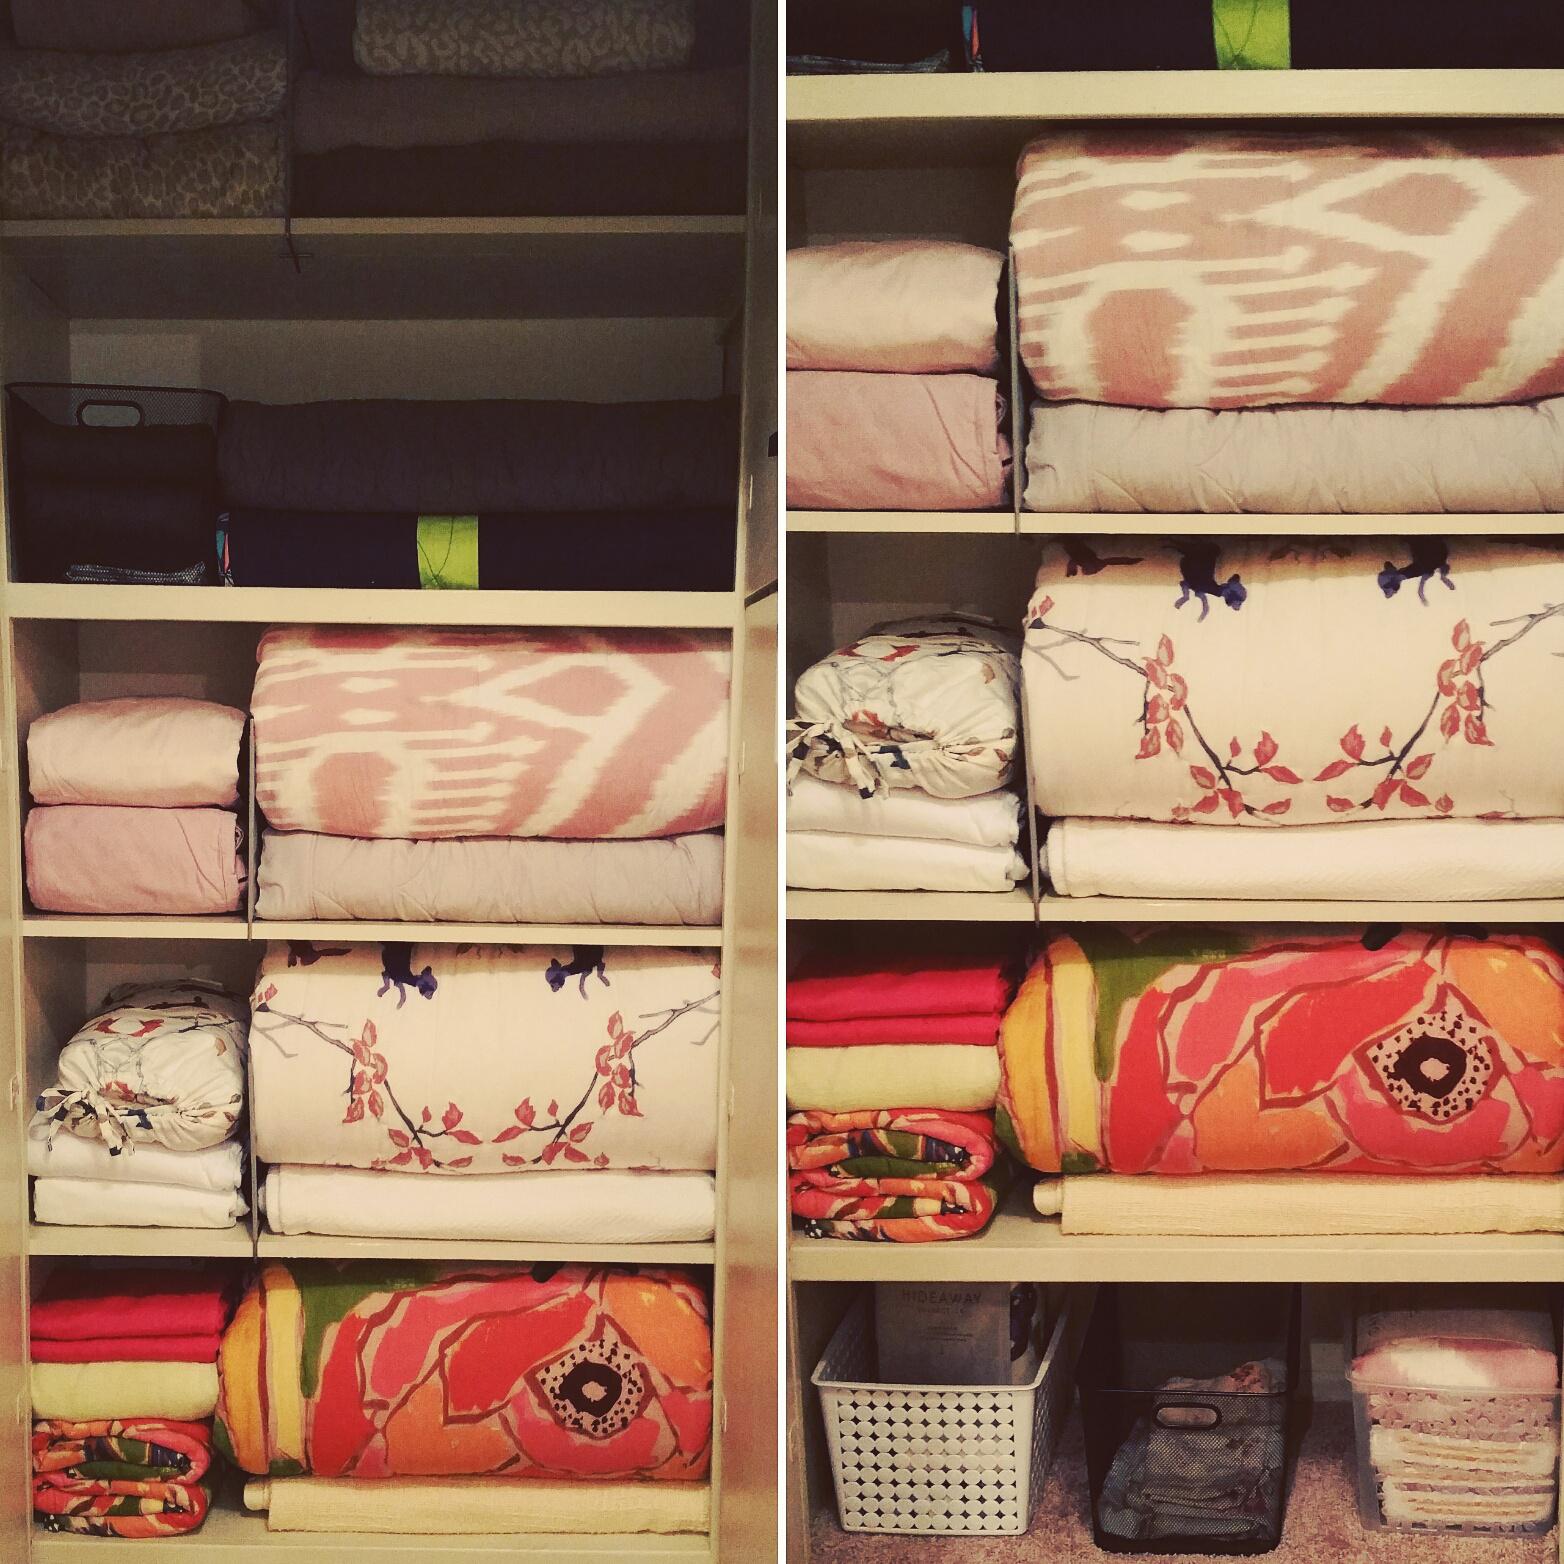
Step 8: Organize and Stock the Linen Closet
Congratulations on reaching the final step! Now that your linen closet is built, painted, and properly lit, it’s time to organize and stock it with your linens. This step will ensure that everything is neatly arranged and easily accessible when you need it. Follow these tips to effectively organize your linen closet:
- Sort and declutter: Start by sorting through your linens and decluttering any items that are damaged, stained, or no longer in use. This will help you maximize space and keep only the linens that you truly need.
- Categorize your linens: Group your linens into categories such as towels, bed sheets, blankets, and tablecloths. This will make it easier to locate specific items when needed.
- Fold and stack: Fold your linens neatly and stack them on the shelves according to their categories. Use linen dividers or storage bins to keep stacks of linens organized and prevent them from toppling over.
- Label containers or shelves: Label containers or shelves with the corresponding linen categories. This helps you quickly identify where each type of linen is stored and facilitates easier maintenance of the organized system.
- Utilize vertical space: Make use of vertical space by storing taller items such as extra pillows or blankets on higher shelves. This prevents wasted space and maximizes storage capacity.
- Utilize the door: If your linen closet has a door, consider using the inside of the door to hang hooks or install an over-the-door organizer. This creates additional storage space for items like hand towels or small accessories.
- Rotate linens: To prevent linens from becoming musty or stale, periodically rotate them. Use the first-in, first-out system by placing freshly laundered linens in the back and moving older ones to the front for regular use.
- Keep it tidy: Regularly maintain the organization of your linen closet by placing items back in their designated spots after use. This will help you sustain the system and make it easier to find what you need in the future.
By following these organizing principles, your linen closet will remain tidy, efficient, and visually appealing. You’ll have a well-organized space where you can easily find and access your linens whenever you need them.
With your linen closet organized and stocked, you’ve successfully completed all the steps to build a functional and stylish storage area for your linens. Take a moment to appreciate your accomplishment and enjoy the convenience and beauty of your new linen closet!
Thank you for following this comprehensive guide. Happy organizing!
Read more: How To Build Closet Organizer
Conclusion
Congratulations! You have successfully completed the process of building a linen closet from start to finish. By following this step-by-step guide, you have created a functional and organized storage space for your linens. Here’s a recap of the steps:
- Measure the space
- Gather materials and tools
- Remove existing shelves or cabinet
- Plan the design and layout
- Install the shelves or cabinet
- Paint or finish the closet
- Add lighting (optional)
- Organize and stock the linen closet
Building a linen closet requires careful planning, attention to detail, and a bit of creativity. Throughout the process, you considered the dimensions of the space, selected the appropriate materials and tools, and ensured proper installation and organization. The result is a well-designed linen closet that not only provides ample storage but also enhances the overall aesthetic of your home.
Remember to maintain the organization of your linen closet by regularly decluttering, rotating linens, and keeping everything tidy. This will help you maximize space and ensure that your linens remain easily accessible and in excellent condition.
Building a linen closet is just one example of how you can optimize your home’s storage and organization. Apply the skills and knowledge you’ve gained from this guide to other areas of your home to create functional and beautiful storage solutions.
Thank you for following this guide on how to build a linen closet. Enjoy the convenience and satisfaction of having a well-organized and visually pleasing storage space for your linens. Happy organizing!
Frequently Asked Questions about How To Build A Linen Closet
Was this page helpful?
At Storables.com, we guarantee accurate and reliable information. Our content, validated by Expert Board Contributors, is crafted following stringent Editorial Policies. We're committed to providing you with well-researched, expert-backed insights for all your informational needs.


0 thoughts on “How To Build A Linen Closet”