Articles
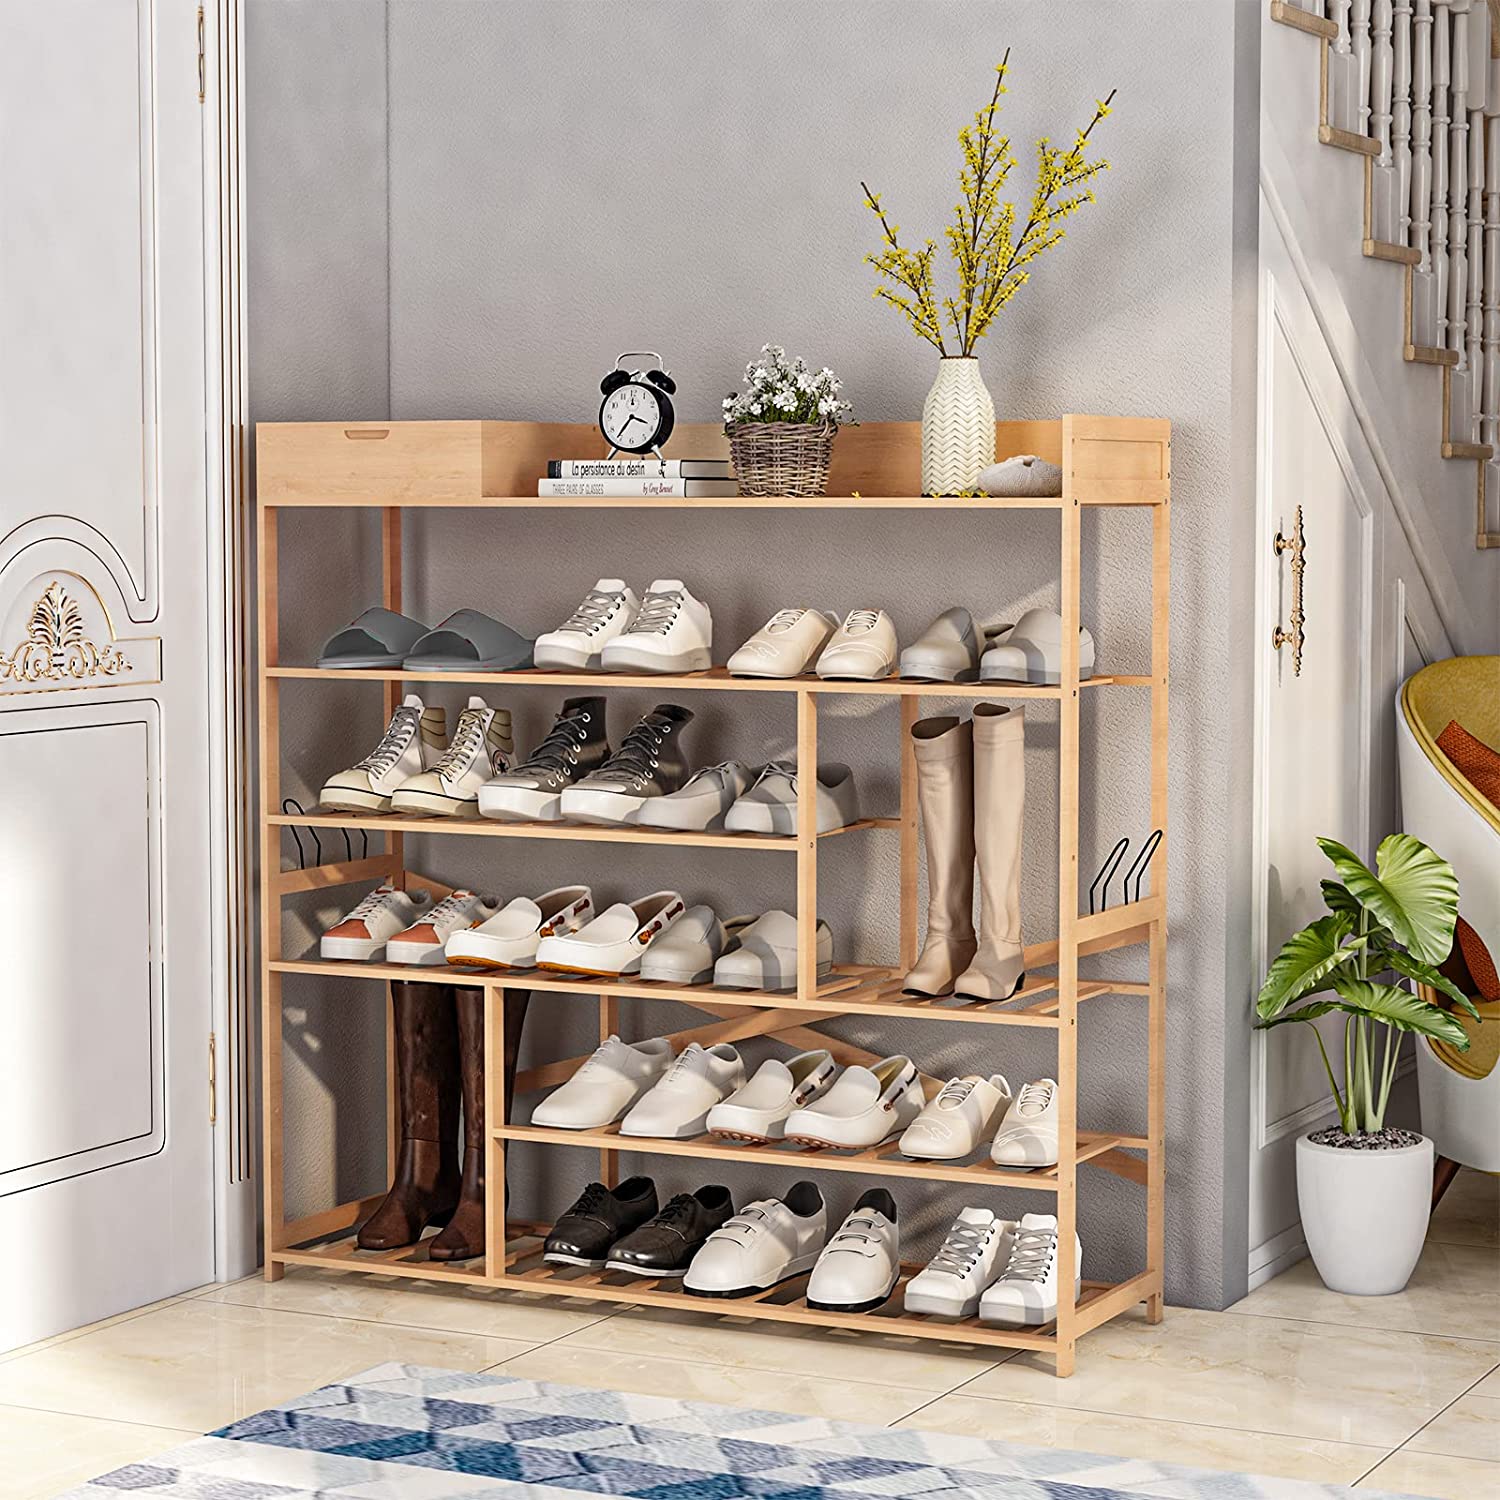
How To Build A Shoe Rack For Closet
Modified: September 1, 2024
Learn how to build a practical shoe rack for your closet with our step-by-step guide. Maximize your living room storage and keep your shoes organized.
(Many of the links in this article redirect to a specific reviewed product. Your purchase of these products through affiliate links helps to generate commission for Storables.com, at no extra cost. Learn more)
Introduction
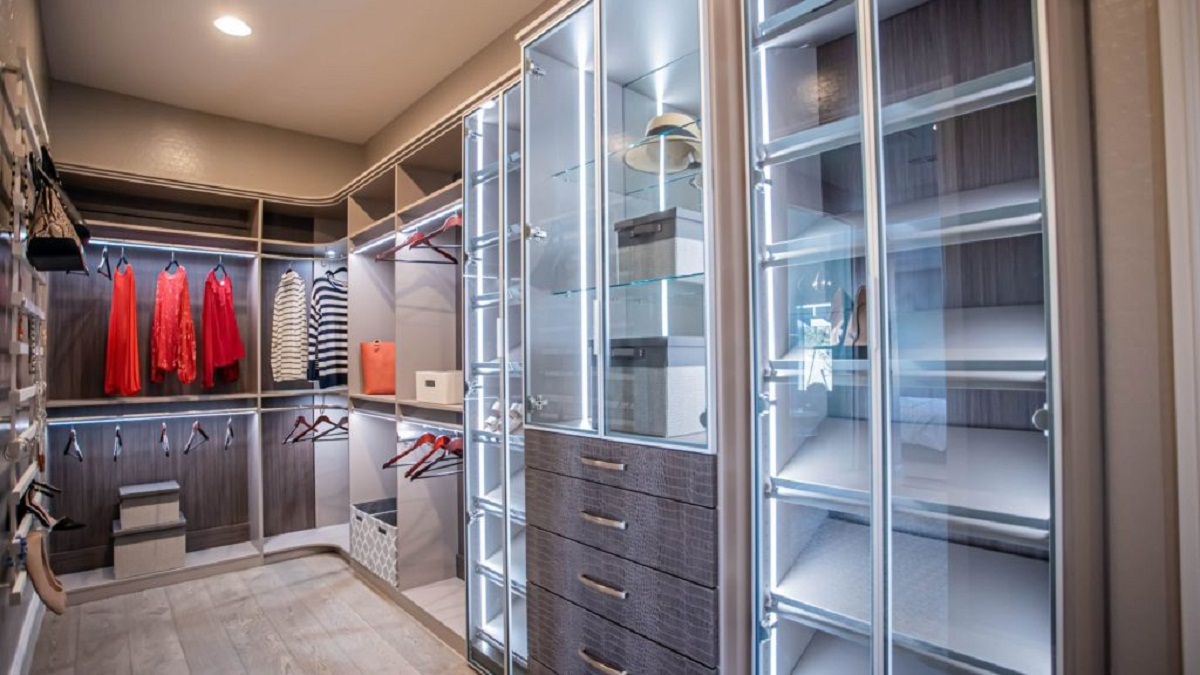
Having a well-organized closet not only saves space but also makes it easier to find and access your belongings. One essential element in a clutter-free closet is a dedicated shoe rack. A shoe rack helps keep your footwear neatly displayed and prevents them from getting misplaced or damaged.
In this article, we will guide you through the process of building a shoe rack specifically designed for a closet. We will provide step-by-step instructions, including the materials required and the tools needed to complete the project. By the end of this guide, you will have a functional and stylish shoe rack that fits perfectly in your closet space.
Before diving into the construction process, it’s important to take accurate measurements of your closet. This will ensure that the shoe rack fits snugly and maximizes the available space. Additionally, we encourage you to consider the number of shoes you own and the type of footwear you plan to store. This will help determine the dimensions and capacity of your shoe rack.
Now, let’s gather the necessary materials and get ready to embark on this DIY shoe rack project!
Key Takeaways:
- Building a customized shoe rack for your closet involves accurate measurements, thoughtful design, and precise assembly. It not only keeps your shoes organized but also adds a personal touch to your home.
- By following this DIY guide, you can create a functional and stylish shoe rack that maximizes your closet space. Enjoy the benefits of easy shoe access and a clutter-free closet!
Read more: How To Store Shoes In Small Closet
Materials Needed
Before starting the construction of your shoe rack, gather the following materials:
- 1-inch thick plywood sheets
- Wood screws
- Wood glue
- Sandpaper (medium grit)
- Stain or paint of your choice
- Paintbrush or foam brush
- Measuring tape
- Pencil
- Saw (circular saw or miter saw)
- Drill
- Screwdriver
- Level
- Optional: Decorative moldings or trim
The plywood sheets will serve as the main structure of the shoe rack. Choose a high-quality plywood that is strong and durable. The wood screws will be used to secure the pieces together, while wood glue will help reinforce the joints for added stability.
Sandpaper is essential for smoothing out any rough edges or surfaces before applying the finishing touches. You can choose to stain or paint the shoe rack to match your closet’s aesthetic. Use a paintbrush or foam brush to apply the stain or paint evenly.
Don’t forget to have a measuring tape and pencil on hand to accurately mark the dimensions of the wood pieces. A saw, such as a circular saw or miter saw, will be needed to cut the plywood according to the specified measurements.
As for the assembly, you will need a drill and screwdriver to attach the pieces together securely. A level will come in handy to ensure that the shoe rack is perfectly level once installed inside the closet.
If you want to add an extra decorative touch, consider using decorative moldings or trim to enhance the appearance of your shoe rack.
With all the necessary materials available, you are now ready to start building your shoe rack. Let’s move on to the next step and measure the closet space.
Step 1: Measure the Closet Space
Before you begin designing and building your shoe rack, it’s important to accurately measure the space available in your closet. This step will help determine the dimensions and configuration of your shoe rack to ensure a perfect fit.
Start by clearing out any items from the closet so that you have a clear and unobstructed area to work with. Use a measuring tape to measure the width, height, and depth of the space where you plan to install the shoe rack.
It’s important to take into account any obstructions, such as baseboard moldings or hanging rods, that may affect the placement and dimensions of your shoe rack. Measure the distance from the floor to any obstructions and make note of them.
Consider the number of shoes you own and how you would like them to be organized on the shoe rack. This will help determine the number of shelves or compartments you will need and the spacing between them.
Once you have gathered all the necessary measurements, it’s time to move on to the next step: designing your shoe rack. Having a clear plan in mind will make the construction process easier and more efficient.
Note: If you are not confident in your measuring skills or would like professional assistance, consider consulting with a carpenter or closet organizer to ensure accurate measurements and optimal utilization of space.
Now that you have the dimensions of your closet space, let’s move on to designing the shoe rack.
Step 2: Design the Shoe Rack
With the measurements of your closet space in hand, it’s time to design the layout and configuration of your shoe rack. Depending on your available space and personal preferences, there are several design options to consider:
- Simple Shelf Design: If you have ample vertical space, a basic shelf design can be an efficient and straightforward option. Determine the number of shelves you need, taking into account the height of your shoes. Consider leaving enough space between shelves to accommodate taller shoes or boots.
- Tiered Rack Design: To maximize the storage capacity in a narrower closet, consider a tiered rack design. This allows for more vertical storage while taking up less horizontal space. You can use steps or angled shelves to create a visually appealing and functional shoe rack.
- Customizable Cubbies: For a versatile and customizable shoe storage solution, consider building a shoe rack with cubbies. This design allows for separate compartments for each pair of shoes, making organization and retrieval a breeze.
- Rotating Rack: If you have limited space but many pairs of shoes, a rotating shoe rack can be a smart solution. This design allows for easy access to all your shoes while occupying minimal space.
Once you have chosen a design that suits your needs, sketch out the dimensions and layout of your shoe rack on a piece of paper. Take into consideration the measurements of your closet space, the number of shoes you need to accommodate, and any other customization options, such as adding decorative moldings or trim.
Make sure to label the dimensions of each section and the spacing between shelves or cubbies. This will serve as a helpful reference when you move on to the construction phase.
With your shoe rack design finalized, you are now ready to gather the necessary tools for the construction process. In the next step, we will outline the tools you will need to bring your shoe rack design to life.
Step 3: Gather the Necessary Tools
Before you start building your shoe rack, it’s important to gather all the necessary tools to ensure a smooth and efficient construction process. Here’s a list of the tools you will need:
- Saw: You will need a saw to cut the plywood and any additional trim or moldings. A circular saw or a miter saw will come in handy for precise and clean cuts.
- Measuring Tape: Accurate measurements are crucial for a properly fitting shoe rack. A measuring tape will help you measure and mark the dimensions of the wood pieces.
- Pencil: Use a pencil to mark the measurements on the plywood or any other materials you are working with. This will ensure precise cuts and assembly.
- Drill: A drill will be necessary for creating pilot holes and attaching the wood pieces together. Choose a drill with a variety of drill bits suitable for wood.
- Screwdriver: You will need a screwdriver to secure the screws in place. Consider having both a flathead and a Phillips head screwdriver to accommodate different types of screws.
- Sandpaper (medium grit): Sandpaper is essential for smoothing out any rough edges or surfaces on the wood pieces. Opt for medium-grit sandpaper for an optimal finish.
- Wood Glue: Wood glue will help reinforce the joints of your shoe rack, providing extra stability and durability. Choose a high-quality wood glue that bonds well with plywood.
- Paintbrush or Foam Brush: If you plan to stain or paint your shoe rack, a paintbrush or a foam brush will be necessary to apply the finish evenly and smoothly.
- Level: A level will ensure that your shoe rack is straight and level when installed in your closet. This tool is important for maintaining a professional and polished look.
Gather all these tools and ensure they are in good working condition before you begin the construction process. Having all the necessary tools ready will save you time and make the building process more enjoyable.
Now that you have your tools prepared, it’s time to move on to the next step: cutting the wood pieces for your shoe rack.
Consider building a simple shoe rack using wooden planks and dowels. Measure the closet space to determine the size of the rack, and use a level to ensure it’s installed evenly. This DIY project can help keep your closet organized and tidy.
Read more: How To Organize Shoe Boxes In Closet
Step 4: Cut the Wood Pieces
With your measurements and design plan in hand, it’s time to cut the wood pieces for your shoe rack. This step is crucial in ensuring that each piece fits together perfectly and creates a sturdy structure for your shoes.
Start by setting up a safe and well-lit workspace. Place the plywood sheets on a stable work surface, ensuring that they are supported and won’t move during the cutting process. If you are using decorative moldings or trim, have them ready as well.
Using your measuring tape and pencil, mark the dimensions of each piece according to your shoe rack design. Take into account the height, width, and depth of the shelves or cubbies and any additional trim or moldings.
Next, use your saw (such as a circular saw or miter saw) to carefully cut along the marked lines. Take your time and ensure that each cut is straight and accurate. If you are using decorative moldings or trim, cut them to the appropriate length and angle as well.
As you cut each piece, label them accordingly to avoid confusion during the assembly process. A labeling system using numbers or letters can help you easily identify which pieces go where.
After cutting the wood pieces, use sandpaper with medium grit to smooth out any rough edges or surfaces. This will create a clean and professional finish on your shoe rack.
Once all the wood pieces are cut and sanded, it’s time to move on to the next step: assembling the shoe rack.
Note: If you are not confident in your cutting skills or do not have the necessary tools, consider seeking assistance from a professional carpenter or using a hardware store’s cutting service. Accurate cuts are essential for a well-fitting shoe rack.
Step 5: Assemble the Shoe Rack
Now that you have all the wood pieces cut and sanded, it’s time to assemble your shoe rack. Following your design plan and utilizing the labeled pieces, carefully follow these steps:
- Attach the Vertical Supports: Start by attaching the vertical supports, which will serve as the sides of your shoe rack. Apply wood glue to the edges of each vertical support piece and align them with the corresponding edges of the base piece. Secure them in place using wood screws and a drill. Repeat this step for each side.
- Install the Shelves or Cubbies: Place the shelves or cubbies on top of the vertical supports, ensuring they are level and evenly spaced. Use wood screws and a drill to attach them securely to each support. If you are using cubbies, make sure they are properly aligned and squared before securing.
- Add the Back Support (Optional): To provide additional stability and prevent shoes from falling behind the shoe rack, you can add a back support piece. Attach it to the back of the vertical supports using wood screws, reinforcing the joints with wood glue.
- Attach Decorative Moldings or Trim (Optional): If you want to enhance the aesthetic appeal of your shoe rack, you can now attach any decorative moldings or trim. Apply wood glue to the back of each molding or trim piece and carefully position them on the front edges of the shoe rack. Secure them in place using finishing nails or brad nails.
- Sand the Assembled Shoe Rack: Once the shoe rack is fully assembled, use sandpaper to smooth out any rough edges or surfaces. Pay attention to areas where different pieces meet to create a seamless and polished look.
Throughout the assembly process, periodically use a level to ensure that your shoe rack is straight and level. This will help prevent any tilting or instability when filled with shoes.
After completing the assembly, allow the wood glue to fully dry before moving on to the next step. Refer to the manufacturer’s instructions for the recommended drying time.
With your shoe rack now assembled, it’s time to proceed to the next step: sanding and finishing.
Step 6: Sand and Finish the Shoe Rack
Now that your shoe rack is assembled, it’s important to sand and finish it to achieve a smooth and visually appealing surface. Follow these steps to sand and finish your shoe rack:
- Sand the Surface: Use medium-grit sandpaper to sand the entire surface of the shoe rack. This will help remove any rough spots, imperfections, or excess glue. Sand in the direction of the grain for a more uniform finish. Pay close attention to the edges, corners, and joints to ensure they are smooth and seamless.
- Clean the Surface: After sanding, use a clean, dry cloth to remove any dust or debris from the shoe rack. This will ensure that the finish adheres properly and gives you a clean and professional look.
- Apply Stain or Paint: Choose your desired finish, whether it’s a stain or paint. If using a stain, apply it evenly using a paintbrush or foam brush, following the grain of the wood. Allow the stain to penetrate the wood according to the manufacturer’s instructions, and wipe off any excess. If using paint, apply it in thin, even coats, allowing each coat to dry before applying the next.
- Apply Clear Coat (Optional): To protect and seal the surface of your shoe rack, consider applying a clear coat. This will add an extra layer of durability and enhance the appearance of the wood. Apply the clear coat according to the manufacturer’s instructions, ensuring that it is evenly applied and allowed to dry completely.
Throughout the sanding and finishing process, take care to work in a well-ventilated area and follow all safety precautions mentioned by the manufacturers of the products you are using.
Once the finish is dry, inspect the shoe rack for any touch-ups or areas that may need additional sanding. Make any necessary adjustments to ensure a smooth and flawless finish.
With your shoe rack sanded and finished, it’s time to move on to the final step: installing the shoe rack in your closet.
Step 7: Install the Shoe Rack in the Closet
Congratulations! You have reached the final step of building your shoe rack. Now it’s time to install it in your closet and start enjoying your organized footwear collection. Follow these steps to properly install your shoe rack:
- Clean the Closet: Before installing the shoe rack, clean and declutter your closet space. Remove any items or debris that may obstruct the installation process.
- Position the Shoe Rack: Carefully place the shoe rack in the desired position within your closet. Make sure it is level and aligns with any markings or measurements you took earlier.
- Secure the Shoe Rack: Using a drill and appropriate screws, fix the shoe rack to the closet wall or floor for added stability. Alternatively, you can secure it to the closet’s existing shelving system if applicable.
- Test Stability: After securing the shoe rack, give it a gentle shake to ensure it is stable and doesn’t wobble. Adjust the installation if necessary.
- Organize your Shoes: Now that your shoe rack is securely installed, it’s time to organize your footwear. Arrange your shoes neatly on the shelves or cubbies, taking into consideration your preferred organization method, such as by type, color, or frequency of use.
- Add Finishing Touches: To complete the look, consider adding any additional accessories or organizers, such as clear shoe boxes, labels, or hooks for hanging accessories.
Now stand back and admire your newly installed shoe rack. With your shoes organized and easily accessible, you’ll enjoy a clutter-free and efficient closet space.
Remember to periodically clean and maintain your shoe rack to keep it in optimal condition. Wipe down the surfaces and check for any signs of wear or damage. With proper care, your shoe rack will serve you well for years to come.
With the installation complete, you have successfully built and installed a customized shoe rack for your closet. Enjoy the benefits of a well-organized space and easily accessible footwear!
Thank you for following this DIY guide. Happy shoe organizing!
Read more: How To Build A Wardrobe Closet
Conclusion
Building a shoe rack for your closet is a rewarding DIY project that provides numerous benefits. Not only does it help keep your shoes organized and easily accessible, but it also maximizes your closet space and adds a touch of personal style to your home. By following the step-by-step instructions outlined in this guide, you have successfully completed a shoe rack that perfectly fits your closet space and meets your storage needs.
Throughout the process, you have learned the importance of accurate measurements, proper tool selection, and precise assembly techniques. You have also explored various design options, allowing you to customize your shoe rack to best suit your preferences and the size of your shoe collection.
Remember, the key to a successful shoe rack is careful planning, attention to detail, and taking the time to properly sand and finish the wood surfaces. This will ensure not only a functional and durable shoe rack but also an aesthetically pleasing addition to your closet.
Now that your shoe rack is installed, take the opportunity to organize your shoes in a way that works best for you. By keeping your footwear neatly displayed and easily accessible, you will save time and eliminate the frustration of searching for matching pairs.
As you enjoy the benefits of your newly built shoe rack, don’t forget to periodically clean and maintain it to prolong its lifespan. This includes regular dusting, wiping off any spills, and checking for any signs of wear or damage. By taking care of your shoe rack, it will continue to serve you well for many years to come.
Thank you for following this DIY guide. We hope that building your shoe rack has been a fun and rewarding experience. Now go ahead and enjoy your organized closet and effortlessly find the perfect pair of shoes for any occasion!
Once your new shoe rack is neatly installed, why not tackle another space-saving project? For those who value a tidy closet, mastering the art of shirt folding can further streamline your storage solutions. Check out our guide on selecting the perfect shirt folding board, designed to speed up closet organization and maintain crisp, clean lines in your wardrobe. This handy tool simplifies keeping shirts in pristine condition, making your closet management efforts both efficient and satisfying.
Frequently Asked Questions about How To Build A Shoe Rack For Closet
Was this page helpful?
At Storables.com, we guarantee accurate and reliable information. Our content, validated by Expert Board Contributors, is crafted following stringent Editorial Policies. We're committed to providing you with well-researched, expert-backed insights for all your informational needs.
0 thoughts on “How To Build A Shoe Rack For Closet”