Articles
How To Build Drawers For Closet
Modified: September 1, 2024
Learn how to build custom storage cabinets for your closet with our step-by-step guide, perfect for maximizing space and organization.
(Many of the links in this article redirect to a specific reviewed product. Your purchase of these products through affiliate links helps to generate commission for Storables.com, at no extra cost. Learn more)
Introduction
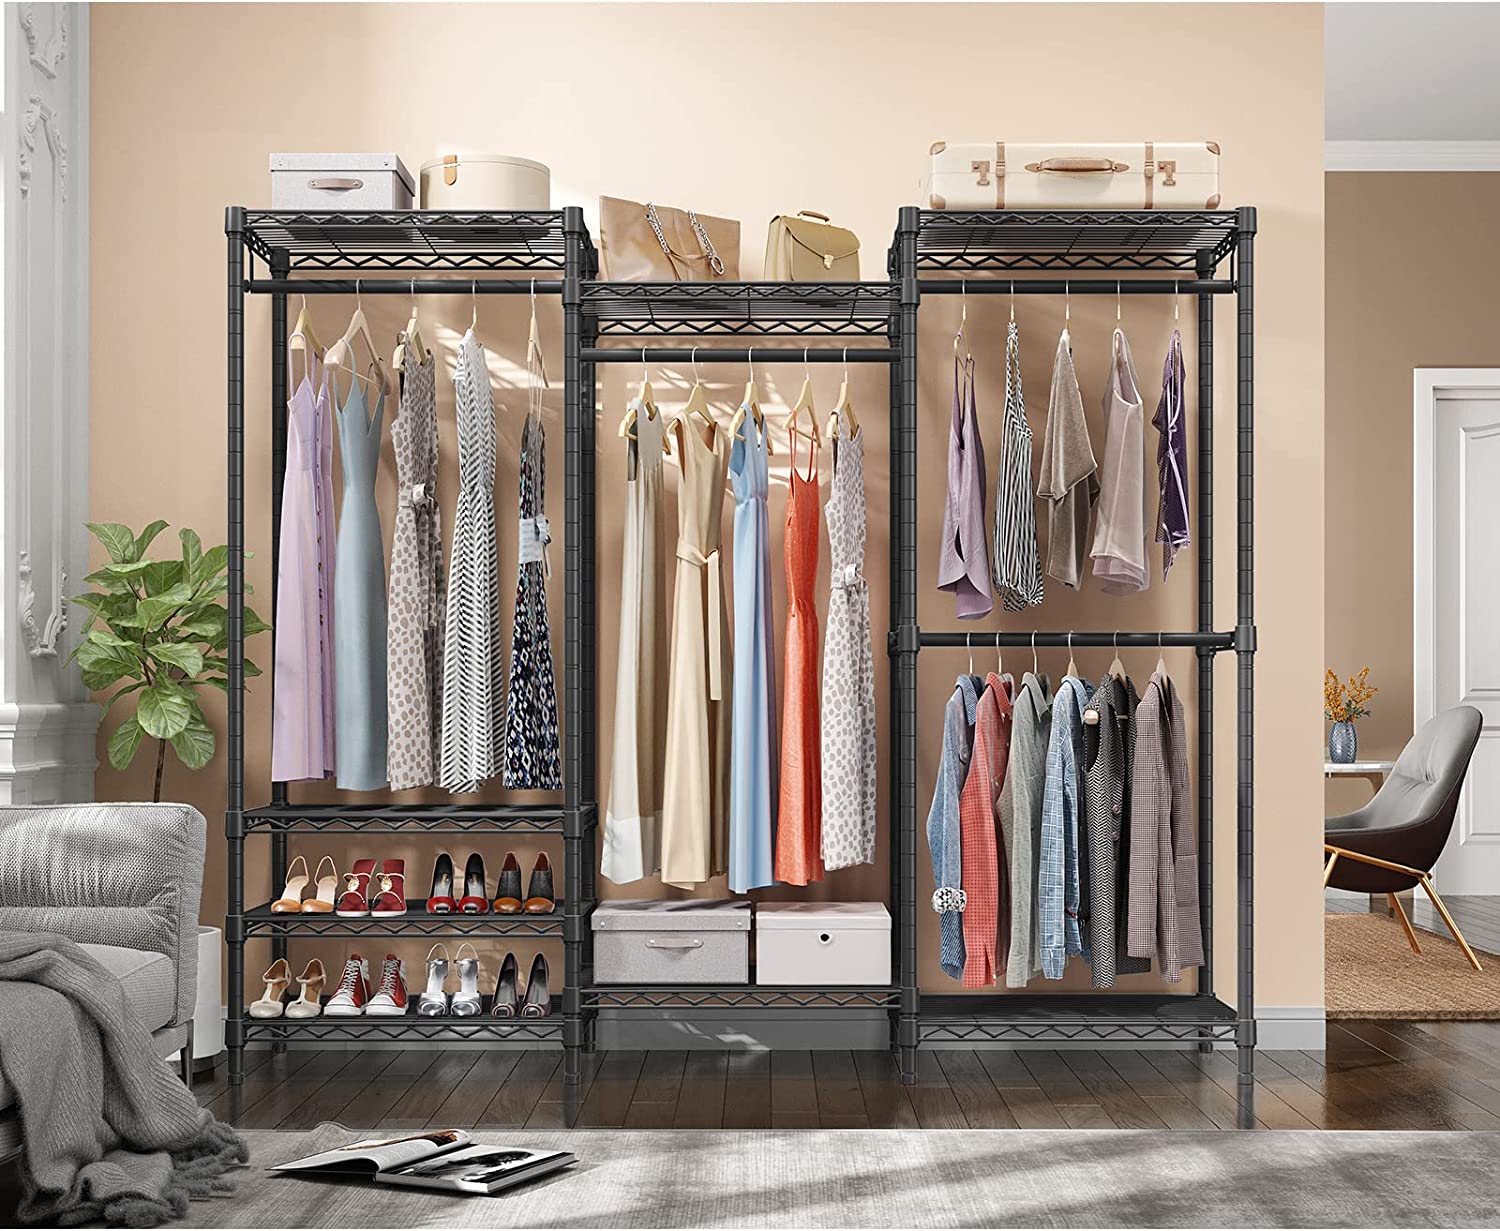
Welcome to this step-by-step guide on how to build drawers for your closet. Are you tired of cluttered and disorganized closet spaces? Building your own drawers can be a cost-effective and practical solution to create more storage and bring order to your closet.
In this guide, we will walk you through the process of building sturdy and functional drawers for your closet. Whether you are a seasoned DIY enthusiast or a beginner, this project is relatively easy and can be completed in just a few hours with the right tools and materials.
Having well-built drawers in your closet is essential for efficient storage. They provide a space to keep your clothes, accessories, and other items neatly organized and easily accessible. By building your own drawers, you have the flexibility to customize them according to your specific needs and preferences.
Before we dive into the steps, let’s go over the materials you will need for this project.
Key Takeaways:
- Create customized, organized storage solutions by building your own drawers for the closet. Save money, unleash creativity, and enjoy a clutter-free, visually appealing closet with personalized storage space.
- Master the art of woodworking and gain valuable skills in measuring, cutting, assembling, and finishing wood. Transform your closet into a well-organized, functional space while enjoying the satisfaction of a DIY project.
Read more: How To Build A Wardrobe Closet
Materials Needed
Before you start building your drawers, make sure you have the following materials:
- Plywood or solid wood: Choose a sturdy and durable wood material for the drawer sides, front, back, and bottom. Plywood is commonly used due to its strength and affordability.
- Drawer slides: These are essential for smooth operation of the drawers. Make sure to measure your closet space and choose drawer slides that fit and can support the weight of your drawers.
- Wood glue: This will be used to secure the joints of the drawer box for added strength.
- Screws: Get a variety of screws in different sizes to fasten the different components of the drawers together.
- Sanding materials: You will need sandpaper or a sanding block to smoothen the rough edges and surfaces of the wood.
- Finishing materials: Depending on your preference, you may want to use paint, stain, or varnish to give your drawers a finished look.
- Drawer handles or knobs: Choose handles or knobs that match the style of your closet and provide a comfortable grip for opening and closing the drawers.
- Measuring tape: Accurate measurements are crucial for a well-fitted drawer, so make sure you have a measuring tape on hand.
- Saw: A saw will be needed to cut the wood pieces to the desired dimensions. Depending on your preference and availability, you can use a circular saw, jigsaw, or table saw.
- Screwdriver or drill: This will be used to drive the screws into the wood and assemble the drawers.
It’s always a good idea to gather all the materials before you start the project to ensure a smooth and uninterrupted building process. Now that you have everything you need, let’s move on to measuring and planning for your drawers.
Measure and Plan
Before you begin building your drawers, it’s important to measure your closet space and plan the dimensions of your drawers accordingly. Proper measuring and planning will ensure that your drawers fit perfectly into your closet and maximize the available space.
Start by measuring the length, width, and height of your closet space. Take accurate measurements and jot them down. These measurements will serve as the basis for determining the size of your drawers.
Consider how many drawers you want to have in your closet and how much space you want to allocate for each drawer. This will depend on the items you plan to store in your drawers and your personal preferences.
Once you have an idea of the dimensions and number of drawers, it’s time to sketch out a plan. Use a pen and paper or a digital design tool to create a rough sketch of your closet and where you want to place the drawers. This will help you visualize the layout and make any necessary adjustments before starting the construction process.
When planning the dimensions of your drawers, keep in mind the thickness of the wood material you’re using. This will affect the overall dimensions of the drawer box.
It’s also important to consider the clearance required for the drawer slides. Consult the manufacturer’s instructions for the specific drawer slides you are using to determine the necessary clearance space.
Take your time during the measuring and planning stage to ensure accuracy and avoid any costly mistakes. Once you have the measurements and plan in place, you’re ready to move on to cutting the wood pieces for your drawers.
Cut Wood Pieces
Now that you have your measurements and plan, it’s time to cut the wood pieces for your drawers. This step is critical in ensuring that all the components fit together properly and that your drawers are sturdy and well-constructed.
Start by gathering your plywood or solid wood and marking the dimensions for each part of the drawer box – the sides, front, back, and bottom. Use a measuring tape and pencil to make precise measurements and mark the cut lines on the wood.
When cutting the wood, it’s important to use a saw that is appropriate for your chosen material. A circular saw, jigsaw, or table saw can all be used, depending on your preference and availability. Remember to follow proper safety precautions when operating the saw.
When cutting the wood pieces, it’s a good practice to cut them slightly larger than the actual dimensions you measured. This allows for any inaccuracies and gives you some room for fine-tuning the fit during assembly.
Double-check your measurements and cut along the marked lines to create the side, front, back, and bottom pieces of your drawer box. Make sure the cuts are clean and straight for a professional-looking finish.
As you cut the wood, keep the pieces organized and labeled to avoid confusion during assembly. You may want to number the pieces or use masking tape to mark which piece is which.
Once you have all the wood pieces cut to size, use sandpaper or a sanding block to smooth out any rough edges or surfaces. This will ensure a clean, polished look and make the assembly process easier.
With the wood pieces cut and sanded, you’re now ready to move on to the next step – assembling the drawer box.
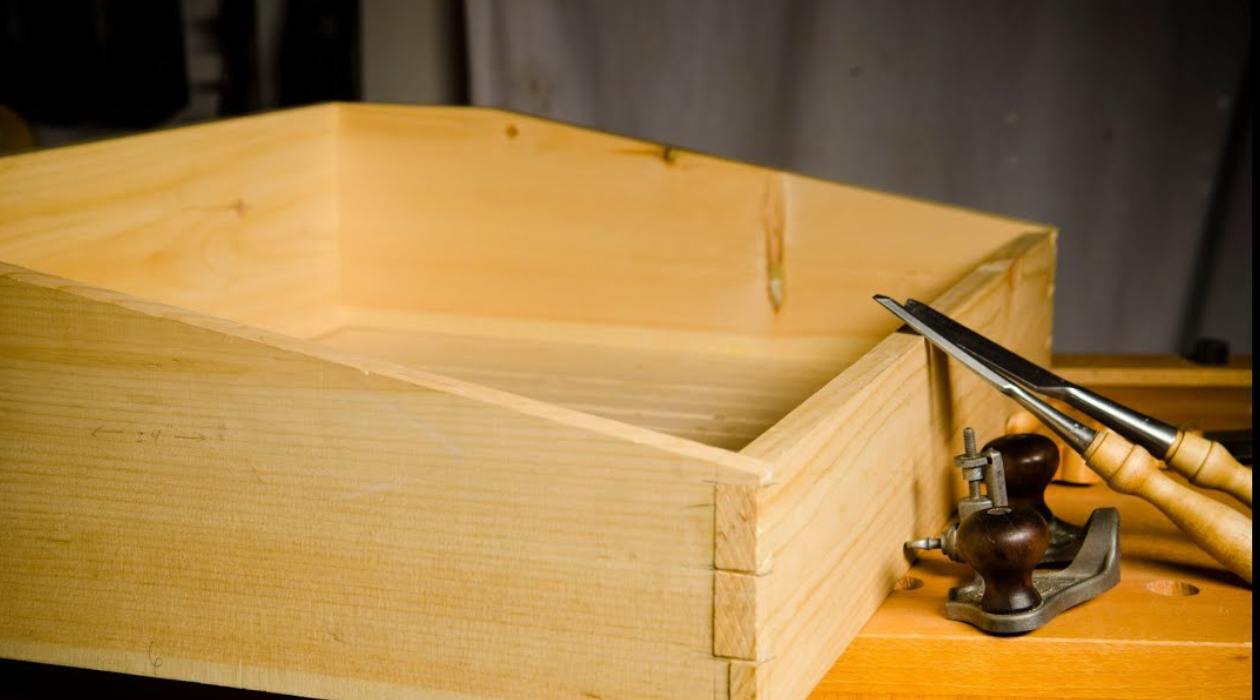
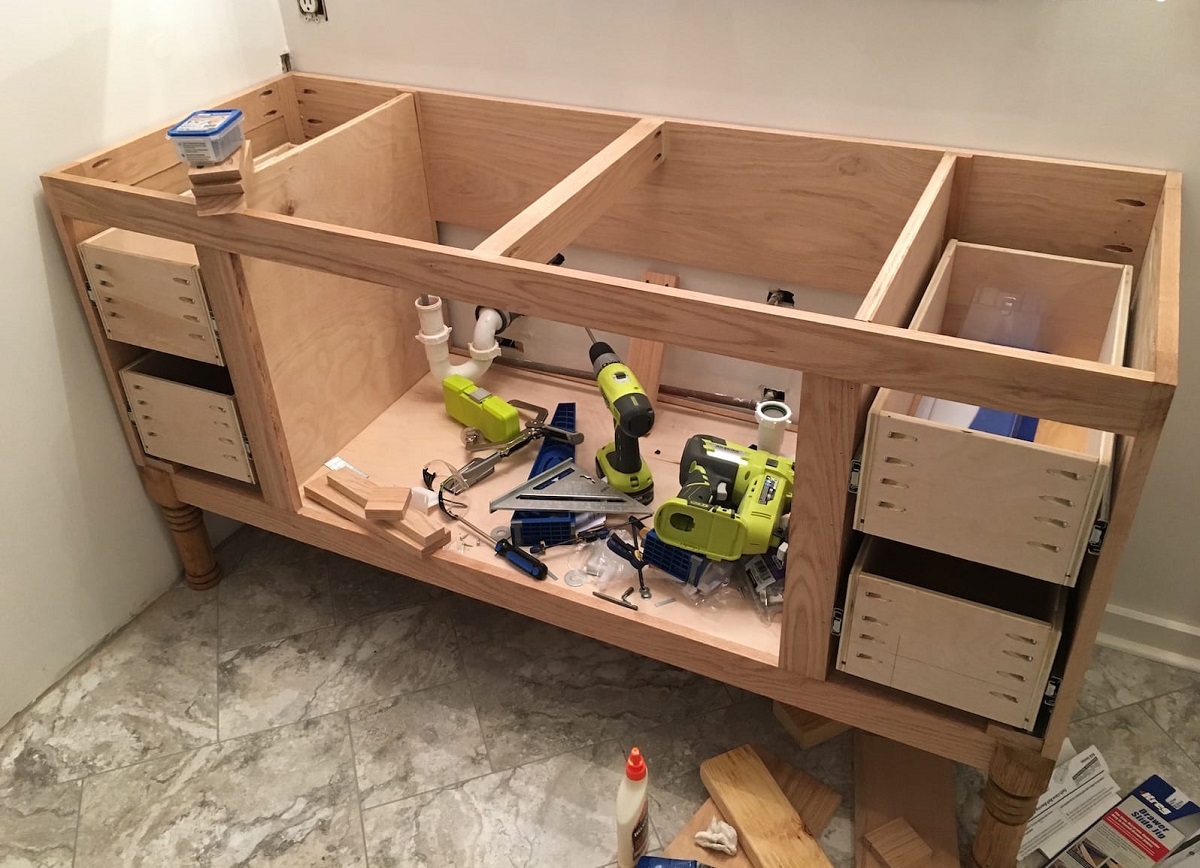
Assemble Drawer Box
Now that you have your wood pieces cut to size, it’s time to assemble the drawer box. The drawer box is the main structure that holds the contents of the drawer and provides stability and support.
Start by laying out the side, front, back, and bottom pieces of the drawer box on a flat surface. Make sure the edges align properly and the corners meet at right angles.
Apply a thin layer of wood glue along the edges of the side pieces where they will connect with the front and back pieces. This will provide added strength and stability to the joints.
Screw the pieces together using screws that are appropriate for the thickness of your wood. Pre-drilling pilot holes can help prevent the wood from splitting. Make sure the screws are countersunk, meaning they are flush with the surface of the wood to ensure a smooth finish.
Continue assembling the drawer box by attaching the bottom piece to the sides, front, and back. Apply wood glue along the edges and use screws to secure the bottom to the sides and back. This will create a solid and stable drawer box.
Ensure that all the joints are tight and the drawer box is square. You can use clamps or straps to hold the pieces together while the glue dries, ensuring a strong bond.
Once the glue is dry and the drawer box is fully assembled, check for any gaps or inconsistencies. Use sandpaper to smooth out any imperfections and create a seamless surface.
With the drawer box complete, you’re ready to move on to the next step – installing the drawer slides for smooth operation.
Install Drawer Slides
Installing drawer slides is a crucial step in the construction of your drawers. Drawer slides allow the drawers to open and close smoothly and provide stability and support.
Start by determining the appropriate placement of the drawer slides inside your closet. Consult the manufacturer’s instructions for specific guidance, but generally, the slides should be mounted parallel to each other on both sides of the drawer opening.
Measure and mark the position for each set of drawer slides on the sides of the closet, ensuring they are level and aligned properly. Use a measuring tape and pencil to make accurate markings.
Secure the drawer slides to the sides of the closet using screws that are appropriate for your chosen slide system. Make sure to follow the instructions provided by the manufacturer for proper installation.
Once the drawer slides are securely mounted on the sides of the closet, it’s time to install the corresponding slide components onto the drawer box. Attach the drawer slides to the sides of the drawer box using screws, following the manufacturer’s instructions.
Test the drawer slides by sliding the drawer box back and forth along the slides. Ensure that the movement is smooth and the drawer is properly aligned with the opening. Make any necessary adjustments to ensure a perfect fit.
Repeat this process for each set of drawer slides, ensuring that all the drawers in your closet are properly installed and aligned.
Once you’ve installed the drawer slides, you’re ready to move on to the next step – attaching the front panel of the drawers.
When building drawers for a closet, make sure to measure the space accurately and use quality materials such as plywood for the construction. Install drawer slides for smooth opening and closing, and consider adding dividers or organizers for better organization.
Attach Front Panel
Attaching the front panel is an important step in the construction of your drawers, as it not only adds a finished look but also provides structural stability. The front panel serves as the face of the drawer and is what you’ll see when the drawer is closed.
Start by aligning the front panel with the drawer box, making sure it is flush with the top and sides. Use clamps or weights to temporarily hold the front panel in place while you attach it.
Pre-drill pilot holes through the front panel into the sides of the drawer box. This will help prevent the wood from splitting when attaching the screws.
Secure the front panel to the drawer box using screws that are appropriate for the thickness of your wood. Ensure that the screws are countersunk to create a seamless surface. Make sure the front panel is aligned and centered properly before tightening the screws.
Continue attaching the front panel in this manner until all the drawers have their front panels securely attached.
Once the front panels are attached, double-check that they open and close smoothly. Make any necessary adjustments to ensure proper alignment and smooth operation.
With the front panels securely attached, the construction of your drawers is nearing completion. The next step is to sand and finish the drawers to achieve a polished and professional look.
Sand and Finish
Now that your drawers are assembled, it’s time to give them a smooth and polished finish. Sanding and finishing the wood not only enhances its appearance but also protects it from wear and tear.
Start by using sandpaper or a sanding block to sand the surfaces of the drawers. Begin with a rough grit sandpaper, such as 120-grit, and gradually move to finer grits, such as 220-grit, for a smoother finish.
Focus on sanding the edges, corners, and any rough spots on the wood. Sand in the direction of the wood grain to avoid scratches or uneven surfaces.
After sanding, wipe away any dust or debris with a clean cloth or tack cloth to prepare the surface for finishing.
Next, apply a wood finish of your choice. Options include paint, stain, or varnish. Consider the aesthetic you want to achieve and the level of protection required for your drawers.
If you choose to paint the drawers, apply a primer first to create a smooth base that allows the paint to adhere better. Once dry, apply multiple coats of paint, allowing each coat to dry fully before applying the next.
If you prefer the natural beauty of wood, use a wood stain to enhance the grain and color. Apply the stain with a brush or cloth and wipe away any excess. Allow the stain to dry completely before applying a clear finish or sealant.
For additional protection and a glossy finish, you can apply a clear varnish or polyurethane. Use a brush or spray to evenly coat the drawers with the varnish. Allow each coat to dry fully before applying additional coats, following the manufacturer’s instructions.
Remember to sand lightly between each coat to remove any imperfections and create a smooth surface.
Once the finish is dry, your drawers will have a beautiful and durable surface ready for installation in your closet.
The final step is to install drawer handles or knobs to complete the look and functionality of your drawers.
Install Drawer Handle
The installation of drawer handles adds the finishing touch to your drawers and makes them easy to open and close. The choice of handles or knobs can enhance the overall aesthetic appeal of your closet and provide a comfortable grip.
Start by determining the desired placement of the handles on the front panel of your drawers. Measure and mark the positions on the front panel, ensuring they are symmetrical and aligned with each other.
Use a template or a ruler to create a guide for drilling holes. This will help ensure accurate placement and prevent any mistakes. Mark the center points for the holes on the front panel.
Using an appropriate size drill bit, drill holes at the marked center points. Make sure to drill straight and perpendicular to the front panel for a professional look.
After drilling the holes, trial fit the handle or knob to ensure a proper fit. If the screws provided with the handle are too long, you may need to trim them to avoid poking through the other side of the drawer front.
Once you are satisfied with the fit, attach the handles or knobs to the front panel using the provided screws. Tighten the screws securely without over-tightening, as this can damage the wood or strip the screw threads.
Double-check that all the handles are attached securely and aligned properly. Open and close the drawers to ensure smooth operation without any interference from the handles.
With the drawer handles installed, your drawers are now complete and ready to be placed in your closet.
Before installing the drawers in your closet, remember to do a final quality check. Ensure that the slides are properly aligned and the drawers open and close smoothly. Make any necessary adjustments to ensure a perfect fit.
Now that you have learned how to build drawers for your closet and install the handles, it’s time to organize and enjoy your newly created storage space. Happy organizing!
Read more: How To Build Closet Organizer
Tips and Tricks
Building drawers for your closet can be a rewarding project with the right techniques and strategies. Here are some tips and tricks to help you achieve the best results:
- Measure twice, cut once: Accurate measurements are crucial for properly fitting drawers. Double-check your measurements before cutting any wood pieces to avoid costly mistakes.
- Use the right tools: Invest in quality tools that are appropriate for the project, such as a saw and drill. This will make the construction process easier and ensure precise cuts and secure fastening.
- Choose the right wood: Select a sturdy and durable wood material for your drawers, such as plywood or solid wood. Consider the weight and type of items you plan to store to determine the best wood thickness.
- Take your time with assembly: Pay attention to the assembly process and ensure that all joints are secure and square. Use clamps or straps to hold the pieces together while the glue dries, if needed.
- Sand, sand, sand: Take the time to thoroughly sand all surfaces of the drawers for a smooth finish. Sanding also helps to remove any sharp edges or splinters that could be harmful.
- Consider drawer slide weight capacity: Make sure to choose drawer slides that can handle the weight of the items you plan to store in your drawers. Overloading the drawers with heavy items can cause damage or compromise the integrity of the slides.
- Prevent squeaky drawers: Apply a small amount of wax or lubricant to the drawer slides to prevent squeaking and ensure smooth movement.
- Customize to fit your needs: Don’t be afraid to customize the dimensions, design, and finish of the drawers to match your specific needs and style preferences. This is your opportunity to create functional and aesthetically pleasing storage solutions.
- Safety first: Wear appropriate safety gear, such as safety glasses and gloves, when operating power tools or handling wood. Follow proper safety guidelines to prevent accidents or injuries.
- Take breaks when needed: Building drawers can be a time-consuming project. Remember to take regular breaks to rest and recharge. It’s important to maintain focus and accuracy throughout the entire construction process.
By keeping these tips and tricks in mind, you can ensure a successful and satisfying experience while building drawers for your closet.
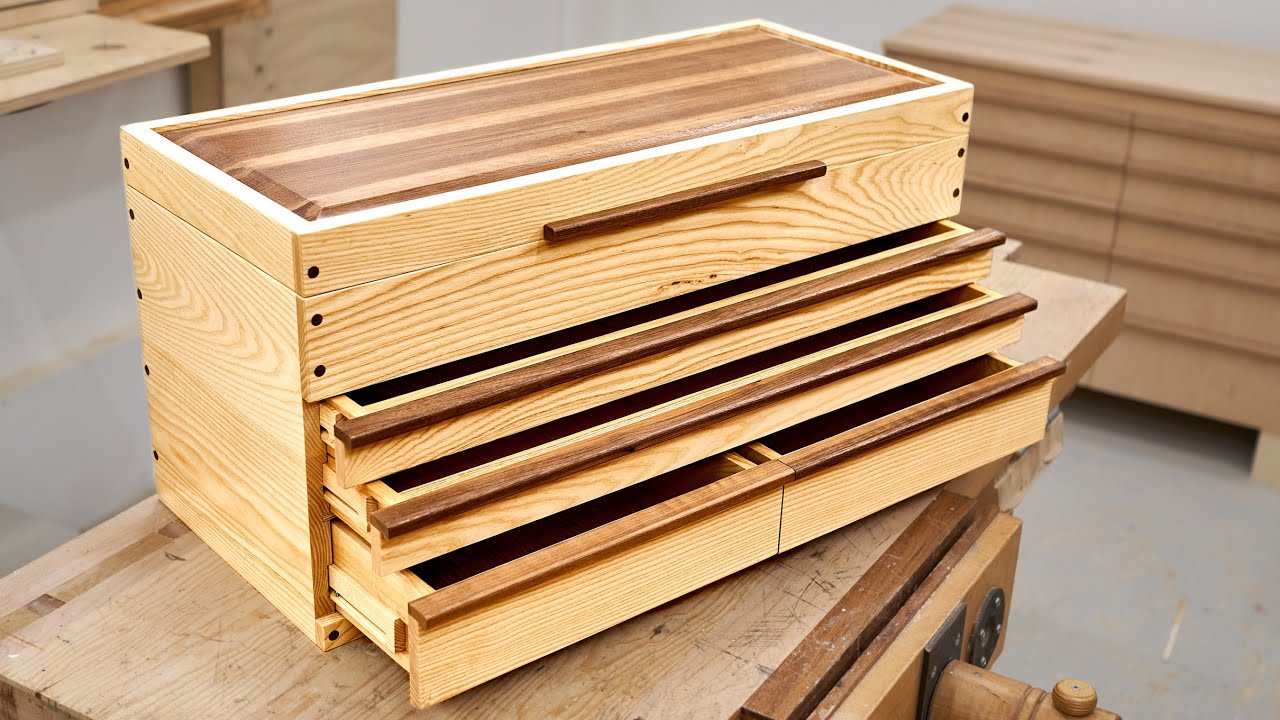
Conclusion
Congratulations! You have successfully learned how to build drawers for your closet. By following the step-by-step guide and implementing the tips and tricks provided, you have created a practical and organized storage solution that will bring order to your closet.
Building your own drawers allows you to customize the dimensions, style, and finish to perfectly suit your needs and preferences. You have gained valuable skills in measuring, cutting, assembling, and finishing wood, which can be applied to future woodworking projects.
Remember, accuracy and attention to detail are key when constructing drawers. Taking the time to measure accurately, cut precisely, assemble securely, and finish beautifully will ensure a professional outcome that will stand the test of time.
Whether you are a seasoned DIY enthusiast or a beginner, building drawers for your closet is a manageable and rewarding project. Not only does it save you money compared to store-bought solutions, but it also allows you to create a personalized storage space that reflects your unique style.
Now it’s time to enjoy the benefits of your newly built drawers – a clutter-free closet, easy access to your belongings, and a visually appealing storage solution. Organize your clothes, accessories, or other items in the newly constructed drawers and revel in the satisfaction of a well-organized and functional closet.
Thank you for joining us on this journey to learn how to build drawers for your closet. Happy organizing!
Frequently Asked Questions about How To Build Drawers For Closet
Was this page helpful?
At Storables.com, we guarantee accurate and reliable information. Our content, validated by Expert Board Contributors, is crafted following stringent Editorial Policies. We're committed to providing you with well-researched, expert-backed insights for all your informational needs.


0 thoughts on “How To Build Drawers For Closet”