Home>Furniture>How To Build a Closet Without Professional Help


Furniture
How To Build a Closet Without Professional Help
Modified: December 6, 2023
Closets are a great way to organize any space. However, they can also be expensive. Here’s how to build a closet without professional help.
(Many of the links in this article redirect to a specific reviewed product. Your purchase of these products through affiliate links helps to generate commission for Storables.com, at no extra cost. Learn more)
Clutter is the enemy of organization. It can make your home feel cramped and suffocating, leaving you with no room to breathe. Fortunately, closets are one of the best tools for defeating it and creating a sense of calm in your life. They provide much-needed storage space for all your stuff, keeping them neatly tucked away so you can focus on what’s important. However, closets can be expensive, and sometimes you just don’t have the budget for a professional installation. Keep reading to find out how to build a closet without spending a fortune or hiring outside help!
Types of Closets You Can Build Yourself
Read more: How To Build A Wardrobe Closet
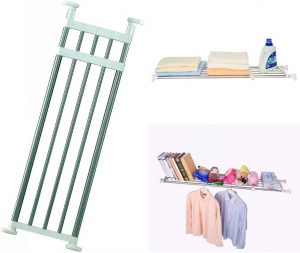
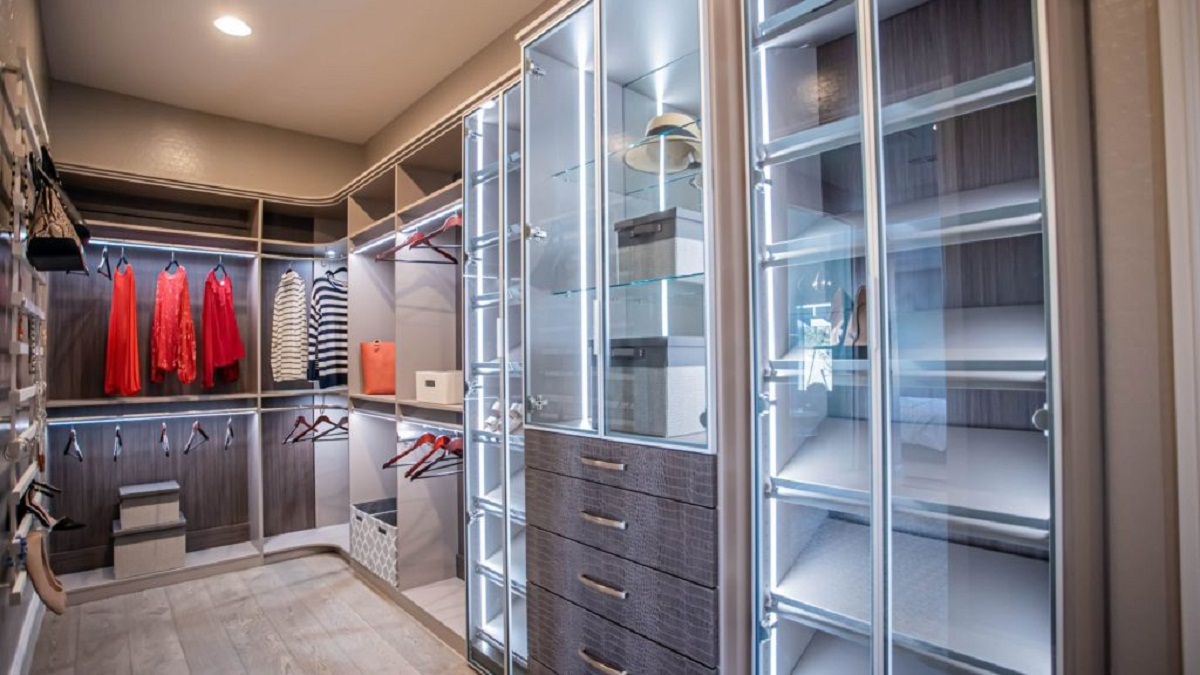
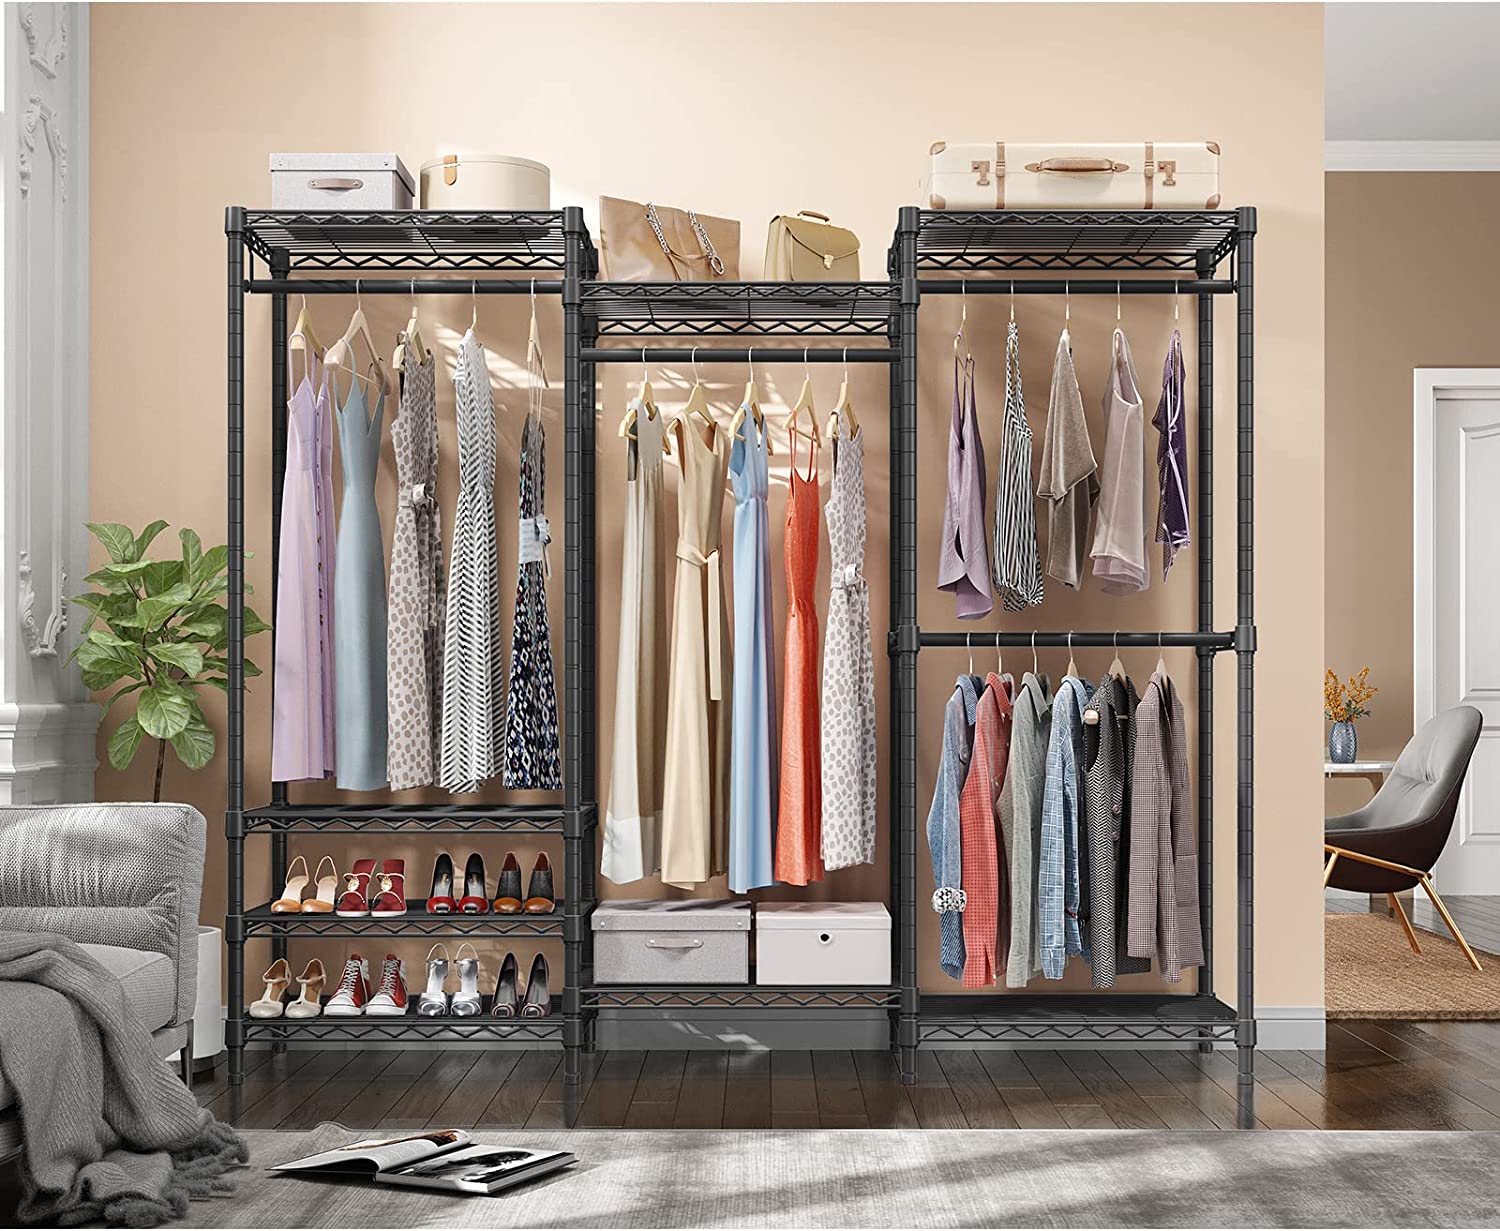
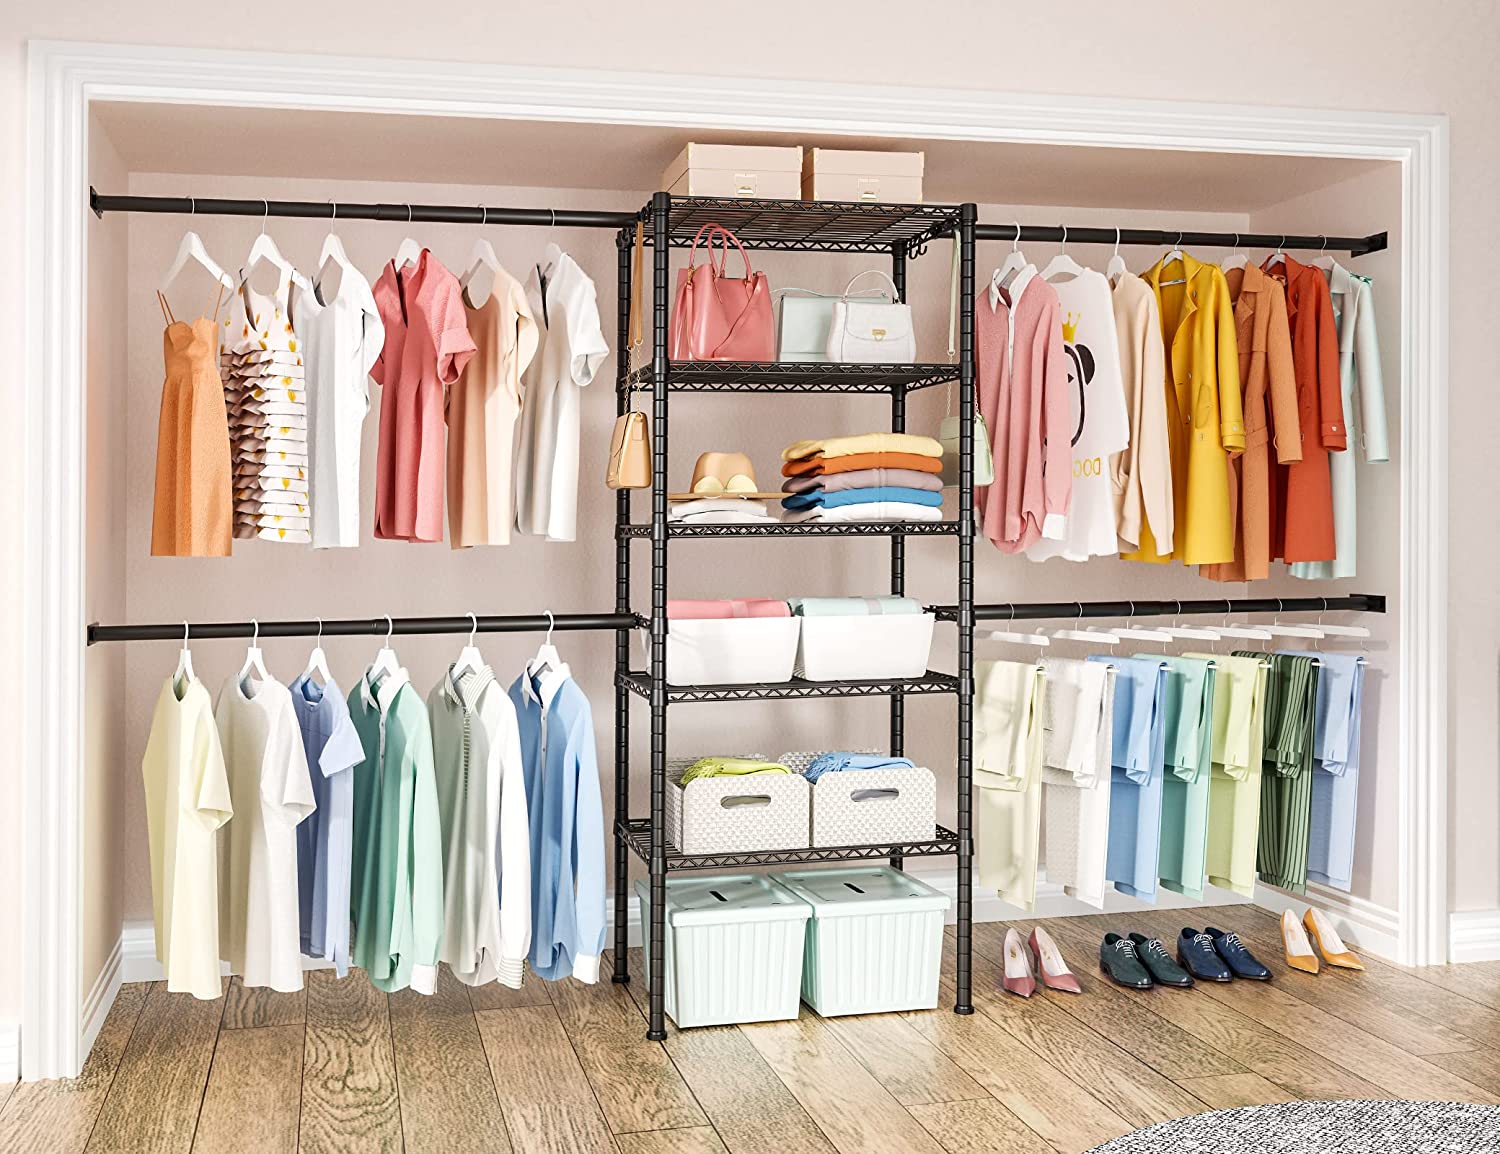
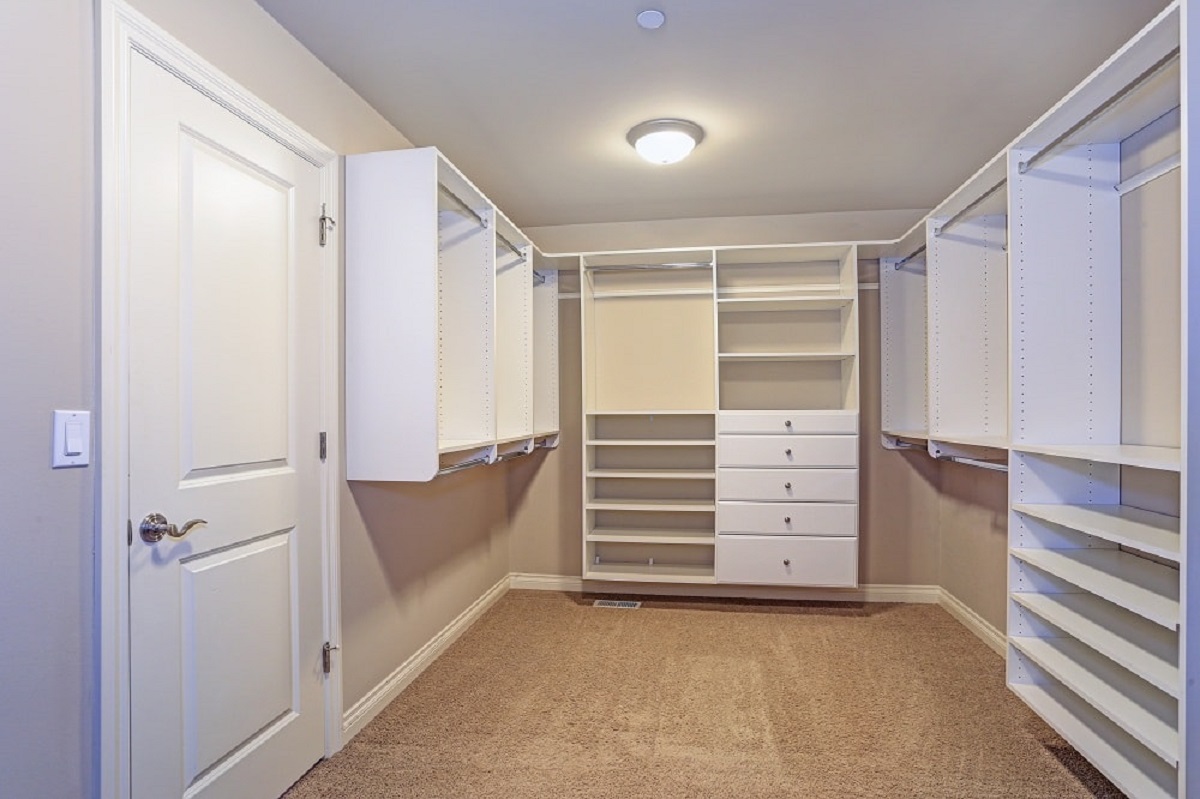
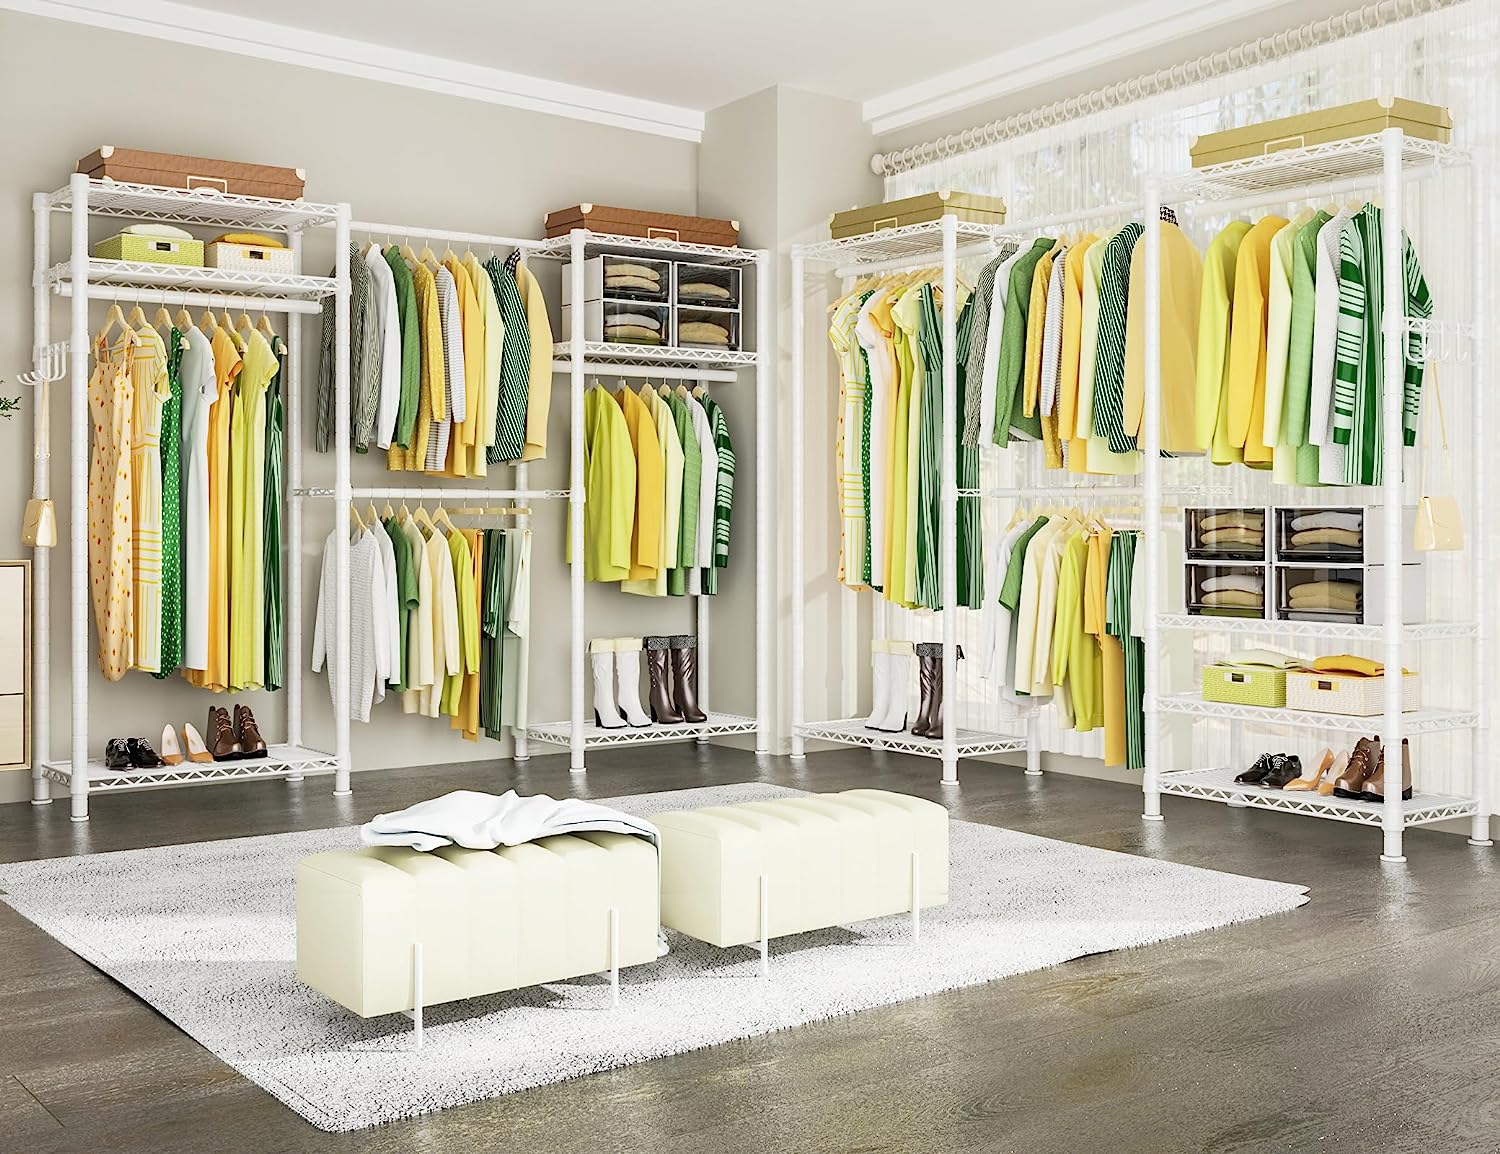
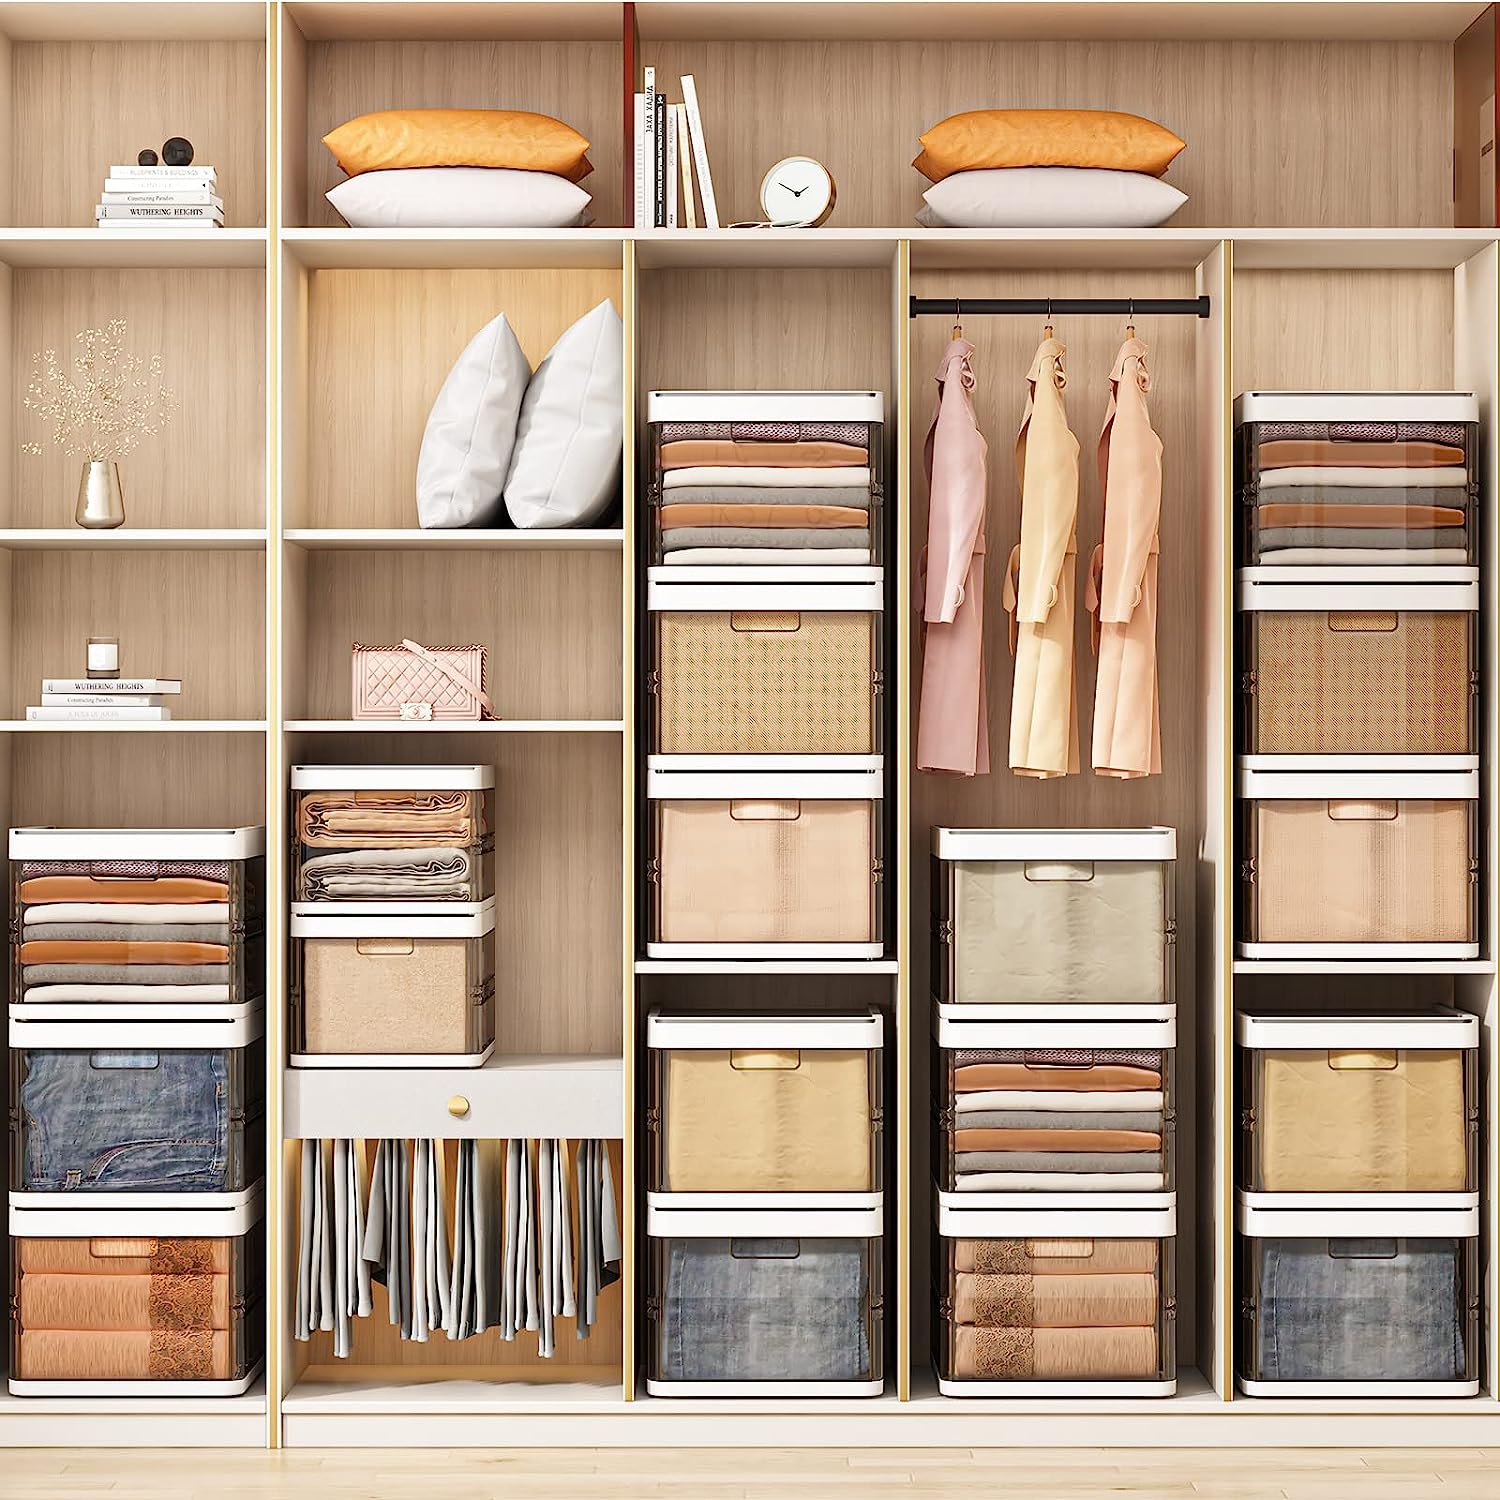
Walk-In Closets
If you’re looking for an easier-to-access closet option, building a walk-in closet is a great choice. Aside from adding a luxurious feel and value to your home, walk-in closets provide ample storage space for all your belongings. Not to mention, they can be easily customized to fit your specific needs and style.
They are also different from other closets because they extend from floor to ceiling, providing more hanging and shelf space than other types of closets. Additionally, walk-in closets are easy to DIY because they can be built in any room of your home. Furthermore, unless you want to add more functionality and details, anyone can build a walk-in closet without requiring special construction or carpentry skills.
Corner Closets
A corner closet is a great way to utilize unused space in your home. They come in various shapes and sizes, making them perfect for small homes or apartments. Corner closets are also very easy to DIY, making them an excellent option for people who are looking to save money.
However, one disadvantage of corner closets is that they can be more challenging to access than other types of closets. This is because they are often located in tight spaces, making it difficult to reach items stored on the shelves. Furthermore, corner closets often have limited shelf and hanging space, so they may not be able to accommodate all your belongings.
Under-The-Bed-Closets
Who says closets are only built into walls? With most people working from home, storage and organization are much more needed. For those who don’t have a lot of space to work with, getting creative with where you put your closet can be crucial.
One great way to add a closet to a small space is by utilizing the space under your bed. Building a simple under-the-bed closet is a great way to get extra storage without spending much money or hiring a professional. Additionally, this type of closet is perfect for storing items that you don’t need to access daily, such as out-of-season clothes or holiday decorations. The only downside is that you may need to bring out your clothes and bedding every now and then to let them breathe and avoid mold growth and other issues, but it’s a small price to pay for all that extra space!
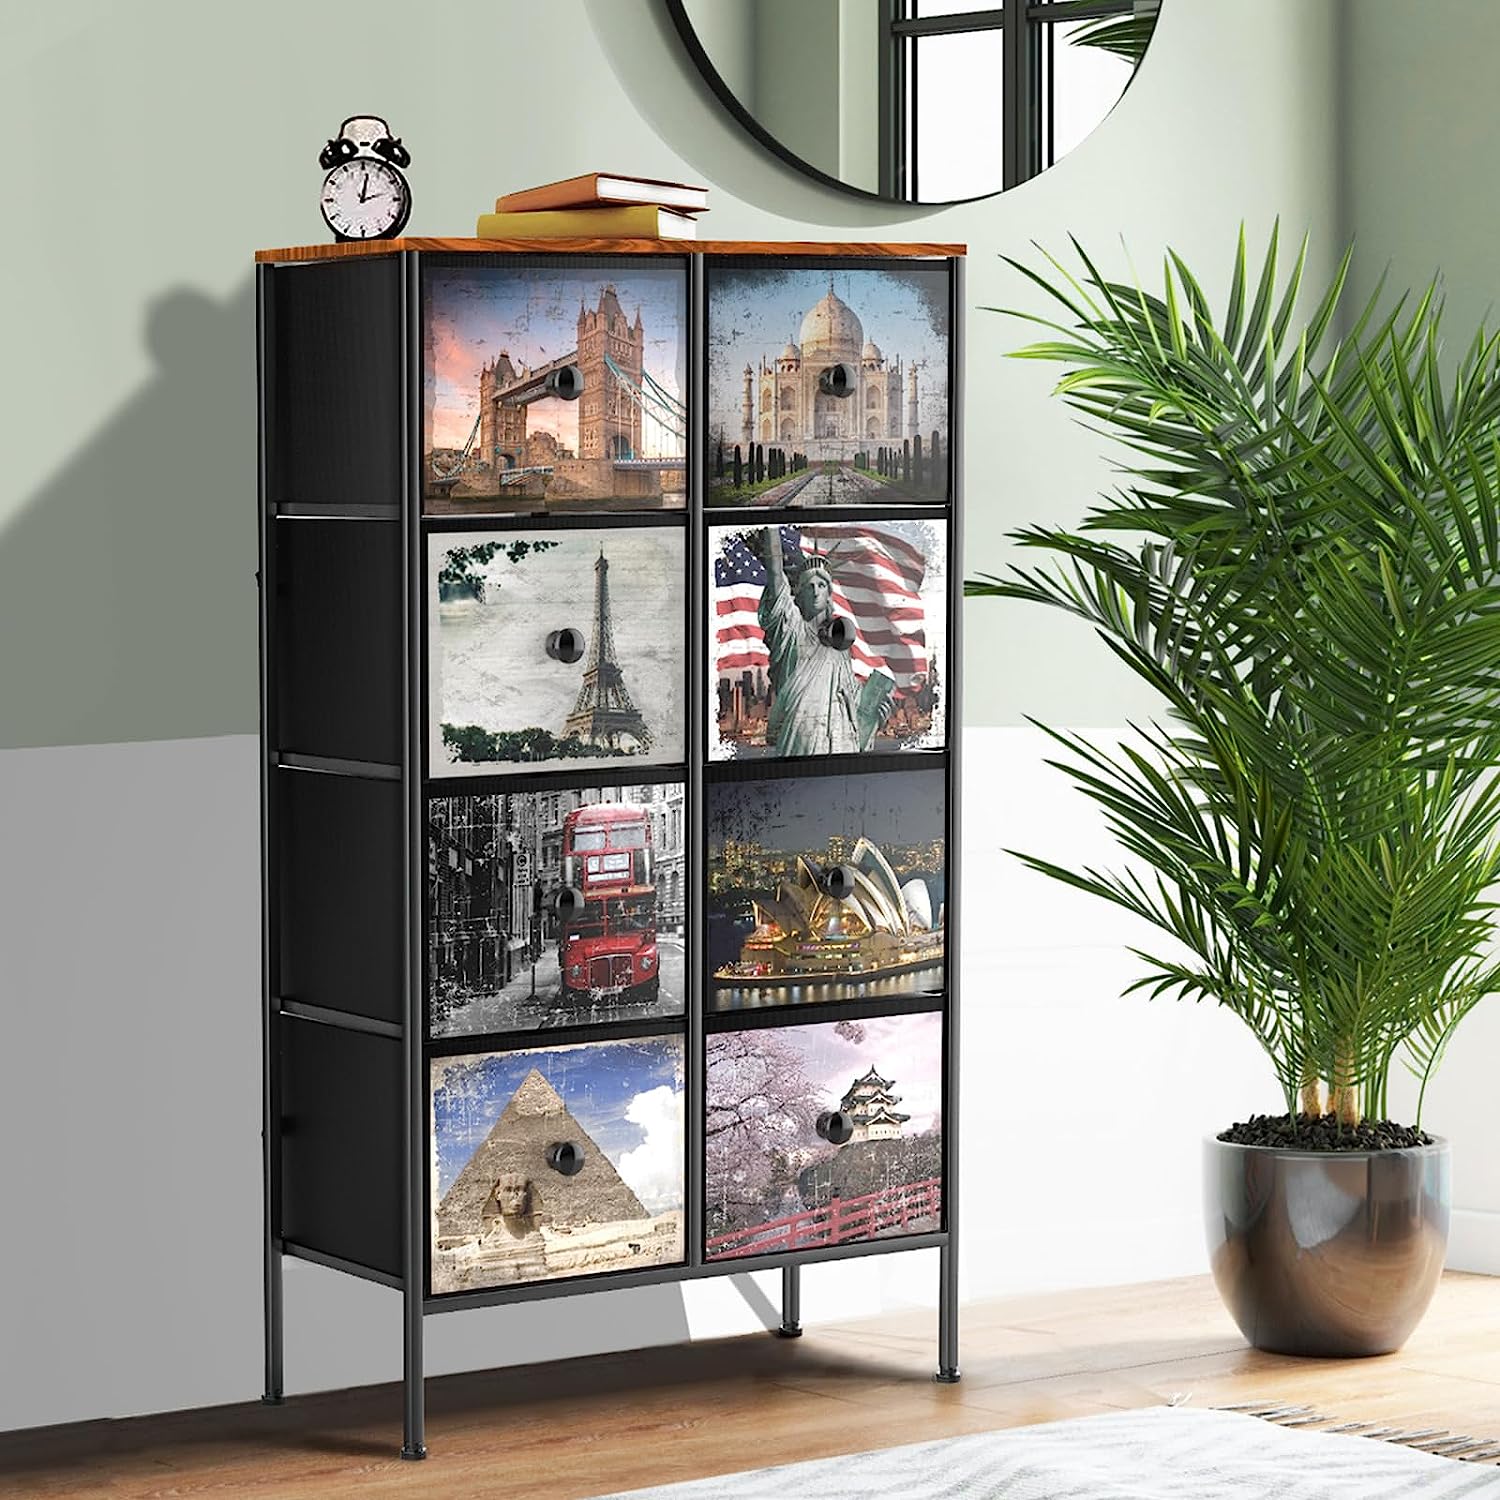
Tallboys or Armoires
If you have a lot of clothes that need to be hung, a tall boy or armoire may be the best option for you. These pieces of furniture are great for storing clothes, shoes, and other accessories. They also come in various styles, so you can find one that fits your home’s décor.
However, tall boys and armoires can be expensive, so if you’re looking to save money, you may want to consider building your own. Additionally, these pieces of furniture can be cumbersome and difficult to move, so make sure you have a good place to put them before you start building.
Read more: How To Build Drawers For Closet
How To Build a Closet On Your Own
If you’re a beginner at DIY, we recommend starting with a corner closet first. Corner closets are easy to build and don’t require any special construction or carpentry skills. Additionally, they are a great way to utilize unused space in your home. The materials used are also budget-friendly and can be easily found in your local hardware. Here is a step-by-step guide on how to build a corner closet on your own:
STEP 1: Choose Where to Build Your Closet
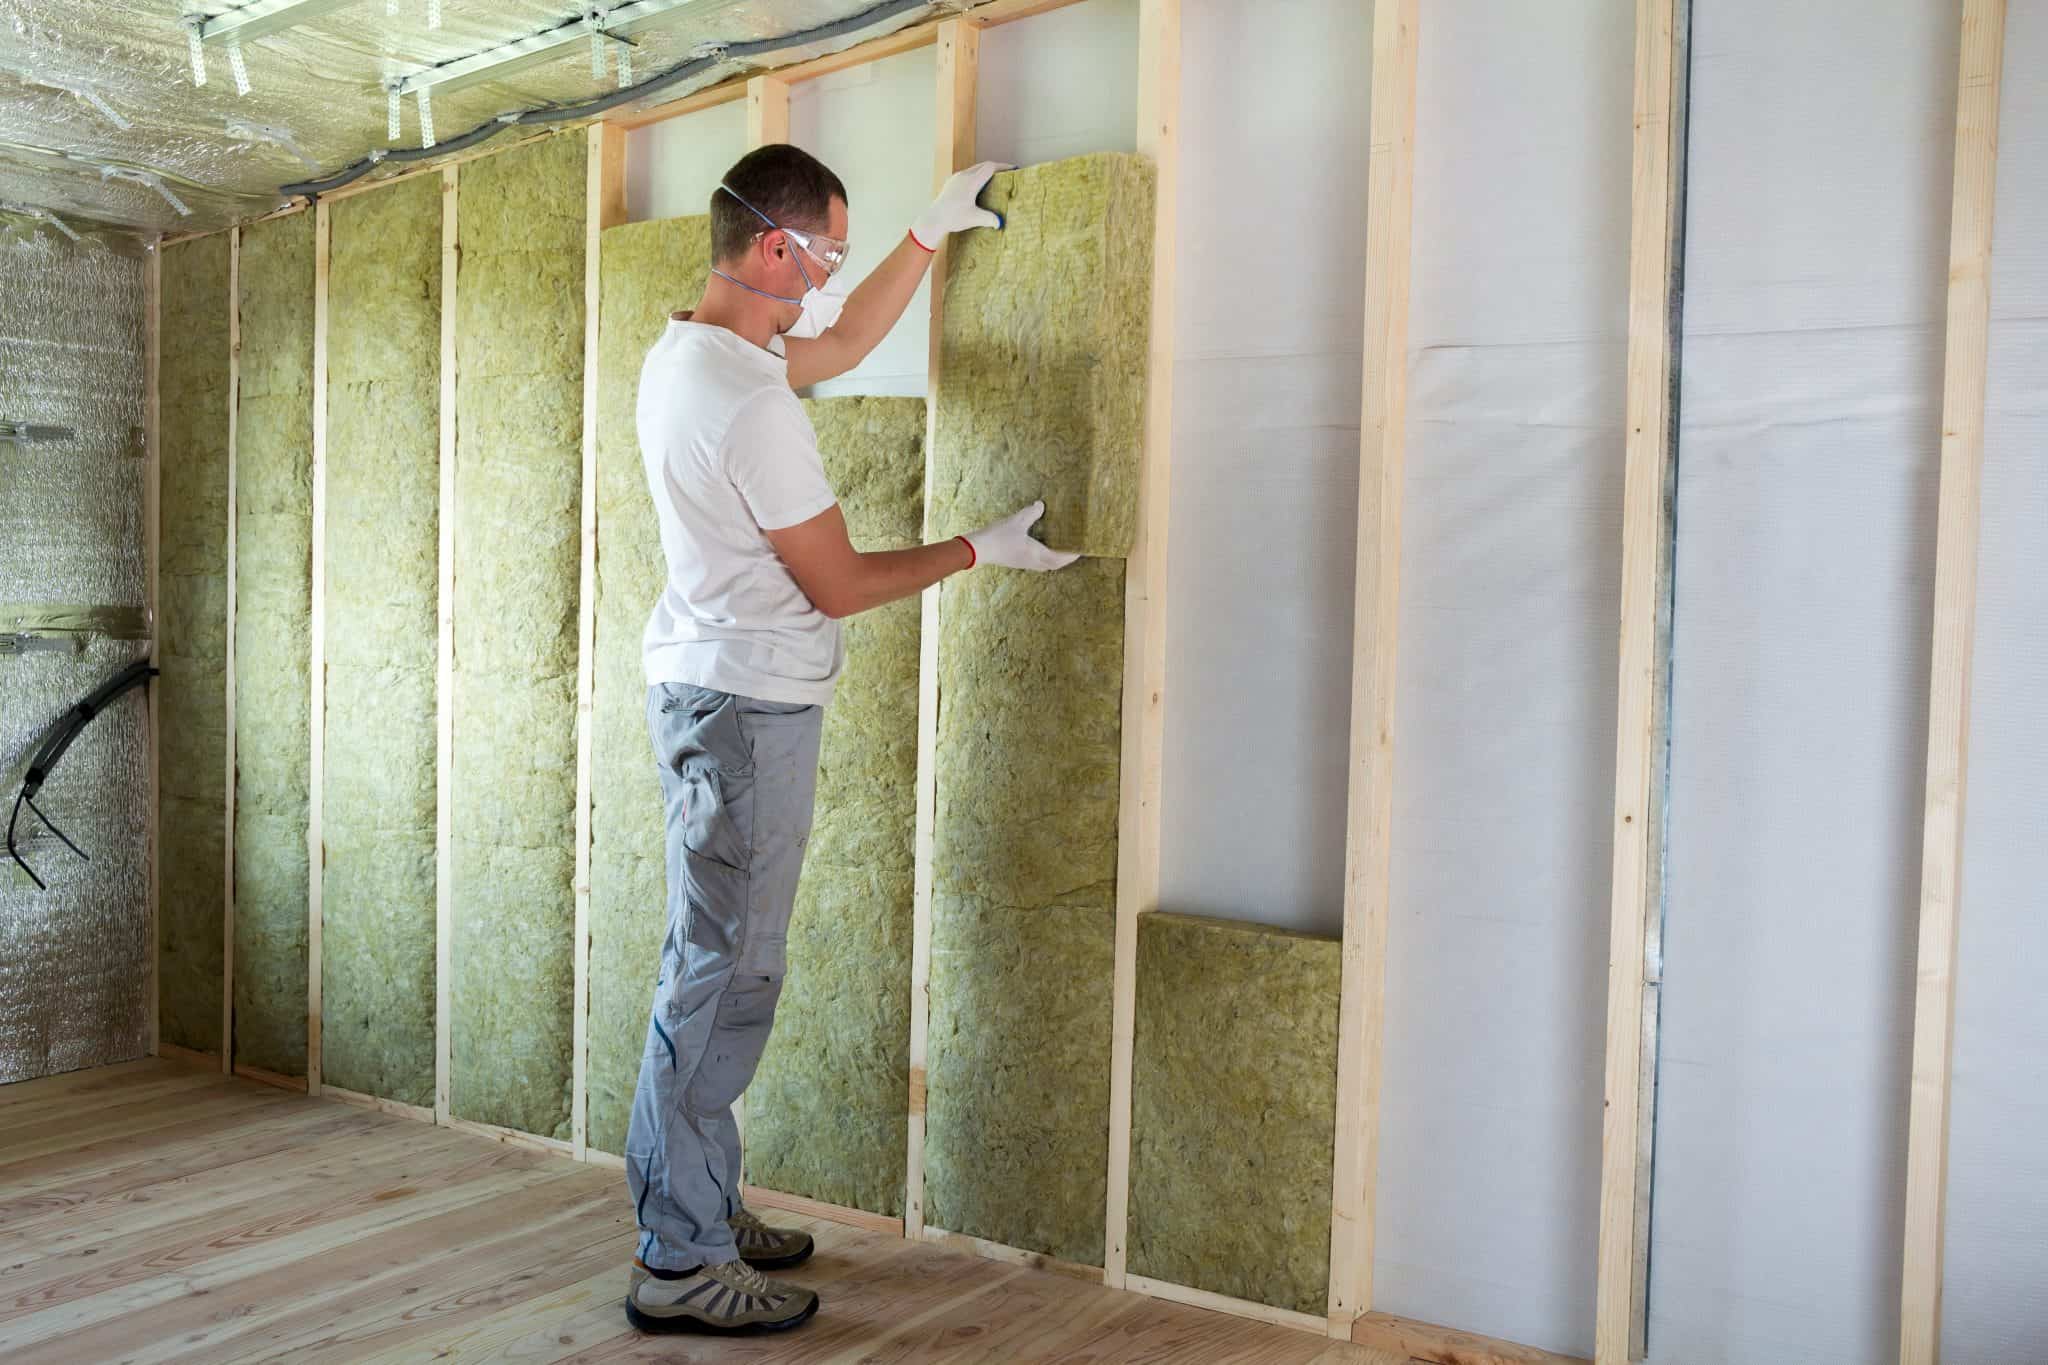
The best place to build a closet is in an unused corner of your house. This location is ideal because it is already enclosed and has limited space, so it is perfect for a closet. You can also build a closet in the attic or basement, but ensure that the space is adequately insulated and waterproofed before starting construction. Also, if you plan to add lights or other power fixtures inside your closet, choose a location close to an electrical outlet for easy access.
Step 2: Clear The Area
Before beginning construction on your new closet, you will need to clear the area of all obstructions. This means moving furniture and other large objects out of the way and clearing any excess clutter. Make sure that the floor is clean and free of dust or other debris before proceeding.
If you are building your closet in an existing room, you may need to remove the drywall or paneling to create the necessary space. In most cases, it is best to leave this task to a professional contractor. However, if you are confident in your DIY skills and have the necessary tools, you can easily do it yourself.
Step 3: Measure the Space
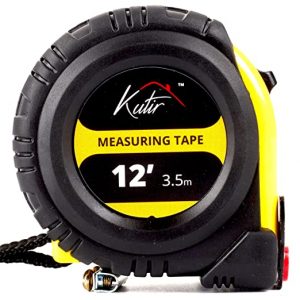
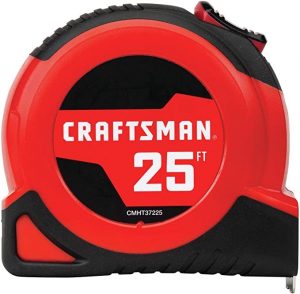
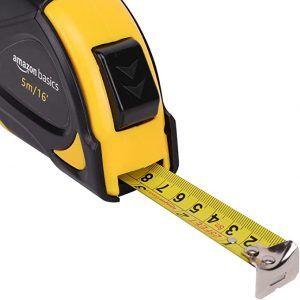
Once the area is cleared, use a tape to accurately measure the space’s dimensions. This will help you determine how much space you have to work with and will also be necessary for sizing your closet components. Remember to measure any doors or windows in the area so that you can plan your installation around them. Of course, measuring also includes knowing what closet size you want or need. Finally, determine how much hanging space and shelf space you’ll require for all of your clothes, shoes, and other belongings.
Read more: How To Build Closet Organizer
STEP 4: Plan Your Closet Design
Now that you know the size of your closet, it’s time to start planning its layout. There are many different ways to design a closet, so be sure to choose one that fits your needs and lifestyle.
Some things to consider:
-
- How much storage space do you need?
-
- What type of shelving and storage units do you want?
-
- How much hanging space do you need?
-
- What type of lighting do you want?
-
- Do you want a dressing area or vanity in your closet?
-
- How much floor space do you want to use?
Once you have decided on a design, draw a rough sketch so you can refer to it while assembling your closet.
Step 5: Safety Gear


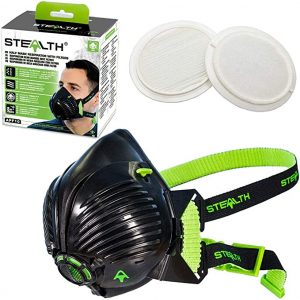

Safety is always and should always be your number one priority. So, before you get down to it, make sure you put on your safety gear. Some of the critical items you should have include:
-
- A good quality dust mask to avoid inhaling any harmful particles.
-
- Protective eyewear to keep debris and dust out of your eyes.
-
- A pair of gloves to avoid getting any splinters.
Step 6: Prepare Your Materials
To build your closet, you will need some basic materials. These include wood boards, nails or screws, a hammer or screwdriver, and some kind of door (optional). The best way to acquire them is by looking online, where you can find various customizable options for every budget. Be sure to measure the dimensions of your closet carefully before ordering so that everything fits correctly. For instance, when ordering shelves and storage units, ensure they are deep enough to accommodate your belongings. If possible, try to order all the components at once, so they match in color and style.
Wood
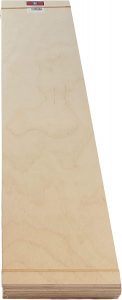

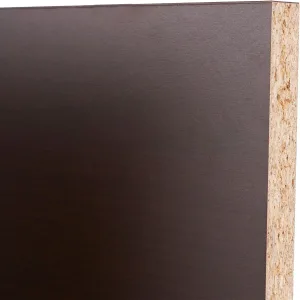
The first step in building your closet is to choose the right type of wood. For most closets, softwood or plywood is the best type of wood. Plywood is a type of wood made from thin layers of wood veneer glued together. It is solid and durable, making it ideal for closet shelves and storage units.
If you are on a tight budget, you can use chipboard or MDF (medium-density fiberboard). These materials are made from wood fibers glued together under high pressure. They are not as strong or durable as plywood but are much cheaper.
Next, measure and cut the wood boards to the proper size. To do this, measure the dimensions of the space where you will be building the closet. Then, cut the boards to these dimensions using a saw. You will need to cut additional boards for the shelves and any other features you want to include in your closet.
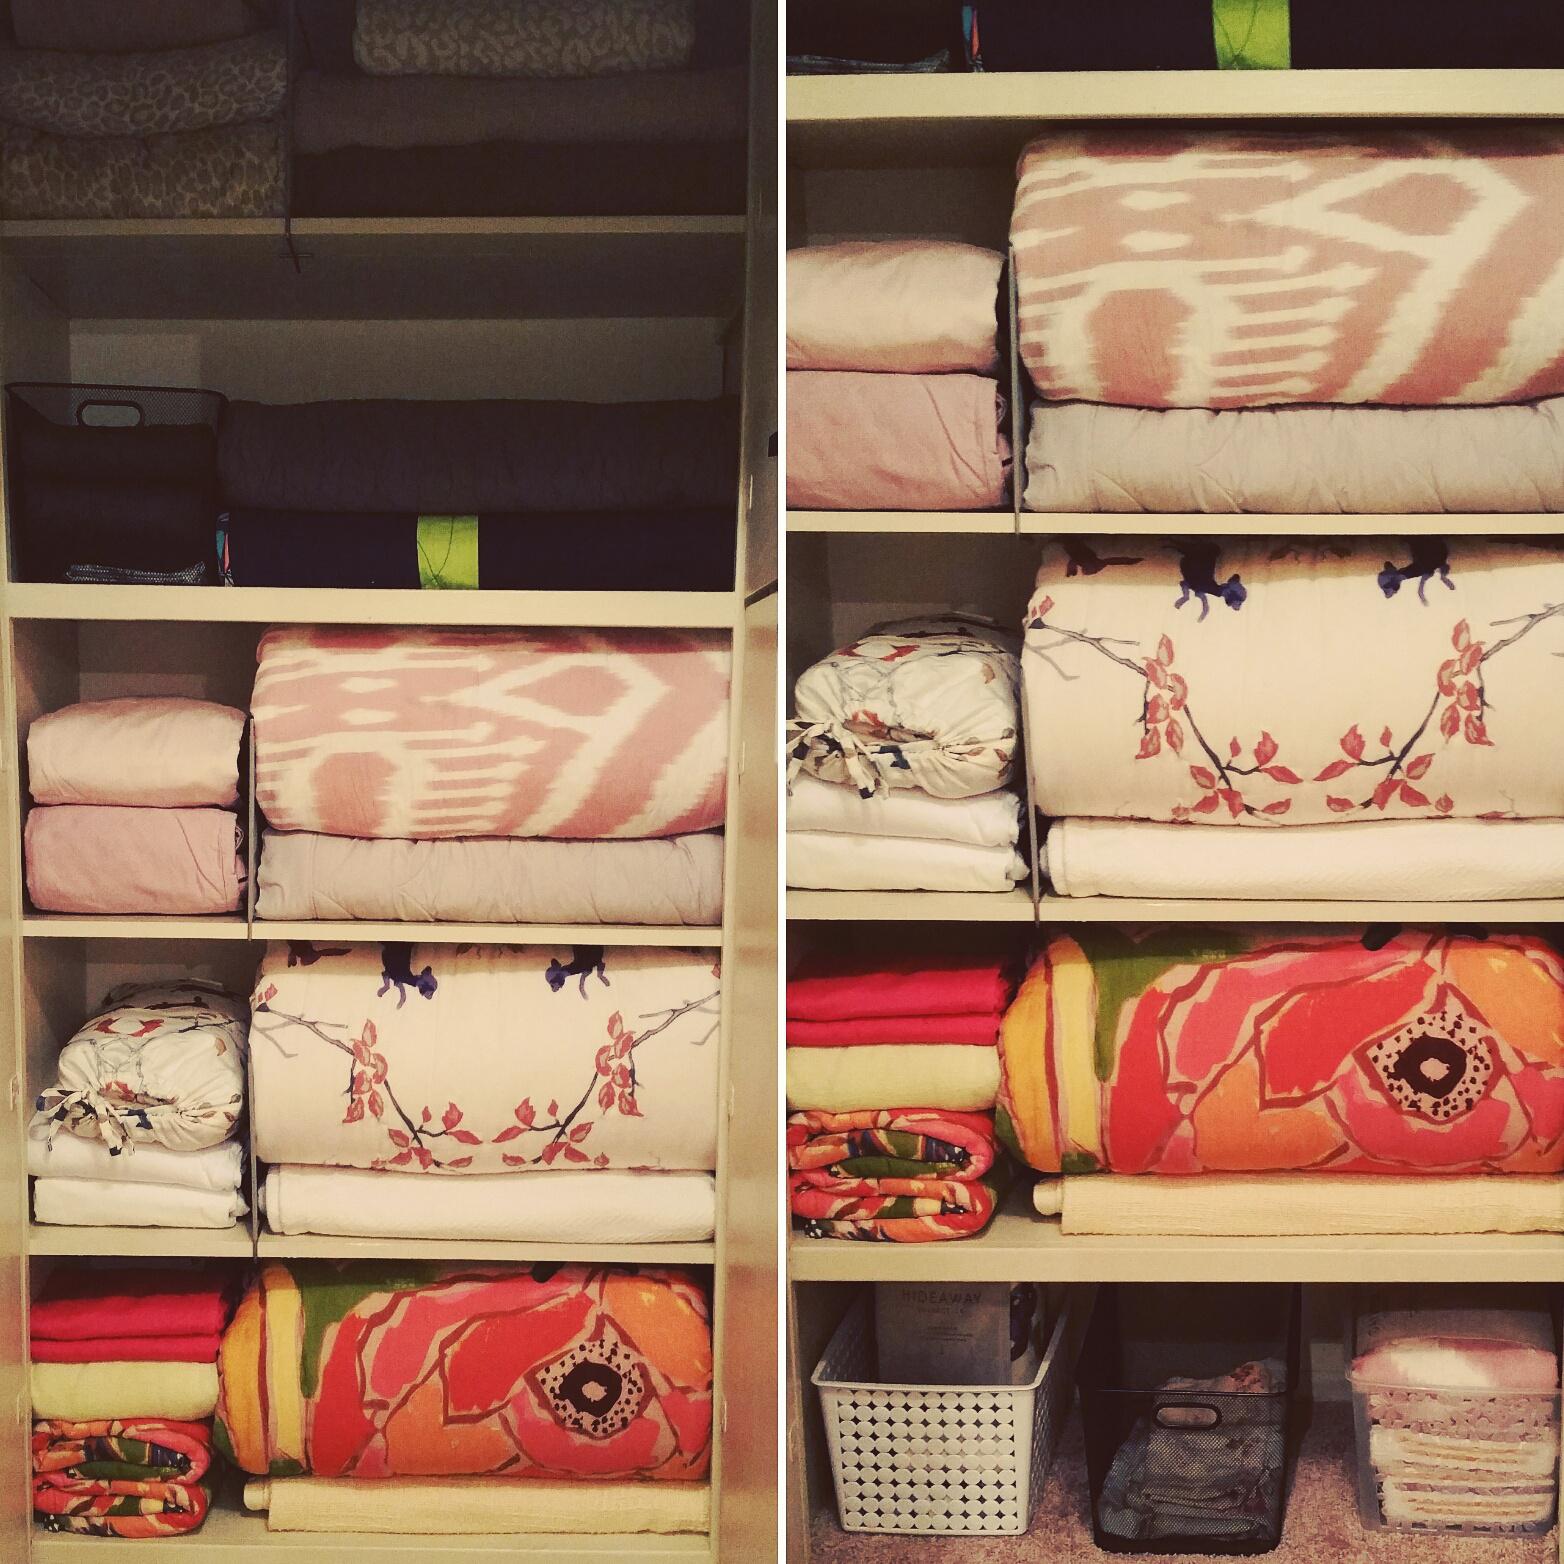
For The Shelves
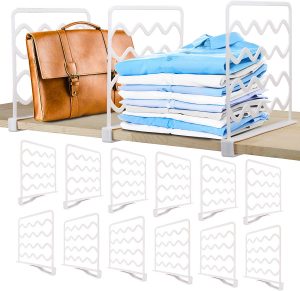
You may also invest in shelf dividers to keep your belongings organized. To save time, you can opt for adjustable or pre-made shelf dividers such as tension shelves or wire shelving. Of course, these are optional, but they can be helpful, especially if you have many small items to store.
Rods For Hanging Clothes
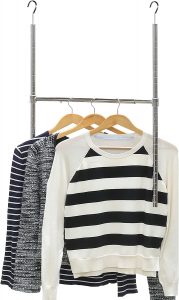
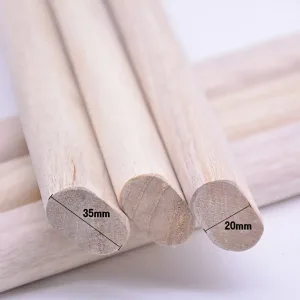
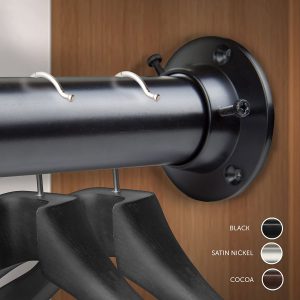
Before including a rod for hanging clothes in your closet, you must first determine how long it should be. To do this, measure the width of the closet and add 12 inches (30 cm) to each side. For example, if the closet is 4 feet (1.2 m) wide, the rod should be 6 feet (1.8 m) long. To install the rod, measure and mark the center of the board at each end. Then, use a drill to make a hole at each mark. Next, insert the end of the rod into the holes and screw it in place.
Screws

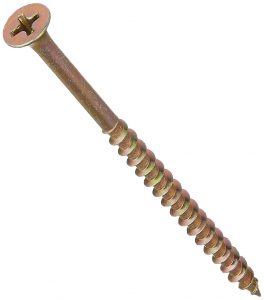
The type of screw you will use depends on the type of wood you choose. A 2-inch (5.1 cm) screw should do the trick for most types of wood. However, if you are using plywood, you may want to use a 3-inch (7.6 cm) screw instead. This is because plywood is much thinner but harder to drill into than other types of wood.
When attaching the boards, make sure to pre-drill the holes first. This will make it easier to screw the boards together and prevent the wood from splitting. Once you have attached all the boards, cut off any excess with a saw.
Another thing to keep in mind is to use a concealed hinge designed for the type of wood you are using. This is because the different woods expand and contract at different rates when exposed to changes in humidity. As a result, using the wrong type of hinge could cause the door to warp, sag, or become difficult to open and close.
Once you have chosen the right type of hinge, mark where you want to install it on the door. Then, use a drill to make a hole at each mark and screw the hinge in place.
Stud Finder


If you are attaching the closet to a wall, you will need to find the appropriate studs. The best way to do this is with a stud finder. Once you have found the studs, mark them with a pencil to know where to drill the holes.
Wood Glue and Construction Nails


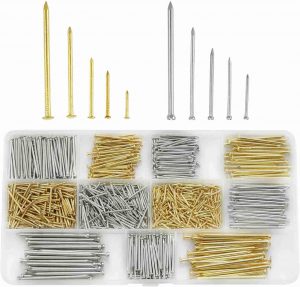
Wood glue is an adhesive used to attach pieces of wood together. It is solid and waterproof, making it ideal for use in construction. Nails are also commonly used to attach wood together. However, they are not as strong as screws and can come loose over time. So, if you use nails, use a construction adhesive. This will help hold the nails in place and prevent them from being loose.
Circular Saw
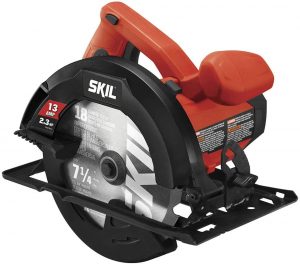
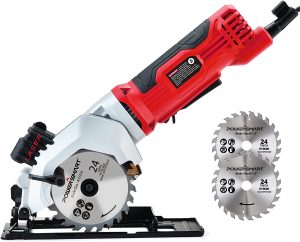
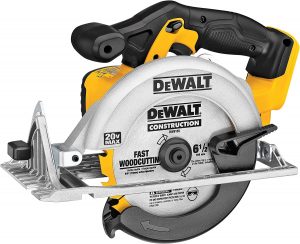
A circular saw is a type of power tool used to cut wood. It consists of a spinning blade that is used to make straight cuts. Circular saws are versatile and can be used for various projects, such as cutting boards to size or making intricate cuts for molding and trimming.
When using a circular saw, there are a few things you need to keep in mind:
-
- You must ensure that the blade is sharp and properly installed.
-
- You must wear proper safety gear, such as gloves, goggles, and a dust mask.
-
- You must be very careful when operating the saw as it can be hazardous.
Wood Varnish Stain
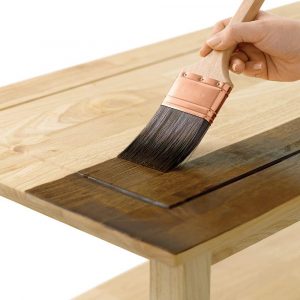
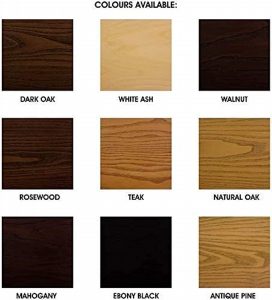
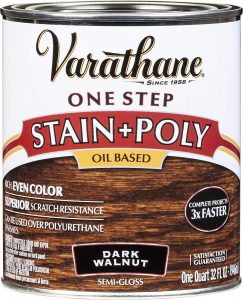
Staining wood is a great way to protect it from the elements and give it a beautiful finish. There are a few different types of wood stains, but the most common are oil-based stains and water-based stains. Oil-based stains are made with petroleum products, giving the wood a deep, rich color. Water-based stains, on the other hand, are made with water and provide a lighter color.
When staining wood, it is essential to use a stain compatible with the type of wood you are using. For example, oil-based stains work best on hardwoods such as oak and maple, while water-based stains work best on softwoods such as pine and cedar.
It is also essential to sand the wood before staining it. This will smooth out any rough edges and provide a more even finish. Once the wood is sanded, apply the stain evenly with a brush or cloth. Allow the stain to dry completely before applying a topcoat of sealer or varnish. Of course, don’t forget to carefully follow the instructions on the stain can. This will ensure that you get the best results possible.
Doors and Door Knobs
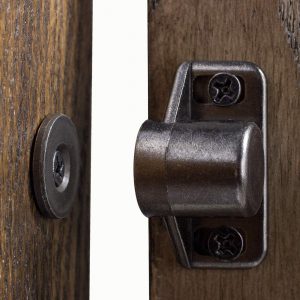

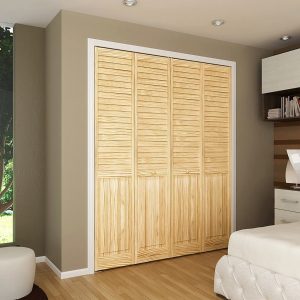
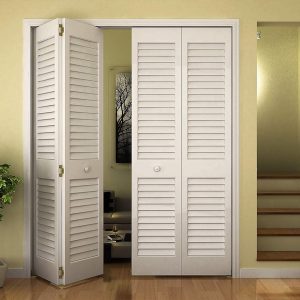
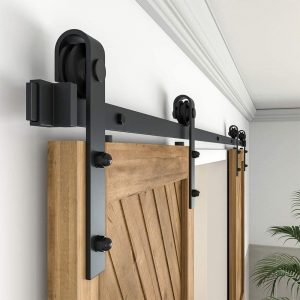
The last step in building your closet is to add the doors and door knobs. You can choose from many types of doors, such as sliding, bifold, or hinged. Sliding doors are great for closets that are tight on space, while bifold doors take up less space when they are open. Hinged doors are the most common type of door and can be used for almost any type of closet.
When choosing door knobs, you have a few different options. You can choose from traditional round knobs or more modern lever handles. You can also choose between knobs that are mounted on the outside of the door or the inside. Mounting the knob on the inside can be a good option if you have small children, as they will not be able to reach the knob and open the door.
Installing the doors is relatively easy. If you are using hinged doors, simply attach the hinges to the door and then screw them into the frame of the closet. For sliding doors, you will need to install a track on the top of the door frame and then hang the doors on the track. Make sure to measure twice and cut once when installing the doors, as you want them to fit perfectly in the frame.
Step 7: Assemble the Closet
If you have followed the previous six steps, you are well on your way to building your own closet! The final step is to assemble the closet.
First, take the closet frame and attach it to the wall. Make sure the frame is level and square before attaching it. Next, add the shelving units to the frame. Again, make sure that these are level and sturdy before moving on. Now, it’s time to add the doors. If you use sliding doors, attach the tracks first and then hang the doors on the tracks. If you use hinged doors, simply attach the hinges to the door and frame.
Once the doors are in place, add any finishing touches you like. This could include molding or trimming around the doors or frame, painting or staining the wood, or adding new hardware.
At last, you are done! You have now built your very own closet!
Read more: How To Build Bedroom Closet
Key Takeaways
Building a closet is an excellent solution to adding storage space to your home. It can be a bit daunting, but with careful planning and execution, it can be done relatively quickly. Building your own closet is also a great way to save money and add a personal touch to your home. Plus, it’s not as difficult as you might think. Just follow these simple instructions, and you can build the closet of your dreams.
Was this page helpful?
At Storables.com, we guarantee accurate and reliable information. Our content, validated by Expert Board Contributors, is crafted following stringent Editorial Policies. We're committed to providing you with well-researched, expert-backed insights for all your informational needs.
0 thoughts on “How To Build a Closet Without Professional Help”