Articles
How To Install Insulation In A Metal Building
Modified: October 31, 2024
Learn how to properly install insulation in a metal building with our informative articles. Ensure maximum energy efficiency and comfort in your space.
(Many of the links in this article redirect to a specific reviewed product. Your purchase of these products through affiliate links helps to generate commission for Storables.com, at no extra cost. Learn more)
Introduction
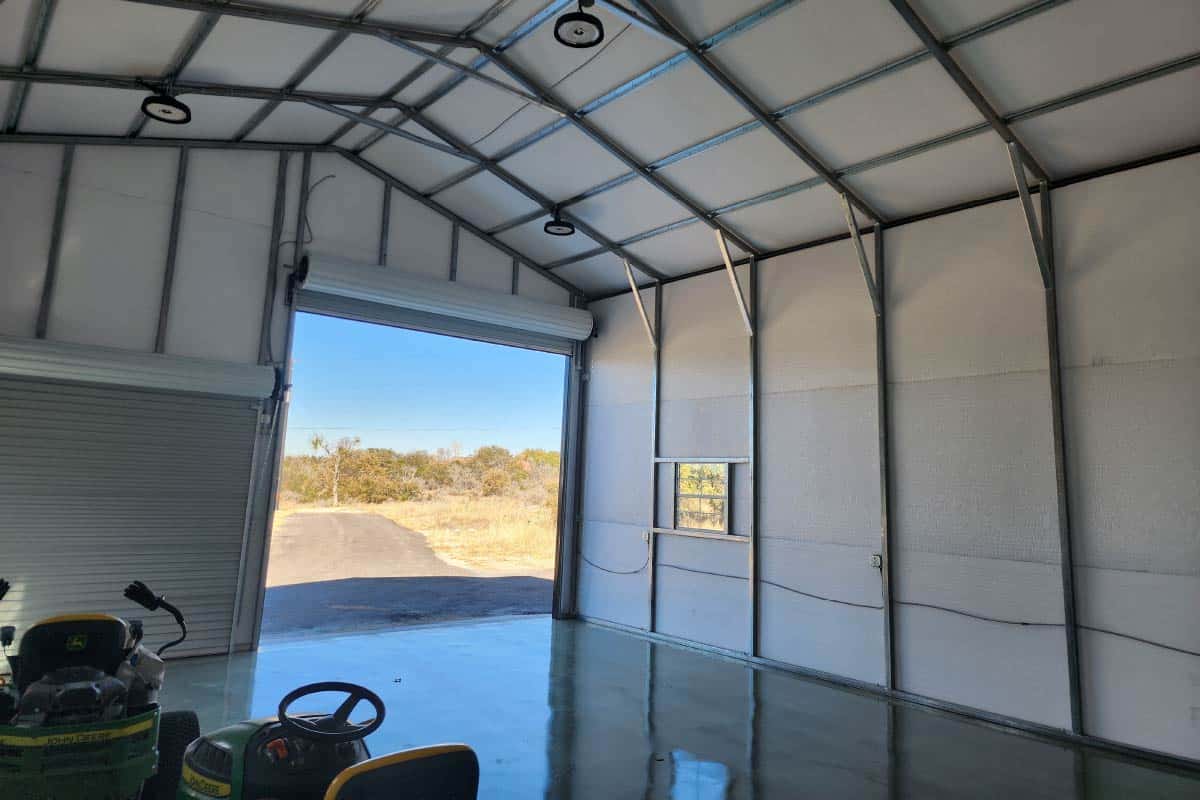
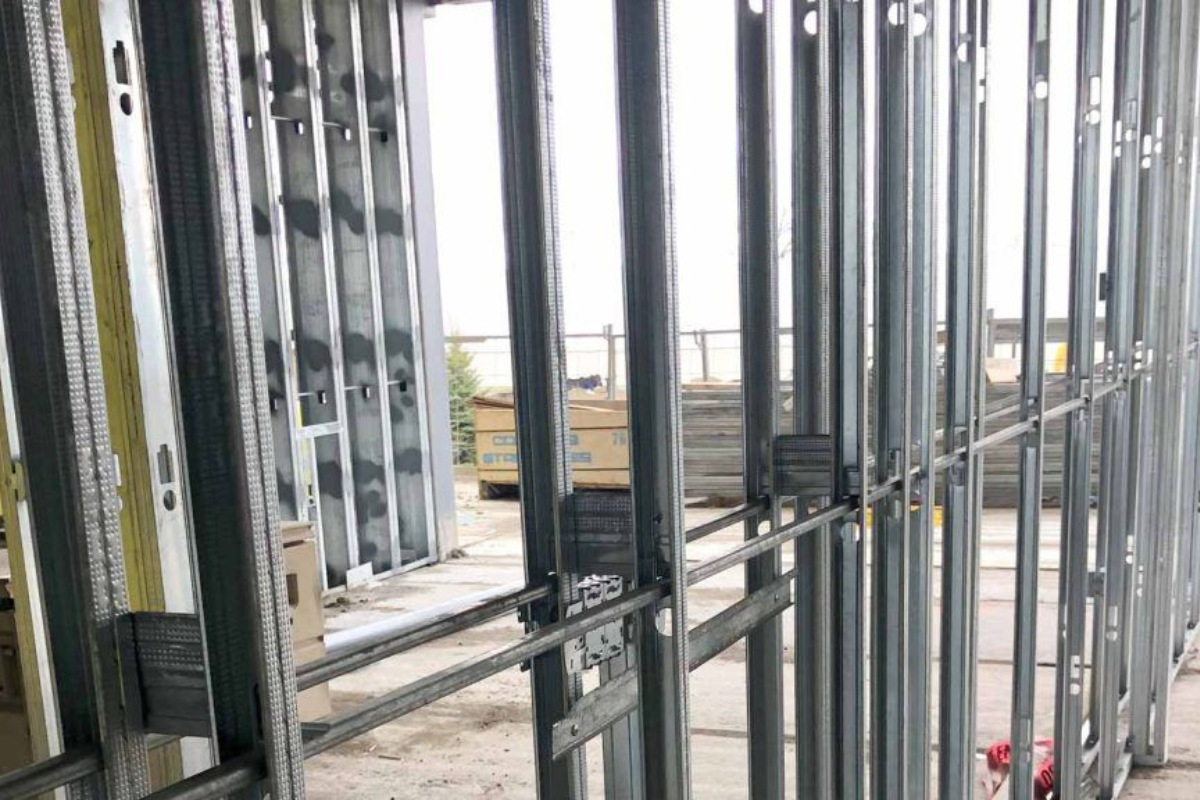
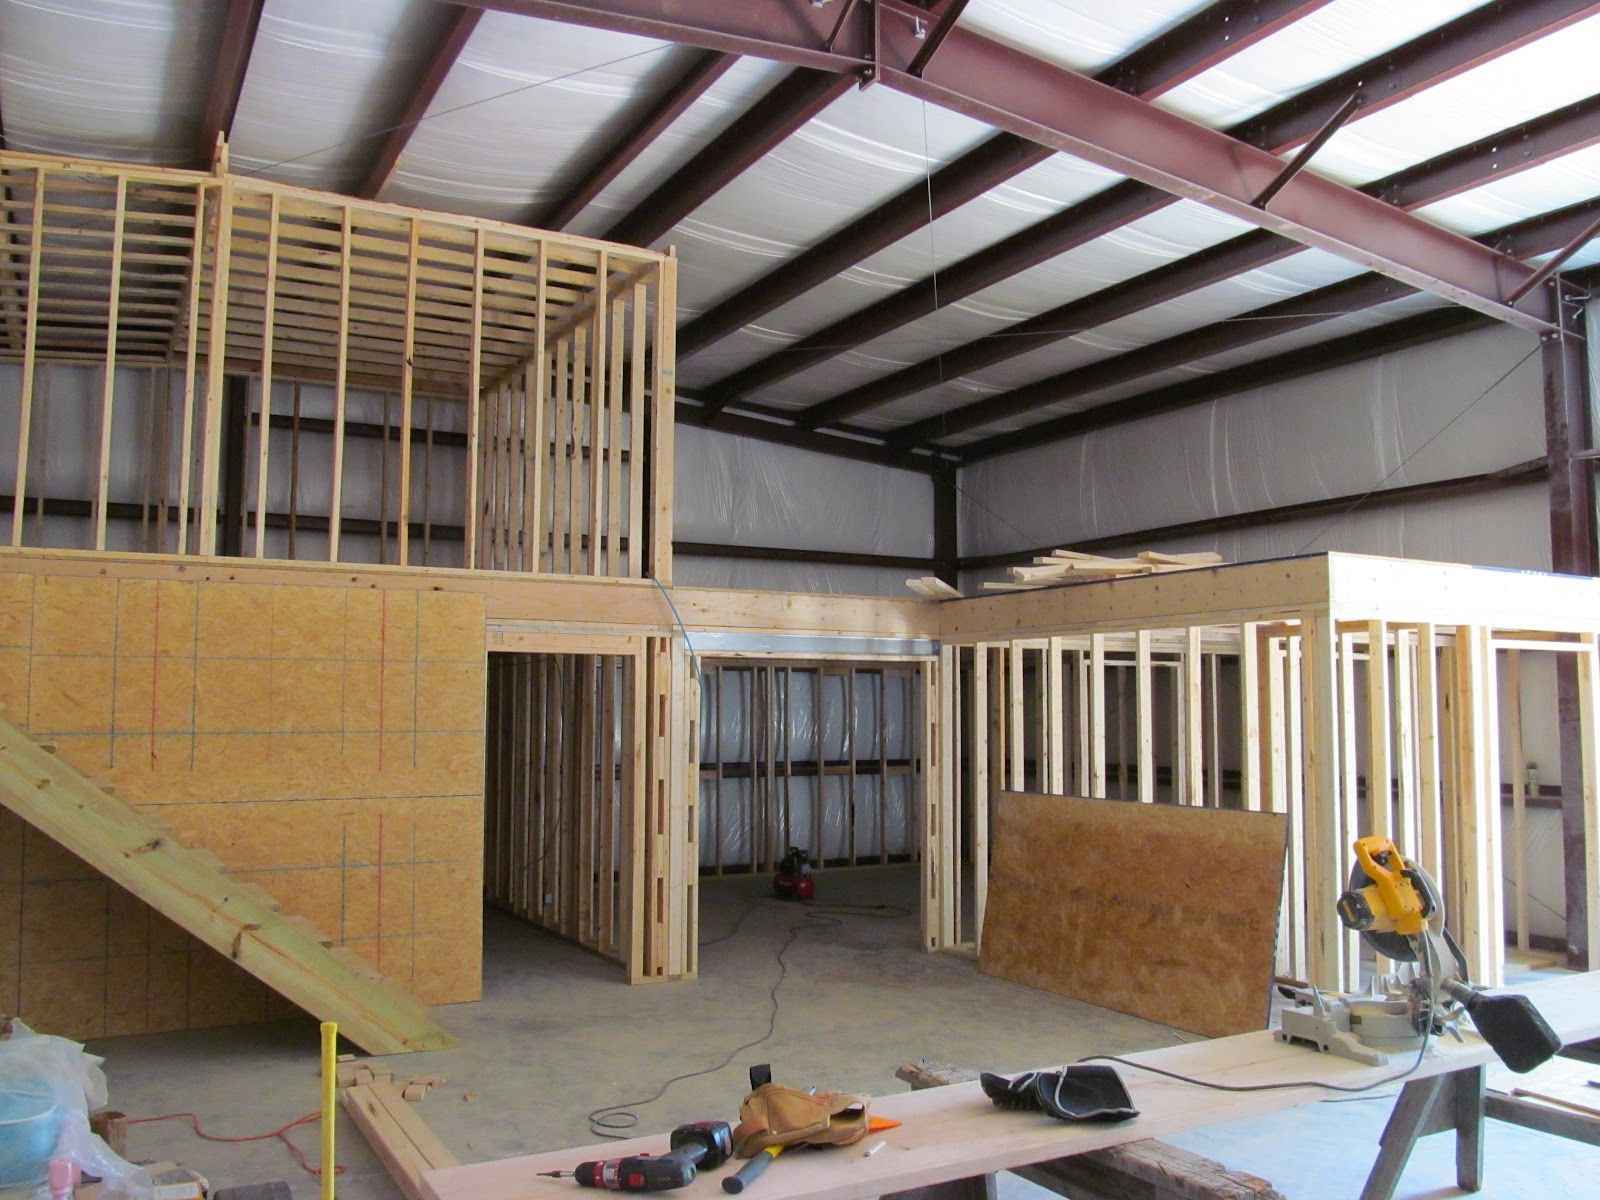
Insulating a metal building is a crucial step in creating a comfortable and energy-efficient environment. Metal buildings, such as garages, warehouses, or agricultural structures, have unique insulation needs due to their construction materials. Adequate insulation can help regulate indoor temperatures, reduce energy consumption, minimize condensation, and enhance overall comfort.
Proper insulation installation in a metal building requires careful consideration of the building’s structure, climate conditions, and the desired level of insulation. Whether you are converting a metal building into a living space or simply looking to optimize its energy efficiency, this step-by-step guide will help you install insulation in your metal building effectively.
In this article, we will discuss the essential steps for installing insulation in a metal building. From preparing the work area to sealing and securing the insulation panels, each step is crucial to achieving optimal insulation performance. So let’s dive in and learn how to transform your metal building into a well-insulated space.
Before starting the installation process, make sure you have the necessary tools and safety equipment. You will need measuring tape, a utility knife, a staple gun, safety goggles, gloves, and a ladder, among other basic tools. It is also essential to have a clear understanding of the building’s structure and any safety hazards involved in working in a metal building.
Now that we are ready, let’s proceed to the first step in installing insulation in a metal building – preparing the work area.
Key Takeaways:
- Proper insulation installation in a metal building involves thorough preparation, careful material selection, precise measurement, and secure sealing. Following these steps ensures optimal energy efficiency and comfort in the space.
- Insulating a metal building not only enhances energy efficiency but also contributes to temperature regulation and sound insulation. By choosing the right materials and following proper installation techniques, you can create a comfortable and eco-friendly environment.
Step 1: Prepare the Work Area
Before you begin installing insulation in your metal building, it is crucial to prepare the work area properly. This step ensures a smooth and efficient installation process. Here’s what you need to do to prepare your work area:
1. Clear the Space: Start by removing any clutter or obstructions from the area where you’ll be installing insulation. Clear out tools, equipment, and any other items that might hinder your work.
2. Clean the Surfaces: Dust and debris can accumulate on the metal surfaces of your building, making it difficult for insulation to adhere properly. Therefore, thoroughly clean the walls and roof surfaces using a broom or vacuum to ensure a clean and smooth installation.
3. Check for Any Damage: Inspect the metal building for any signs of damage, such as leaks, holes, or rust. It is important to address these issues before installing insulation to prevent further damage and ensure the longevity of your insulation.
4. Seal Any Leaks or Holes: Use appropriate sealants or patching materials to seal any leaks or holes in the walls or roof of your metal building. This step helps to create an airtight barrier and prevents air leakage, ensuring the effectiveness of your insulation.
5. Ensure Proper Ventilation: Proper ventilation is essential in a metal building to maintain air quality and prevent moisture buildup. Check if your metal building has sufficient ventilation openings or vents. If not, consider installing vents to allow for proper airflow after insulation installation.
6. Plan for Electrical Wiring and Fixtures: If you plan to run electrical wiring or install light fixtures in your metal building, it is essential to plan for them before installing insulation. Mark the locations where you will need to make openings or pass the wiring through, ensuring they align with the insulation installation later on.
By following these steps, you will create an ideal work area for installing insulation. Taking the time to properly prepare the work area will ensure a successful and efficient insulation installation process, ultimately leading to better energy efficiency and comfort in your metal building.
Step 2: Choose the Right Insulation Material
Selecting the appropriate insulation material is crucial for achieving optimal energy efficiency and comfort in your metal building. There are various insulation options available, each with its own unique properties and installation requirements. Here are some factors to consider when choosing the right insulation material for your metal building:
1. R-Value: The R-value measures the insulation’s thermal resistance, indicating its ability to resist heat flow. Higher R-values provide better insulation performance. Consider the climate and desired level of insulation when selecting a material with the appropriate R-value for your metal building.
2. Material Type: There are different types of insulation materials available, including fiberglass, foam board, and reflective insulation. Fiberglass insulation is widely used and offers excellent thermal insulation properties. Foam board insulation provides high R-values and can be easily cut to fit irregular spaces. Reflective insulation is effective in reducing radiant heat transfer. Consider the benefits and drawbacks of each material type before making a decision.
3. Moisture Resistance: Metal buildings are prone to condensation due to temperature fluctuations. Therefore, it is essential to choose insulation materials that have good moisture resistance properties. Moisture-resistant materials such as closed-cell foam or faced insulation with vapor barriers can help prevent moisture buildup and potential damage.
4. Fire Resistance: Safety is a paramount consideration when choosing insulation materials. Look for fire-resistant insulation options that meet local building codes and regulations. Materials such as mineral wool or fire-resistant foam insulation are good choices for metal buildings.
5. Installation Ease: Consider the complexity and ease of installation when choosing insulation materials. Some materials, like batt insulation, can be easily installed with basic tools. Foam board insulation may require special cutting tools and more intricate installation techniques. Choose a material that matches your skill level and available resources.
6. Longevity and Durability: Insulation is an investment, so choose materials that are long-lasting and durable. Consider the expected lifespan of the insulation material and its ability to resist degradation over time.
Remember to consult with professionals or insulation manufacturers for expert advice on choosing the right insulation material for your specific metal building. They can provide guidance based on your building’s unique characteristics and your insulation goals.
By selecting the right insulation material, you will be able to achieve optimal energy efficiency, temperature control, and overall comfort in your metal building.
Step 3: Measure and Cut the Insulation Panels
Once you have chosen the appropriate insulation material for your metal building, the next step is to measure and cut the insulation panels to fit the walls and roof. Properly measured and cut insulation panels ensure a snug fit, maximizing the insulation’s effectiveness.
Here is a guide to help you measure and cut the insulation panels:
1. Measure the Walls: Start by measuring the length and height of each wall in your metal building. Use a measuring tape to accurately measure the dimensions from floor to ceiling and from corner to corner. Take note of any obstacles, such as windows or doors, that may require additional cuts or adjustments in the insulation panels.
2. Measure the Roof: If you are insulating the roof as well, measure the length and width of the roof surface. Be sure to account for any obstructions, such as beams or skylights. Take accurate measurements to ensure that the insulation panels fit properly.
3. Transfer Measurements to the Insulation Panels: Once you have the measurements, transfer them onto the insulation panels. Use a straightedge or measuring tape to mark the measurements on the insulation material. Double-check the measurements to avoid any errors.
4. Cut the Insulation Panels: With the measurements marked on the insulation panels, it’s time to cut them to size. Use a utility knife or insulation cutter to make clean, precise cuts along the marked lines. Take care to cut along a straight edge to ensure a tight fit against the walls and roof.
5. Account for Windows and Doors: For areas around windows and doors, measure and cut the insulation panels to fit around them. Leave a small gap between the insulation and the frame to allow for proper airflow.
6. Label the Insulation Panels: To make the installation process easier, label each insulation panel with the corresponding wall or roof section. This will help you quickly identify which panel goes where during the installation process.
Remember to wear safety goggles and gloves when cutting insulation panels to protect yourself from any potential debris. Take your time with the measurements and cuts to ensure accuracy and precision.
By measuring and cutting the insulation panels properly, you will have insulation components that fit perfectly into your metal building. This will create a tight seal and enhance the insulation’s performance, providing you with maximum energy efficiency and comfort.
Step 4: Install the Insulation in the Walls
Now that you have measured and cut the insulation panels, it’s time to start installing them in the walls of your metal building. Proper installation ensures that the insulation fully covers the walls, providing optimal thermal and acoustic insulation. Follow these steps to install the insulation in the walls:
1. Start at a Corner: Begin the installation process at one corner of the building. This will serve as your starting point, from which you can work your way around the walls.
2. Position the Insulation Panels: Place the first insulation panel against the wall, ensuring it aligns with the bottom and corner of the wall. Hold it firmly in place.
3. Secure the Insulation Panels: Use a staple gun or appropriate fasteners to secure the insulation panel to the wall. Place staples or fasteners approximately every 12 inches along the edges of the insulation panel. Make sure the insulation panel is held snugly against the wall without any gaps or loose areas.
4. Align and Repeat: Continue installing the insulation panels along the wall, aligning them tightly against each other. If needed, trim the panels to fit around windows, doors, or other obstructions, ensuring a secure and seamless installation.
5. Insulate Wall Cavities: If your metal building has wall cavities, use loose-fill insulation or spray foam insulation to fill these cavities. Ensure that the insulation fills the entire cavity evenly to provide consistent thermal insulation.
6. Insulate Electrical Outlets or Switches: Take special care when insulating around electrical outlets or switches. Cut small holes in the insulation panels to expose the outlet or switch and create a tight seal around it. Then, reposition the insulation around the electrical fixture and secure it in place.
7. Repeat for Each Wall: Repeat the process of measuring, cutting, and installing insulation panels for each of the remaining walls in your metal building. Take your time to ensure accuracy and a proper fit for each panel.
Remember, it is crucial to wear protective gear, such as gloves and safety goggles, during the installation process. Insulation materials, especially fiberglass, can cause irritation if they come into contact with your skin or eyes.
By properly installing the insulation in the walls, you will create a barrier that helps regulate temperature and reduces sound transmission within your metal building. This will contribute to a more comfortable and energy-efficient environment.
When installing insulation in a metal building, make sure to use a vapor barrier to prevent condensation and moisture buildup, which can lead to mold and corrosion.
Read more: How To Install Gutters On A Metal Building
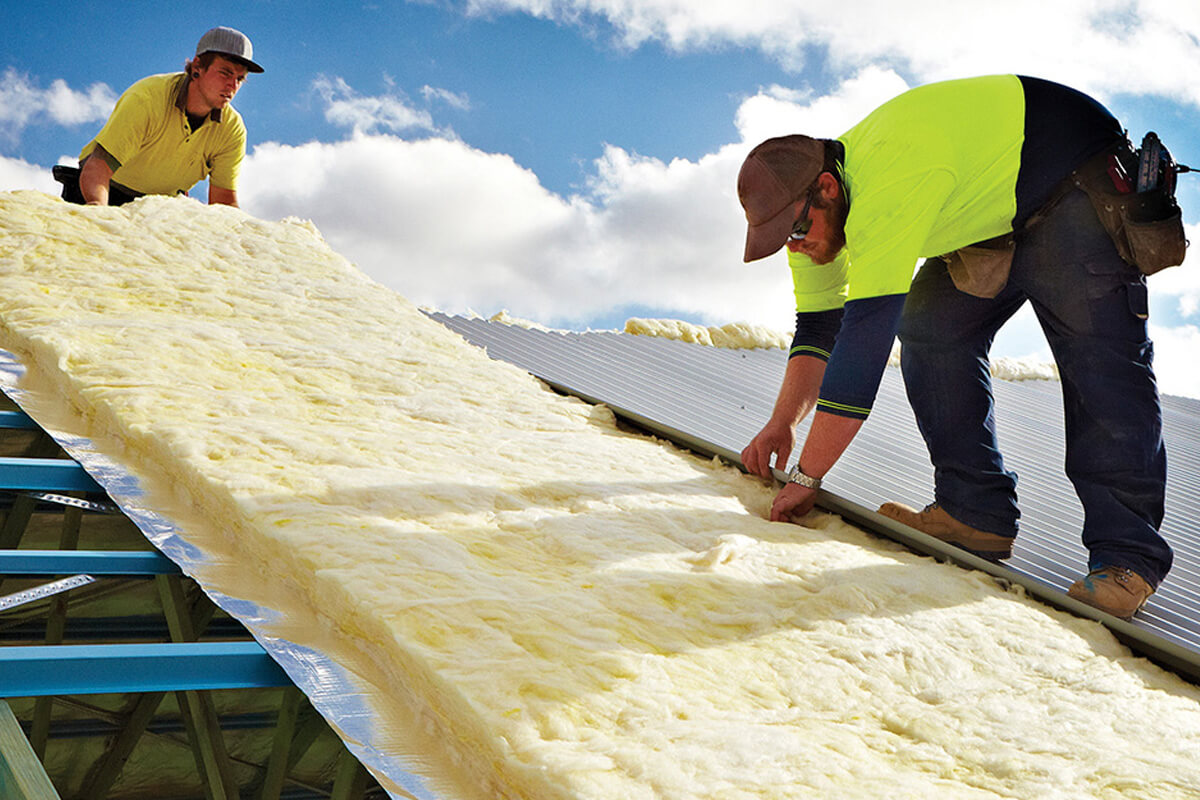
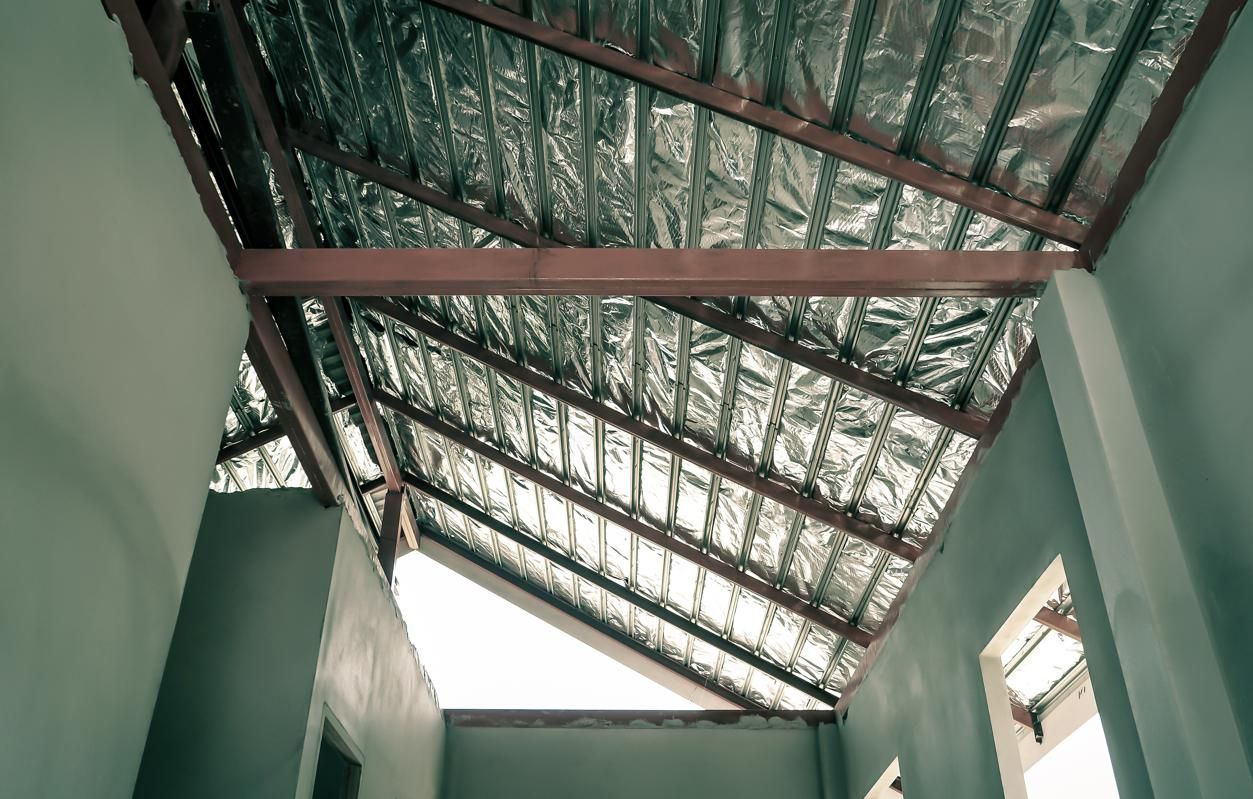
Step 5: Install the Insulation in the Roof
Insulating the roof of your metal building is essential for maintaining a comfortable and energy-efficient space. Installing insulation in the roof helps regulate temperature, minimize heat transfer, and prevent condensation. Follow these steps to properly install insulation in the roof of your metal building:
1. Begin at the Peak: Start the installation process at the peak of the roof. This ensures a methodical progression and proper alignment of the insulation panels.
2. Position the Insulation Panels: Place the first insulation panel at the peak of the roof, ensuring it aligns with the edges and corners. Hold it firmly in place.
3. Secure the Insulation Panels: Use a staple gun or appropriate fasteners to secure the insulation panel to the roof. Place staples or fasteners approximately every 12 inches along the edges of the insulation panel. Make sure the panel is securely attached without gaps or loose areas.
4. Align and Repeat: Move down from the peak and position the next insulation panel, aligning it tightly with the previous panel. Secure it in place with staples or fasteners. Repeat this process, working your way downward, until the entire roof is covered with insulation panels.
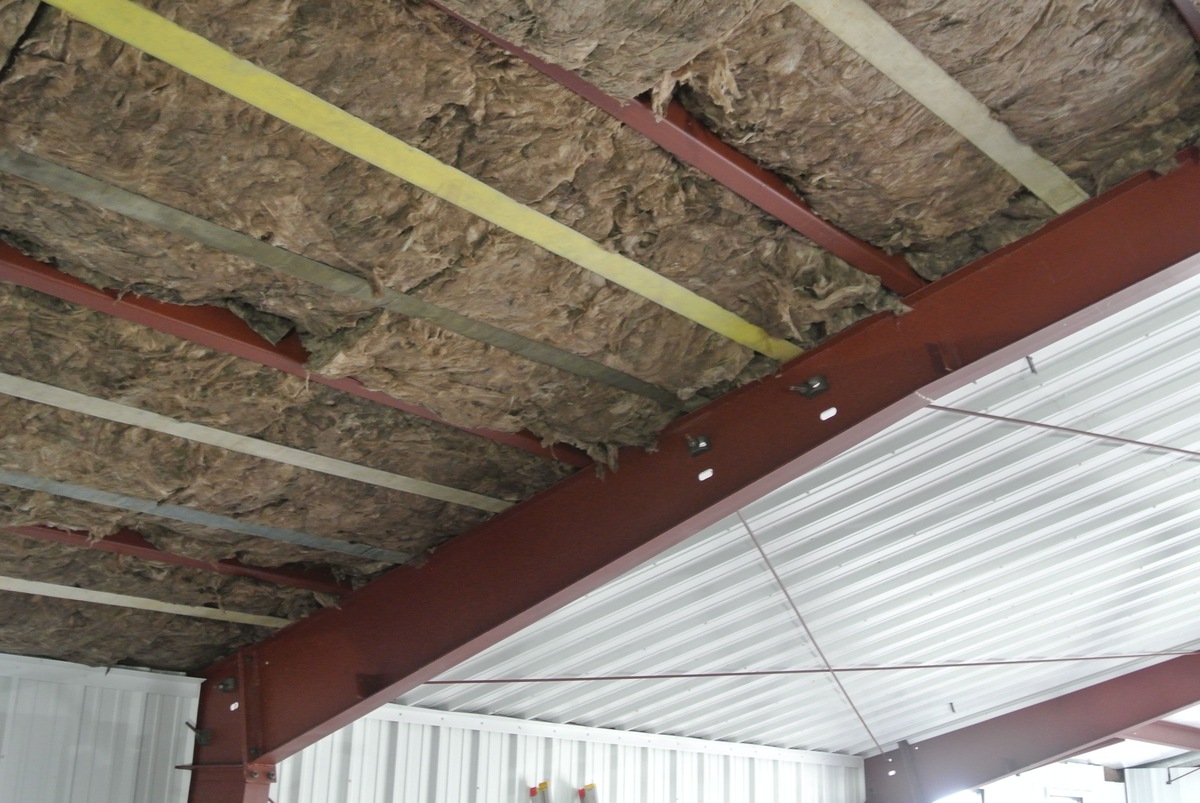
5. Insulate Roof Cavities: If your metal building has roof cavities, fill them with loose-fill insulation or use spray foam insulation. Ensure that the insulation fully fills the cavities, providing consistent thermal insulation across the roof.
6. Insulate Around Openings: Pay close attention to openings such as skylights or vents on the roof. Cut insulation panels to fit around these openings, creating a tight seal. Secure the insulation panels around the openings using appropriate fasteners or adhesive.
7. Seal Joints and Seams: Inspect the joints and seams of the insulation panels to ensure they are properly sealed. Use insulation tape or caulk to seal any gaps or openings between the panels, preventing air leakage and maximizing the insulation’s effectiveness.
8. Insulate Ductwork: If there are HVAC ducts in your metal building’s roof, insulate them as well. Use duct insulation sleeves or wrap to cover the ductwork, preventing heat gain or loss through the ducts.
9. Protect Exposed Insulation: If your metal building roof will be exposed to the elements, consider adding a protective layer over the insulation to prevent damage. This can be in the form of a vapor barrier or a metal roof covering.
Proper installation of insulation in the roof of your metal building will help maintain consistent temperatures and improve energy efficiency. Take the necessary precautions and follow safety guidelines to ensure a successful and durable installation process.
Step 6: Seal and Secure the Insulation Panels
After installing the insulation panels in your metal building, it is important to properly seal and secure them. This step ensures that the insulation remains in place and effectively performs its intended function. Follow these steps to seal and secure the insulation panels:
1. Inspect the Installation: Take a close look at the installed insulation panels to ensure they are properly aligned and secured. Check for any loose areas or gaps between the panels.
2. Seal Panel Edges: Apply insulation tape or caulk along the edges of the insulation panels to create a tight seal. This helps minimize air leakage and reinforces the insulation’s effectiveness.
3. Cover Fasteners: If you used staples or fasteners to secure the insulation panels, consider covering them with insulation tape or caulk. This provides an additional layer of protection and helps prevent moisture or air infiltration through the fastener holes.
4. Secure Loose or Unstable Panels: If you notice any insulation panels that are loose or unstable, take the necessary steps to secure them. Use additional staples or fasteners as needed to ensure a tight and secure fit against the walls or roof.
5. Install Vapor Barrier: In some cases, it may be necessary to install a vapor barrier over the insulation to further enhance its performance. A vapor barrier helps prevent moisture accumulation and potential damage to the insulation. Follow the manufacturer’s instructions for the proper installation of a vapor barrier.
6. Inspect for Gaps and Air Leaks: Carefully examine the entire installation for any gaps, cracks, or openings where air might escape. Use insulation tape or caulk to seal these areas and prevent any air leakage.
7. Ensure Proper Ventilation: Insulation helps maintain a comfortable indoor environment, but it is crucial to have proper ventilation to avoid moisture buildup. Ensure that your metal building has adequate ventilation openings or vents to allow for airflow while preserving the insulation’s thermal properties.
8. Consult a Professional: If you are uncertain about the sealing and securing process or need assistance with specific details, consider consulting a professional insulation contractor. They can provide expert guidance and ensure that your insulation panels are properly sealed and secured.
Taking the time to seal and secure the insulation panels in your metal building will enhance their longevity and maximize their effectiveness. A properly sealed and secured insulation installation contributes to improved energy efficiency, temperature control, and overall comfort within your metal building.
Step 7: Final Touches and Cleanup
As you near the completion of your insulation installation in the metal building, it is important to address any final touches and ensure a clean and safe environment. Following these final steps will ensure that your insulation is properly finished and that your work area is tidy and ready for use.
1. Trim Excess Insulation: Once the insulation panels are securely in place, inspect the edges and trim any excess insulation that protrudes beyond the walls or roof. Use a utility knife or insulation cutter to make clean and precise cuts.
2. Check for Proper Fit: Double-check that all the insulation panels fit tightly and snugly against the walls and roof. Make any necessary adjustments to ensure a proper fit, especially around openings such as windows, doors, or ventilation systems.
3. Secure Loose Wires or Cables: Inspecting your metal building’s electrical wiring or cables is crucial. Ensure that they are properly secured and not interfering with the insulation. Use cable ties or appropriate clamps to secure any loose wires or cables.
4. Cleanup Debris: During the insulation installation process, there may be debris or remnants left behind. Take the time to clean up the work area thoroughly. Remove any excess insulation, discarded packaging, or other materials. Dispose of these items properly according to local regulations.
5. Inspect for Safety Hazards: Conduct a final safety check to ensure there are no exposed protrusions, sharp edges, or potential tripping hazards in your metal building. Address any safety concerns by covering or modifying dangerous areas.
6. Protect Insulation: If your insulation is exposed in certain areas, consider adding an additional layer of protection. This can be in the form of a vapor barrier, insulation board, or other suitable materials to safeguard the insulation from potential damage.
7. Schedule Regular Maintenance: Insulation requires periodic inspection and maintenance to ensure its long-term effectiveness. Plan and schedule regular maintenance checks to evaluate the insulation’s performance and address any issues that may arise.
By attending to these final touches and conducting a thorough cleanup, you will not only achieve a polished and professional-looking insulation installation, but also ensure a safe and comfortable environment inside your metal building.
Congratulations on completing the insulation installation in your metal building! With proper insulation, your building will benefit from improved energy efficiency, temperature control, and overall comfort. Regularly monitor the insulation’s performance and address any maintenance needs promptly to preserve its effectiveness for years to come.
Conclusion
Installing insulation in a metal building is a crucial step towards creating a comfortable and energy-efficient space. By following the steps outlined in this guide, you can successfully insulate your metal building and reap the numerous benefits that insulation provides.
Starting with preparing the work area and choosing the right insulation material, you can ensure a solid foundation for a successful installation. Measuring and cutting the insulation panels accurately, followed by their proper installation in the walls and roof, allows for a snug and effective fit.
Sealing and securing the insulation panels ensures that they remain in place and maintain their thermal properties. Taking care of the final touches, such as trimming excess insulation, cleaning up debris, and addressing safety hazards, puts the finishing touches on your insulation project.
With the proper insulation in place, your metal building will experience enhanced energy efficiency, temperature regulation, and sound insulation. You will enjoy a comfortable and enjoyable space while minimizing energy consumption and reducing condensation issues.
Remember to schedule regular maintenance checks to ensure the insulation’s ongoing performance, address any concerns promptly, and extend the lifespan of your insulation.
By undertaking the process of insulating your metal building, you have made a significant investment in improving its comfort, energy efficiency, and overall value. We hope that this guide has provided you with the necessary knowledge and guidance to have a successful insulation installation.
Enjoy the benefits of a well-insulated metal building and take pride in creating a space that is both comfortable and eco-friendly.
Frequently Asked Questions about How To Install Insulation In A Metal Building
Was this page helpful?
At Storables.com, we guarantee accurate and reliable information. Our content, validated by Expert Board Contributors, is crafted following stringent Editorial Policies. We're committed to providing you with well-researched, expert-backed insights for all your informational needs.


0 thoughts on “How To Install Insulation In A Metal Building”