Articles
How To Make Curtains Out Of Drop Cloths
Modified: December 7, 2023
Looking for articles on how to make curtains out of drop cloths? Check out our step-by-step guide to create beautiful curtains for your home!
(Many of the links in this article redirect to a specific reviewed product. Your purchase of these products through affiliate links helps to generate commission for Storables.com, at no extra cost. Learn more)
Introduction
When it comes to interior design, curtains play a vital role in transforming a space and adding a touch of elegance. However, finding the perfect curtains can often be a challenging and expensive endeavor. Fortunately, you can create stunning curtains using drop cloths, a versatile and budget-friendly alternative.
In this article, we will guide you through the process of making curtains out of drop cloths. Drop cloths are typically used to protect floors during construction or painting projects, but they can also serve as an affordable and durable fabric for creating stylish curtains.
Not only are drop cloth curtains cost-effective, but they also offer a unique and rustic aesthetic. The neutral color and texture of drop cloths make them suitable for various decorating styles, from farmhouse to industrial or even modern minimalism.
So, if you’re ready to unleash your creativity and make curtains that are as unique as your personal style, let’s dive into the steps needed to make curtains out of drop cloths.
Key Takeaways:
- Transform inexpensive drop cloths into stylish curtains that reflect your unique style and creativity, adding a personal touch to your space while staying within budget.
- Embrace the DIY adventure of making drop cloth curtains, from precise measurements to creative customization, and enjoy the satisfaction of creating something truly special for your home.
Read more: How To Make Curtains Out Of Burlap
Materials Needed
Before you begin the process of making curtains out of drop cloths, it’s essential to gather all the necessary materials. Here is a list of what you’ll need:
- Drop cloths: These can be found at home improvement or hardware stores. Consider the size of your windows and choose the appropriate drop cloth accordingly.
- Measuring tape: This will help you accurately measure the dimensions of your windows and determine the length of the curtains you need.
- Fabric scissors: Invest in a high-quality pair of fabric scissors to ensure clean and precise cuts.
- Sewing machine: While not necessary, a sewing machine will make the process easier and quicker. If you don’t have one, you can also sew by hand using a needle and thread.
- Thread: Choose a thread color that complements the color of your drop cloth.
- Sewing pins: These will be used to secure the fabric and create straight lines while sewing.
- Iron and ironing board: You’ll need these to press the fabric and create crisp hems.
- Curtain rings or drapery clips: These will be used to hang the curtains from a curtain rod.
- Curtain rod: Select a curtain rod that fits the width of your window and complements the style of your curtains.
Once you have gathered all these materials, you are ready to move on to the next step: preparing the drop cloth.
Step 1: Preparing the Drop Cloth
Before you start cutting and sewing your drop cloth, it’s important to prepare it properly to ensure the best results. Follow these steps to prepare the drop cloth:
- Unfold the drop cloth and lay it flat on a clean surface. You may need to iron it to remove any wrinkles or creases.
- Inspect the drop cloth for any stains or markings. If you notice any, spot clean those areas using a gentle cleaner or soap and water. Allow the cloth to dry completely before proceeding.
- Pay attention to the edges of the drop cloth. Most drop cloths come with finished edges, but if your drop cloth has raw edges, you might need to hem them later in the process.
- Check the texture and thickness of the drop cloth. It’s important to note that drop cloths can vary in thickness and texture, with some being more heavy-duty than others. Choose a drop cloth that is suitable for curtains and will provide the desired level of opacity.
By properly preparing the drop cloth, you’ll ensure that your curtains have a professional finish and look their best. Once you have prepared the drop cloth, you can move on to the next step: measuring and cutting.
Step 2: Measuring and Cutting
Accurate measurements are crucial when creating curtains that fit perfectly on your windows. Follow these steps to measure and cut your drop cloth:
- Begin by measuring the height from the top of the curtain rod to the desired length of your curtains. Add a few extra inches to account for hemming and the rod pocket.
- Next, measure the width of your window or the area where you want the curtains to hang. You can choose to have the curtains extend beyond the window frame for a fuller look or have them just cover the frame for a more tailored appearance.
- Based on your measurements, mark the desired height and width on the drop cloth using a fabric marker or fabric chalk. Take care to make straight lines and ensure accuracy.
- Using fabric scissors, carefully cut along the marked lines to create the individual curtain panels. Make sure to cut along the grain of the fabric to prevent fraying.
- If you wish to create multiple panels for a layered look or for different curtains in the same room, repeat the measurement and cutting process with additional drop cloths.
Once you have measured and cut your drop cloth into the desired curtain panels, you are ready to move on to the next step: hemming the edges.
When making curtains out of drop cloths, be sure to prewash the fabric to remove any sizing and wrinkles. This will ensure a smoother finish and proper sizing for your curtains.
Step 3: Hemming the Edges
Hemming the edges of your drop cloth curtains will not only give them a polished and finished look but also prevent fraying. Follow these steps to hem the edges:
- Start by folding over about half an inch of the fabric along one edge of the curtain panel. Use sewing pins to secure the fold in place.
- Using a sewing machine or a needle and thread, sew a straight stitch along the folded edge, approximately a quarter inch from the raw edge. Make sure to backstitch at the beginning and end to secure the stitching.
- Continue folding and hemming the remaining three edges of the curtain panel in the same manner.
- If your drop cloth has raw edges, fold them over twice instead of once to create a double-fold hem. This will hide the raw edges and prevent fraying.
Throughout the hemming process, take your time to ensure that the stitches are straight and even. Press the hemmed edges with an iron to create crisp folds and a professional finish.
By hemming the edges of your drop cloth curtains, you will not only enhance their durability but also elevate their overall appearance. Once the edges are hemmed, you are ready to move on to the next step: creating the rod pocket.
Read more: How To Make A Shower Curtain Out Of A Sheet
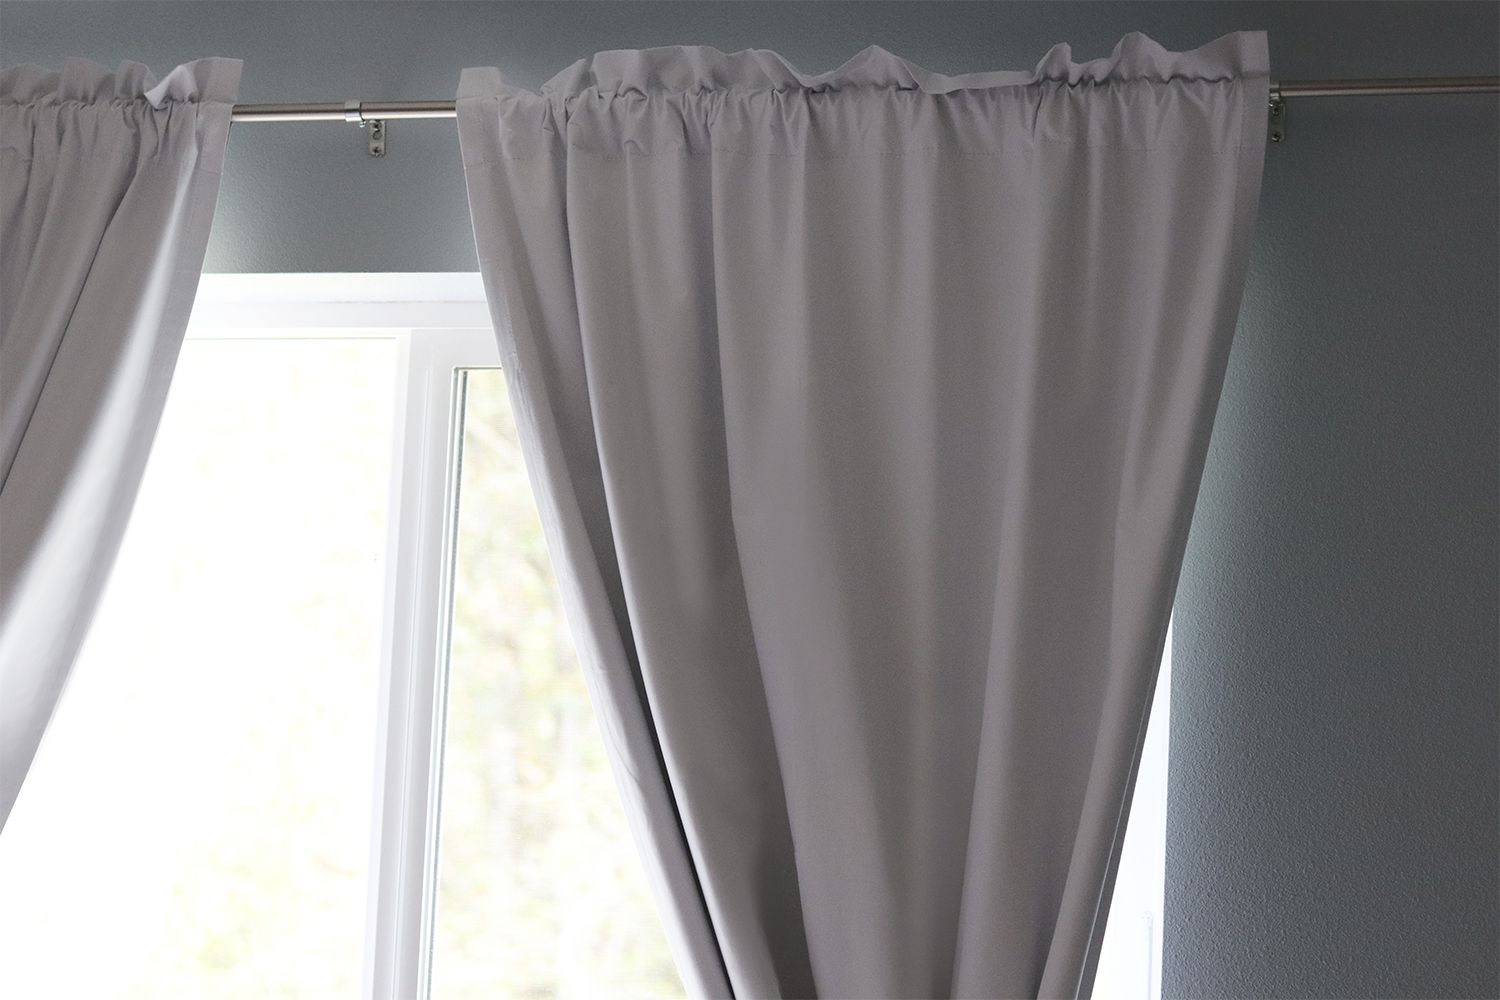
Step 4: Creating the Rod Pocket
The rod pocket is an essential component of any curtain as it allows you to hang them on a curtain rod. Follow these steps to create a rod pocket on your drop cloth curtains:
- Measure the diameter or width of your curtain rod. This will determine the size of the rod pocket you need to create.
- Decide on the placement of the rod pocket on your curtain panel. Typically, the rod pocket is positioned at the top of the curtain, but you can adjust the placement based on your preference.
- Mark the width of the rod pocket along the top edge of the curtain panel using a fabric marker or fabric chalk. Make sure to leave enough space for the rod to slide through easily.
- Fold the top edge of the curtain panel towards the back, along the marked line, to create the rod pocket. Secure the fold using sewing pins.
- Using a sewing machine or a needle and thread, sew a straight stitch along the folded edge of the rod pocket, ensuring that the stitches are secure.
- If your curtain rod is larger in diameter, you may need to create a wider rod pocket by folding over the fabric a second time.
Creating a rod pocket on your drop cloth curtains will allow for easy installation and a neatly gathered appearance. Once the rod pocket is created, you are ready to move on to the final step: hanging the curtains.
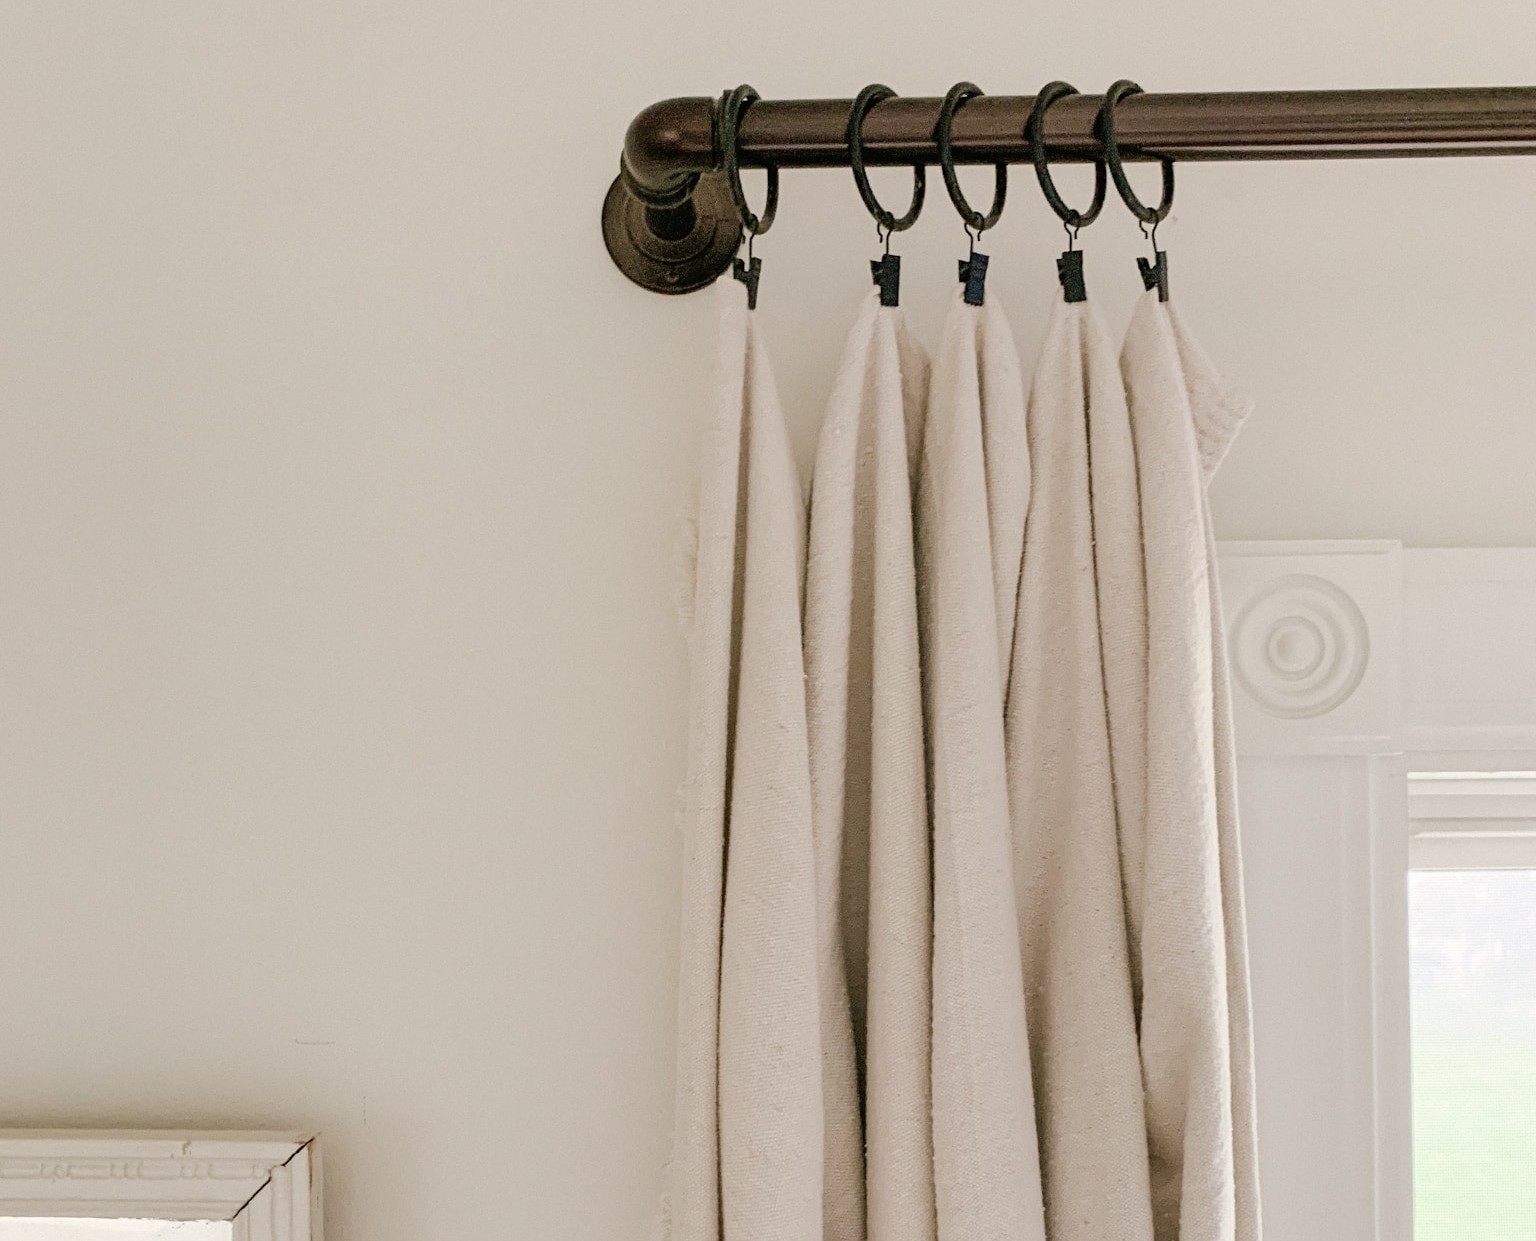
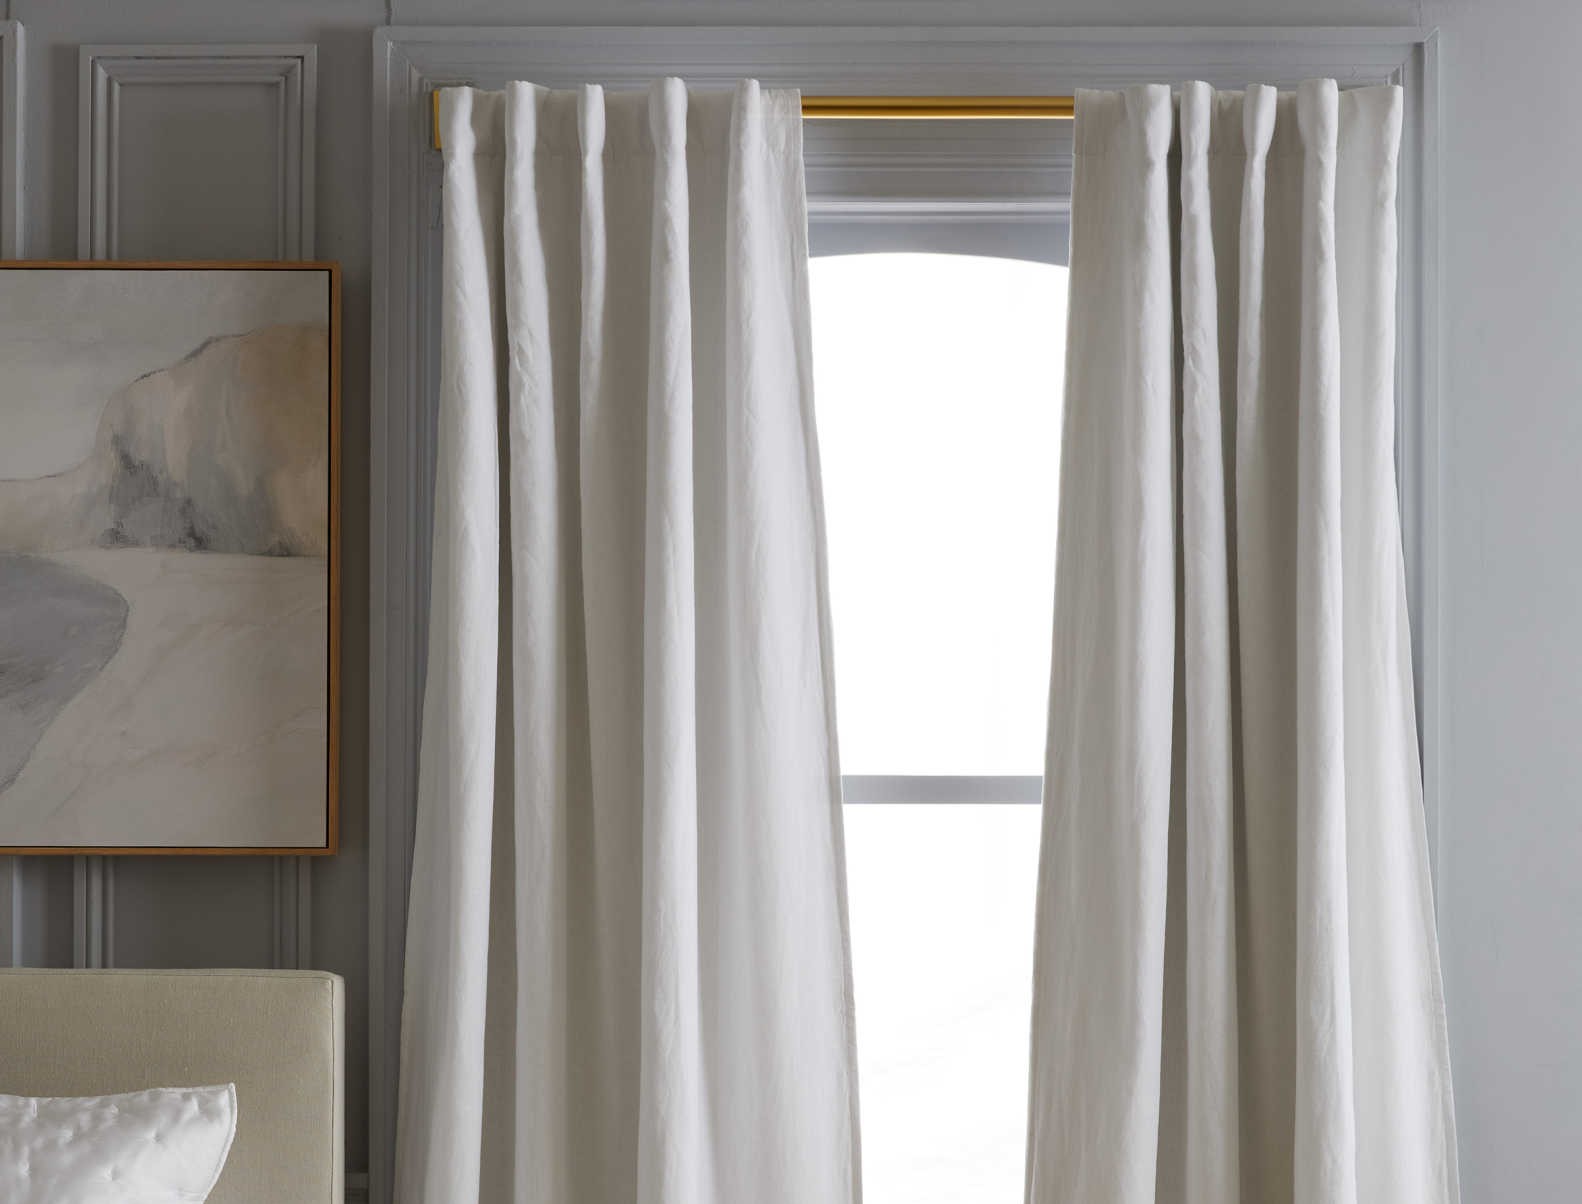
Step 5: Hanging the Curtains
After all the hard work of measuring, cutting, hemming, and creating a rod pocket, it’s time to hang your drop cloth curtains and see your efforts come to life. Follow these steps to hang your curtains:
- Install the curtain rod according to the manufacturer’s instructions. Make sure it is securely attached to the wall or window frame.
- Slide the rod through the rod pocket of one curtain panel, starting from one end and gently pushing it to the other end. Repeat this step for the remaining curtain panels if you have multiple panels.
- Adjust the position of the curtains on the rod to ensure they hang evenly and are centered on the window.
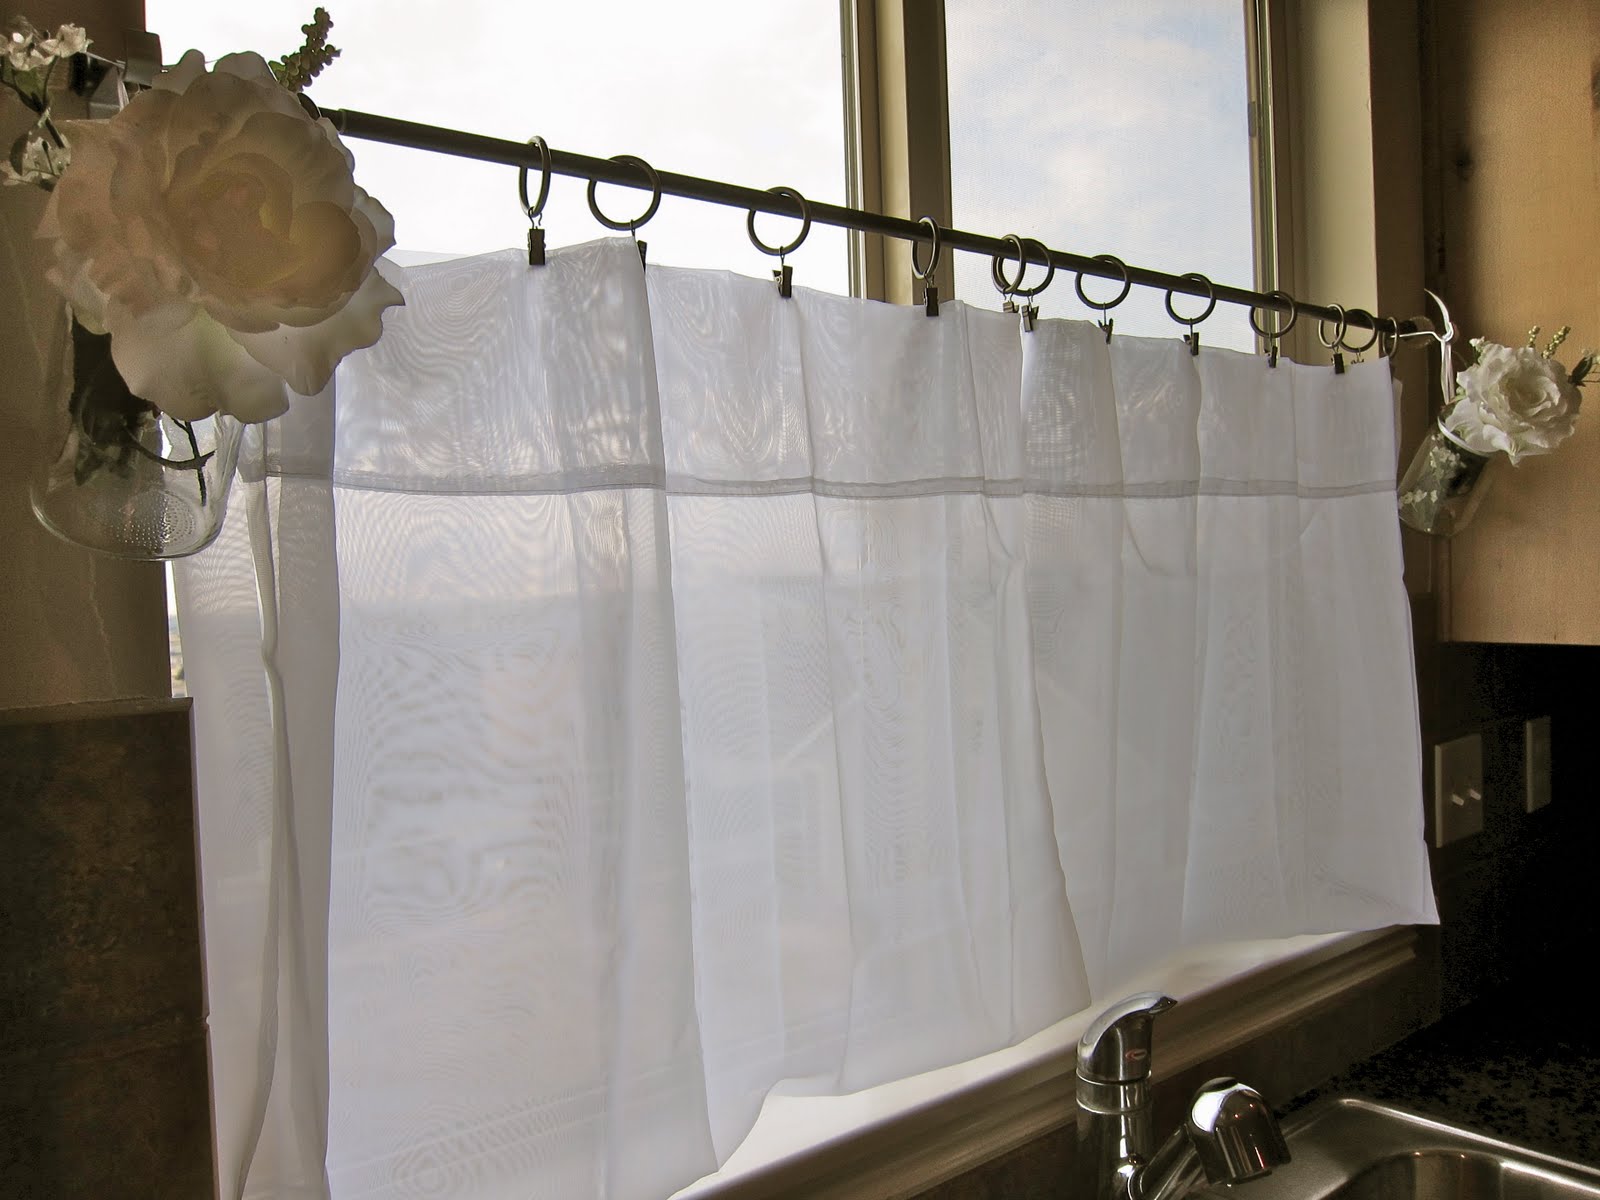
- If using curtain rings, attach them to the rod and then clip the curtain panel to the rings. This will allow for easy opening and closing of the curtains.
- If using drapery clips, simply clip the curtain panel directly onto the rod, spacing them evenly along the width.
- Step back and admire your newly hung drop cloth curtains. Make any necessary adjustments to ensure they are hanging straight and at the desired length.
Now is the time to stand back and enjoy the beauty and functionality of your handmade drop cloth curtains. They add a touch of style and character to your space, while also giving you privacy and controlling the amount of light entering the room.
Remember to periodically clean your drop cloth curtains according to the manufacturer’s instructions to keep them looking fresh and vibrant.
Congratulations! You have successfully made and hung your own drop cloth curtains. Enjoy the cozy and stylish ambiance they bring to your home.
Conclusion
Creating curtains out of drop cloths is a fantastic way to add a personal touch to your space while staying within your budget. These versatile and affordable fabrics can be transformed into stylish curtains that complement various interior design styles.
Throughout this article, we guided you through the process of making drop cloth curtains, from preparing the drop cloth to hanging the finished product. By following these steps, you can create curtains that are not only functional but also reflect your unique style and creativity.
Remember, the key to making drop cloth curtains is precision and attention to detail. Taking accurate measurements, hemming the edges, and creating a proper rod pocket are all crucial steps in achieving professional-looking curtains.
Don’t be afraid to experiment with different techniques and styles when making your drop cloth curtains. You can consider adding decorative elements such as trim or tiebacks to further customize your curtains and make them truly one-of-a-kind.
With a little creativity and effort, you can transform ordinary drop cloths into stunning curtains that elevate the ambiance of any room in your home. So, unleash your inner designer and embark on the journey of creating beautiful drop cloth curtains that will captivate both you and your guests.
Enjoy the satisfaction of knowing that you have not only saved money but also created something unique and special. Embrace the process, let your creativity flow, and have fun as you embark on this DIY curtain-making adventure!
Frequently Asked Questions about How To Make Curtains Out Of Drop Cloths
Was this page helpful?
At Storables.com, we guarantee accurate and reliable information. Our content, validated by Expert Board Contributors, is crafted following stringent Editorial Policies. We're committed to providing you with well-researched, expert-backed insights for all your informational needs.


0 thoughts on “How To Make Curtains Out Of Drop Cloths”