
Articles
How To Bury An Extension Cord
Modified: August 27, 2024
Learn how to bury an extension cord safely and efficiently with our informative articles.
(Many of the links in this article redirect to a specific reviewed product. Your purchase of these products through affiliate links helps to generate commission for Storables.com, at no extra cost. Learn more)
Introduction
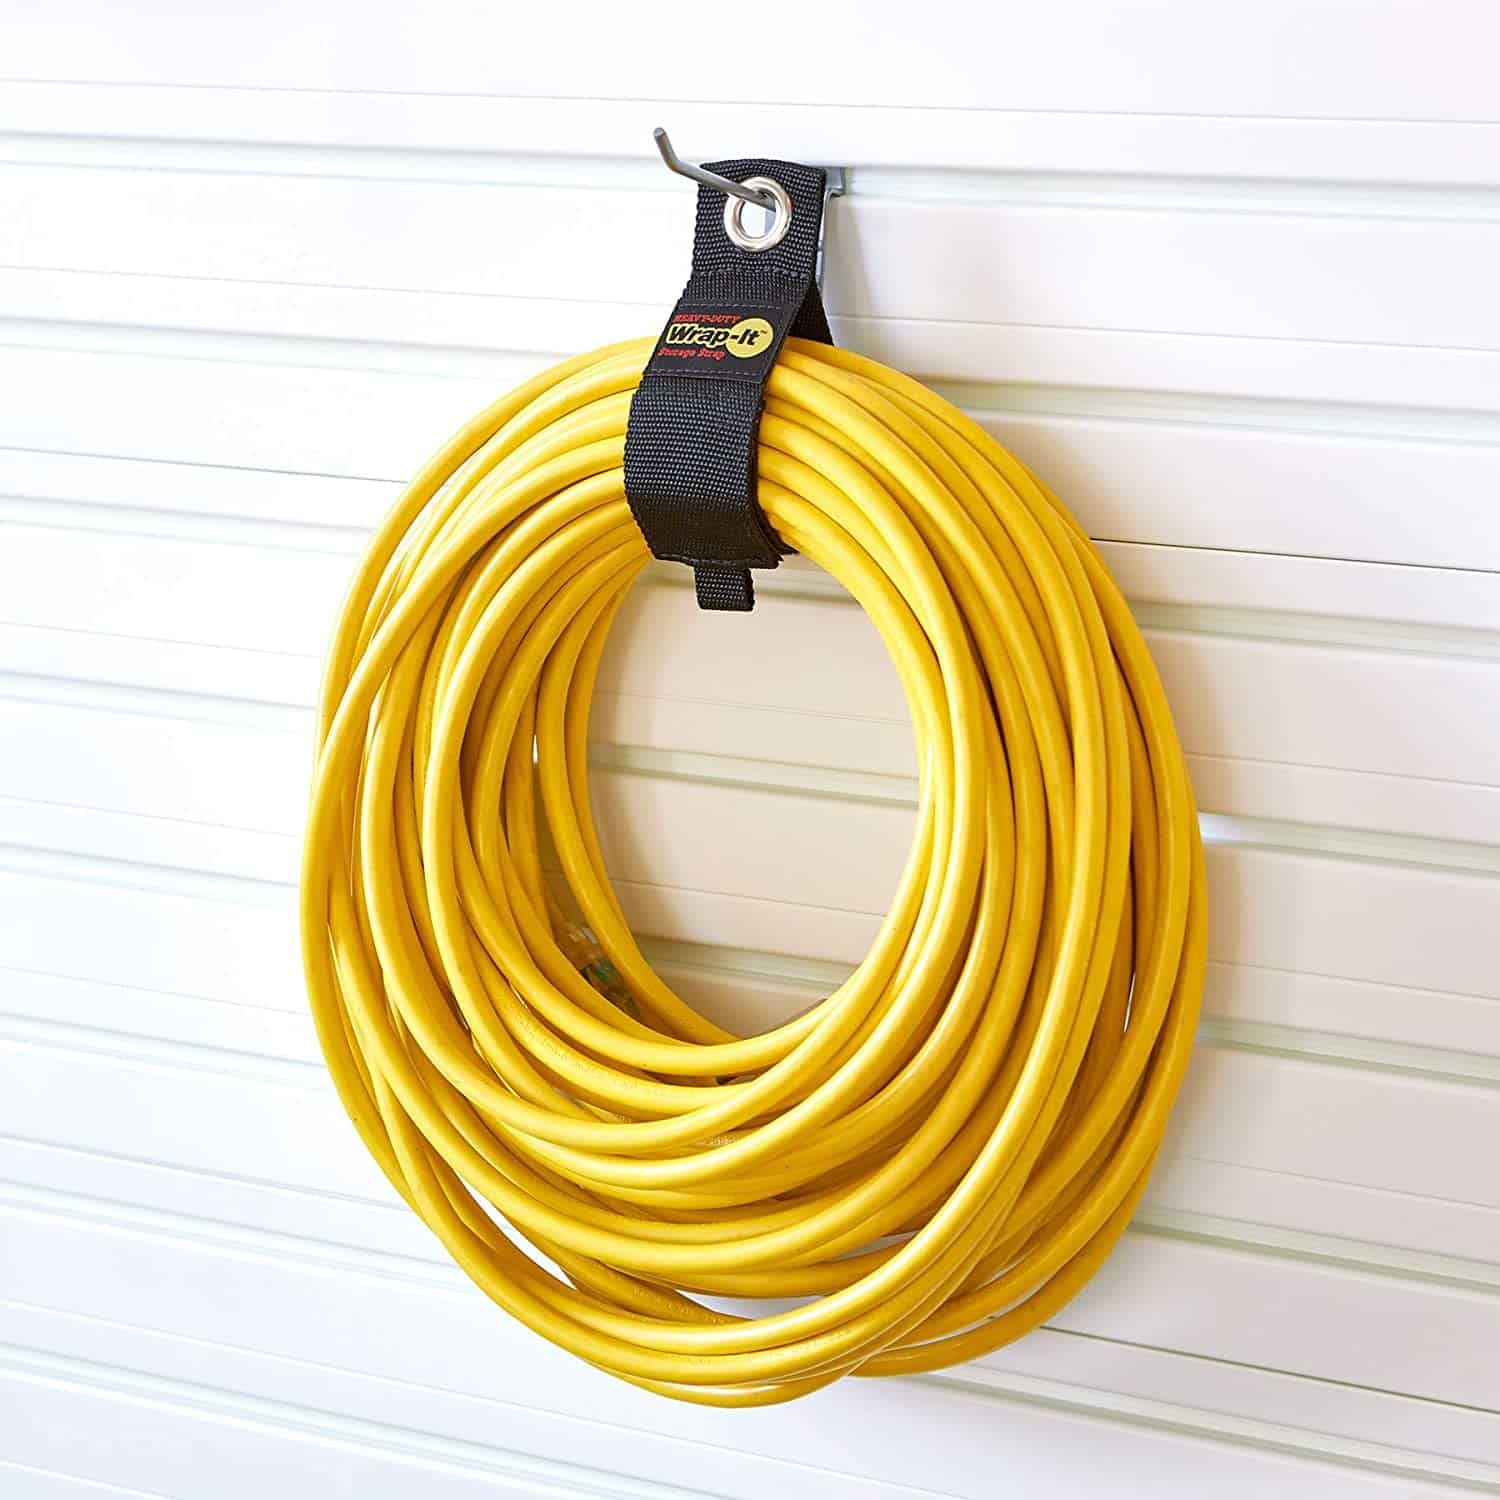
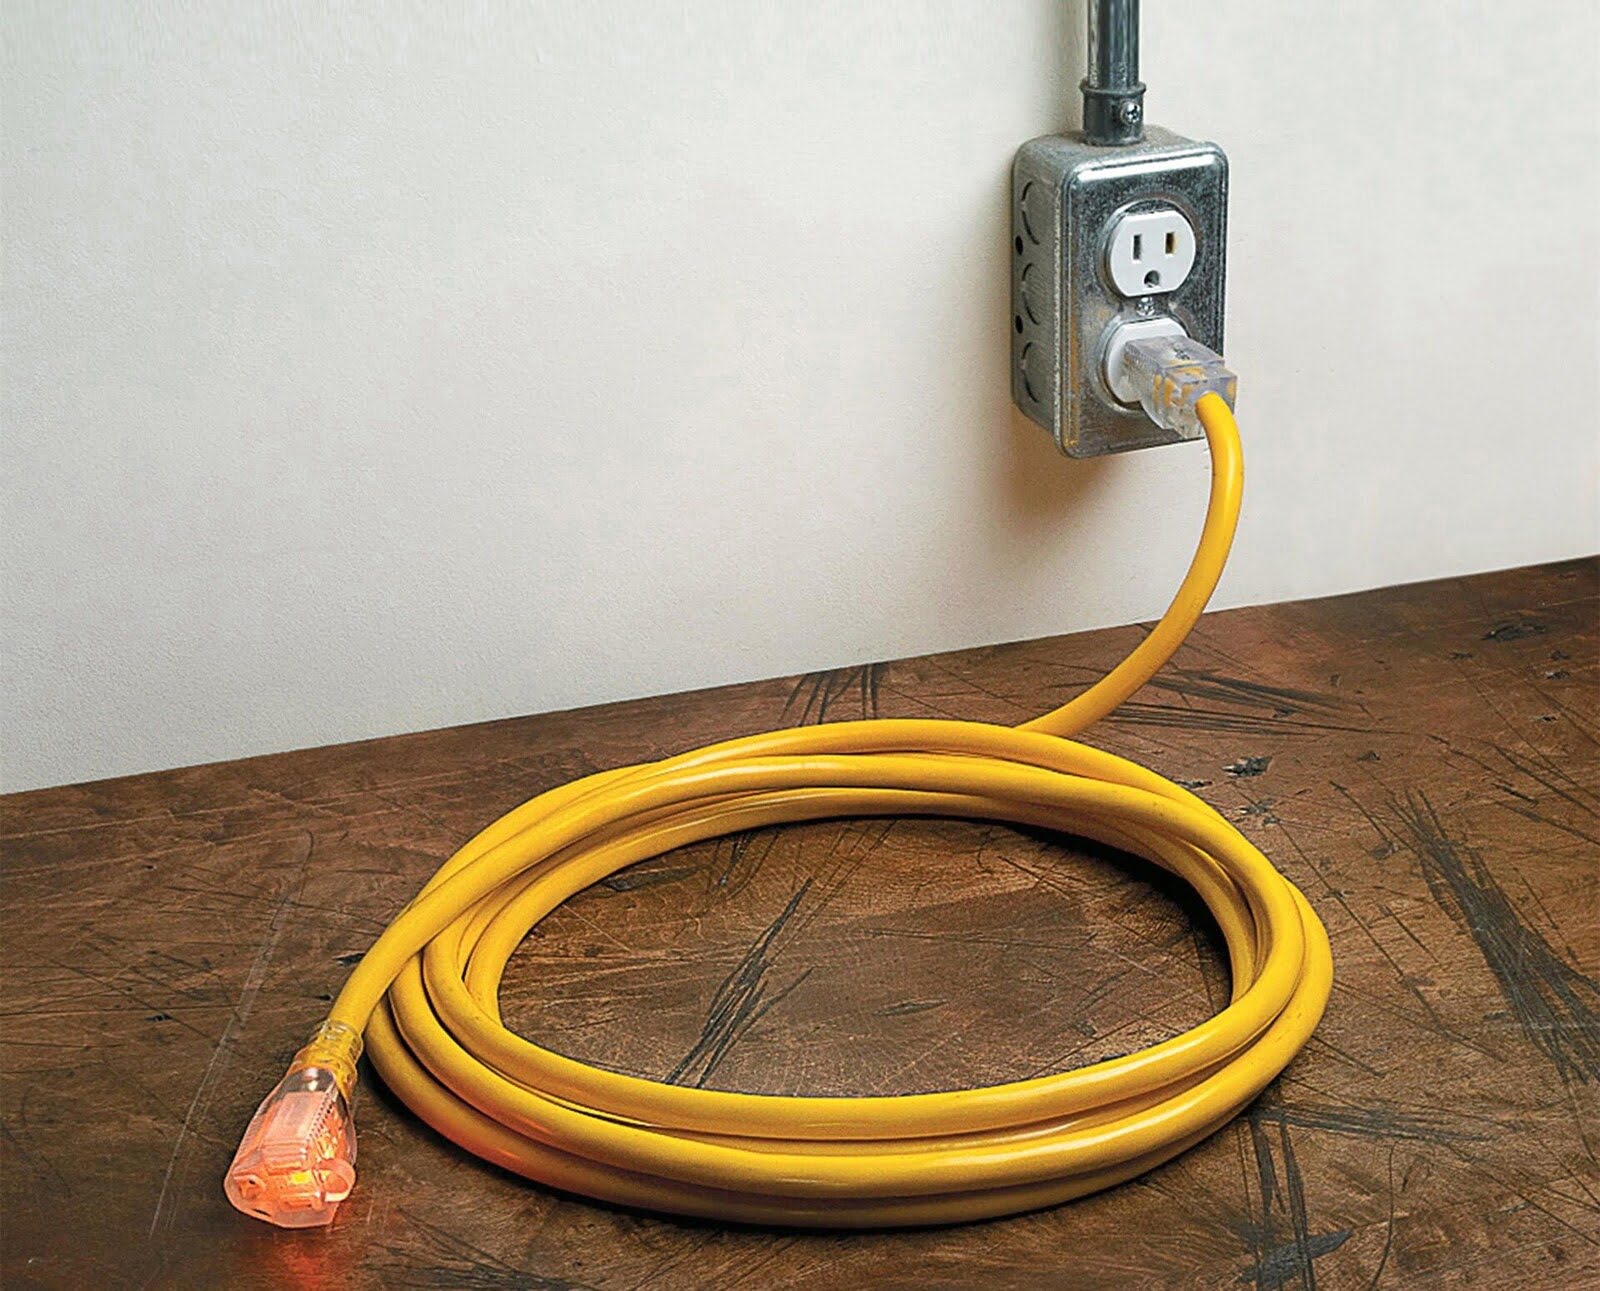
Having long and unruly extension cords lying around your outdoor space can be unsightly and potentially hazardous. Whether you have a garden, patio, or outdoor entertainment area, burying your extension cords is a great solution to keep them out of sight and protect them from the elements. In this article, we will guide you through the step-by-step process of burying an extension cord safely and securely.
Before we dive into the details, it’s important to note that burying an extension cord requires careful planning and consideration. It may also involve digging, so you need to be aware of any underground utilities or obstacles in your chosen route. Additionally, be sure to check with your local building codes and regulations regarding the burial of electrical cords.
By burying your extension cord, you not only improve the aesthetics of your outdoor space but also reduce the risk of tripping hazards and damage caused by exposure to the elements. So let’s get started on transforming your space by burying that unsightly cord!
Key Takeaways:
- Burying an extension cord is a practical and safe way to declutter your outdoor space, reduce tripping hazards, and protect the cord from the elements. Follow the step-by-step guide for a successful and compliant installation.
- Prioritize safety, careful planning, and adherence to local building codes when burying an extension cord. Use outdoor-rated cords, PVC conduit, and follow final tips for longevity and functionality.
Read more: What Type Of Electrical Cord To Bury
Tools and Materials Needed
Before you begin the process of burying an extension cord, gather the following tools and materials:
- Shovel or trenching tool: You’ll need a tool to dig the trench in which you’ll bury the extension cord. A shovel or trenching tool will work best depending on the length and depth of the trench.
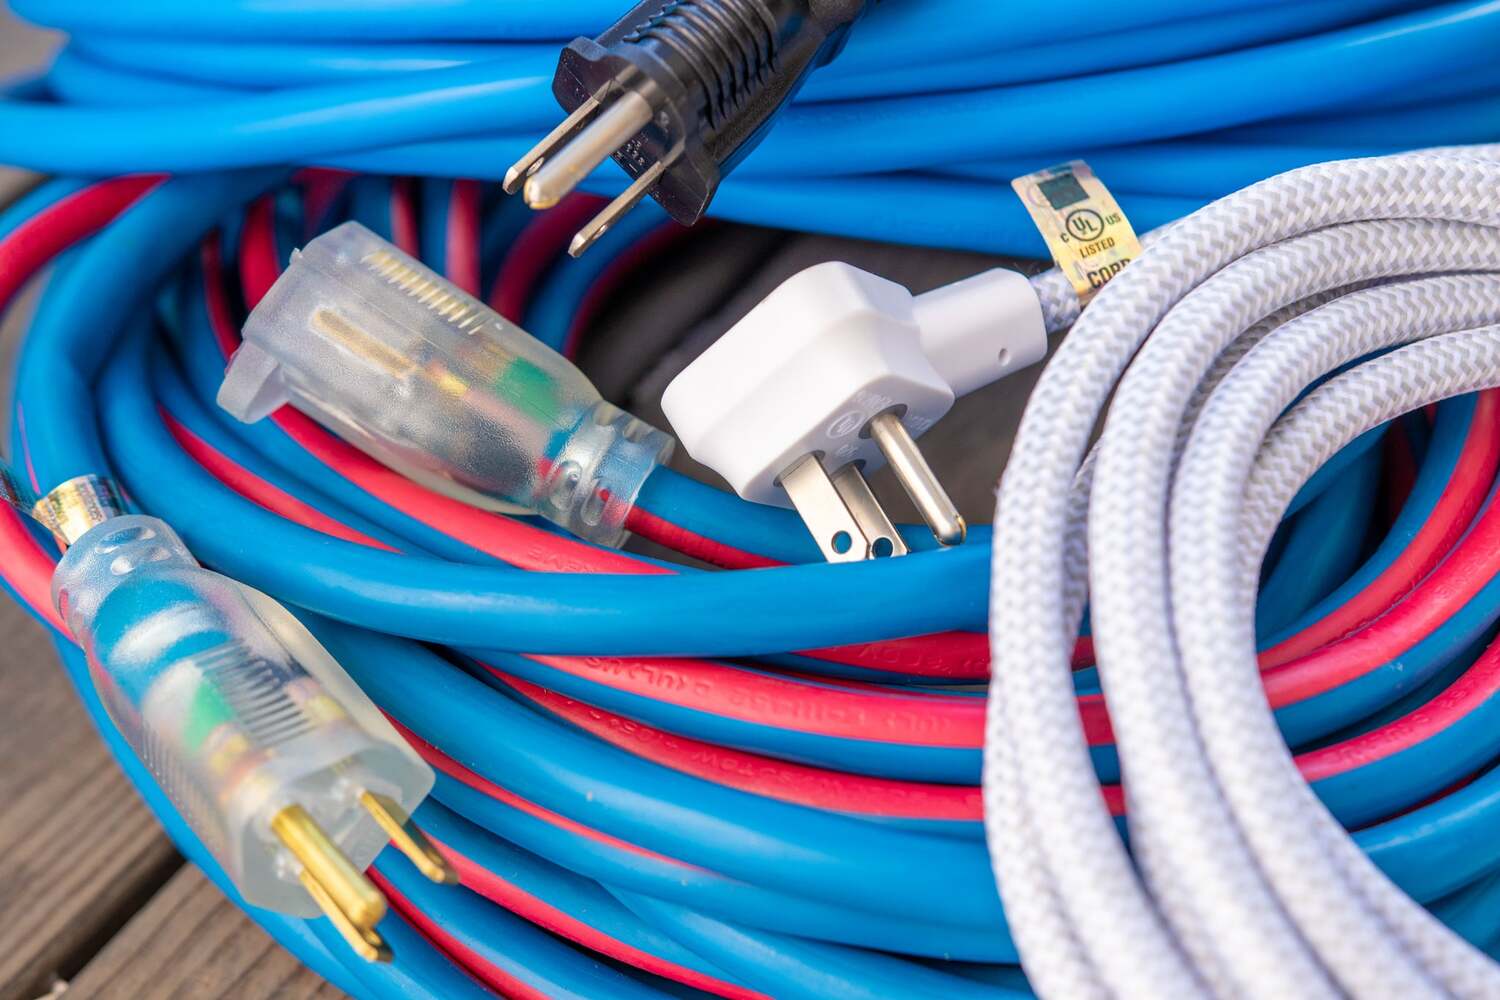
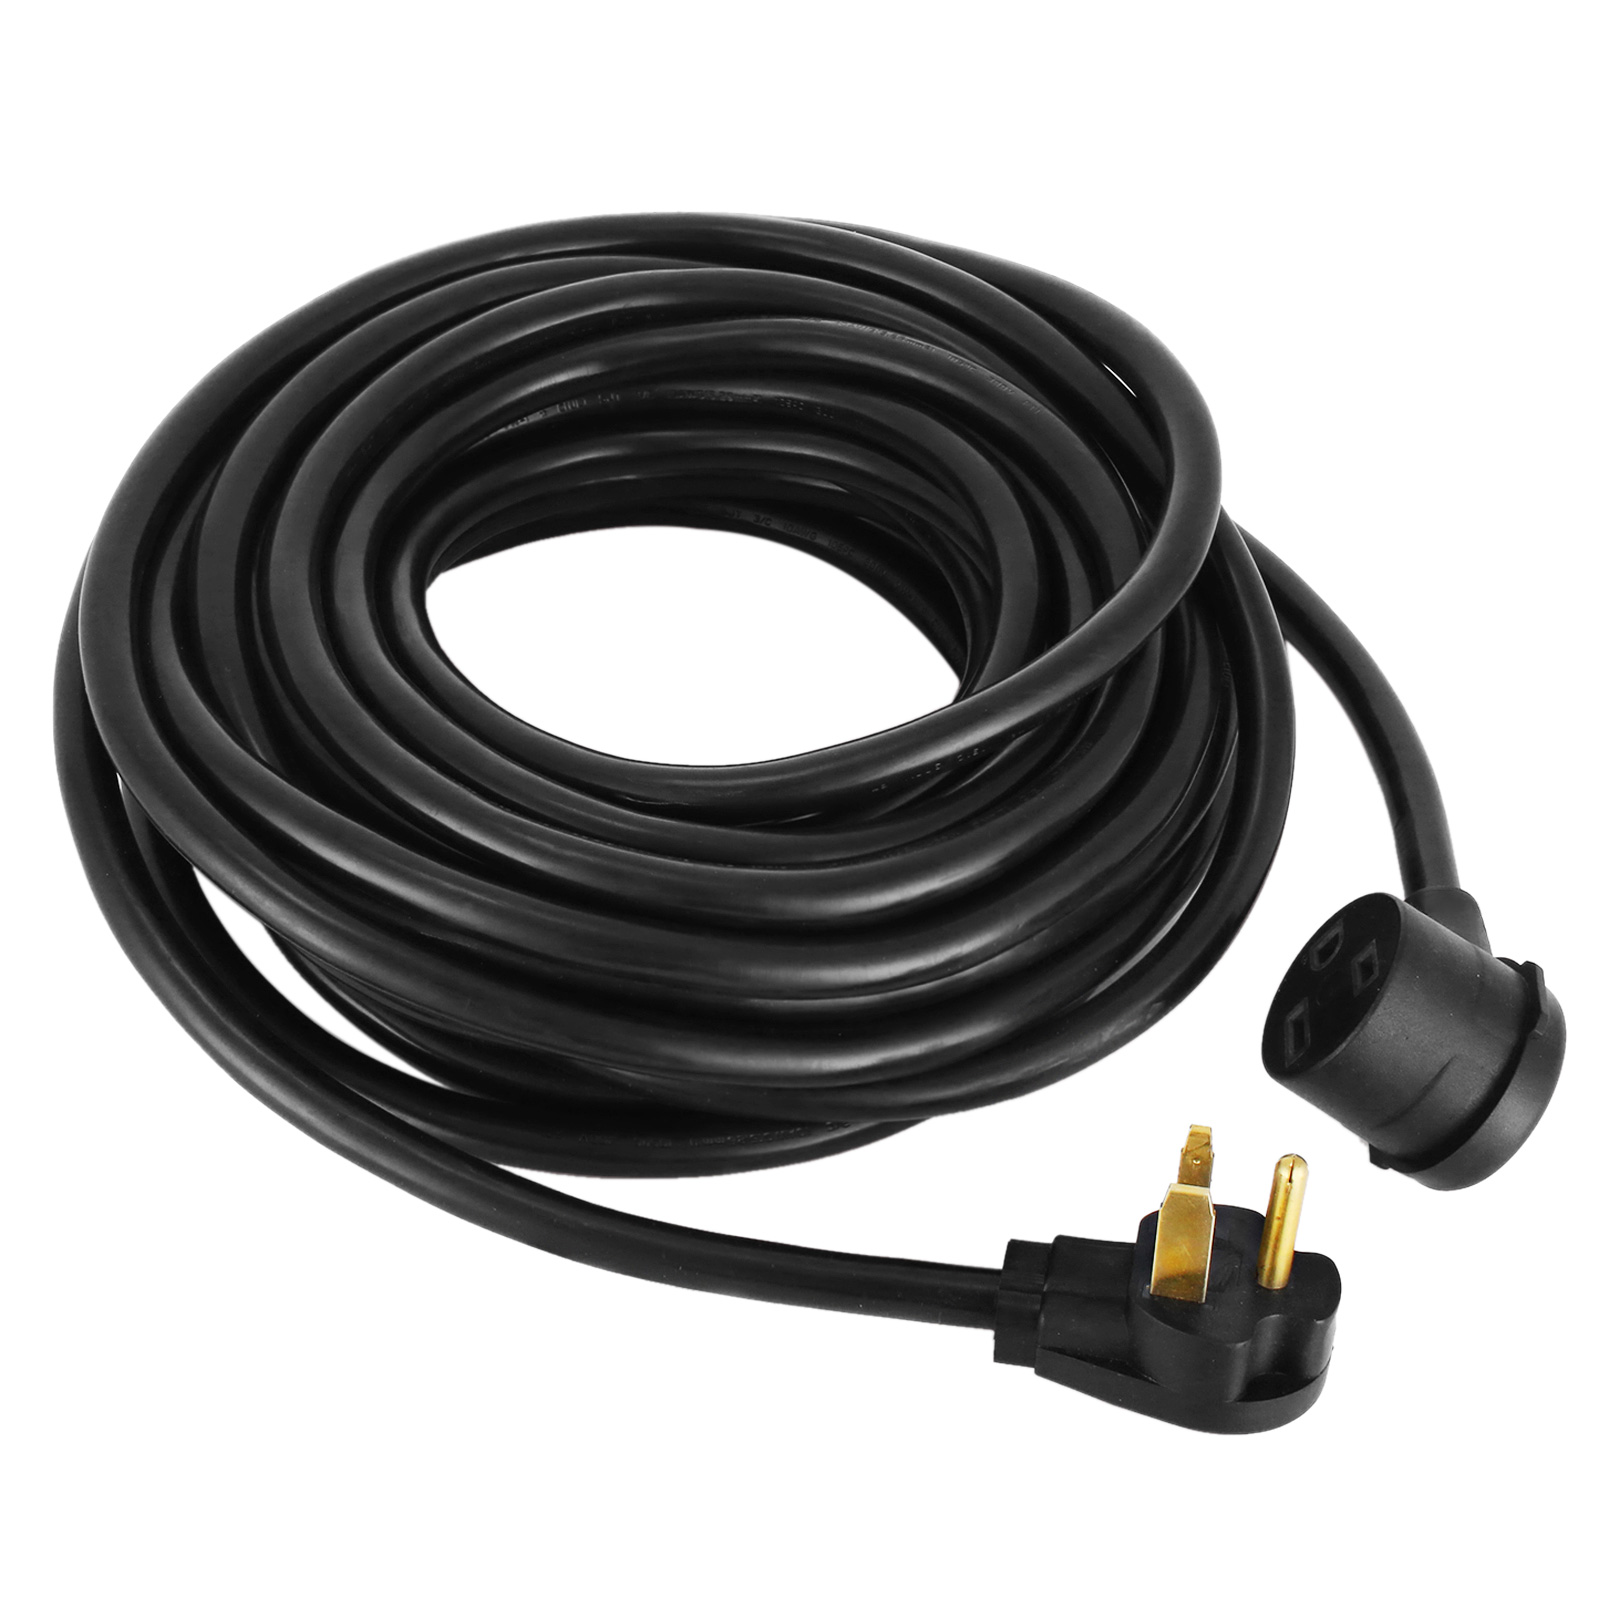
- Extension cord: Choose an outdoor-rated extension cord that is suitable for burying. Make sure it has a length that reaches the desired area while leaving enough slack for any movement or adjustments.
- PVC conduit: To provide protection and durability to the extension cord, you’ll need PVC conduit. The size will depend on the thickness of the cord and the number of cords you plan to bury. Measure the length needed based on your planned route.
- PVC connectors and couplings: These fittings will be necessary to connect and secure the sections of PVC conduit together.
- PVC glue: You’ll need PVC glue or cement to ensure the fittings are securely attached to the PVC conduit.
- Tape measure: Use a tape measure to accurately measure the length of the trench and cut the PVC conduit to the appropriate size.
- Marker or spray paint: Use a marker or spray paint to mark out the route of the trench and locate any potential obstacles or utility lines.
- Cord protector or cable ramp (optional): If you anticipate vehicle or foot traffic crossing over the buried extension cord, consider using a cord protector or cable ramp to prevent damage and reduce tripping hazards.
- Gloves and safety goggles: It’s always important to prioritize safety while working with tools and materials. Wear gloves to protect your hands and safety goggles to protect your eyes from debris.
Make sure you have all the necessary tools and materials ready before you start the process of burying an extension cord. This will ensure a smooth and efficient installation process.
Step 1: Determine the Route and Depth
Before you start digging, take some time to plan and determine the best route for the buried extension cord. Consider factors such as the location of power source, the layout of your outdoor space, and any potential obstacles or obstructions. Here’s how to proceed:
- Survey the area: Walk around your outdoor space and identify the areas where you need the extension cord to reach. Consider the distance and the layout of your space, as well as any natural or man-made obstacles that may affect the route.
- Map out the route: Once you’ve identified the desired areas, use a marker or spray paint to mark out the route of the trench. Ensure that it stays clear of any existing utility lines, such as water pipes or electrical cables.
- Determine the depth: The depth at which you bury the extension cord will depend on the intended use and the type of cord. As a general guideline, bury the cord at a depth of at least 18 inches to protect it from accidental damage and allow for adequate insulation. However, if you anticipate heavy foot or vehicle traffic, consider burying the cord deeper or using a cord protector or cable ramp for added protection.
Remember to always check with your local building codes and regulations regarding the recommended depth for burying electrical cords. Following these guidelines will help ensure a safe and compliant installation.
Once you have determined the route and depth, you can move on to preparing the trench for burying the extension cord. In the next step, we will guide you through the process of preparing the trench.
Step 2: Prepare the Trench
Now that you have determined the route and depth for burying your extension cord, it’s time to prepare the trench. Follow these steps:
- Gather your tools: Get your shovel or trenching tool, tape measure, and marker or spray paint.
- Mark the trench: Use the marker or spray paint to mark the route of the trench along the previously determined path. Make sure the markings are clear and visible.
- Measure the length: Use a tape measure to measure the length of the trench from the starting point to the endpoint. This will help you determine the amount of PVC conduit needed.
- Dig the trench: Using the shovel or trenching tool, start digging along the marked path. Dig to the recommended depth, ensuring the trench is wide enough to accommodate the PVC conduit and the extension cord. Remove any rocks or debris that may obstruct the installation.
- Smooth the bottom: After digging, use the shovel or the back of the trenching tool to smooth out the bottom of the trench. This will help ensure a level surface for the PVC conduit and the extension cord.
As you prepare the trench, be cautious of any existing utility lines or obstacles that may be buried underground. If you encounter any, adjust the route of the trench accordingly to avoid damaging or interfering with them.
With the trench prepared, you’re now ready to move on to the next step: laying the extension cord in the trench.
Step 3: Lay the Extension Cord
With the trench prepared, it’s time to lay the extension cord securely. Follow these steps:
- Feed the extension cord through the PVC conduit: Before laying the extension cord in the trench, thread it through the PVC conduit. This will provide additional protection against damage and ensure the cord remains secure.
- Start at the power source: Begin at the power source end of the trench and carefully lay the PVC conduit with the extension cord inside. Slowly move along the trench, making sure the conduit and cord are positioned at the desired depth.
- Straighten the conduit and cord: As you lay the conduit, ensure that it is relatively straight and properly aligned with the trench. This will prevent kinking or bending of the extension cord inside and make it easier to fill the trench later.
- Continue laying until the endpoint: Keep laying the conduit and extension cord along the marked route until you reach the endpoint of the trench. Ensure that the cord has enough slack for any movement or adjustments required.
During the process of laying the extension cord, be cautious not to pull or stretch it too tightly. Leave some room for flexibility to accommodate any unforeseen adjustments or movements of the cord.
Once you have successfully laid the extension cord in the PVC conduit, it’s time to move on to the next step: securing the extension cord to prevent movement or damage.
When burying an extension cord, use a weatherproof, heavy-duty cord designed for underground use. Dig a trench at least 18 inches deep and place the cord in PVC conduit for protection. Be sure to check local codes and regulations before burying any electrical wiring.
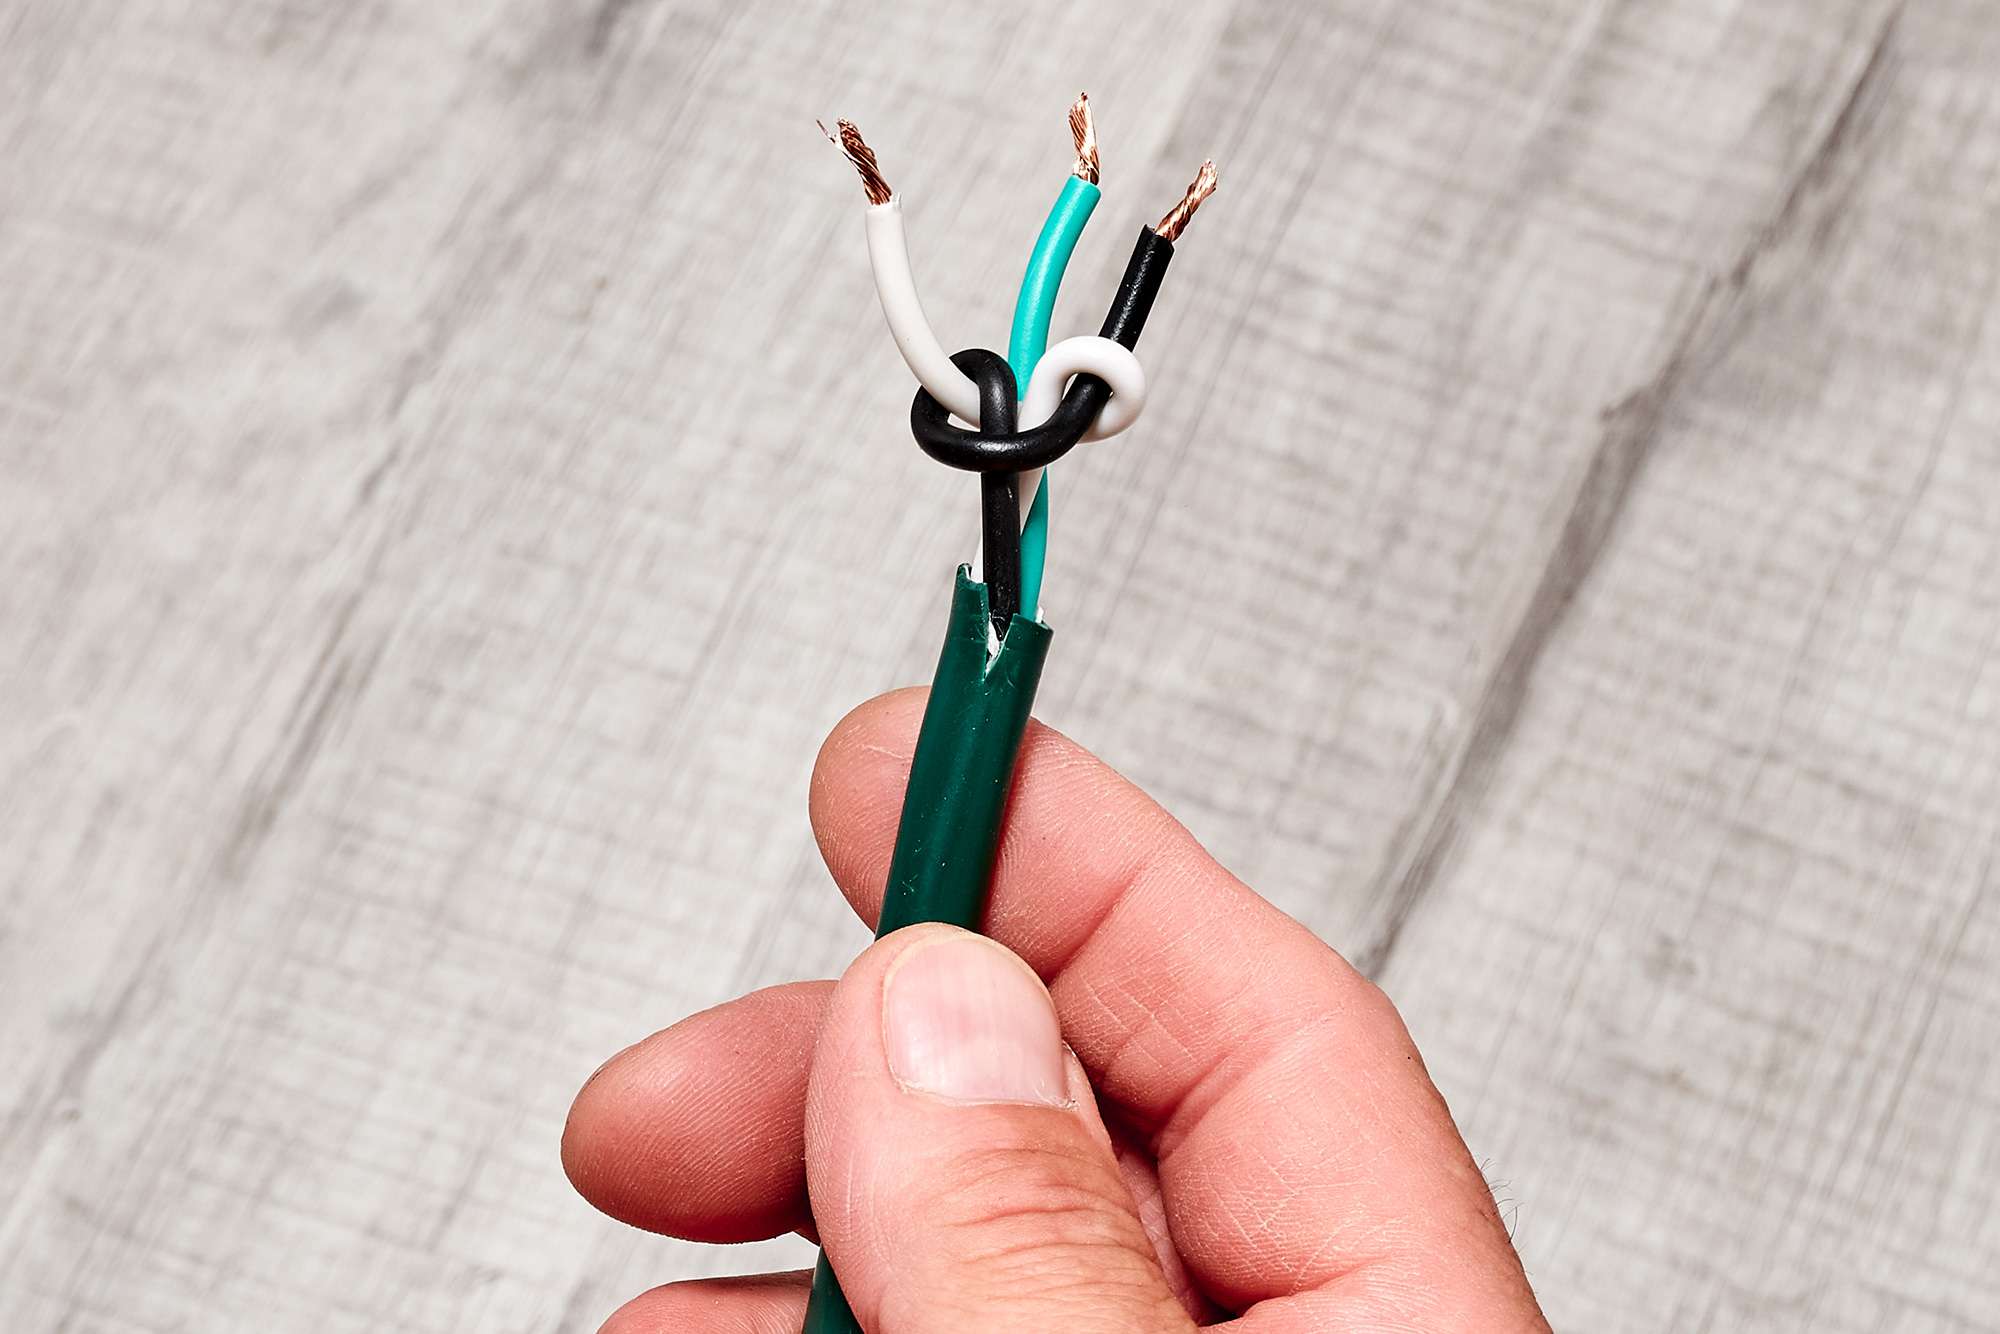
Read more: How To Splice Extension Cord
Step 4: Secure the Extension Cord
Securing the extension cord is an important step to prevent movement, damage, and potential tripping hazards. Follow these steps:
- Anchor the PVC conduit: To keep the PVC conduit and extension cord in place, use stakes or clips specifically designed for securing conduit. Place them along the length of the conduit at regular intervals, ensuring they are secure and tightly holding the conduit in place.
- Bury the conduit: Gently cover the PVC conduit with soil, ensuring that it is completely buried. Use a shovel to carefully fill the trench, taking care not to dislodge or damage the conduit or extension cord.
- Inspect for any loose areas: Once the trench is filled, inspect the buried conduit to ensure that it is securely in place and there are no loose sections. If you find any areas that need reinforcement, add additional stakes or clips as necessary.
Securing the extension cord helps to prevent accidental movement or damage, and also ensures that it remains hidden and protected. By properly anchoring and burying the conduit, you can enjoy a safe and neat outdoor space without any visible cords.
Now that the extension cord is securely in place, it’s time to move on to the next step: filling the trench to complete the installation.
Step 5: Fill the Trench
With the extension cord securely in place and the PVC conduit properly anchored, it’s time to fill the trench. Follow these steps:
- Backfill the trench: Using a shovel or the back of a trenching tool, carefully backfill the trench with the soil that was dug out earlier. Start from one end of the trench and work your way to the other, ensuring that the soil is evenly distributed and covers the entire length of the trench.
- Compact the soil: Once the trench is filled, use the back of the shovel or a tamper to gently compact the soil. This will help stabilize the ground and provide additional support to the buried conduit.
- Smooth the surface: Using the shovel or the back of the trenching tool, smooth out the surface of the filled trench. This will help create a seamless and even appearance.
- Remove any excess soil: If there is excess soil or debris left over, dispose of it properly or use it to fill in any other areas that may need leveling or landscaping.
It’s important to ensure that the trench is completely filled and compacted to prevent any movement or shifting of the buried conduit. This will also help maintain the aesthetic appeal of your outdoor space.
Once you have filled the trench and smoothed the surface, you’re almost done! The next step involves testing the connection to ensure that the buried extension cord is functioning properly.
Step 6: Test the Connection
After burying the extension cord, it’s crucial to test the connection to ensure that everything is working properly and safely. Follow these steps:
- Disconnect any devices: Before testing the connection, disconnect any devices or appliances that you plan to use with the extension cord. This will prevent any potential damage or power surges during the testing process.
- Plug in the extension cord: Go to the power source and plug in the extension cord. Ensure that it is securely connected and properly seated in the outlet.
- Power on the devices: Once the extension cord is plugged in, power on the devices that you want to use. Check if they are receiving power and functioning as expected. Test different outlets along the length of the extension cord to make sure there are no connectivity issues.
- Check for any issues: During the testing process, be attentive to any signs of power loss, flickering, or overheating. If you encounter any issues, immediately disconnect the devices and investigate the problem. It may be necessary to redo the installation or seek professional assistance.
Testing the connection is essential to ensure the safety and proper functioning of the buried extension cord. By thoroughly checking for any issues, you can address them promptly and ensure a reliable power source for your outdoor activities.
Once you have confirmed that the connection is working correctly, you’re almost done! The final step involves some additional tips and precautions to keep in mind for maintaining the buried extension cord.
Step 7: Final Tips and Precautions
As you complete the process of burying your extension cord, here are some final tips and precautions to keep in mind:
- Regular inspections: Periodically check the buried extension cord and PVC conduit for any signs of damage or wear. If you notice any issues, such as exposed wires or cracks in the conduit, repair or replace them immediately.
- Avoid excessive weight: Avoid placing heavy objects on top of the buried extension cord to prevent damage or compression of the conduit.
- Protect from moisture: Although the PVC conduit provides some protection against moisture, it’s advisable to avoid exposing the buried extension cord to excessive water or wet conditions. Use caution when watering your garden or lawn and take measures to protect the buried cord from water damage.
- Handling during extreme temperatures: Extreme temperatures, both hot and cold, can affect the performance and longevity of the extension cord. Take precautions to protect the buried cord during such conditions, such as providing insulation or shade when exposed to direct sunlight.
- Comply with local codes: Always adhere to your local building codes and regulations when burying an extension cord. This ensures the safety and compliance of the installation.
By following these final tips and precautions, you can ensure the longevity and functionality of your buried extension cord.
Congratulations! You have successfully completed the process of burying an extension cord. Enjoy your clutter-free outdoor space while having a safe and reliable power source at your fingertips!
Remember, if you have any concerns or doubts during the installation process, it’s always best to consult a professional electrician for assistance.
(article complete)
Read more: How To Test Extension Cord With Multimeter
Conclusion
Burying an extension cord is a practical and effective solution for keeping your outdoor space clean and safe from tripping hazards. By following the step-by-step process outlined in this article, you can successfully bury your extension cord and enjoy a clutter-free environment.
Throughout the process, careful planning, adherence to local building codes, and attention to safety are essential. From determining the route and depth to securing the extension cord and filling the trench, each step plays a crucial role in ensuring a successful installation.
Remember to select an outdoor-rated extension cord and use PVC conduit to provide protection and durability. Regularly inspect the buried cord and conduit for signs of damage or wear, and take precautions to protect it from excessive moisture and extreme temperatures.
By burying your extension cord, you not only improve the aesthetics of your outdoor space but also enhance safety and convenience. However, if you are unsure or uncomfortable with the process, it’s always best to seek the assistance of a professional electrician to ensure a proper and compliant installation.
Now, it’s time to enjoy your transformed outdoor space without the unsightly mess of exposed extension cords. Sit back, relax, and make the most of your clutter-free environment powered by a buried extension cord!
(article complete)
Now that you've mastered burying an extension cord, why not tackle more home projects? If you're eager to transform your living space with personal touches, our guide on DIY home improvement will show you easy, impactful ways to enhance your home yourself. For those planning more outdoor electrical work, understanding underground wiring is crucial for safe and efficient installations. Don't forget regular upkeep; our home maintenance tips ensure your home stays in top condition year-round. Dive into these articles for more handy advice!
Frequently Asked Questions about How To Bury An Extension Cord
Was this page helpful?
At Storables.com, we guarantee accurate and reliable information. Our content, validated by Expert Board Contributors, is crafted following stringent Editorial Policies. We're committed to providing you with well-researched, expert-backed insights for all your informational needs.


0 thoughts on “How To Bury An Extension Cord”