
Articles
How To Replace Fuse In Extension Cord
Modified: August 25, 2024
Learn how to replace a fuse in an extension cord with our informative articles. Gain the knowledge necessary to fix electrical issues safely and effectively.
(Many of the links in this article redirect to a specific reviewed product. Your purchase of these products through affiliate links helps to generate commission for Storables.com, at no extra cost. Learn more)
Introduction
An extension cord is a common household item that allows us to conveniently access electrical power in areas that may not have a nearby outlet. However, over time, the fuse in the extension cord may blow and need to be replaced. Knowing how to replace a fuse in an extension cord is a useful skill that can save you money and time.
In this article, we will guide you through the step-by-step process of replacing a fuse in an extension cord. Whether you are a seasoned DIY enthusiast or a beginner, this guide will help you safely and effectively replace a blown fuse, restoring power to your extension cord.
Before we begin, it’s important to remember that working with electricity can be dangerous. Always exercise caution and, if you are unsure or uncomfortable with any of the steps outlined in this article, consult a professional electrician.
Now, let’s gather the necessary tools and materials to get started!
Key Takeaways:
- Safely and effectively replace a blown fuse in your extension cord by gathering the necessary tools, identifying the blown fuse, and replacing it with a new one, ensuring the cord’s continued functionality and safety.
- Regularly inspect your extension cord for signs of wear or damage, and promptly replace any blown fuses to avoid potential hazards, ensuring the continued use and safety of your cord.
Read more: How To Replace Plug On Extension Cord
Step 1: Gather the necessary tools and materials
Before you can start replacing the fuse in your extension cord, you will need to gather a few tools and materials. Having everything you need on hand will make the process smoother and more efficient. Here’s what you’ll need:
- Screwdriver: You’ll need a screwdriver that is compatible with the screws on your extension cord. This will be used to remove the fuse compartment cover.
- New fuse: Make sure you have the right type and rating of fuse for your extension cord. Check the specifications on your cord or refer to the manufacturer’s instructions to determine the correct fuse size.
- Pliers: Pliers can be helpful for safely removing and handling the fuse. They provide a firm grip and prevent accidental damage to the fuse or your fingers.
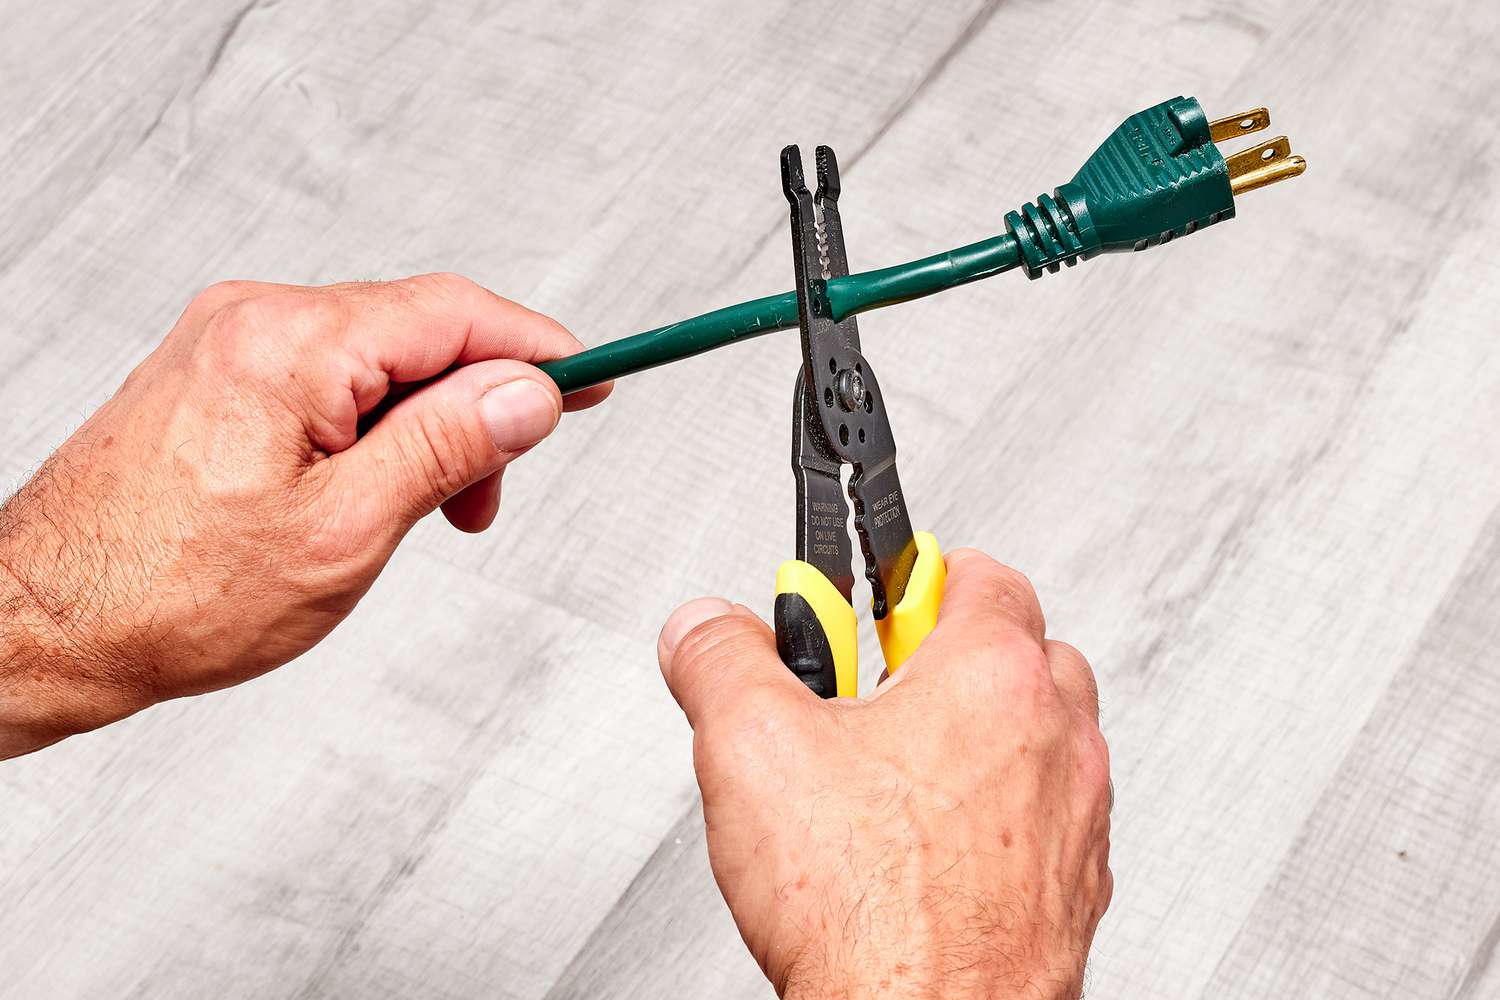
- Scissors or wire stripper: If your new fuse has longer fuse leads than necessary, you may need to trim them down to fit in the fuse compartment. Scissors or a wire stripper can be used to carefully trim the excess length.
Once you have these tools and materials ready, you can move on to the next step.
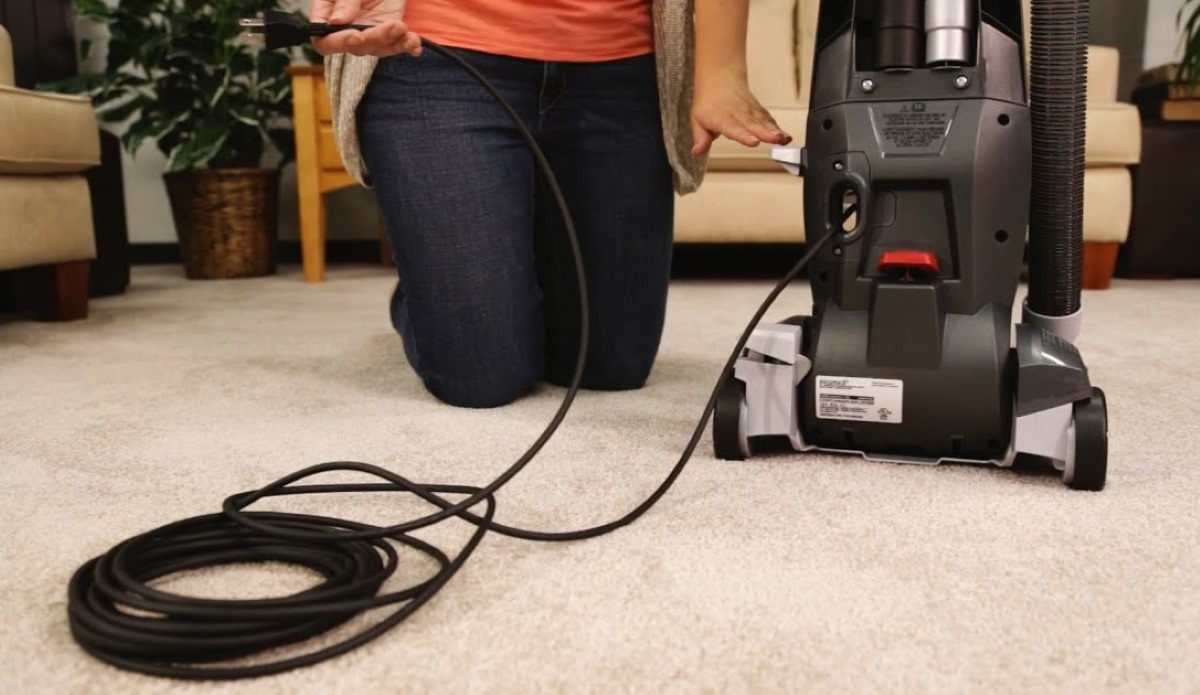
Step 2: Unplug the extension cord
Before you can safely begin replacing the fuse in your extension cord, it’s essential to make sure the cord is not connected to any power source. By unplugging the cord, you eliminate the risk of electrical shock while working on it.
To unplug the extension cord, simply locate the end of the cord that is plugged into the power outlet or device. Firmly grasp the plug and gently pull it out of the socket. Check to ensure that the cord is no longer receiving any power by testing a nearby device or using a voltage tester.
Once you have confirmed that the extension cord is completely unplugged and not energized, you can move on to the next step of the process.
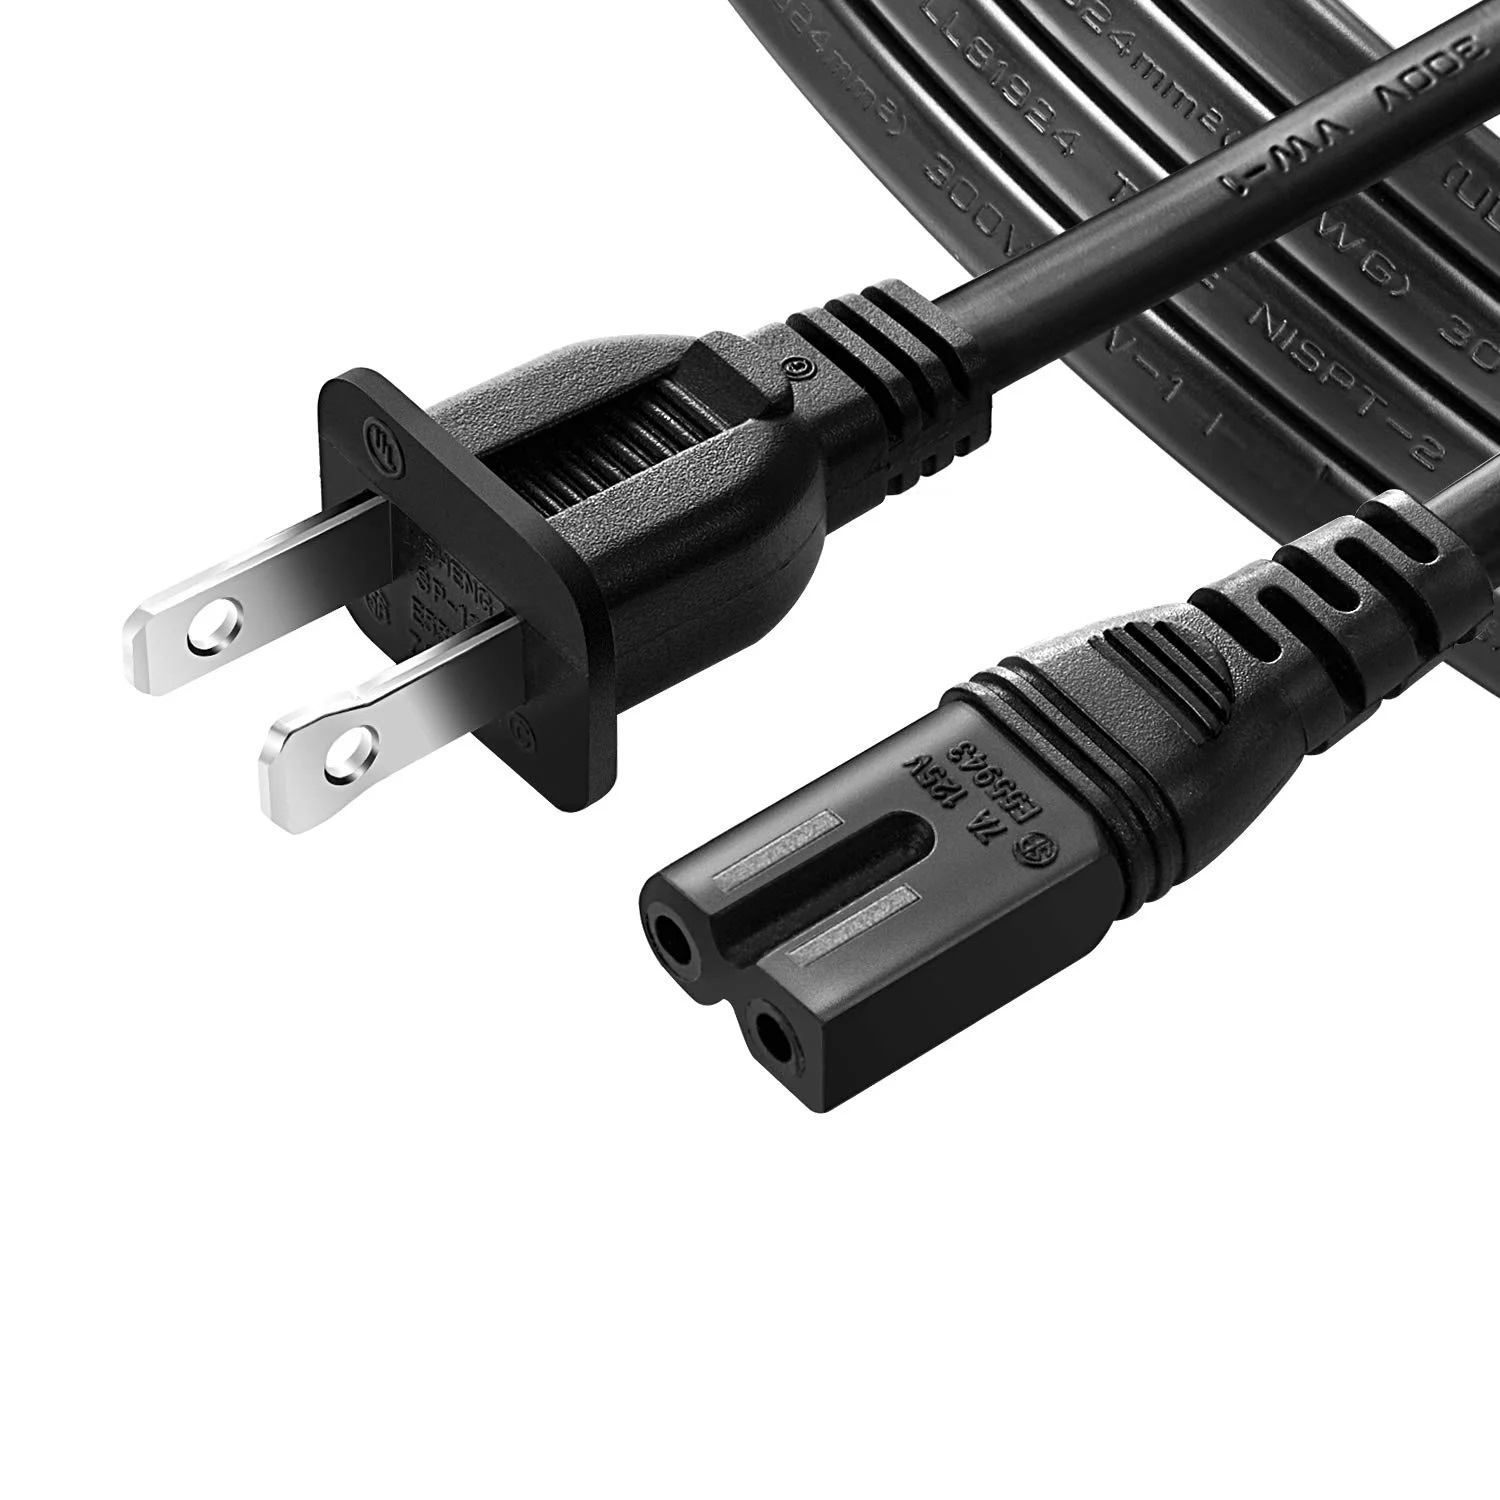
Step 3: Locate the fuse compartment
The next step in replacing the fuse in your extension cord is to locate the fuse compartment. This is where the fuse is housed and can usually be found near one end of the cord.
Start by examining the length of the extension cord and look for any noticeable change in thickness or a section that appears different from the rest of the cord. Most extension cords have a small bulge or raised section indicating the presence of a fuse compartment.
If you cannot easily identify the fuse compartment by visual inspection, refer to the manufacturer’s instructions for locating it. In some cases, the fuse compartment may be hidden beneath a removable cover or cap.
It’s important to note that not all extension cords have replaceable fuses. Some lower-quality or inexpensive cords may be designed with a sealed or non-replaceable fuse. If you are unable to find a fuse compartment or suspect that your extension cord does not have a replaceable fuse, it may be necessary to purchase a new cord altogether.
Once you have successfully located the fuse compartment, proceed to the next step to remove the fuse compartment cover.
Step 4: Remove the fuse compartment cover
Now that you have located the fuse compartment in your extension cord, it’s time to remove the fuse compartment cover. The cover is typically held in place by screws or clips and needs to be taken off to access the fuse.
Using the appropriate screwdriver or your fingers, carefully remove the screws or unclip the cover securing the fuse compartment. Set aside the screws or clips in a safe place so that you don’t misplace them during the process.
It’s essential to exercise caution while removing the cover to avoid damaging the fuse compartment or the surrounding parts of the cord. Apply gentle pressure and avoid using excessive force to prevent any mishaps.
Once the cover is removed, you will have a clear view of the fuse inside the compartment. Take a moment to inspect the fuse and check for any signs of damage or burning. If the fuse appears intact, continue to the next step to identify the blown fuse. If the fuse is visibly blown or damaged, proceed to Step 6 to remove the blown fuse.
Remember to always handle the cover and other components of the extension cord with care to avoid any injuries. By removing the fuse compartment cover carefully, you are now ready to proceed with the next steps of the fuse replacement process.
Read more: How To Replace A Vacuum Electrical Cord
Step 5: Identify the blown fuse
Once you have removed the fuse compartment cover, it’s time to identify the blown fuse. A blown fuse will typically have a visibly broken filament or a blackened appearance.
Start by visually inspecting each fuse in the compartment. Look for any signs of damage, such as a visible break or discoloration. If you are unsure whether a fuse is blown or not, you can use a multimeter or continuity tester to test its conductivity. This will help confirm if the fuse is still functioning properly.
If you have multiple fuses in the compartment, it’s crucial to identify the specific one that needs to be replaced. Take note of the fuse’s location or label each fuse to avoid confusion later in the process.
Once you have identified the blown fuse, you can proceed to the next step to remove it from the compartment.
Note: Never touch the metal parts of the fuse or the fuse holder with bare hands while handling or inspecting. This is to prevent any potential electric shock.
Now that you know how to identify a blown fuse, let’s move on to removing it in the next step.
When replacing a fuse in an extension cord, make sure to unplug the cord and use a fuse with the same amperage rating. Use a small screwdriver to open the fuse compartment, replace the fuse, and securely close the compartment before plugging the cord back in.
Step 6: Remove the blown fuse
Now that you have identified the blown fuse in your extension cord, it’s time to safely remove it from the fuse compartment. Follow these steps to ensure a proper removal:
- Using your fingers or a pair of pliers, gently grasp the base of the blown fuse. Be careful not to squeeze or apply excessive force, as this could cause damage to the fuse or the fuse compartment.
- While firmly holding the base of the fuse, gently wiggle it back and forth to loosen it from the fuse holder. In some cases, the fuse may be slightly stuck, so be patient and gentle with your movements.
- Once the blown fuse is loose, pull it straight out from the fuse holder. Avoid twisting or bending the fuse as this can cause further damage.
- Set the blown fuse aside in a safe place to avoid any confusion, as you will need to dispose of it properly later.
Take a moment to inspect the fuse holder and ensure that there are no loose or damaged components. If you notice any issues, it’s advisable to consult a professional electrician to address the problem.
With the blown fuse successfully removed, you can now move on to the next step to replace it with a new fuse.
Step 7: Replace the fuse with a new one
Now that you have removed the blown fuse from the fuse compartment, it’s time to replace it with a new one. Follow these steps to ensure a proper replacement:
- Take the new fuse that matches the specifications of your extension cord. Ensure that the new fuse has the correct amp rating and is compatible with the fuse holder in your cord.
- If the fuse leads on the new fuse are longer than necessary, use a pair of scissors or wire strippers to carefully trim them down to the appropriate size.
- Hold the new fuse by the base and align the fuse leads with the terminals inside the fuse holder.
- Gently push the new fuse into the fuse holder, making sure it is securely inserted. Avoid applying excessive force or twisting the fuse.
- Double-check that the new fuse is properly seated and aligned within the fuse holder. It should be flush with the holder and not sticking out or loose.
It’s important to note that using the correct type and rated fuse is crucial for safety and proper functioning of your extension cord. Using a fuse with the wrong specifications can result in electrical hazards and damage to your cord or connected devices.
Once you have successfully replaced the fuse, you can move on to the next step to put the fuse compartment cover back in place.
Step 8: Put the fuse compartment cover back
Now that you have replaced the fuse in your extension cord, it’s time to put the fuse compartment cover back in place. Follow these steps to ensure a secure and proper reinstallation:
- Take the fuse compartment cover and align it with the groove or slots on the extension cord.
- Insert the screws or clips back into their respective holes or slots to secure the cover. Make sure they are tightened appropriately, but avoid over-tightening as it may damage the cover or the cord.
- Double-check that the cover is securely fastened and there are no gaps or loose parts.
By putting the fuse compartment cover back in place, you are ensuring that the fuse is protected and that the cord is safe to use.
Before moving on to the final step, it’s recommended to visually inspect the cord, including the fuse compartment and the length of the cord, to ensure there are no visible signs of damage or wear. If you notice any issues, it’s best to replace the extension cord to maintain safety.
Now that the fuse compartment cover is properly secured, we can proceed to the final step to test the extension cord.
Read more: How To Replace Electrical Cord
Step 9: Test the extension cord
After replacing the fuse and securely putting the fuse compartment cover back in place, it’s important to test the extension cord to ensure that it is working properly. Follow these steps to conduct a simple test:
- Plug the extension cord into a power outlet or device.
- Switch on the power or turn on the connected device.
- Check that the extension cord is supplying power to the connected device or that it is working as expected.
- Inspect the cord for any signs of overheating, sparking, or abnormal behavior. If you notice any issues, unplug the cord immediately and consult a professional electrician.
Testing the extension cord is crucial to ensure that the replacement fuse is functioning correctly and that the cord is safe to use. If the cord is not working properly or if you encounter any issues during testing, it’s advisable to discontinue use and seek the assistance of an electrician.
Congratulations! You have successfully replaced the fuse in your extension cord and tested its functionality. By following these steps, you have restored power to your cord and ensured its safety for future use.
Remember to always exercise caution when working with electricity and if you are unsure or uncomfortable with any step of the process, it’s recommended to seek the help of a professional electrician.
With your extension cord now in proper working order, you can confidently use it for various household or outdoor applications.
Thank you for reading, and we hope this guide has been helpful in replacing the fuse in your extension cord!
Conclusion
Replacing a blown fuse in an extension cord is a simple yet crucial task for maintaining its functionality and safety. By following the step-by-step guide outlined in this article, you can confidently and effectively replace a fuse in your extension cord.
We started by gathering the necessary tools and materials, including a screwdriver, new fuse, pliers, and scissors or wire stripper. Then, we proceeded to unplug the extension cord to ensure our safety during the process.
Locating the fuse compartment and removing the cover allowed us to identify the blown fuse. We safely removed the blown fuse using pliers and set it aside for disposal.
Replacing the fuse with a new one was a straightforward process. We made sure to use the correct fuse that matched the specifications of the extension cord, trimmed the fuse leads if necessary, and inserted the new fuse securely into the fuse holder.
Putting the fuse compartment cover back in place ensured the fuse’s protection and the cord’s safety. Finally, testing the extension cord gave us the confidence that our replacement was successful and the cord was functioning properly.
It’s important to remember that electrical work can be dangerous. If you are uncertain or uncomfortable with any step in the process, seek the guidance of a professional electrician.
By knowing how to replace a fuse in your extension cord, you can save time and money while ensuring the continued use and safety of your cord. Regularly inspect your extension cord for any signs of wear or damage and promptly replace any blown fuses to avoid potential hazards.
We hope this guide has been informative and helpful to you. Stay safe and enjoy the convenience of your extension cord!
Now that you've mastered replacing a fuse in an extension cord, why not expand your handy skills further? If you own a GE microwave oven, knowing how to handle a similar issue could save you time and money. Our next guide walks you through the steps for a safe and successful fuse replacement in that appliance. Keep your kitchen running smoothly without the hassle of service calls. Check out our detailed guide and keep your appliances in top shape.
Frequently Asked Questions about How To Replace Fuse In Extension Cord
Was this page helpful?
At Storables.com, we guarantee accurate and reliable information. Our content, validated by Expert Board Contributors, is crafted following stringent Editorial Policies. We're committed to providing you with well-researched, expert-backed insights for all your informational needs.


0 thoughts on “How To Replace Fuse In Extension Cord”