
Articles
How To Change A Stella Kegerator
Modified: August 27, 2024
Learn how to change a Stella kegerator with this helpful article. Discover step-by-step instructions and expert tips for a smooth kegerator maintenance.
(Many of the links in this article redirect to a specific reviewed product. Your purchase of these products through affiliate links helps to generate commission for Storables.com, at no extra cost. Learn more)
Introduction
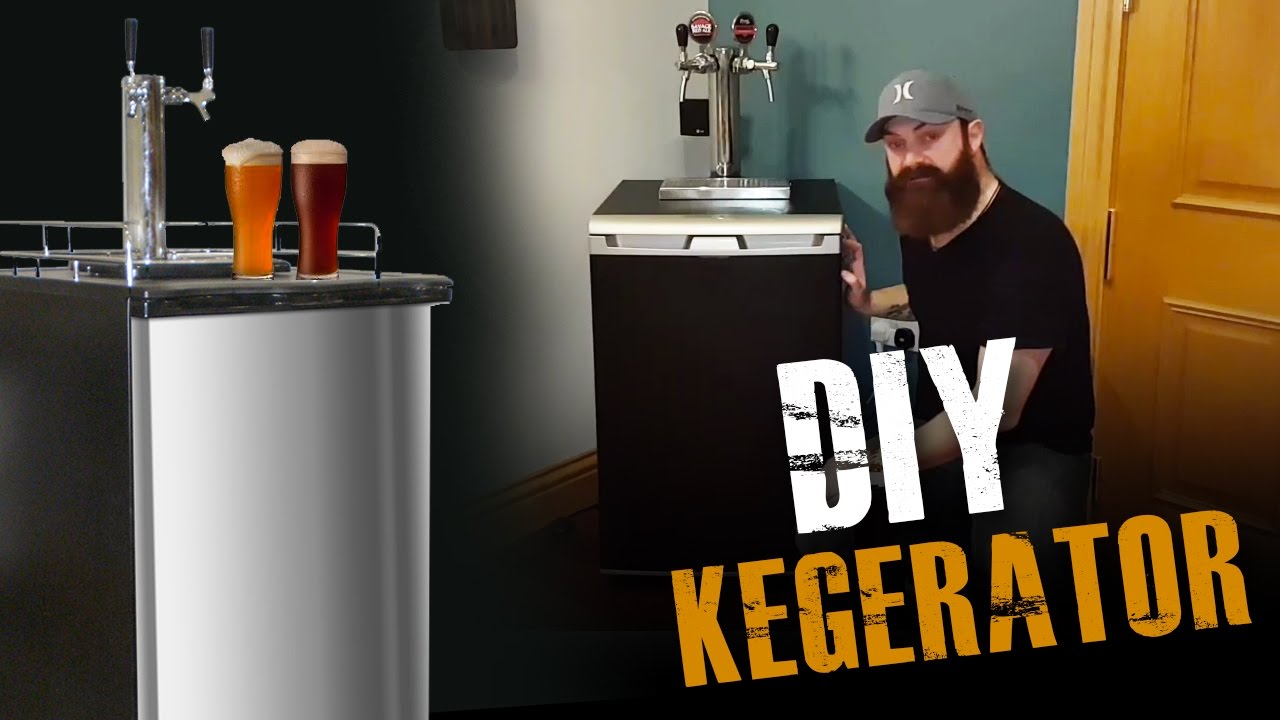
Welcome to the world of beer enthusiasts and homebrewers! If you’re the proud owner of a Stella Kegerator, you already know the joy of having fresh draft beer right at your fingertips. But what if you want to change the setup of your kegerator or replace a component? Fear not, as this article will guide you through the process of changing a Stella Kegerator.
Whether you’re looking to switch from a standard beer tap to a nitro one, upgrade your keg coupler, or simply clean and maintain your kegerator, the steps outlined here will help you accomplish it. With the right tools and a little know-how, you’ll be able to make the desired changes and ensure that your Stella Kegerator is always ready to dispense cold, refreshing beer.
Before we dive into the step-by-step process, it’s important to gather the necessary tools and materials. These include:
- Adjustable wrench
- Screwdriver (Phillips and flathead)
- Keg coupler
- Beer line cleaning kit
- Sanitizing solution
Having these items on hand will make the process smoother and ensure that you have everything you need to successfully change your Stella Kegerator.
Key Takeaways:
- Transform your Stella Kegerator with confidence by following a step-by-step process, from preparation and disassembly to cleaning, reassembly, and testing. Enjoy the freedom to customize your kegerator to suit your beer preferences!
- Upgrade your Stella Kegerator with ease, whether it’s switching to a nitro tap, changing keg couplers, installing temperature controls, or adding a secondary regulator. Embrace the joy of perfectly poured, refreshing beer tailored to your taste!
Read more: How To Change A Keg In A Kegerator
Tools and Materials Needed
Before you begin changing your Stella Kegerator setup, it’s important to gather all the necessary tools and materials. Here’s a list of what you’ll need:
1. Adjustable Wrench: This tool will come in handy for loosening and tightening various fittings and connections.
2. Screwdriver (Phillips and flathead): These will be useful for removing screws and accessing internal components of the kegerator.
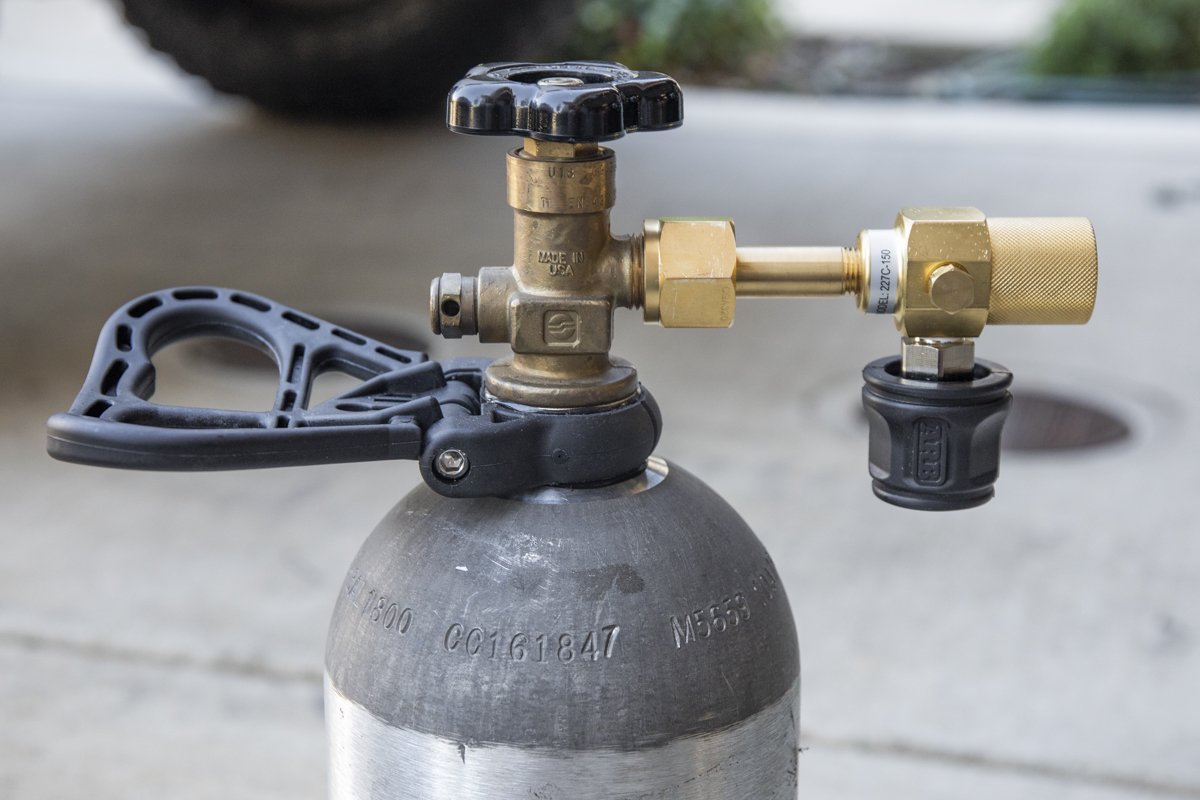
3. Keg Coupler: If you’re planning to change the type of keg you’ll be using, you’ll need a compatible keg coupler. Make sure to choose the right coupler for the type of keg and beer you’ll be dispensing.
4. Beer Line Cleaning Kit: It’s important to keep your beer lines clean to maintain the quality and taste of your beer. A beer line cleaning kit will include brushes, cleaning solution, and other tools needed for this task.
5. Sanitizing Solution: To ensure the cleanliness and hygiene of your kegerator components, it’s important to have a sanitizing solution. This will help in sterilizing the equipment before and after any changes or maintenance.
By gathering these tools and materials before you start, you’ll have everything you need to successfully change your Stella Kegerator setup.
Step 1: Preparation
Before you start making any changes to your Stella Kegerator, it’s important to properly prepare for the task at hand. Follow these steps to ensure a smooth process:
- Turn Off and Unplug: Start by turning off the kegerator and unplugging it from the power source. This will prevent any accidental activation or electric shock while working on the unit.
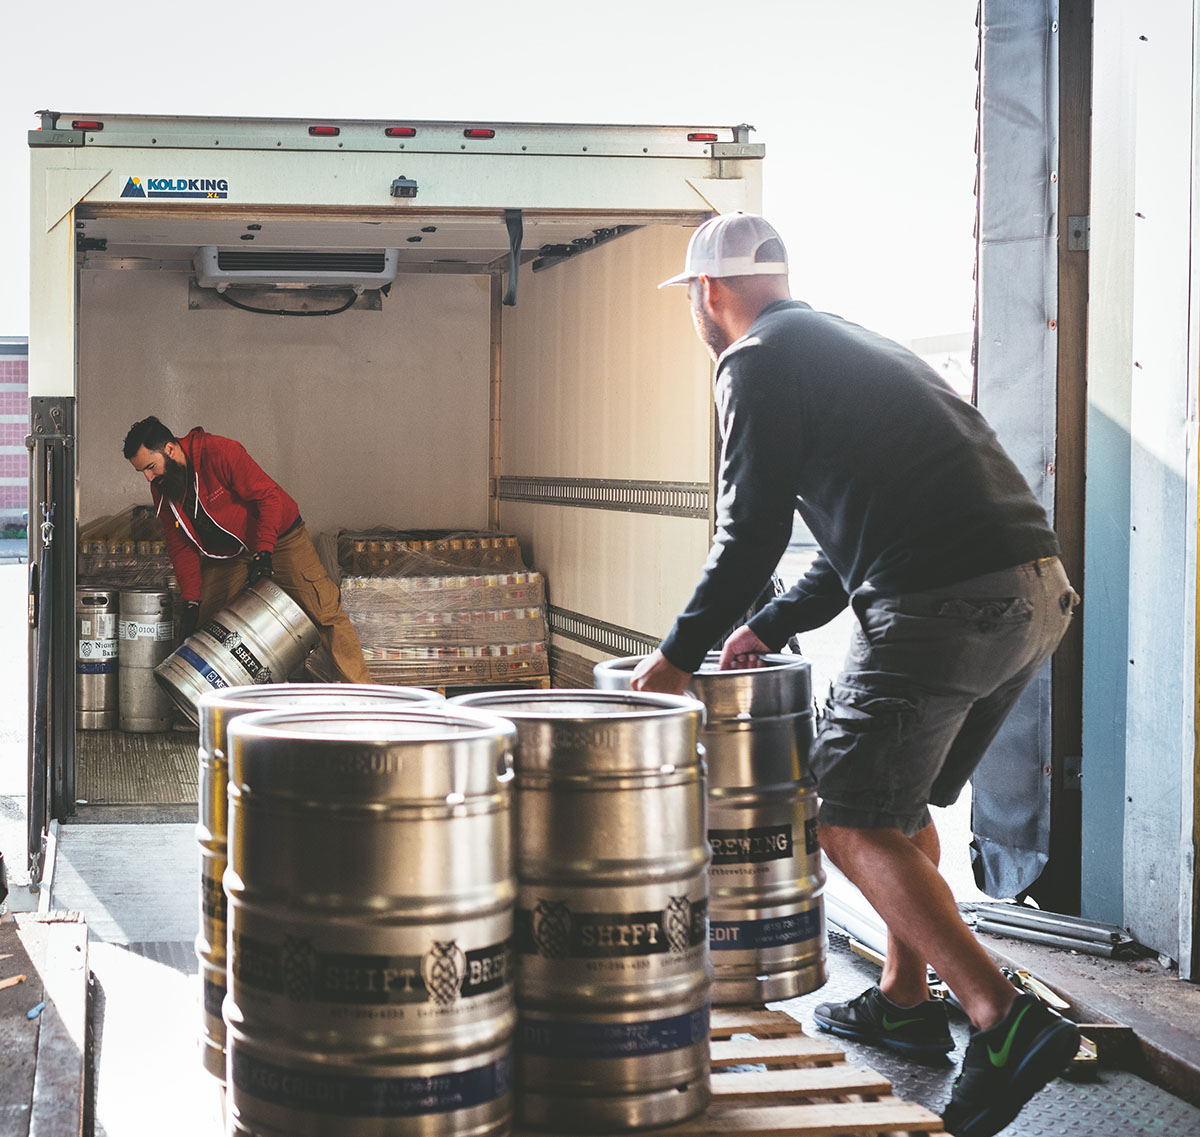
- Empty the Kegerator: Next, you’ll need to empty the kegerator of any remaining beer or pressure. Disconnect and remove the current keg, making sure to properly store or dispose of the beer. Release any remaining pressure by pulling the pressure relief valve.
- Prepare a Work Area: Find a clean, well-lit area where you can work on your kegerator comfortably. Make sure you have enough space to lay out the components and tools.
- Read the Manual: Familiarize yourself with the Stella Kegerator manual. This will provide valuable information about specific components, connections, and any precautions you should take during the process.
- Gather the Tools and Materials: Double-check that you have all the necessary tools and materials mentioned earlier. Having everything within reach will save you time and allow you to work efficiently.
Skipping or rushing through the preparation stage can lead to mistakes or complications down the line. Taking the time to properly prepare will set you up for success as you move on to the next steps of changing your Stella Kegerator setup.
Step 2: Emptying the Kegerator
Before you can begin changing the setup of your Stella Kegerator, it’s important to empty it of any remaining beer and pressure. Follow these steps to properly empty your kegerator:
- Disconnect the Keg: Start by disconnecting the keg from the kegerator. This involves turning off the gas supply and releasing any pressure in the lines. Refer to the kegerator manual for specific instructions on disconnecting the keg.
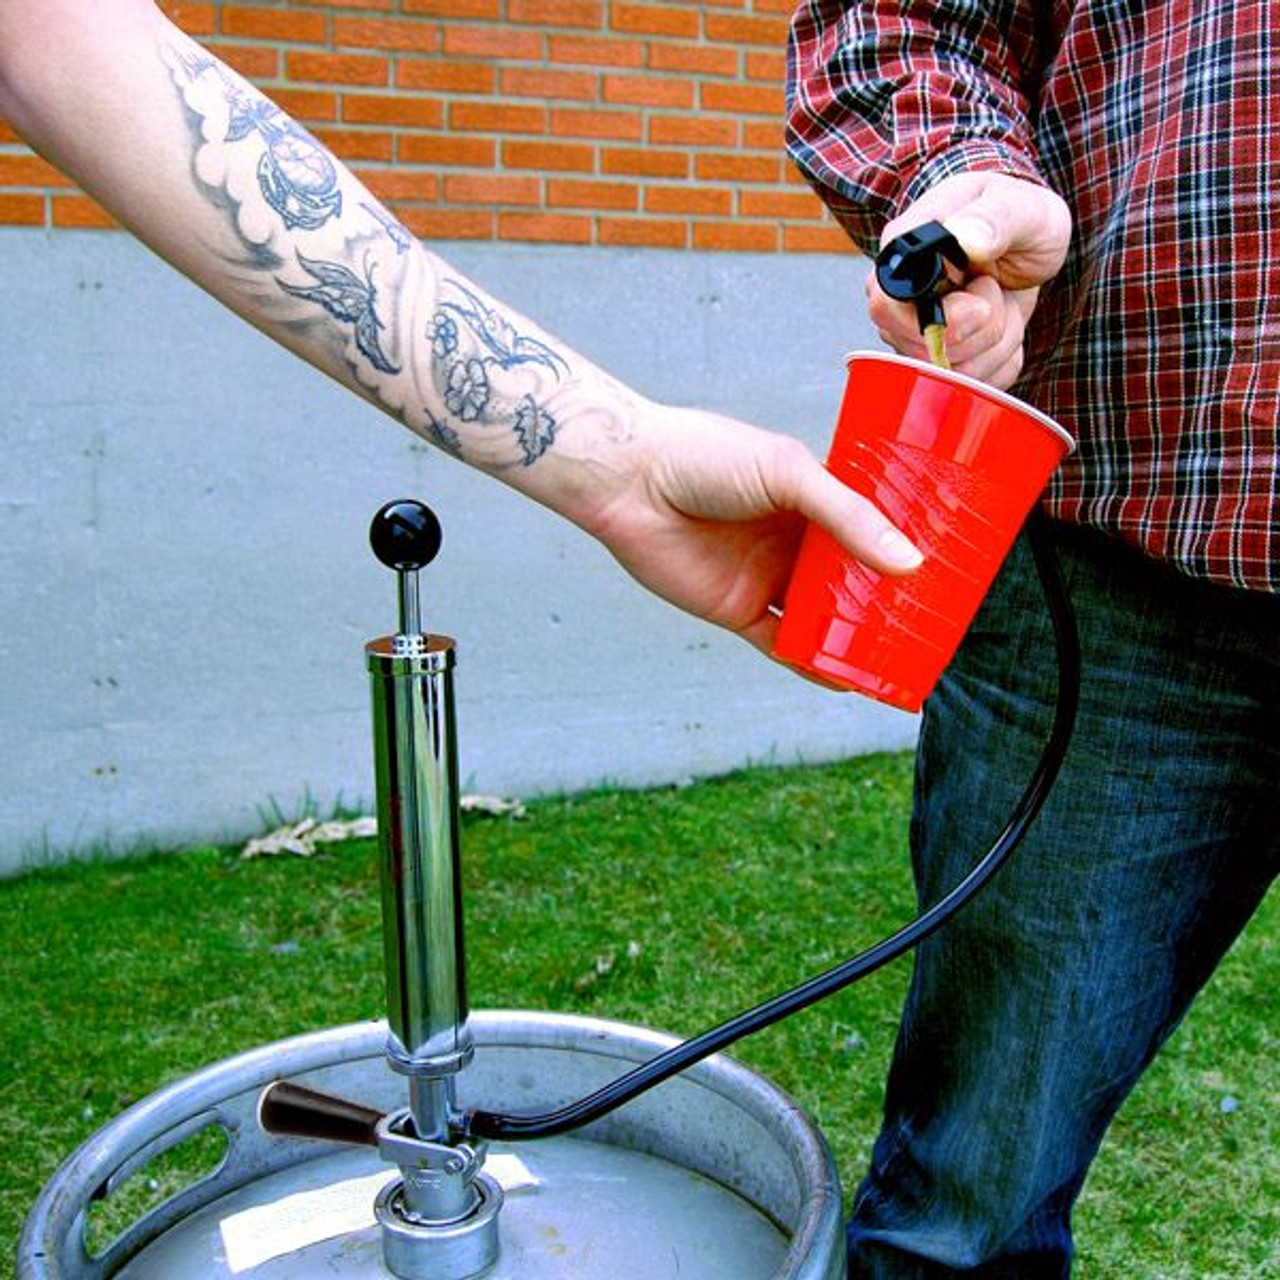
- Remove the Tap Handle: If your kegerator has a tap handle, remove it by gently twisting or unscrewing it. This will allow for easier access to the beer lines and coupler.
- Empty the Beer Lines: To empty the beer lines, place a container or bucket underneath the faucet and open it to allow the beer to flow out. Continue this process until all the beer has been emptied from the lines and the faucet runs dry.
- Release the Pressure: To release any remaining pressure in the kegerator, locate the pressure relief valve and carefully pull on it. This will release any built-up pressure and ensure a safe working environment.
- Clean the Components: Once the keg and beer lines are empty, it’s a good idea to clean the components. Remove the faucet and keg coupler and rinse them with warm water. Use a mild cleaning solution to clean any residue or build-up. Rinse thoroughly and allow the components to air dry.
By properly emptying the kegerator and cleaning the components, you’ll create a clean and fresh foundation for the next steps of changing the kegerator setup. This will help maintain the taste and quality of your beer.
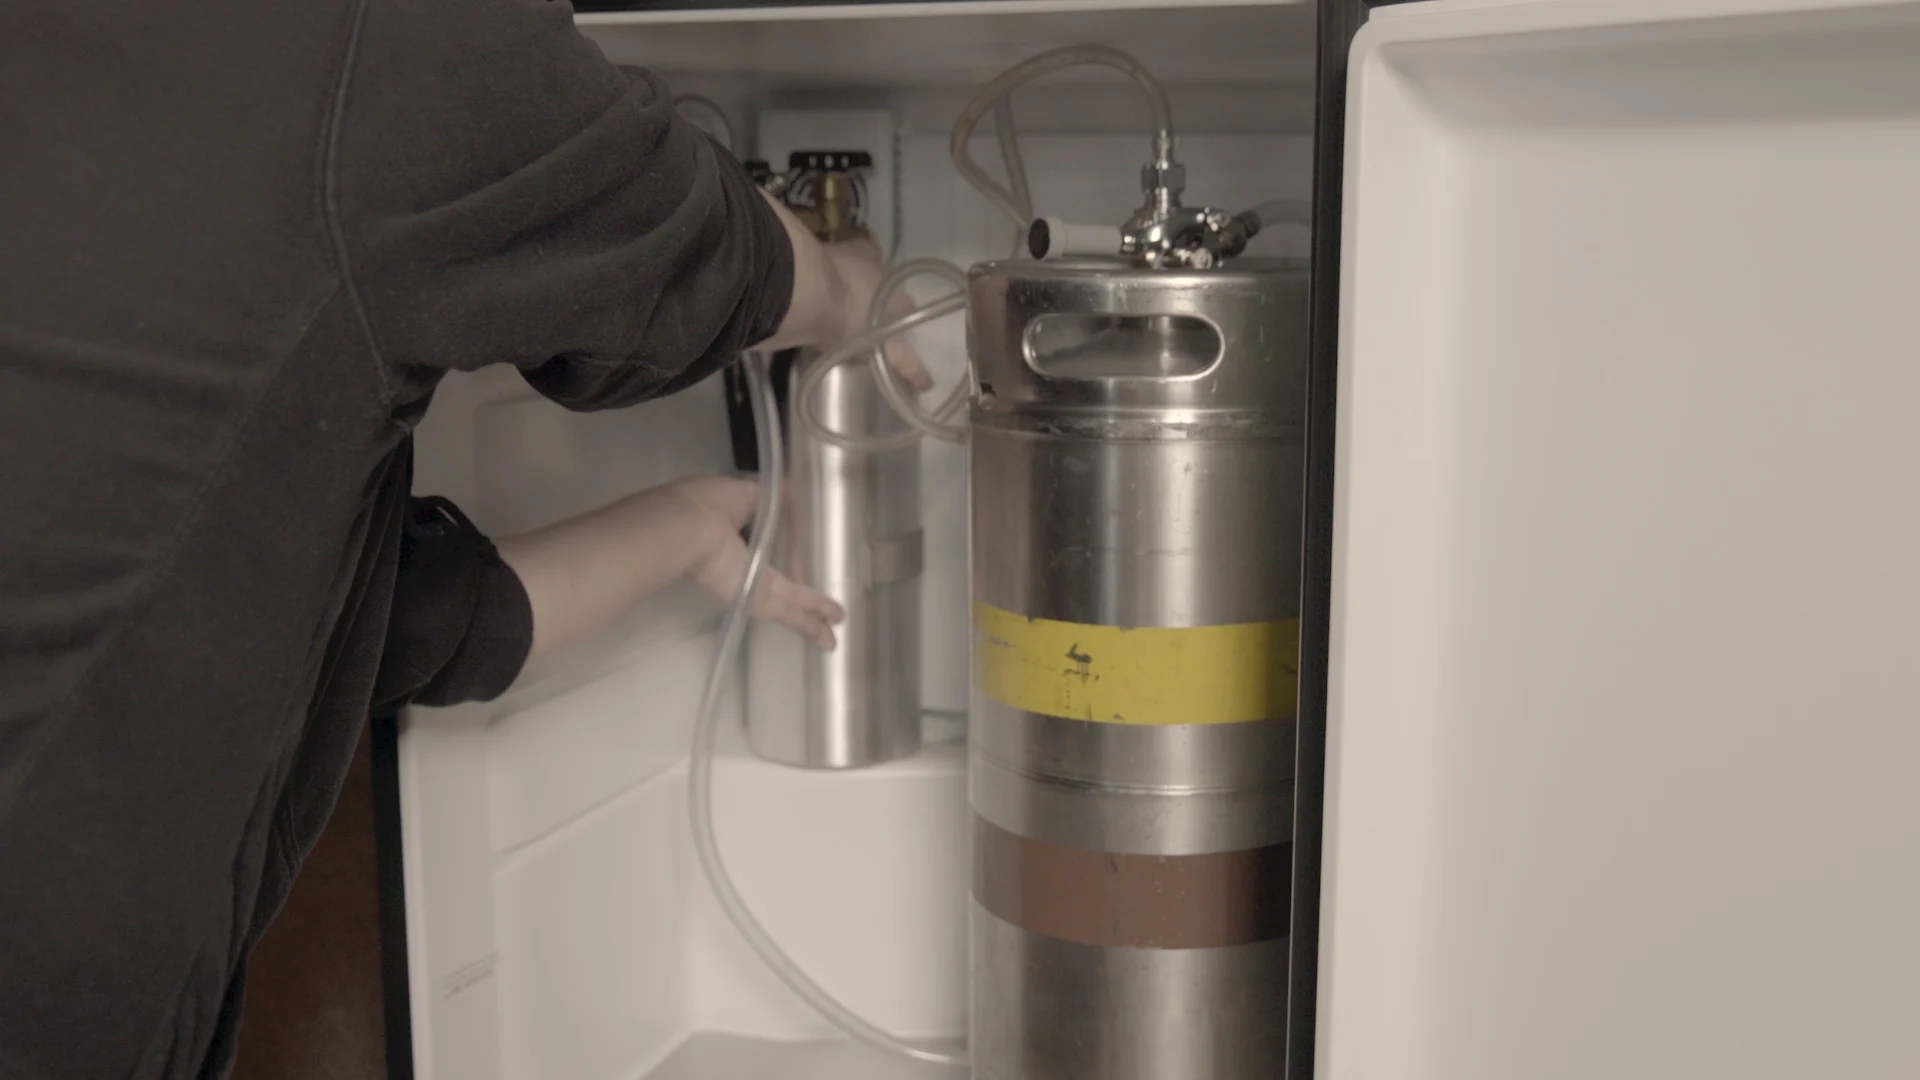
Step 3: Disassembling the Kegerator
Now that you have emptied the kegerator and prepared the workspace, it’s time to disassemble the Stella Kegerator. Follow these steps to safely and effectively disassemble the unit:
- Remove the Drip Tray: Start by removing the drip tray located at the front of the kegerator. Carefully lift it up and off, ensuring that any excess liquid is contained.
- Unscrew the Faucet: Using a wrench or a suitable tool, carefully unscrew the faucet from the front of the kegerator. Take your time to avoid damaging any threads or connections.
- Disconnect the Beer Line: Locate the beer line connection at the top of the kegerator and disconnect it. This may involve twisting or pulling the collar. Be cautious and gentle to preserve the integrity of the fitting.
- Remove the Coupler: Depending on your specific kegerator model, the keg coupler may be attached directly to the beer line or held in place with additional fittings. Carefully detach the coupler, paying attention to any seals or O-rings. Keep these components aside for cleaning or replacement if necessary.
- Detach any Additional Components: Take a look inside the kegerator and identify any other components that need to be removed. This may include temperature controls, fan assemblies, or other accessories. Refer to the kegerator manual for guidance on how to safely detach these components.
As you disassemble the kegerator, make sure to keep track of all the components for easy reassembly later. Clean any detachable parts using a mild cleaning solution and rinse them thoroughly. Allow the components to air dry before moving on to the next steps.
By carefully disassembling the Stella Kegerator, you’ll create a clear working space and have better access to the components that need to be changed or replaced. This will ensure a smooth transition to the next steps of modifying your kegerator setup.
When changing a Stella Kegerator, be sure to disconnect the keg, clean the lines, and replace any worn or damaged parts to ensure optimal performance.
Read more: How To Change A Tower On A Kegerator
Step 4: Cleaning the Components
Now that you’ve disassembled the Stella Kegerator, it’s time to clean the components to maintain hygiene and ensure optimal performance. Follow these steps to effectively clean the kegerator parts:
- Clean the Beer Lines: Using a beer line cleaning kit, follow the instructions to clean the beer lines thoroughly. This typically involves running a cleaning solution through the lines and using a brush to remove any residue or build-up. Rinse the lines with clean water and ensure they are completely free from any cleaning solution.
- Soak and Clean the Faucet: Remove the faucet and soak it in warm water mixed with a gentle cleaning solution. Use a soft brush to scrub away any debris or residue. Rinse the faucet with clean water and ensure it is thoroughly cleaned and free from any cleaning solution.
- Clean the Keg Coupler: If your keg coupler is detachable, clean it using the same method as the faucet. Soak it in warm water with a cleaning solution, scrub away any residue, and rinse it thoroughly.
- Wipe the Interior of the Kegerator: Take a damp cloth and wipe down the interior of the kegerator, removing any dust or debris. Pay special attention to the surfaces where the components sit to ensure a clean and sanitary environment.
- Sanitize the Components: After cleaning, it’s important to sanitize the components to eliminate any bacteria or contaminants. Use a sanitizing solution recommended for use with food and beverages, following the instructions on the packaging. Thoroughly sanitize all the cleaned components and let them air dry.
By cleaning and sanitizing the kegerator components, you’ll ensure that your beer maintains its taste and quality. This step is crucial for the longevity and performance of your Stella Kegerator.
Once the components are clean and sanitized, you’re ready to move on to the next steps of changing your kegerator setup.
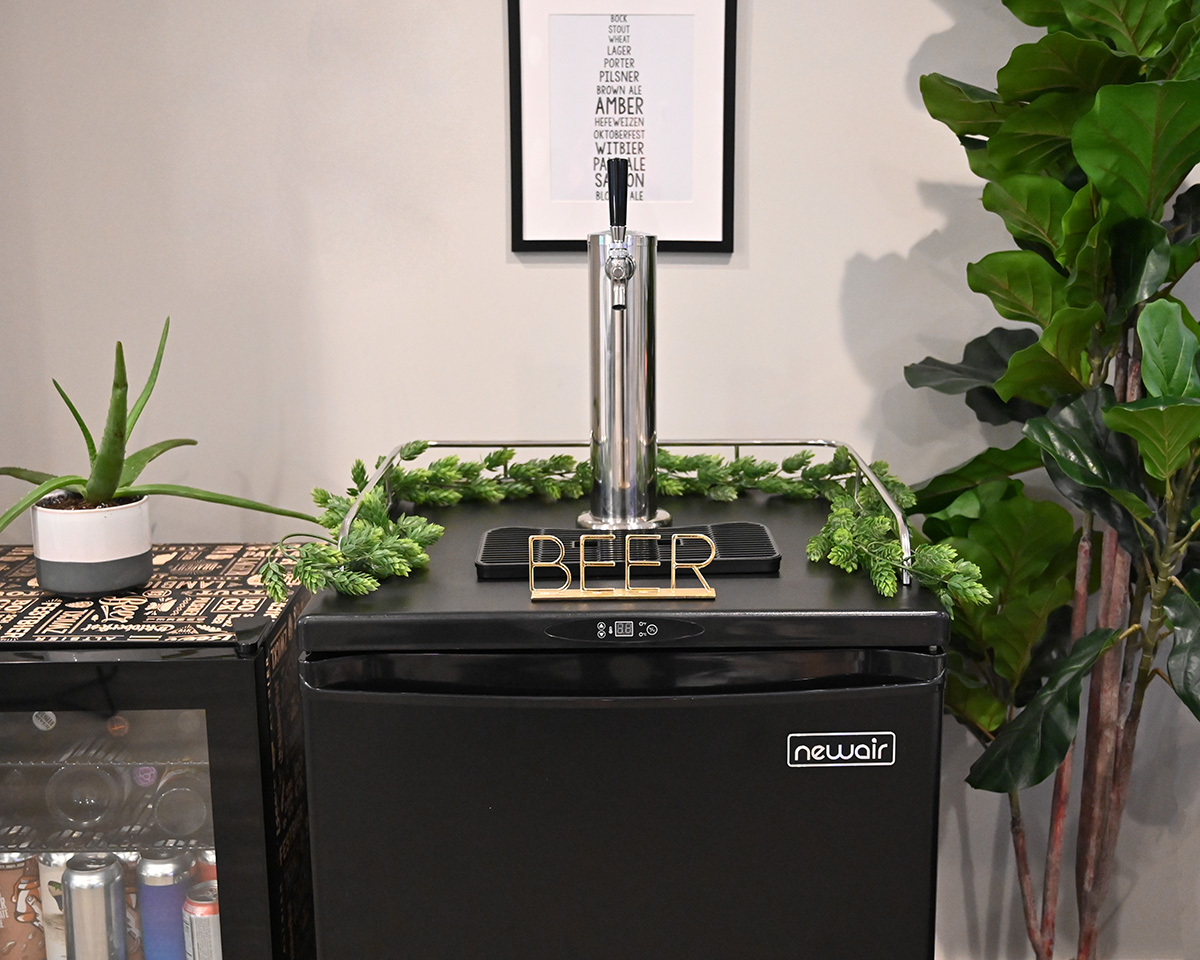
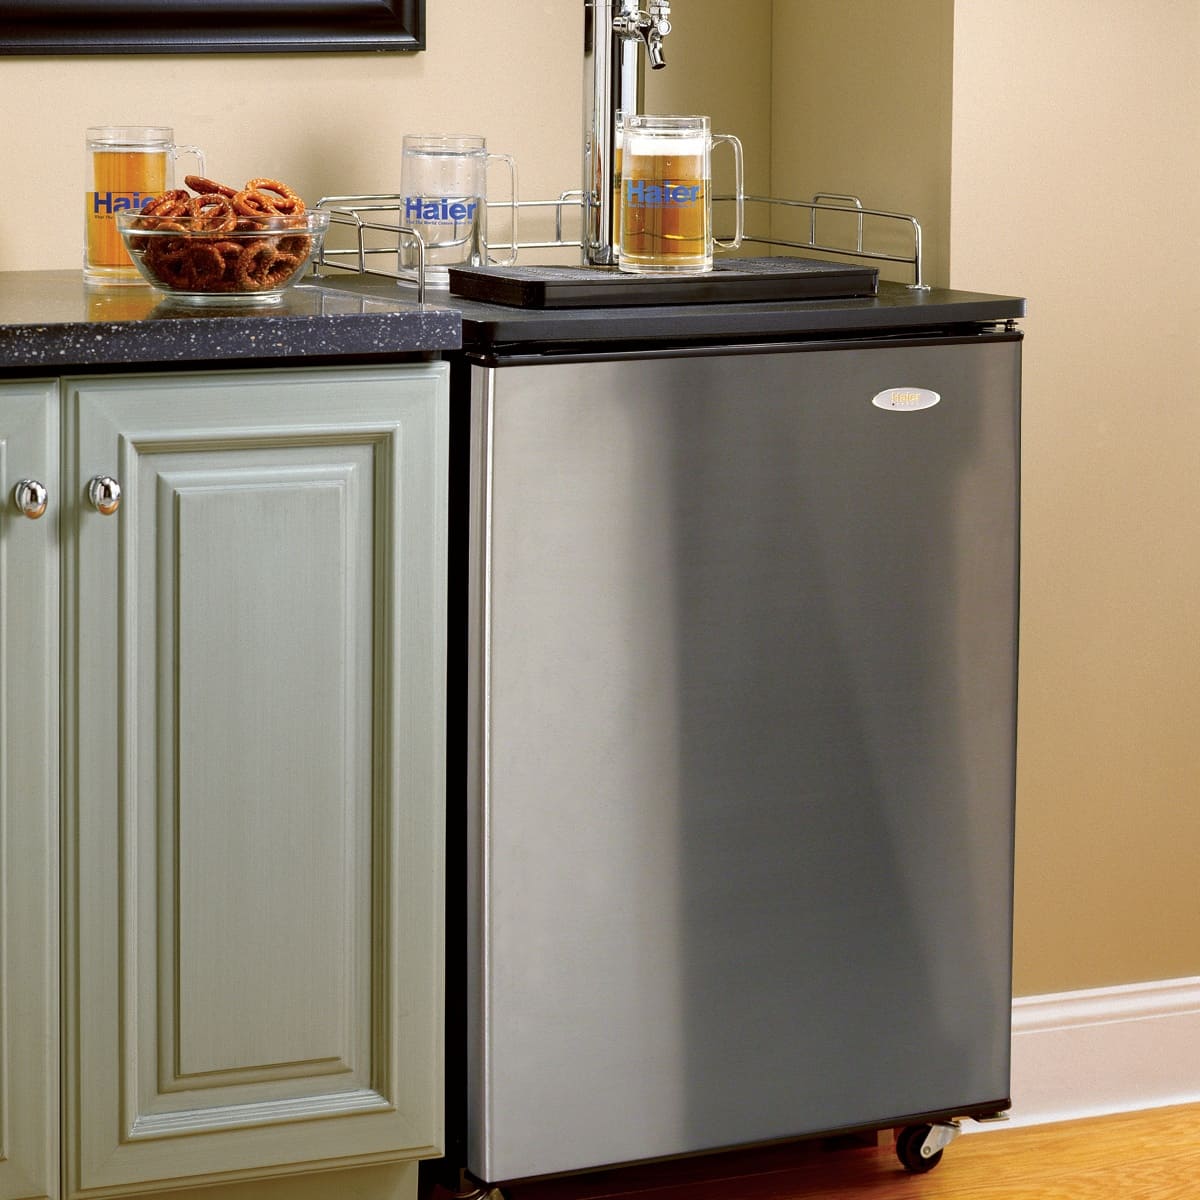
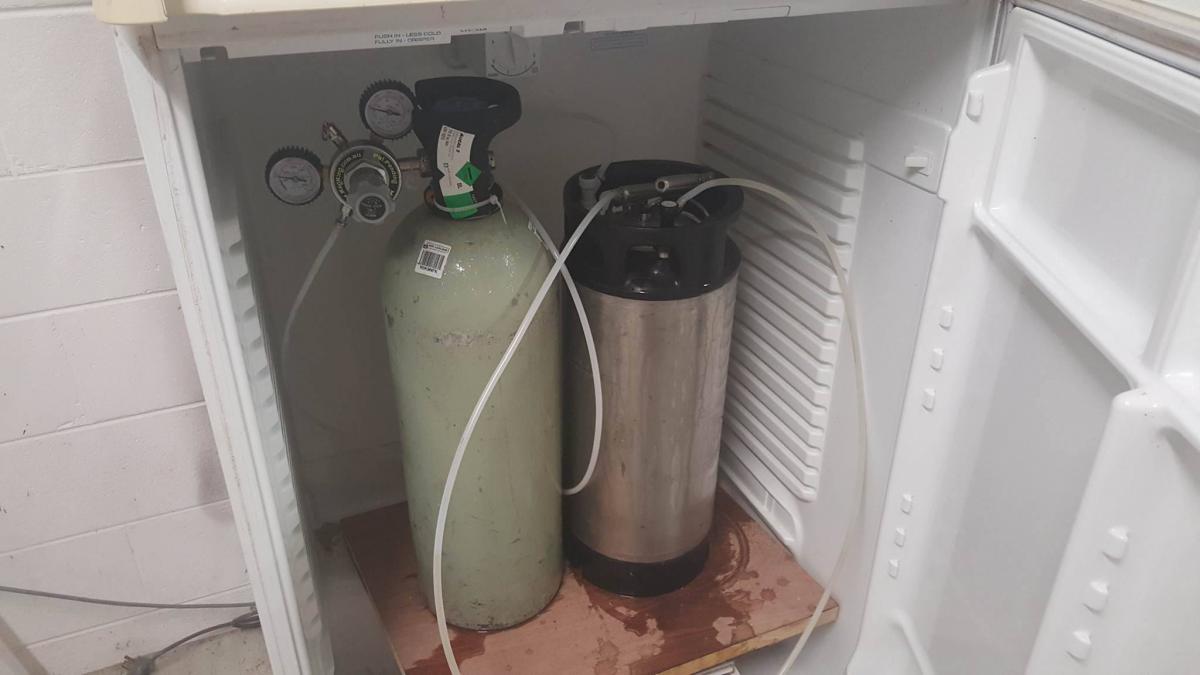
Step 5: Changing the Kegerator Setup
Now that you’ve prepared and cleaned the components, it’s time to change the setup of your Stella Kegerator. This step will vary depending on what specific modifications you want to make. Here are a few examples of common changes you might want to consider:
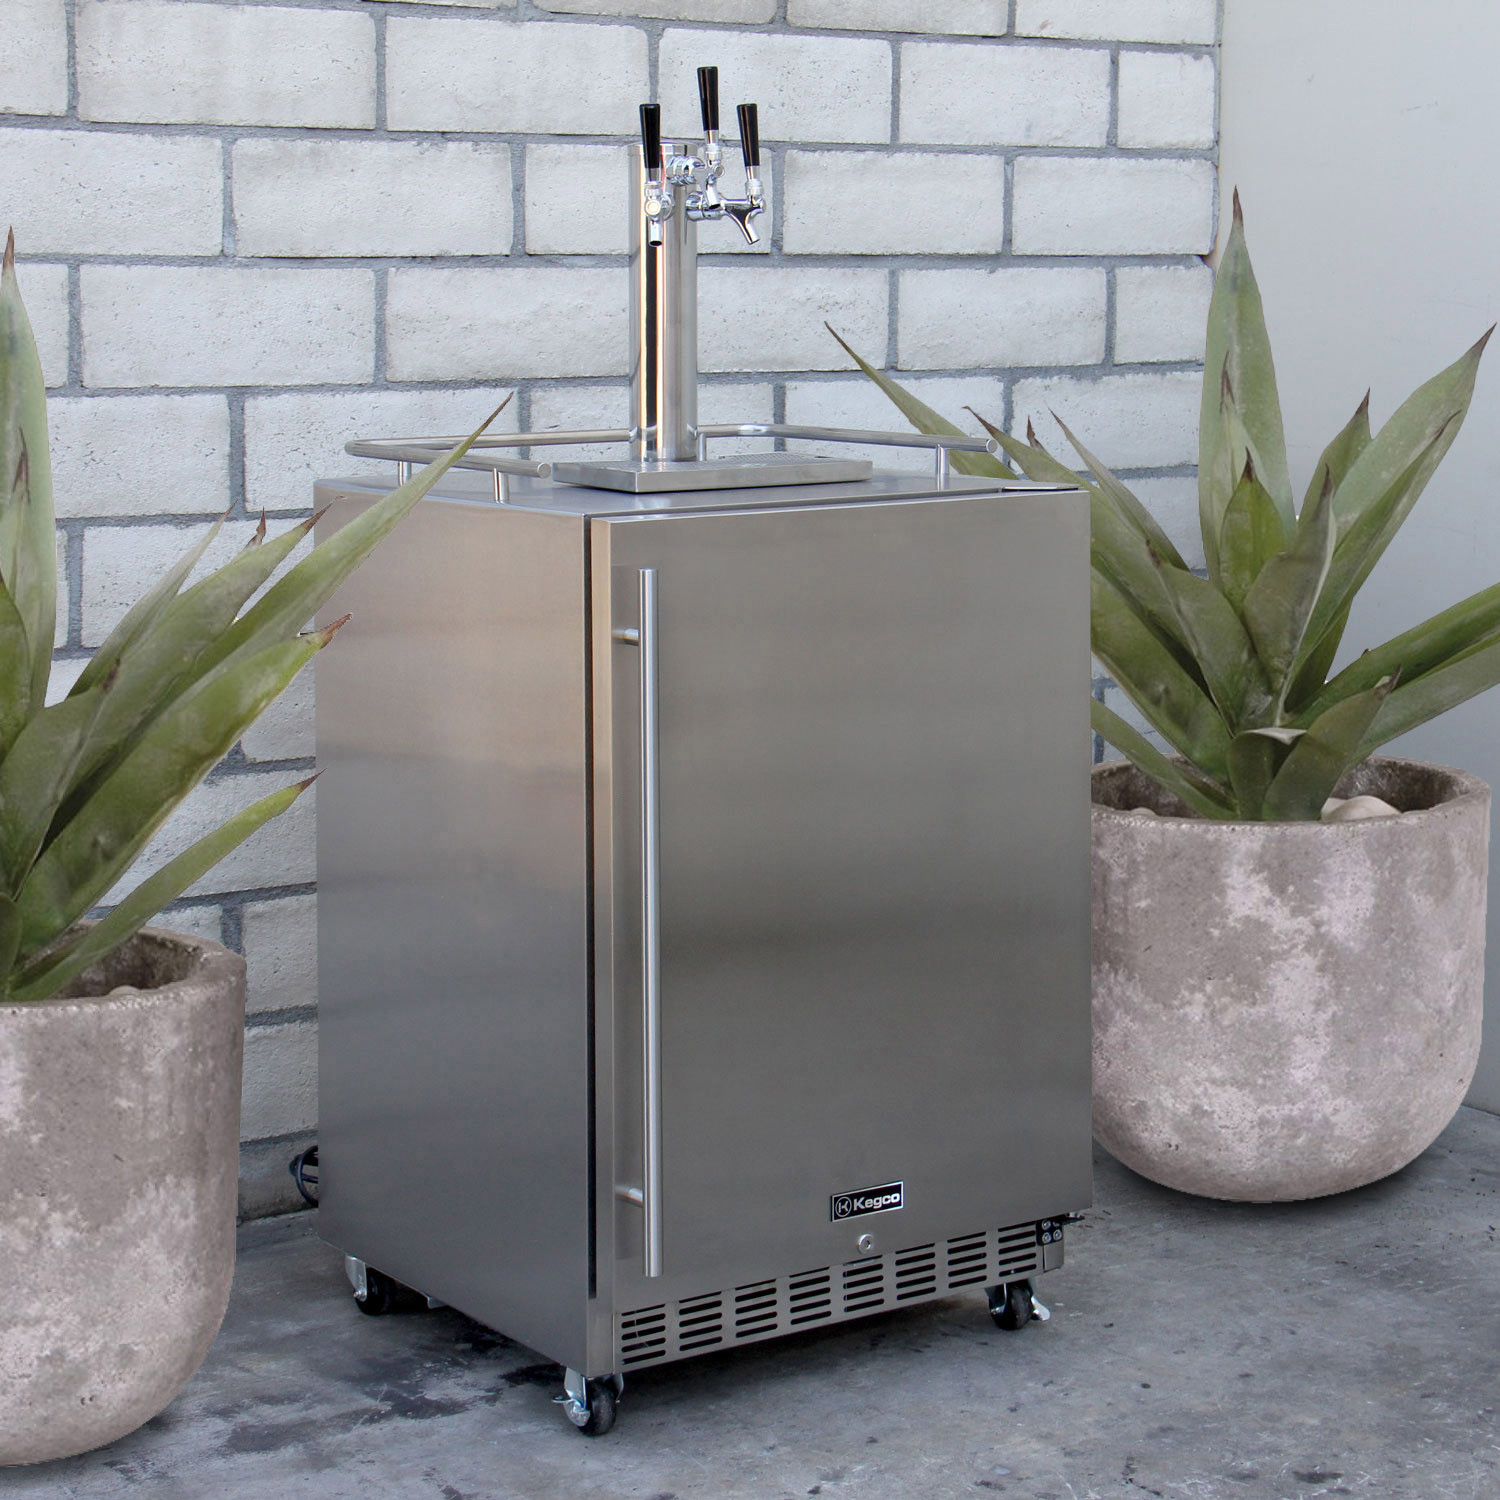
- Upgrade to a Nitro Tap: If you want to enjoy creamy and smooth beers like stouts and nitro IPAs, consider upgrading to a nitro tap system. This will require replacing the standard faucet with a nitro faucet and installing a nitrogen tank and regulator.
- Switch Keg Couplers: There are different types of keg couplers, each designed for specific keg types. If you’re planning to switch from commercial beer kegs to homebrew kegs, or vice versa, you may need to change the keg coupler to match the new keg type.
- Install a Temperature Control Unit: To have more precise control over the temperature of your kegerator, you can install a temperature control unit. This will allow you to adjust and maintain the ideal temperature for your specific beer style.
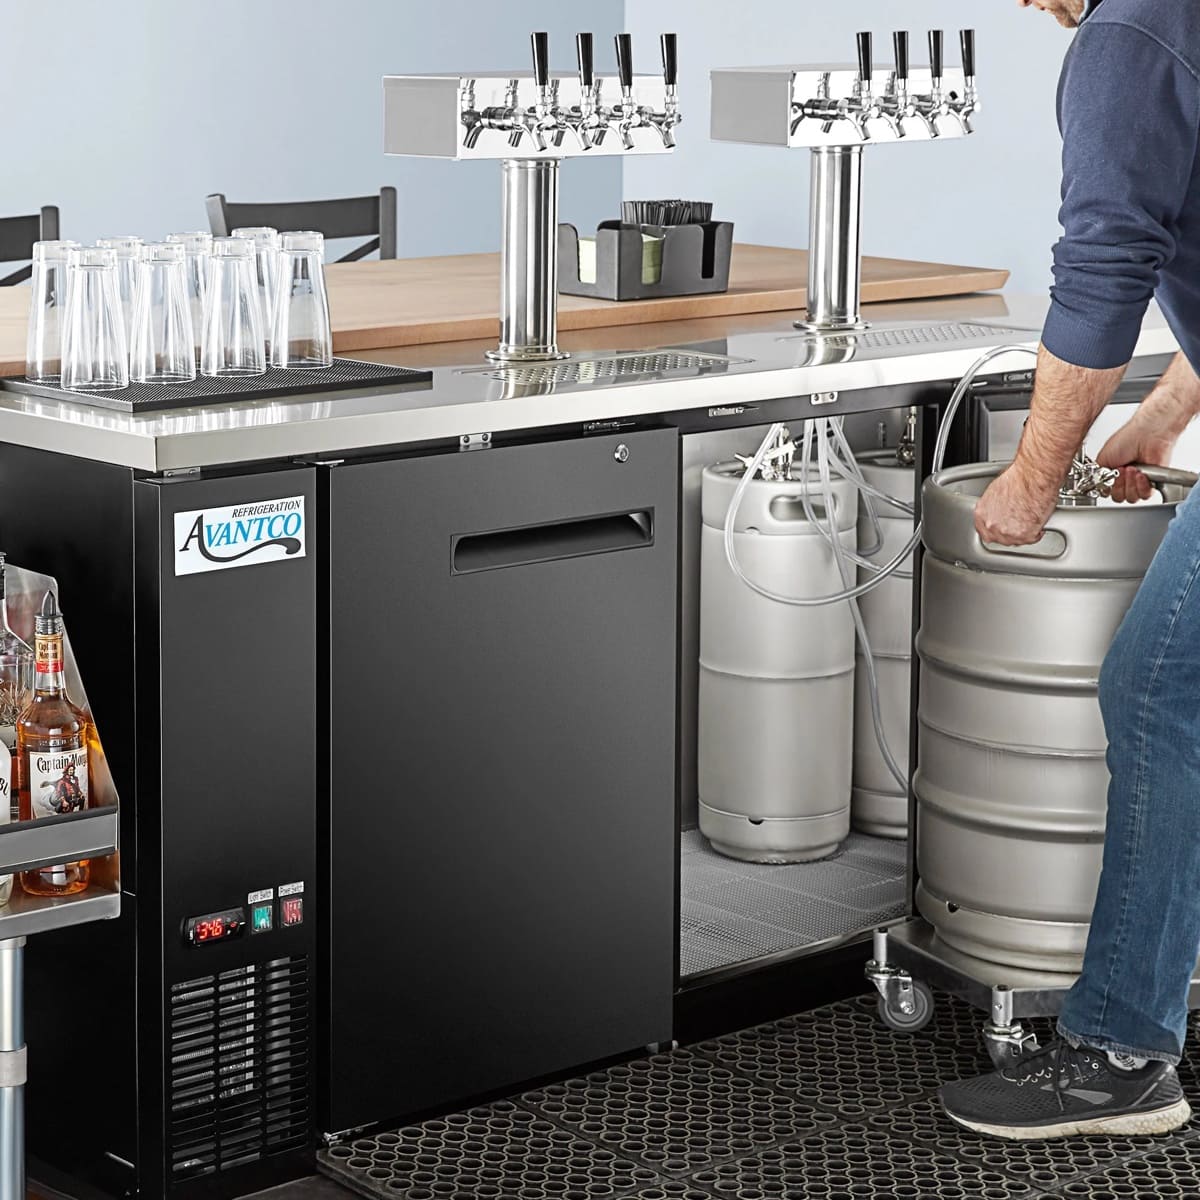
- Add a Secondary Regulator: If you want to have multiple kegs with different carbonation levels, adding a secondary regulator will allow you to control each keg’s pressure independently. This is useful if you want to serve beverages at different carbonation levels.
Regardless of the specific change you’re making, carefully follow the instructions provided with the new components. Make sure to securely attach all fittings, check for any leaks, and ensure proper connections. Take your time and double-check everything to avoid any issues or potential damage.
Remember, if you’re unsure about the process or if you encounter any difficulties, consult the Stella Kegerator manual or consider seeking assistance from a professional.
Once you’ve made the desired changes to your kegerator setup, you’re ready to move on to the next step of reassembling the unit.
Step 6: Reassembling the Kegerator
With the changes made to your Stella Kegerator setup, it’s time to reassemble the unit. Follow these steps to ensure a successful reassembly process:
- Reattach the Components: Begin by reattaching the components in the reverse order of disassembly. This includes connecting the keg coupler, beer lines, and faucet to their respective fittings. Be sure to tighten any connections securely, but avoid over-tightening to prevent damage.
- Secure the Faucet: Use a wrench or suitable tool to secure the faucet in place. Make sure it’s properly aligned and tightened to prevent any leaks.
- Place the Drip Tray: Align the drip tray with the designated slots on the front of the kegerator and ensure it’s securely in place.
- Double-check Connections: Before proceeding, double-check that all connections are secure and tight. This includes the beer lines, coupler, and all other fittings. Check for any signs of leakage or loose connections.
- Plug In the Kegerator: Finally, plug the kegerator back into the power source and turn it on. Verify that it’s running smoothly and the temperature control (if applicable) is set to the desired level.
Throughout the reassembly process, refer to the Stella Kegerator manual for specific instructions and guidance. Take your time to ensure that all components are properly aligned and connected. This will help prevent any potential issues or leaks once the kegerator is back in operation.
Once you’ve completed the reassembly, it’s time to move on to the final step: testing and making adjustments as needed.
Step 7: Testing and Adjustments
Now that you’ve reassembled the Stella Kegerator, it’s crucial to thoroughly test the unit and make any necessary adjustments to ensure optimal performance. Follow these steps to test and fine-tune your kegerator:
- Check for Leaks: Run a visual inspection of all connections and fittings to ensure there are no visible leaks. Look for any signs of dripping or moisture around the faucet, beer lines, and coupler. If you notice any leaks, gently tighten the connections until the leak stops.
- Restore Pressure: If the keg was removed during the setup changes, reconnect a fresh keg and restore the gas pressure. Refer to the kegerator manual for instructions on properly hooking up the keg and setting the appropriate gas pressure based on the beer type.
- Monitor Temperature: If you have a temperature control unit, monitor the temperature inside the kegerator and make adjustments as necessary. Consult the unit’s instructions to ensure your beer is stored at the optimal temperature for maximum enjoyment.
- Test Dispensing: With a filled and pressurized keg, test the dispensing system by pouring a sample of beer. Check for any issues such as slow flow, excessive foam, or off flavors. Adjust the regulator pressure and temperature settings if needed.
- Taste and Adjust: Pour yourself a glass of beer from the kegerator and take a moment to savor the experience. Pay attention to the taste, carbonation, and overall quality of the beer. If adjustments are needed, consult resources specific to the type of modification you made or consider seeking advice from experienced homebrewers or kegerator experts.
By thoroughly testing and adjusting your Stella Kegerator, you’ll ensure that it’s functioning properly and delivering the best possible beer experience. Take the time to fine-tune any settings and make any necessary changes, so you can enjoy your favorite beers with satisfaction.
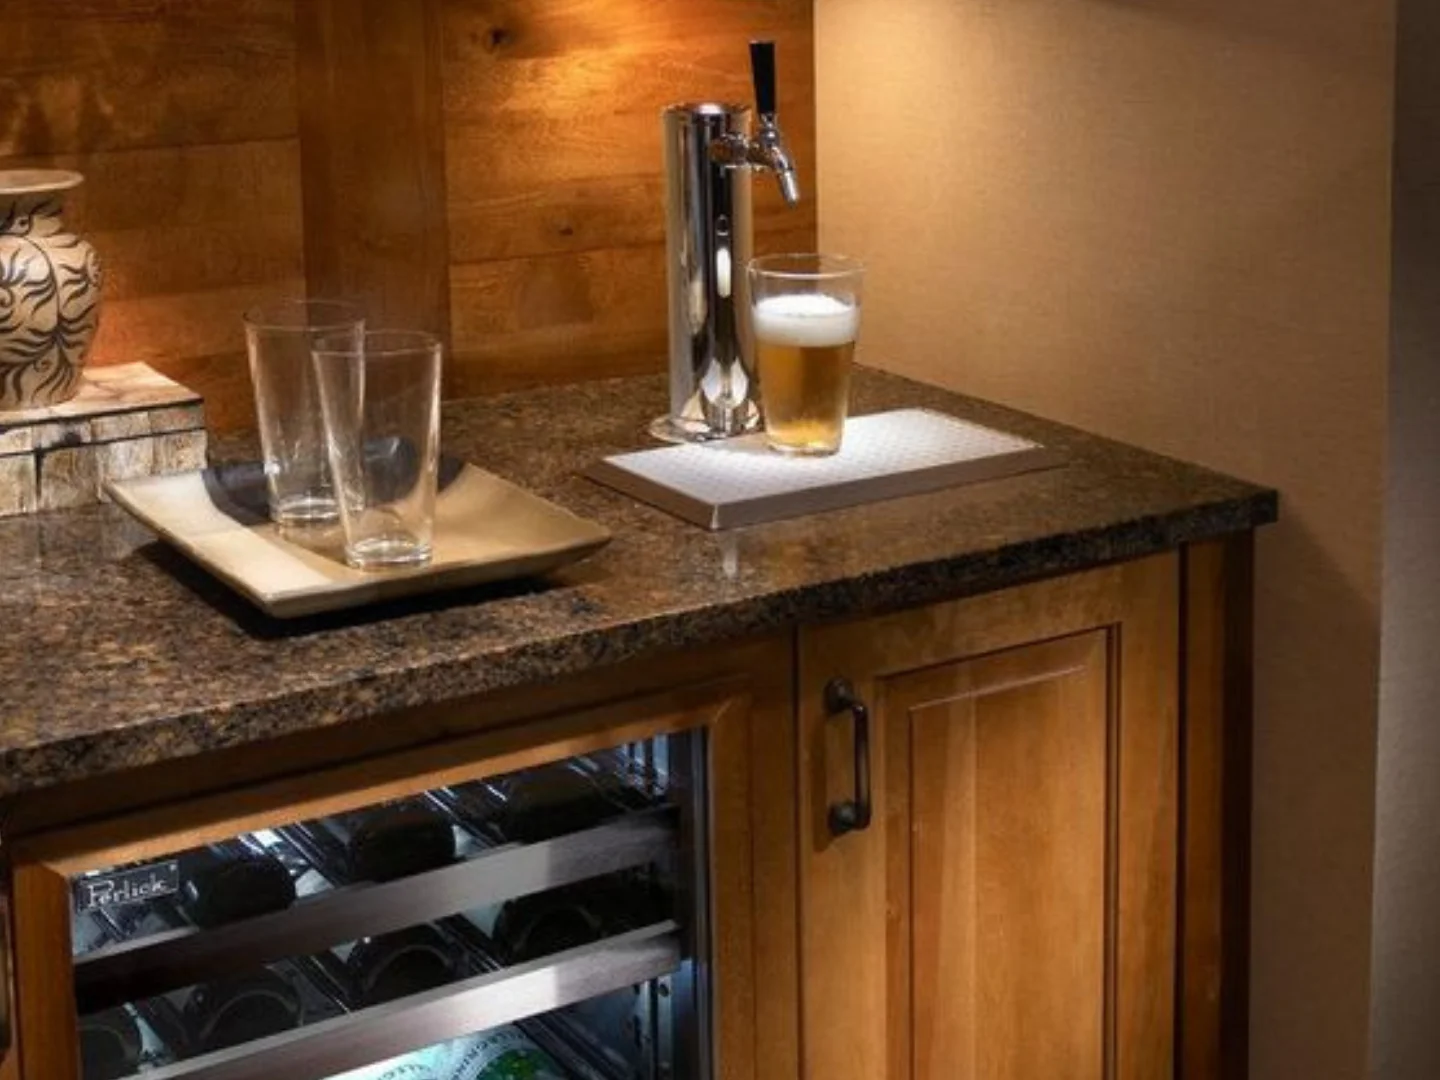
With the testing and adjustments complete, you’ve successfully changed your Stella Kegerator setup. Cheers to your newfound brewing adventures and the joy of having a customized kegerator for perfectly poured, refreshing beer!
Read more: How To Change Beer Lines In Kegerator
Conclusion
Congratulations! You’ve successfully learned how to change the setup of your Stella Kegerator. By following the step-by-step process outlined in this article, you’ve gained the knowledge and skills to make modifications and upgrades to your kegerator with confidence.
From the initial preparation and emptying of the kegerator to the disassembly, cleaning, and reassembly of the components, you’ve taken the necessary steps to ensure a smooth and effective change in your kegerator setup. Whether you’ve upgraded to a nitro tap, switched keg couplers, installed temperature controls, or made other adjustments, you now have a kegerator that perfectly suits your needs and preferences.
Remember to always consult the Stella Kegerator manual for specific instructions and guidance during the process. Additionally, don’t hesitate to seek advice from experienced homebrewers or kegerator experts if you encounter any challenges or have further questions.
Now, it’s time to sit back, pour a glass of your favorite beer, and enjoy the fruits of your labor. Cheers to your versatile and customized Stella Kegerator, which will provide you with many delightful beer-drinking experiences in the future!
Frequently Asked Questions about How To Change A Stella Kegerator
Was this page helpful?
At Storables.com, we guarantee accurate and reliable information. Our content, validated by Expert Board Contributors, is crafted following stringent Editorial Policies. We're committed to providing you with well-researched, expert-backed insights for all your informational needs.


0 thoughts on “How To Change A Stella Kegerator”