Home>Articles>How To Change Battery In Ryobi Air Grip Laser Level
Articles
How To Change Battery In Ryobi Air Grip Laser Level
Modified: May 6, 2024
Learn how to change the battery in your Ryobi Airgrip Laser Level with our step-by-step guide. Stay informed with our informative articles on various topics.
(Many of the links in this article redirect to a specific reviewed product. Your purchase of these products through affiliate links helps to generate commission for Storables.com, at no extra cost. Learn more)
Introduction
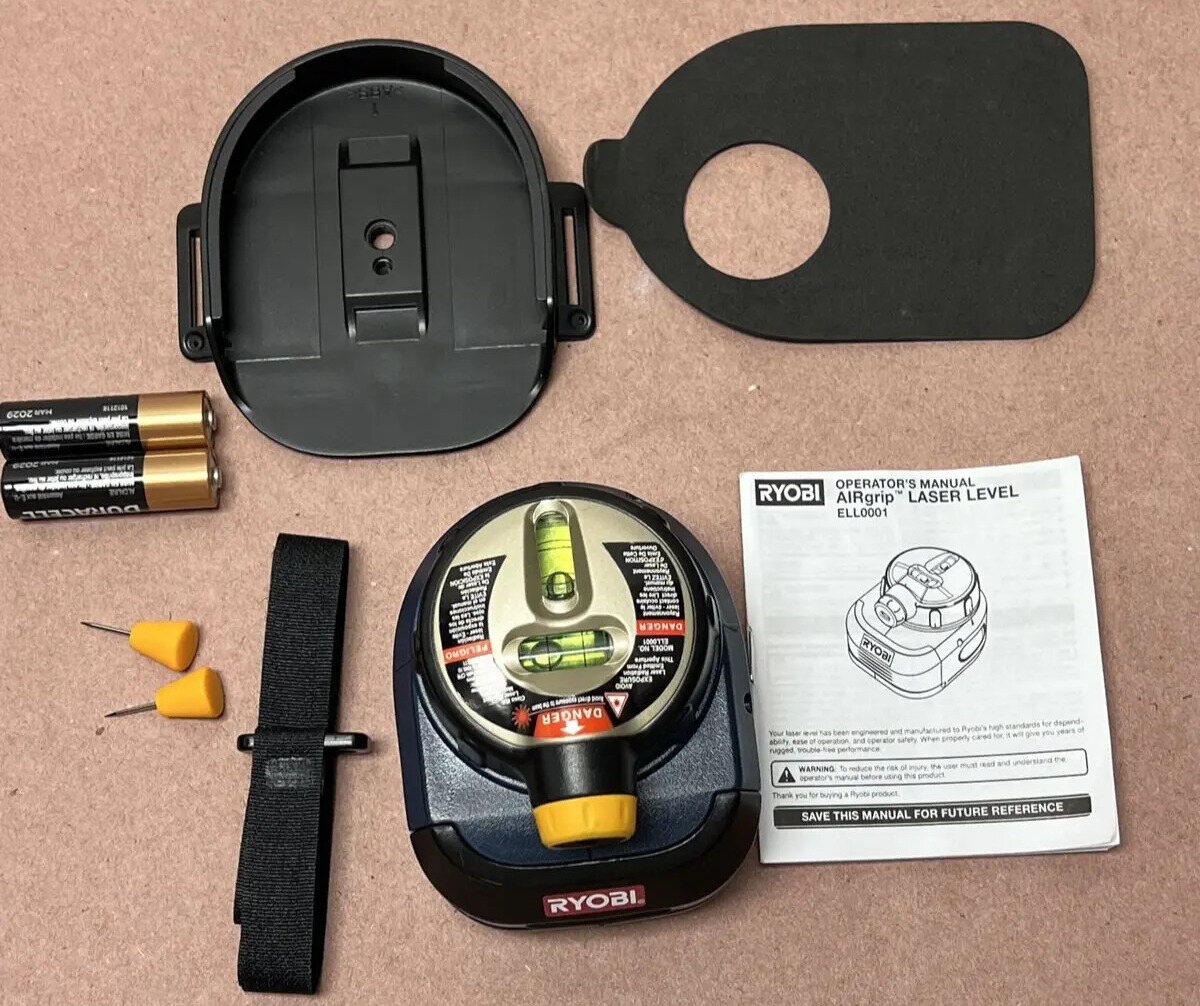
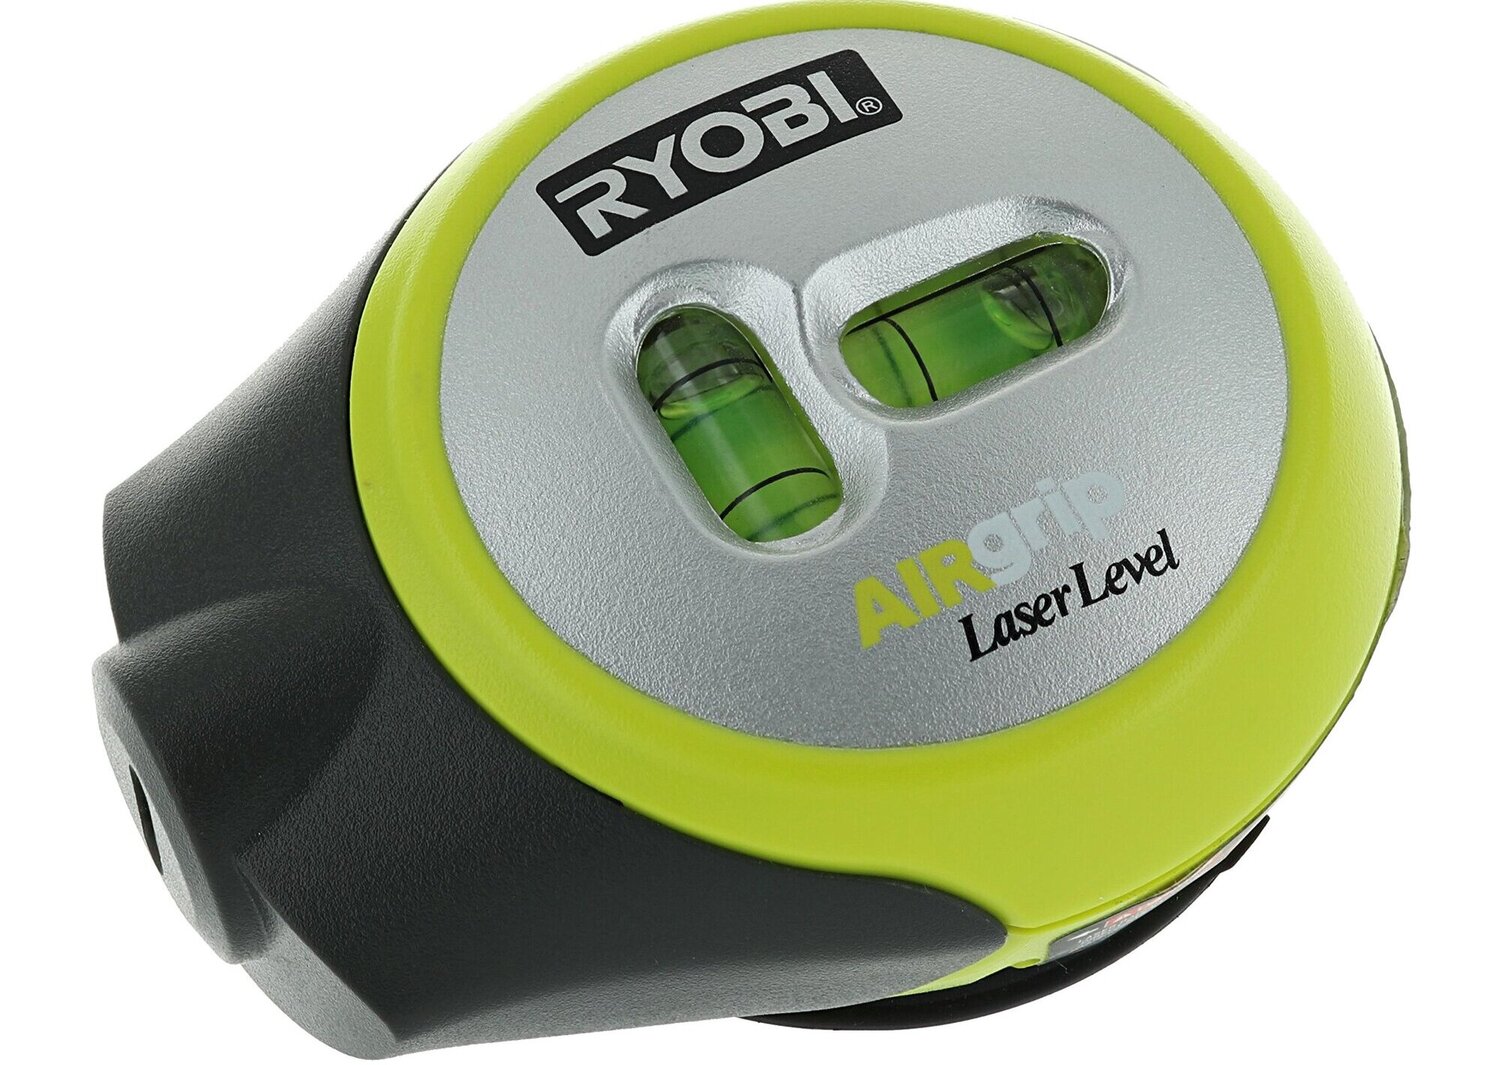
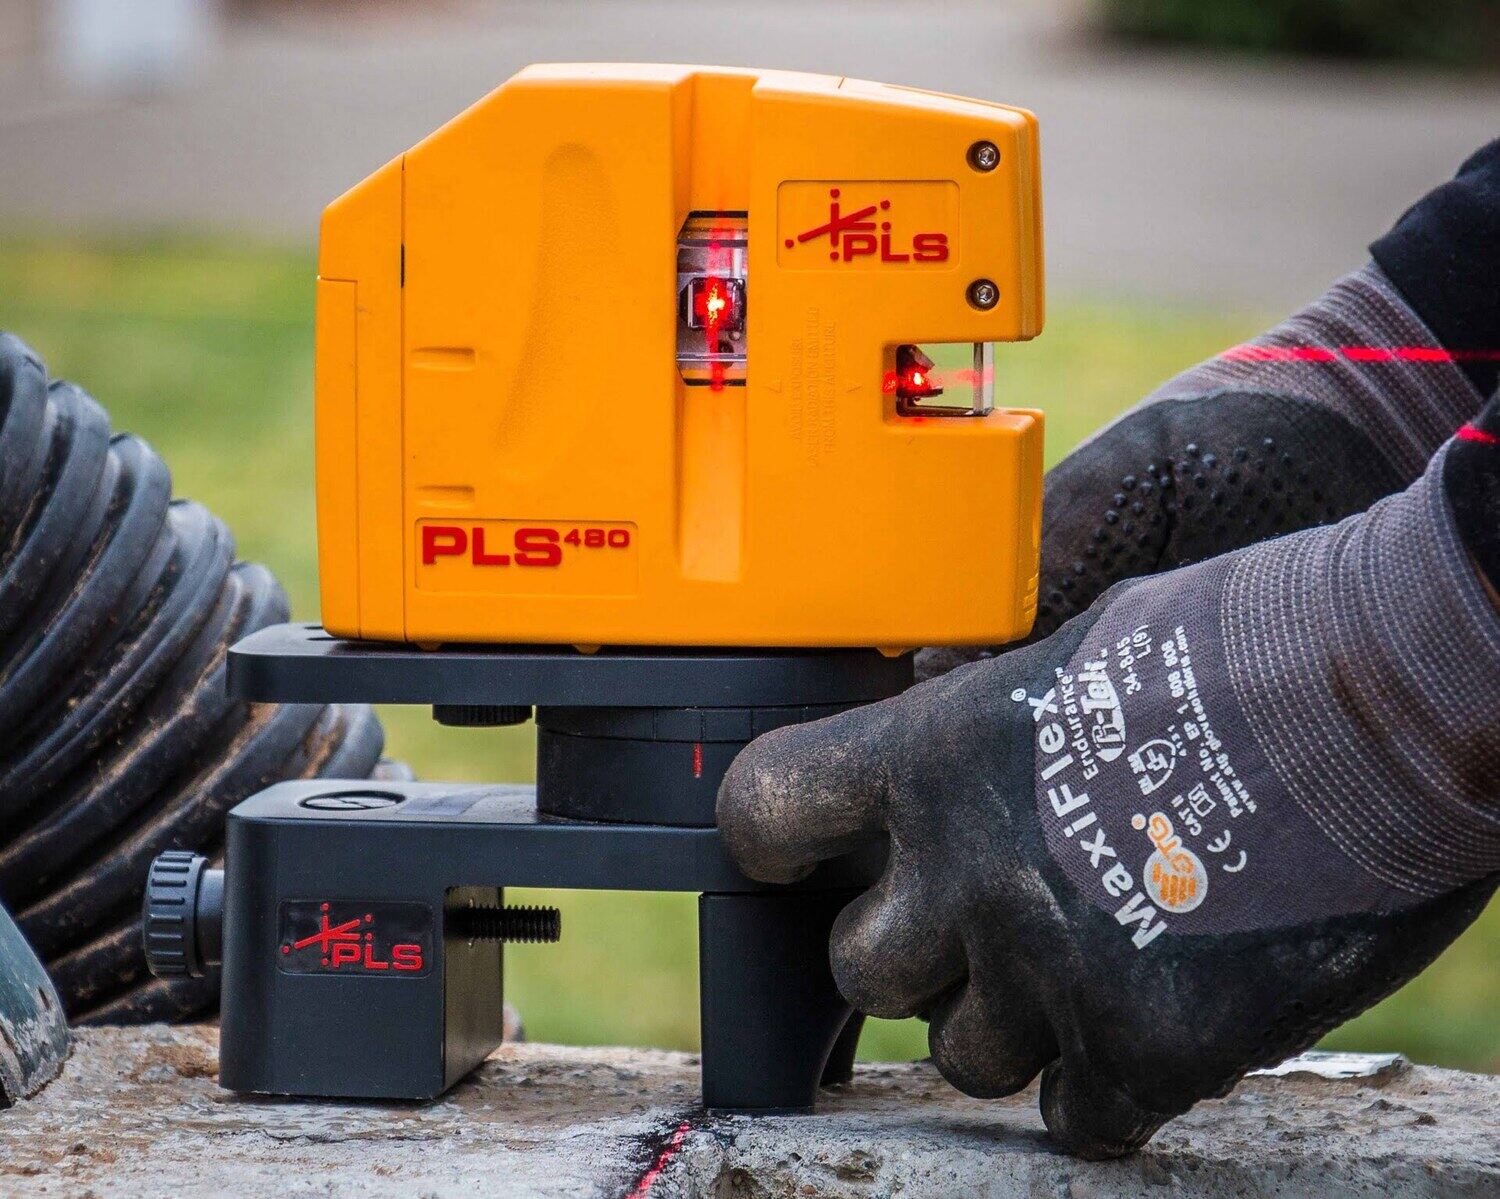
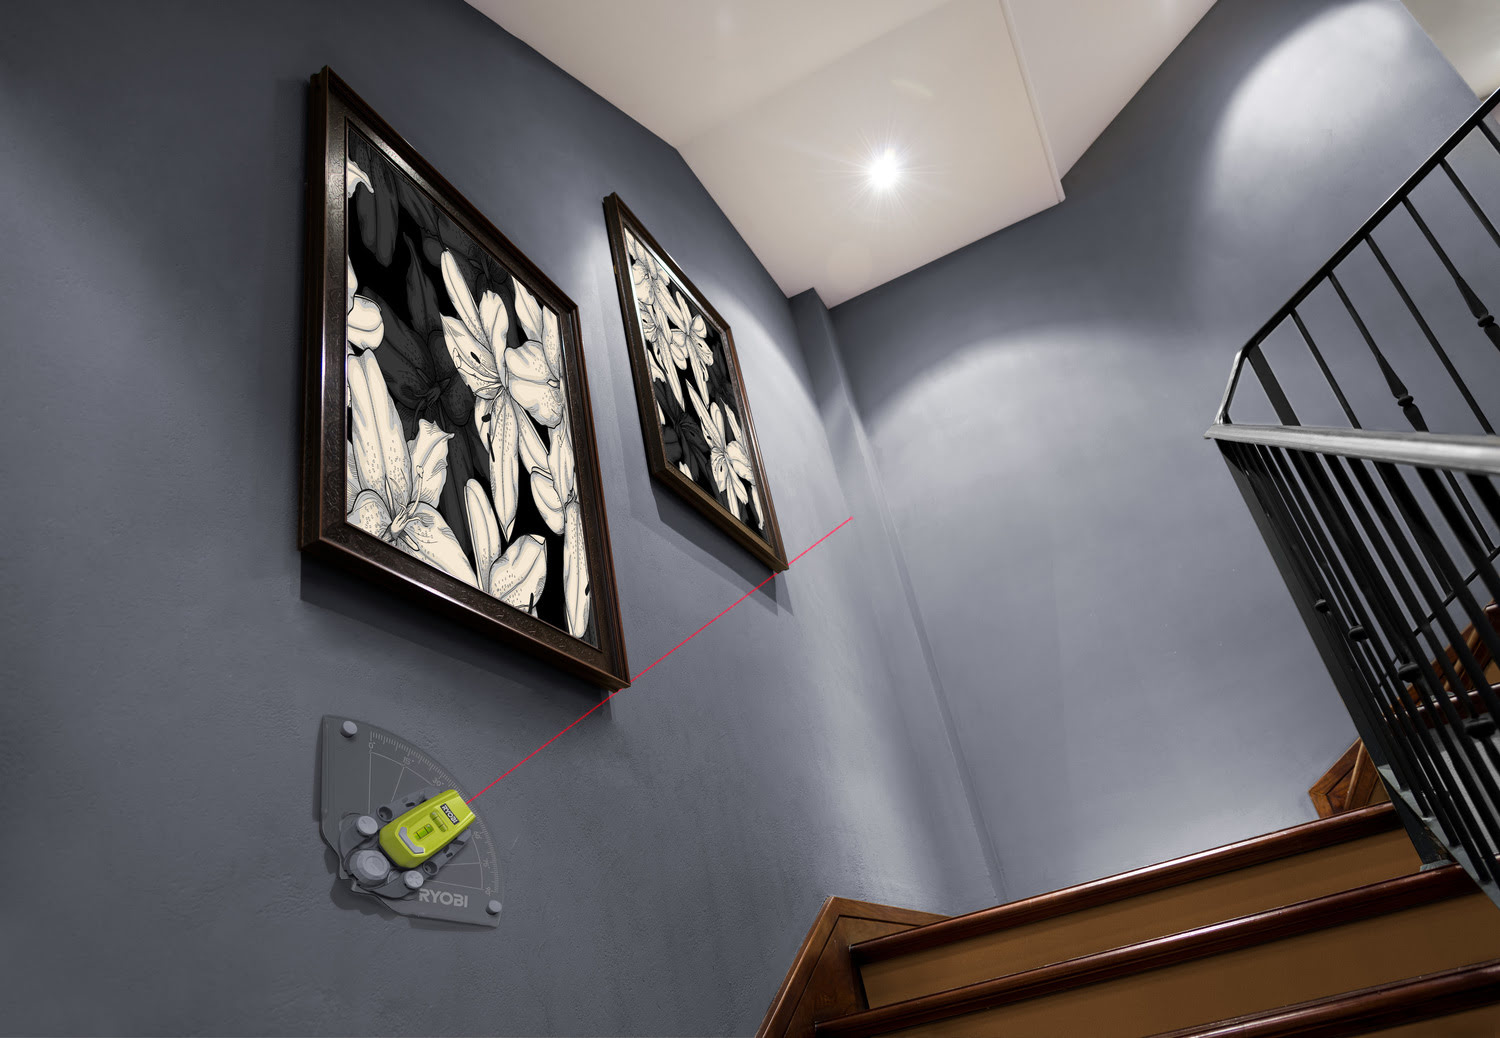
The Ryobi Airgrip Laser Level is a versatile and efficient tool designed to assist professionals and DIY enthusiasts in various construction and home improvement projects. It offers quick and precise leveling, allowing you to achieve accurate measurements and create straight lines with ease.
One crucial aspect of maintaining the optimal performance of the Ryobi Airgrip Laser Level is regularly changing the battery. The battery powers the laser and ensures its functionality. By replacing the battery when necessary, you can avoid interruptions in your work and guarantee accurate readings.
In this article, we will guide you through the process of changing the battery in the Ryobi Airgrip Laser Level. We will also highlight the importance of following safety precautions during battery replacement and provide tips for maintaining the battery’s longevity.
So, let’s dive in and discover how to change the battery in the Ryobi Airgrip Laser Level effectively!
Key Takeaways:
- Safety First!
When changing the battery in your Ryobi Airgrip Laser Level, prioritize safety by following specific precautions and using the correct tools. This ensures a smooth and secure battery replacement experience. - Maintenance Matters
Proper battery maintenance and care of your Ryobi Airgrip Laser Level are crucial for maximizing battery life and ensuring optimal tool performance. Follow the tips to extend the lifespan of your tool.
Safety Precautions
Changing the battery in any device requires adherence to general safety guidelines to prevent accidents and damage. When it comes to the Ryobi Airgrip Laser Level, there are also specific precautions to keep in mind to ensure the safety of both yourself and the tool.
Here are some essential safety precautions to follow when changing the battery:
General Safety Guidelines:
- Ensure that the Ryobi Airgrip Laser Level is turned off and disconnected from any power source before attempting to change the battery.
- Wear protective gloves and goggles to shield your hands and eyes from any potential hazards.
- Work in a well-ventilated area to reduce the risk of inhaling harmful fumes or particles.
- Keep the tool and battery away from water, flammable materials, and heat sources to prevent damage and potential accidents.
- Store the old and new batteries in a safe place, away from children and pets.
Specific Precautions for the Ryobi Airgrip Laser Level:
- Refer to the user manual of the Ryobi Airgrip Laser Level for model-specific instructions and safety recommendations.
- Only use compatible and recommended batteries for the Ryobi Airgrip Laser Level to ensure optimal performance and avoid potential damage to the tool.
- Avoid using damaged or leaking batteries as they can pose a safety risk. Dispose of them properly according to local regulations.
- Do not force the battery into the compartment. Ensure it is inserted correctly and securely to prevent any loose connections.
- If you encounter any unusual smells, smoke, or sparks while using the laser level, immediately disconnect the power and consult a professional for assistance.
Always prioritize your safety when handling power tools, and be cautious throughout the process of changing the battery in your Ryobi Airgrip Laser Level. By following these safety precautions, you can minimize the risk of accidents and ensure a smooth and secure battery replacement experience.
Required Tools and Materials
Before you begin changing the battery in your Ryobi Airgrip Laser Level, it’s important to gather the necessary tools and materials. Having everything prepared beforehand will streamline the process and ensure a successful battery replacement. Here’s a list of what you’ll need:
Tools:
- Small screwdriver or a tool provided with the Ryobi Airgrip Laser Level
- Soft cloth or cleaning brush
Materials:
- Replacement battery compatible with the Ryobi Airgrip Laser Level
Using the correct tools and quality batteries is essential for the smooth functioning and longevity of your Ryobi Airgrip Laser Level. Here’s why:
1. Compatibility: The small screwdriver or tool provided with the Ryobi Airgrip Laser Level is specifically designed to open the battery compartment and secure the new battery. Using the recommended tool will prevent any potential damage to the laser level.
2. Quality Batteries: It’s crucial to use high-quality batteries that are compatible with the Ryobi Airgrip Laser Level. Cheap or inferior batteries may not provide the required voltage and performance, leading to shorter battery life and inaccurate readings. Investing in quality batteries ensures optimal performance and prolongs the life of your laser level.
Always read the user manual of your Ryobi Airgrip Laser Level to confirm the specific tools and type of battery recommended by the manufacturer. Following these guidelines will help you change the battery smoothly and maintain the performance of your tool.
Steps to Change the Battery in Ryobi Airgrip Laser Level
Changing the battery in your Ryobi Airgrip Laser Level is a straightforward process. Follow these steps to replace the battery effectively:
1. Removing the laser level from its mount:
Before you begin, detach the Ryobi Airgrip Laser Level from its mount or any other surface it is attached to. This will provide easier access to the battery compartment.
Read also: 13 Best Sure Grip Laser Level for 2025
2. Locating the battery compartment:
Inspect the Ryobi Airgrip Laser Level to locate the battery compartment. The position may vary depending on the model. Check the user manual for specific instructions and refer to the labeled diagrams if needed.
3. Opening the battery compartment:
Using a small screwdriver or the provided tool, carefully open the battery compartment cover. Take your time to ensure you don’t damage the cover or any internal components.
4. Removing the old battery:
Once the battery compartment is open, you will see the old battery inside. Gently remove the old battery by sliding it out or lifting it, depending on the design of the compartment. Take note of the battery’s position for correct placement of the new battery.
5. Inserting the new battery:
Take the new battery, ensuring it matches the recommended specifications mentioned in the user manual. Insert the new battery into the compartment, aligning it correctly based on the markings or orientation of the previous battery.
Read more: How Ryobi Phone Laser Level Works
6. Closing the battery compartment securely:
After inserting the new battery, close the battery compartment cover securely. Make sure it clicks into place or fastens tightly to prevent any accidental opening during use.
7. Reattaching the laser level to its mount:
Finally, reattach the Ryobi Airgrip Laser Level to its mount or desired surface. Ensure it is securely fixed and ready for use.
It’s important to note that the process may vary slightly depending on the specific model of your Ryobi Airgrip Laser Level. Always consult the user manual for detailed instructions and follow the manufacturer’s recommendations for battery change.
Testing and Calibration
After changing the battery in your Ryobi Airgrip Laser Level, it’s essential to perform a test and calibration to ensure accurate measurements and proper functionality. Here’s why testing and calibration are important, along with some troubleshooting tips for calibration issues:
Importance of Testing the Laser Level:
Testing the laser level after changing the battery is crucial to verify that it is functioning correctly. By testing it, you can ensure that the laser is emitting a straight and accurate beam, enabling you to achieve precise measurements and level lines in your projects. It also allows you to identify any potential issues or discrepancies early on.
Read also: 14 Amazing Laser Level Ryobi for 2025
Troubleshooting Tips for Calibration Issues:
If you encounter calibration issues with your Ryobi Airgrip Laser Level after changing the battery, here are some troubleshooting tips to help you resolve them:
1. Check battery orientation: Ensure that the new battery is inserted correctly with the correct polarity. Incorrect battery orientation can affect the laser level’s performance and calibration. 2. Ensure a clean lens: Dirt, dust, or smudges on the lens can obstruct the laser beam and affect the accuracy. Clean the lens with a soft, lint-free cloth or a cleaning brush to maintain optimal visibility. 3. Verify stability: Place the laser level on a stable surface and make sure it is not subject to vibrations or movement. Unstable mounting can lead to inaccurate readings and calibration issues. 4. Reset the calibration: Some Ryobi Airgrip Laser Levels have a calibration reset option. Refer to the user manual to determine if your model has this feature and how to perform a reset if necessary. 5. Check for obstructions: Ensure that there are no obstacles blocking the laser beam’s path, as they can interfere with the calibration. Clear any objects or debris that may obstruct the laser. 6. Perform a self-leveling function: If your Ryobi Airgrip Laser Level has a self-leveling feature, activate it to ensure that the unit is correctly aligned and adjusted. Follow the manufacturer’s instructions for the self-leveling process. 7. Consult the user manual or contact customer support: If you have tried the troubleshooting tips and are still experiencing calibration issues, refer to the user manual for further guidance. You can also reach out to Ryobi’s customer support for assistance and technical support.
Remember, regular testing and calibration of your Ryobi Airgrip Laser Level will ensure optimal performance, accuracy, and reliable results in your projects.
Tips for Battery Maintenance
Proper battery maintenance is essential to maximize the battery life and ensure consistent performance of your Ryobi Airgrip Laser Level. By following these tips, you can extend the battery life and keep your tool in excellent working condition:
Suggestions for Extending Battery Life:
- Avoid full discharges: Try to avoid completely draining the battery before recharging it. Partial charges and regular top-ups are better for battery health.
- Use the correct charger: Always use the charger specifically designed for the Ryobi Airgrip Laser Level’s battery. Using the wrong charger can damage the battery and affect its longevity.
- Allow the battery to cool down: After using the laser level, let the battery cool down before recharging it. Extreme temperatures can adversely affect battery performance and lifespan.
- Store the battery properly: If you won’t be using the Ryobi Airgrip Laser Level for an extended period, remove the battery and store it in a cool, dry place. Avoid exposing the battery to extreme temperatures or humidity.
- Avoid overcharging: Do not leave the battery connected to the charger for an extended period after it reaches full charge. Overcharging can diminish battery capacity over time.
- Keep the battery contacts clean: Periodically check the battery contacts for any dirt, debris, or corrosion. Clean them gently with a soft cloth or a cotton swab if necessary.
Proper Storage and Care of the Ryobi Airgrip Laser Level:
- Protect it from moisture and humidity: Store the Ryobi Airgrip Laser Level in a dry environment to prevent moisture damage. Moisture can corrode internal components and affect the tool’s performance.
- Keep it in a protective case: Invest in a durable case or storage bag for the Ryobi Airgrip Laser Level. A case will provide physical protection during transportation and keep the tool safe from dust and debris.
- Handle with care: Avoid dropping or mishandling the laser level. Rough handling can cause internal damage and affect its accuracy and functionality.
- Regularly clean the tool: Clean the exterior of the Ryobi Airgrip Laser Level with a soft cloth to remove any dust or debris. This will not only keep it looking good but also prevent any potential interference with its operation.
By following these tips for battery maintenance and proper care of the Ryobi Airgrip Laser Level, you can ensure that your tool performs optimally and has a longer lifespan. Taking care of the battery and the tool itself will also contribute to safer and more efficient project outcomes.
Read also: 8 Best Ryobi Laser Level for 2025
Conclusion
Changing the battery in your Ryobi Airgrip Laser Level is a simple process that can greatly enhance the tool’s performance and accuracy. By following the proper steps and precautions, you can ensure a seamless battery replacement experience. Let’s recap the key points and offer some final reminders for safe and effective battery replacement:
To change the battery in the Ryobi Airgrip Laser Level, follow these steps:
- Remove the laser level from its mount or surface.
- Locate the battery compartment.
- Open the battery compartment using the appropriate tool.
- Remove the old battery.
- Insert the new battery, ensuring it matches the recommended specifications.
- Close the battery compartment securely.
- Reattach the laser level to its mount or desired surface.
Remember to adhere to the safety precautions mentioned earlier, such as wearing protective gear, working in a well-ventilated area, and following the specific precautions for the Ryobi Airgrip Laser Level.
After changing the battery, it’s important to test the laser level to ensure its functionality and perform any necessary calibrations. If you encounter calibration issues, refer to the troubleshooting tips mentioned earlier or consult the user manual or customer support for further assistance.
Lastly, to maintain the battery’s longevity, follow the tips for battery maintenance mentioned earlier, including avoiding full discharges, using the correct charger, storing the battery properly, and keeping the tool clean.
In conclusion, changing the battery in your Ryobi Airgrip Laser Level is a simple task that can significantly improve its performance. By following the steps and precautions outlined in this article, you can ensure a safe and effective battery replacement process. Remember to always consult the user manual for specific instructions and contact customer support if you encounter any issues.
Now that you've mastered changing batteries in your Ryobi Airgrip Laser Level, why not check out the latest and greatest models? Our guide on the best Ryobi tools showcases the top picks for 2024, perfect for any project needing precise alignment. Also, if you're curious about other brands, our detailed instructions on using the Black and Decker model provides clear, easy-to-follow guidance. Both articles offer valuable insights to enhance your tool usage, ensuring your next DIY project is a breeze.
Frequently Asked Questions about How To Change Battery In Ryobi Air Grip Laser Level
Was this page helpful?
At Storables.com, we guarantee accurate and reliable information. Our content, validated by Expert Board Contributors, is crafted following stringent Editorial Policies. We're committed to providing you with well-researched, expert-backed insights for all your informational needs.


0 thoughts on “How To Change Battery In Ryobi Air Grip Laser Level”