Home>Articles>How To Change Intersect Laser Level And Stud Finder
Articles
How To Change Intersect Laser Level And Stud Finder
Modified: August 26, 2024
Learn how to change your intersect laser level and stud finder with this informative article. Find step-by-step instructions and helpful tips to make the process quick and easy.
(Many of the links in this article redirect to a specific reviewed product. Your purchase of these products through affiliate links helps to generate commission for Storables.com, at no extra cost. Learn more)
Introduction
Intersect laser levels and stud finders are essential tools for any DIY enthusiast or professional contractor. They are used to accurately determine the reference lines and locate studs behind walls. These versatile devices are indispensable for a wide range of projects, from hanging pictures and shelves to installing electrical fixtures or plumbing pipes.
While these tools are designed to be durable and long-lasting, there may come a time when you need to change the batteries or make adjustments to ensure their optimal performance. In this article, we will guide you through the steps of changing your intersect laser level battery and calibrating your stud finder. By following these simple procedures, you will be able to maintain the accuracy and reliability of your tools, ensuring that your projects are completed with precision.
Key Takeaways:
- Regularly maintaining and calibrating your intersect laser level and stud finder will enhance their accuracy and precision, ensuring professional-level results for a wide range of DIY projects.
- Prioritize safety, follow manufacturer’s instructions, and use the correct batteries to maintain and optimize the performance of your intersect laser level and stud finder.
Understanding Intersect Laser Level and Stud Finder
Before we dive into the process of changing batteries and making adjustments, let’s first understand what an intersect laser level and stud finder are and how they work.
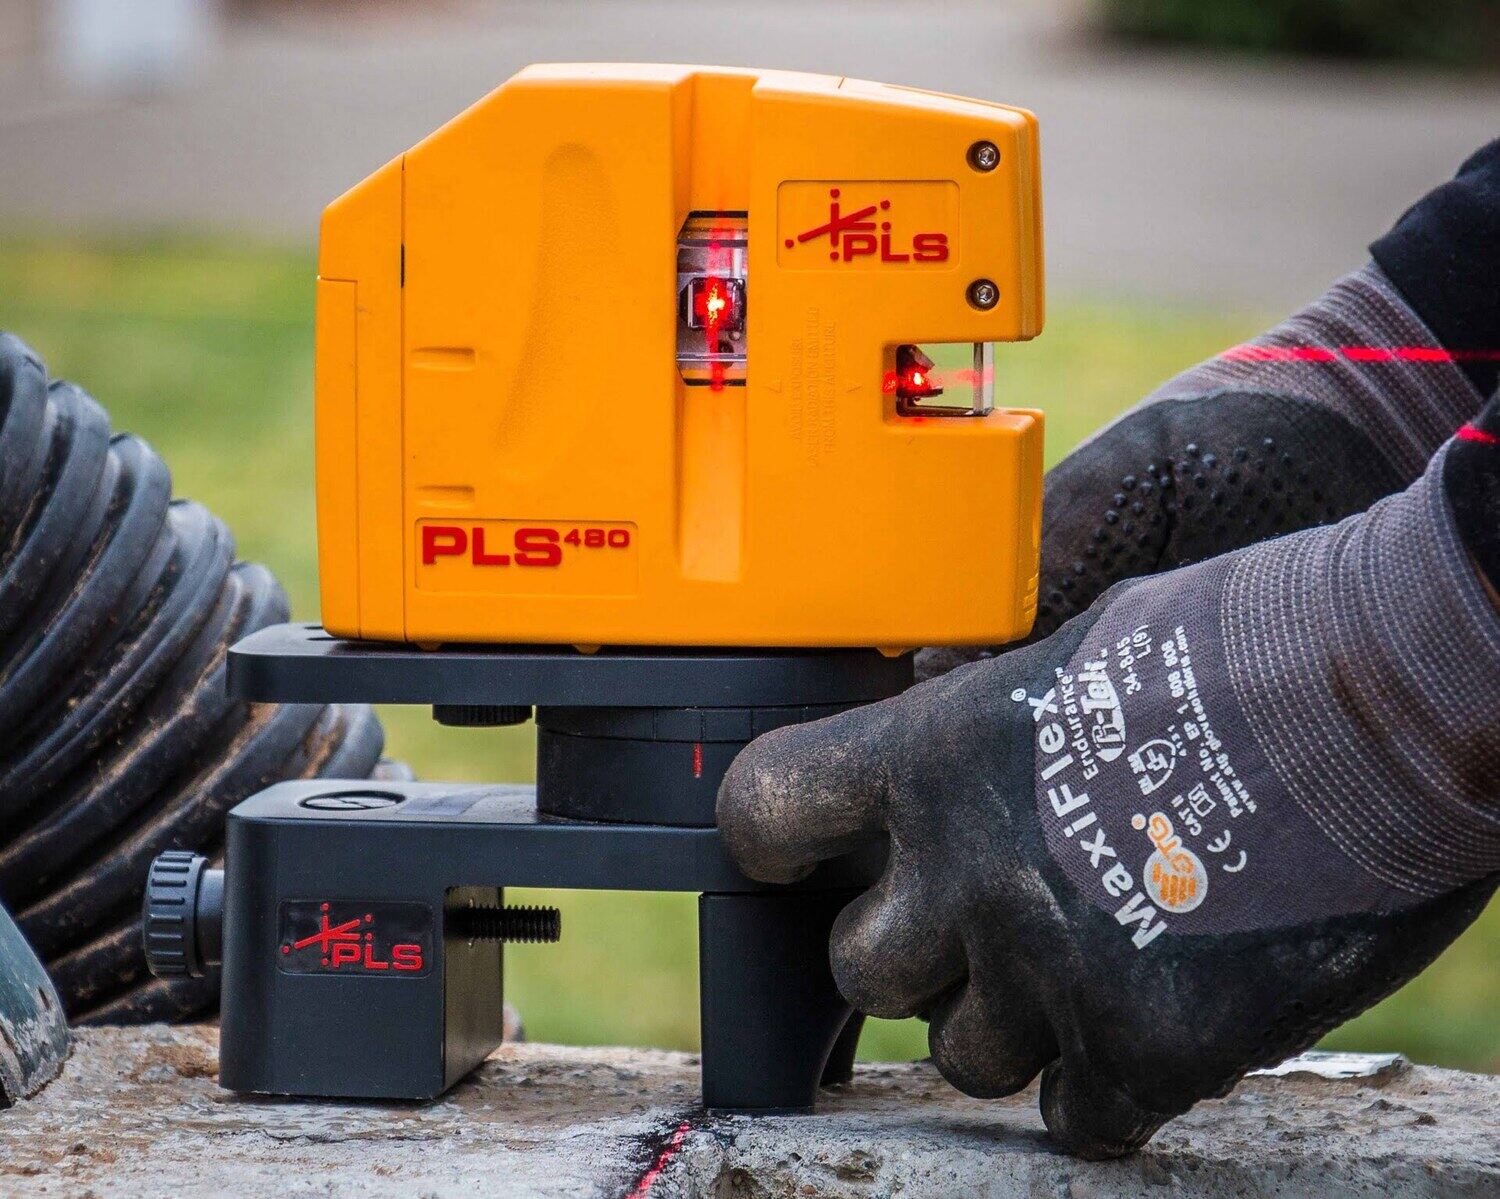
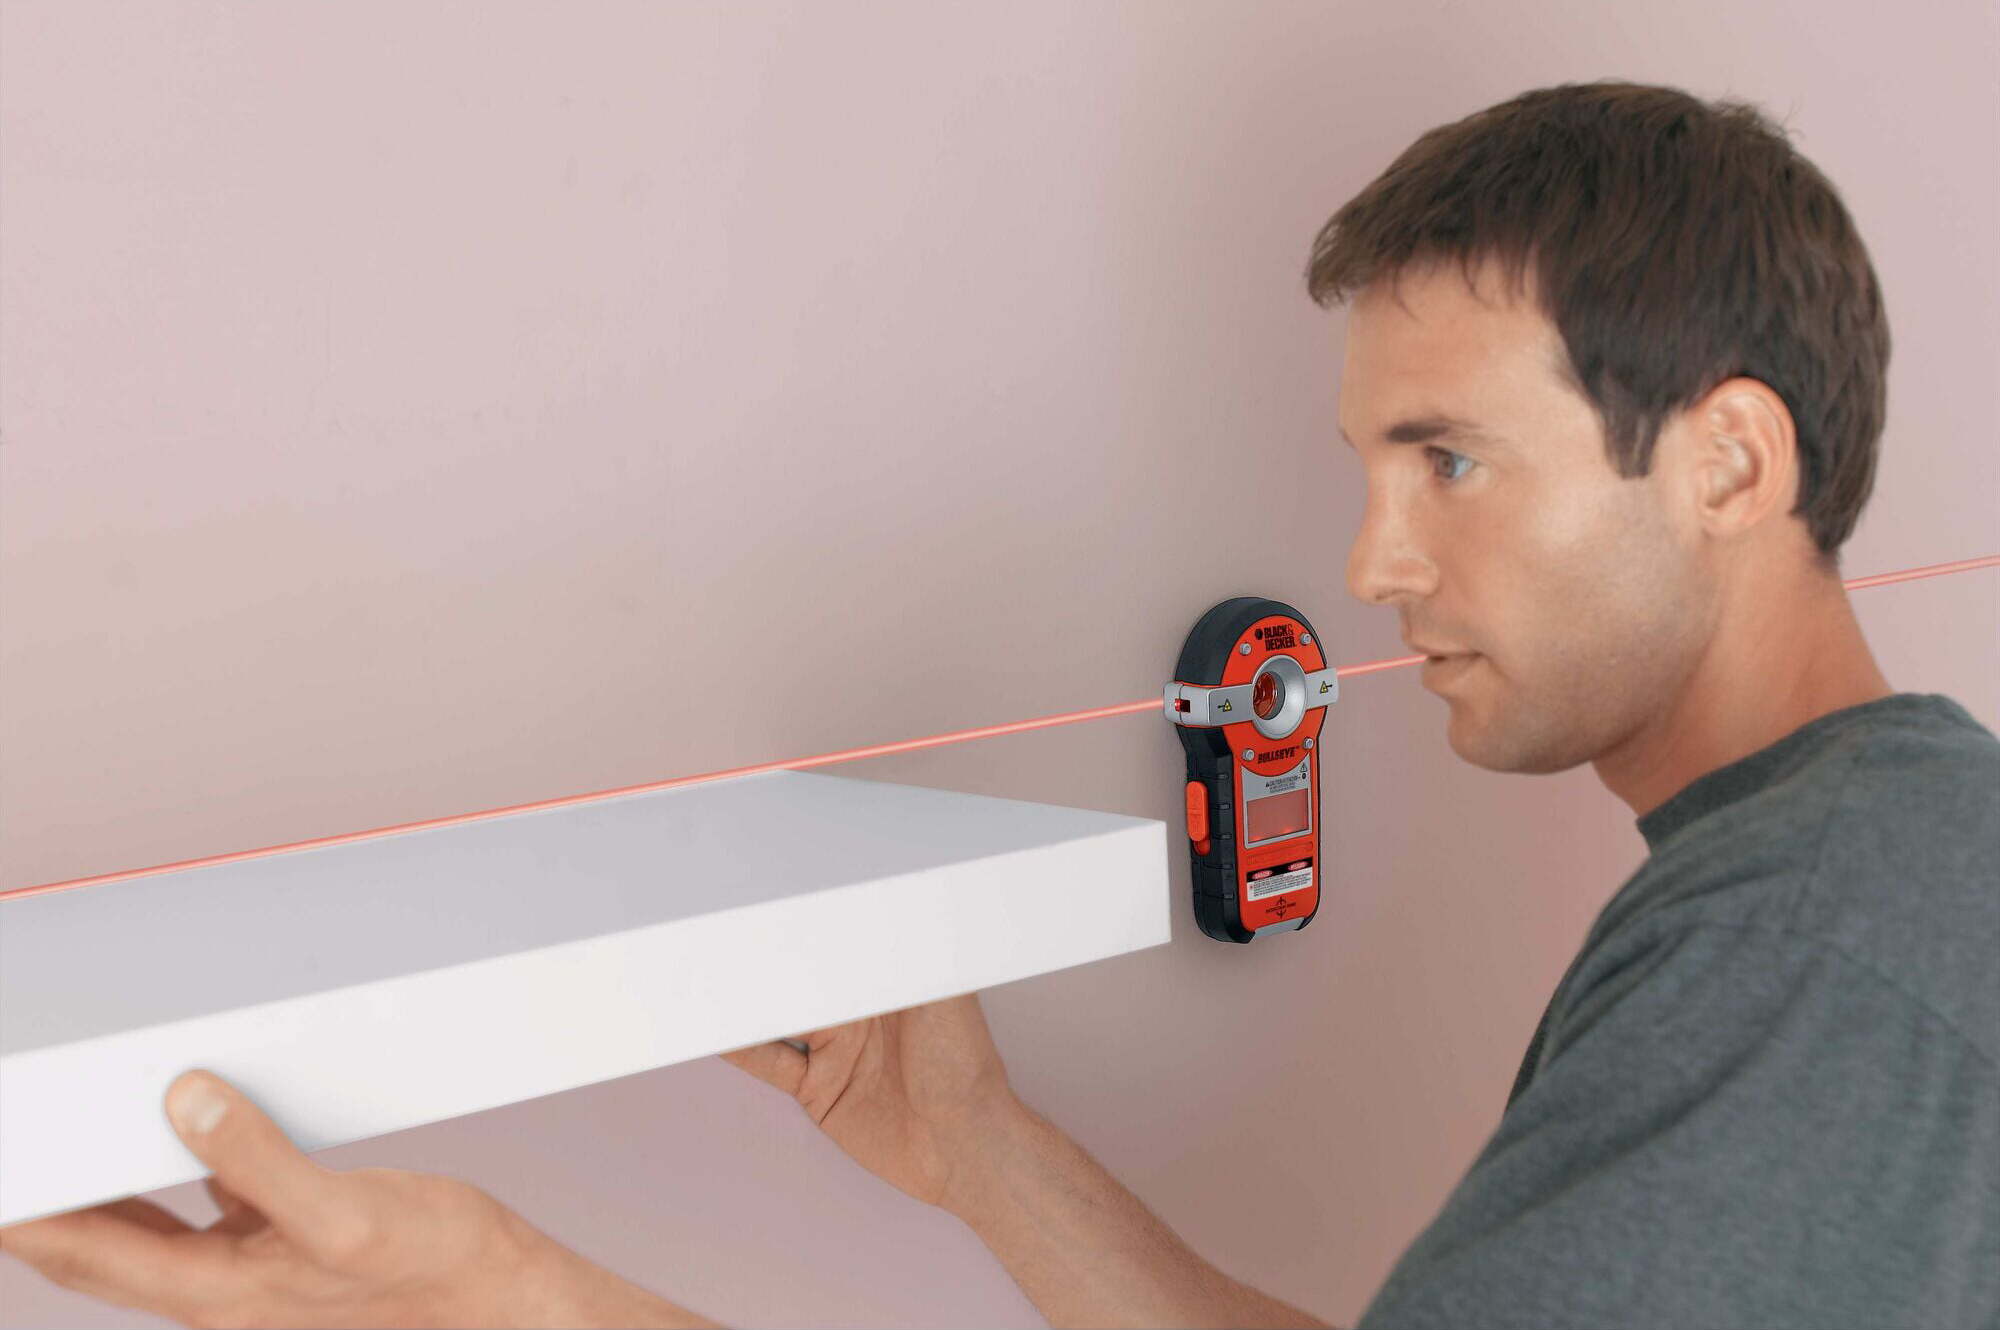
An intersect laser level is a tool used to project a level horizontal or vertical line onto surfaces, such as walls or floors. It utilizes a laser diode to emit a beam of light, which is then reflected off a mirror to create a straight line. This line serves as a visual guide for ensuring that objects are aligned or installed in a level or plumb position.
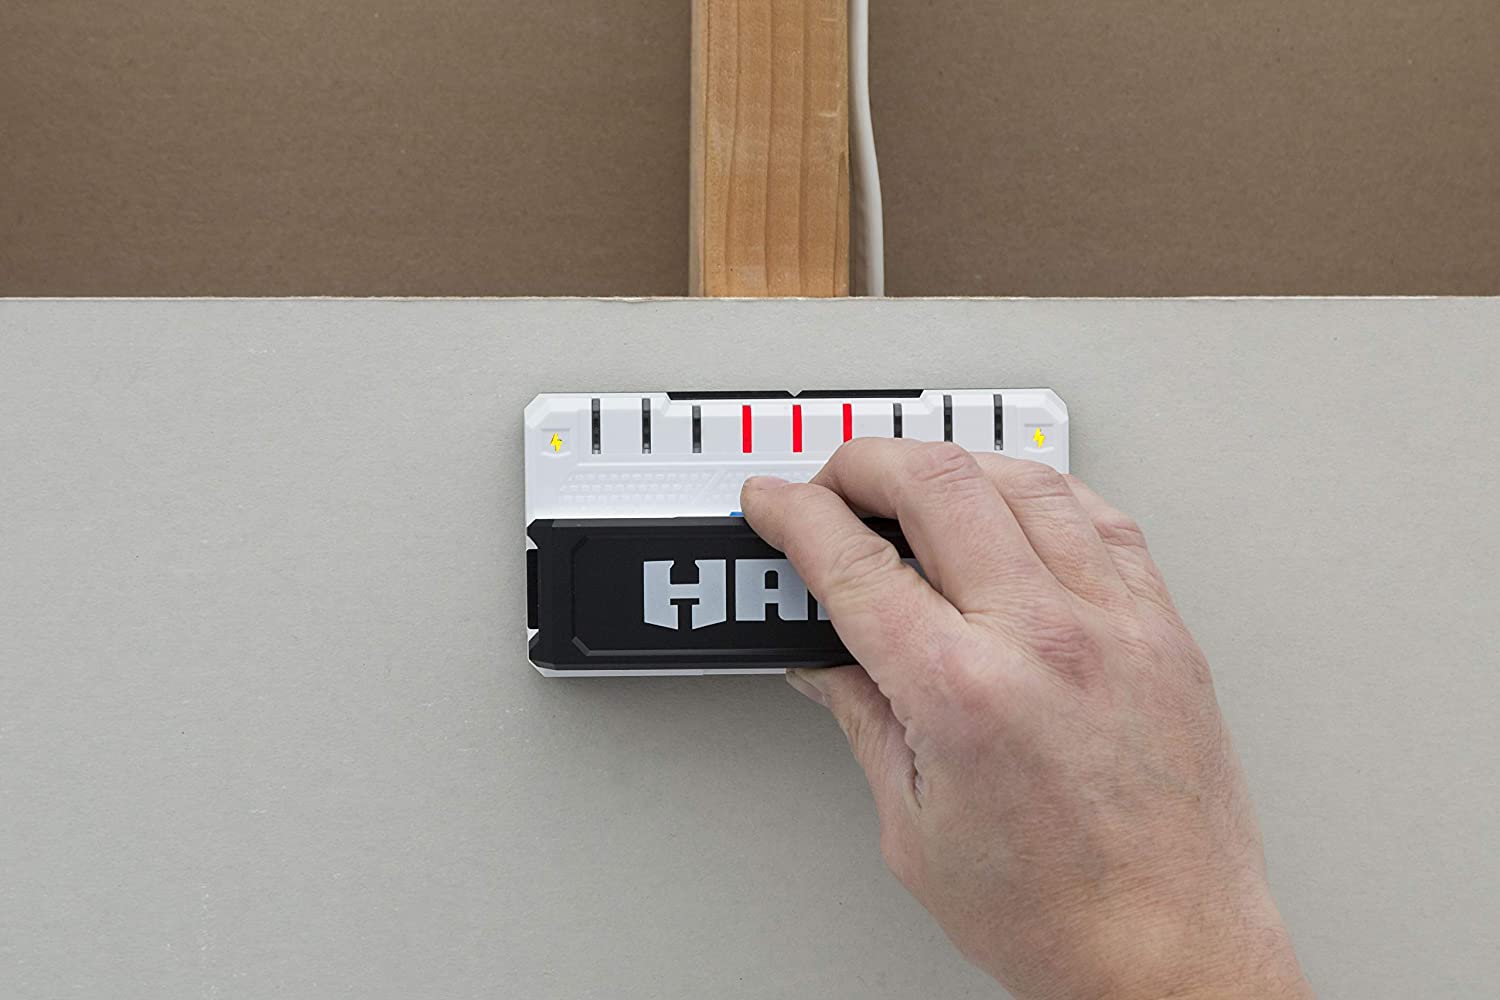
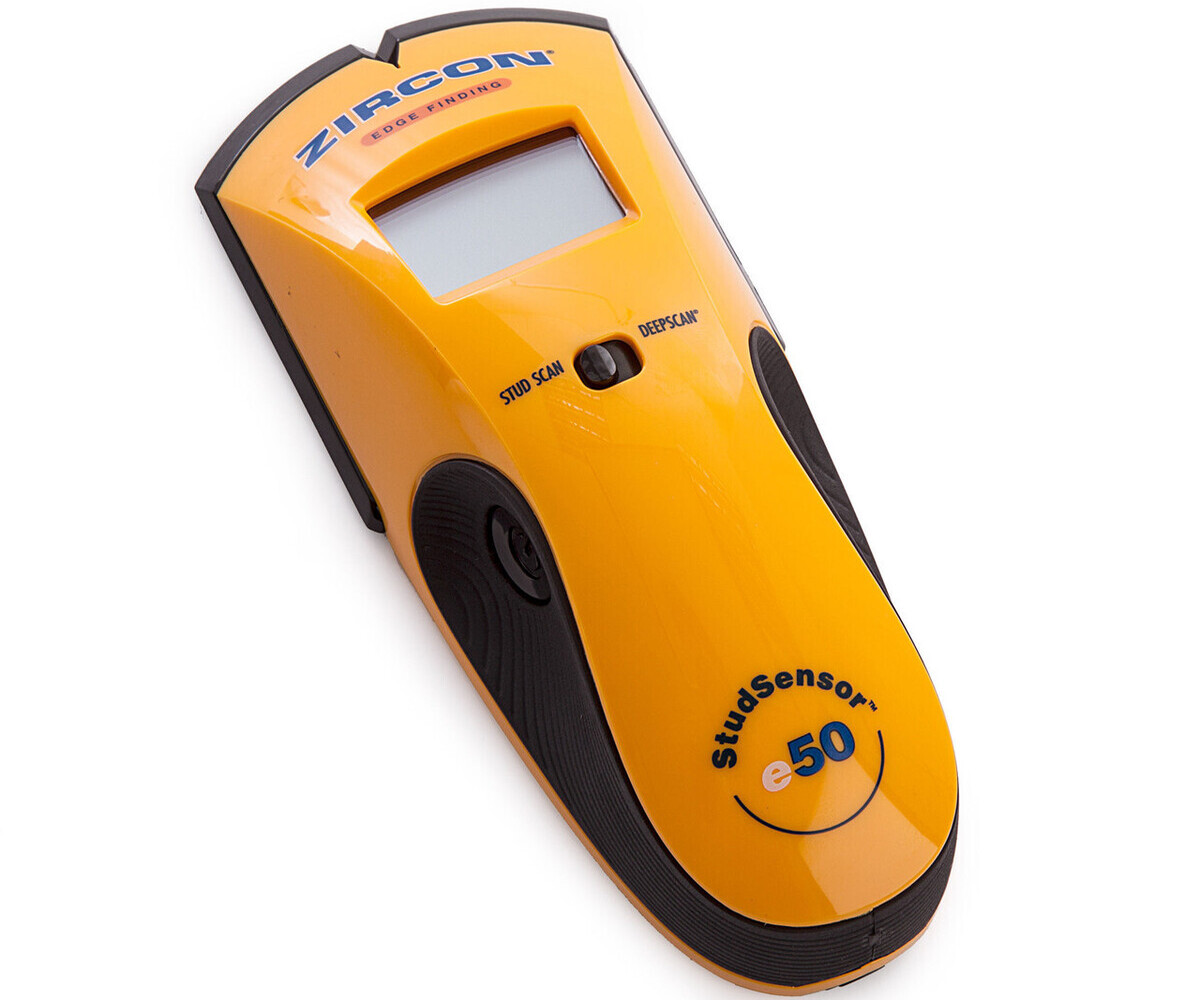
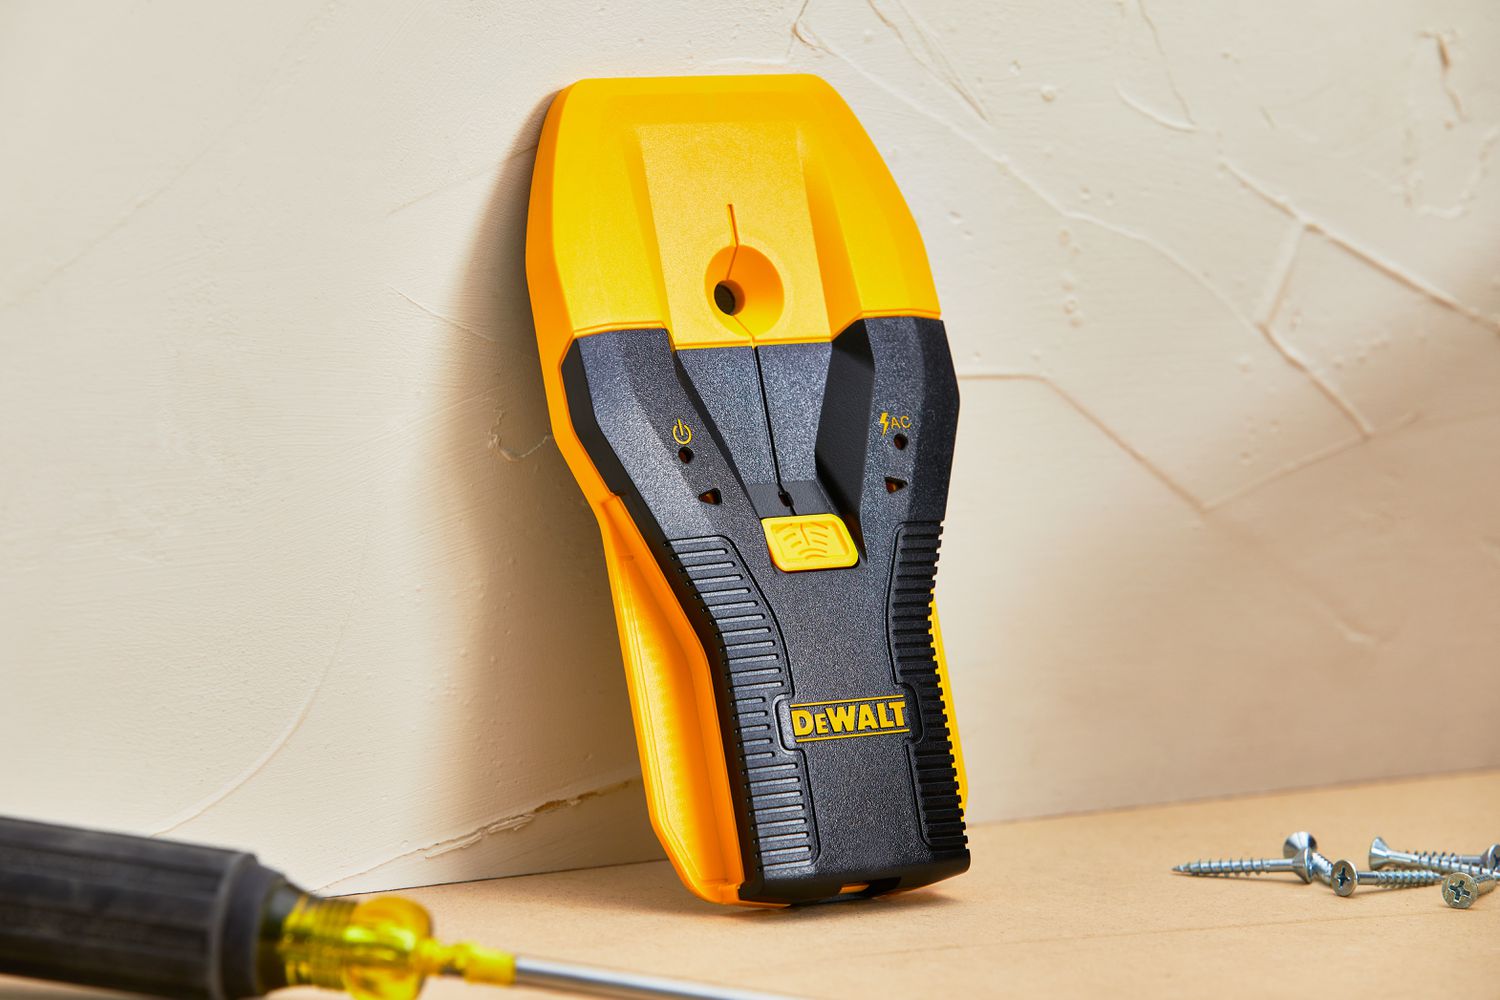
On the other hand, a stud finder is a device used to locate the framing studs behind the wall. It uses different technologies, such as magnetic or electronic sensors, to detect changes in density or material composition. By scanning the wall surface, the stud finder can determine the presence of studs, allowing you to safely and securely hang heavy objects or make modifications to the wall without damaging the structural integrity.
Both intersect laser levels and stud finders come in various models and brands, each with its own features and capabilities. Some intersect laser levels have additional functions, such as the ability to project multiple lines at different angles or to create crosshairs for precise measuring and alignment. Similarly, some stud finders offer advanced features, such as deep scanning capabilities to locate studs through thicker materials or LED indicators to indicate the stud’s exact position.
Understanding the specific features and functionality of your intersect laser level and stud finder is crucial for effectively changing batteries and making adjustments. Make sure to refer to the user manual or manufacturer’s instructions for detailed information on your particular model.
Tools and Materials Needed
Before you begin changing the batteries or making adjustments to your intersect laser level and stud finder, ensure that you have the following tools and materials:
- Phillips or flathead screwdriver (depending on battery compartment)
- New batteries (check the user manual for battery specifications)
- Soft cloth or cleaning solution (for cleaning the laser lens or stud finder sensors, if needed)
It’s important to gather all the necessary tools and materials beforehand to avoid interruptions during the process. Having everything prepared will ensure a smooth and efficient battery change and calibration process.
Step 1: Safety Precautions
Before you start changing the batteries or making any adjustments to your intersect laser level or stud finder, it is important to take some safety precautions:
- Ensure that the tool is turned off before performing any work on it. This will prevent any accidental activation of the laser or stud sensing function.
- Wear protective eyewear to shield your eyes from any potential laser beam exposure.
- If you need to clean the lens or sensors, make sure to do so gently with a soft cloth or the appropriate cleaning solution. Avoid using harsh chemicals or abrasive materials that could damage the tool.
- If the battery compartment has any corrosion or damage, do not attempt to change the batteries. Contact the manufacturer for further assistance or take the tool to a professional technician.
- If you are working on a ladder or elevated surface, ensure that the area is stable and secure. Take necessary precautions to prevent falls or accidents.
- Always follow the manufacturer’s instructions and guidelines for your specific tool model. Different tools may have specific safety considerations, so it’s important to be aware of any unique precautions.
By taking these safety precautions, you can protect yourself and others while working with an intersect laser level and stud finder. Safety should always be a top priority when handling any tools or equipment.
Step 2: Removing the Battery Cover
Now that you have taken the necessary safety precautions, you can proceed to remove the battery cover of your intersect laser level or stud finder. Here’s how:
- Locate the battery compartment on the tool. It is usually located on the back or bottom of the device.
- Inspect the battery cover for any screws or locks. If there are screws, use a Phillips or flathead screwdriver (depending on the screw type) to remove them. If there are locks, follow the manufacturer’s instructions to unlock and remove the cover.
- Gently lift or slide off the battery cover to expose the battery compartment.
It’s important to handle the battery cover with care to avoid any damage or loss. Keep track of any screws or locks that are removed and place them in a secure location so they can be easily reattached later.
Once the battery cover is removed, you can proceed to the next step of replacing the batteries in your intersect laser level or stud finder.
Step 3: Replacing Batteries
Now that you have successfully removed the battery cover, it’s time to replace the batteries in your intersect laser level or stud finder. Follow these steps:
- Check the user manual or manufacturer’s instructions for the specific type and size of batteries required for your tool. Ensure that you have the correct replacement batteries.
- Remove any old or depleted batteries from the battery compartment. Note the correct orientation of the batteries (positive and negative terminals) as you remove them.
- Insert the new batteries into the compartment, ensuring they are properly aligned with the correct polarity (+ and -). Follow any markings or diagrams inside the battery compartment if provided.
- Gently press the batteries down to secure them in place and ensure proper contact with the terminals.
- Replace the battery cover by aligning it with the compartment and sliding or pressing it back into place. If there are screws, use the Phillips or flathead screwdriver to reattach them securely.
Make sure that the battery cover is securely fastened to avoid any accidental opening during use. It’s also a good practice to test the laser level or stud finder to ensure that the new batteries are functioning properly.
Remember to dispose of old batteries in an environmentally friendly manner. Check local regulations for proper battery disposal guidelines.
With the batteries successfully replaced, you’re now ready to move on to the next step of adjusting the laser level or calibrating the stud finder as needed.
When changing the intersect laser level and stud finder, always refer to the user manual for specific instructions. Typically, you will need to power off the device, remove any batteries, and then carefully replace or adjust the components as needed.
Step 4: Adjusting the Laser Level
After replacing the batteries in your intersect laser level, you may need to make some adjustments to ensure its accuracy and alignment. Follow these steps to adjust the laser level:
- Power on the intersect laser level and allow it to stabilize. The laser beam should become steady and clearly visible before making any adjustments.
- Locate the adjustment knobs on the intersect laser level. These knobs are typically located on the sides or top of the tool.
- Depending on the model, you may have separate adjustment knobs for horizontal and vertical alignment. Use the appropriate knob to adjust the laser beam in the desired direction.
- Rotate the adjustment knob slowly to fine-tune the laser level. Make small adjustments and check the alignment using a level or another reference point. Continue adjusting until the laser beam is perfectly horizontal or vertical, as needed.
- Once you have achieved the desired alignment, lock the adjustment knobs if applicable. This will prevent any accidental movement or changes to the laser level.
It’s important to note that the process of adjusting the laser level may vary depending on the specific model and brand. Refer to the user manual or manufacturer’s instructions for detailed instructions tailored to your intersect laser level.
After adjusting the laser level, you can proceed to calibrate the stud finder, which is covered in the next step.
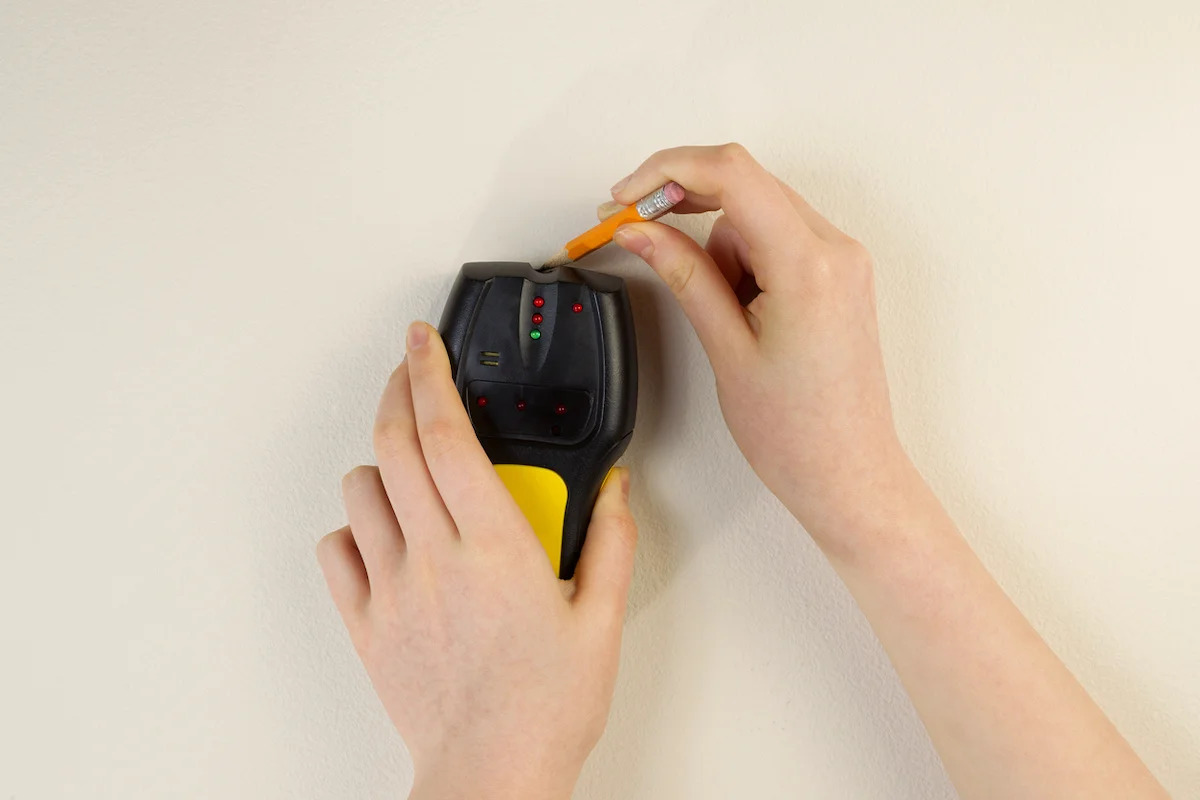
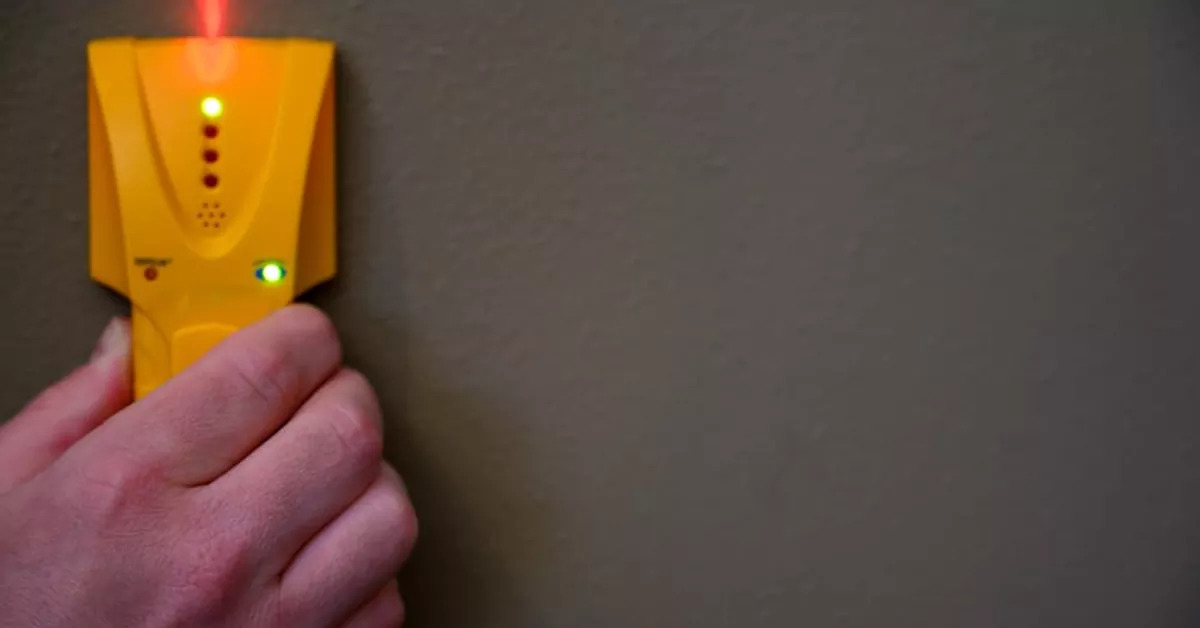
Step 5: Calibrating the Stud Finder
Calibrating the stud finder is an important step to ensure accurate and reliable stud detection. Follow these steps to calibrate your stud finder:
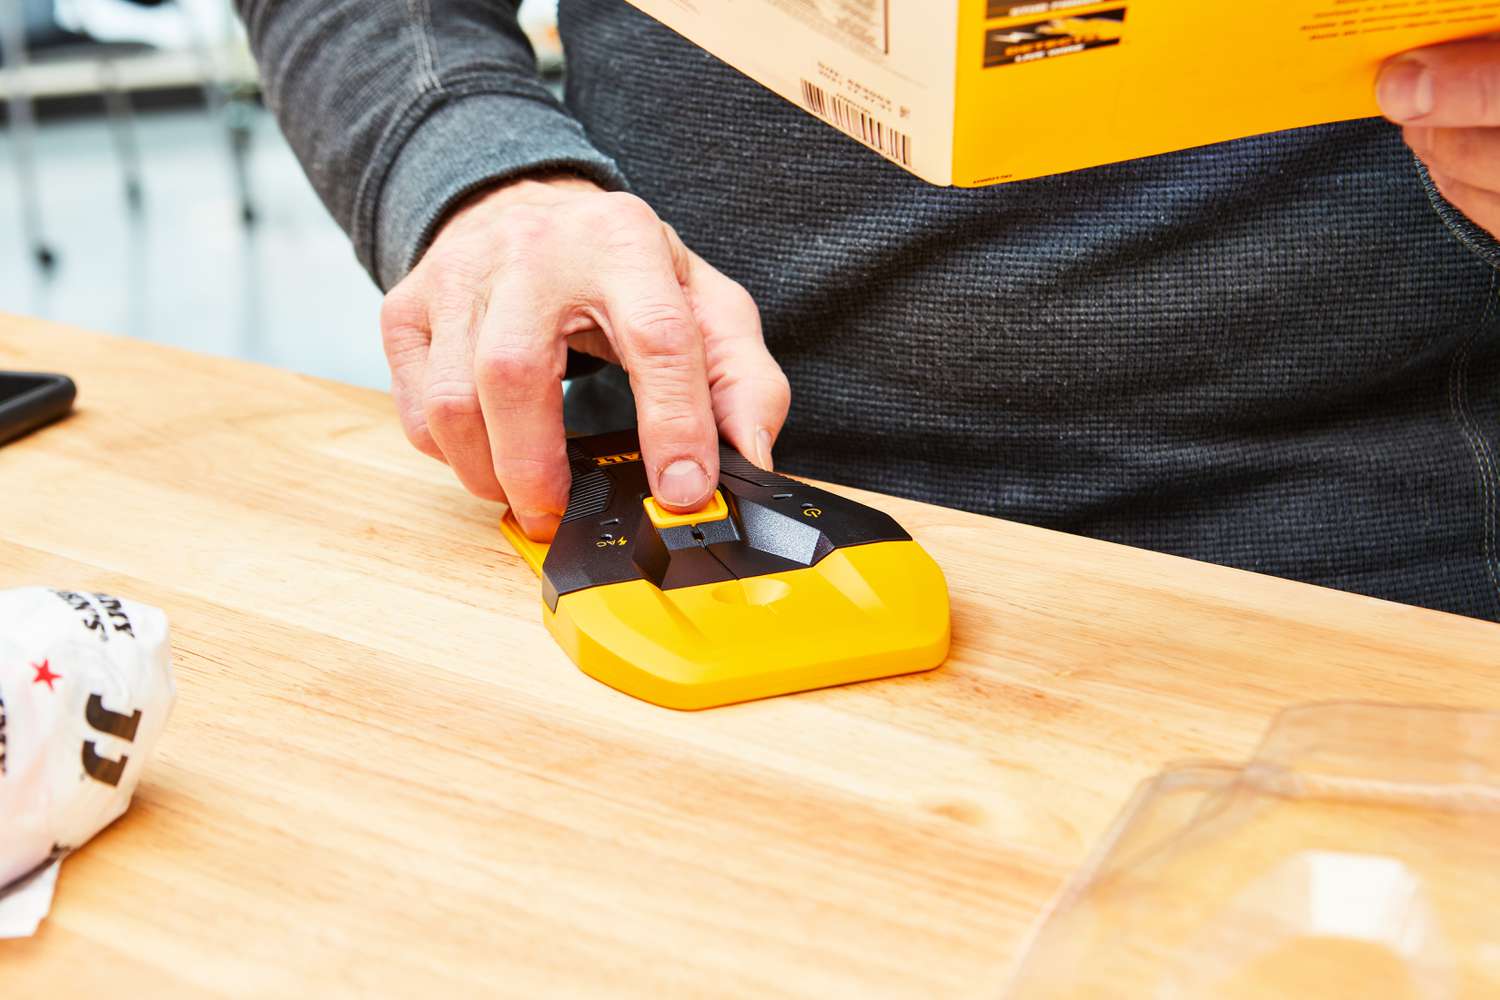
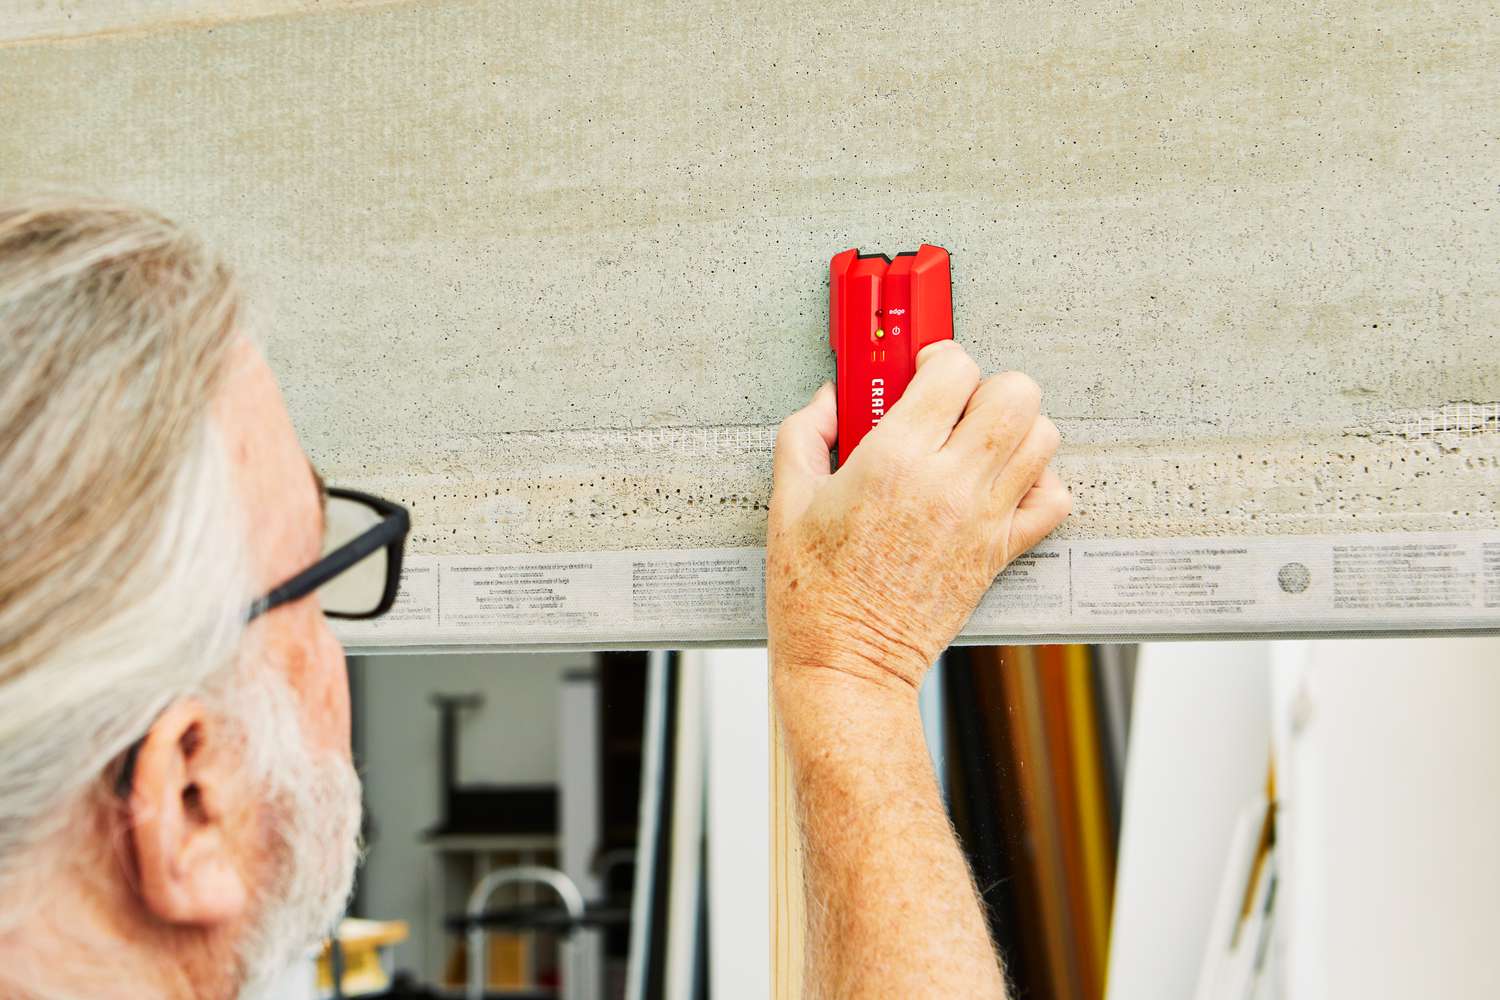
- Activate the stud finder by pressing the power button or sliding the switch, depending on the model.
- Place the stud finder against a wall that you know does not contain any studs. This could be an empty section of wall or an area with a known absence of studs.
- Hold the stud finder firmly against the wall and press the calibration button or follow the specific calibration instructions provided by the manufacturer.
- Wait for the stud finder to calibrate. This may take a few seconds or a specific indicator such as a sound or display on the tool.
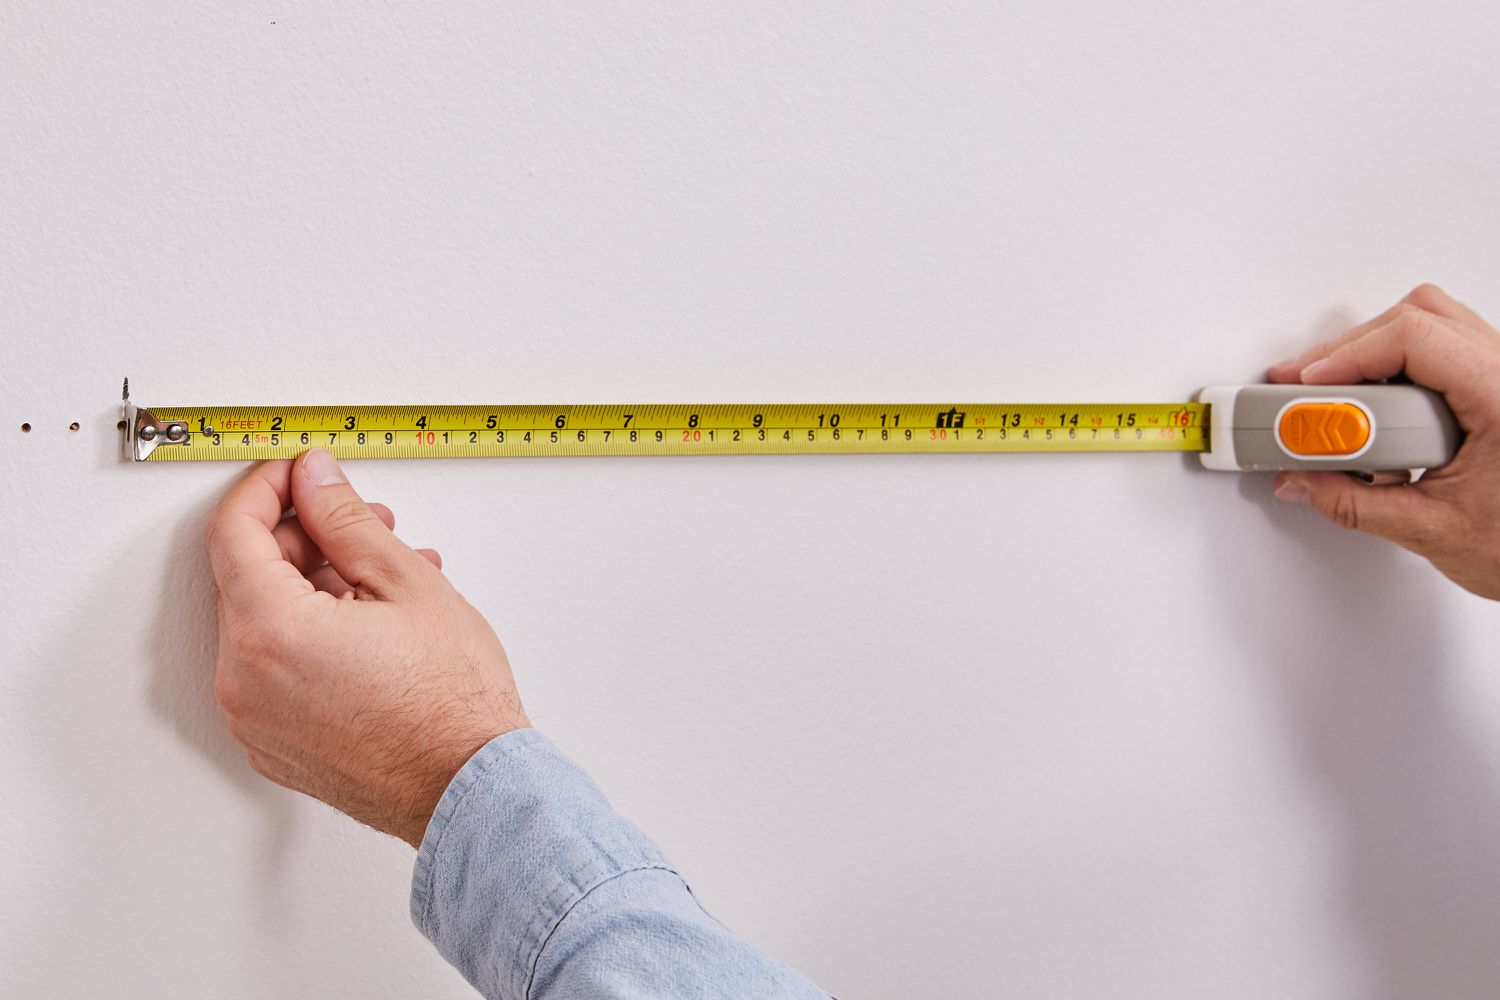
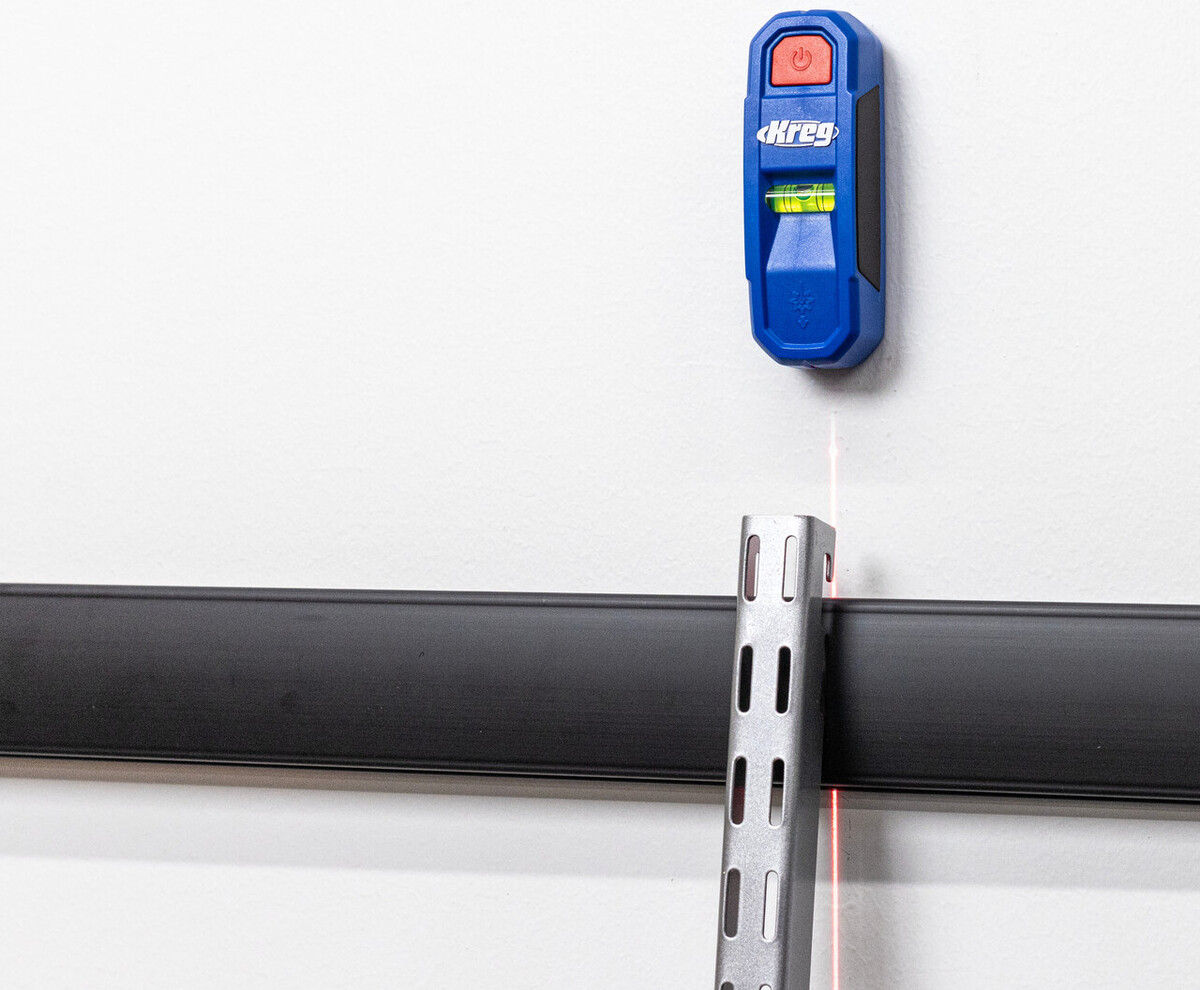
- Once calibrated, slowly move the stud finder across the wall in a horizontal or vertical motion. Pay attention to any indicators, such as lights or beeps, that signal the presence of a stud.
- Mark the location of the stud using a pencil or tape measure. Repeat the process in different areas to confirm the consistency of stud detection.
It’s important to note that the calibration process may differ depending on the model and brand of your stud finder. Consult the user manual or manufacturer’s instructions for detailed calibration instructions specific to your tool.
Regularly calibrating your stud finder ensures accurate results and helps you locate studs with precision, avoiding any potential damage or instability when hanging objects or making modifications to the wall.
With the intersect laser level batteries replaced and the stud finder calibrated, you are now ready to test the tools for optimal performance.
Step 6: Testing the Intersect Laser Level and Stud Finder
Now that you have completed the battery replacement and calibration steps, it’s time to test the performance of your intersect laser level and stud finder. Follow these steps to ensure they are functioning correctly:
- Turn on the intersect laser level and verify that the laser beam is projected accurately and clearly visible. Use a level or another reference point to confirm that the laser level is aligned horizontally or vertically.
- Hold the stud finder against a wall and slowly move it in a horizontal or vertical motion. Pay attention to any visual or audible indicators that signal the presence of a stud.
- Confirm the accuracy of the stud detection by marking the location of the studs and comparing them to known stud locations or using a stud finder verification tool.
During the testing process, ensure that you are in a well-lit environment and that there are no obstructions that may interfere with the laser level or stud finder readings. If you encounter any inconsistencies or issues with the performance of the tools, refer to the troubleshooting tips in the next step.
By thoroughly testing your intersect laser level and stud finder, you can have confidence in their ability to provide accurate measurements and stud detection, making your projects more efficient and successful.
Read more: How To Change Battery On Zircon Stud Finder
Step 7: Troubleshooting Tips
If you encounter any issues or inconsistencies with your intersect laser level or stud finder during the battery replacement and calibration process, here are some troubleshooting tips to help you resolve common problems:
- If the laser beam of your intersect laser level appears dim or blurry, clean the laser lens using a soft cloth or the recommended cleaning solution. Avoid using abrasive materials that could scratch the lens.
- If the stud finder is not detecting studs accurately, ensure that you are using the correct scanning mode for the wall material (e.g., drywall, plaster, or wood). Different scanning modes may be available on some models.
- If the stud finder gives inconsistent readings or false positives/negatives, make sure that you are following the calibration process accurately. Repeat the calibration steps and ensure the tool is firmly pressed against the wall during scanning.
- If you are having trouble changing the batteries, double-check the battery compartment for any obstructions or debris. Ensure that you are inserting the new batteries in the correct orientation (+ and -).
- If the intersect laser level or stud finder still does not function properly, consult the user manual or contact the manufacturer’s customer support for further assistance or troubleshooting guidance.
It’s important to note that troubleshooting steps may vary depending on the specific model and brand of your intersect laser level or stud finder. Always refer to the user manual or manufacturer’s instructions for detailed troubleshooting steps tailored to your tool.
By following these troubleshooting tips, you can overcome common issues and ensure the optimal performance of your intersect laser level and stud finder.
Conclusion
Changing the batteries and calibrating your intersect laser level and stud finder are essential maintenance tasks to ensure their accurate performance. By following the steps outlined in this article, you can confidently replace the batteries, adjust the laser level, calibrate the stud finder, and test the tools for optimal functionality.
Remember to always prioritize safety by wearing protective eyewear, handling the tools with care, and following the manufacturer’s instructions. Additionally, it’s important to use the correct type and size of batteries specified by the manufacturer to prevent damage to the tools.
Regularly maintaining and calibrating your intersect laser level and stud finder will enhance their accuracy and precision, allowing you to tackle a wide range of projects with confidence. Whether you’re hanging pictures, installing shelves, or making modifications to walls, these tools will help you achieve professional-level results.
If you encounter any issues or have further questions, refer to the troubleshooting tips provided in this article or reach out to the manufacturer’s customer support for assistance. They can provide specific guidance tailored to your tool’s model and address any concerns you may have.
By taking the time to properly care for and maintain your intersect laser level and stud finder, you can ensure that they will serve you well for years to come, making your DIY projects more productive and efficient.
Frequently Asked Questions about How To Change Intersect Laser Level And Stud Finder
Was this page helpful?
At Storables.com, we guarantee accurate and reliable information. Our content, validated by Expert Board Contributors, is crafted following stringent Editorial Policies. We're committed to providing you with well-researched, expert-backed insights for all your informational needs.

0 thoughts on “How To Change Intersect Laser Level And Stud Finder”