Home>Articles>How To Remove Swollen Batteries From A Laser Level

Articles
How To Remove Swollen Batteries From A Laser Level
Modified: December 7, 2023
Learn how to remove swollen batteries from a laser level with our informative articles. Safely troubleshoot and replace batteries to keep your laser level functioning optimally.
(Many of the links in this article redirect to a specific reviewed product. Your purchase of these products through affiliate links helps to generate commission for Storables.com, at no extra cost. Learn more)
Introduction
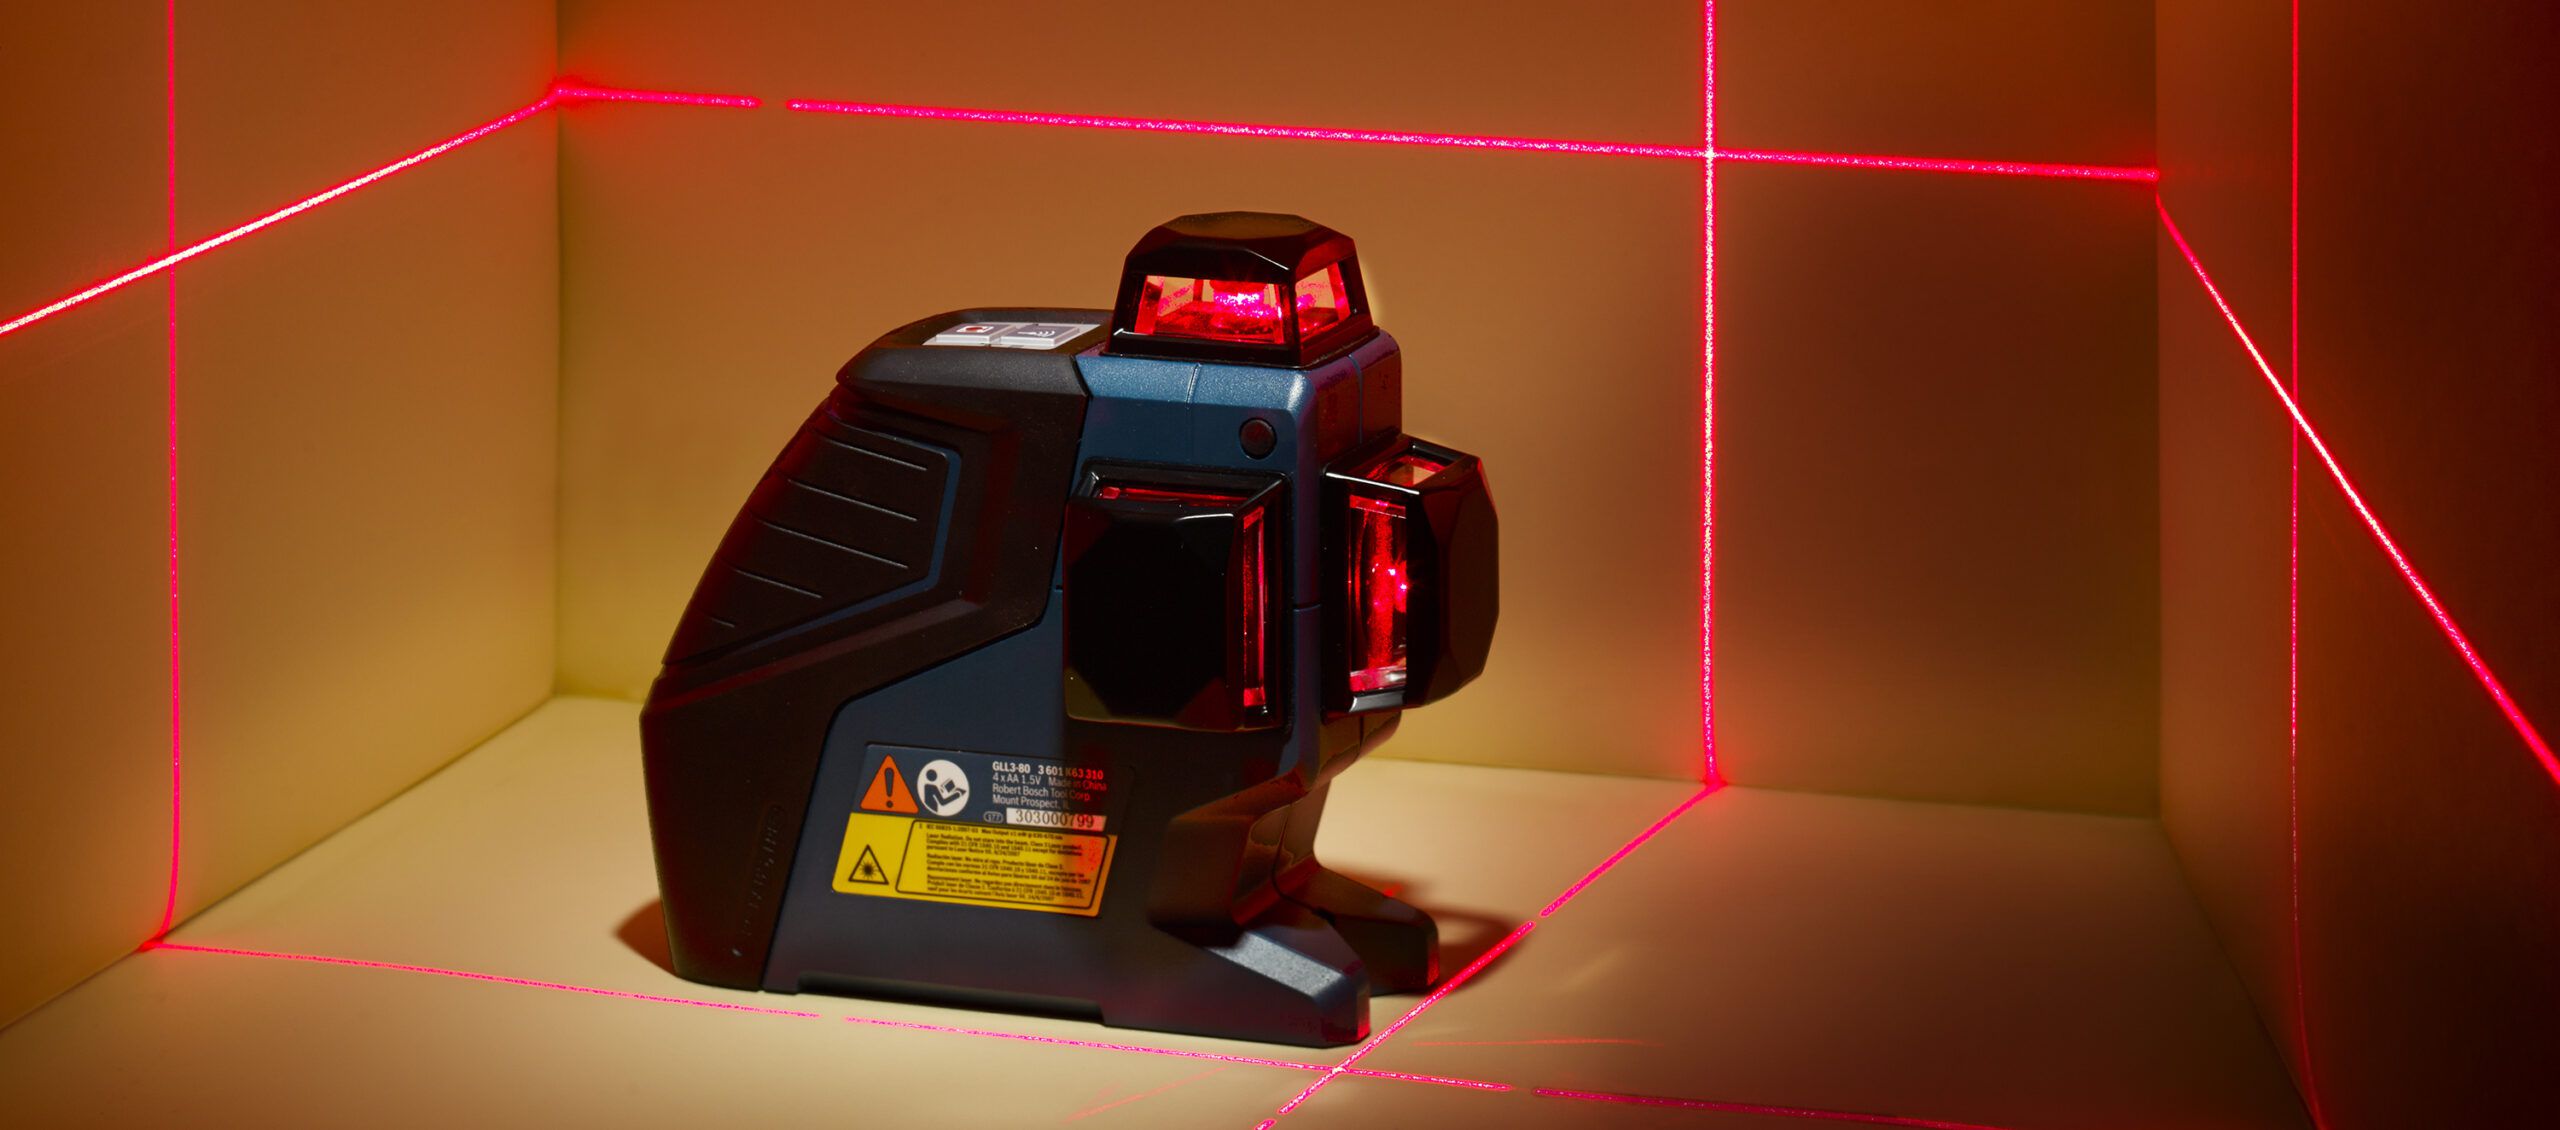
Welcome to this comprehensive guide on how to safely remove swollen batteries from a laser level. A laser level is a valuable tool commonly used in construction, carpentry, and other industries to ensure precision and accuracy in various applications. However, over time, batteries can become swollen, which can compromise the performance and safety of the device.
Understanding the hazards associated with swollen batteries is essential before attempting to remove them. Swollen batteries can leak corrosive chemicals, release harmful gases, and potentially pose a fire or explosion risk. Therefore, it is crucial to follow proper precautions and use the right tools during the removal process to minimize any potential risks.
Before diving into the step-by-step process of removing swollen batteries, it is important to take a few precautions to ensure your safety. Firstly, conduct the battery removal process in a well-ventilated area to avoid inhaling any harmful fumes. Additionally, wear protective gloves and safety glasses to protect your hands and eyes from any potential leakage or splashing.
Now, let’s gather the necessary tools to safely remove swollen batteries from your laser level:
- Phillips screwdriver
- Cotton swabs
- Isopropyl alcohol
- New batteries (appropriate for your laser level model)
With these tools at hand, let’s proceed to the step-by-step process of removing the swollen batteries from your laser level. Remember to power off the device before starting any maintenance or repair work. Safety should always be the top priority.
Key Takeaways:
- Safely removing swollen batteries from a laser level requires precautions, proper tools, and careful handling to minimize hazards and ensure continued device functionality.
- Prioritize safety, handle with care, and follow step-by-step instructions to safely remove and replace swollen batteries, ensuring optimal performance of your laser level.
Understanding the Hazards
Swollen batteries can pose various hazards, which is why it is crucial to handle them with caution. When batteries become swollen, it indicates a buildup of internal pressure caused by the release of gases or the deterioration of the battery’s internal components.
One of the primary hazards associated with swollen batteries is the potential for leakage. When a battery swells, its seal can become compromised, leading to the release of corrosive chemicals. These chemicals can damage the laser level and surrounding surfaces, negatively impacting its functionality and potentially causing irreversible damage.
In addition to the corrosive chemicals, swollen batteries may also emit harmful gases. These gases can be toxic if inhaled or cause irritation to the respiratory system. Therefore, it is important to handle swollen batteries in a well-ventilated area to minimize the risk of exposure.
Another potential hazard is the risk of fire or explosion. When a battery is swollen, the internal components are under increased pressure. This pressure can result in a rupture or an uncontrolled release of energy, leading to a fire or explosion. It is essential to exercise extreme caution when handling swollen batteries to prevent any accidents.
By understanding these hazards, you can approach the battery removal process with awareness and take appropriate measures to ensure your safety. Following the recommended precautions and using the right tools will help mitigate any potential risks associated with removing swollen batteries from your laser level.
Precautions Before Removing Swollen Batteries
Before embarking on the task of removing swollen batteries from your laser level, it is crucial to take some essential precautions to ensure your safety and prevent any further damage to the device. By following these precautions, you can minimize the risks associated with handling swollen batteries.
1. Wear protective gear: Prioritize your safety by wearing protective gloves and safety glasses before starting the battery removal process. This will help protect your hands and eyes from any potential leakage or splashing of corrosive chemicals.
2. Ensure proper ventilation: Perform the battery removal procedure in a well-ventilated area to dissipate any fumes or gases released by the swollen batteries. Opening some windows or working in an outdoor area can help maintain good ventilation during the process.
3. Power off the laser level: Before attempting any maintenance or repair work, always switch off the laser level and disconnect it from any power source. This will prevent any accidental activation or electrical shock during the battery removal process.
4. Handle with care: Swollen batteries may be under pressure and can rupture or leak easily. Avoid applying excessive pressure or squeezing the batteries during removal. Always handle them gently to prevent any unexpected release of chemicals or gases.
5. Proper disposal of swollen batteries: Swollen batteries should be disposed of safely to prevent any potential harm to the environment. Check with your local waste management authorities or recycling centers for proper disposal methods for damaged or swollen batteries.
By taking these precautions, you are creating a safe environment for handling swollen batteries. These measures protect you from potential harm and help prevent any further damage to your laser level.
Tools Required
Before starting the process of removing swollen batteries from your laser level, it is essential to gather the necessary tools. Having the right tools at hand will make the removal process smoother and more efficient. Here are the tools you will need:
1. Phillips screwdriver: A Phillips screwdriver is commonly used to remove screws and fasteners. Check the size of the screws on your laser level’s battery compartment cover and ensure that you have a corresponding Phillips screwdriver that fits securely.
2. Cotton swabs: Cotton swabs are useful for cleaning the battery compartment and removing any residue or corrosion left by the swollen batteries. They are also gentle enough to use on sensitive parts of the laser level.
3. Isopropyl alcohol: Isopropyl alcohol is a common household solvent that is excellent for cleaning electronic devices. It helps remove grime, dirt, and corrosion from the battery compartment. Ensure that you have a small bottle of isopropyl alcohol (preferably 70% concentration) for cleaning purposes.
4. New batteries: After removing the swollen batteries, you will need to replace them with new ones. Make sure you have the appropriate batteries for your laser level model. Consult the manufacturer’s instructions or check the laser level’s specifications to determine the correct battery type and size.
Having these tools ready will save you time during the battery removal process. Make sure the screwdriver fits the screws and that the cotton swabs and isopropyl alcohol are easily accessible for cleaning the battery compartment.
Now that you have gathered the necessary tools, you are ready to proceed with the step-by-step process of removing the swollen batteries from your laser level.
Step 1: Power Off the Laser Level
Before you begin the process of removing swollen batteries from your laser level, it is crucial to ensure that the device is powered off. By turning off the laser level, you minimize the risk of electrical shock and accidents during the removal process.
Here’s how to properly power off your laser level:
- Switch off the laser: Locate the power switch or button on your laser level. Typically, it is located on the side or top of the device. Slide the switch or press the button to the “OFF” position. This will deactivate the laser beam and any other functions of the laser level.
- Disconnect any power source: If your laser level operates on batteries alone, skip this step. However, if your laser level can be powered by batteries or an external power source (such as an AC adapter), disconnect the device from the power source. Unplug the AC adapter if it is connected to an electrical outlet. This ensures that no electricity is running through the laser level during the battery removal process.
- Remove any additional accessories: Some laser levels may have additional accessories or attachments, such as mounts or target plates. Before proceeding to remove the batteries, detach any removable accessories from the laser level. This will allow easier access to the battery compartment.
After following these steps, double-check to ensure that the laser level is completely powered off. Look for any indicator lights or signs that might indicate the device is still receiving power. If everything looks good, you are now ready to move on to the next step of removing the battery compartment cover.
Note: It is important to keep the laser level powered off throughout the battery removal process to prevent accidental activation and ensure your safety.
Step 2: Remove the Battery Compartment Cover
Once you have powered off the laser level, the next step is to remove the battery compartment cover. The battery compartment cover is the protective panel that secures the batteries inside the laser level. Here’s how you can safely remove it:
- Inspect the battery compartment cover: Take a moment to study the laser level and locate the battery compartment cover. It is usually located on the back or bottom of the device. Examine the cover for any screws or locking mechanisms that are holding it in place.
- Use a Phillips screwdriver: If the battery compartment cover is secured with screws, use a compatible Phillips screwdriver to remove them. Insert the screwdriver into each screw and turn counterclockwise to loosen and remove them. Place the screws in a safe place to prevent loss.
- Check for additional locking mechanisms: Some laser levels may have additional locking mechanisms, such as clips or sliding tabs, that secure the battery cover. If you don’t see any screws, carefully inspect the edges or sides of the cover for any additional locking mechanisms.
- Release the locking mechanisms: If there are additional locking mechanisms, follow the manufacturer’s instructions to release them. This may involve sliding a tab, pressing a release button, or applying gentle pressure to disengage the lock.
- Remove the battery compartment cover: Once all the screws and locking mechanisms have been released, gently lift or slide the battery compartment cover to remove it. Be cautious not to force it or damage any delicate components.
With the battery compartment cover removed, you now have access to the swollen batteries inside the laser level. Secure the battery compartment cover in a safe place to prevent misplacing it during the battery removal and replacement process.
Note: The process of removing the battery compartment cover may vary slightly depending on the make and model of your laser level. Always refer to the manufacturer’s instructions or user manual for specific guidance if available.
Now that you have successfully removed the battery compartment cover, you can proceed to the next step of identifying the swollen batteries.
To remove swollen batteries from a laser level, use a pair of rubber gloves for a better grip and carefully pry them out with a non-metallic tool. Dispose of the swollen batteries properly.
Step 3: Identify the Swollen Batteries
After removing the battery compartment cover, the next step is to identify the swollen batteries inside your laser level. Identifying the swollen batteries is crucial to ensure that you remove the correct ones and avoid any potential damage or hazards.
Here’s how you can identify the swollen batteries:
- Visually inspect the batteries: Take a close look at the batteries inside the battery compartment. Swollen batteries can exhibit noticeable physical changes. They may appear larger or bulging compared to normal batteries. Additionally, the wrapping or casing of swollen batteries may be distorted or appear stretched.
- Check for leakage or corrosion: Swollen batteries can sometimes leak corrosive chemicals. Look for any signs of leakage or corrosion around the battery terminals or within the battery compartment. Corroded batteries may have a buildup of crusty, whitish residue around them.
- Compare to new batteries: If you have new batteries available, compare the appearance of the batteries inside your laser level with the new ones. This can help you identify any significant differences in size or shape, indicating swollen batteries.
- Consult the user manual: If you are unsure about identifying swollen batteries, consult the user manual or manufacturer’s instructions for your laser level. The manual may provide specific guidance on identifying and handling swollen batteries.
Once you have identified the swollen batteries, it is important to handle them with care. Swollen batteries have an increased risk of leakage, so avoid applying pressure or squeezing them. It is also essential to prevent contact with any leaked chemicals to protect yourself and your laser level.
By accurately identifying the swollen batteries, you can proceed to the next step of safely removing them from your laser level and preparing for their replacement.
Step 4: Removing the Swollen Batteries Safely
Now that you have identified the swollen batteries, it’s time to safely remove them from your laser level. Removing the swollen batteries correctly is crucial to minimize the risk of damage or exposure to corrosive materials. Follow these steps to safely remove the swollen batteries:
- Put on protective gloves: Before handling the swollen batteries, wear protective gloves to shield your hands from any potential contact with leaked chemicals or corrosion.
- Gently disconnect the battery terminals: Each battery will have two terminals—one positive (+) and one negative (-). To disconnect the batteries, use your fingers or a small tool (such as a pair of plastic tweezers or a non-conductive pick) to gently lift the battery from one terminal at a time. Start with the negative terminal (-) to minimize the risk of short-circuiting.
- Take note of the battery orientation: As you remove each battery, take note of its orientation within the battery compartment. This will help you correctly install the new batteries later on.
- Remove each swollen battery: Carefully lift each swollen battery out of the battery compartment, taking care not to squeeze or apply excessive force to avoid any potential leakage or damage.
- Place the swollen batteries in a safe container: After removing each swollen battery, promptly place it in a designated container or bag for safe disposal. Remember not to mix them with regular household waste, as they may pose environmental hazards. Follow the appropriate disposal guidelines in your area to ensure environmentally responsible handling.
By following these steps, you can remove the swollen batteries safely and prevent any further damage to your laser level. Proper handling and disposal of the swollen batteries are essential to protect yourself, the device, and the environment.
Now that the swollen batteries have been removed, you can move on to the next step of cleaning the battery compartment to prepare it for the installation of new batteries.
Step 5: Cleaning the Battery Compartment
After removing the swollen batteries from your laser level, it’s important to clean the battery compartment before installing new batteries. Cleaning the battery compartment will ensure optimal contact between the new batteries and the device, improving performance and preventing any potential issues. Follow these steps to properly clean the battery compartment:
- Inspect the battery compartment: Take a close look at the battery compartment, checking for any visible dirt, debris, or residue. If necessary, use a flashlight to get a better view of hard-to-reach areas.
- Use a cotton swab dipped in isopropyl alcohol: Moisten a cotton swab with isopropyl alcohol. Gently swab the inside of the battery compartment, paying particular attention to the areas around the battery terminals. The alcohol will help dissolve and remove any dirt or corrosion.
- Remove stubborn residue: If there is any stubborn residue or corrosion, use a fresh cotton swab soaked in isopropyl alcohol to scrub the affected area gently. Be cautious not to apply excessive pressure that could damage the components.
- Dry the battery compartment: After cleaning, allow the battery compartment to air dry for a few minutes, or use a clean, lint-free cloth to pat it dry. Ensure that there is no moisture remaining inside the compartment before proceeding to the next step.
Properly cleaning the battery compartment ensures a clean and debris-free environment for the new batteries. This eliminates any potential barriers that could affect the battery’s performance or impede a secure connection with the device.
With the battery compartment now clean and dry, you are ready to move on to the next step: installing the new batteries in your laser level.
Read more: How To Level A Laser Level Tripod
Step 6: Installing New Batteries
Now that you have cleaned the battery compartment, it’s time to install new batteries in your laser level. Installing the new batteries correctly is vital for optimal performance and functionality of the device. Follow these steps to ensure a proper installation:
- Refer to the battery orientation: Recall the orientation of the old swollen batteries that you noted down earlier. Align the new batteries in the same position to ensure the correct polarity.
- Insert the batteries carefully: Place each new battery into the battery compartment, ensuring that the positive terminal (+) matches the positive side in the compartment, and the negative terminal (-) aligns with the correct negative side.
- Push the batteries firmly: Apply gentle but firm pressure to secure the batteries in their respective slots. Ensure that they fit snugly and make proper contact with the device’s battery terminals.
- Check the battery compartment cover: Before proceeding to the next step, do a quick check of the battery compartment cover. Ensure that there are no obstructions or misalignments that could prevent a proper closing of the cover.
By following these steps, you can confidently install new batteries in your laser level. It is crucial to pay attention to the battery orientation to avoid any potential damage to the device or incorrect functionality.
With the new batteries securely installed, you are ready to proceed to the final step: securing the battery compartment cover on your laser level.
Step 7: Securing the Battery Compartment Cover
Now that you have successfully installed new batteries in your laser level, the final step is to secure the battery compartment cover. Securing the cover ensures that the batteries remain in place and protects the internal components of the device. Follow these steps to properly secure the battery compartment cover:
- Position the battery compartment cover: Align the battery compartment cover with the corresponding slots or hinges on the laser level. Ensure that it is positioned correctly and sits flush with the device.
- Engage any locking mechanisms: If the battery compartment cover has any locking mechanisms such as clips or sliding tabs, engage them to secure the cover. Follow the manufacturer’s instructions or user manual for specific guidance on locking the battery compartment cover.
- Apply gentle pressure: Apply gentle pressure to the battery compartment cover to ensure a secure and tight fit. Be cautious not to use excessive force, as this may damage the cover or the laser level.
- Tighten any screws: If the battery compartment cover is secured with screws, use a Phillips screwdriver to tighten them. Start with the first screw and tighten it just enough to hold the cover in place. Then, proceed to tighten the remaining screws, ensuring they are snug but not overly tightened.
Once the battery compartment cover is securely in place, give it a final check to ensure it is properly aligned and snug. The cover should close tightly without any gaps or misalignments.
With the battery compartment cover secured, you have completed the process of removing swollen batteries from your laser level and installing new ones. Your laser level is now ready for use, with fresh batteries providing the power it needs for accurate and precise measurements.
Remember to properly dispose of the old swollen batteries following the appropriate guidelines in your area to minimize environmental impact.
Thank you for following this step-by-step guide. We hope it has been helpful in safely removing swollen batteries and ensuring the continued functionality of your laser level.
Conclusion
Removing swollen batteries from your laser level is an essential maintenance task that ensures the continued performance and safety of the device. By following the step-by-step process outlined in this guide, you have learned how to safely remove the swollen batteries and replace them with new ones.
Throughout the process, it is crucial to prioritize safety by wearing protective gloves, working in a well-ventilated area, and ensuring that the laser level is powered off. Properly identifying the swollen batteries and handling them with care minimizes the risk of leakage or damage.
Cleaning the battery compartment before installing new batteries improves the connection and optimizes the performance of your laser level. Securing the battery compartment cover ensures that the batteries remain in place and protects the internal components of the device.
Remember to dispose of the swollen batteries responsibly, following the recommended guidelines in your area. This helps protect the environment and prevents any potential harm from exposure to corrosive chemicals.
By maintaining and caring for your laser level, you can ensure its longevity and accuracy in your future projects. Regularly inspect the batteries for signs of swelling or corrosion and replace them as needed to prevent any associated risks.
We hope this comprehensive guide has been helpful in guiding you through the process of removing swollen batteries from your laser level. With these steps, you can confidently ensure the proper functioning of your device and continue to benefit from its precision and accuracy in your work.
Thank you for taking the time to read this guide. Happy leveling!
Frequently Asked Questions about How To Remove Swollen Batteries From A Laser Level
Was this page helpful?
At Storables.com, we guarantee accurate and reliable information. Our content, validated by Expert Board Contributors, is crafted following stringent Editorial Policies. We're committed to providing you with well-researched, expert-backed insights for all your informational needs.


0 thoughts on “How To Remove Swollen Batteries From A Laser Level”