Articles
How Does An Electronic Laser Level Work?
Modified: August 26, 2024
Learn how to work an electronic laser level with step-by-step articles and expert tips. Master the art of leveling with ease and precision.
(Many of the links in this article redirect to a specific reviewed product. Your purchase of these products through affiliate links helps to generate commission for Storables.com, at no extra cost. Learn more)
Introduction
Welcome to the world of electronic laser levels, where precision and efficiency combine to make your construction and DIY projects much easier. Whether you’re hanging pictures, installing shelves, or undertaking larger construction projects, an electronic laser level is an essential tool that will help you achieve accurate and professional results.
In this article, we’ll delve into the basics of electronic laser levels and guide you on how to use them effectively. We’ll cover everything from understanding the fundamentals of an electronic laser level to troubleshooting common issues that may arise during your projects. So, let’s get started!
Before we dive into the details, it’s essential to understand the purpose of an electronic laser level. This tool works by emitting a laser beam that creates a perfectly level or plumb line on a surface. It simplifies the task of ensuring that objects or structures are straight and balanced, eliminating the need for manual measurements and guesswork.
Using an electronic laser level offers numerous benefits. Firstly, it saves time and effort by providing precise measurements instantly. Secondly, it enhances accuracy and eliminates human errors that can occur when using traditional leveling tools like bubble levels. Lastly, it allows you to work more efficiently by providing a clear visual reference for your desired level or plumb line.
Now that we understand the importance of an electronic laser level, let’s move on to exploring the key components and features of this invaluable tool.
Key Takeaways:
- Mastering the use of an electronic laser level empowers you to achieve precise measurements and alignments, simplifying construction and DIY projects with confidence and efficiency.
- Proper maintenance and care of your electronic laser level are crucial for ensuring its longevity and accurate performance, maximizing its reliability for years to come.
Read more: How Does Laser Level Work
Understanding the Basics of an Electronic Laser Level
Before you start using an electronic laser level, it’s crucial to have a solid grasp of its basic components and how they function together. Familiarizing yourself with these elements will help you use the tool effectively and get accurate results.
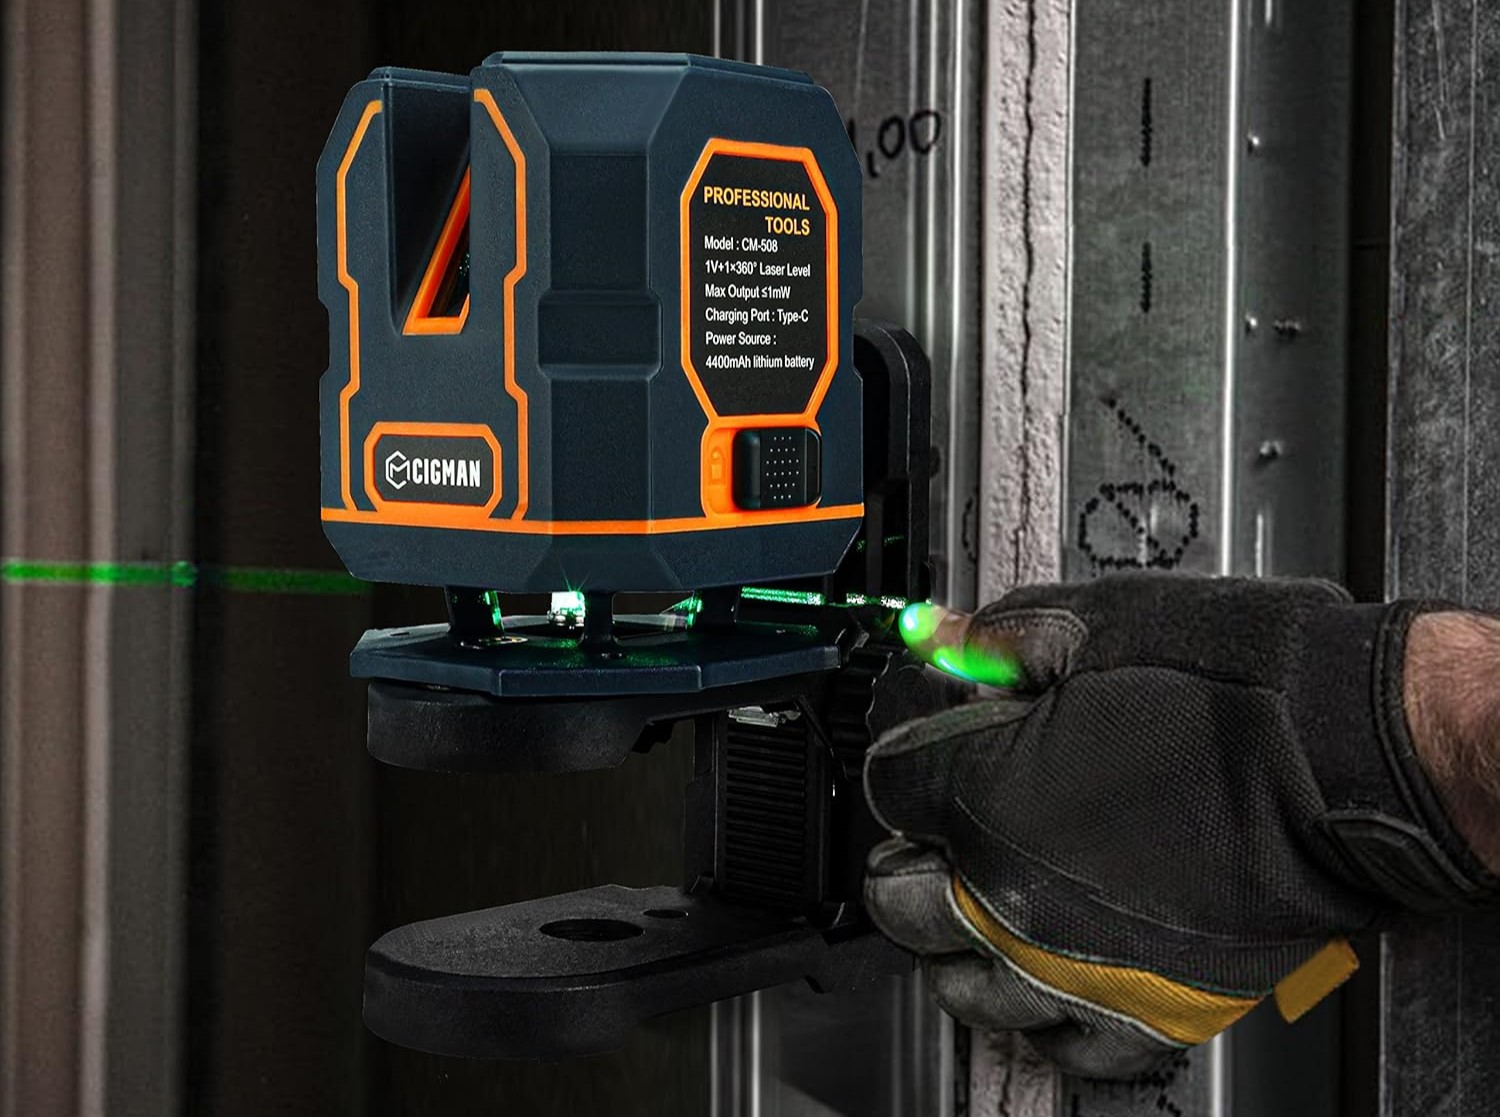
An electronic laser level consists of a laser emitter, a leveling mechanism, and a receiver. The laser emitter projects a laser beam onto a surface, creating a reference line. The leveling mechanism ensures that the laser beam remains level or plumb, even if the tool is on an uneven surface. The receiver, sometimes referred to as a detector, is used to capture the laser beam’s signal and provides visual and audio indicators to help you align objects precisely.
The laser emitter typically offers different modes, including horizontal, vertical, and cross-line modes. The horizontal mode emits a laser beam that forms a level line parallel to the ground. The vertical mode projects a plumb line straight up or down, allowing you to align objects vertically. The cross-line mode combines both horizontal and vertical lines, enabling you to create precise right angles and crosshairs.
When it comes to leveling mechanisms, electronic laser levels can use either pendulum-based self-leveling or electronic leveling. Pendulum-based self-leveling systems utilize a suspended pendulum that automatically adjusts to keep the laser level, even on slightly uneven surfaces. Electronic leveling systems rely on electronic sensors to maintain a level or plumb position.
While some electronic laser levels come with built-in receivers, others may require an external receiver for enhanced visibility in bright light conditions or for long-distance measurements. The receiver detects the laser beam and provides indicators, such as beep sounds or LED lights, to help you align objects precisely.
Understanding these fundamental components of an electronic laser level will pave the way for effective use in various applications, whether it’s for hanging wall decorations, aligning cabinets, or executing complex construction projects. Now that we’ve covered the basics, let’s move on to preparing the electronic laser level for use.
Preparing the Electronic Laser Level for Use
Before you can start using your electronic laser level, it’s important to ensure that it is properly prepared and set up. Taking a few moments to go through the preparation process will help you achieve accurate and reliable results during your projects. Here are the steps to prepare your electronic laser level:
- Read the user manual: Start by reading the user manual that came with your electronic laser level. It will provide you with specific instructions and safety guidelines tailored to your particular model.
- Check the batteries: Electronic laser levels usually operate on batteries, so it’s crucial to check their condition. Ensure that the batteries are fully charged or replace them if necessary to avoid any interruptions during your projects.
- Inspect the level and laser: Examine the external components of your electronic laser level. Check for any signs of damage or dirt on the level’s body, laser emitter, and receiver. If you notice any issues, clean or repair them before proceeding.
- Ensure a stable base: Find a stable and flat surface to set up your electronic laser level. It’s important to have a solid foundation to ensure accurate readings. If needed, use a tripod or mounting bracket to secure the level in place.
- Calibrate the level: Some electronic laser levels require calibration before use. Consult the user manual for the specific calibration procedure for your model. Calibration ensures that the level is accurate and accounts for any variations in its internal components.
- Verify the working range: Understand the working range of your electronic laser level. This refers to the distance at which the laser beam can be detected by the receiver. Make sure your intended application falls within this range for optimal performance.
- Set the laser mode: Determine the laser mode you need for your project. Depending on the specific model, you can choose between horizontal, vertical, or cross-line modes. Adjust the laser mode accordingly using the controls provided.
By following these preparation steps, you’ll ensure that your electronic laser level is ready to deliver accurate and reliable results. Now that your level is set up, it’s time to move on to the next step: setting up the electronic laser level for use.
Setting Up the Electronic Laser Level
Now that you have prepared your electronic laser level, it’s time to set it up for use. The proper setup of your level is crucial to ensure accurate readings and precise alignment. Here are the steps to follow when setting up your electronic laser level:
- Choose the location: Select a suitable location for your electronic laser level. It should be a spot where you can easily reference the laser beam and align your objects or measurements.
- Secure the level: If your electronic laser level comes with a mounting bracket or tripod, securely attach it to the level. Ensure that the level is firmly fixed to avoid any movement during your project.
- Place the level: Position the electronic laser level on the mounting bracket or tripod. Make sure it is level using the built-in leveling mechanism or electronic leveling system, depending on the model.
- Use a target or reference point: To align objects accurately, it’s helpful to have a target or reference point. This can be a vertical or horizontal line on the wall, a marking on the floor, or any other visual reference that will guide your alignment process.
- Turn on the laser: Once the level is securely set up, turn on the laser beam. Refer to the user manual for specific instructions on how to operate the laser on your model. Ensure that the laser beam is visible and aligned with your target or reference point.
- Adjust the laser height: If your project requires a specific height for the laser beam, adjust the level or tripod accordingly. This step is crucial when aligning objects at different heights or ensuring consistent measurements throughout your project.
- Check for alignment: Use the laser beam and receiver, if applicable, to check the alignment of your objects or measurements. Make any necessary adjustments to ensure perfect alignment according to your project’s requirements.
By carefully following these steps, you’ll successfully set up your electronic laser level for use. You’re now ready to move on to the next phase of using the level: calibrating it to achieve optimal accuracy. We’ll cover the calibration process in the next section.
Calibrating the Electronic Laser Level
Calibrating your electronic laser level is an important step to ensure accurate measurements and precise alignment. Calibration compensates for any internal variations or deviations within the level, ensuring its readings are reliable. Here’s a step-by-step guide to calibrating your electronic laser level:
- Refer to the user manual: Start by consulting the user manual that accompanies your electronic laser level. It will provide specific instructions on how to calibrate your particular model.
- Find a stable surface: Place your electronic laser level on a stable and level surface. It’s crucial to have a solid foundation to eliminate any external factors that could impact the calibration process.
- Activate the calibration mode: Depending on your model, there may be a dedicated calibration mode or a specific button combination to activate the calibration process. Refer to the user manual for the correct procedure.
- Wait for the calibration process: Once the calibration mode is activated, wait for the level to go through its internal calibration process. This may involve the level self-leveling or adjusting its internal sensors to find its true level position.
- Verify the level position: After the calibration process is complete, use a bubble level or other reference tool to check if the electronic laser level is truly level. If necessary, make small adjustments to the level until it is perfectly aligned.
- Test the laser alignment: Turn on the laser beam and observe its alignment. Use a target or reference point to confirm that the laser beam is parallel or plumb, as required. If there are any discrepancies, repeat the calibration process until the laser beam is accurately aligned.
- Document the calibration: Keep a record of the calibration date and any adjustments made for future reference. This will help you monitor the performance of your electronic laser level and ensure consistent accuracy over time.
Remember, calibration may be required periodically, especially if the level undergoes any physical impacts or extreme temperature changes. It’s a good practice to recalibrate your electronic laser level before starting a critical project or if you suspect that the readings are no longer accurate.
By following these calibration steps, you’ll maximize the accuracy and reliability of your electronic laser level. With your level properly calibrated, you can now move on to the next section where we will explore how to operate the electronic laser level effectively.
When using an electronic laser level, make sure to set it on a stable surface and adjust the level bubble to ensure accuracy. Also, be mindful of the laser beam and avoid pointing it at anyone’s eyes.
Read more: How To Work A Water Level Or Laser Level
Operating the Electronic Laser Level
Now that you have set up and calibrated your electronic laser level, it’s time to dive into the operation process. Understanding how to effectively use your laser level will help you achieve precise measurements and accurate alignments. Here’s a step-by-step guide on operating your electronic laser level:
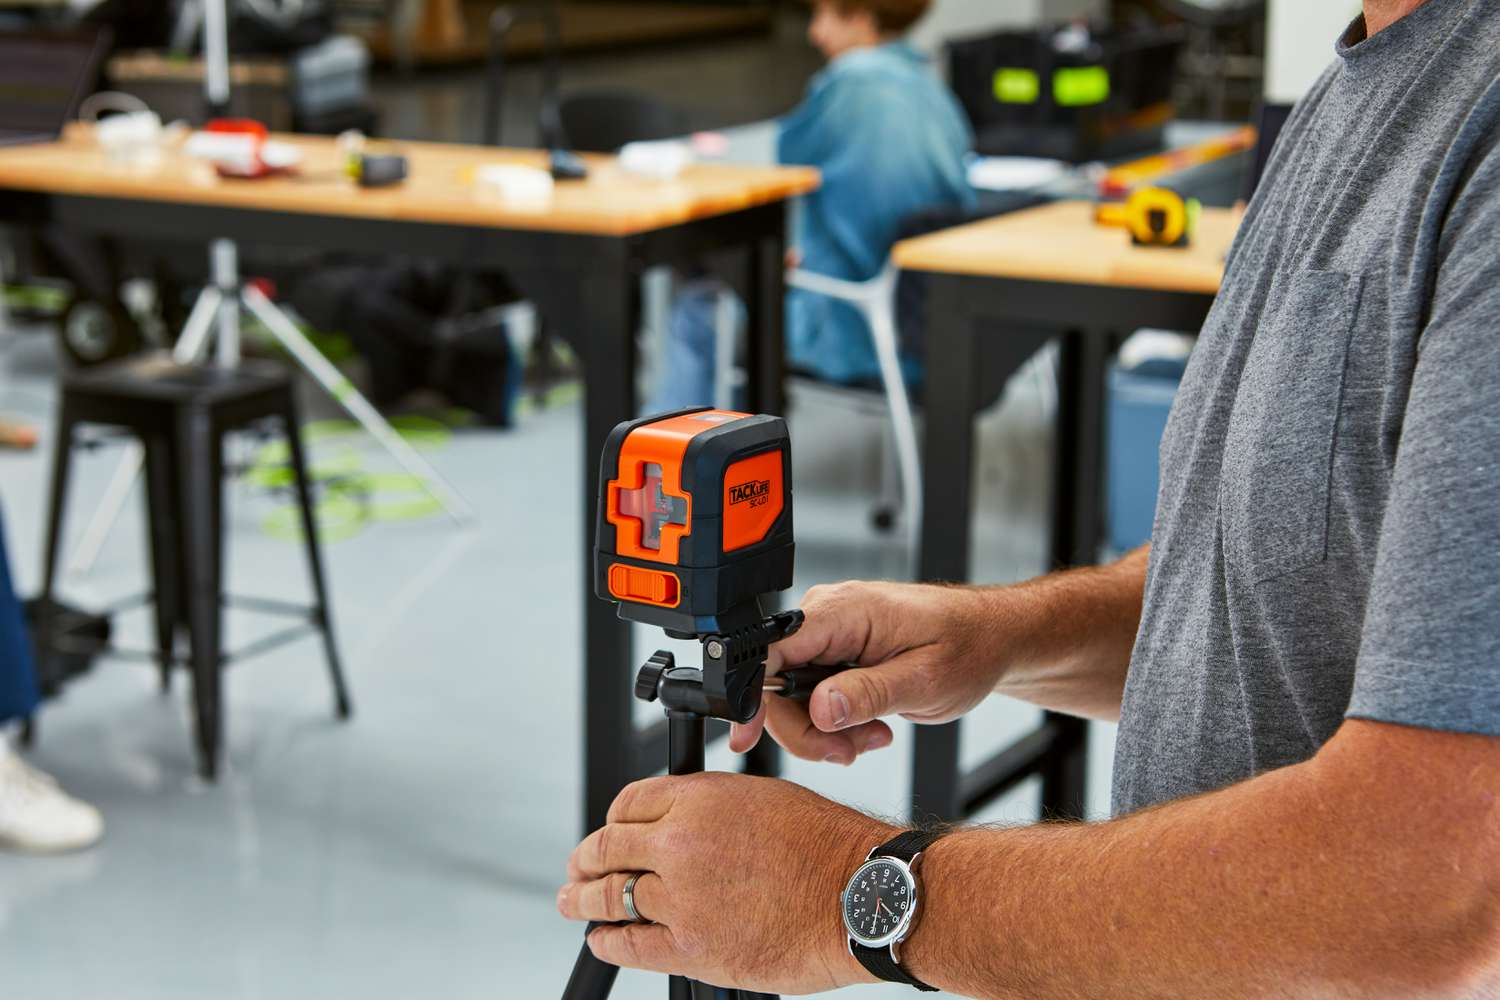
- Choose the appropriate laser mode: Determine the laser mode that best suits your project. Whether you need a horizontal line, vertical line, or cross-line, select the appropriate mode on your electronic laser level.
- Position the laser level: Place the laser level at the desired location, ensuring it is securely set up and level using the built-in mechanism or electronic leveling system.
- Activate the laser beam: Turn on the laser beam using the controls or buttons provided on your electronic laser level. Ensure that the laser beam is visible and aligned with your target or reference point.
- Align objects or measurements: Use the laser beam as a reference guide to align objects or measurements accurately. Align the objects with the laser line, whether it’s for hanging pictures, installing cabinets, or laying out tiles.
- Measure distances: Some electronic laser levels come with distance-measuring capabilities. Utilize this feature to measure distances between objects or reference points accurately. Refer to the user manual for specific instructions on how to use the distance measuring function of your model.
- Utilize the receiver (if applicable): If your electronic laser level has a receiver or detector, it can help you extend the range and accuracy of the laser beam. Follow the instructions in the user manual to determine when and how to use the receiver for optimal results.
- Make adjustments as needed: During your project, you may need to make small adjustments to achieve a precise alignment. Use the controls on the electronic laser level to make necessary adjustments in the horizontal or vertical direction.
- Take multiple measurements: To ensure accuracy, take multiple measurements from different angles and positions. This will help confirm consistency and provide a more comprehensive understanding of the alignment.
- Turn off the laser: Once you’ve completed your measurements or alignments, remember to turn off the laser beam to conserve battery power and prevent accidental reactivation.
By following these operational steps, you’ll be able to effectively use your electronic laser level for a variety of projects. Keep in mind that practice and experience will enhance your proficiency with the tool, so don’t hesitate to experiment and familiarize yourself with its features.
Next, we’ll discuss how to make adjustments with your electronic laser level to fine-tune your measurements and alignments. Stay tuned!
Making Adjustments with the Electronic Laser Level
While your electronic laser level is designed to provide accurate measurements and alignments, there may be occasions when you need to make adjustments to fine-tune your results. Understanding how to make adjustments will help you achieve the desired level of precision. Here’s a step-by-step guide on making adjustments with your electronic laser level:
- Identify the need for adjustment: Assess your measurements or alignments and determine if any adjustments are necessary. This could include minor deviations from the desired level or plumb line.
- Use the built-in controls: Most electronic laser levels come with built-in controls to make adjustments. These controls allow you to move the laser line horizontally or vertically to achieve the desired alignment.
- Adjust the level manually: If your electronic laser level doesn’t have built-in controls, you may need to manually adjust the level’s position. Use a bubble level or other reference tool to guide your adjustments until the desired alignment is achieved.
- Check for accuracy: After making adjustments, check the accuracy of your measurements or alignments. Utilize the laser beam and any other reference points to verify that objects are aligned correctly.
- Fine-tune as needed: If further adjustments are required, repeat the process until optimal alignment is achieved. Take into account any asymmetrical or non-standard features of the objects you are aligning.
- Consider environmental factors: Keep in mind that environmental factors such as vibrations, temperature changes, and air movement can affect the accuracy of electronic laser levels. Take these factors into consideration when making adjustments.
- Take multiple measurements: It’s always a good practice to take multiple measurements from different angles and positions to ensure consistency and accuracy. This will help confirm that adjustments have been applied successfully.
- Document adjustments made: Keep a record of the adjustments you made, the reasons behind them, and the final results achieved. This documentation will aid in future projects and troubleshooting if necessary.
By following these adjustment steps, you’ll be able to fine-tune your measurements and achieve precise alignments with your electronic laser level. Remember, practice and experience will improve your skills in making adjustments, so don’t be afraid to experiment and learn from each project.
In the next section, we’ll cover common issues that may arise while using an electronic laser level and provide troubleshooting tips. Stay tuned for helpful solutions to potential problems!
Troubleshooting Common Issues with an Electronic Laser Level
While electronic laser levels are highly accurate and reliable tools, there may be occasional issues that can hinder their performance. Understanding common problems and their potential solutions will help you troubleshoot and overcome any challenges you may encounter. Here are some common issues and troubleshooting tips for your electronic laser level:
- Poor visibility of the laser beam: If the laser beam is dim or difficult to see, check the battery level and replace the batteries if necessary. Additionally, ensure that you’re in a well-lit environment or consider using a laser enhancement device or receiver for better visibility.
- Inconsistent measurements: If you’re experiencing inconsistencies in your measurements, ensure that the electronic laser level is set up on a stable surface. Verify that it is properly leveled and calibrated. Double-check the alignment of the laser beam, target, and receiver (if applicable).
- Laser beam not aligning properly: If the laser beam is not aligning accurately, check for any obstructions or debris that may be blocking or interfering with the path of the laser. Clean the laser emitter and receiver if necessary. Also, ensure that the level itself is not damaged or misaligned.
- Difficulty achieving a level or plumb line: If you’re struggling to achieve a level or plumb line, ensure that the level is properly calibrated. Double-check the stability of the level on the mounting bracket or tripod. If using a self-leveling system, ensure that it is functioning correctly and not obstructed by external factors.
- Interference from other equipment: Sometimes, electronic devices or other equipment in the vicinity can interfere with your electronic laser level’s operation. Move away from sources of interference or adjust the frequency settings, if applicable to your model.
- Receiver not detecting the laser beam: If you’re using a receiver or detector and it’s not detecting the laser beam, ensure that it is properly aligned with the laser emitter. Try adjusting the height or angle of the receiver to optimize detection. Check the battery level and replace if necessary.
- Excessive battery drain: If you notice that your electronic laser level’s batteries are draining quickly, check for any unused features or settings that are consuming power unnecessarily. Consider using rechargeable batteries to save costs and reduce environmental impact.
- Erratic or inconsistent readings: If you’re getting erratic or inconsistent readings, it may indicate a problem with the internal sensors or components of the electronic laser level. In such cases, it’s advisable to consult the manufacturer or contact customer support for assistance or repairs.
Remember to refer to the user manual specific to your electronic laser level for additional troubleshooting tips and guidance. Understanding how to address common issues will help you get back on track quickly and ensure optimal performance from your tool.
In the next section, we’ll discuss the importance of maintenance and care for your electronic laser level to prolong its lifespan and maintain its accuracy. Keep reading to learn more!
Maintenance and Care for an Electronic Laser Level
Proper maintenance and care are essential to keep your electronic laser level in excellent working condition and ensure its accuracy and longevity. By following some simple maintenance practices, you can maximize the performance of your tool. Here are some maintenance and care tips for your electronic laser level:
- Keep it clean: Regularly clean the exterior of your electronic laser level using a soft, lint-free cloth. Remove any dust, dirt, or debris that may have accumulated on the body, laser emitter, or receiver. Keeping it clean will prevent any interference or obstruction that could affect its performance.
- Protect it during storage: When not in use, store your electronic laser level in a protective case or bag to shield it from dust, moisture, and accidental damage. Ensure that the storage area is dry and free from extreme temperatures that could degrade the internal components.
- Avoid extreme temperatures: Electronic laser levels are sensitive to extreme temperatures. Avoid exposing your tool to direct sunlight, extreme cold, or excessive heat, as it can impact its accuracy and potentially damage the internal circuitry. Store it in a temperature-controlled environment whenever possible.
- Inspect the batteries: Regularly check the battery compartment for any signs of corrosion. If you notice corrosion, clean it gently with a cotton swab and a mixture of baking soda and water. Replace the batteries at regular intervals or as needed to ensure optimal performance.
- Calibrate as necessary: Periodically check the calibration of your electronic laser level, particularly if you notice any significant deviations or inconsistencies in its readings. Refer to the user manual for specific instructions on how to calibrate your model, and follow the recommended frequency for calibration.
- Handle with care: Handle your electronic laser level with care to avoid any accidental drops or impacts that could damage its internal components. Avoid exposing it to excessive vibrations or rough handling that could affect its accuracy. Use the provided carrying strap or handle, if available.
- Follow manufacturer guidelines: Always follow the manufacturer’s guidelines and recommendations regarding the use and maintenance of your electronic laser level. They are experts in the field and will provide specific instructions tailored to your model.
- Regularly check for updates: Stay informed about any firmware or software updates for your electronic laser level. Updates may offer improvements in performance, accuracy, or additional features. Visit the manufacturer’s website or contact customer support to stay up to date.
By incorporating these maintenance and care practices into your routine, you’ll prolong the lifespan of your electronic laser level and ensure its accuracy for years to come. Remember, a well-maintained tool is a reliable tool!
As we conclude this article, we hope that you now have a comprehensive understanding of how to work with an electronic laser level. By following the steps and guidelines outlined here, you will be well-equipped to tackle your construction and DIY projects with confidence and precision.
Happy measuring and aligning!
Read more: How Ryobi Phone Laser Level Works
Conclusion
Congratulations! You have reached the end of our comprehensive guide on working with an electronic laser level. We have covered everything from understanding the basics of this indispensable tool to troubleshooting common issues and providing maintenance tips. Armed with this knowledge, you are now well-prepared to tackle a wide range of construction and DIY projects with precision and confidence.
An electronic laser level simplifies the task of achieving accurate measurements and alignments by projecting a laser beam that creates a level or plumb line on any surface. By following the steps outlined in this guide, you can set up and calibrate your electronic laser level, make adjustments as needed, and troubleshoot any issues that may arise.
Remember, practice makes perfect. As you become more familiar with your electronic laser level, you will enhance your skills and efficiency in working with this tool. Take the time to experiment and explore its features, and don’t hesitate to consult the user manual for your specific model if you need additional guidance.
Finally, always prioritize the proper maintenance and care of your electronic laser level. Regular cleaning, storage in a protective case, and adherence to manufacturer guidelines will ensure its longevity and accurate performance. By maintaining your tool in top condition, you will consistently achieve reliable results in your projects.
We hope that this guide has been informative and helpful in your journey of working with an electronic laser level. With this valuable tool in your arsenal, you can tackle projects with confidence, knowing that precise measurements and alignments are within your reach.
Now, go forth and unleash the power of your electronic laser level. Happy constructing and measuring!
Frequently Asked Questions about How Does An Electronic Laser Level Work?
Was this page helpful?
At Storables.com, we guarantee accurate and reliable information. Our content, validated by Expert Board Contributors, is crafted following stringent Editorial Policies. We're committed to providing you with well-researched, expert-backed insights for all your informational needs.


0 thoughts on “How Does An Electronic Laser Level Work?”