Home>Home Appliances>Lighting Appliances>How To Change A Bathroom Ceiling Light Bulb

Lighting Appliances
How To Change A Bathroom Ceiling Light Bulb
Modified: September 2, 2024
Learn how to safely change a bathroom ceiling light bulb with our step-by-step guide. Keep your lighting appliances in top condition with these easy tips.
(Many of the links in this article redirect to a specific reviewed product. Your purchase of these products through affiliate links helps to generate commission for Storables.com, at no extra cost. Learn more)
Introduction
Changing a bathroom ceiling light bulb may seem like a simple task, but it's essential to approach it with caution and attention to detail. Whether you're dealing with a burnt-out bulb or looking to upgrade to a more energy-efficient option, knowing the proper steps to replace a bathroom ceiling light bulb is crucial for maintaining a well-lit and inviting space. By following the correct procedures, you can ensure safety, efficiency, and optimal illumination in your bathroom.
In this comprehensive guide, we will walk you through the step-by-step process of changing a bathroom ceiling light bulb. From turning off the power to selecting the right replacement bulb and safely installing it, we'll cover everything you need to know to successfully complete this task. By the end of this article, you'll feel confident and empowered to tackle this simple yet important home maintenance project.
So, let's dive in and explore the essential steps for changing a bathroom ceiling light bulb, ensuring that you can brighten up your bathroom space with ease and peace of mind.
Key Takeaways:
- Prioritize safety by turning off the power before changing a bathroom ceiling light bulb. Handle old bulbs with care and choose energy-efficient replacements for a well-lit and eco-friendly space.
- Select the right replacement bulb by considering type, brightness, and compatibility with the fixture. Install the new bulb securely and test it before restoring power for a well-maintained and inviting bathroom.
Read more: How To Change Light Bulb In The Ceiling
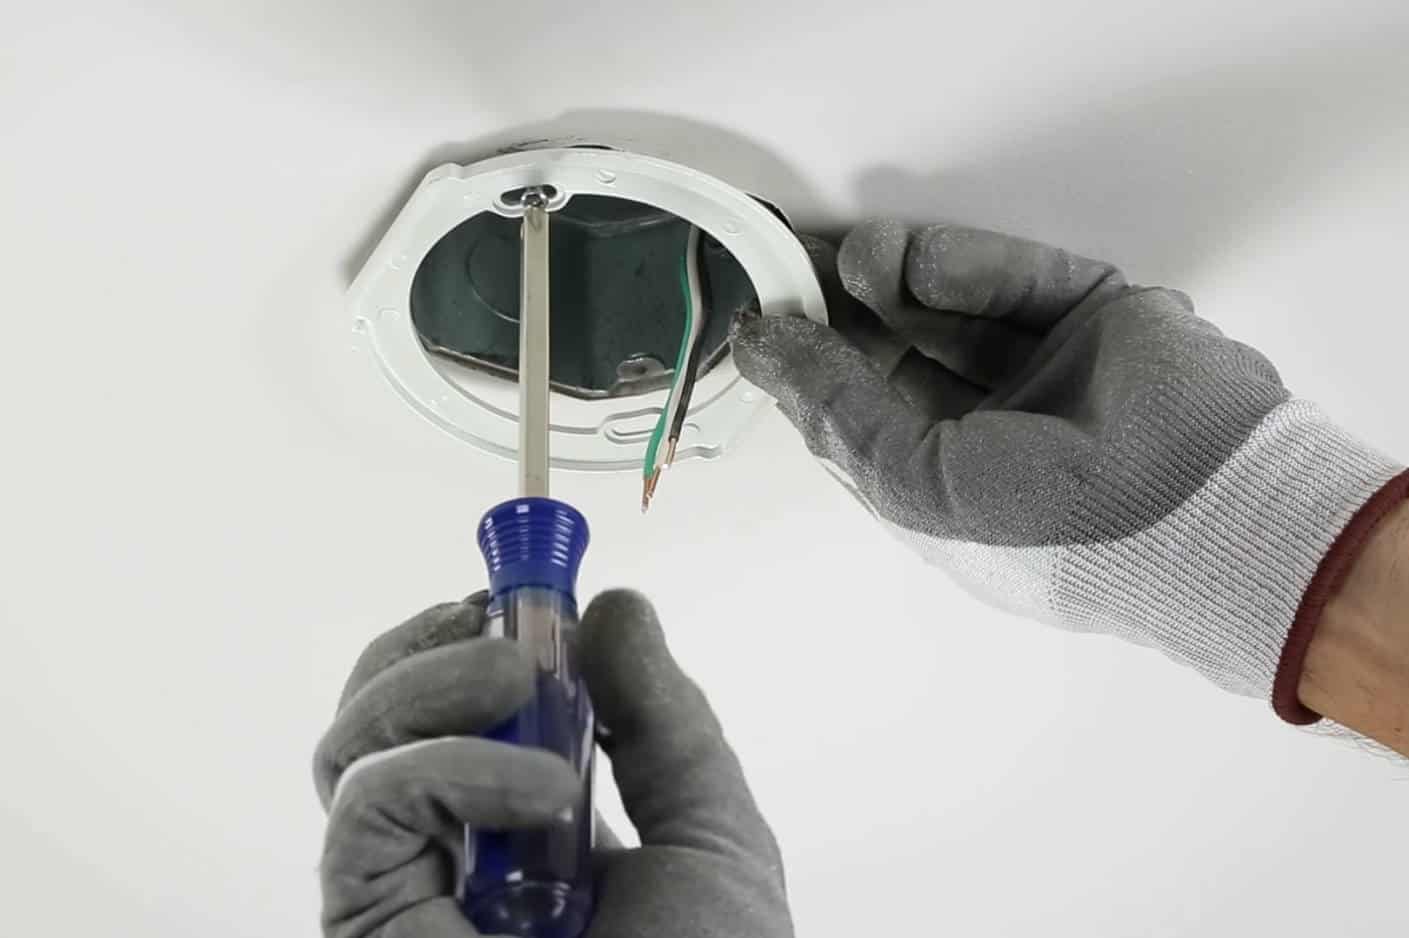
Step 1: Turn off the power
Before beginning the process of changing a bathroom ceiling light bulb, it is crucial to prioritize safety by turning off the power to the light fixture. This step is essential to prevent the risk of electrical shock and ensure a secure environment for the bulb replacement.
-
Locate the Circuit Breaker: Start by identifying the circuit breaker that controls the electricity supply to the bathroom light fixture. In most homes, the circuit breaker panel is situated in the basement, garage, or utility room. Once you've located the panel, carefully open it to reveal the array of circuit breakers.
-
Identify the Correct Breaker: To ensure the safety of the procedure, it's important to pinpoint the specific breaker that controls the bathroom light. This can often be achieved by referring to the breaker labels, which are typically organized by room or area of the house. If the breakers are not labeled, it may require assistance from a family member or friend to help identify the correct one while you test the light switch.
-
Turn Off the Breaker: Once you've identified the correct breaker, firmly switch it to the "off" position. It's advisable to double-check that the power to the light fixture has been successfully cut off by attempting to turn on the bathroom light switch. If the light remains off, you can proceed with confidence, knowing that the power supply has been effectively disconnected.
By taking the time to turn off the power at the circuit breaker, you are prioritizing safety and minimizing the risk of electrical accidents during the bulb replacement process. This initial step sets the foundation for a secure and controlled environment in which to proceed with the subsequent tasks of removing the old bulb, selecting the replacement, and installing it with peace of mind.
With the power safely turned off, you are now ready to move on to the next step in the process of changing a bathroom ceiling light bulb.
Step 2: Remove the old light bulb
With the power to the bathroom ceiling light fixture safely turned off, the next crucial step in the process of changing a light bulb is to remove the old bulb. This step requires attention to detail and a gentle touch to ensure a smooth and hassle-free removal process.
-
Allow the Bulb to Cool: Before attempting to remove the old light bulb, it's important to allow it to cool down if it has been recently in use. This precautionary measure helps to prevent accidental burns or damage to the fixture due to residual heat. Waiting for the bulb to reach a safe temperature ensures a comfortable and safe removal process.
-
Identify the Bulb Type: Different types of light fixtures may require varying methods for removing the old bulb. Common types of bulbs include screw-in (incandescent, LED, or CFL) and pin-based (fluorescent or compact fluorescent). It's essential to identify the specific type of bulb in your bathroom ceiling fixture to determine the correct removal technique.
-
Unscrew or Unclip the Bulb: For screw-in bulbs, gently twist the bulb counterclockwise to loosen it from the socket. Take care not to apply excessive force, as this can lead to breakage or damage to the fixture. If dealing with pin-based bulbs, look for the release clips or pins that secure the bulb in place. Depress or unclip these mechanisms to release the bulb from the socket.
-
Handle with Care: When removing the old bulb, it's important to handle it with care to avoid breakage and potential injury. Use a gentle grip and avoid twisting or forcing the bulb if it seems stuck. If the bulb is difficult to remove, consider using a clean, dry cloth to provide better traction and leverage while maintaining a secure hold on the bulb.
-
Dispose of the Old Bulb: Once the old bulb has been successfully removed, it's important to handle its disposal responsibly. If the bulb is incandescent or LED, it can typically be disposed of in regular household waste. However, if the bulb is a CFL or fluorescent type, it should be taken to a designated recycling center to ensure proper disposal and environmental safety.
By following these detailed steps, you can safely and effectively remove the old light bulb from your bathroom ceiling fixture. With the old bulb out of the way, you are now ready to proceed to the next phase of the process: selecting the right replacement bulb.
Now that the old bulb has been safely removed, it's time to move on to the next step in the process of changing a bathroom ceiling light bulb.
Step 3: Choose the right replacement bulb
Selecting the right replacement bulb for your bathroom ceiling light fixture is a crucial step in ensuring optimal illumination and energy efficiency. With a wide array of bulb options available on the market, it's essential to consider factors such as bulb type, brightness, color temperature, and energy efficiency to make an informed decision.
Consider the Bulb Type
When choosing a replacement bulb, it's important to match the type of bulb that was previously installed in the fixture. Common bulb types for ceiling light fixtures include incandescent, LED, CFL (compact fluorescent), and fluorescent. Each type offers distinct advantages in terms of energy efficiency, longevity, and light quality. LED bulbs, for example, are known for their exceptional energy efficiency and long lifespan, making them a popular choice for bathroom lighting.
Read more: How To Change A Ceiling Light Bulb
Evaluate Brightness and Color Temperature
The brightness of a bulb is measured in lumens, indicating the amount of light emitted. For bathroom lighting, it's advisable to select a bulb with sufficient brightness to illuminate the space effectively. Additionally, considering the color temperature of the bulb is essential for creating the desired ambiance. Warmer color temperatures (measured in Kelvins) around 2700K to 3000K can provide a cozy and inviting atmosphere, while cooler temperatures around 4000K to 5000K offer a brighter, more energizing light suitable for grooming tasks.
Prioritize Energy Efficiency
Opting for energy-efficient bulbs not only reduces electricity consumption but also contributes to long-term cost savings. LED and CFL bulbs are renowned for their energy efficiency, consuming significantly less power than traditional incandescent bulbs while delivering comparable or superior light output. By choosing energy-efficient bulbs, you can minimize your environmental impact and lower your utility expenses over time.
Compatibility with the Fixture
Before finalizing your bulb selection, it's essential to ensure that the chosen replacement bulb is compatible with your bathroom ceiling light fixture. Consider factors such as bulb size, shape, and socket type to guarantee a proper fit and secure installation. Additionally, some fixtures may have specific requirements for dimmable bulbs, so verifying compatibility with dimmer switches, if applicable, is crucial for achieving the desired lighting control.
Environmental Considerations
In line with sustainable practices, it's advisable to explore environmentally friendly bulb options. Look for bulbs with minimal environmental impact, such as those with reduced packaging materials or those manufactured using eco-friendly processes. Additionally, consider the recyclability of the bulb and opt for options that can be responsibly disposed of or recycled at the end of their lifespan.
By carefully considering these factors and making an informed decision, you can select the right replacement bulb that meets your specific lighting needs while aligning with your energy efficiency and environmental goals. With the replacement bulb chosen, you are now prepared to proceed to the next step: installing the new light bulb in your bathroom ceiling fixture.
Read more: How To Change A Bulb In An LED Ceiling Light
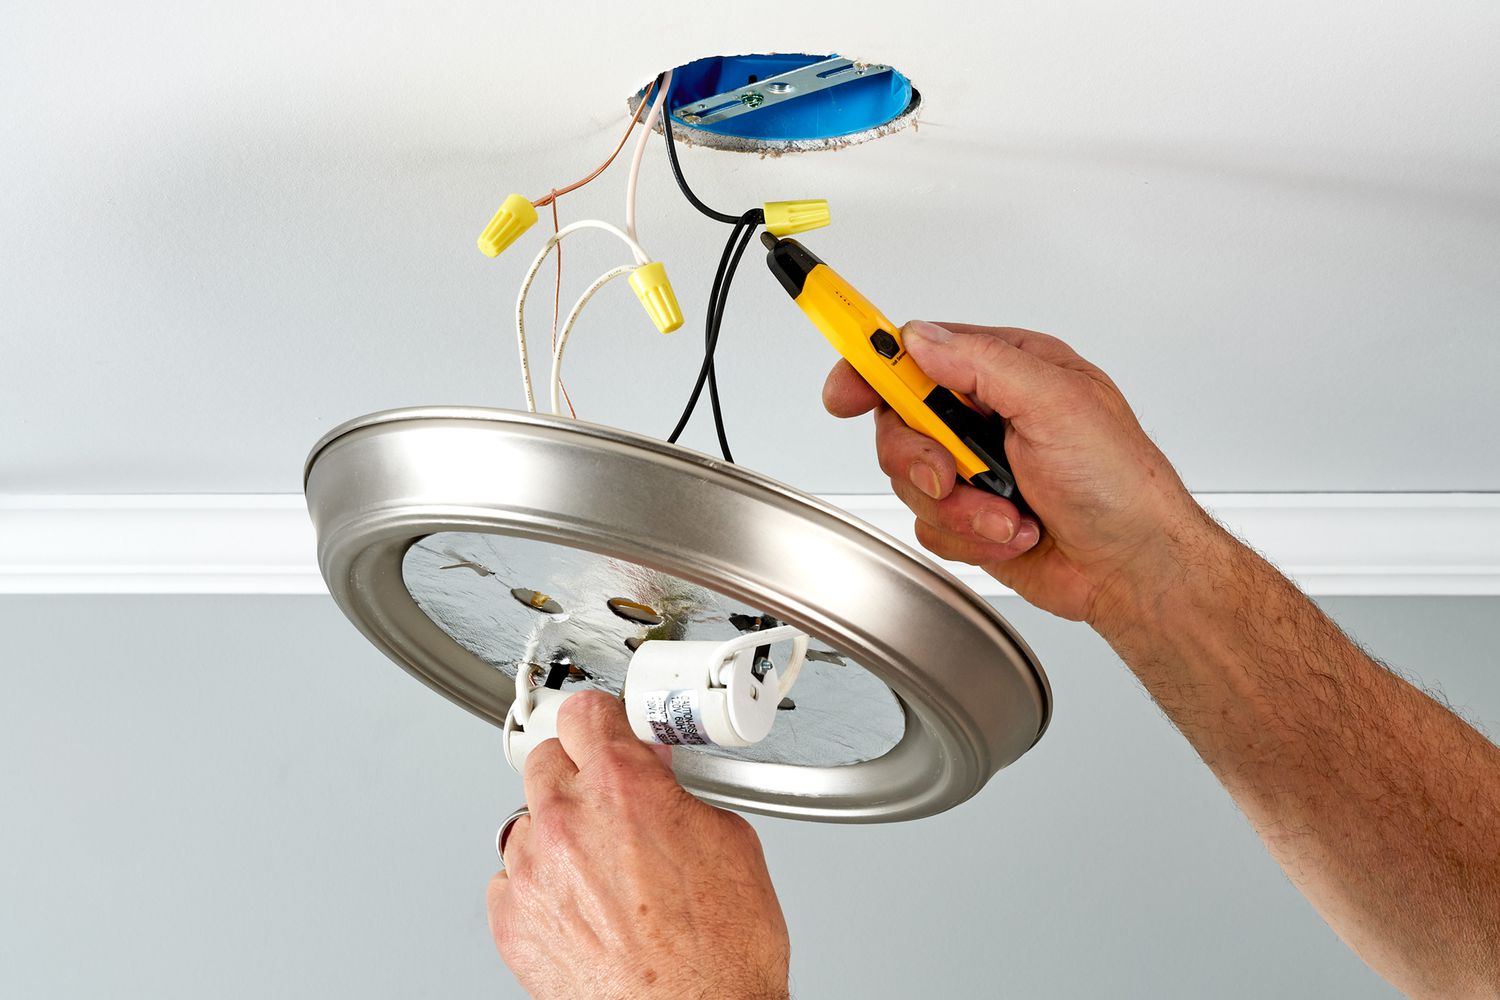
Step 4: Install the new light bulb
With the carefully chosen replacement bulb in hand, it's time to proceed with the installation process to restore illumination to your bathroom ceiling fixture. Proper installation ensures not only a well-lit space but also the safe and efficient operation of the new bulb. Follow these steps to seamlessly install the new light bulb:
-
Match the Bulb Type: Before installing the new bulb, ensure that it matches the type and size of the old bulb. This includes verifying the base type (e.g., screw-in or pin-based) and ensuring that the wattage and voltage ratings of the new bulb align with the fixture's specifications.
-
Position the Bulb Correctly: Align the base of the new bulb with the socket in the fixture, taking care to position it securely and evenly. For screw-in bulbs, gently insert the base into the socket and rotate it clockwise until it is snugly in place. If dealing with pin-based bulbs, align the pins with the corresponding slots in the socket and gently push the bulb into position until it clicks securely.
-
Avoid Over-tightening: When installing a screw-in bulb, it's important to avoid over-tightening, as this can lead to damage to the bulb or the fixture. Once the bulb is securely seated in the socket, give it a gentle twist to ensure a snug fit without applying excessive force.
-
Test the Bulb: After installing the new bulb, it's advisable to test it to ensure proper functionality. Turn the power back on at the circuit breaker and then switch on the bathroom light to confirm that the new bulb illuminates as expected. This step allows you to verify the successful installation of the replacement bulb and address any issues promptly.
-
Make Adjustments if Necessary: If the new bulb does not illuminate or exhibits flickering or irregularities, it may indicate an installation issue or compatibility issue. In such cases, turn off the power again and carefully inspect the bulb and the fixture to identify and address any potential issues. It may be necessary to reseat the bulb or consider alternative replacement options if compatibility problems persist.
By following these steps, you can confidently install the new light bulb in your bathroom ceiling fixture, ensuring reliable illumination and a well-maintained lighting setup. With the new bulb securely in place and functioning as intended, you have successfully completed the installation process, bringing renewed brightness to your bathroom space.
Step 5: Turn the power back on
With the new light bulb successfully installed in your bathroom ceiling fixture, the final step in the process of changing a bathroom ceiling light bulb is to restore power to the fixture. This critical step ensures that the newly installed bulb can illuminate the space effectively and that the fixture operates safely and reliably. Follow these essential guidelines to safely turn the power back on and complete the bulb replacement process:
-
Verify the Bulb Installation: Before proceeding to turn the power back on, take a moment to double-check the installation of the new bulb. Ensure that it is securely seated in the socket, with the base properly aligned and the bulb positioned evenly. This visual inspection helps to confirm that the installation was successful and minimizes the need for adjustments after restoring power.
-
Return to the Circuit Breaker: With the new bulb in place, return to the circuit breaker panel where you initially turned off the power. Locate the breaker that controls the electricity supply to the bathroom light fixture. Remember the specific breaker that was switched off and prepare to reverse the action to restore power to the fixture.
-
Switch On the Breaker: Carefully switch the identified breaker back to the "on" position. Take a moment to ensure that the breaker engages securely and that the power supply to the bathroom light fixture is reinstated. As the breaker is turned on, be attentive to any unusual sounds or indications of electrical issues, and promptly switch off the breaker if any concerns arise.
-
Test the Light Fixture: Once the power has been restored, return to the bathroom and test the light fixture by turning on the light switch. Observe the newly installed bulb to confirm that it illuminates as expected. Pay attention to the brightness, color, and stability of the light to ensure that the new bulb functions properly and provides the desired level of illumination.
-
Address Any Issues: If the new bulb fails to illuminate or exhibits irregularities, such as flickering or dimness, it may indicate a potential problem with the installation or compatibility. In such cases, turn off the power again and carefully inspect the bulb and the fixture to identify and address any issues. It may be necessary to reseat the bulb or consider alternative replacement options if compatibility problems persist.
By following these steps, you can safely and effectively turn the power back on, completing the process of changing a bathroom ceiling light bulb. With the power restored and the new bulb shining brightly, you have successfully accomplished the task of replacing the light bulb in your bathroom ceiling fixture, ensuring a well-lit and inviting space for your daily routines and relaxation.
Make sure the power is off before changing the bulb. Use a step stool or ladder if needed. Twist the old bulb counterclockwise to remove it, then insert the new bulb and twist it clockwise to secure it.
Conclusion
In conclusion, the process of changing a bathroom ceiling light bulb encompasses essential steps that prioritize safety, attention to detail, and informed decision-making. By following the comprehensive guide outlined in this article, you have gained valuable insights into the meticulous approach required to successfully replace a light bulb in your bathroom ceiling fixture.
From the initial step of turning off the power at the circuit breaker to the careful removal of the old bulb, the selection of the right replacement bulb, and the precise installation process, each phase contributes to a seamless and effective bulb replacement experience. Prioritizing safety by ensuring the power is disconnected and handling the bulbs with care not only safeguards against potential electrical hazards but also promotes a secure and controlled environment for the maintenance task.
The selection of the replacement bulb is a critical aspect of the process, as it directly influences the quality of illumination, energy efficiency, and environmental impact. By considering factors such as bulb type, brightness, color temperature, energy efficiency, and compatibility with the fixture, you can make an informed choice that aligns with your specific lighting needs and sustainability goals.
The installation of the new bulb, coupled with the careful adjustment and testing process, ensures that the fixture operates reliably and provides the desired level of illumination. By adhering to best practices and attention to detail during the installation, you can enjoy the renewed brightness and functionality of your bathroom ceiling light fixture.
Finally, the safe restoration of power to the fixture marks the successful completion of the bulb replacement process. By following the recommended steps to turn the power back on and test the newly installed bulb, you can confidently conclude the task, knowing that your bathroom space is once again illuminated with efficiency and safety in mind.
In essence, the process of changing a bathroom ceiling light bulb is not merely a routine maintenance task but an opportunity to enhance the functionality, energy efficiency, and ambiance of your living space. By approaching this task with the knowledge and attention to detail outlined in this guide, you can navigate the process with confidence and achieve a well-lit and inviting bathroom environment.
With the completion of this comprehensive guide, you are now equipped with the expertise to tackle the task of changing a bathroom ceiling light bulb, ensuring that your bathroom space remains bright, welcoming, and optimized for your daily activities and relaxation.
Frequently Asked Questions about How To Change A Bathroom Ceiling Light Bulb
Was this page helpful?
At Storables.com, we guarantee accurate and reliable information. Our content, validated by Expert Board Contributors, is crafted following stringent Editorial Policies. We're committed to providing you with well-researched, expert-backed insights for all your informational needs.


0 thoughts on “How To Change A Bathroom Ceiling Light Bulb”