Home>Home Appliances>Lighting Appliances>How To Change A Ceiling Light Bulb

Lighting Appliances
How To Change A Ceiling Light Bulb
Modified: March 1, 2024
Learn how to change a ceiling light bulb with our step-by-step guide. Keep your lighting appliances in top condition with our expert tips.
(Many of the links in this article redirect to a specific reviewed product. Your purchase of these products through affiliate links helps to generate commission for Storables.com, at no extra cost. Learn more)
Introduction
Changing a ceiling light bulb may seem like a simple task, but it's essential to approach it with caution and attention to detail. Whether you're replacing a burnt-out bulb or upgrading to a more energy-efficient option, understanding the proper steps for this task is crucial for both safety and functionality.
In this comprehensive guide, we will walk you through the process of changing a ceiling light bulb, providing clear and actionable steps to ensure a successful outcome. From turning off the power to selecting the right bulb and safely installing it, each stage plays a vital role in the overall process.
By following these instructions, you can confidently tackle this home maintenance task, whether you're a seasoned DIY enthusiast or a first-time homeowner. So, let's dive into the steps and equip ourselves with the knowledge and skills needed to change a ceiling light bulb effectively and safely.
Key Takeaways:
- Safety first! Always turn off the power before changing a ceiling light bulb to avoid electrical accidents. Use a voltage tester for extra precaution.
- Choose the right bulb by considering brightness, color temperature, compatibility, and energy efficiency. LED bulbs are cost-effective and eco-friendly options for your home.
Read more: How To Change Light Bulb In The Ceiling
Step 1: Turn off the Power
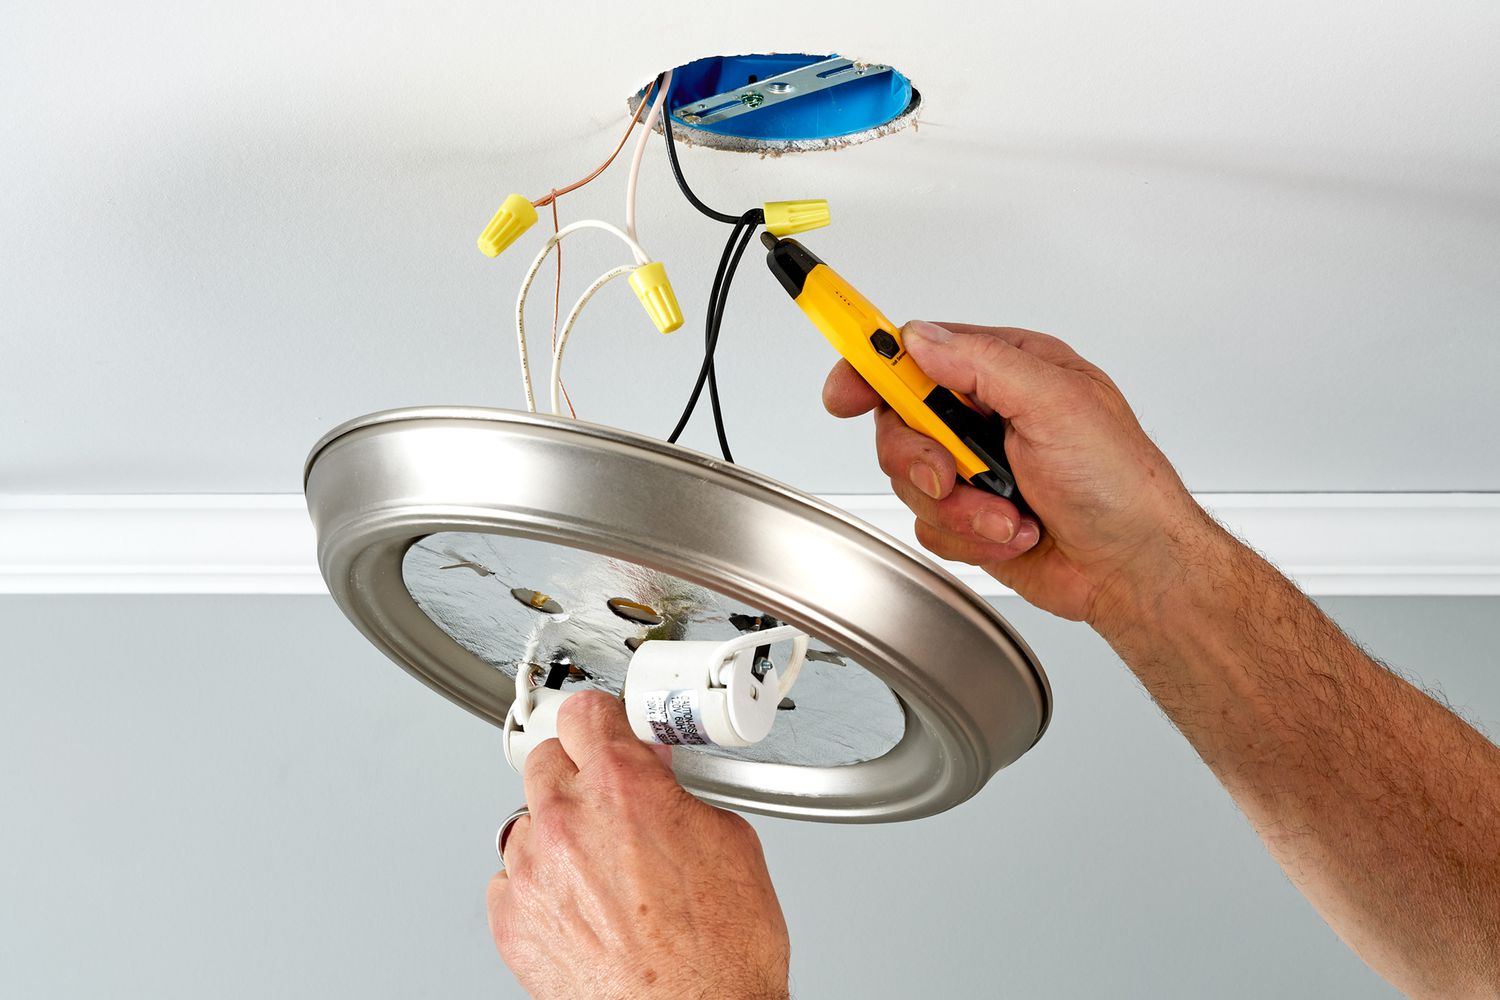
Before beginning any work on the ceiling light fixture, it is crucial to ensure that the power supply is completely turned off. This step is paramount for your safety and the prevention of electrical accidents. Follow these detailed instructions to safely turn off the power:
-
Locate the Circuit Breaker: The first step is to identify the circuit breaker that controls the electricity supply to the ceiling light. Circuit breakers are typically located in the electrical panel of your home. It's essential to have a clear understanding of the layout and labeling of the circuit breakers to pinpoint the correct one.
-
Switch Off the Circuit Breaker: Once you have located the circuit breaker corresponding to the ceiling light, firmly switch it to the "off" position. This action will cut off the power supply to the light fixture, ensuring that no electricity is flowing to the area where you will be working.
-
Confirm the Power is Off: After switching off the circuit breaker, it's important to double-check that the power to the ceiling light is indeed off. You can do this by attempting to turn on the light switch associated with the fixture. If the power is successfully turned off, the light should not illuminate when the switch is flipped.
-
Use a Voltage Tester (Optional): For an extra layer of precaution, consider using a voltage tester to verify that there is no electrical current present at the light fixture. This tool can provide peace of mind by confirming that it is safe to proceed with the bulb replacement.
By diligently following these steps to turn off the power, you can create a safe working environment for the subsequent tasks involved in changing the ceiling light bulb. Remember, electrical safety should always be a top priority when performing any maintenance or repairs within your home.
Step 2: Choose the Right Bulb
Selecting the appropriate bulb for your ceiling light fixture is a crucial decision that can significantly impact the ambiance, energy efficiency, and overall functionality of the lighting. With a wide array of options available in the market, it's essential to consider several factors to ensure that the chosen bulb meets your specific requirements.
Consider the Bulb Type
When choosing a bulb for your ceiling light, the first consideration is the type of bulb that best suits your needs. Common options include incandescent, LED, and compact fluorescent (CFL) bulbs. Each type has distinct characteristics, such as energy efficiency, lifespan, and light quality. LED bulbs, for instance, are known for their long lifespan and energy efficiency, making them an excellent choice for cost-effective and environmentally friendly lighting solutions.
Evaluate the Brightness and Color Temperature
The brightness and color temperature of the bulb play a significant role in determining the atmosphere and functionality of the lighting. Bulbs are typically labeled with lumens, which indicate the brightness level. Consider the area where the ceiling light is installed and the desired illumination. For example, a higher lumen count may be suitable for a kitchen or workspace, while a softer, warmer light may be preferred for a bedroom or living room.
Additionally, pay attention to the color temperature of the bulb, measured in Kelvin (K). Lower Kelvin values produce warm, yellowish light, resembling the glow of incandescent bulbs, while higher Kelvin values result in cooler, bluish light. Understanding the color temperature can help you create the desired ambiance and complement the decor of the room.
Read more: How To Change A Bulb In An LED Ceiling Light
Check the Bulb Size and Compatibility
Before making a purchase, it's essential to verify that the chosen bulb is compatible with your ceiling light fixture. Consider the size and shape of the bulb, ensuring that it fits securely and aligns with any specific requirements of the fixture. Additionally, check the maximum wattage allowed for the fixture to avoid using bulbs that exceed the recommended wattage, which can lead to overheating and potential hazards.
Energy Efficiency and Longevity
Opting for energy-efficient bulbs not only reduces electricity costs but also contributes to environmental sustainability. LED and CFL bulbs are known for their energy efficiency and long lifespan, making them favorable choices for eco-conscious consumers. By selecting bulbs with the ENERGY STAR label or high energy efficiency ratings, you can make a positive impact while enjoying long-lasting, reliable lighting.
By carefully considering these factors and conducting thorough research, you can confidently choose the right bulb for your ceiling light, ensuring optimal performance, energy efficiency, and visual appeal. Remember that the selected bulb should align with your specific lighting needs and preferences, ultimately enhancing the functionality and aesthetics of your living space.
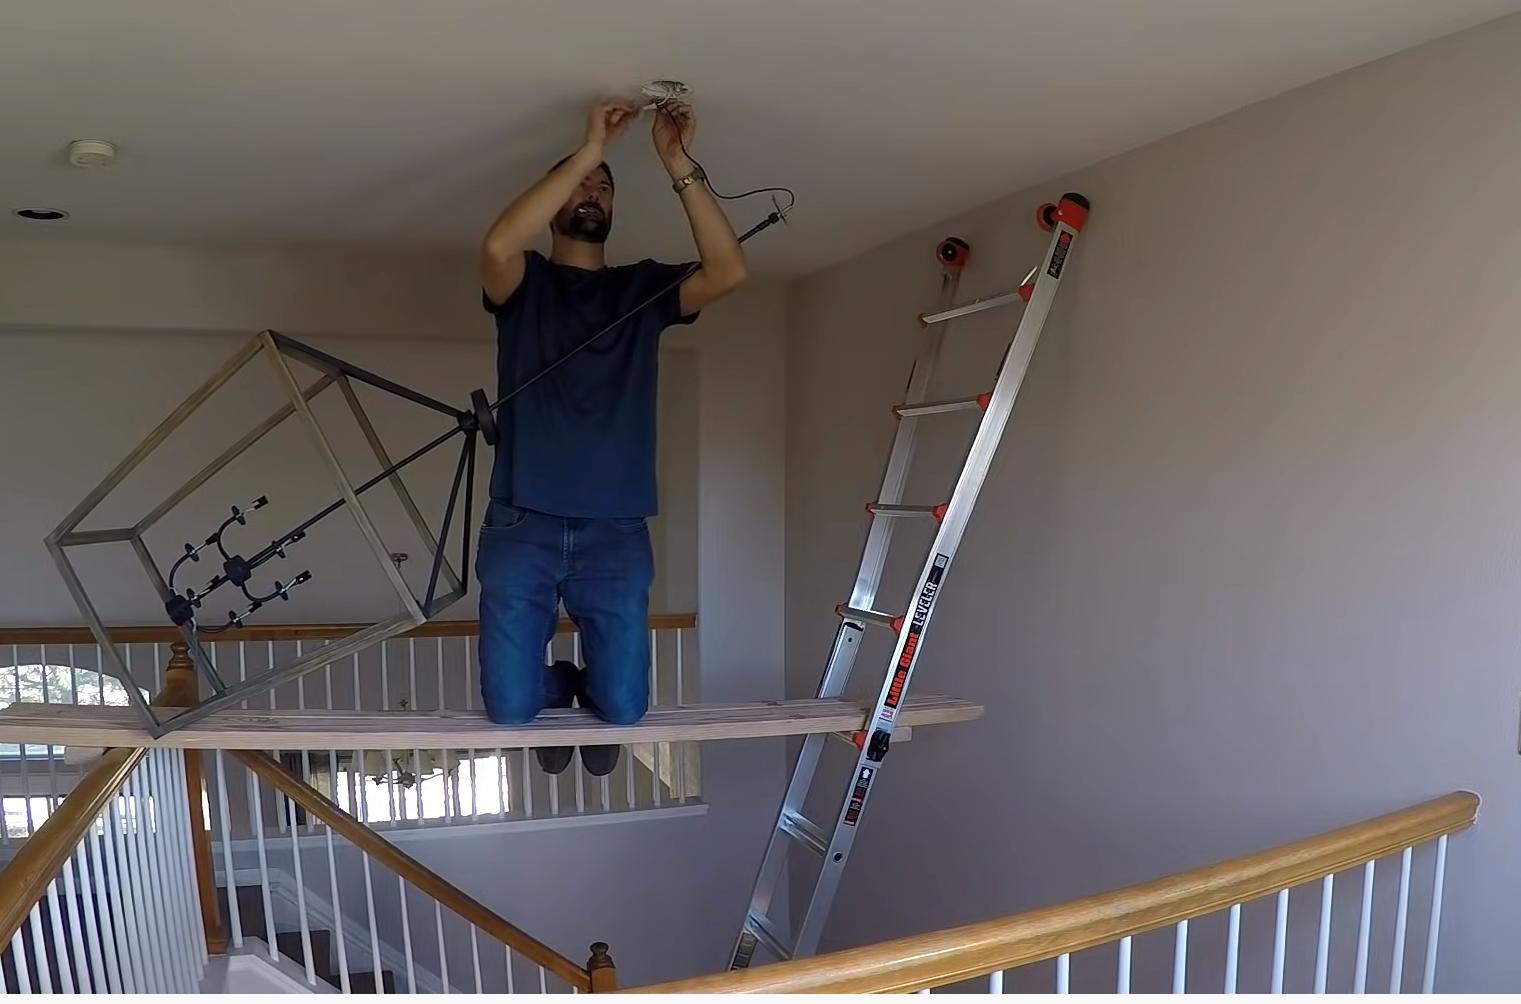
Step 3: Use a Stepladder
When it comes to changing a ceiling light bulb, having the right tools and equipment is essential for a safe and efficient process. One of the key tools you'll need is a sturdy stepladder that provides stable and secure access to the ceiling light fixture. Here's a detailed look at the importance of using a stepladder and the best practices for its utilization during the bulb replacement process.
Importance of a Stepladder
Using a stepladder serves multiple purposes in the context of changing a ceiling light bulb. Firstly, it enables you to reach the height of the ceiling fixture safely and comfortably, minimizing the risk of accidents or injuries associated with using unstable makeshift platforms. Additionally, a stepladder provides a stable and secure platform for working at elevated heights, allowing you to maintain balance and control while handling the bulb replacement tasks.
Read more: How To Change A Bathroom Ceiling Light Bulb
Selecting the Right Stepladder
Before proceeding with the bulb replacement, it's crucial to select an appropriate stepladder that aligns with the specific requirements of the task. Consider the height of the ceiling and the reach needed to access the light fixture. Opt for a stepladder with a height that allows you to comfortably reach the fixture without overreaching or straining. Additionally, ensure that the stepladder is in good condition, with secure steps, stable legs, and proper weight-bearing capacity to support your weight and any additional tools or materials you may need during the process.
Best Practices for Using a Stepladder
When using a stepladder for changing a ceiling light bulb, it's important to adhere to best practices to ensure safety and efficiency. Begin by setting up the stepladder on a flat, even surface, free from any obstructions or potential hazards. Extend the legs fully and engage any locking mechanisms to secure the ladder in an open position. Before ascending the ladder, perform a visual inspection to confirm its stability and integrity.
As you ascend the stepladder, maintain a firm grip on the handrails or sides for support and balance. Avoid overreaching or leaning excessively while on the ladder, as this can compromise stability and increase the risk of falls. Position the stepladder in close proximity to the ceiling light fixture, allowing for easy access to perform the bulb replacement tasks without straining or stretching.
By utilizing a stepladder in a safe and responsible manner, you can effectively access the ceiling light fixture and carry out the necessary steps for changing the bulb with confidence and peace of mind. Remember that prioritizing safety and proper equipment usage is fundamental to the successful completion of the bulb replacement process.
This comprehensive guide provides a detailed overview of the essential steps involved in changing a ceiling light bulb, empowering you to tackle this task with confidence and proficiency. With a focus on safety, precision, and attention to detail, you can maintain a well-lit and inviting living space while ensuring the longevity and functionality of your ceiling light fixtures.
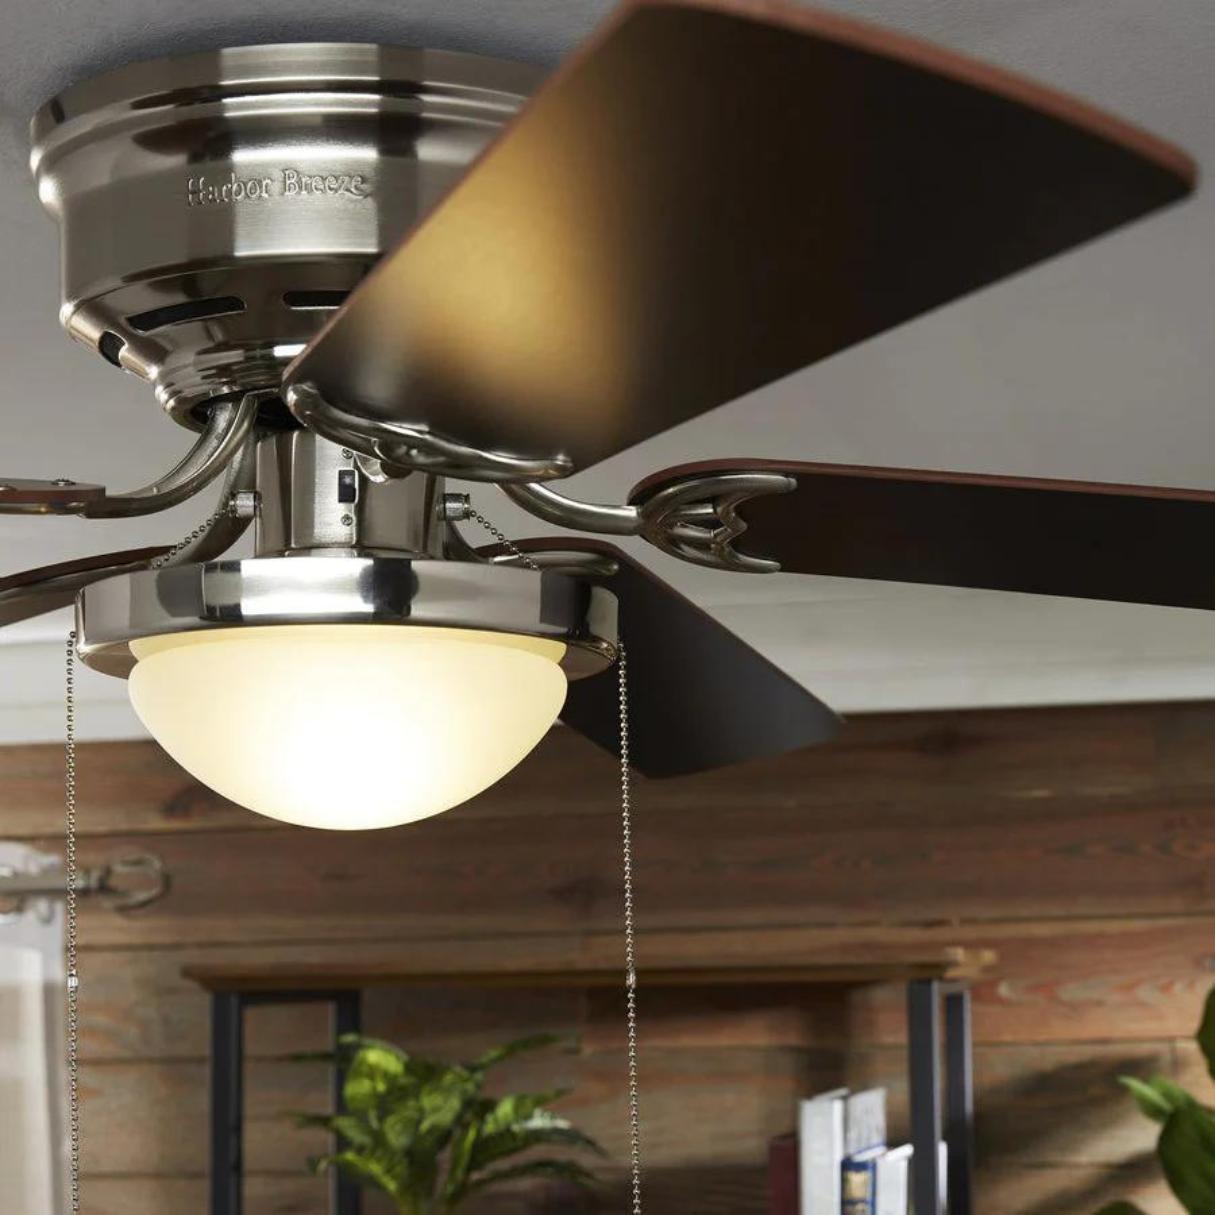
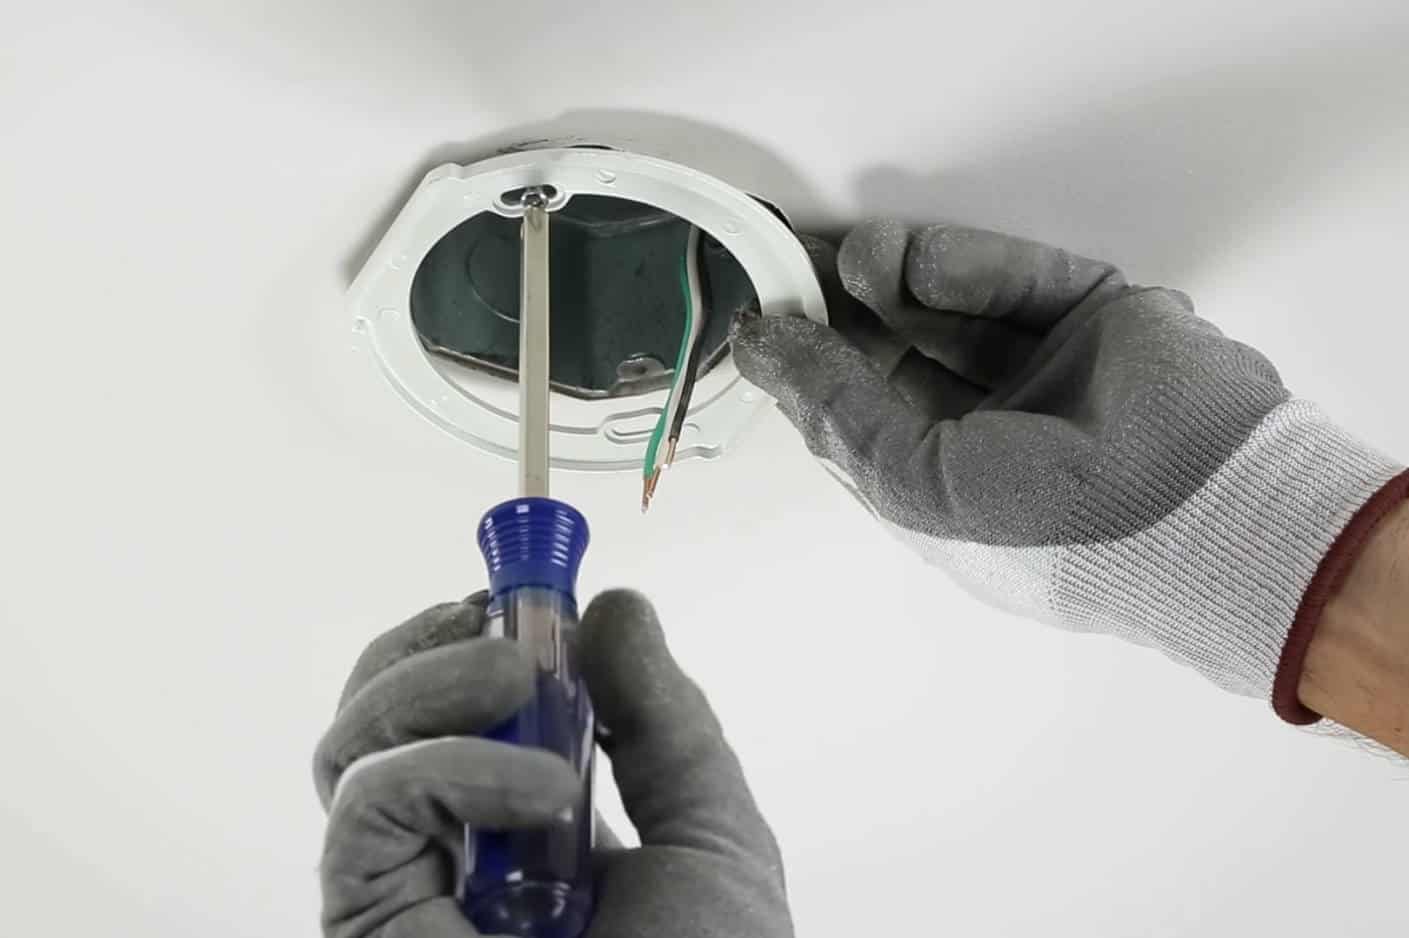
Step 4: Remove the Old Bulb
Removing the old bulb from a ceiling light fixture is a critical step in the process of replacing it with a new one. This step requires careful attention to detail and adherence to safety measures to ensure a smooth transition without any damage to the fixture or electrical components. Here's a detailed guide on how to effectively remove the old bulb from your ceiling light fixture:
-
Allow the Bulb to Cool: Before attempting to remove the old bulb, it's essential to allow it to cool down if it has been in use. Hot bulbs can pose a burn risk, so it's advisable to wait for a sufficient amount of time to ensure safe handling.
-
Switch Off the Light: While the power supply to the fixture has been turned off, it's a good practice to double-check that the light switch associated with the fixture is in the "off" position. This additional precaution helps prevent any accidental activation of the fixture during the bulb removal process.
-
Inspect the Fixture: Take a moment to visually inspect the ceiling light fixture and identify the specific type of bulb holder or socket used. Some fixtures may have a twist-in or push-in socket, while others may feature a spring-loaded clip or other retention mechanisms. Understanding the design of the fixture will guide you in the proper removal technique.
-
Grip the Bulb Securely: Depending on the type of bulb and socket, carefully grip the bulb near its base with a firm and steady hold. It's important to avoid excessive force or twisting that could potentially damage the bulb or the socket.
-
Twist and Release: For twist-in bulbs, gently rotate the bulb counterclockwise to release it from the socket. It's crucial to maintain a steady grip and apply even pressure to avoid any sudden movements that could lead to breakage. Once the bulb is loosened, carefully remove it from the socket, taking care not to touch the new bulb's surface with bare hands to avoid oil transfer.
-
Depress and Release: In the case of push-in or spring-loaded sockets, carefully depress any retaining clips or springs while simultaneously releasing the bulb from the socket. This action may require a delicate touch to disengage the bulb without causing damage to the fixture or socket.
-
Dispose of the Old Bulb: Once the old bulb has been successfully removed, it's important to handle it with care, especially if it's an incandescent or halogen bulb, which can become hot during use. Properly dispose of the old bulb according to local regulations or recycling guidelines.
By following these detailed steps, you can safely and effectively remove the old bulb from your ceiling light fixture, setting the stage for the next phase of installing the new bulb. With a focus on precision and caution, this process ensures a seamless transition to a fresh, functional bulb, enhancing the illumination and ambiance of your living space.
Step 5: Install the New Bulb
With the old bulb successfully removed, it's time to proceed with the installation of the new bulb in your ceiling light fixture. This step requires precision and attention to detail to ensure a secure and functional placement of the bulb. Follow these detailed instructions to effectively install the new bulb:
-
Select the Correct Bulb: Before proceeding, verify that the new bulb you have selected aligns with the specifications and requirements of your ceiling light fixture. Ensure that it matches the bulb type, size, and wattage recommendations for the fixture to prevent any compatibility issues.
-
Avoid Touching the Bulb: When handling the new bulb, it's important to avoid direct contact with its surface, especially for LED and CFL bulbs. Oils from the skin can affect the performance and lifespan of these bulbs. If accidental contact occurs, use a clean cloth or gloves to gently wipe the bulb's surface before installation.
-
Align and Insert the Bulb: Carefully align the base of the new bulb with the socket or holder in the fixture. For twist-in bulbs, insert the base into the socket and rotate it clockwise until it securely locks into place. Ensure that the bulb sits evenly and straight within the fixture to guarantee proper illumination and stability.
-
Secure Push-In or Spring-Loaded Bulbs: If your fixture utilizes push-in or spring-loaded sockets, gently press the new bulb into the socket until it fits snugly in place. Be mindful of any retention clips or mechanisms that may require engagement to secure the bulb within the fixture. Confirm that the bulb is firmly seated and held in position by the socket's design.
-
Test the Bulb: Once the new bulb is installed, it's advisable to perform a quick test to ensure that it functions properly. Turn on the power to the ceiling light fixture and switch on the associated light switch. Observe the illumination and check for any flickering or irregularities in the bulb's performance. If the bulb operates as expected, proceed to the final step.
By following these meticulous steps, you can successfully install the new bulb in your ceiling light fixture, restoring optimal illumination and functionality to the space. With a focus on precision and care, this process ensures that the new bulb is securely positioned, contributing to a well-lit and inviting environment within your home.
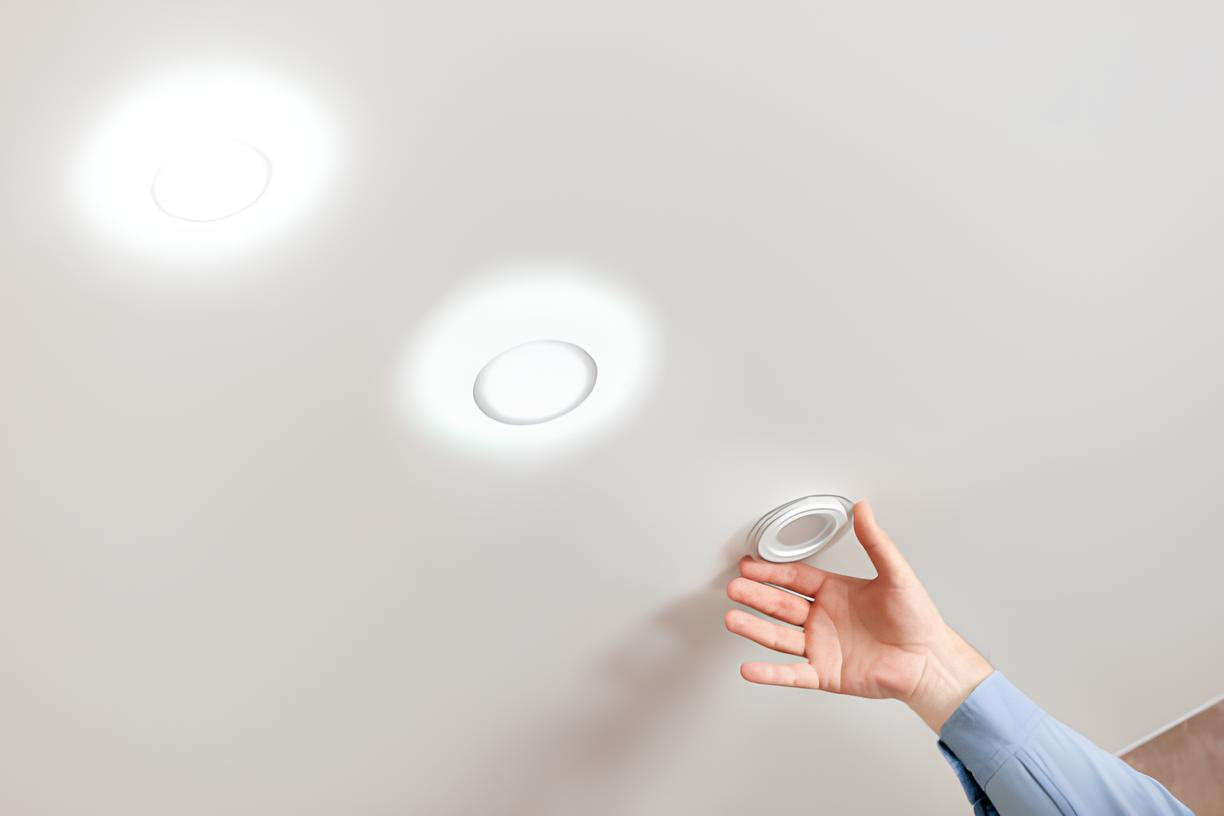
Step 6: Turn on the Power
After successfully installing the new bulb in your ceiling light fixture, the final step is to restore power to the fixture by turning the circuit breaker back on. This crucial step completes the bulb replacement process and allows you to enjoy the renewed illumination provided by the new bulb. Here's a detailed overview of the process of turning on the power and conducting a final check to ensure the proper functioning of the newly installed bulb.
-
Restore the Circuit Breaker: Return to the electrical panel of your home where the circuit breaker for the ceiling light fixture is located. Identify the corresponding breaker that was switched off before beginning the bulb replacement process.
-
Switch On the Circuit Breaker: With caution and deliberate action, switch the circuit breaker associated with the ceiling light fixture back to the "on" position. This action restores the electrical supply to the fixture, allowing it to receive power once again.
-
Verify the Power Restoration: After turning on the circuit breaker, it's essential to confirm that the power supply to the ceiling light fixture has been successfully restored. You can do this by returning to the area where the fixture is installed and using the associated light switch to turn it on. Observe the fixture to ensure that the new bulb illuminates as expected, indicating that the power supply is functioning properly.
-
Check for Proper Illumination: As the ceiling light fixture is turned on, take a moment to assess the illumination provided by the new bulb. Ensure that the light output is consistent, without any flickering or irregularities. This visual inspection allows you to confirm that the new bulb is operating as intended and providing the desired level of illumination.
-
Final Adjustments (if necessary): If you notice any issues with the illumination or performance of the new bulb, such as flickering or dimness, it may be necessary to re-evaluate the installation and bulb compatibility. In such cases, consider turning off the power again and revisiting the installation steps to address any potential issues before restoring power once more.
By meticulously following these steps to turn on the power and verify the functionality of the newly installed bulb, you can ensure that the ceiling light fixture is fully operational and providing the desired illumination. This final phase of the bulb replacement process marks the successful completion of the task, allowing you to enjoy the enhanced lighting and ambiance within your living space.
Conclusion
In conclusion, the process of changing a ceiling light bulb encompasses a series of essential steps that require careful attention to detail, safety precautions, and a focus on achieving optimal functionality and illumination. By following the comprehensive guide outlined in this article, homeowners and DIY enthusiasts can confidently navigate the task of replacing a ceiling light bulb with precision and proficiency.
From the initial step of turning off the power to the final phase of restoring power to the fixture, each stage plays a crucial role in ensuring a safe and successful bulb replacement process. By prioritizing electrical safety, selecting the right bulb, utilizing a stepladder for access, and executing the removal and installation procedures with care, individuals can maintain a well-lit and inviting living space while preserving the longevity and functionality of their ceiling light fixtures.
The importance of choosing the correct bulb type, considering brightness and color temperature, and evaluating energy efficiency and longevity factors cannot be overstated. These considerations not only contribute to the visual appeal and ambiance of the lighting but also impact energy consumption and environmental sustainability. By making informed decisions when selecting a new bulb, homeowners can enhance their living environment while embracing energy-efficient and long-lasting lighting solutions.
Furthermore, the utilization of a stepladder as a safe and stable platform for accessing the ceiling light fixture underscores the significance of proper equipment and tools in the maintenance and improvement of home lighting systems. Adhering to best practices for stepladder usage ensures a secure and controlled working environment, minimizing the risk of accidents and facilitating a smooth bulb replacement process.
The meticulous steps involved in removing the old bulb and installing the new one emphasize the need for precision and caution, safeguarding the integrity of the fixture and electrical components. By following these steps, individuals can seamlessly transition from the old to the new bulb, restoring optimal illumination and functionality to their living space.
Ultimately, the successful completion of the bulb replacement process culminates in the restoration of power to the fixture, allowing homeowners to enjoy the renewed lighting provided by the new bulb. This final phase marks the culmination of a thorough and methodical approach to changing a ceiling light bulb, ensuring that the fixture operates as intended and contributes to a well-lit and inviting home environment.
In essence, the comprehensive guide presented in this article equips individuals with the knowledge and skills needed to tackle the task of changing a ceiling light bulb with confidence and proficiency, ultimately enhancing the functionality, aesthetics, and energy efficiency of their home lighting systems.
Frequently Asked Questions about How To Change A Ceiling Light Bulb
Was this page helpful?
At Storables.com, we guarantee accurate and reliable information. Our content, validated by Expert Board Contributors, is crafted following stringent Editorial Policies. We're committed to providing you with well-researched, expert-backed insights for all your informational needs.


0 thoughts on “How To Change A Ceiling Light Bulb”