
Articles
How To Change Light Bulb In The Ceiling
Modified: September 2, 2024
Learn how to change a light bulb in your ceiling with these helpful articles. Find step-by-step instructions and tips for a hassle-free experience.
(Many of the links in this article redirect to a specific reviewed product. Your purchase of these products through affiliate links helps to generate commission for Storables.com, at no extra cost. Learn more)
Introduction
Changing a light bulb in the ceiling may seem like a simple task, but it’s essential to do it correctly and safely. Whether your light bulb has burned out or you want to upgrade to a more energy-efficient option, knowing how to change it properly will ensure optimal lighting in your space.
In this guide, we’ll walk you through the step-by-step process of changing a light bulb in the ceiling. We’ll discuss the necessary tools you’ll need, safety precautions to take, and how to install the new bulb. So, let’s shed some light on this topic and get started!
Key Takeaways:
- Safety First
Prioritize safety when changing a ceiling light bulb by gathering the right tools, turning off the power supply, and handling the bulbs with care to avoid accidents and ensure a successful replacement. - Choose Wisely
Selecting the right replacement bulb is crucial for optimal lighting and energy efficiency. Consider factors such as bulb type, brightness, color temperature, shape, and energy efficiency to make the best choice for your space.
Read more: How To Change A Ceiling Light Bulb
Step 1: Gather the necessary tools and safety precautions
Before you begin changing a light bulb in the ceiling, it’s important to gather the necessary tools and take some safety precautions. Here’s what you’ll need:
- A new light bulb that is compatible with your fixture
- A ladder or step stool to safely reach the ceiling
- A pair of gloves to protect your hands
- A dry cloth or tissue to handle the light bulb
Once you have gathered these tools, it’s crucial to prioritize safety. Here are some safety precautions to keep in mind:
- Turn off the power: Before you start the process, make sure to turn off the power supply to the light fixture. This can usually be done by flipping the switch on the circuit breaker labeled for the particular room or area.
- Allow the bulb to cool: If the light was recently on, give the bulb enough time to cool down. Touching a hot bulb can lead to burns.
- Use a stable ladder or step stool: Ensure that the ladder or step stool you use is stable and secure. Place it on a leveled surface and make sure it can fully support your weight.
- Wear gloves: As an additional precaution, wear gloves to protect your hands from any broken glass while handling the light bulb.
With the necessary tools ready and safety precautions in place, you are now prepared to move on to the next step: turning off the power supply.
Step 2: Turn off the power supply
Now that you have gathered the necessary tools and taken the safety precautions, it’s time to turn off the power supply to the light fixture. This step is crucial to ensure your safety while changing the light bulb. Follow these steps:
- Locate the circuit breaker: Find the circuit breaker panel in your home. It is usually located in the basement, utility room, or garage.
- Identify the correct breaker: Look for the breaker that controls the electricity to the room or area where the light fixture is located. If you’re unsure, you can turn off the main breaker to cut off power to the entire house as a precaution.
- Flip the switch: Once you have identified the correct breaker, gently flip the switch to the “off” position. This will cut off the power supply to the light fixture, ensuring that you can safely handle the bulb without the risk of electric shock.
It’s important to note that some homes may have a separate switch near the light fixture or on the wall that controls the power supply. If this is the case, make sure to turn off this switch as well to ensure complete disconnection of power.
After turning off the power supply, it’s a good practice to test whether the light is truly off by trying to turn it on. If it remains off, you can proceed to the next step with confidence.
With the power supply turned off, you can now move on to the next step of removing the old light bulb.
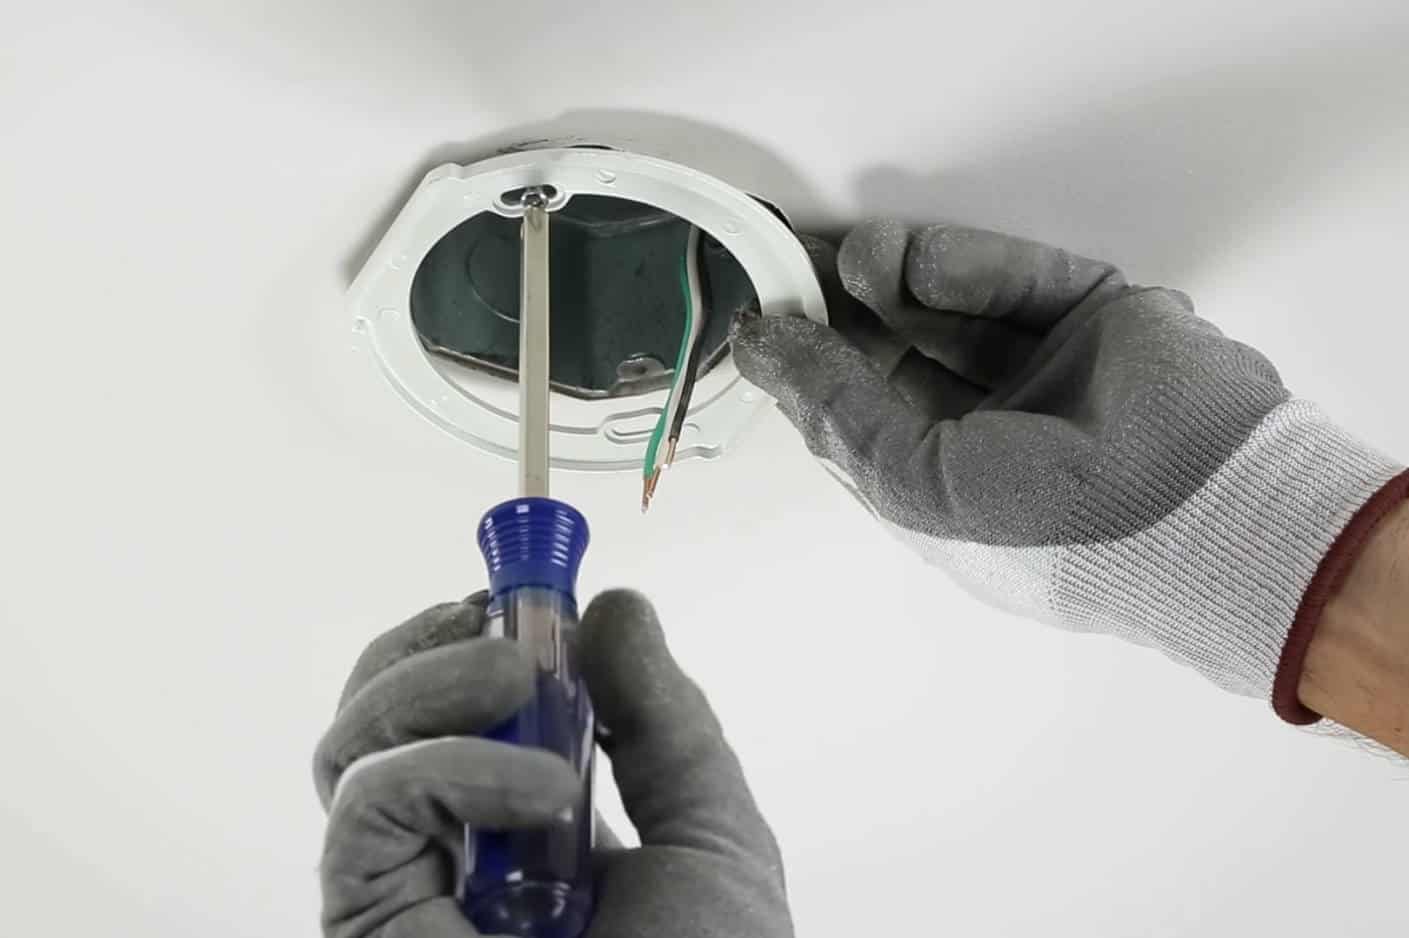
Step 3: Remove the old light bulb
Now that you have safely turned off the power supply, it’s time to remove the old light bulb from the ceiling fixture. Follow these steps:
- Position the ladder or step stool: Place the ladder or step stool securely beneath the light fixture, ensuring that you have a stable and comfortable position to work from.
- Inspect the fixture: Take a moment to examine the fixture and identify how the light bulb is held in place. Most fixtures have a few common ways of securing the bulb, including screws, clips, or a twist-off design.
- Unscrew or unclip the bulb: Depending on the type of fixture, use your hand or a screwdriver to unscrew the bulb counterclockwise if it has a screw base. If the bulb is held in place with clips, gently press and release the clips to release the bulb. For twist-off designs, carefully turn the bulb counterclockwise until it comes loose.
- Remove the old bulb: Once the bulb is released from its fixture, gently pull it straight out or carefully twist it counterclockwise to remove it from the socket.
It’s important to handle the old bulb with care to avoid any potential injuries. If the bulb is broken or damaged, use a broom or dustpan to carefully clean up the glass fragments, and dispose of them properly.
With the old light bulb removed, you’re now ready to move on to the next step, which involves choosing a suitable replacement bulb.
Make sure the power is off before attempting to change the light bulb. Use a sturdy step ladder to reach the ceiling fixture and carefully unscrew the old bulb, then replace it with a new one of the same wattage.
Step 4: Choose a replacement light bulb
Choosing the right replacement light bulb is essential for proper lighting and energy efficiency. Here are some factors to consider when selecting a new bulb:
- Bulb type: Determine the type of bulb that is compatible with your fixture. Common types include incandescent, LED, CFL (compact fluorescent), and halogen bulbs. Each type has its own advantages and energy efficiency ratings.
- Brightness: Consider the desired brightness level for the room. Bulbs are measured in lumens, which indicate the amount of light output. Higher lumens indicate brighter bulbs.
- Color temperature: Decide on the color temperature that suits your preference. Color temperature is measured in Kelvin (K) and ranges from warm yellowish tones (2700K) to cool white tones (5000K and above).
- Bulb shape and size: Ensure that the replacement bulb matches the shape and size of the old bulb to fit properly within the fixture. Common shapes include A19, BR30, PAR30, and G25, among others.
- Energy efficiency: Opt for energy-efficient bulbs like LED or CFL, which can help reduce energy consumption and lower electricity costs over time.
Refer to the packaging or consult with a lighting specialist to determine the specifications and suitability of the replacement bulb for your specific fixture.
Once you have chosen the right replacement bulb, you’re ready to proceed to the next step of installing the new light bulb and restoring power to the fixture.
Read more: How To Change A Bulb In An LED Ceiling Light
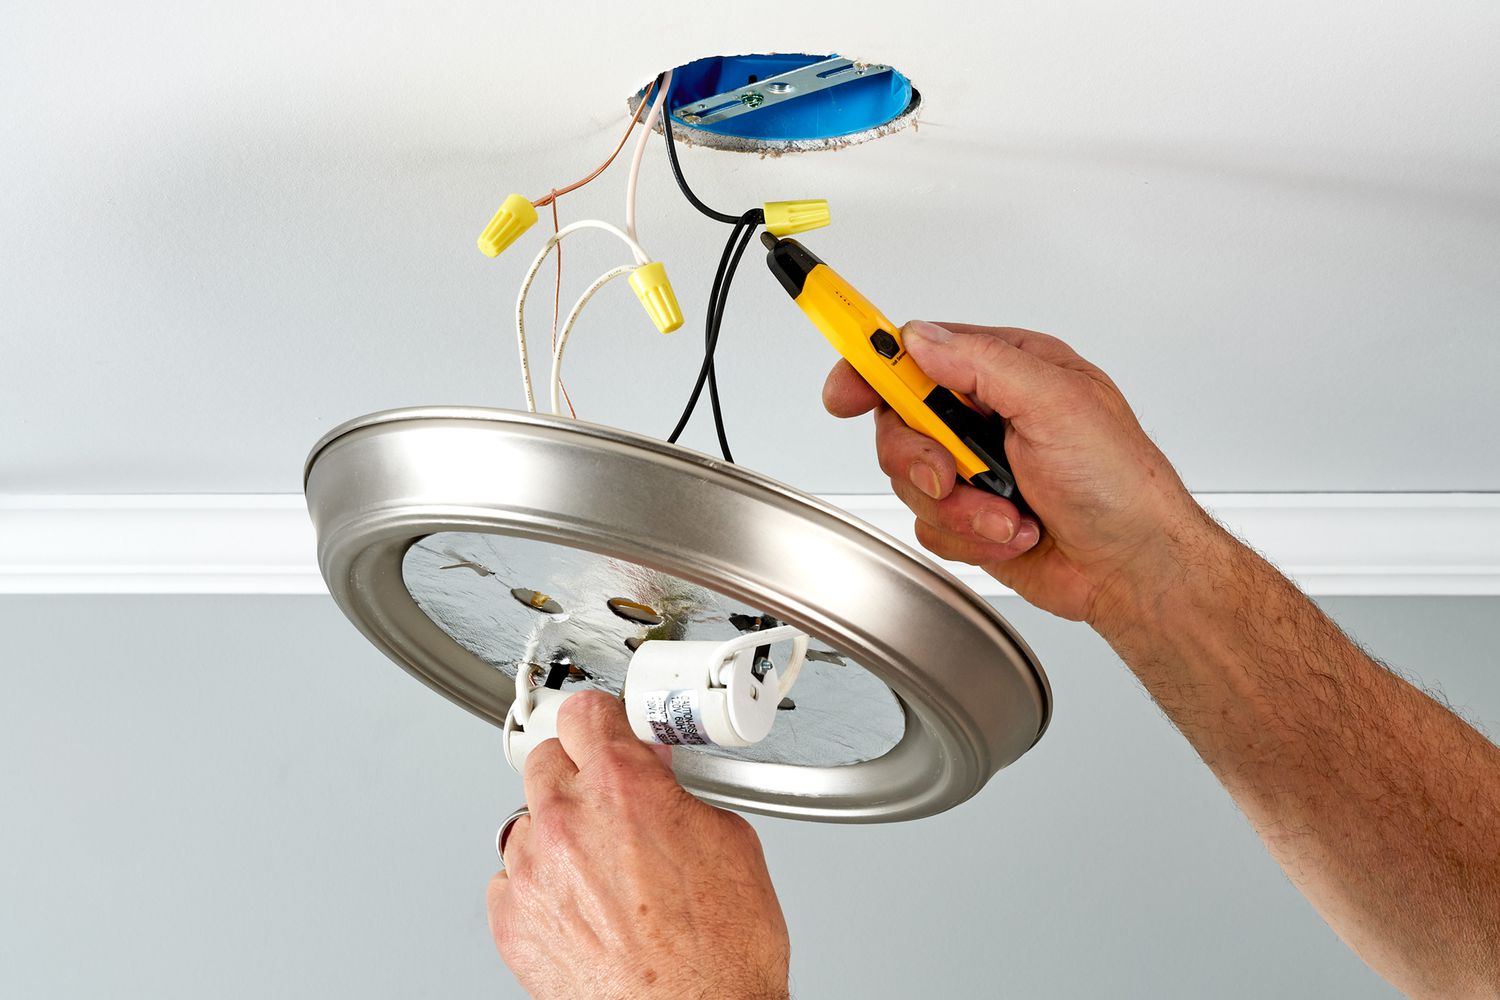
Step 5: Install the new light bulb
Now that you have selected the right replacement light bulb, it’s time to install it in the ceiling fixture. Follow these steps:
- Position the ladder or step stool: Place the ladder or step stool securely beneath the light fixture, ensuring your safety while working.
- Handle the new bulb with care: Put on a pair of gloves or use a dry cloth or tissue to handle the new light bulb. Avoid touching the glass surface with your bare hands, as the natural oils from your skin can cause the bulb to heat unevenly and potentially reduce its lifespan.
- Align the new bulb: Align the base of the new bulb with the socket of the fixture, ensuring a snug fit. If the bulb has a screw base, rotate it clockwise until it is securely in place. For twist-off designs, carefully insert the bulb into the socket and turn it clockwise until it is firmly seated.
- Test the bulb: Turn the power supply back on by flipping the circuit breaker switch. Then, switch on the light to test the new bulb. Make sure it illuminates properly and there are no flickering or dimming issues.
If the new bulb is functioning correctly and providing the desired lighting, congratulations! You have successfully installed the new light bulb.
If the bulb does not light up or there are any issues, double-check that the power supply is turned on, the bulb is securely installed, and the fixture is in good working condition. If the problem persists, it may indicate a larger electrical issue, and it’s advisable to seek the assistance of a qualified electrician.
Now that the new light bulb is in place and functioning properly, you can move on to the final step: restoring the power supply to the light fixture.
Step 6: Restore the power supply
After successfully installing the new light bulb and ensuring it functions properly, it’s time to restore the power supply to the light fixture. Follow these steps:
- Make sure the light switch is in the “off” position: Before restoring the power supply, ensure that the light switch connected to the fixture is in the “off” position. This will prevent any sudden illumination or potential electrical hazards during the reconnection process.
- Locate the circuit breaker panel: Return to the circuit breaker panel in your home, typically located in the basement, utility room, or garage.
- Identify the correct breaker: Locate the breaker that corresponds to the room or area where the light fixture is located. Remember the position or label of this breaker for easy access in the future.
- Flip the switch to “on”: Gently flip the correct breaker switch to the “on” position, restoring the power supply to the light fixture. You should hear a click or feel a slight resistance when the breaker engages.
After restoring the power supply, take a moment to test the light switch connected to the fixture. Flip it to the “on” position and ensure that the newly installed light bulb illuminates as expected.
Congratulations! You have successfully changed the light bulb in your ceiling fixture. Now you can enjoy the improved illumination and energy efficiency of your new bulb.
Remember to dispose of the old light bulb properly by recycling if possible or following any local guidelines for safe disposal of household waste.
Thank you for following this step-by-step guide. We hope it has been helpful in assisting you with changing a light bulb in the ceiling.
Conclusion
Changing a light bulb in the ceiling may seem like a small task, but it’s important to approach it with proper knowledge and caution. By following the steps outlined in this guide, you can safely and effectively change a light bulb in your ceiling fixture.
Remember to gather the necessary tools, such as a compatible replacement bulb, ladder or step stool, gloves, and a cloth for handling the bulb. Prioritize safety by turning off the power supply and allowing the bulb to cool before handling it.
Removing the old bulb requires understanding the fixture and using the appropriate method, whether it’s unscrewing, unclipping, or twisting. Then, carefully dispose of the old bulb if it’s broken or damaged.
Choosing the right replacement bulb is crucial for optimal lighting and energy efficiency. Consider factors such as bulb type, brightness, color temperature, shape, and energy efficiency to make the best choice.
Installing the new bulb involves aligning it with the socket and securely fastening it. Test the bulb to ensure it illuminates properly and resolve any issues if it doesn’t.
Lastly, restore the power supply by flipping the circuit breaker switch back to the “on” position. Test the light switch and enjoy the improved lighting provided by your newly installed bulb.
Changing a light bulb may be a simple task, but doing it correctly ensures safety, efficiency, and optimal lighting in your space. By following these steps, you can confidently change a light bulb in your ceiling and brighten up your surroundings.
Thank you for choosing this comprehensive guide. We hope it has been informative and helpful for your light bulb changing endeavors.
Now that you've mastered changing a ceiling light bulb, why not extend your DIY skills further? For more tips on keeping your home in top shape, check out our guide on routine upkeep tasks every homeowner should perform. From checking smoke detectors to cleaning gutters, learn all about essential home maintenance that can save you money and prevent future headaches.
Frequently Asked Questions about How To Change Light Bulb In The Ceiling
Was this page helpful?
At Storables.com, we guarantee accurate and reliable information. Our content, validated by Expert Board Contributors, is crafted following stringent Editorial Policies. We're committed to providing you with well-researched, expert-backed insights for all your informational needs.


0 thoughts on “How To Change Light Bulb In The Ceiling”