Home>Home Appliances>Lighting Appliances>How To Change A Bulb In An LED Ceiling Light
Lighting Appliances
How To Change A Bulb In An LED Ceiling Light
Modified: February 17, 2024
Learn how to easily change a bulb in an LED ceiling light with our step-by-step guide. Keep your lighting appliances shining bright with our expert tips.
(Many of the links in this article redirect to a specific reviewed product. Your purchase of these products through affiliate links helps to generate commission for Storables.com, at no extra cost. Learn more)
Introduction
Changing a bulb in an LED ceiling light may seem like a simple task, but it's essential to approach it with caution and precision to ensure safety and optimal performance. Whether you're replacing a burnt-out bulb or upgrading to a more energy-efficient option, this step-by-step guide will walk you through the process, empowering you to tackle this task with confidence.
LED ceiling lights have gained popularity for their longevity, energy efficiency, and superior illumination. Unlike traditional incandescent bulbs, LED bulbs can last for tens of thousands of hours, significantly reducing the frequency of replacements. However, when the time comes to change the bulb, it's crucial to follow the correct procedure to avoid accidents and damage to the fixture.
In this comprehensive guide, you'll learn the necessary steps to safely and effectively replace a bulb in an LED ceiling light. From turning off the power to testing the newly installed bulb, each step is designed to streamline the process and ensure a successful outcome. By following these instructions, you'll not only enhance the functionality of your LED ceiling light but also contribute to a safer and more sustainable lighting environment in your home or workspace.
Now, let's delve into the step-by-step process of changing a bulb in an LED ceiling light, equipping you with the knowledge and skills to carry out this task seamlessly. Whether you're a seasoned DIY enthusiast or a novice in the realm of home maintenance, this guide will empower you to navigate the intricacies of LED lighting with ease and confidence.
Key Takeaways:
- Changing a bulb in an LED ceiling light requires caution and precision. Always turn off the power first to ensure safety and follow the specific steps for removing the old bulb and inserting the new one.
- After turning off the power, carefully remove the old bulb and insert the new one. Then, restore the power and test the light to ensure proper functionality. Following these steps ensures a successful and safe bulb replacement.
Read more: How To Change Light Bulb In The Ceiling
Step 1: Turn Off the Power
Before embarking on the task of changing a bulb in an LED ceiling light, the first and most crucial step is to ensure that the power source to the fixture is completely turned off. This is a fundamental safety measure that minimizes the risk of electrical shock and protects both the individual performing the task and the integrity of the fixture itself.
To begin, locate the circuit breaker or fuse box that controls the power supply to the LED ceiling light. In most residential settings, the circuit breaker panel is situated in a utility area, such as a basement or garage. Once you have identified the correct circuit, switch off the corresponding breaker to cut off electricity to the light fixture. If your home is equipped with a fuse box, carefully remove the fuse that controls the lighting circuit.
After deactivating the power source, it is advisable to use a non-contact voltage tester to verify that the electricity to the LED ceiling light has indeed been disconnected. This handheld device can detect the presence of electrical current without direct contact, providing an added layer of assurance before proceeding with the bulb replacement.
It is important to exercise caution and patience during this step, as working with electrical systems demands a meticulous approach. Even if you are confident that the power has been turned off, always treat the wiring and components as if they are live until proven otherwise. This mindset fosters a safety-conscious environment and reduces the likelihood of accidents or mishaps.
By diligently adhering to the protocol of turning off the power before initiating any work on the LED ceiling light, you establish a secure foundation for the subsequent steps in the bulb replacement process. This proactive approach not only safeguards against potential hazards but also underscores the significance of prioritizing safety in all home maintenance endeavors.
With the power supply effectively shut off and verified, you are now ready to proceed to the next phase of replacing the bulb in your LED ceiling light. This pivotal first step sets the stage for a methodical and secure execution of the entire process, ensuring a seamless transition to the subsequent tasks at hand.
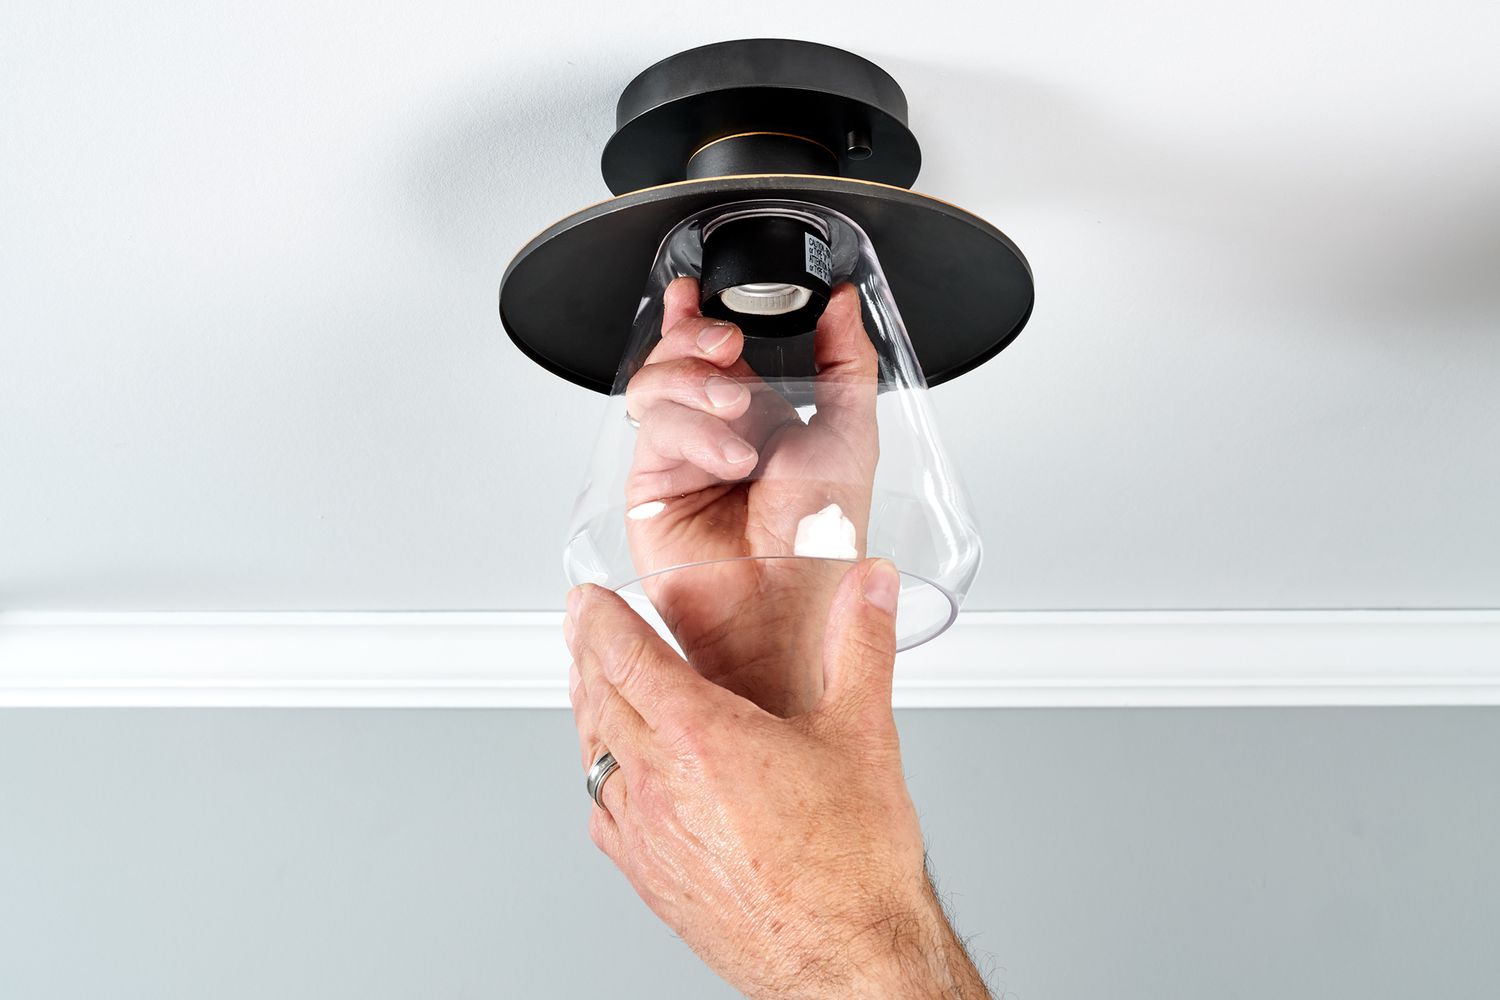
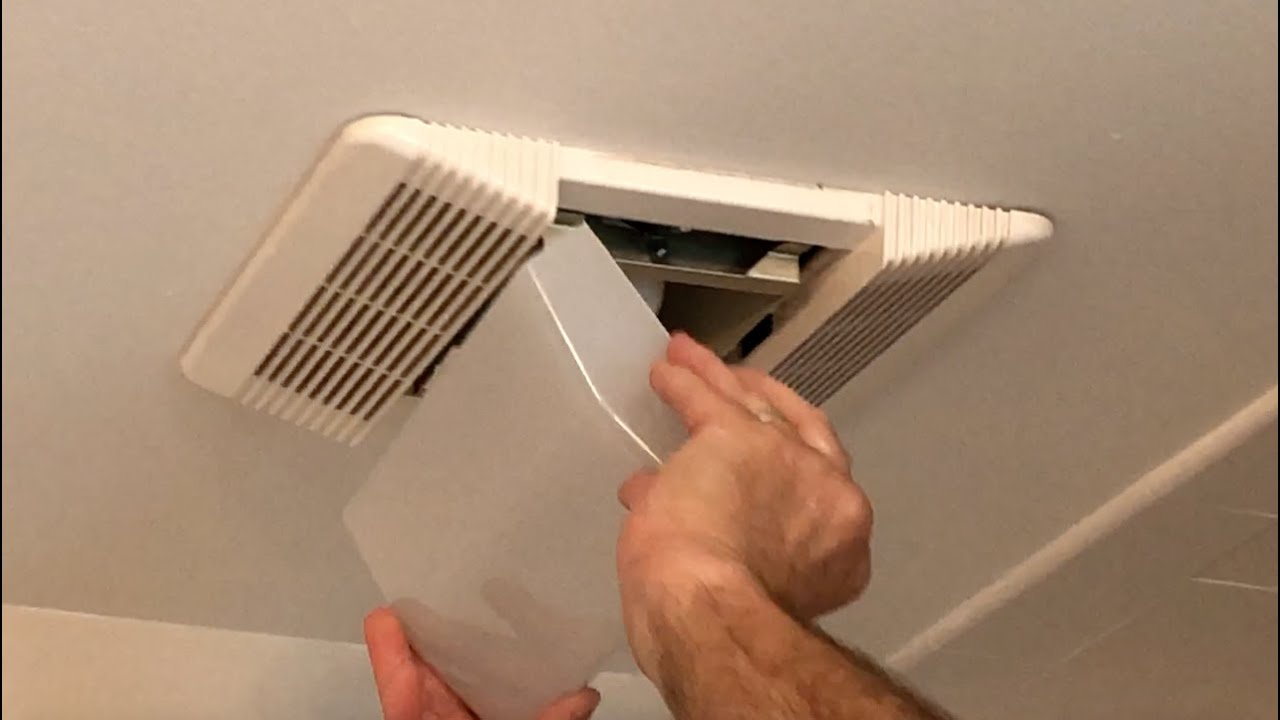
Step 2: Remove the Old Bulb
With the power supply to the LED ceiling light safely turned off, the next step in the bulb replacement process is to remove the old bulb from the fixture. This phase requires a delicate touch and attentiveness to detail to avoid any damage to the fixture or potential injury. Here's a detailed breakdown of the procedure to effectively remove the old bulb:
-
Allow the Bulb to Cool: If the LED ceiling light was in use prior to initiating the replacement process, it's essential to allow the old bulb to cool down. LED bulbs, like their incandescent counterparts, can generate heat during operation. Allowing the bulb to cool for a few minutes reduces the risk of accidental burns and ensures a safer handling experience.
-
Identify the Retention Mechanism: LED ceiling lights are designed with various retention mechanisms to secure the bulb in place. Common retention methods include twist-in, push-in, or spring-loaded mechanisms. Carefully examine the fixture to identify the specific method used to secure the old bulb. This step is crucial as it dictates the approach required to remove the bulb without causing damage to the fixture.
-
Gently Remove the Bulb: Once you have identified the retention mechanism, proceed to remove the old bulb from the fixture. For twist-in bulbs, carefully rotate the bulb counterclockwise until it disengages from the socket. If the bulb is secured using a push-in or spring-loaded mechanism, apply gentle pressure to release the bulb from its housing. Exercise caution to avoid excessive force, as this can lead to breakage or damage to the fixture.
-
Inspect the Fixture: After successfully removing the old bulb, take a moment to inspect the interior of the fixture. Look for any accumulated dust or debris that may have accumulated over time. If necessary, use a soft, dry cloth to gently clean the interior of the fixture, ensuring that the new bulb will be installed in a clean and well-maintained environment.
-
Dispose of the Old Bulb: LED bulbs are designed to be long-lasting and energy-efficient, but eventually, they reach the end of their lifespan. When removing the old bulb, handle it with care and dispose of it in accordance with local regulations for proper electronic waste disposal. Many communities offer recycling programs for old bulbs to minimize environmental impact.
By meticulously following these steps, you can safely and effectively remove the old bulb from your LED ceiling light fixture, paving the way for the seamless installation of a new bulb. This phase of the process sets the stage for the subsequent step of inserting the new bulb, ensuring a smooth transition and optimal functionality of the lighting fixture.
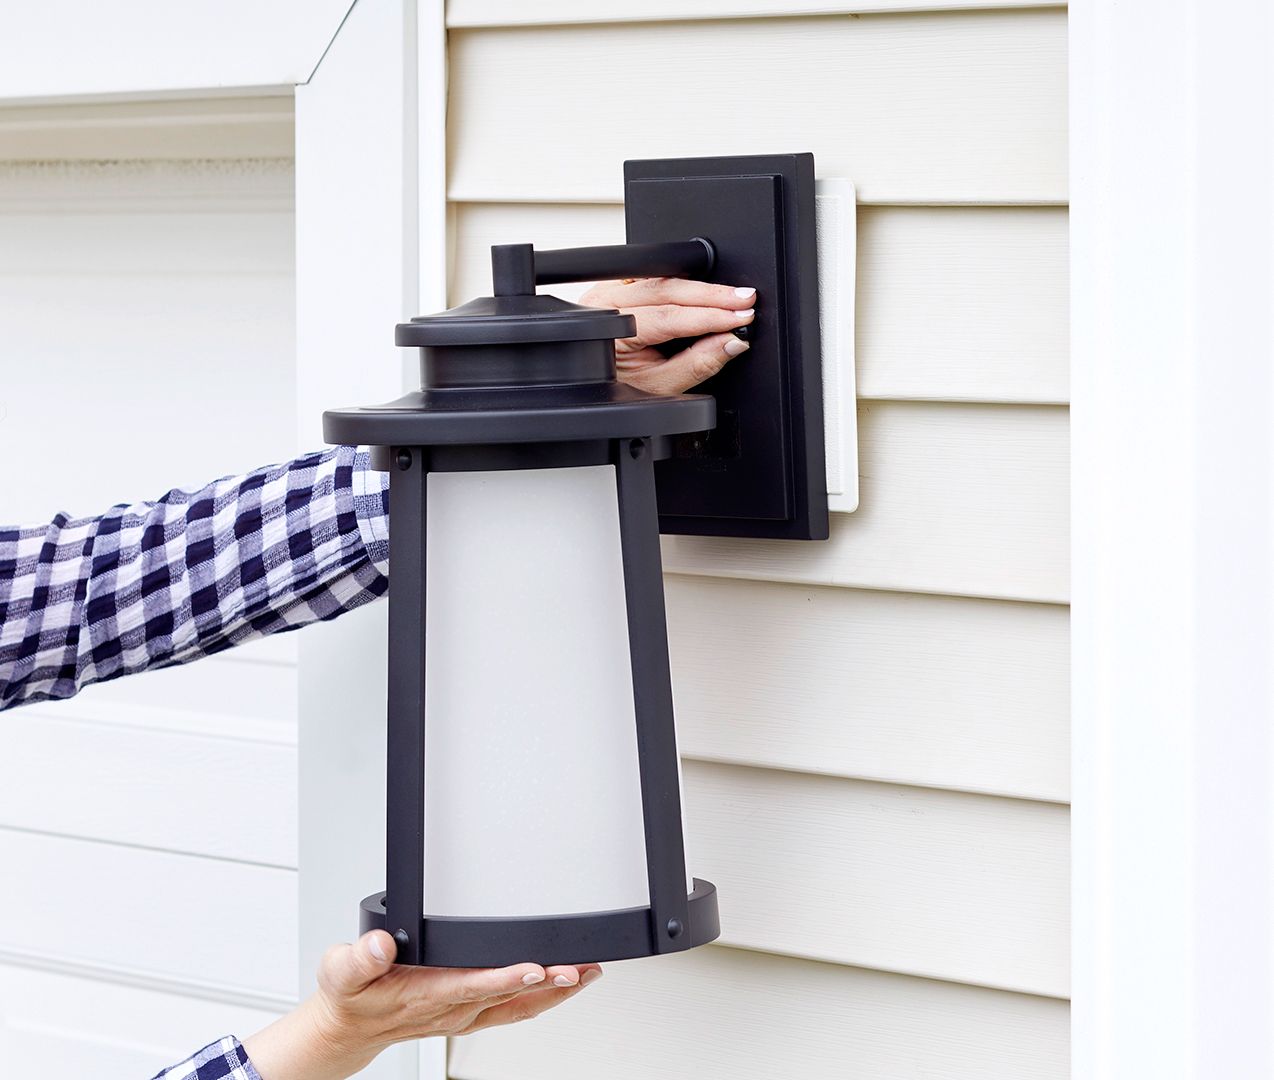
Make sure the power is off before changing the bulb. Use a ladder if needed and gently twist the old bulb out. Then, insert the new LED bulb and twist it in place.
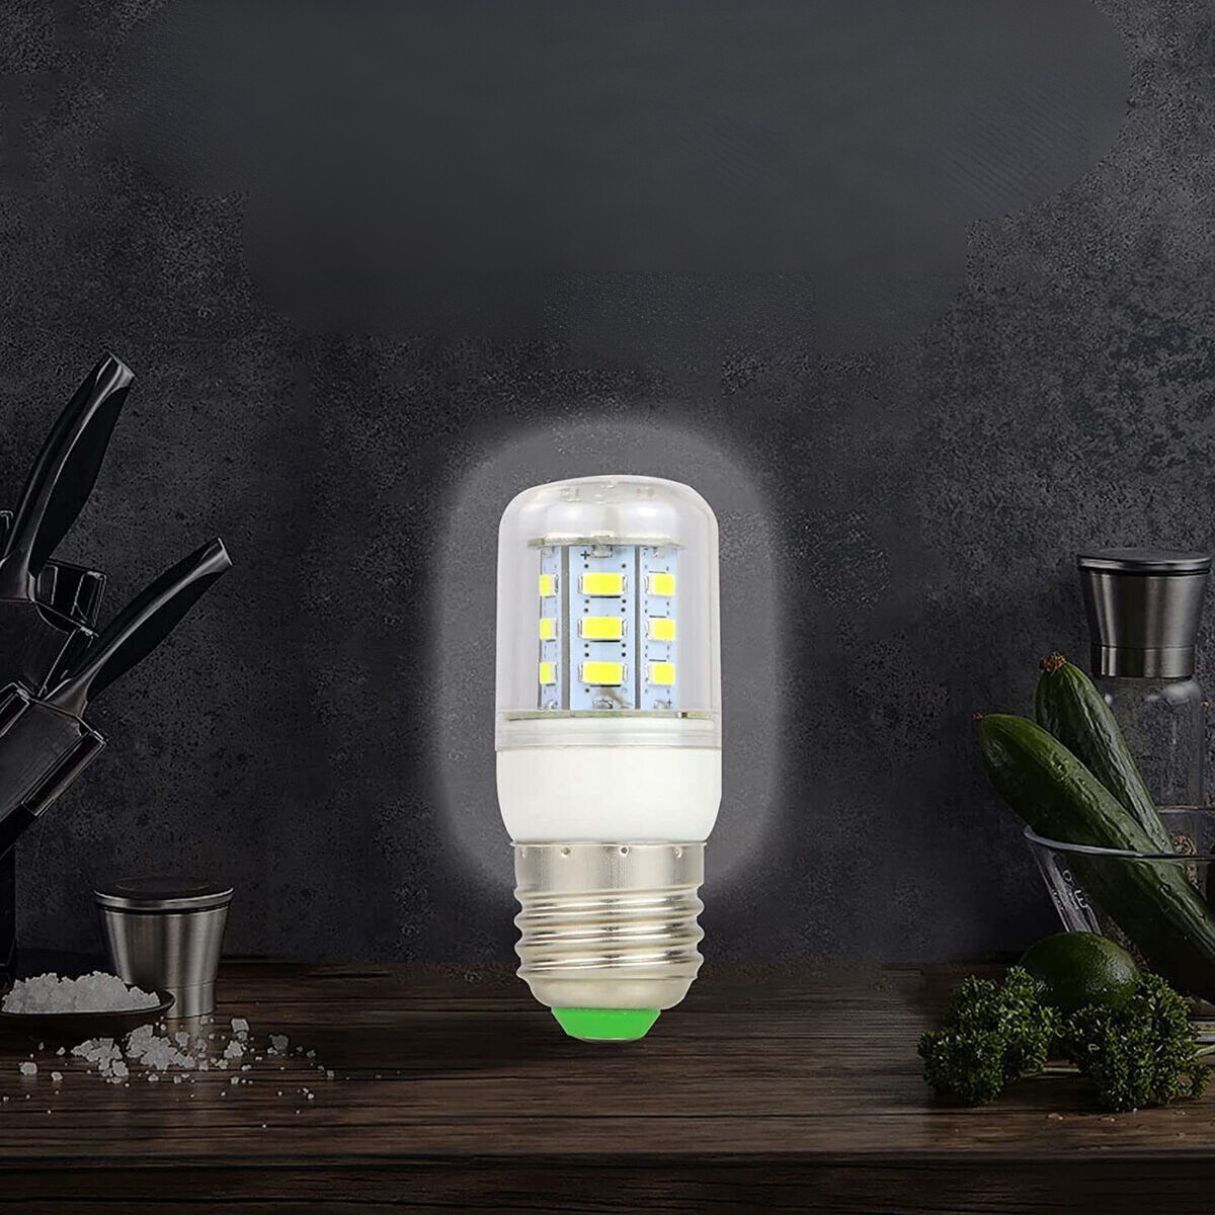
Step 3: Insert the New Bulb
With the old bulb successfully removed and the fixture inspected, it's time to proceed with the pivotal step of inserting the new bulb into the LED ceiling light. This phase demands precision and care to ensure a secure and functional installation. Here's a comprehensive guide to effectively insert the new bulb:
-
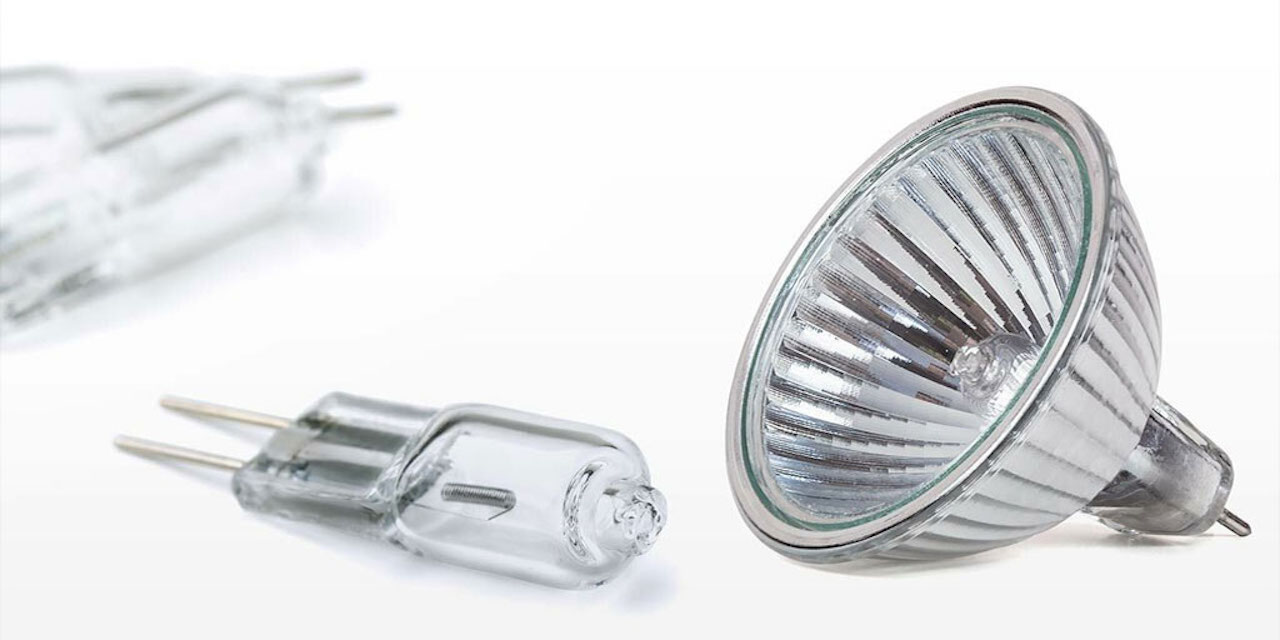
Select the Correct Bulb: Before proceeding, ensure that the replacement bulb is compatible with the LED ceiling light fixture. Check the wattage, size, and base type to guarantee a proper fit. LED bulbs come in various shapes and sizes, so it's essential to choose one that aligns with the specifications of the fixture.
-
Handle the New Bulb with Care: When handling the new LED bulb, avoid touching the actual LED components. Oils and debris from the skin can affect the performance and longevity of the bulb. Hold the bulb by the base or use gloves to prevent direct contact with the LED elements.
-
Align and Insert the Bulb: Position the new bulb at the opening of the fixture, aligning the base with the socket. For twist-in bulbs, carefully insert the base into the socket and rotate it clockwise until it securely locks in place. If the bulb utilizes a push-in or spring-loaded mechanism, apply gentle pressure to insert it into the housing until it is firmly seated.
-
Test the Fit and Functionality: Once the new bulb is inserted, perform a brief test to ensure that it is properly seated and functioning as expected. Turn on the power to the LED ceiling light and observe the illumination. If the bulb fails to light up or flickers intermittently, it may not be fully inserted or compatible with the fixture. In such cases, turn off the power and re-evaluate the bulb's fit before proceeding.
-
Secure the Bulb: After confirming that the new bulb is functioning correctly, secure it in place according to the specific retention mechanism of the fixture. For twist-in bulbs, ensure that it is firmly twisted into the socket. If the bulb utilizes a push-in or spring-loaded mechanism, verify that it is securely seated within the housing.
By meticulously following these steps, you can seamlessly insert a new bulb into your LED ceiling light, ensuring optimal performance and longevity. This phase of the process sets the stage for the subsequent step of turning on the power and testing the newly installed bulb, marking a significant milestone in the successful replacement of the LED bulb.
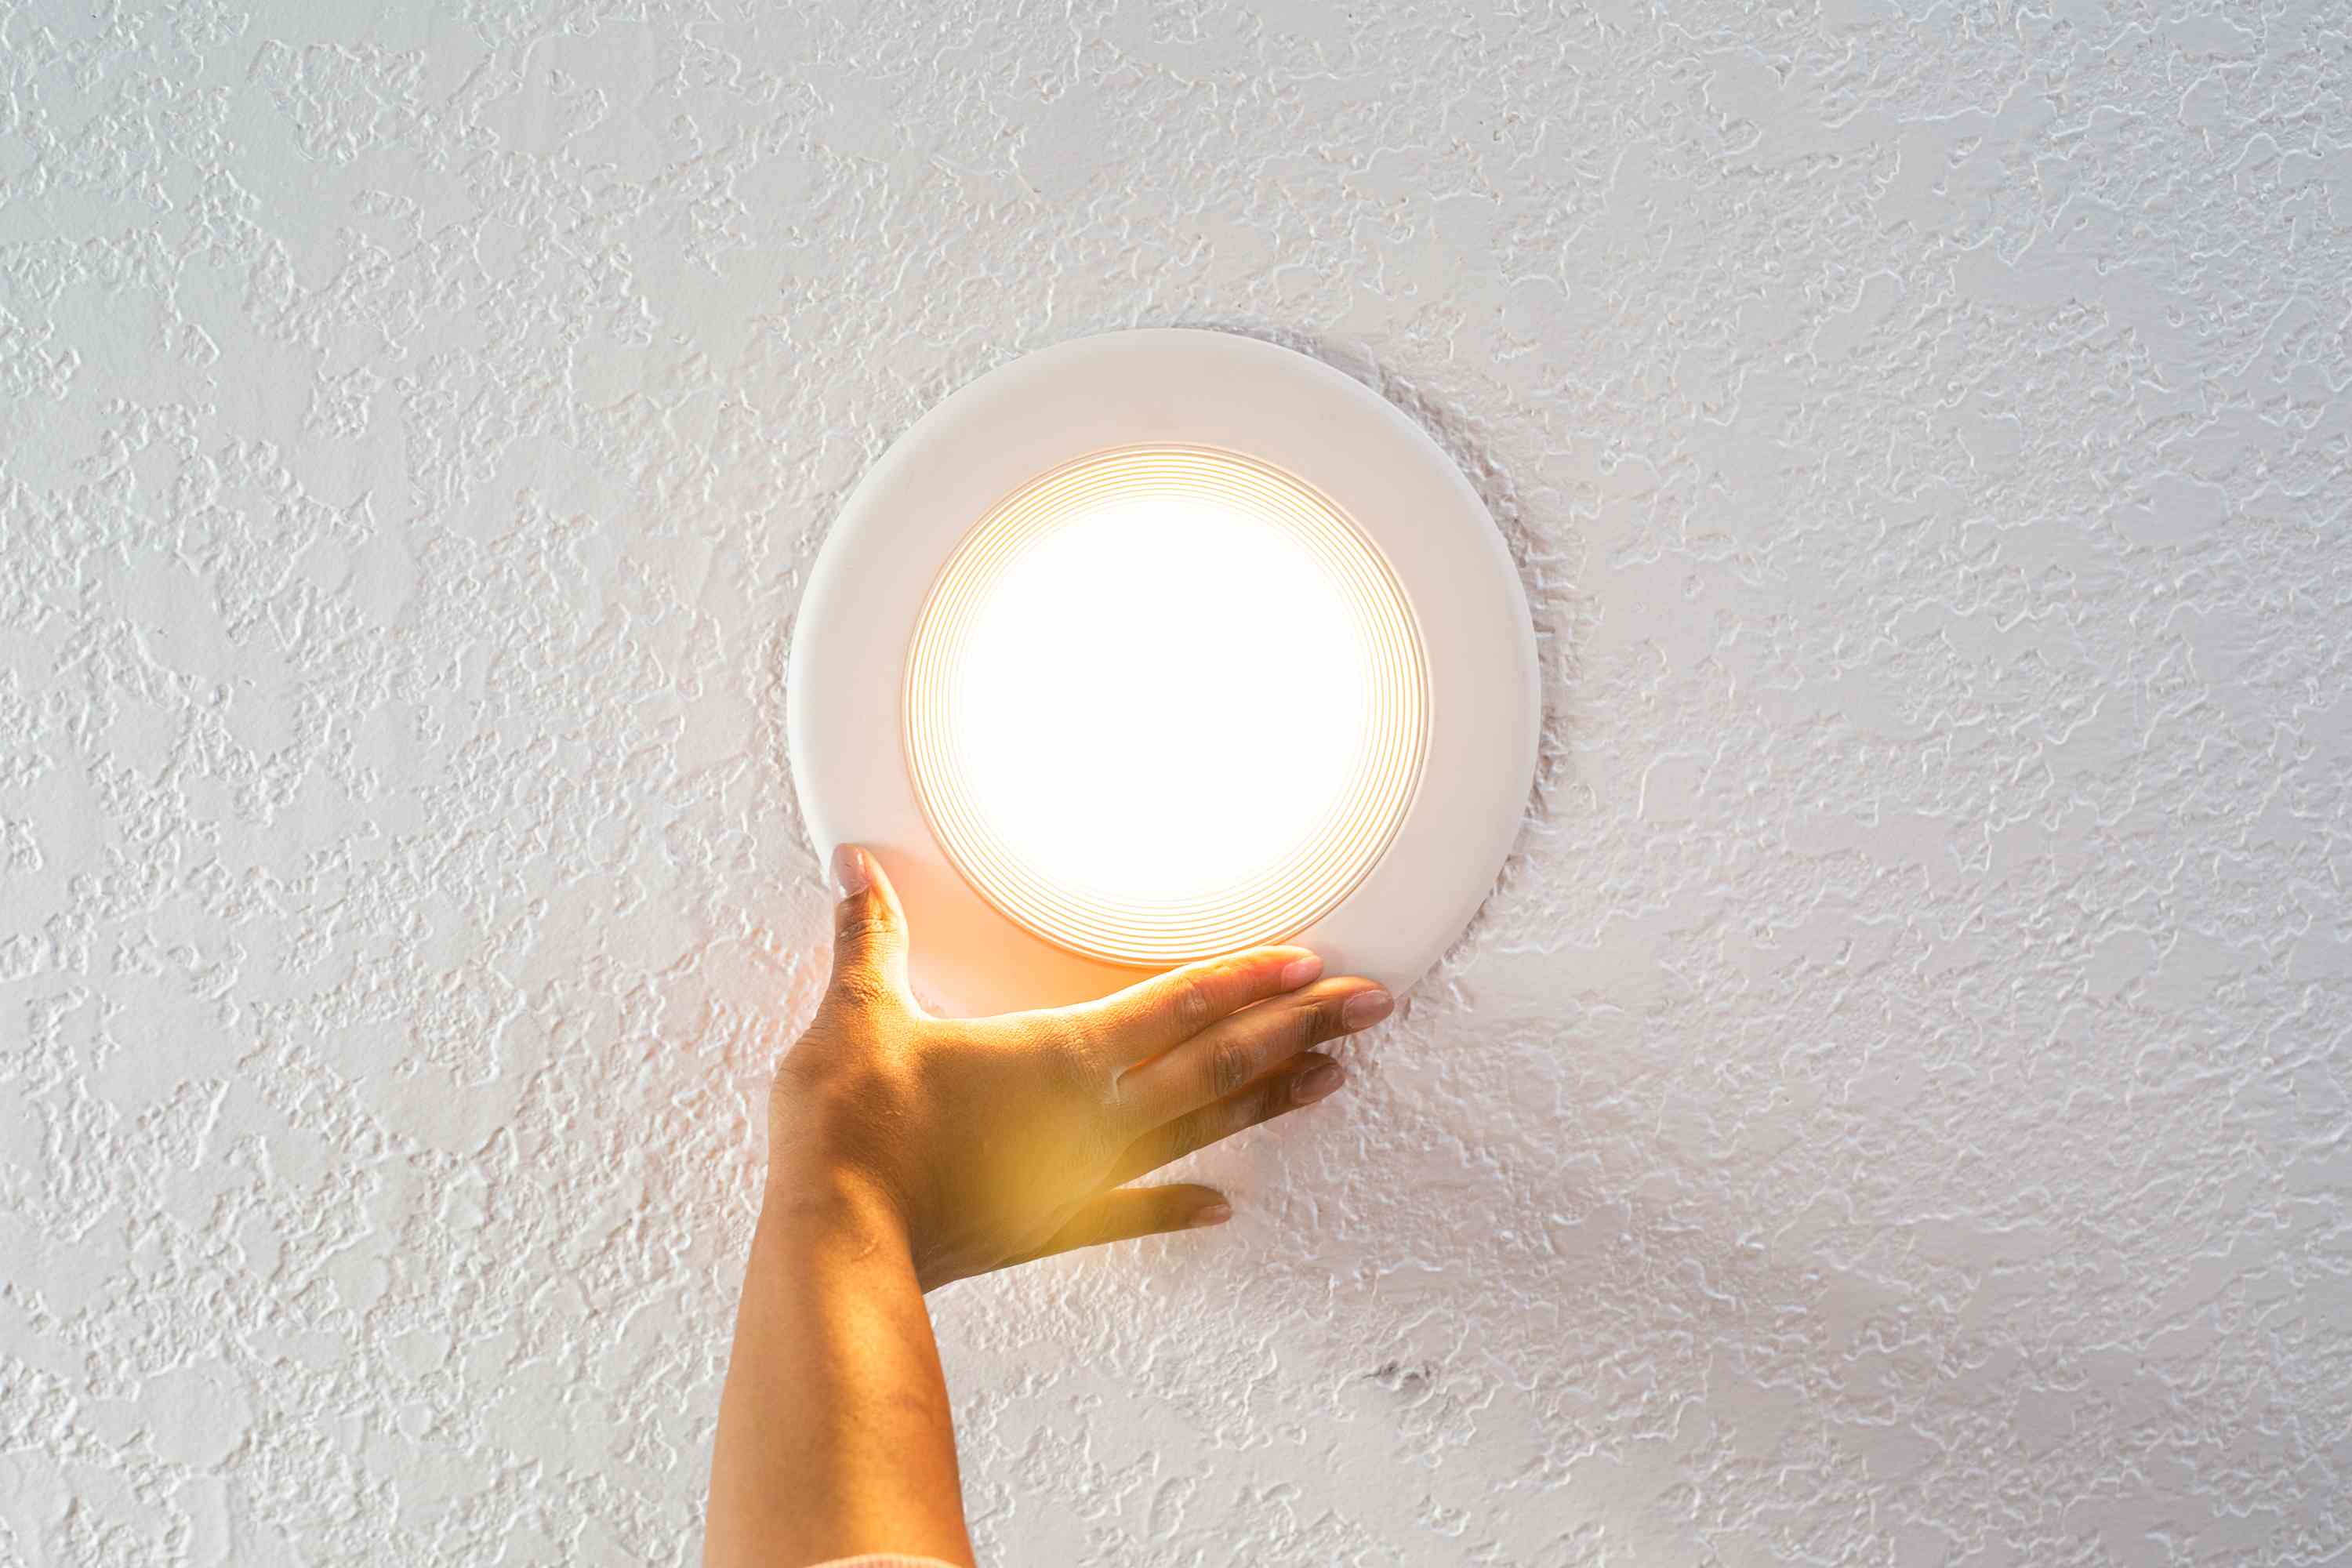
Step 4: Turn On the Power and Test the Light
With the new bulb securely in place, the final step in the process of changing a bulb in an LED ceiling light is to restore power to the fixture and conduct a thorough test to ensure proper functionality. This critical phase marks the culmination of the replacement process and allows for the verification of a successful bulb installation. Here's a detailed breakdown of the procedure to effectively turn on the power and test the light:
-
Restore the Power: Return to the circuit breaker panel or fuse box and carefully switch the breaker back on or reinsert the fuse that controls the LED ceiling light. Exercise caution and attentiveness during this step to prevent any accidental contact with live electrical components. Once the power is restored, proceed to the LED ceiling light fixture to initiate the testing phase.
-
Turn On the Light: With the power reinstated, activate the switch or control mechanism that governs the LED ceiling light. Observe the fixture as it illuminates, paying close attention to the brightness, color temperature, and overall functionality of the newly installed bulb. A properly inserted and compatible LED bulb should emit a consistent, uniform light without flickering or dimming irregularities.
-
Evaluate the Illumination: Take a moment to assess the quality of the light emitted by the LED bulb. Note any discrepancies in brightness or color compared to the previous bulb, as this may indicate compatibility issues or the need for further adjustments. Additionally, observe the surrounding area to ensure that the light adequately illuminates the intended space without any shadows or dark spots.
-
Check for Flickering or Irregularities: As the LED ceiling light operates, be vigilant for any signs of flickering or irregularities in the illumination. LED bulbs are renowned for their stable and consistent performance, so any flickering or fluctuation in brightness may signal an improper installation or an incompatible bulb. If such issues arise, promptly turn off the power and reevaluate the bulb's fit and compatibility with the fixture.
-
Ensure Proper Functionality: Test the functionality of any additional features or settings associated with the LED ceiling light, such as dimming capabilities or adjustable color temperatures. Verify that these functions operate as intended and that the new bulb seamlessly integrates with the fixture's advanced features, if applicable.
By meticulously following these steps, you can confidently turn on the power and test the newly installed bulb in your LED ceiling light, ensuring optimal functionality and performance. This final phase of the replacement process serves as a crucial validation of the successful bulb replacement, affirming the seamless integration of the new bulb into the lighting fixture.
Read more: How To Change A Light Bulb
Conclusion
In conclusion, the process of changing a bulb in an LED ceiling light encompasses a series of meticulous steps designed to ensure safety, precision, and optimal functionality. By adhering to the outlined procedure, individuals can confidently navigate the task of replacing an LED bulb, contributing to a safer and more sustainable lighting environment in their homes or workspaces.
The significance of prioritizing safety cannot be overstated, as evidenced by the initial step of turning off the power to the LED ceiling light. This fundamental precautionary measure sets the stage for a secure and controlled environment, mitigating the risk of electrical shock and safeguarding both the individual performing the task and the integrity of the fixture. By exercising caution and attentiveness during this critical phase, individuals establish a safety-conscious foundation for the subsequent steps in the bulb replacement process.
The meticulous approach to removing the old bulb and inserting the new one underscores the importance of precision and care. By allowing the old bulb to cool, identifying the retention mechanism, and handling the new bulb with caution, individuals can navigate the delicate process of bulb replacement with confidence and finesse. The emphasis on proper handling and alignment of the new bulb ensures a secure and functional installation, setting the stage for a seamless transition to the final phase of testing and validation.
The culmination of the replacement process, marked by the restoration of power and thorough testing of the newly installed bulb, serves as a pivotal validation of the successful bulb replacement. By meticulously evaluating the illumination, checking for irregularities, and ensuring proper functionality, individuals can affirm the seamless integration of the new bulb into the LED ceiling light fixture, culminating in a successful and rewarding endeavor.
In essence, the process of changing a bulb in an LED ceiling light transcends the simple act of replacement, embodying a commitment to safety, precision, and sustainability. By following the comprehensive guide outlined in this article, individuals can approach the task with confidence and proficiency, ultimately contributing to a safer, more efficient, and environmentally conscious lighting environment.
Frequently Asked Questions about How To Change A Bulb In An LED Ceiling Light
Was this page helpful?
At Storables.com, we guarantee accurate and reliable information. Our content, validated by Expert Board Contributors, is crafted following stringent Editorial Policies. We're committed to providing you with well-researched, expert-backed insights for all your informational needs.


0 thoughts on “How To Change A Bulb In An LED Ceiling Light”