Articles
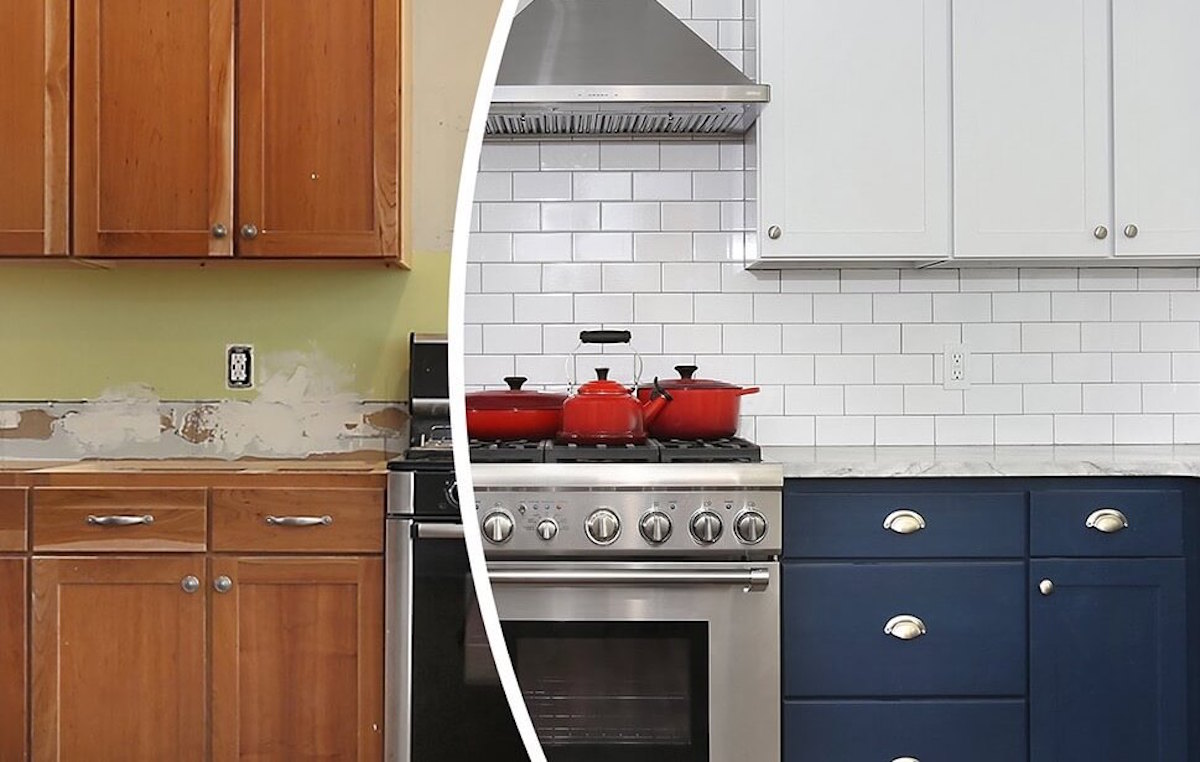
How To Change Kitchen Countertops
Modified: February 23, 2024
Learn how to change kitchen countertops with our informative and detailed articles. Discover step-by-step instructions, tips, and expert advice to transform your kitchen.
(Many of the links in this article redirect to a specific reviewed product. Your purchase of these products through affiliate links helps to generate commission for Storables.com, at no extra cost. Learn more)
Introduction
Welcome to our comprehensive guide on how to change kitchen countertops. The kitchen is the heart of the home, and the countertops play a crucial role in its functionality and aesthetic appeal. Whether you’re tired of your outdated countertops or simply want to upgrade to a more durable and beautiful surface, this article will provide you with all the information you need to successfully replace your kitchen countertops.
Changing your kitchen countertops can transform the look and feel of your entire kitchen. With so many options available, it’s important to understand the different types of countertops and choose the one that best fits your needs and preferences. Furthermore, proper planning, preparation, and installation are key to ensuring a successful countertop replacement project.
In the following sections, we will explore the various types of kitchen countertops, guide you through the process of assessing your current countertop, provide you with a list of tools and materials you will need, and detail the step-by-step process of removing the old countertop and installing the new one. We will also discuss how to properly seal and finish the new countertop, as well as provide maintenance and care tips to ensure its longevity.
Whether you are a seasoned DIY enthusiast or a beginner eager to take on a new home improvement project, this article will equip you with the knowledge and guidance to successfully change your kitchen countertops. So let’s dive in and discover the world of kitchen countertops and how you can take your kitchen to the next level!
Key Takeaways:
- Choosing the right kitchen countertop involves considering factors such as budget, style preferences, and maintenance requirements. Proper assessment and preparation are crucial for a successful countertop replacement project.
- After installing the new countertop, proper sealing, finishing touches, and proactive maintenance are essential for preserving its beauty and functionality. Following specific care guidelines for each countertop material is key to longevity.
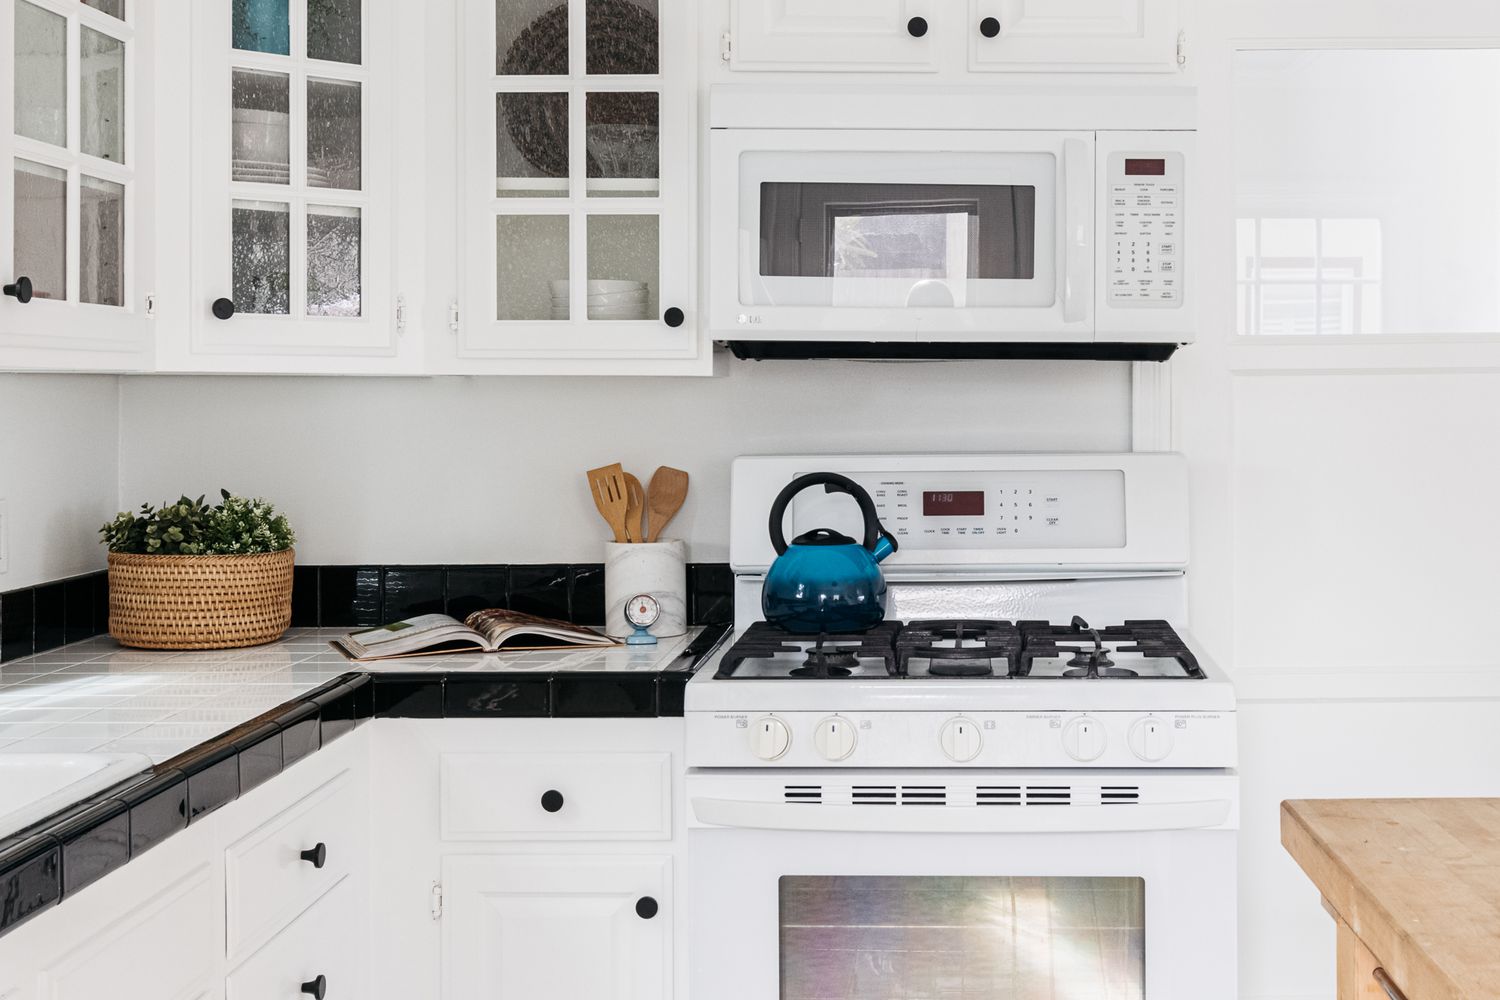
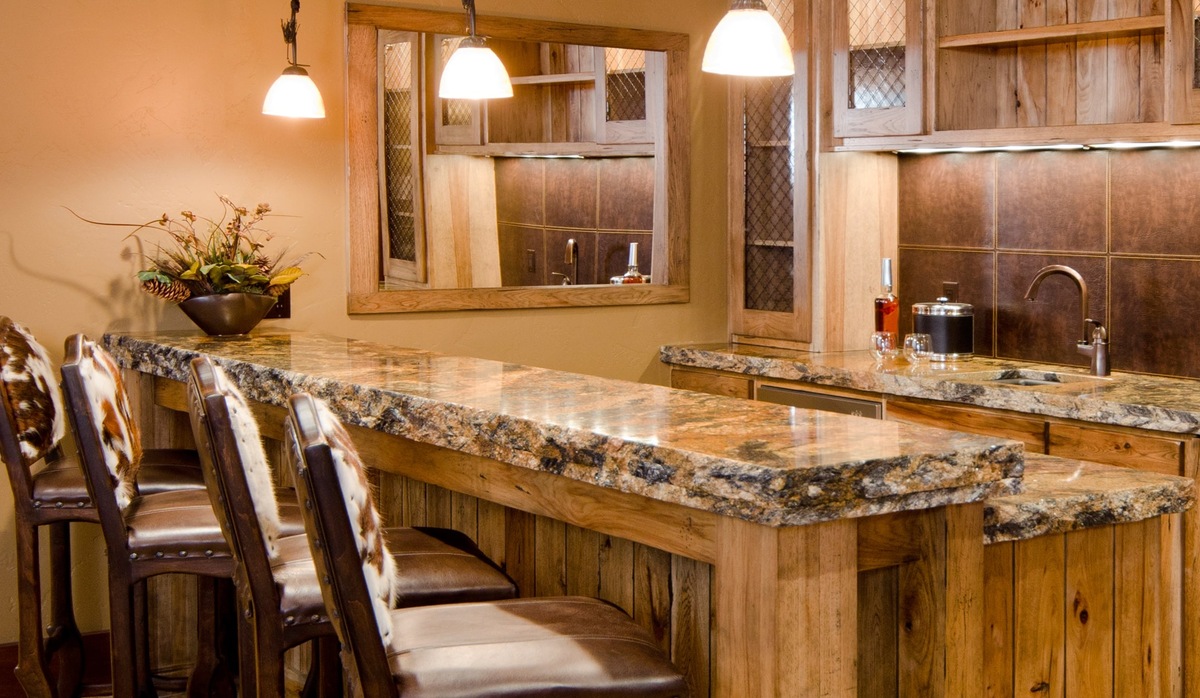
Types of Kitchen Countertops
When it comes to choosing a kitchen countertop, there are numerous options available, each with its own unique qualities and aesthetics. Here are some of the most popular types of kitchen countertops:
- Granite: Granite countertops are known for their durability and natural beauty. They are heat resistant, scratch resistant, and can withstand heavy use. Each granite slab is unique, with its own patterns and colors, adding a touch of elegance to any kitchen.
- Quartz: Quartz countertops are engineered stone made from quartz crystals and resin. They are non-porous, stain-resistant, and require minimal maintenance. Quartz countertops offer a wide range of colors and patterns, giving you flexibility in design.
- Marble: Marble countertops are a timeless choice known for their luxurious appearance. They are heat resistant and offer a cool surface for baking. However, marble is porous and requires sealing to avoid staining and etching from acidic substances.
- Solid Surface: Solid surface countertops, such as Corian, are made from acrylic or polyester materials. They are versatile, seamless, and provide a uniform look. Solid surface countertops are also easy to maintain and repair, as scratches can be sanded out.
- Laminate: Laminate countertops are affordable and come in a wide range of colors and patterns. They are easy to clean and resist stains, but they are not heat resistant or as durable as other options. Laminate countertops can be a budget-friendly choice for homeowners.
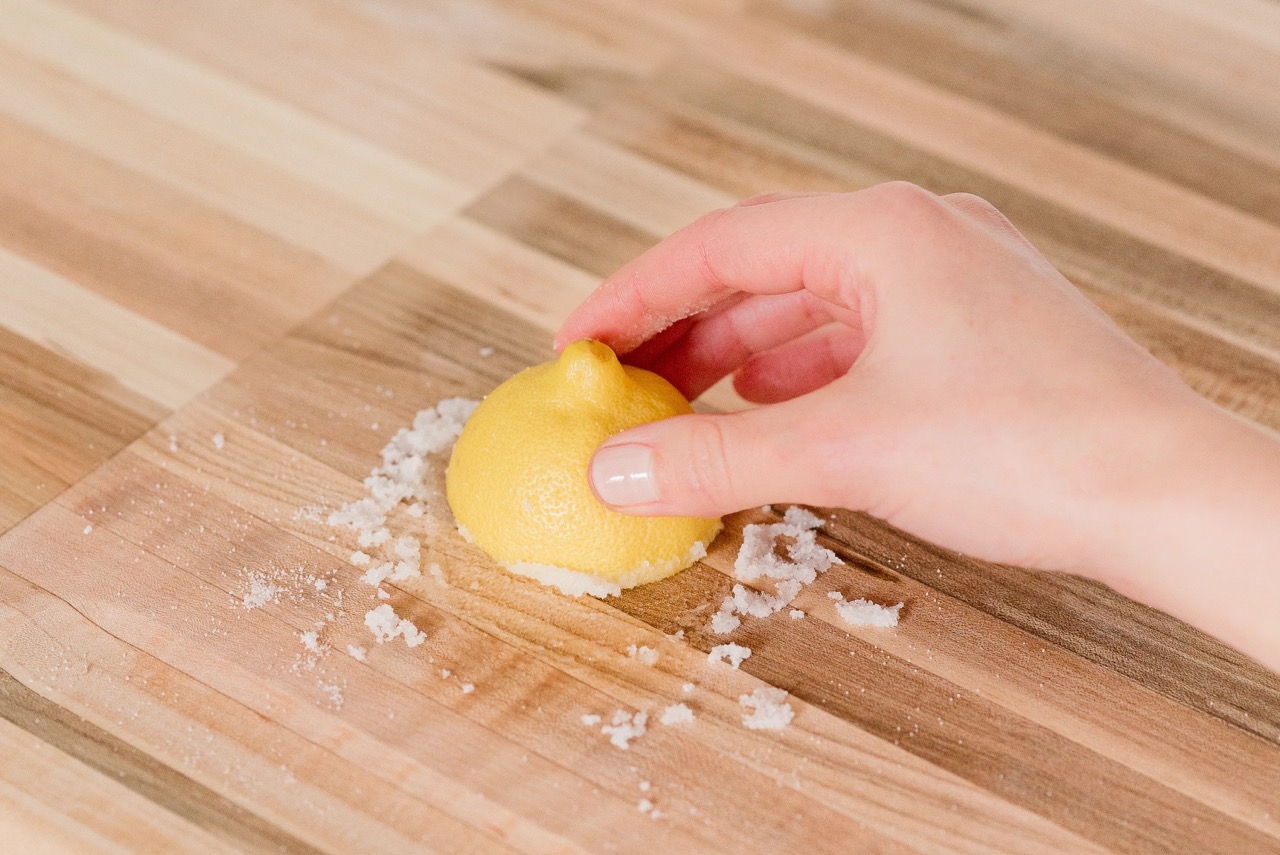
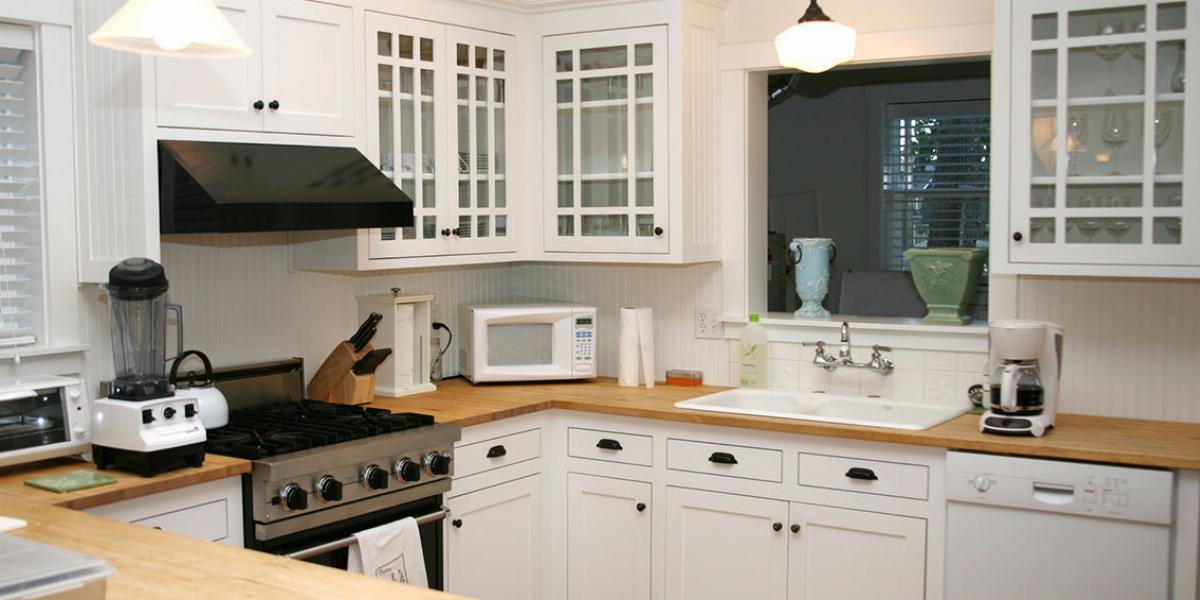
- Butcher Block: Butcher block countertops are made from wood, often maple, and provide a warm and rustic look. They are suitable for cutting and chopping, but require regular maintenance such as oiling to prevent drying and staining.
- Concrete: Concrete countertops offer a modern and industrial look. They are highly customizable, durable, and heat resistant. Concrete countertops require proper sealing and may develop hairline cracks over time.
- Stainless Steel: Stainless steel countertops are durable, heat resistant, and easy to clean. They provide a sleek and contemporary look; however, they can scratch and show fingerprints easily.
Choosing the right kitchen countertop involves considering factors such as your budget, style preferences, maintenance requirements, and countertop features. It’s also important to factor in the overall design and functionality of your kitchen to ensure your chosen countertop complements the space. With the variety of options available, you can find a kitchen countertop that fits your needs and enhances the overall look of your kitchen.
Assessing Your Current Countertop
Before diving into the process of changing your kitchen countertop, it is important to assess the condition of your current countertop. This will help you determine the necessary steps for removal and ensure a smooth installation of the new countertop. Here are some key factors to consider when assessing your current countertop:
- Condition: Examine the surface of your current countertop for any signs of damage, such as cracks, stains, or chips. Assess if the countertop is structurally sound and if any repairs or reinforcement is needed before installation.
- Layout and Size: Take note of the layout and dimensions of your current countertop. Measure the length, width, and depth accurately to ensure that the new countertop will fit perfectly in the space.
- Sink and Appliances: Evaluate the placement of your sink and any built-in appliances, such as stovetops or ovens, that are integrated into the countertop. Consider how the new countertop will accommodate these fixtures and any necessary modifications that may be required.
- Support and Substrate: Assess the support system and substrate of your current countertop. Determine if there are any underlying issues, such as weak or damaged support structures or a deteriorating substrate. These issues may need to be addressed before installing the new countertop.
- Plumbing and Electrical Connections: Take into account the plumbing and electrical connections that are hidden beneath the countertop. Ensure that the new countertop will allow for proper access to these connections and that they can be safely reconnected.
- Style and Aesthetic: Consider the overall style and aesthetic of your kitchen. Determine if the current countertop is in line with your design preferences and if you want to maintain a similar style or opt for a completely different look.
By assessing your current countertop, you will be able to identify any potential challenges or modifications needed during the countertop replacement process. This will also help you make informed decisions when selecting the new countertop material, ensuring that it meets your desired style, functionality, and budget.
Once you have thoroughly assessed your current countertop, you can move on to gathering the necessary tools and materials for the countertop replacement project.
Tools and Materials Needed
When it comes to changing your kitchen countertop, having the right tools and materials is crucial for a successful installation. Here is a list of the essential tools and materials you will need for the countertop replacement project:
- Measuring Tape: This will come in handy for accurately measuring the dimensions of your current countertop and ensuring the new countertop will fit correctly.
- Utility Knife: A utility knife will be useful for cutting through sealants, adhesives, or any other materials during the removal process.
- Crowbar or Pry Bar: These tools will assist in gently prying up the old countertop and removing any fixed elements, such as backsplashes.
- Screwdriver: You may need a screwdriver to remove screws holding the countertop in place or to detach any built-in appliances.
- Protective Gloves and Safety Glasses: These items will help protect your hands and eyes from any sharp objects or debris during the removal and installation process.
- Drop Cloth: Covering the surrounding areas with a drop cloth will prevent any damage to cabinets, appliances, or flooring during the countertop removal and installation.
- Level: A level will ensure that the new countertop is installed perfectly horizontal and level, providing a stable and balanced surface.
- Clamps: Clamps will be necessary to hold the new countertop in place during the installation process, ensuring a snug fit.
- Adhesive and Caulk: Depending on the type of countertop material, you may need adhesive or caulk to secure the new countertop in place and create a waterproof seal.
- Finishing Materials: This includes sandpaper, wood filler, or epoxy resin, depending on the type of countertop material. These materials will help smooth any imperfections and create a polished finish.
In addition to these tools, you will also need the materials for the new countertop itself. This can vary depending on the material you choose, such as granite, quartz, or laminate. Make sure to consult with your supplier or manufacturer to determine the specific materials needed for your chosen countertop.
Having these tools and materials readily available before starting the project will help streamline the countertop replacement process and ensure that you have everything you need to complete the installation successfully.
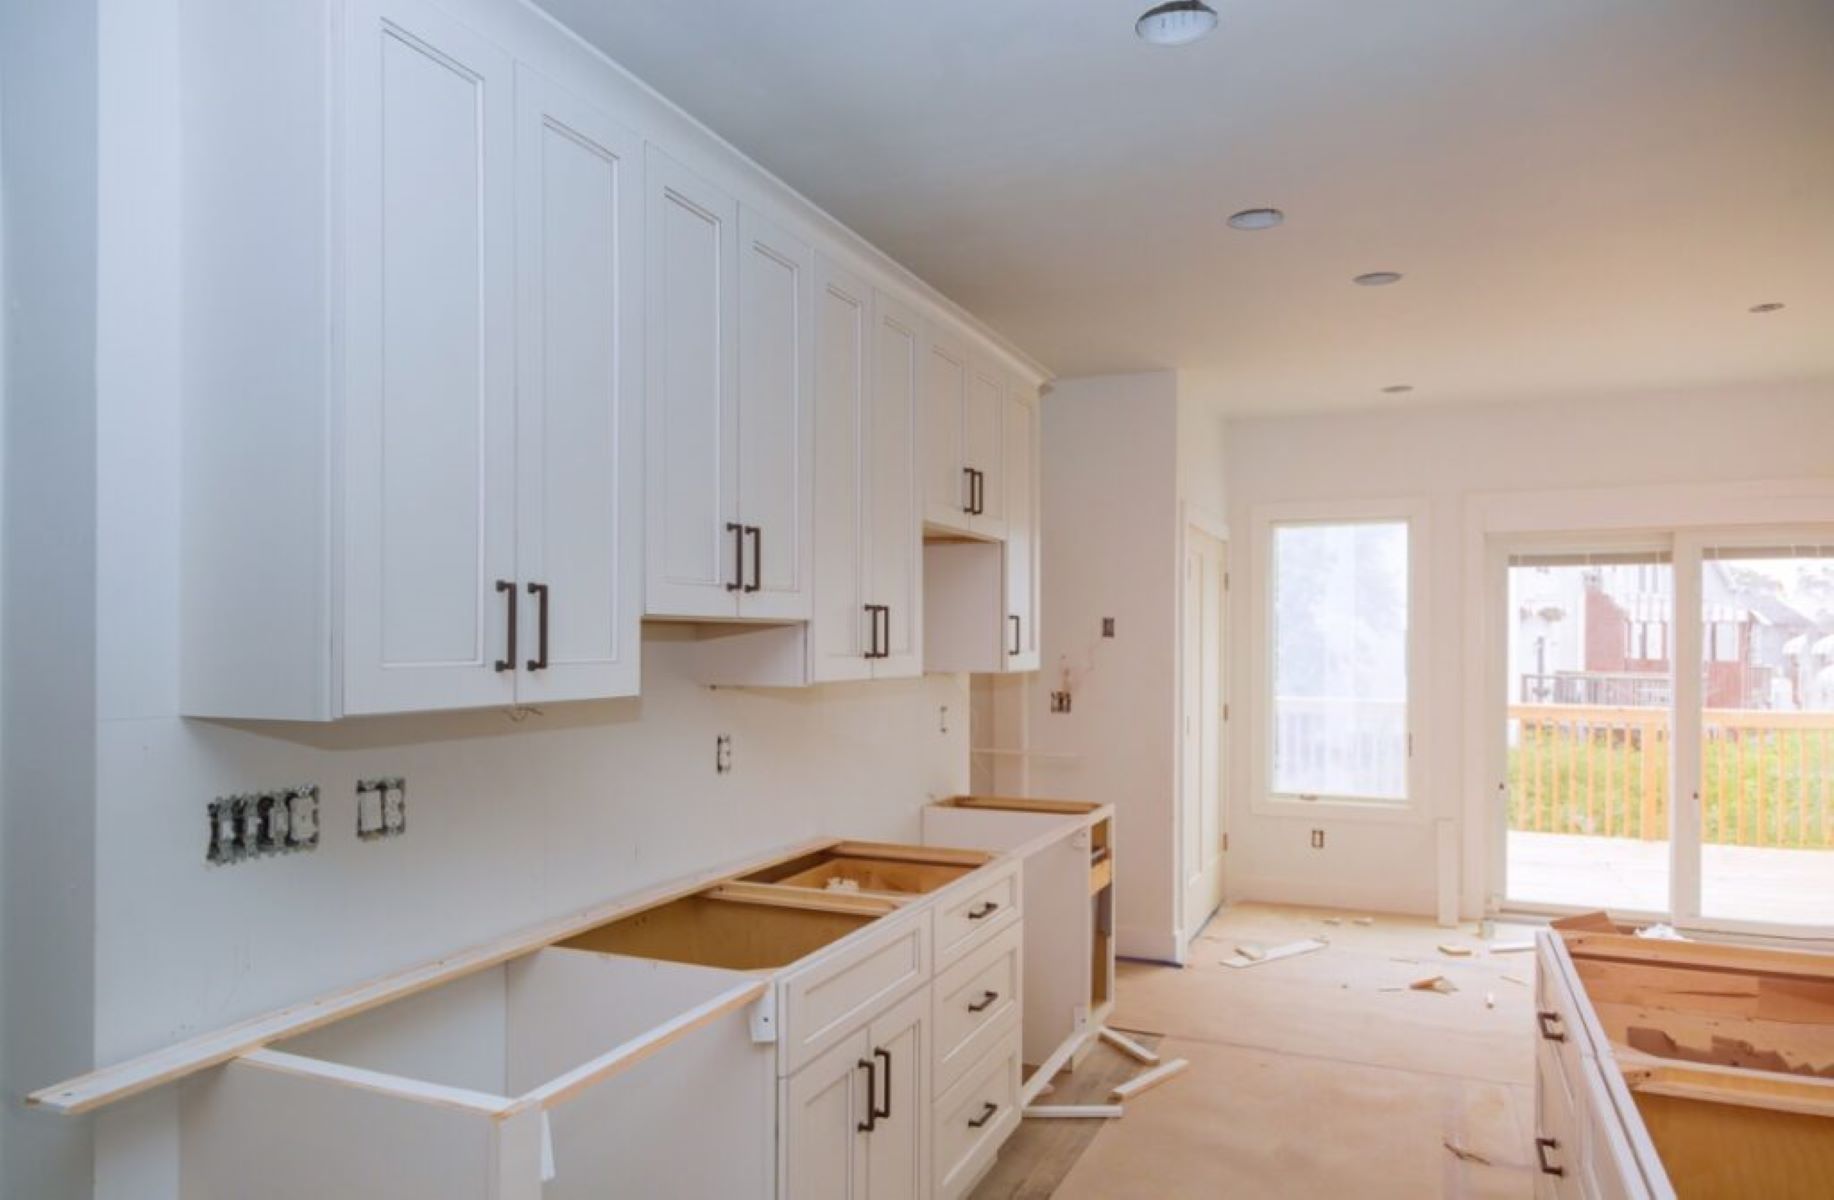
Steps to Remove the Old Countertop
Removing the old countertop is a crucial step in the process of changing your kitchen countertops. By following these steps, you can safely and effectively remove the old countertop:
- Prepare the workspace: Start by clearing the countertop and surrounding area of any items or appliances. Place a drop cloth over the cabinets and floor to protect them from damage.
- Turn off utilities: Shut off the water supply and disconnect any plumbing connections under the sink. Similarly, turn off the power supply to any electrical appliances and disconnect them if they are attached to the countertop.
- Remove appliances and fixtures: If there are any built-in appliances, detach them from the countertop. Likewise, remove any fixtures like the sink, cooktop, or backsplash that are integrated into the countertop.
- Inspect for fasteners: Look for any screws or fasteners that are securing the countertop to the cabinets or base. Use a screwdriver to remove them, taking care not to damage the cabinets or surrounding area.
- Loosen the adhesive: Depending on the type of adhesive used, use a utility knife to score along the edges of the countertop. Gently pry with a crowbar or pry bar to loosen the adhesive and gradually lift the countertop.
- Work in sections: If the countertop is in large sections, work on removing them one by one. This will make the process easier and prevent any damage or accidents.
- Remove the countertop: With the adhesive loosened, carefully lift the countertop from the cabinets. Have a helper assist you if necessary, as countertops can be heavy and awkward to handle.
- Clean the surface: Once the old countertop is removed, clean the surface of the cabinets and remove any remaining adhesive or caulk. Use a scraper or sandpaper to smooth out any rough areas.
It’s important to note that the removal process may vary depending on the type of countertop material and the installation method used. If you’re uncertain or uncomfortable with any step, consider consulting a professional for assistance.
By following these steps, you can successfully remove the old countertop and prepare the space for the installation of the new countertop.
When changing kitchen countertops, make sure to measure the dimensions accurately before purchasing new ones. This will ensure a proper fit and save you from any unnecessary hassle during installation.
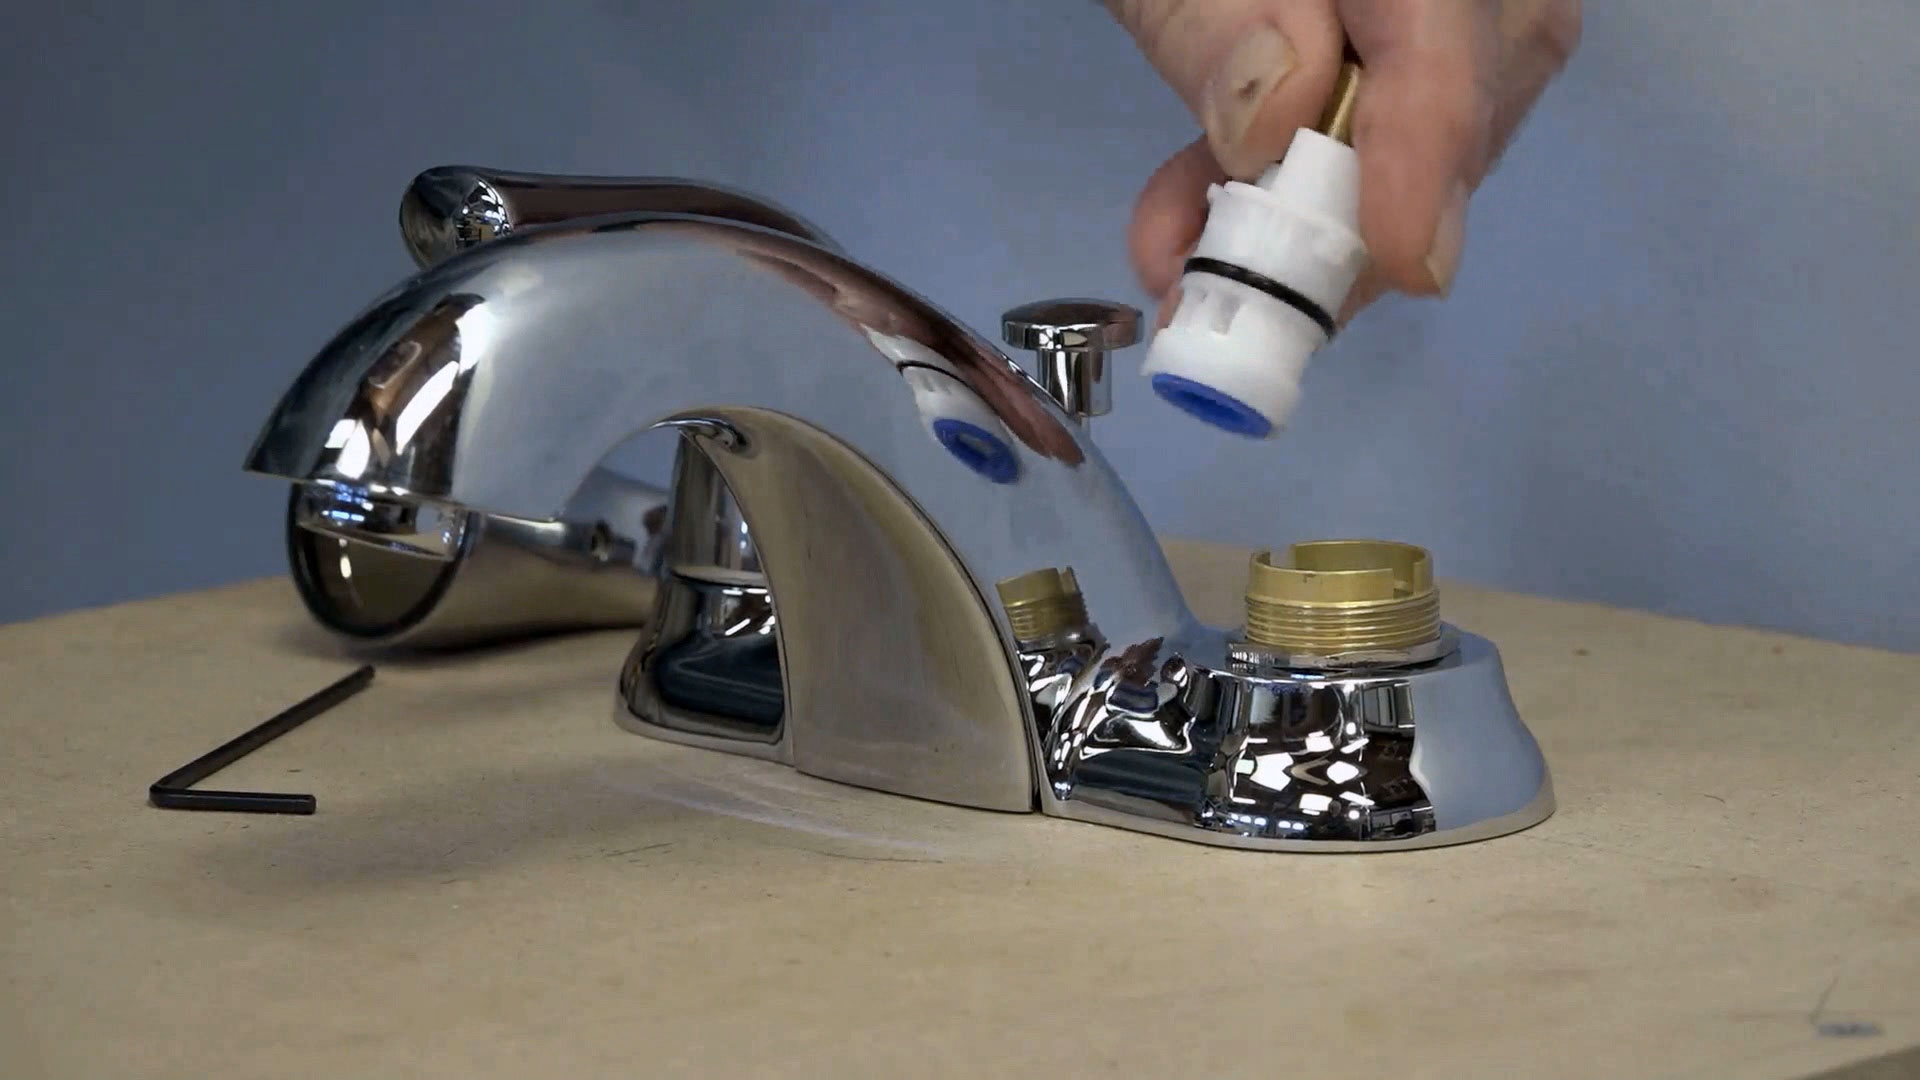
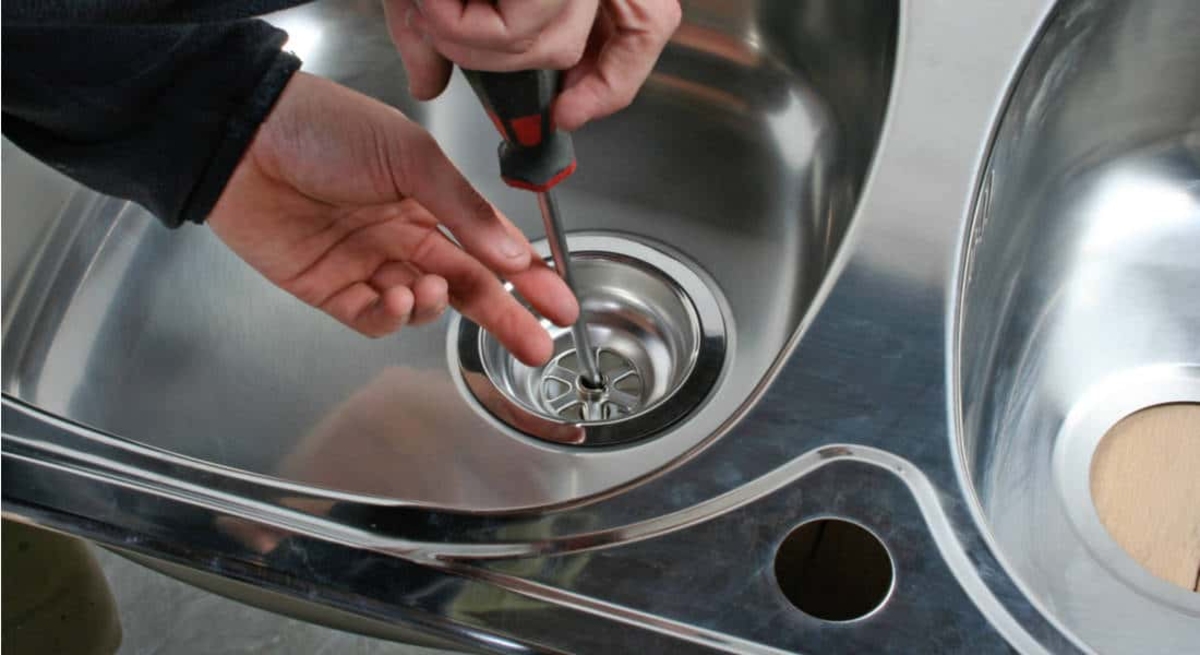
Read more: How To Change A Sink
Preparing the Surface
Once you have removed the old countertop, it is essential to properly prepare the surface before installing the new countertop. This step ensures a smooth and stable foundation for the new countertop and helps to prolong its lifespan. Here are the key steps to prepare the surface:
- Clean the Cabinets: Thoroughly clean the top of the cabinets to remove any dust, debris, or adhesive residue left behind from the old countertop. Use a mild detergent or cleaner and a sponge or cloth to wipe down the surface.
- Inspect for Damage: Examine the cabinet surface for any signs of damage, such as water damage or structural issues. If you notice any damage, make the necessary repairs before proceeding with the installation of the new countertop.
- Level the Cabinets: Use a level to ensure that the cabinets are even and level. Adjust the legs or shims as necessary to eliminate any unevenness. A level surface is crucial for a proper countertop installation.
- Apply a Vapor Barrier: Consider applying a vapor barrier to the cabinet surface. A vapor barrier helps to protect the cabinet from moisture and prevents any potential water damage or warping. Follow the manufacturer’s instructions for the proper application of the vapor barrier.
- Check Support System: Assess the support system for the new countertop. If needed, reinforce the cabinet structure with additional support brackets or plywood to ensure the cabinets can handle the weight of the new countertop.
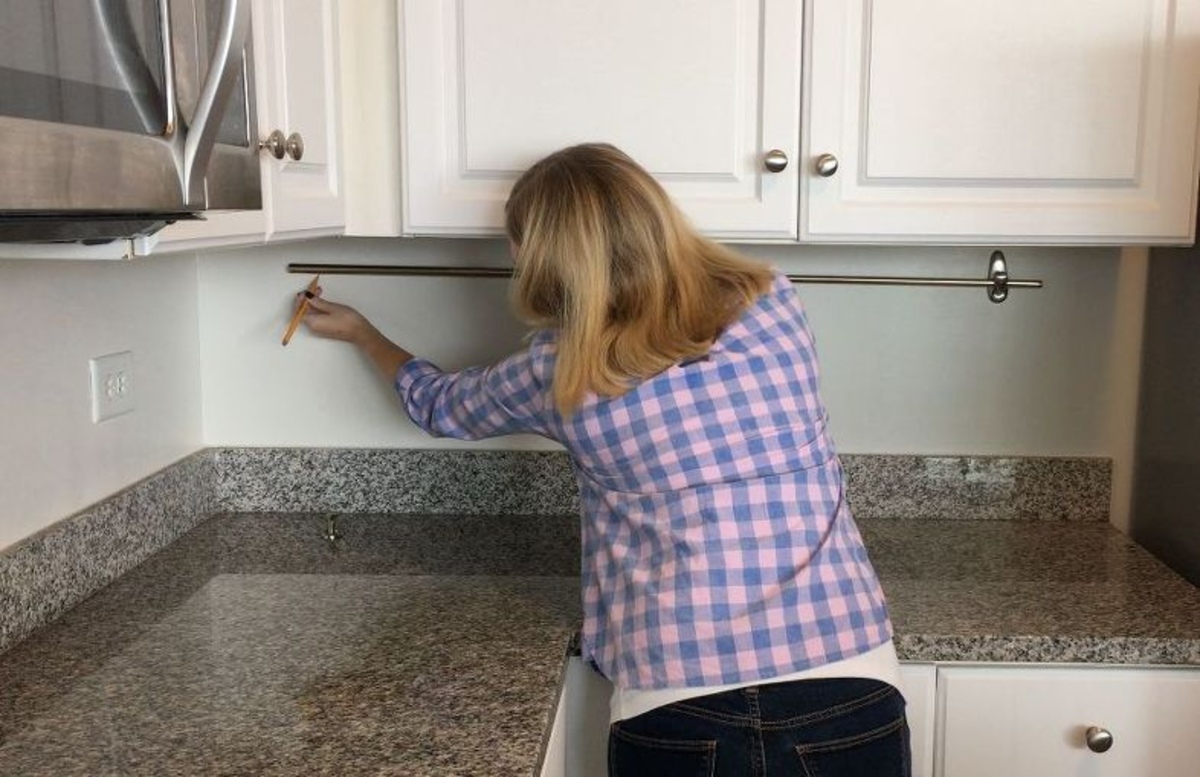
- Measure and Cut Openings: Measure and mark the locations for any openings needed for sinks, cooktops, or other fixtures. Use appropriate tools, such as a jigsaw or hole saw, to cut out the openings carefully. Ensure that the dimensions are accurate and match the specifications of the fixtures you will be installing.
- Apply Sealant: Before installing the new countertop, apply a thin layer of sealant to the top of the cabinets. The sealant helps to create a moisture barrier and provides a secure bond between the countertop and the cabinets.
Following these steps will help create a sturdy and level surface for your new countertop. By taking the time to properly prepare the surface, you can ensure a seamless installation and promote the longevity of your new kitchen countertops.
Installing the New Countertop
Installing the new countertop is an exciting step in the process of changing your kitchen countertops. It’s important to take your time and follow the proper steps to ensure a successful installation. Here is a guide on installing the new countertop:
- Position the Countertop: Carefully lift the new countertop and position it onto the cabinets. Make sure it is aligned properly and centered on the cabinets. Use shims if needed to ensure a level and even surface.
- Check for Overhangs: Measure the overhangs on each side of the countertop to ensure they are consistent and meet your desired specifications. Make any adjustments as necessary to achieve the desired overhang.
- Secure the Countertop: Once the countertop is in position, use clamps to temporarily hold it in place. This will prevent any movement during the installation process and allow you to make any final adjustments.
- Attach the Countertop: Depending on the material and design of the countertop, you may need to use screws, brackets, or adhesive to secure it to the cabinets. Follow the manufacturer’s instructions for the appropriate attachment method.
- Install Sink and Fixtures: If you removed the sink or any fixtures during the countertop replacement, now is the time to reinstall them. Follow the manufacturer’s instructions for the specific installation process of each fixture.
- Apply Sealant: Once the countertop is securely in place, apply a bead of caulk or sealant along the edges where the countertop meets the cabinets. This will help create a waterproof seal and prevent any water or moisture from seeping underneath the countertop.
- Secure the Countertop Joints: If your countertop consists of multiple sections or pieces, use a joining system or adhesive to secure the joints. This will ensure a seamless and secure connection between the different sections of the countertop.
- Check for Levelness: Use a level to ensure that the countertop is level in all directions. Adjust the shims or clamps as necessary to achieve a perfectly level surface.
Throughout the installation process, double-check your measurements and make any necessary adjustments to ensure a precise and accurate fit. Take your time to ensure the countertop is properly installed, as this will have a significant impact on its performance and longevity.
Once the countertop is securely installed, you can move on to the next steps, such as sealing and adding the finishing touches to complete the countertop replacement project.
Sealing and Finishing Touches
After installing the new kitchen countertop, it’s essential to seal it properly and add the finishing touches to enhance its appearance and durability. Here are the necessary steps to seal and complete the countertop installation:
- Clean the Countertop: Prior to sealing, ensure that the countertop surface is clean and free of dust, debris, or any residue from the installation process. Use a mild cleaner specifically designed for your countertop material.
- Choose the Right Sealer: Depending on the type of countertop material you have, select a suitable sealer. For natural stone countertops like granite or marble, use a stone sealer. Engineered stone, such as quartz, may not require sealing.
- Apply the Sealer: Follow the manufacturer’s instructions on how to apply the sealer. Typically, you will need to evenly apply the sealer using a clean cloth or sponge, ensuring complete coverage. Allow the sealer to penetrate the surface and then wipe away any excess.
- Let the Sealer Cure: Give the sealer sufficient time to cure and dry according to the manufacturer’s instructions. This may take a few hours or even up to a day. Avoid using the countertop during this curing period to allow the sealer to fully bond and provide maximum protection.
- Apply the Finishing Touches: Once the sealer has cured, it’s time to add the finishing touches to your countertop. Install any necessary edge trim or molding to provide a polished look and provide protection against chipping at the edges.
- Clean and Polish: Give your countertop a final clean using a gentle cleaner recommended for your specific material. This will remove any residues from the sealing process and leave your countertop looking fresh and spotless. Consider using a granite or stainless steel polish to bring out the natural shine.
- Protect and Maintain: Make sure to follow the appropriate maintenance and care instructions for your specific countertop material. This may include using cutting boards, trivets, or hot pads to protect the surface from scratches, heat, and stains. Regularly clean and reseal the countertop as recommended to maintain its beauty and durability.
Properly sealing your countertop will provide a protective barrier against stains, moisture, and other potential damage. The finishing touches will add that final touch of elegance and polish to your newly installed countertop, enhancing the overall look and feel of your kitchen.
By following these steps, you can ensure that your countertop is well-sealed and ready to withstand the demands of everyday use while maintaining its visual appeal.
Maintenance and Care Tips
Proper maintenance and care are crucial for keeping your newly installed kitchen countertop in pristine condition. To prolong its lifespan and maintain its beauty, consider the following maintenance and care tips:
- Clean Spills Immediately: Wipe up any spills or messes on the countertop as soon as they occur. This will prevent stains and ensure that the surface remains clean and hygienic.
- Use Gentle Cleaners: Use mild, non-abrasive cleaners specifically formulated for your countertop material. Avoid harsh chemicals, abrasive scrubbers, or bleach that can damage the surface.
- Avoid Cutting Directly on the Countertop: Always use a cutting board to protect the countertop from scratches and knife damage. Cutting directly on the surface can cause permanent marks and compromise its integrity.
- Use Trivets and Hot Pads: Protect your countertop from extreme heat by using trivets or hot pads when placing hot pots, pans, or appliances on the surface. This will prevent heat damage and discoloration.
- Avoid Impact or Heavy Pressure: Take care to avoid dropping heavy objects or applying excessive pressure on the countertop, as it can lead to cracks, chips, or other damage. Be gentle with the surface to maintain its integrity.
- Seal Regularly (if applicable): If your countertop material requires periodic sealing, follow the manufacturer’s instructions for resealing. Regularly sealing will help maintain the protective barrier and prevent stains and moisture damage.
- Wipe up Water and Moisture: Ensure that the countertop is dry by wiping up any standing water or excess moisture. Prolonged exposure to water can cause damage, especially for materials that are more porous.
- Avoid Acidic Substances: Acidic substances, such as vinegar, citrus juices, or harsh cleaners, can etch or stain certain countertop materials like marble or limestone. Clean up any spills immediately to avoid potential damage.
- Follow Specific Material Guidelines: Different countertop materials have unique care requirements. Follow specific care guidelines recommended by the manufacturer or supplier to ensure the best maintenance practices for your specific countertop material.
By following these maintenance and care tips, you can keep your countertop looking beautiful and extend its longevity. Regular cleaning and proactive care will help preserve its functionality and aesthetic appeal for years to come.
Remember, prevention is key, so be mindful of how you use and care for your countertop to avoid unnecessary damage and maintain its pristine condition.
Conclusion
Congratulations on successfully completing the process of changing your kitchen countertops! By following the steps outlined in this comprehensive guide, you have gained the knowledge and confidence to tackle this home improvement project with ease. Your new countertops will not only enhance the functionality and beauty of your kitchen but also add value to your home.
Throughout this article, we explored the different types of kitchen countertops available, including granite, quartz, marble, solid surface, laminate, butcher block, concrete, and stainless steel. We discussed the importance of assessing your current countertop, gathering the necessary tools and materials, and removing the old countertop safely.
We then delved into the crucial steps of preparing the surface and installing the new countertop, ensuring a level and secure fit. Sealing the countertop and adding the finishing touches were also highlighted to protect and enhance its appearance. Lastly, we provided maintenance and care tips to help you keep your countertop looking its best for years to come.
Remember, proper planning, patience, and attention to detail are key when changing kitchen countertops. Take the time to research and choose the right countertop material that suits your style and needs. Moreover, consult with professionals or experts if needed to ensure a successful countertop replacement project.
We hope this guide has provided you with the information and guidance necessary to confidently change your kitchen countertops. Enjoy the process and the transformation it brings to your kitchen. Embrace the new look and functionality, and be proud of the investment you’ve made in your home.
Now, it’s time to sit back, relax, and enjoy your beautiful new kitchen countertops!
Frequently Asked Questions about How To Change Kitchen Countertops
Was this page helpful?
At Storables.com, we guarantee accurate and reliable information. Our content, validated by Expert Board Contributors, is crafted following stringent Editorial Policies. We're committed to providing you with well-researched, expert-backed insights for all your informational needs.


0 thoughts on “How To Change Kitchen Countertops”