Articles
How To Disconnect Sink Plumbing
Modified: October 28, 2024
Learn how to disconnect sink plumbing with our informative articles. Find step-by-step instructions and helpful tips to make the process easy and hassle-free.
(Many of the links in this article redirect to a specific reviewed product. Your purchase of these products through affiliate links helps to generate commission for Storables.com, at no extra cost. Learn more)
Introduction
When it comes to home improvement projects, knowing how to disconnect sink plumbing is an essential skill that can come in handy in various situations. Whether you’re replacing an old sink, repairing a leak, or simply cleaning out the drains, understanding the process of disconnecting the sink plumbing is crucial.
Conducting this task requires a few basic tools and some patience. By following the correct steps and taking necessary precautions, you can safely disconnect your sink plumbing without causing any damage or complications.
In this article, we will guide you through the process of disconnecting sink plumbing, from turning off the water supply to removing the sink strainer. So, grab your tools, put on your DIY hat, and let’s get started!
Key Takeaways:
- Master the art of disconnecting sink plumbing with confidence and ease. Follow the step-by-step guide to safely tackle sink-related projects and ensure the proper functioning of your plumbing system.
- Prioritize safety, thorough inspection, and proper reconnection when working on sink plumbing. With the right tools and knowledge, you can handle DIY plumbing tasks like a pro and enjoy the satisfaction of a job well done.
Read more: How To Plumb Outdoor Sink
Supplies Needed
Before you begin disconnecting your sink plumbing, ensure that you have the necessary supplies ready. Having these items on hand will make the process smoother and more efficient. Here are the supplies you’ll need:
- Adjustable wrench or pliers
- Screwdriver (Phillips or flathead)
- Pipe wrench (if needed)
- Bucket or towel to catch any water or debris
- Plumber’s putty (for resealing the sink strainer, if necessary)
- New rubber gaskets or seals for reconnection (if needed)
These supplies will enable you to handle most common sink plumbing disconnections. However, it’s important to note that the specific requirements may vary depending on your sink type and the complexity of your plumbing system. It’s always a good idea to assess the situation beforehand and make sure you have the necessary tools and materials on hand.
Step 1: Turn off the Water Supply
Before you start disconnecting the sink plumbing, it is crucial to turn off the water supply. This will prevent any unwanted water flow or leaks during the process. Follow these steps to turn off the water supply to your sink:
- Locate the shut-off valves: Underneath your sink, you should find two shut-off valves—one for hot water and one for cold water. These valves are typically located on the wall or at the back of the cabinet.
- Close the shut-off valves: Using either your hand or an adjustable wrench, turn the valves clockwise until they are fully closed. This will stop the flow of water to your sink.
- Test the water supply: Turn on the faucet to check if the water supply has been successfully shut off. If there is no water running, you can proceed to the next step.
It’s important to note that some older sinks may not have individual shut-off valves. In such cases, you may need to shut off the water supply for the entire house. Locate the main water shut-off valve, usually found near the water meter or where the main water line enters the home, and turn it off.
By turning off the water supply, you can ensure a smooth and mess-free disconnection of the sink plumbing. This step is vital for preventing any accidental flooding or water damage while working on the plumbing components.
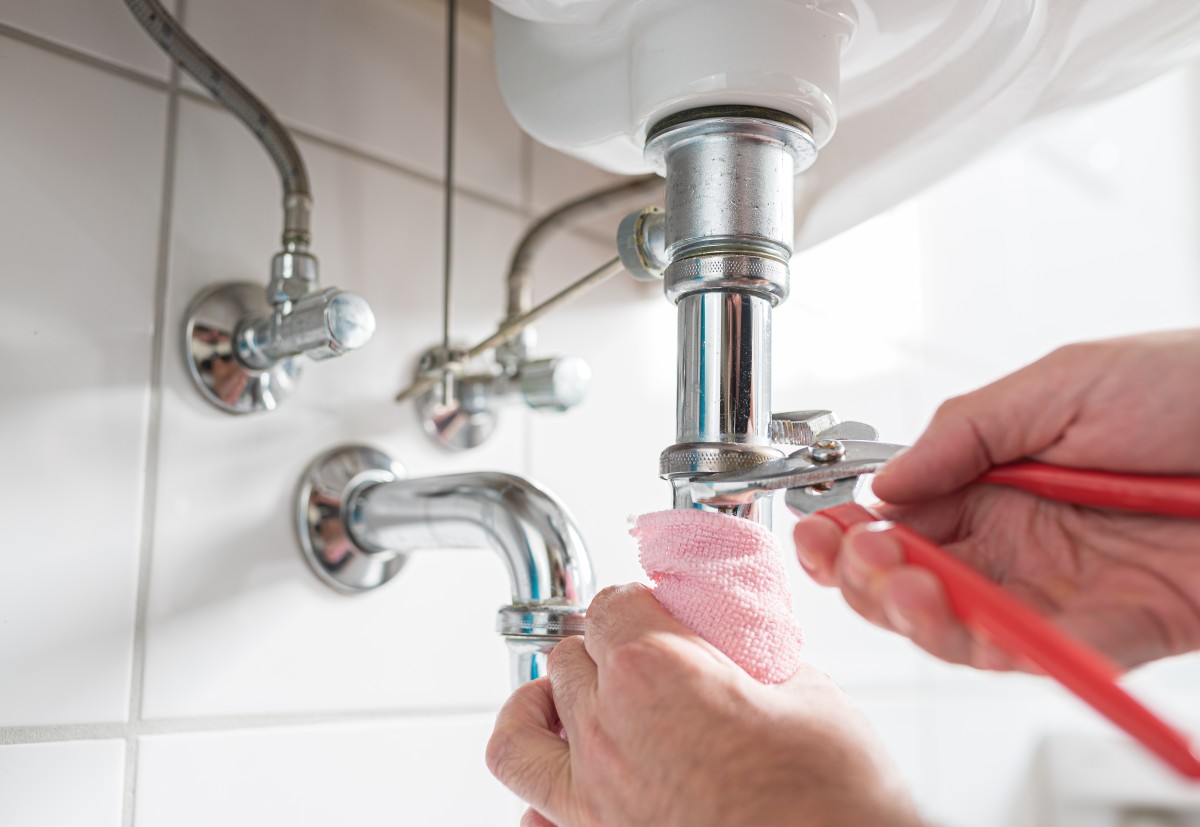
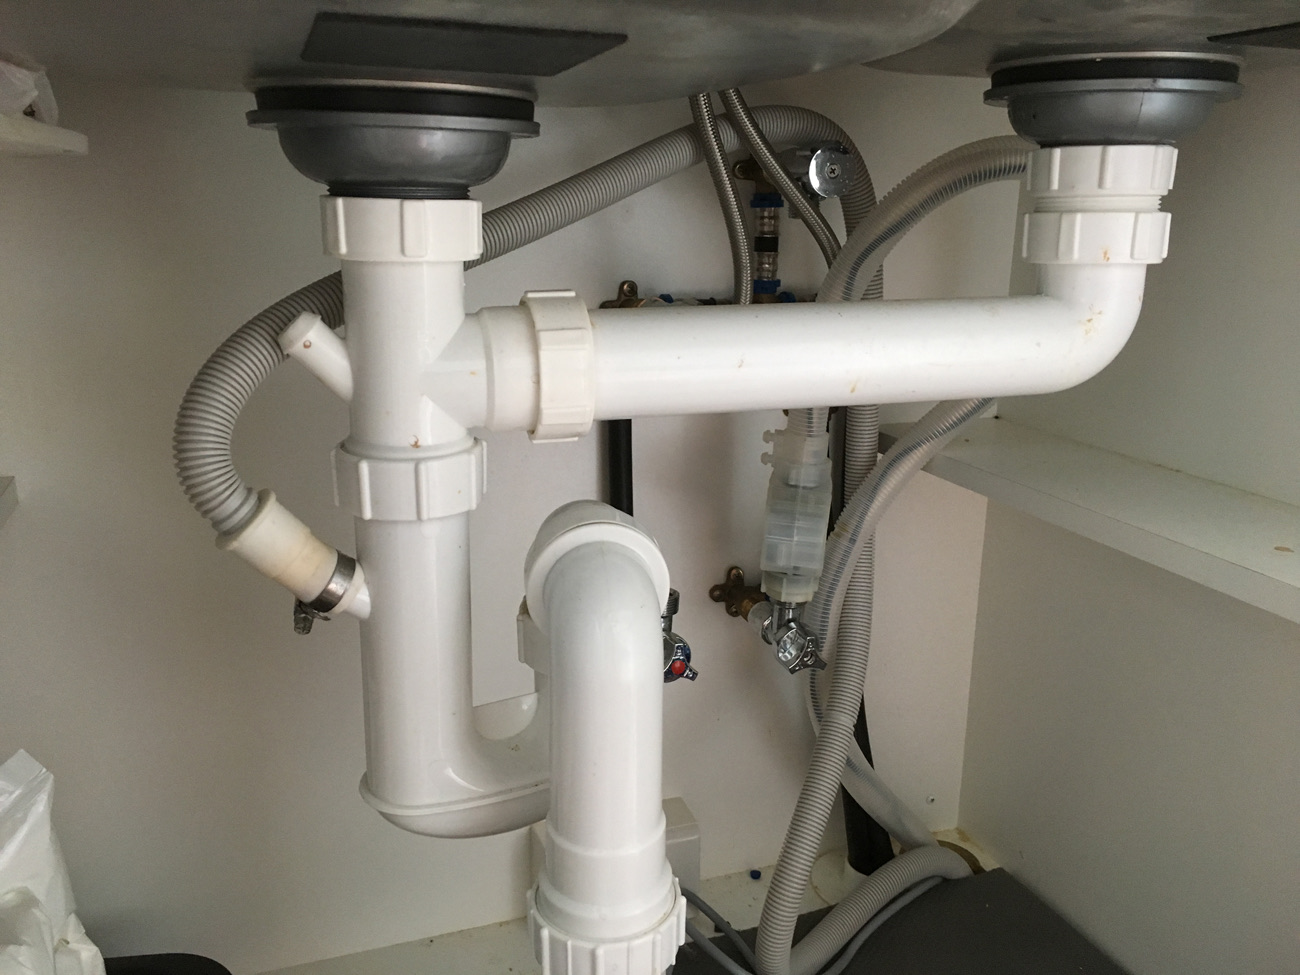
Step 2: Disconnect the P-Trap
The P-Trap is a curved pipe located under your sink that prevents sewer gases from entering your home. To disconnect the sink plumbing, you’ll need to remove the P-Trap. Follow these steps to safely disconnect the P-Trap:
- Place a bucket or towel underneath the P-Trap: This will catch any residual water or debris that may spill during the disconnection process.
- Loosen the slip nuts: Using pliers or an adjustable wrench, loosen the slip nuts that secure the P-Trap to the drain pipes. There are typically two slip nuts—one on the top and one on the bottom of the P-Trap.
- Remove the P-Trap: Once the slip nuts are loose, carefully remove the P-Trap from the drain pipes. Tilt the P-Trap to pour out any remaining water into the bucket or towel.
- Inspect and clean the P-Trap: Take the opportunity to visually inspect the P-Trap for any clogs or debris. Clean it thoroughly if necessary, using a brush or running water.
While disconnecting the P-Trap, be cautious of any sharp edges or obstructions. If the slip nuts are too tight or difficult to loosen, you can use a pipe wrench for added leverage. Remember to handle pipes and fittings gently to avoid damaging them.
By disconnecting the P-Trap, you will have easier access to the other components of the sink plumbing, making the disconnection process more manageable. However, be careful not to misplace any washers or seals attached to the P-Trap, as you will need them for reconnection later on.
Step 3: Remove the Tailpiece from the Sink Drain
The tailpiece is the straight pipe that connects the sink drain to the rest of the plumbing system. To continue disconnecting the sink plumbing, you will need to remove the tailpiece. Follow these steps to safely remove the tailpiece from the sink drain:
- Locate the slip nut at the lower end of the tailpiece: This slip nut connects the tailpiece to the sink drain. Using pliers or an adjustable wrench, loosen the slip nut by turning it counterclockwise.
- Gently pull down on the tailpiece: With the slip nut loosened, gently pull down on the tailpiece to separate it from the sink drain. Be cautious as it may still be held in place by the sink strainer or other connections.
- Inspect and clean the tailpiece: Take a moment to inspect the tailpiece for any clogs or debris. Clean it thoroughly if necessary, using a brush or running water.
If the tailpiece is difficult to loosen, you can apply some penetrating oil to help loosen the connection. Be careful not to use excessive force, as this may damage the pipes or other components.
Once the tailpiece is removed, you will have better access to the sink drain and the remaining plumbing connections. Remember to handle the tailpiece with care to avoid any accidents or damage.
Read more: How To Install New Sink Plumbing
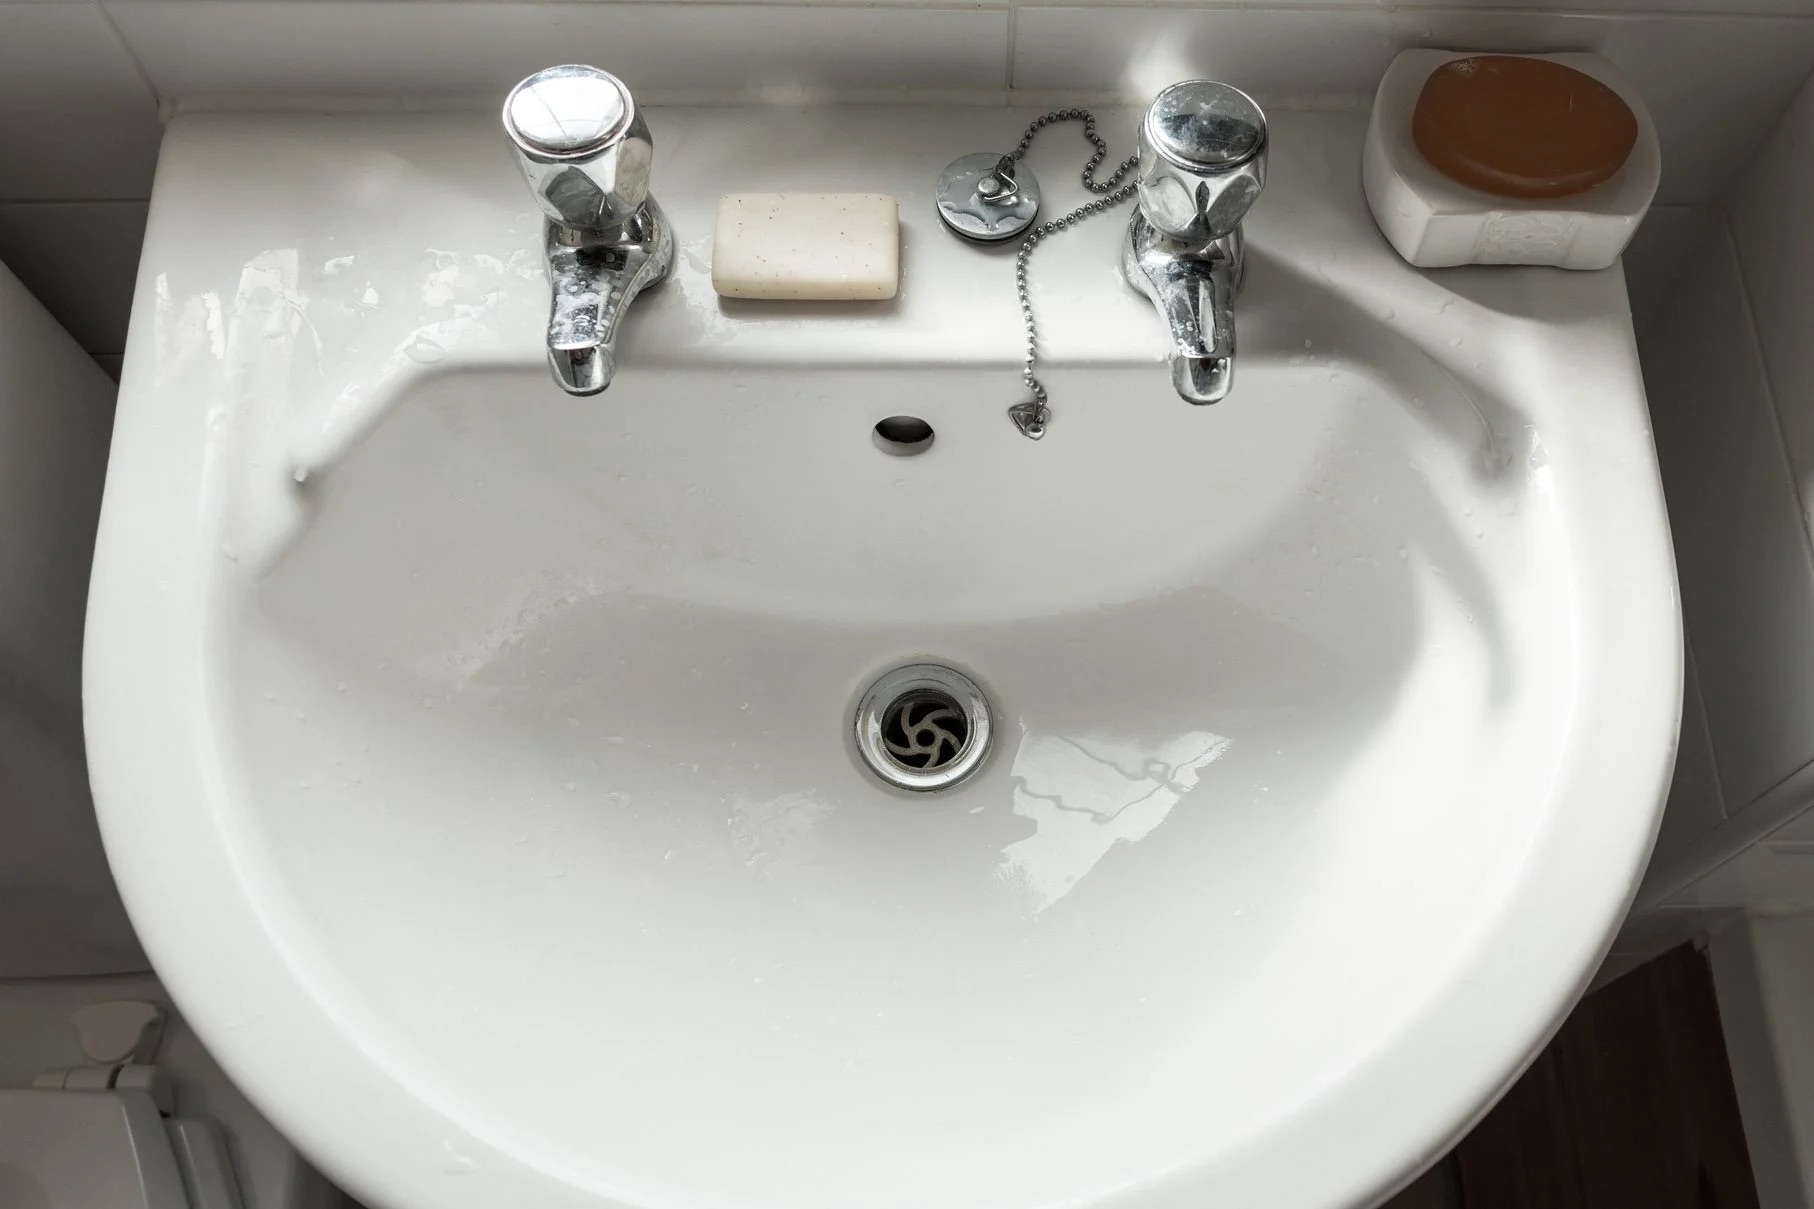
Step 4: Detach the Sink Strainer
The sink strainer is the component that sits at the bottom of your sink and acts as a filter to catch debris and prevent it from clogging your drain. To continue disconnecting the sink plumbing, you will need to detach the sink strainer. Follow these steps to safely remove the sink strainer:
- Locate the locknut underneath the sink: The locknut secures the sink strainer to the sink basin. Using pliers or a pipe wrench, loosen the locknut by turning it counterclockwise.
- Gently lift the sink strainer out of the sink basin: With the locknut loosened, you should be able to lift the sink strainer out of the sink basin. It may require some gentle wiggling or turning to detach completely.
- Clean the sink strainer: Take a moment to clean the sink strainer thoroughly, removing any accumulated debris. You can use a brush or running water to ensure it is clean.
If the locknut is too tight or difficult to loosen, you can apply some penetrating oil or use a larger tool for added leverage. Be cautious not to apply excessive force, as you could damage the sink or the plumbing connections.
Once the sink strainer is detached, you have successfully removed an important component of the sink plumbing. This will make it easier to clean or replace the sink strainer, as well as access the remaining plumbing connections.
Before disconnecting sink plumbing, turn off the water supply. Place a bucket under the pipes to catch any water. Use a wrench to loosen the connections and carefully remove the pipes. Keep track of the order for reassembly.
Step 5: Disconnect the Water Supply Lines
The water supply lines are responsible for delivering hot and cold water to your sink. To disconnect the sink plumbing completely, you will need to disconnect the water supply lines. Follow these steps to safely disconnect the water supply lines:
- Locate the supply line connections: The supply line connections can usually be found at the back of the sink, underneath the countertop. There will be two lines—one for hot water and one for cold water.
- Turn off the supply valves: Before disconnecting the supply lines, ensure that the corresponding supply valves are closed. Rotate the valves clockwise to shut off the water flow.
- Use an adjustable wrench to loosen the connections: Hold the supply line with one hand to prevent it from twisting, and use an adjustable wrench to loosen the connection nut. Turn the nut counterclockwise to loosen it.
- Disconnect the water supply lines: Once the connection nuts are loosened, carefully disconnect the water supply lines from the faucet or shut-off valves. Be prepared for some residual water or dripping, so have a towel or bucket ready to catch any spills.
Take note of any washers or gaskets that are attached to the supply lines. You may need to replace them if they are damaged or worn out. Inspect the supply lines for any signs of damage or leaks, and replace them if necessary.
By disconnecting the water supply lines, you have successfully disconnected the primary sources of water for your sink. This step is important for safety and allows you to work on the remaining plumbing connections without any water flow.
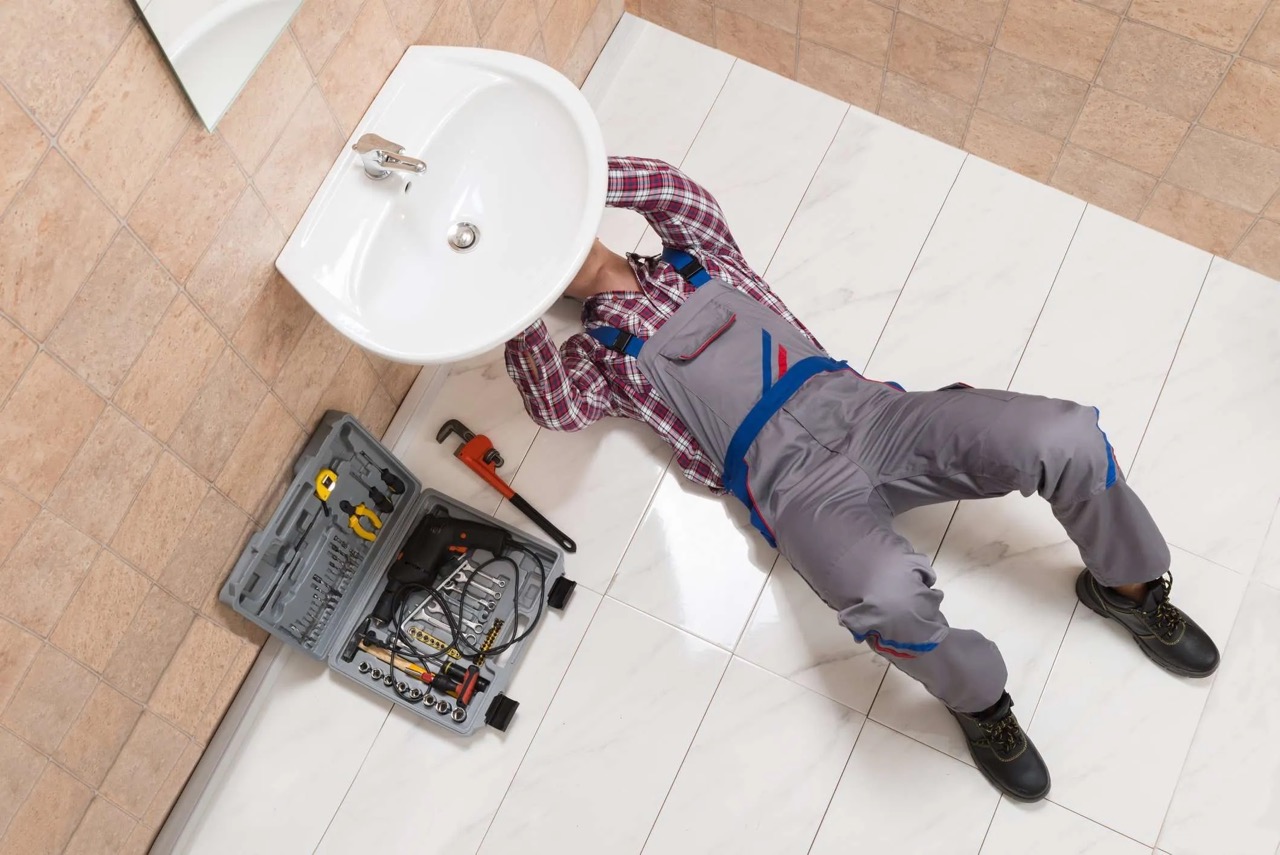
Step 6: Remove the Sink from the Countertop
Now that you have disconnected the plumbing components, it’s time to remove the sink from the countertop. Follow these steps to safely remove the sink:
- Clear the area around the sink: Remove any items from the sink and clear the surrounding area to create a safe workspace.
- Locate the clips or brackets underneath the sink: Most sinks are secured to the countertop using clips or brackets. These can be found underneath the sink, near the edges.
- Loosen the clips or brackets: Use a screwdriver or a wrench to loosen the clips or brackets that secure the sink to the countertop. Turn them counterclockwise to loosen and remove them.
- Gently lift the sink: With the clips or brackets loosened, you can now gently lift the sink from the countertop. If the sink is stuck, you may need to apply some gentle pressure or use a putty knife to loosen any adhesive or caulk.
- Set the sink aside: Once the sink is lifted, set it aside in a safe area where it won’t be damaged.
Removing the sink from the countertop allows you to have better access to the plumbing connections and gives you the freedom to work on other tasks, such as replacing the sink or cleaning the countertop thoroughly. Take care when lifting the sink to avoid any strain or injury.
If your sink is an undermount sink or has a different installation method, the process may vary slightly. Refer to the manufacturer’s instructions or seek professional assistance if you are unsure about removing your specific sink from the countertop.
Step 7: Inspect and Clean the Plumbing Connections
With the sink removed from the countertop, it’s time to inspect and clean the plumbing connections. This step is essential to ensure that there are no leaks, clogs, or debris that could affect the performance of your sink. Follow these steps to inspect and clean the plumbing connections:
- Inspect the connections: Carefully examine each plumbing connection, including the P-Trap, tailpiece, and any other fittings. Look for any signs of damage, leaks, or corrosion.
- Clean the connections: Use a brush or a cloth to clean the connections and remove any debris or buildup. You can also use a pipe cleaner or a toothbrush to reach any tight or hard-to-reach areas.
- Check for clogs: If you notice any slow drainage or suspect a clog, use a plunger or a drain snake to remove any obstructions. Run water through the pipes to ensure they are clear.
- Replace damaged or worn-out components: If you come across any damaged or worn-out components, such as washers or gaskets, it’s best to replace them to ensure a proper seal and prevent leaks in the future.
Cleaning and inspecting the plumbing connections is crucial for the smooth functioning of your sink. It helps maintain the integrity of the plumbing system and ensures that water flows freely without any issues. Regular maintenance and thorough cleaning can prevent costly repairs and keep your sink in optimal condition.
Once you are satisfied with the inspection and cleaning, you can move on to the next step of reconnecting the sink plumbing and securing everything in place.
Read more: How To Plumb A Double Kitchen Sink
Step 8: Reconnect the Sink Plumbing
After inspecting and cleaning the plumbing connections, it’s time to reconnect the sink plumbing and put everything back together. Follow these steps to ensure a proper reconnection of the sink plumbing:
- Reattach the sink strainer: Take the cleaned sink strainer and position it back into the sink basin. Align it properly before tightening the locknut underneath the sink. Use pliers or a pipe wrench to securely tighten the locknut in a clockwise direction.
- Connect the tailpiece to the sink drain: Slide the tailpiece back into the sink drain and tighten the slip nut. Ensure a snug fit by using pliers or an adjustable wrench. Avoid over-tightening, as it may cause damage or leaks.
- Reinstall the P-Trap: Position the P-Trap back onto the drain pipes and secure it in place by tightening the slip nuts. Make sure the connections are tight and secure, but be careful not to overtighten.
- Reconnect the water supply lines: Attach the water supply lines back to the faucet or the shut-off valves. Turn the connection nuts clockwise to tighten and ensure a secure fit. Use an adjustable wrench to ensure proper tightness without over-tightening.
- Turn on the water supply: Once all the plumbing connections are securely in place, slowly turn on the water supply valves. Check for any leaks and make sure that water flows smoothly through the sink.
It is important to check for any leaks after reconnection. If you notice any leaks, tighten the connection nuts slightly or replace any damaged components. Ensure that all connections are secure and properly sealed to prevent any future issues.
By following these steps, you have successfully reconnected the sink plumbing. Take a moment to pat yourself on the back for a job well done!
Conclusion
Congratulations! You have successfully learned how to disconnect sink plumbing. By following the steps outlined in this guide, you can confidently tackle sink-related projects such as replacing a sink, repairing leaks, or cleaning out the drains. With the right tools and a little patience, you can easily disconnect your sink plumbing without causing any damage or complications.
Remember, safety is crucial throughout the process. Always turn off the water supply before starting any disconnection work, and be cautious of sharp edges or obstructions. Take your time to inspect and clean the plumbing connections, ensuring that everything is in good condition before reconnection. By maintaining your sink plumbing, you can prevent issues down the line and ensure the proper functioning of your sink.
If you’re unsure about any step or encounter difficulties during the process, it’s always a good idea to consult a professional plumber. They have the expertise to handle complex plumbing situations and can provide additional guidance or assistance if needed.
Now that you have mastered the art of disconnecting sink plumbing, you’re well on your way to becoming a DIY plumbing expert. Whether you’re taking on home improvement projects or addressing plumbing issues, you have the knowledge and skills to handle them confidently. So go ahead and put your newfound skills to use, and enjoy the satisfaction of completing your plumbing tasks with ease!
Frequently Asked Questions about How To Disconnect Sink Plumbing
Was this page helpful?
At Storables.com, we guarantee accurate and reliable information. Our content, validated by Expert Board Contributors, is crafted following stringent Editorial Policies. We're committed to providing you with well-researched, expert-backed insights for all your informational needs.


0 thoughts on “How To Disconnect Sink Plumbing”