Articles
How To Change Ring Doorbell To New Owner
Modified: October 27, 2024
Learn how to change the ownership of your Ring Doorbell to a new owner with step-by-step instructions. Read our articles for a seamless transition.
(Many of the links in this article redirect to a specific reviewed product. Your purchase of these products through affiliate links helps to generate commission for Storables.com, at no extra cost. Learn more)
Introduction:
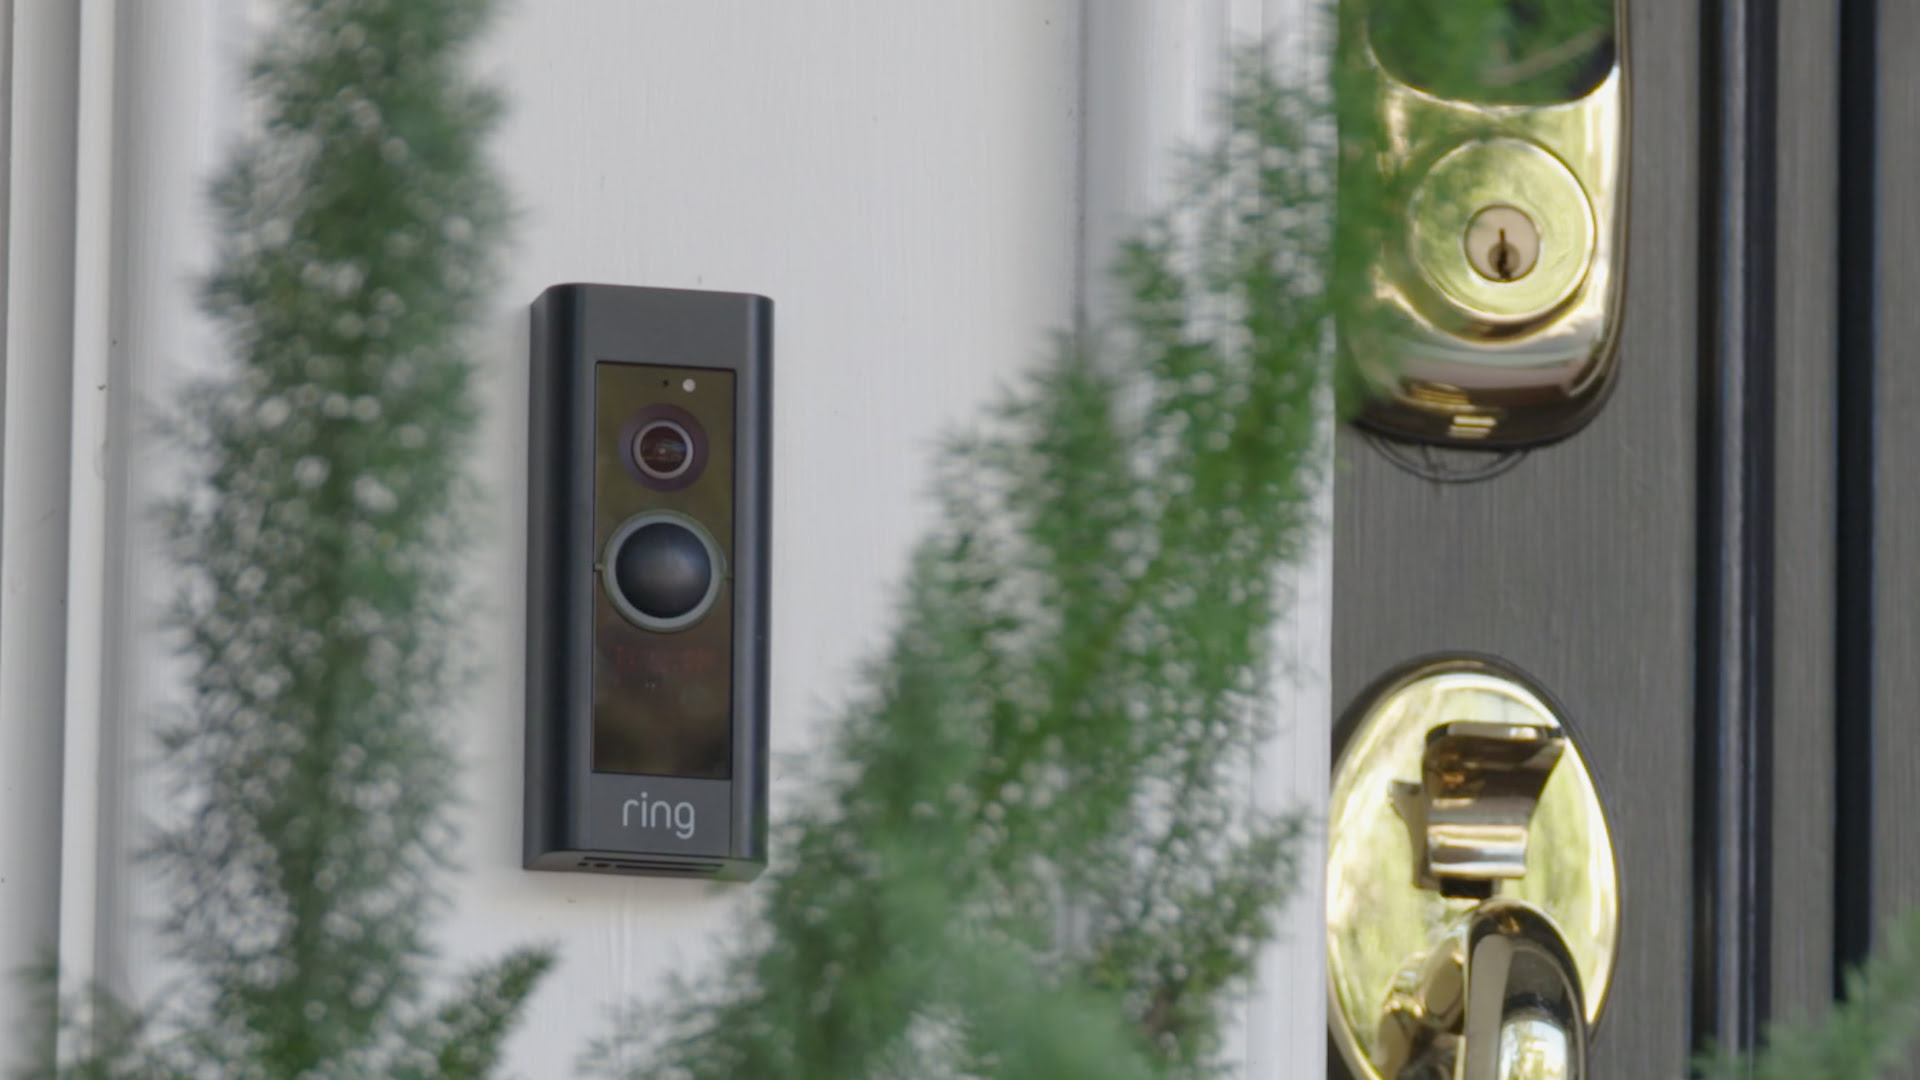
Welcome to this guide on how to change the ownership of a Ring Doorbell. If you’ve recently acquired a used Ring Doorbell or need to transfer ownership to a new account, this step-by-step tutorial will walk you through the process.
Having a Ring Doorbell provides convenience, security, and peace of mind. By following these instructions, you’ll be able to set up the device as a new owner and ensure that it’s properly connected to your account and network.
Before we begin, it’s important to note that the process may vary slightly depending on the specific model of the Ring Doorbell you own. However, the general steps remain the same. Now, let’s get started!
Key Takeaways:
- Takeaway 1: Changing the ownership of a Ring Doorbell is a manageable process involving resetting, removing from the previous owner’s account, and setting up as a new owner. Enjoy enhanced security and convenience with these simple steps.
- Takeaway 2: After successfully changing the ownership, connect your Ring Doorbell to your Wi-Fi network, test its functionality, and troubleshoot if needed. Embrace the power of technology and enjoy the benefits of your Ring Doorbell!
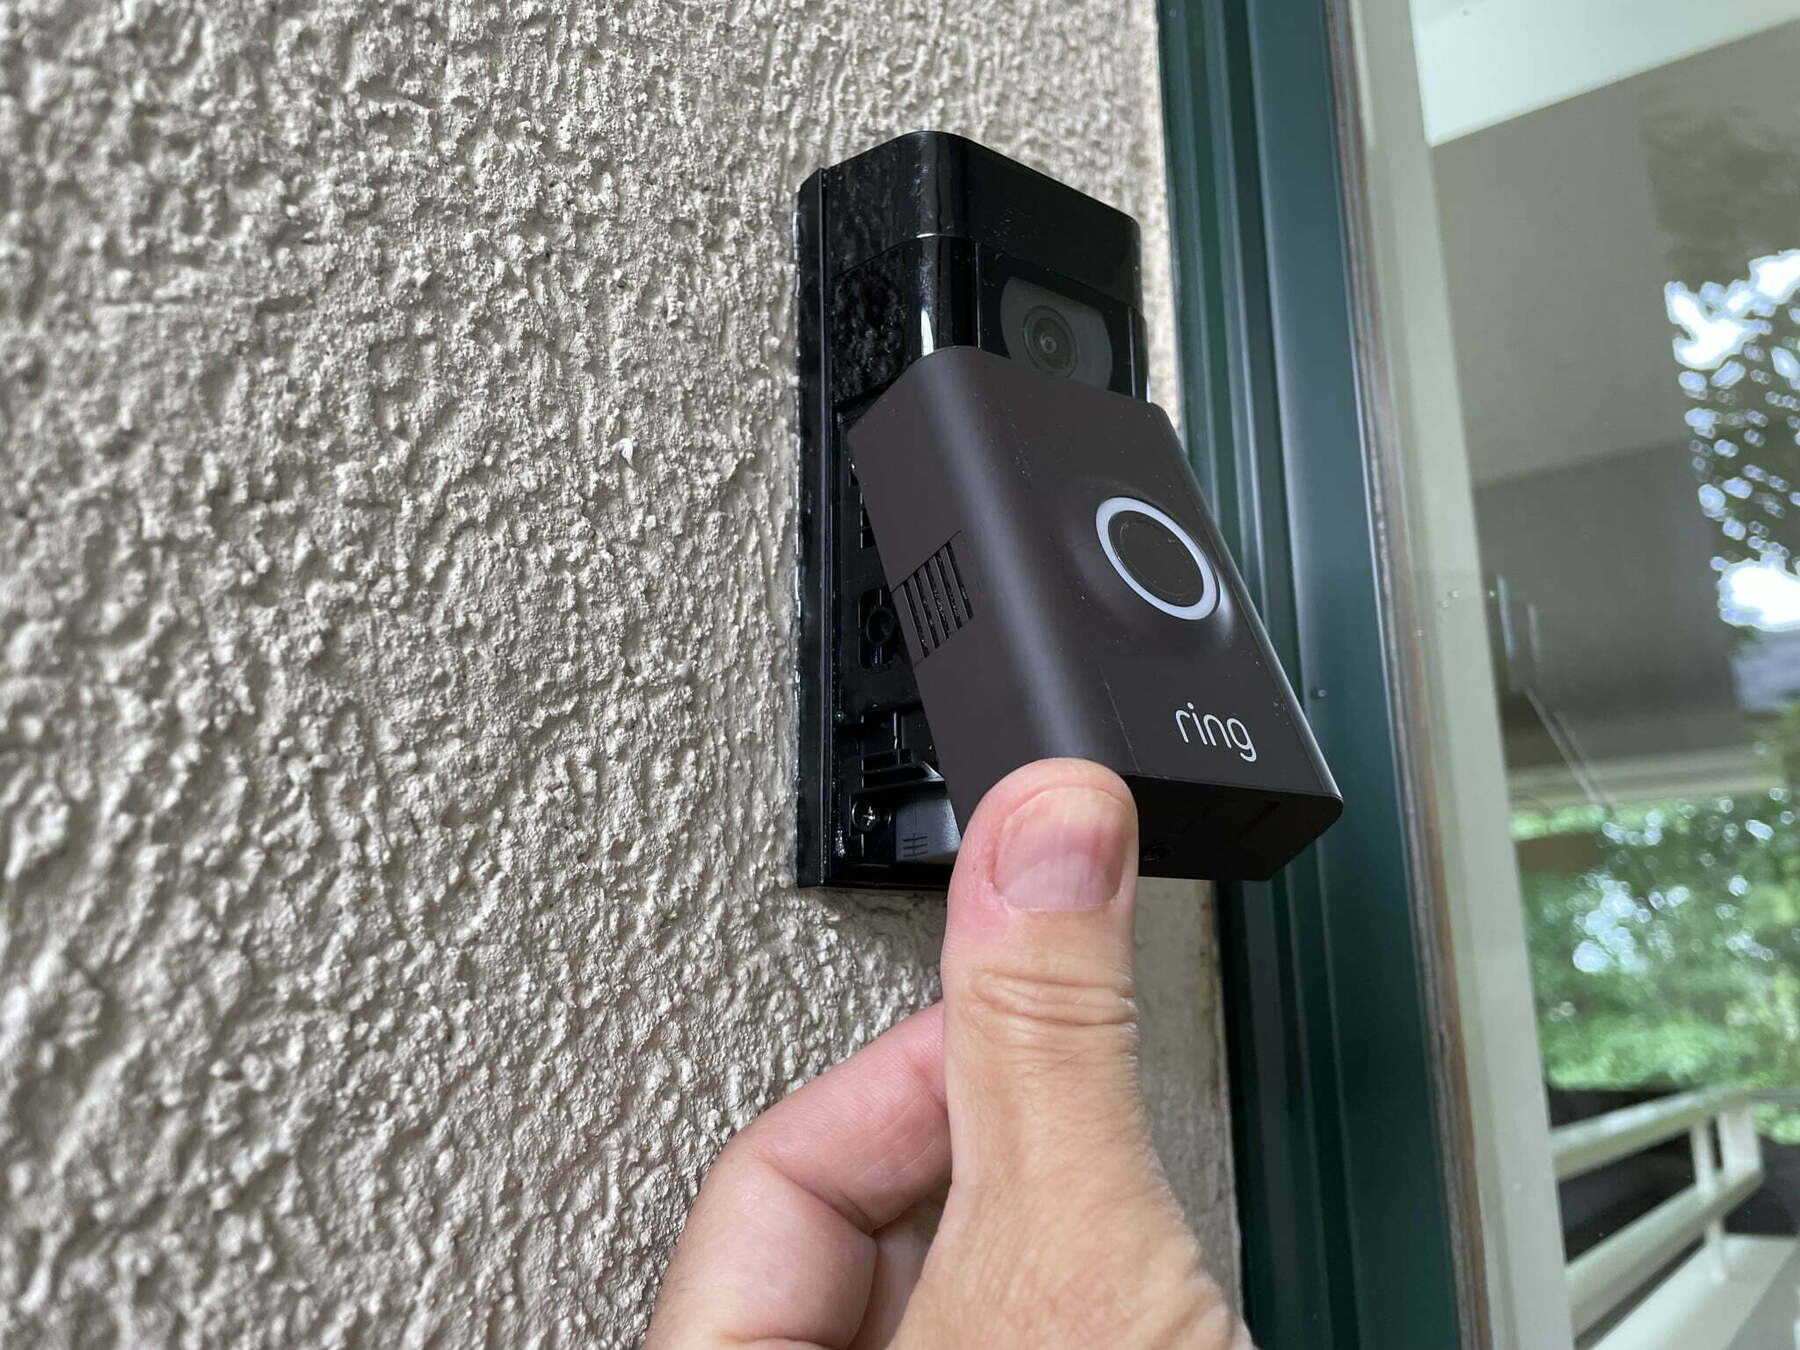
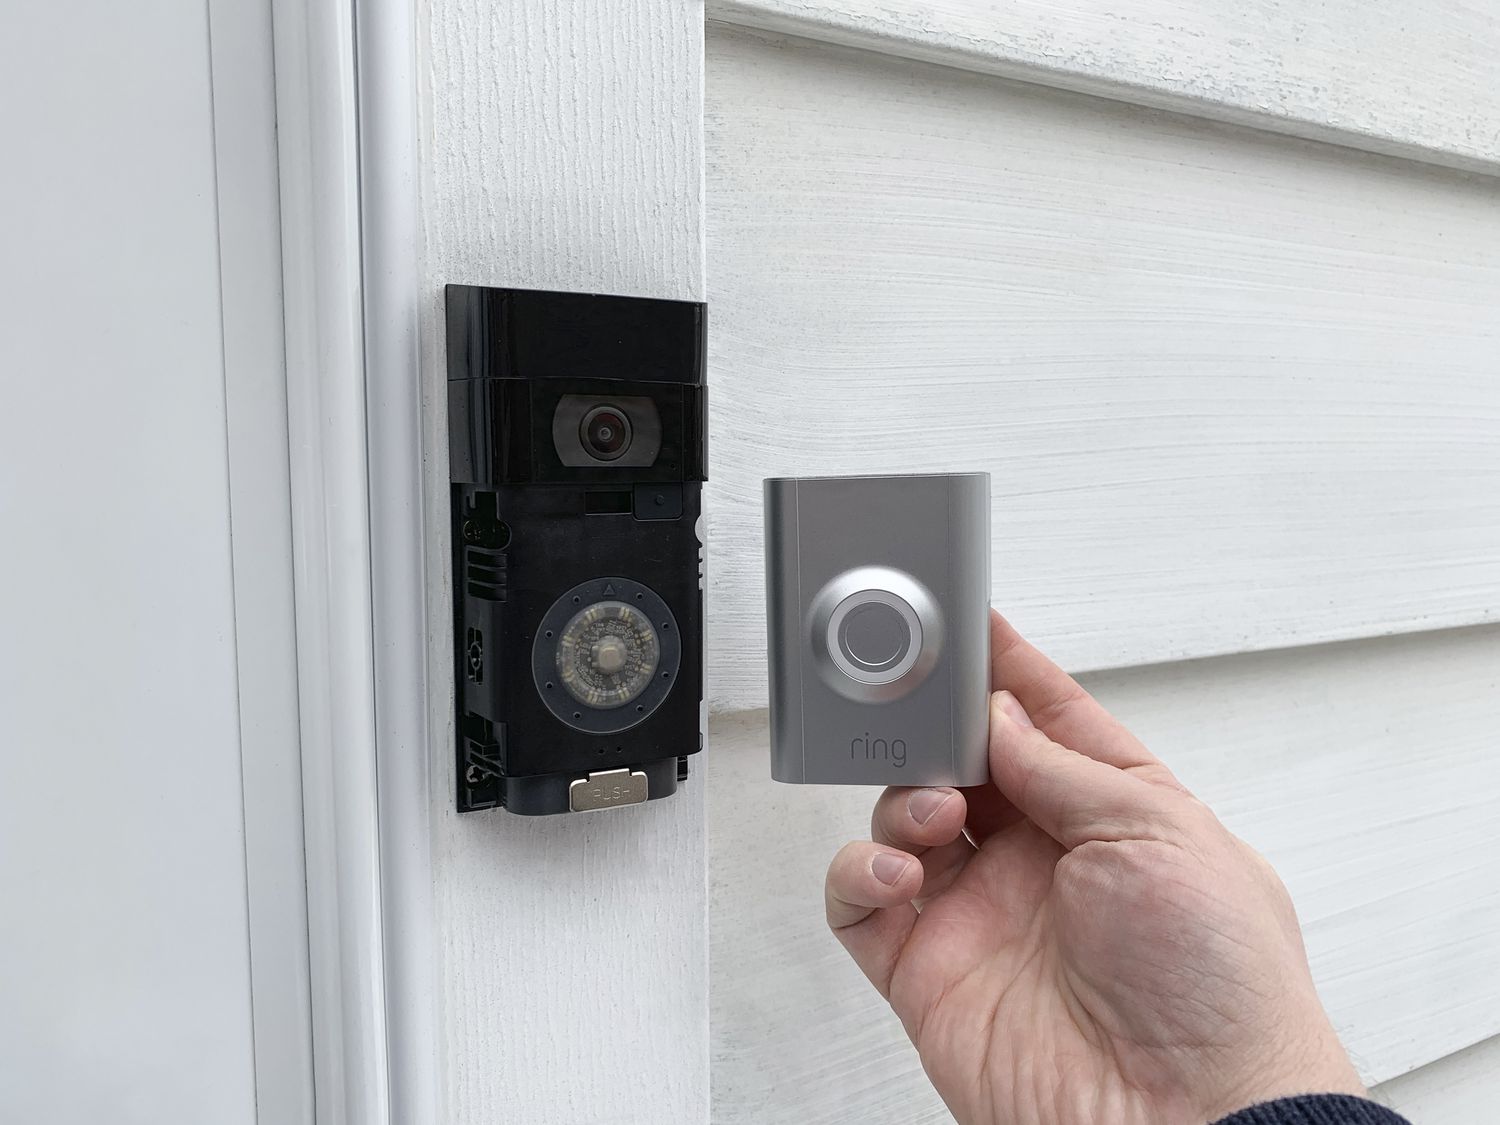
Step 1: Resetting the Ring Doorbell:
Before you can change the ownership of a Ring Doorbell, you’ll need to reset it to factory settings. This will remove any previous owner’s information and ensure a clean slate for the setup process.
To reset your Ring Doorbell, follow these steps:
- Locate the reset button on your Ring Doorbell. It can be found on the back or side of the device, depending on the model.
- Press and hold the reset button for about 15 seconds. You may need to use a small tool, such as a paperclip or pin, to access the button.
- Release the reset button once the light on the Ring Doorbell starts flashing.
Once the Ring Doorbell has been successfully reset, it’s time to move on to the next step: removing the Doorbell from the previous owner’s account.
Note: If you’re unable to locate the reset button or encounter any issues during the reset process, consult the user manual or contact Ring customer support for further assistance.
Step 2: Removing the Doorbell from the Previous Owner’s Account:
Before you can set up the Ring Doorbell as a new owner, you’ll need to remove it from the previous owner’s account. This step ensures that the device is no longer associated with their account and allows you to fully control and manage it.
To remove the Doorbell from the previous owner’s account, follow these steps:
- Open the Ring app on your smartphone or tablet. If you don’t have the app, download and install it from the App Store or Google Play Store.
- Log in to the Ring app using the credentials of the previous owner. If you don’t have their login information, you’ll need to contact them to request removal of the device from their account.
- Once logged in, navigate to the settings or device management section of the app.
- Select the Ring Doorbell that you want to remove from the previous owner’s account.
- Look for the option to remove or delete the device. Depending on the app version, this option may be labeled differently but should be intuitive to locate.
- Confirm the removal by following the prompts and verifying your decision.
After successfully removing the Doorbell from the previous owner’s account, you’re now ready to proceed with the setup process as a new owner. Let’s move on to the next step.
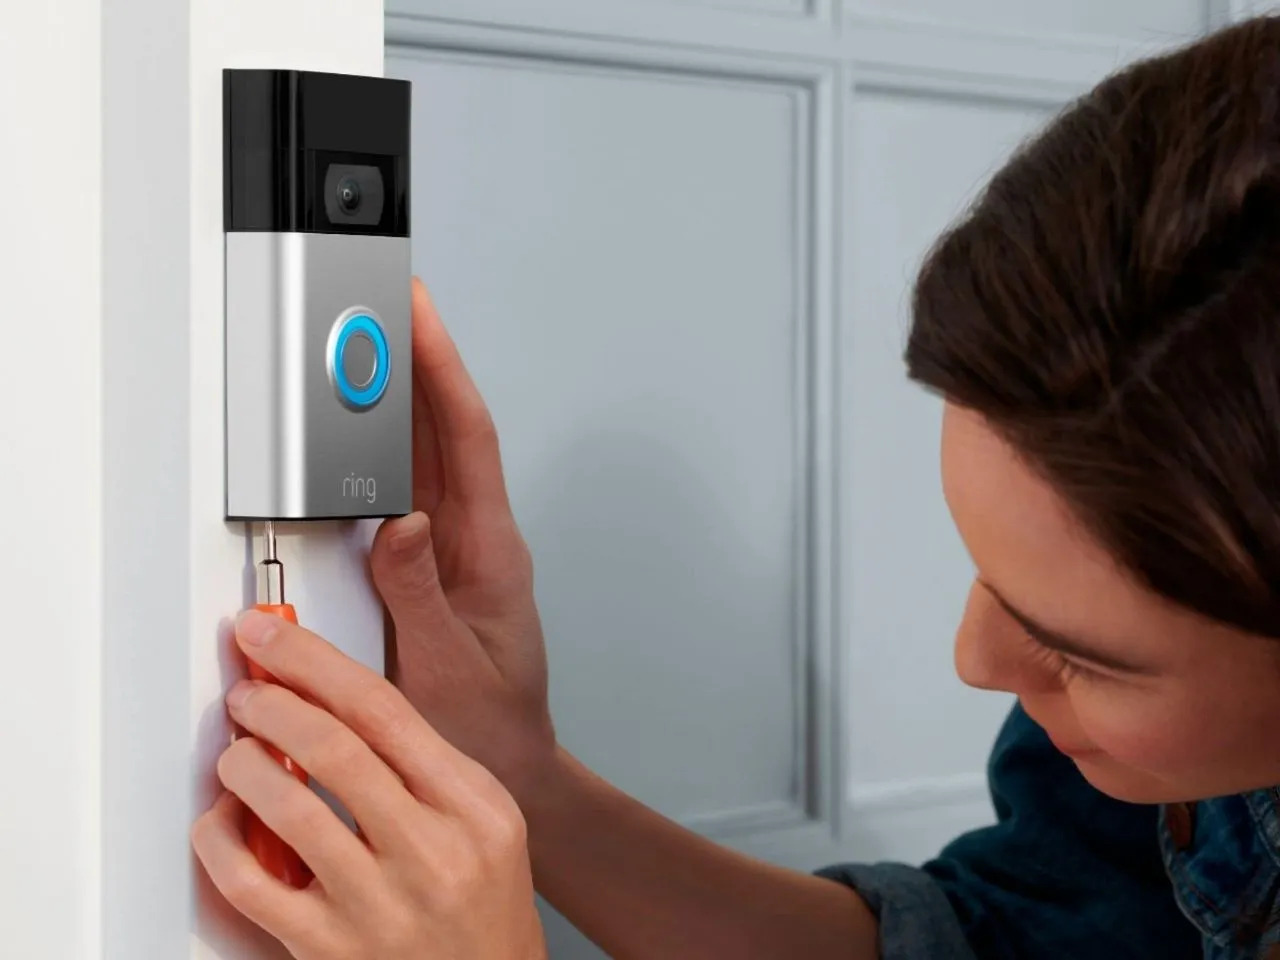
Step 3: Setting Up the Ring Doorbell as a New Owner:
Now that you’ve reset the Ring Doorbell and removed it from the previous owner’s account, it’s time to set it up as a new owner. Follow these steps to complete the setup process:
- Download and install the Ring app on your smartphone or tablet from the App Store or Google Play Store, if you haven’t done so already.
- Launch the Ring app and create a new account if you don’t have one. Fill in the required information and follow the prompts to complete the account setup.
- Once you’re logged in to the Ring app with your new account, tap on the “Set up a device” option.
- Select “Doorbells” from the list of available devices.
- Follow the on-screen instructions to set up the Ring Doorbell. This typically involves connecting it to your Wi-Fi network and naming the device for easy identification.
- During the setup process, you may be prompted to scan a QR code or enter a unique code located on the Ring Doorbell itself. This helps the app identify and pair the device correctly.
- Once the setup is complete, the Ring Doorbell should be successfully associated with your new account.
Congratulations! You have now set up the Ring Doorbell as a new owner and linked it to your account. The next step is to connect the Doorbell to your Wi-Fi network.
To change the ownership of a Ring doorbell, the current owner should remove the device from their account and then the new owner can set it up as a new device on their own account. This can be done through the Ring app by following the instructions for device removal and setup.
Step 4: Connecting the Ring Doorbell to your Wi-Fi Network:
To fully utilize the features of your Ring Doorbell, it’s important to connect it to your Wi-Fi network. This allows you to receive notifications, live video feeds, and interact with the device remotely. Follow these steps to connect your Ring Doorbell to your Wi-Fi:
- Ensure that your smartphone or tablet is connected to the same Wi-Fi network that you want to connect your Ring Doorbell to.
- Open the Ring app and log in to your account if you haven’t already.
- Navigate to the device settings or management section within the app.
- Select the Ring Doorbell that you want to connect to your Wi-Fi network.
- Look for the option to connect or configure the Wi-Fi settings of the Doorbell. This may be labeled as “Wi-Fi Setup” or something similar.
- Follow the on-screen instructions to connect the Doorbell to your Wi-Fi network. This typically involves selecting your network from the available list and entering the Wi-Fi password.
- Wait for the Ring Doorbell to establish a connection with your Wi-Fi network. This may take a few moments.
- Once the connection is successful, you should see a confirmation message within the app.
Great! You have now successfully connected your Ring Doorbell to your Wi-Fi network. The final step is to test and troubleshoot if necessary.
Read more: How To Change Doorbell Sound On Ring
Step 5: Testing and Troubleshooting:
After completing the setup process and connecting your Ring Doorbell to your Wi-Fi network, it’s important to test its functionality and perform any necessary troubleshooting steps. This ensures that everything is working properly and you can fully enjoy the benefits of your Ring Doorbell. Follow these steps to test and troubleshoot:
- Make sure that the Ring Doorbell is properly mounted and positioned to capture the desired area. Adjust the angle and position if necessary.
- Test the doorbell functionality by pressing the button or using the app to trigger an alert. Verify that you receive instant notifications on your smartphone or tablet.
- Check the live video feed on the Ring app to ensure that the camera is capturing clear and crisp images.
- Test the two-way audio feature by speaking through the app and listening for sound coming from the Doorbell.
- If you’re experiencing any issues, check the troubleshooting section of the Ring app or visit the Ring support website for assistance. They provide comprehensive troubleshooting guides and FAQs to help you resolve common issues.
- If necessary, consider contacting Ring customer support for additional help and guidance. They can provide personalized assistance for your specific situation.
By thoroughly testing and troubleshooting your Ring Doorbell, you can ensure that it’s functioning optimally and meeting your needs. Enjoy the added security and convenience that your Ring Doorbell provides!
Conclusion:
Changing the ownership of a Ring Doorbell may seem like a daunting task, but with the right guidance, it can be a straightforward process. In this article, we have provided you with a step-by-step guide on how to change the ownership of a Ring Doorbell and set it up as a new owner.
We started by resetting the Doorbell to factory settings, ensuring that any previous owner’s information is removed. Next, we walked you through the process of removing the Doorbell from the previous owner’s account, allowing you to take full control of the device.
Setting up the Ring Doorbell as a new owner involved downloading the Ring app, creating a new account, and following the on-screen instructions to complete the setup process. Finally, we covered the crucial step of connecting the Doorbell to your Wi-Fi network, enabling you to enjoy the full functionality of the device.
Additionally, we discussed the importance of testing and troubleshooting to ensure that your Ring Doorbell is functioning properly. By following these steps and being proactive in addressing any issues that may arise, you can fully utilize the features and benefits of your Ring Doorbell.
Remember, if you encounter any difficulties during the process, don’t hesitate to consult the user manual, the Ring app’s troubleshooting section, or reach out to Ring customer support for assistance.
Now that you have successfully changed the ownership of your Ring Doorbell and set it up as a new owner, you can enjoy the convenience, security, and peace of mind it provides. Monitor your property, answer your door remotely, and stay connected to your home wherever you are. Embrace the power of technology and make the most of your Ring Doorbell!
Once you've got your Ring Doorbell set up for the new owner, why not ensure your home's safety is up to scratch? Securing your property goes beyond simple gadgets. Dive into our comprehensive guide on why bolstering your home's defenses is critical in today's environment. Whether you're looking to deter potential intruders or just want peace of mind, understanding the fundamentals of robust security measures can make all the difference. Don't miss out on our insightful article that sheds light on the necessity of solid home protection strategies.
Frequently Asked Questions about How To Change Ring Doorbell To New Owner
Was this page helpful?
At Storables.com, we guarantee accurate and reliable information. Our content, validated by Expert Board Contributors, is crafted following stringent Editorial Policies. We're committed to providing you with well-researched, expert-backed insights for all your informational needs.


0 thoughts on “How To Change Ring Doorbell To New Owner”