Articles
How To Change The Wifi On My Ring Doorbell
Modified: January 23, 2024
Discover helpful articles on how to change the wifi on your Ring doorbell. Stay connected and ensure seamless functionality with our expert tips and guides.
(Many of the links in this article redirect to a specific reviewed product. Your purchase of these products through affiliate links helps to generate commission for Storables.com, at no extra cost. Learn more)
Introduction
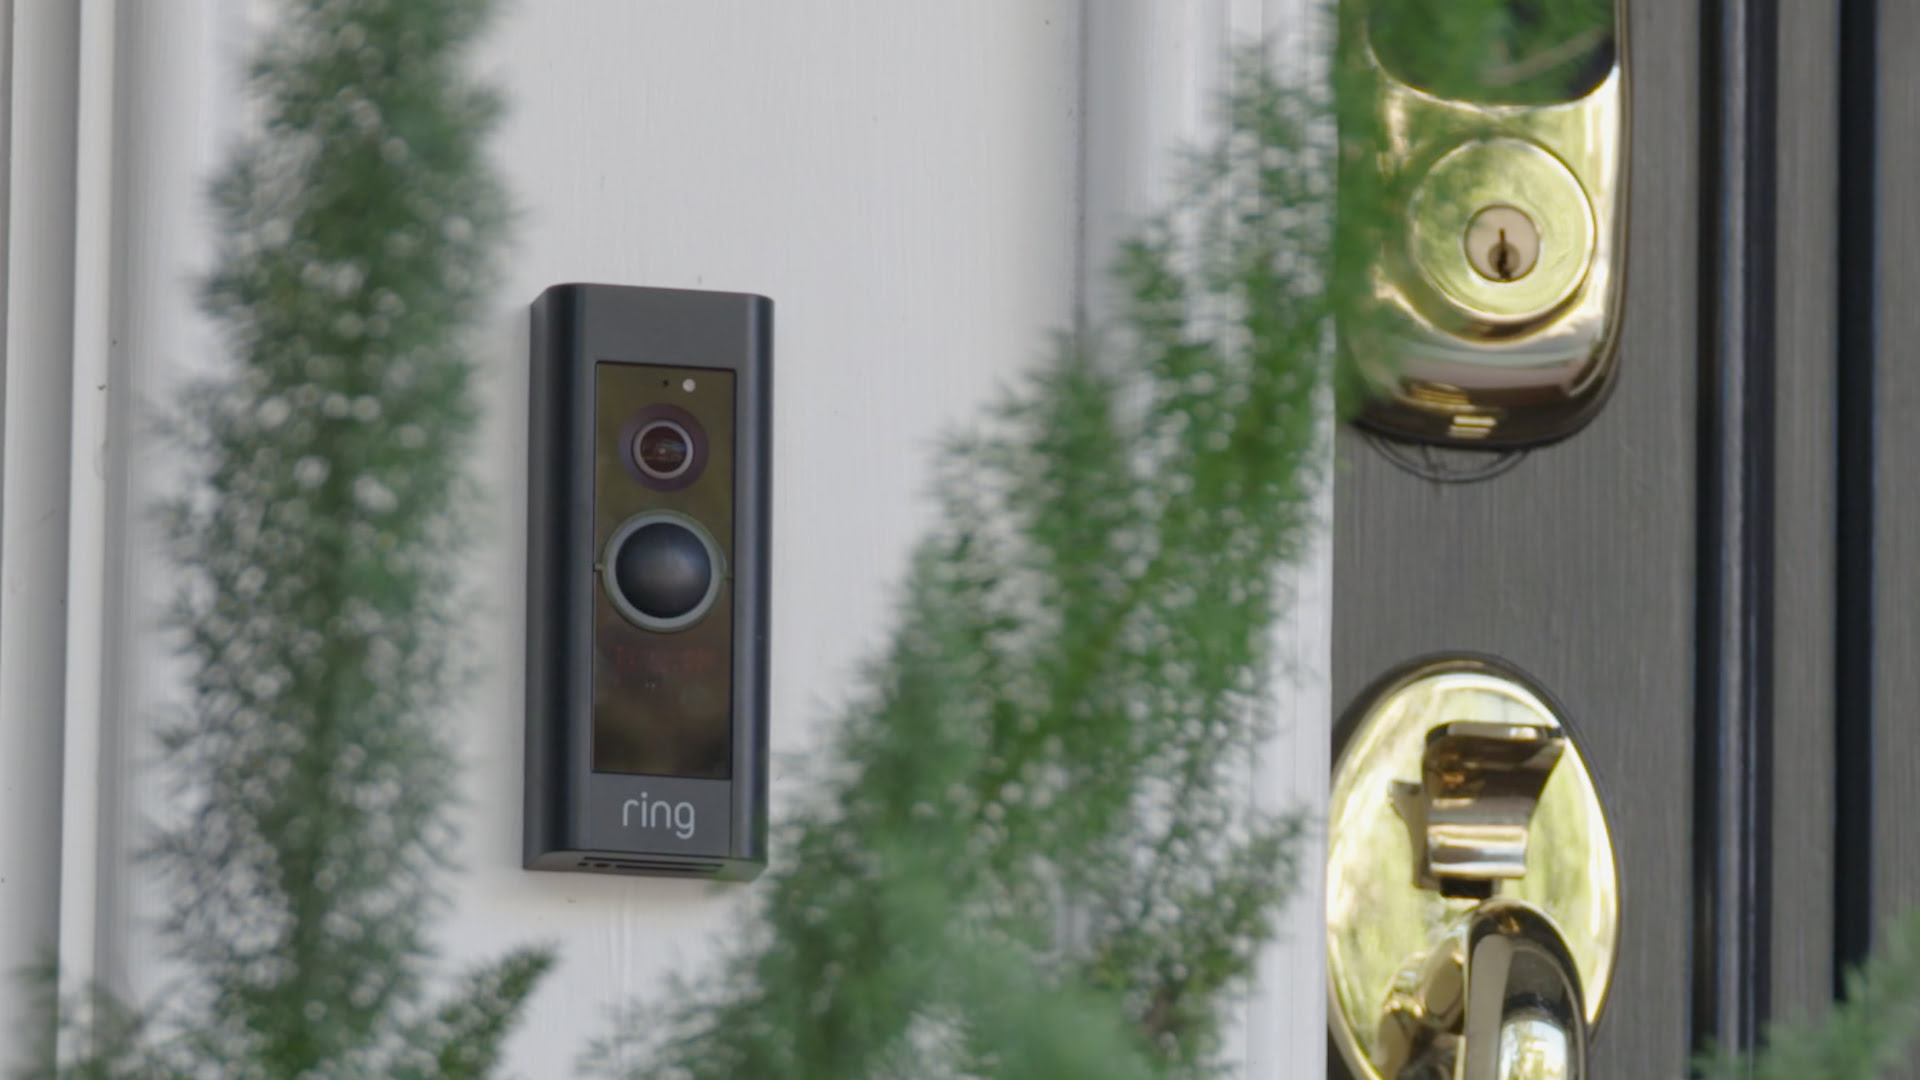
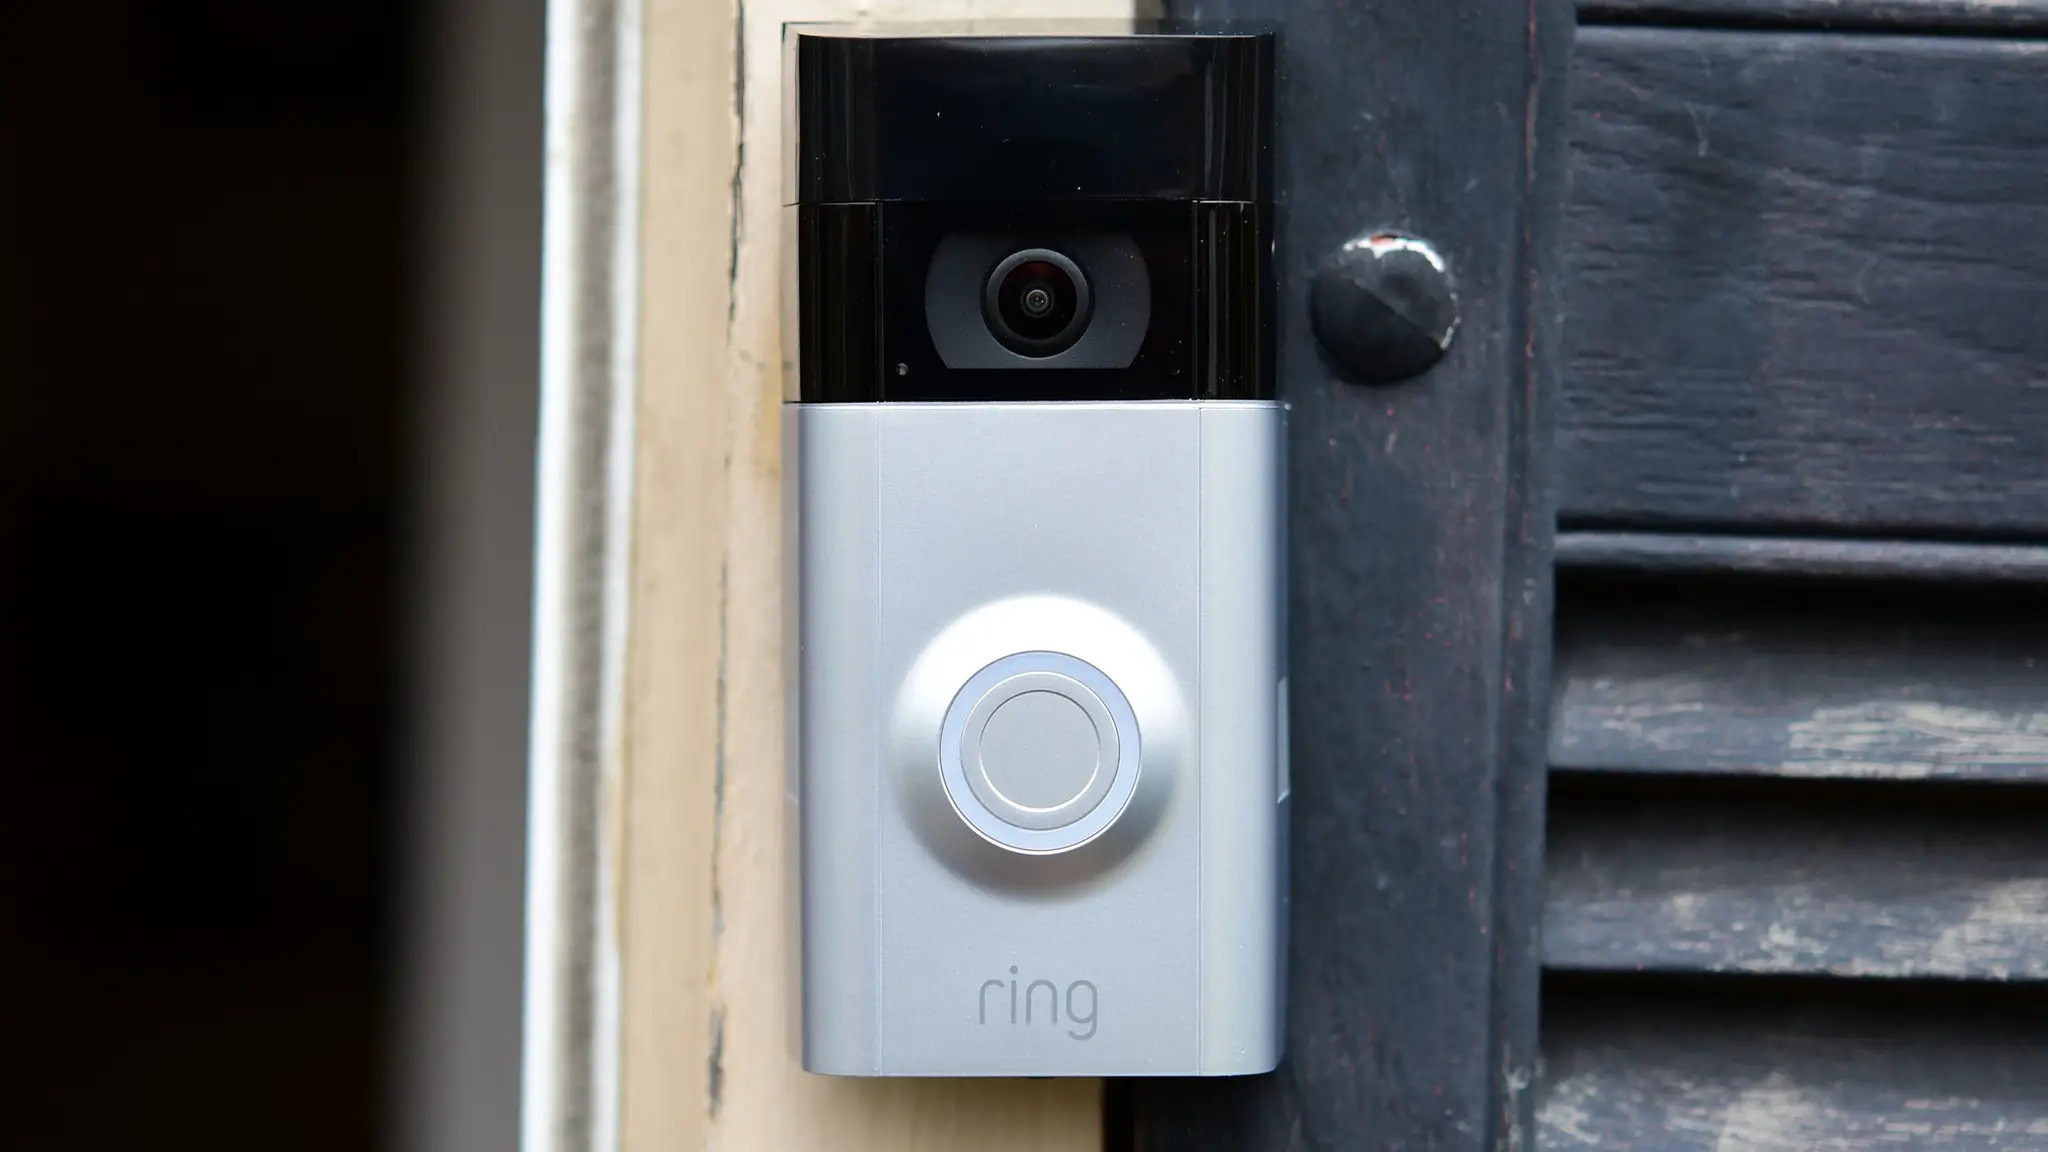
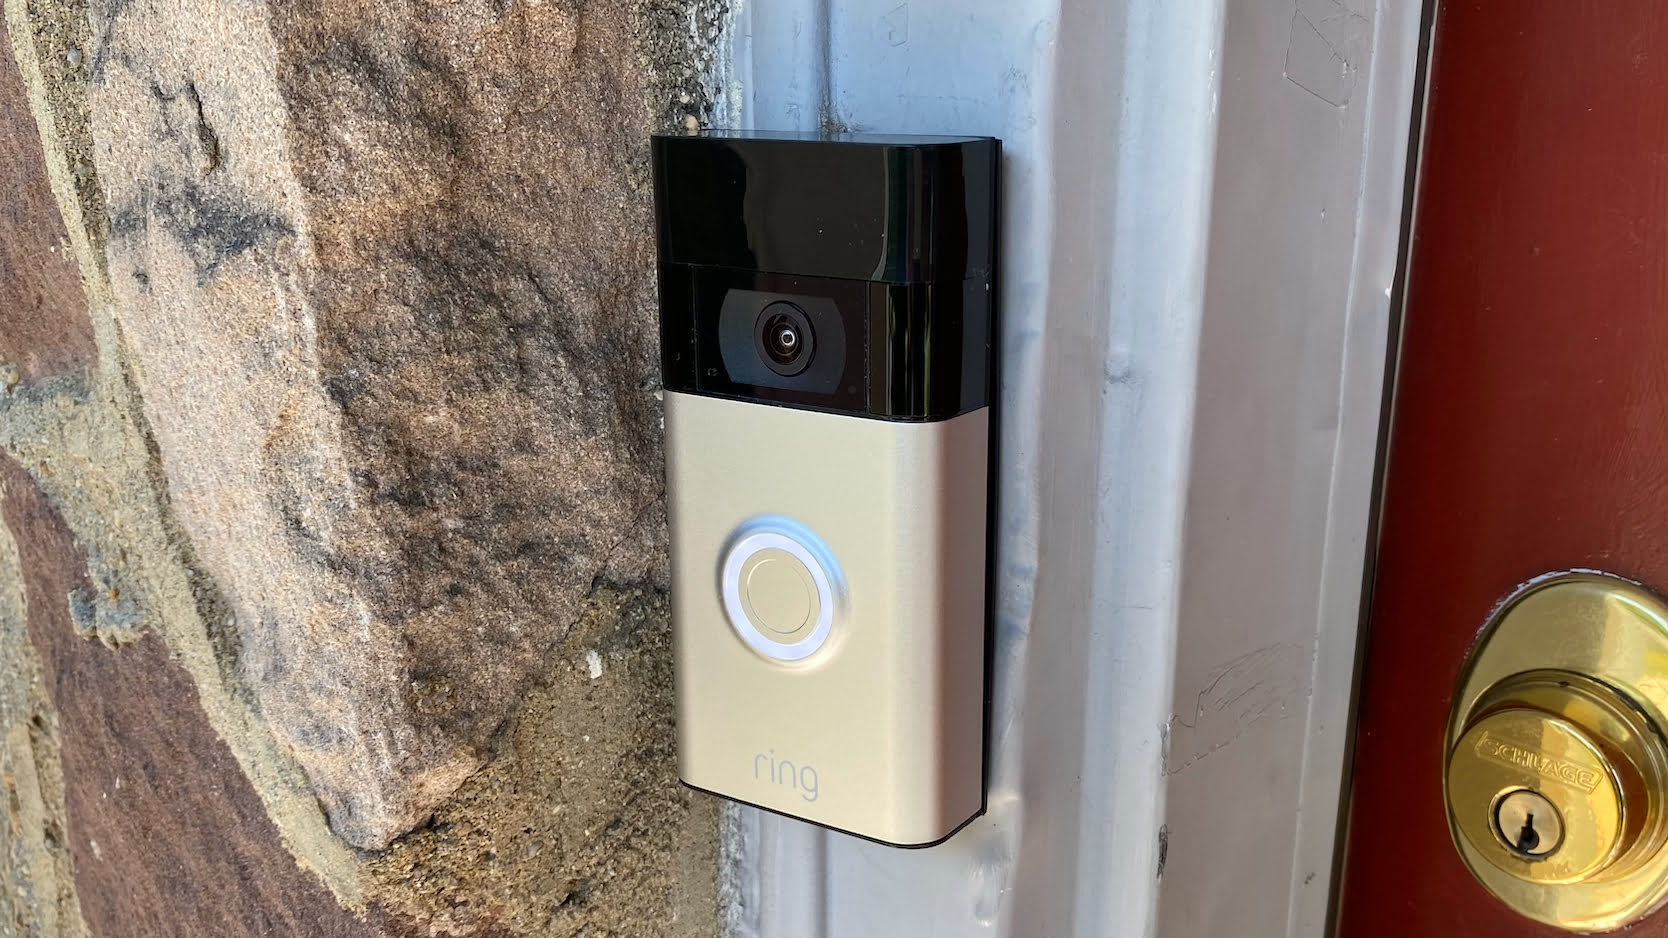
Wi-Fi has become an essential part of our daily lives, connecting us to the internet and allowing us to stay connected in a wireless world. One of the devices that heavily relies on Wi-Fi is the Ring Doorbell, a smart home security device that allows you to monitor and control your front door from anywhere using a smartphone or tablet.
There may be instances where you need to change the Wi-Fi network on your Ring Doorbell, such as when you move to a new location or upgrade your internet service. Changing the Wi-Fi network on your Ring Doorbell is a straightforward process that can be done by following a few simple steps.
In this article, we will guide you through the process of changing the Wi-Fi network on your Ring Doorbell, ensuring that you can continue to enjoy the convenience and peace of mind it provides.
Key Takeaways:
- Easily change the Wi-Fi network on your Ring Doorbell by accessing the settings through the Ring app and following simple step-by-step instructions.
- Ensure a stable and reliable Wi-Fi connection for your Ring Doorbell by testing the new connection and enjoying seamless monitoring and control of your front door.
Read more: How Do I Reconnect My Ring Doorbell To Wifi
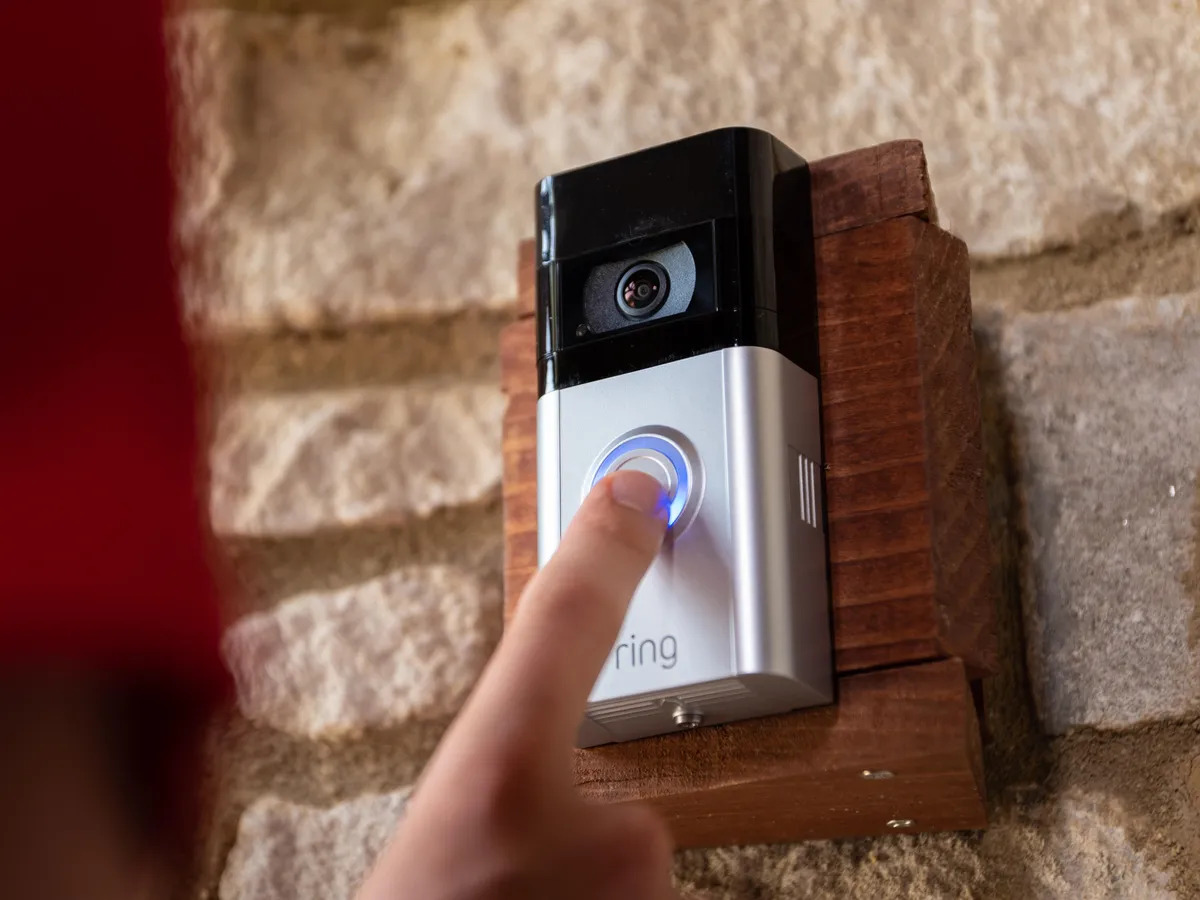
Step 1: Accessing the Ring Doorbell settings
The first step to changing the Wi-Fi network on your Ring Doorbell is to access its settings. To do this, you will need to open the Ring app on your smartphone or tablet. If you don’t have the app installed, you can download it from the App Store or Google Play Store.
Once you have the Ring app installed, follow these steps:
- Open the Ring app and log in to your account.
- Navigate to the “Devices” tab, where you will see a list of all your connected Ring devices.
- Select the Ring Doorbell that you want to change the Wi-Fi network for.
- Tap on the “Device Settings” option to access the settings menu for your Ring Doorbell.
By following these steps, you will be able to access the settings menu for your Ring Doorbell, which is where you can make changes to its Wi-Fi network connection.
Step 2: Connecting to a new Wi-Fi network
Now that you have accessed the settings menu for your Ring Doorbell, you can proceed to connect it to a new Wi-Fi network. Follow these steps to connect your Ring Doorbell to a new Wi-Fi network:
- In the settings menu, look for the “Wi-Fi Network” option and tap on it.
- Choose the “Change Wi-Fi Network” option. This will initiate the process of connecting your Ring Doorbell to a new Wi-Fi network.
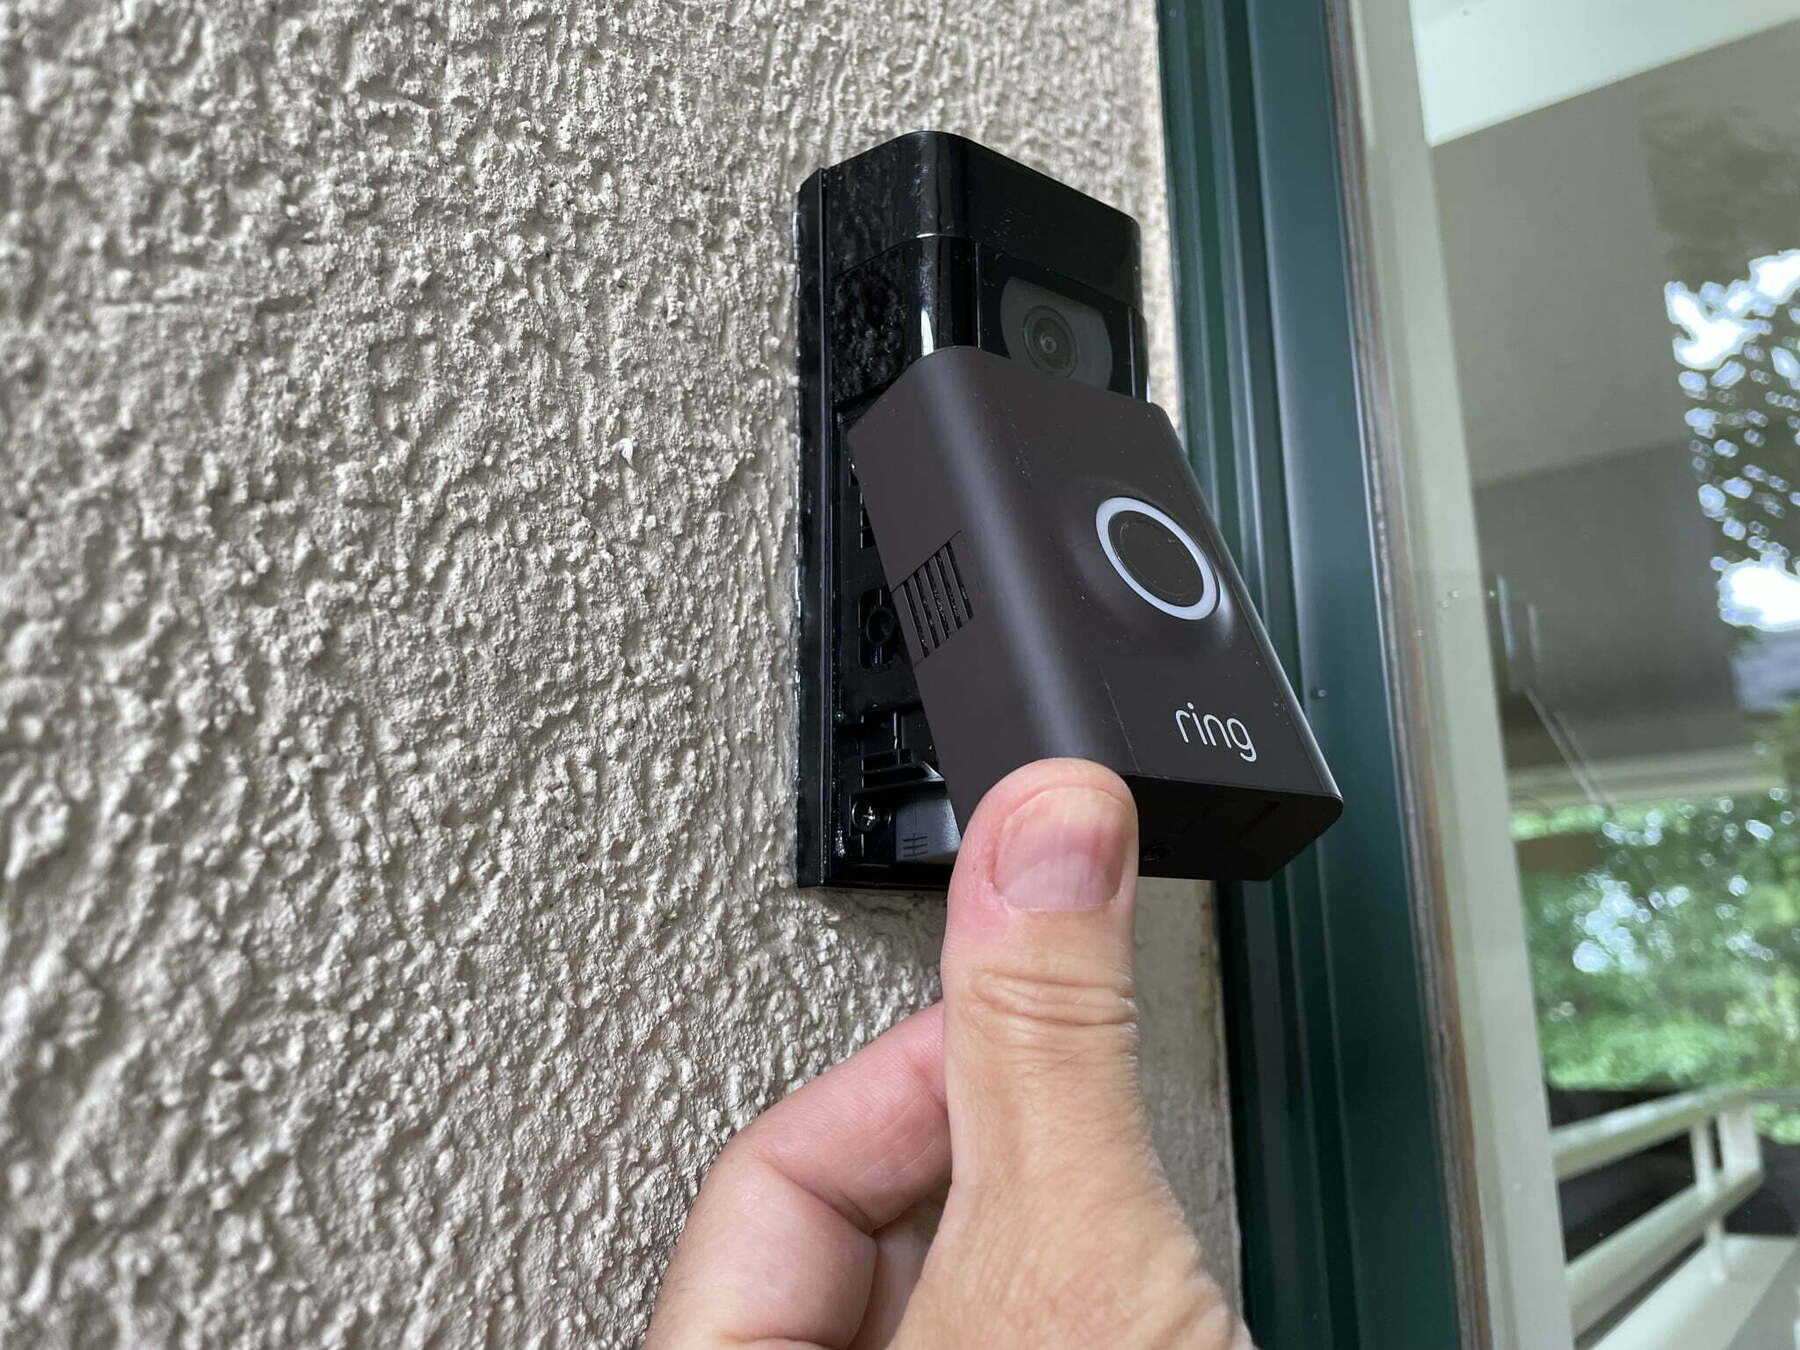
- Follow the on-screen instructions to put your Ring Doorbell in setup mode. This typically involves pressing and holding a button on the Ring Doorbell until it begins flashing.
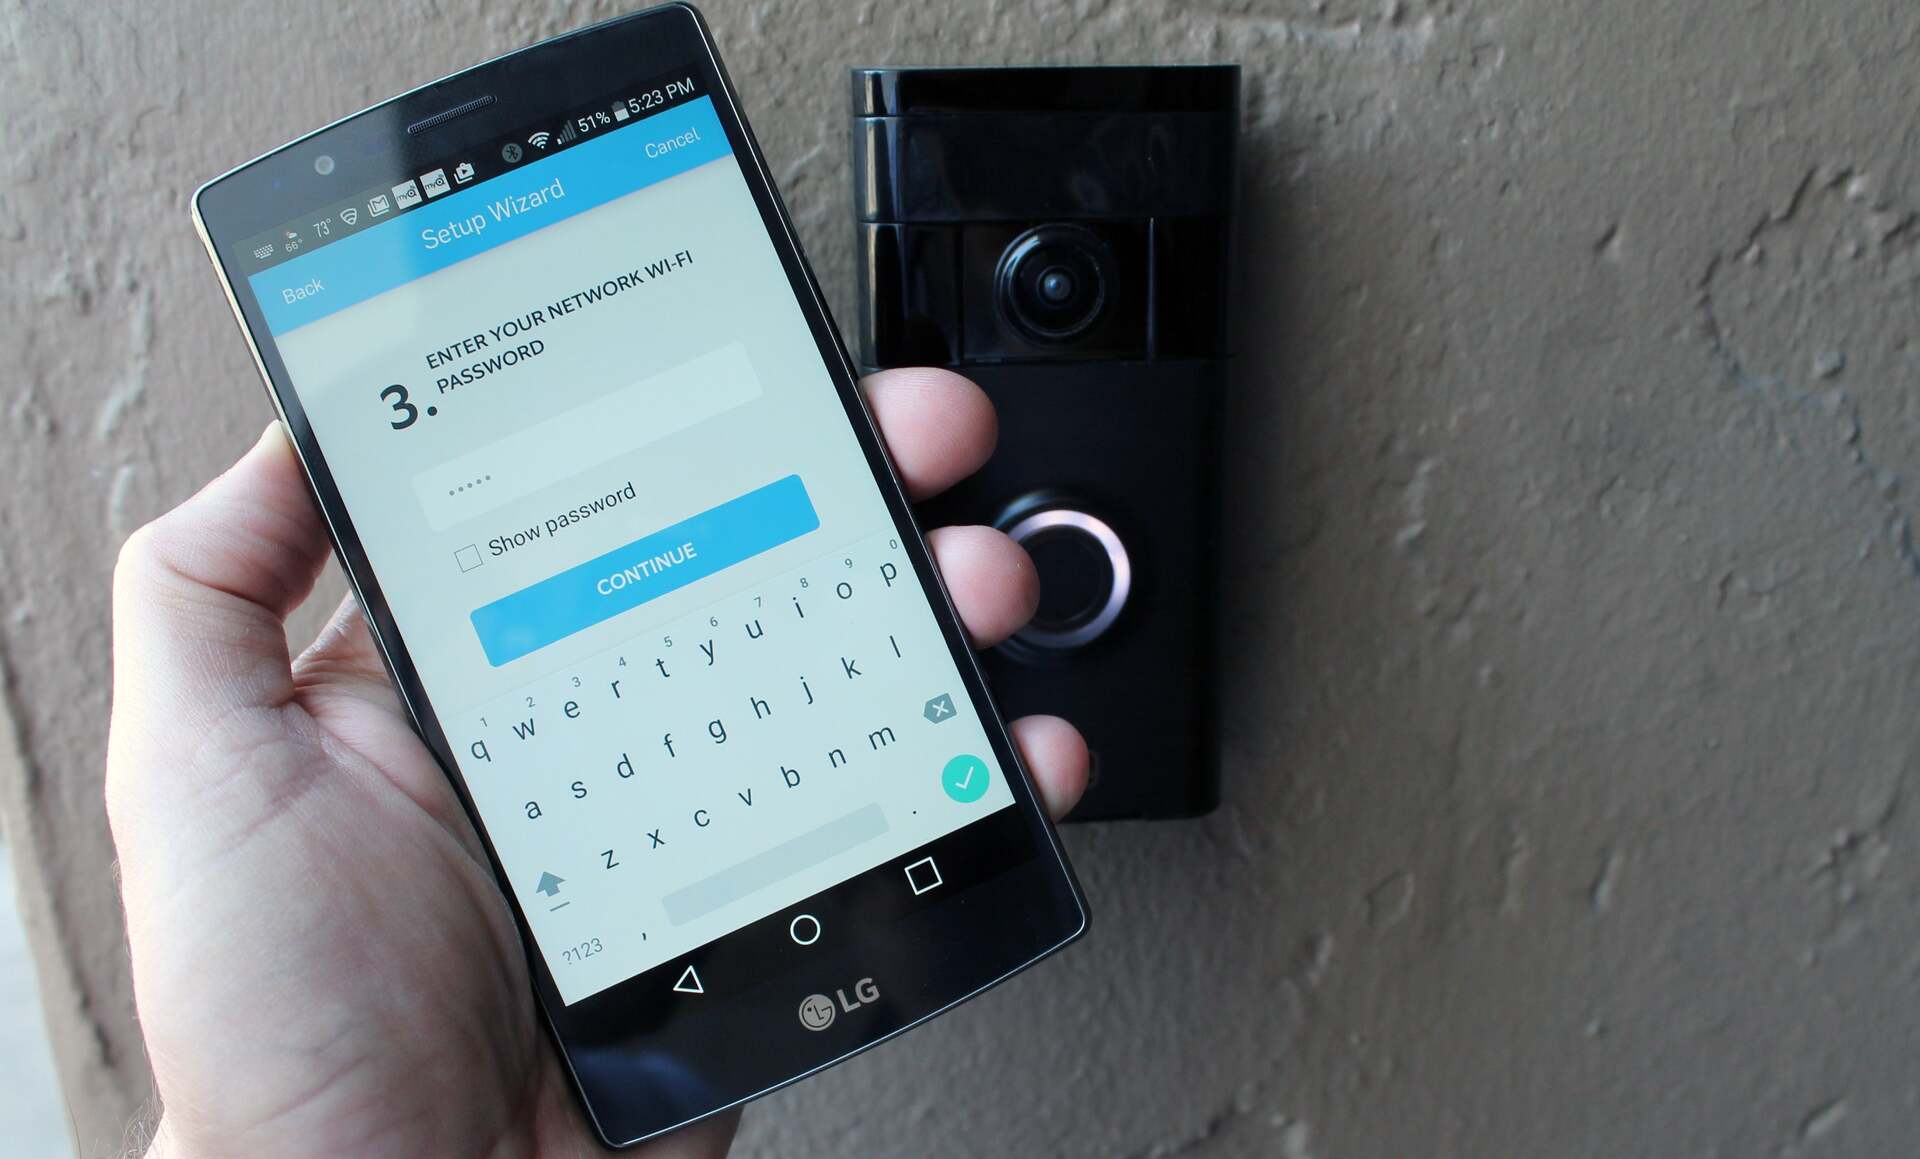
- Once your Ring Doorbell is in setup mode, the app will prompt you to select the Wi-Fi network you want to connect to. Tap on the network name and enter the Wi-Fi password when prompted.
- Wait for the Ring Doorbell to establish a connection with the new Wi-Fi network. This may take a few moments.
- Once the connection is established, you will see a confirmation message on the app indicating that your Ring Doorbell is now connected to the new Wi-Fi network.
Following these steps will allow you to successfully connect your Ring Doorbell to a new Wi-Fi network, ensuring that it remains connected to the internet and accessible through the Ring app.
To change the WiFi on your Ring Doorbell, open the Ring app, select your device, and go to Device Health. Then, select Change Wifi Network and follow the on-screen instructions to reconnect to a new WiFi network.
Step 3: Setting up the new Wi-Fi network on the Ring Doorbell
After successfully connecting your Ring Doorbell to the new Wi-Fi network, the next step is to set up the network on the device itself. This ensures that the Ring Doorbell can establish a stable and secure connection to the internet. Follow these steps to set up the new Wi-Fi network on your Ring Doorbell:
- In the settings menu, look for the “Device Health” or “Device Info” option and tap on it.
- Scroll down until you find the “Network” section.
- Tap on the “Change Network” option to initiate the process of setting up the new Wi-Fi network on your Ring Doorbell.
- The app will guide you through the process of selecting the network and entering the Wi-Fi password. Follow the on-screen instructions and provide the necessary information.
- Once you have entered the network details, the app will attempt to connect your Ring Doorbell to the new Wi-Fi network.
- Wait for a few moments as the Ring Doorbell establishes a connection.
- Once the connection is successful, you will receive a confirmation message on the app indicating that the new Wi-Fi network has been set up on your Ring Doorbell.
By completing these steps, you have successfully set up the new Wi-Fi network on your Ring Doorbell. This ensures that your device is connected to the internet and can communicate with the Ring app and other connected devices.
Step 4: Testing the new Wi-Fi connection
Once you have changed the Wi-Fi network and set it up on your Ring Doorbell, it is important to test the new connection to ensure everything is working correctly. Follow these steps to test the new Wi-Fi connection on your Ring Doorbell:
- Make sure your smartphone or tablet is connected to the same Wi-Fi network that you just set up on your Ring Doorbell.
- Open the Ring app and navigate to the “Devices” tab.
- Find and select your Ring Doorbell from the list of connected devices.
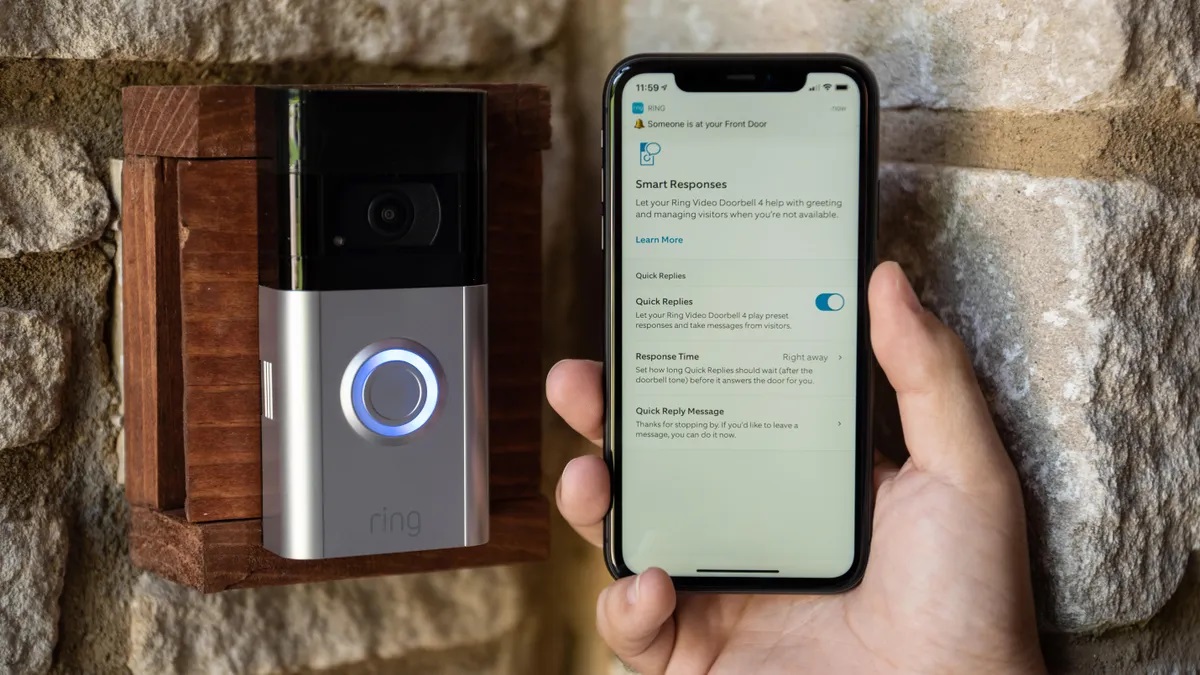
- Tap on the Live View option to access the live video feed from your Ring Doorbell.
- Observe the video feed to ensure that you have a clear and stable connection.
- Test other features of the Ring Doorbell, such as two-way audio and motion detection, to ensure they are working properly.
- If you encounter any issues or notice any connectivity problems, double-check that the Wi-Fi network is set up correctly and contact Ring support for assistance.
By testing the new Wi-Fi connection, you can be confident that your Ring Doorbell is properly connected to the internet and functioning as expected. This ensures that you can monitor your front door and receive notifications reliably and in real-time.
Conclusion
Changing the Wi-Fi network on your Ring Doorbell is a simple process that can be done in just a few steps. By following the instructions outlined in this article, you can successfully connect your Ring Doorbell to a new Wi-Fi network and ensure that it remains connected to the internet and accessible through the Ring app.
Remember to access the Ring Doorbell settings through the Ring app, connect to a new Wi-Fi network, set up the new network on the Ring Doorbell, and test the new Wi-Fi connection to ensure everything is working properly.
Having a stable and reliable Wi-Fi connection for your Ring Doorbell is essential for seamless monitoring and control of your front door. Whether you have moved to a new location or upgraded your internet service, changing the Wi-Fi network allows you to continue enjoying the convenience and peace of mind that the Ring Doorbell provides.
If you encounter any difficulties during the process or have any further questions, don’t hesitate to reach out to Ring support for assistance. They are always ready to help you troubleshoot any issues and ensure that your Ring Doorbell is working optimally.
Now that you have successfully changed the Wi-Fi network on your Ring Doorbell, you can continue to enjoy the benefits of a smart home security device that keeps you connected and provides added security to your home.
Frequently Asked Questions about How To Change The Wifi On My Ring Doorbell
Was this page helpful?
At Storables.com, we guarantee accurate and reliable information. Our content, validated by Expert Board Contributors, is crafted following stringent Editorial Policies. We're committed to providing you with well-researched, expert-backed insights for all your informational needs.


0 thoughts on “How To Change The Wifi On My Ring Doorbell”