Articles
Dreamiracle Ice Maker How To Clean
Modified: February 29, 2024
Learn effective methods and tips for cleaning your Dreamiracle Ice Maker with our informative articles. Keep your ice maker in pristine condition for optimum performance.
(Many of the links in this article redirect to a specific reviewed product. Your purchase of these products through affiliate links helps to generate commission for Storables.com, at no extra cost. Learn more)
Introduction
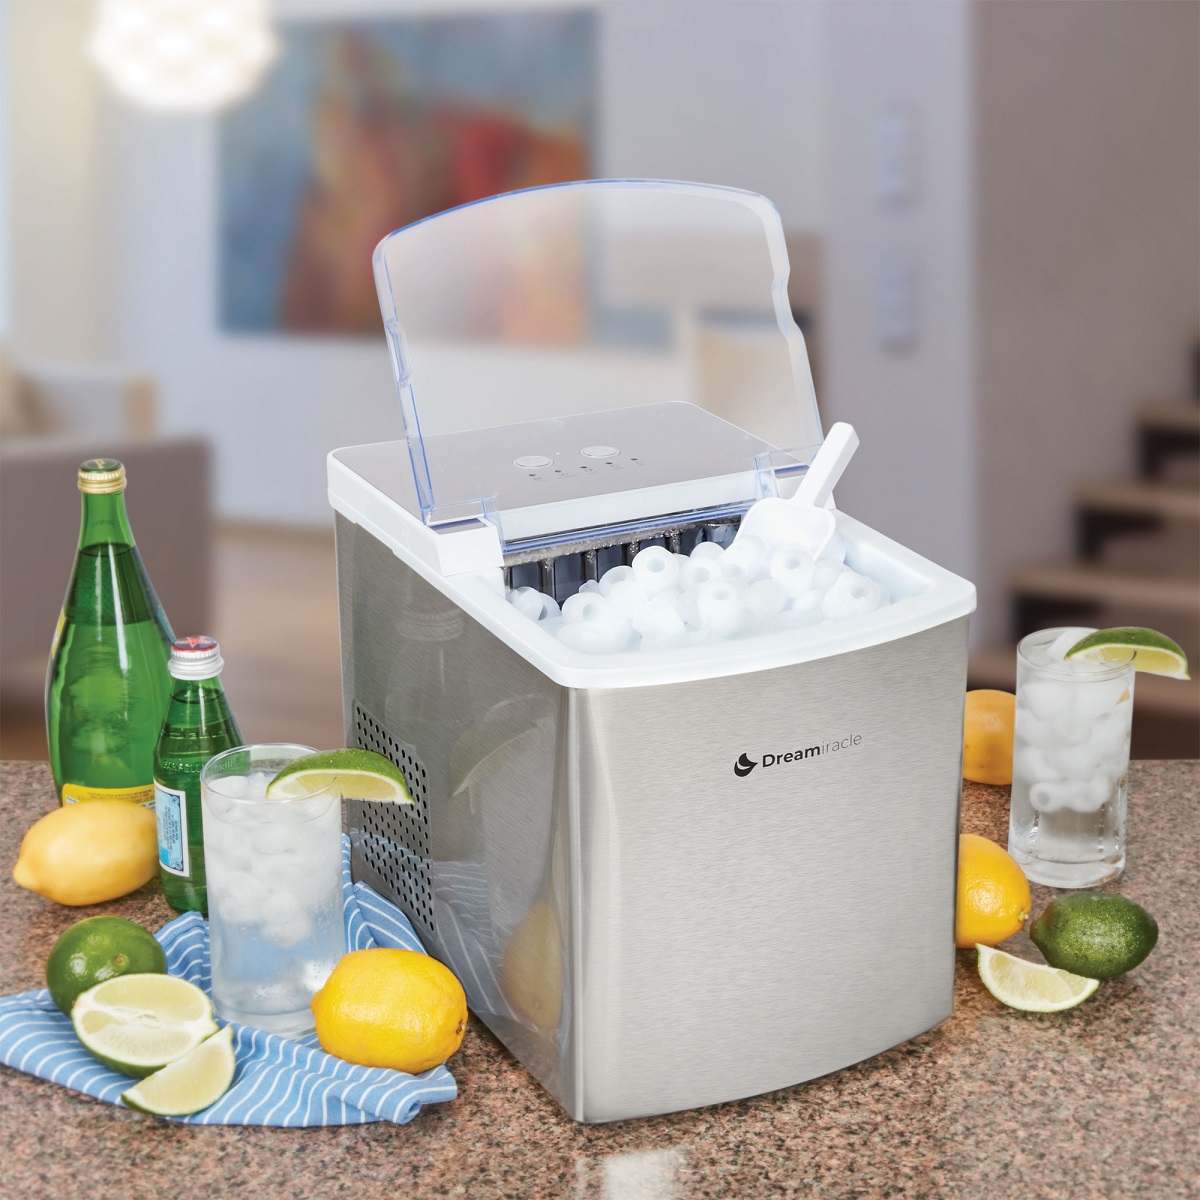
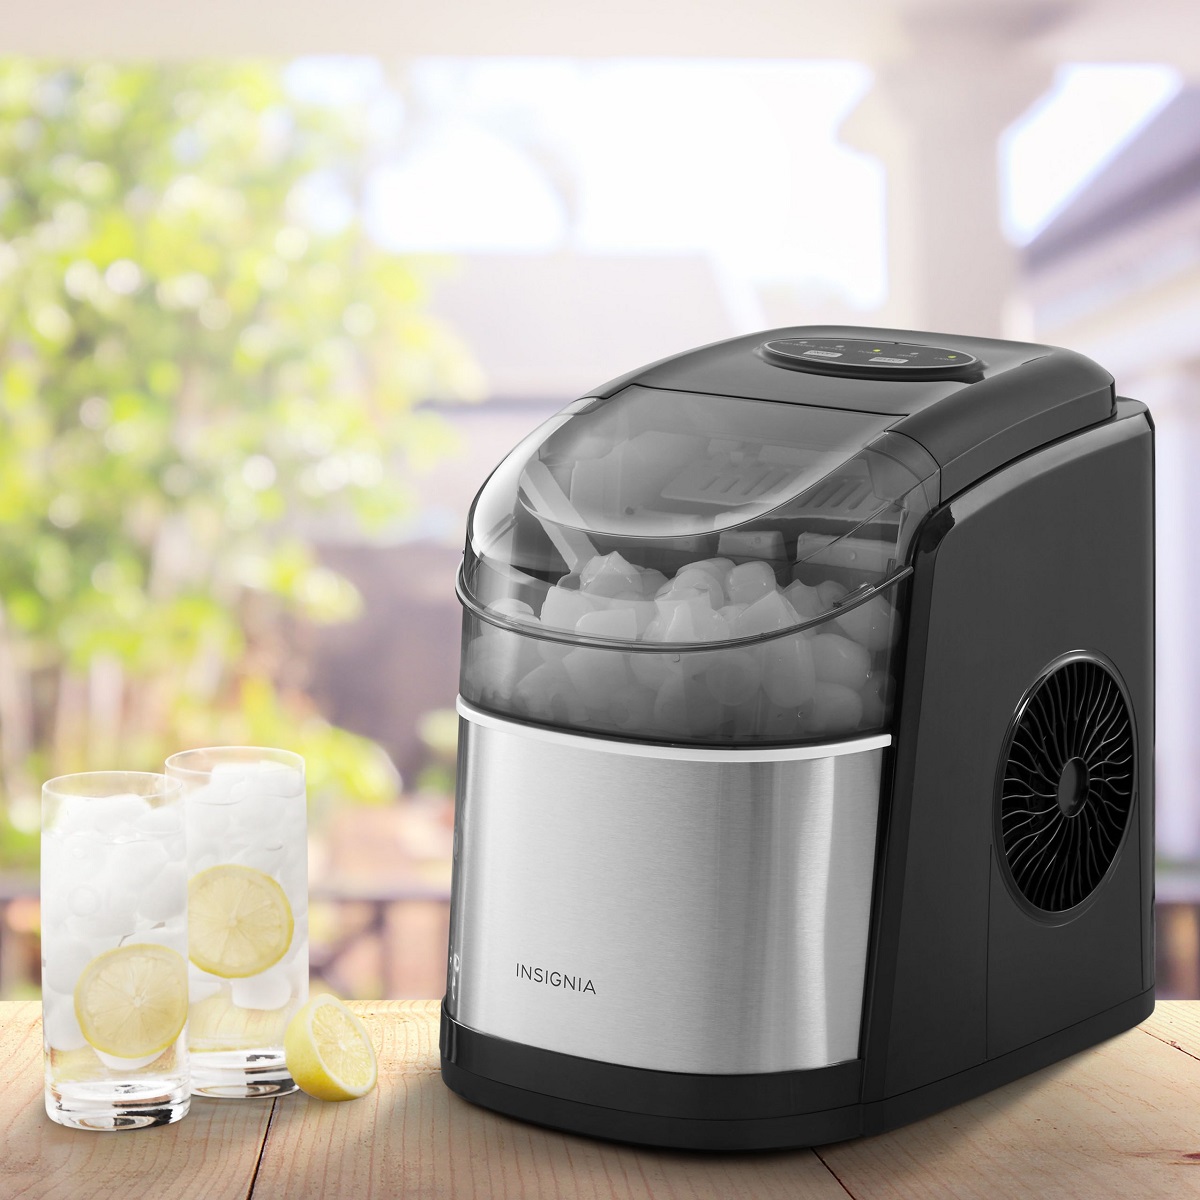
Welcome to the world of convenience and endless supply of ice cubes with the Dreamiracle Ice Maker. This compact and efficient appliance has become a staple in many homes and offices, providing a constant stream of ice for your beverages and summer parties. However, to ensure the longevity and optimal performance of your ice maker, it is important to regularly clean and maintain it.
Regular cleaning removes any build-up of minerals, bacteria, and other impurities that may affect the taste and quality of your ice cubes. It also helps to maintain the efficiency of the ice maker, ensuring that it continues to produce ice at its maximum capacity.
In this article, we will guide you through the process of cleaning your Dreamiracle Ice Maker, step by step. By following these instructions, you can keep your ice maker in pristine condition, guaranteeing fresh and clean ice cubes every time.
Key Takeaways:
- Regular cleaning and maintenance of your Dreamiracle Ice Maker is essential to ensure fresh, hygienic, and high-quality ice cubes for your beverages and summer parties. Follow the step-by-step guide to keep your ice maker in optimal condition.
- Gather the necessary cleaning supplies, empty the ice bin, prepare the cleaning solution, clean the exterior and interior surfaces, clean the ice bin, rinse and dry all components, and finally, reassemble and restart your ice maker for continued enjoyment of refreshing ice cubes.
Read more: How To Clean A Igloo Ice Maker
Step 1: Gather the necessary cleaning supplies
Before you begin cleaning your Dreamiracle Ice Maker, it is essential to gather all the necessary supplies. This will ensure that you have everything you need at hand and can complete the cleaning process efficiently. Here are the supplies you will need:
- Warm water: Fill a basin or bucket with warm water. This will be used for rinsing and cleaning the ice maker.
- Mild detergent or ice maker cleaning solution: Choose a mild detergent or an ice maker cleaning solution specifically designed for cleaning ice makers. Avoid using harsh chemicals or abrasive cleaners as they may damage the ice maker.
- Clean cloth or sponge: Use a clean, non-abrasive cloth or sponge to wipe down the surfaces of the ice maker.
- Cotton swabs: Cotton swabs are useful for cleaning hard-to-reach areas and removing any build-up or debris.
- Soft-bristle brush: A soft-bristle brush can be used to clean the ice maker’s interior and remove any stubborn dirt or residue.
Ensure that all these supplies are readily available before you proceed with the next steps. This will save you time and make the cleaning process smooth and hassle-free.
Step 2: Empty the ice bin
Before you start cleaning your Dreamiracle Ice Maker, it is necessary to empty the ice bin. This step ensures that you are working with a clean surface and prevents any contamination of the ice cubes during the cleaning process.
To empty the ice bin, follow these steps:
- Turn off the ice maker: Locate the power button or switch on your ice maker and turn it off. This will prevent the ice maker from producing more ice while you are cleaning.
- Open the ice bin: Gently pull out the ice bin from the ice maker. Be careful not to spill any ice cubes while doing so.
- Remove any remaining ice cubes: Dispose of the ice cubes in a sink or designated area. Make sure to remove all the ice cubes, even the ones stuck to the sides or bottom of the ice bin.
- Clean the ice bin: Once the ice bin is empty, clean it separately with warm water and mild detergent. Use a cloth or sponge to wipe the surfaces, making sure to remove any residue or build-up.
- Rinse and dry the ice bin: Rinse the ice bin thoroughly with warm water to remove any soapy residue. Dry it completely before reinserting it back into the ice maker.
By emptying the ice bin and cleaning it separately, you ensure that the ice bin is free from any impurities and ready to be used again once the cleaning process is complete.
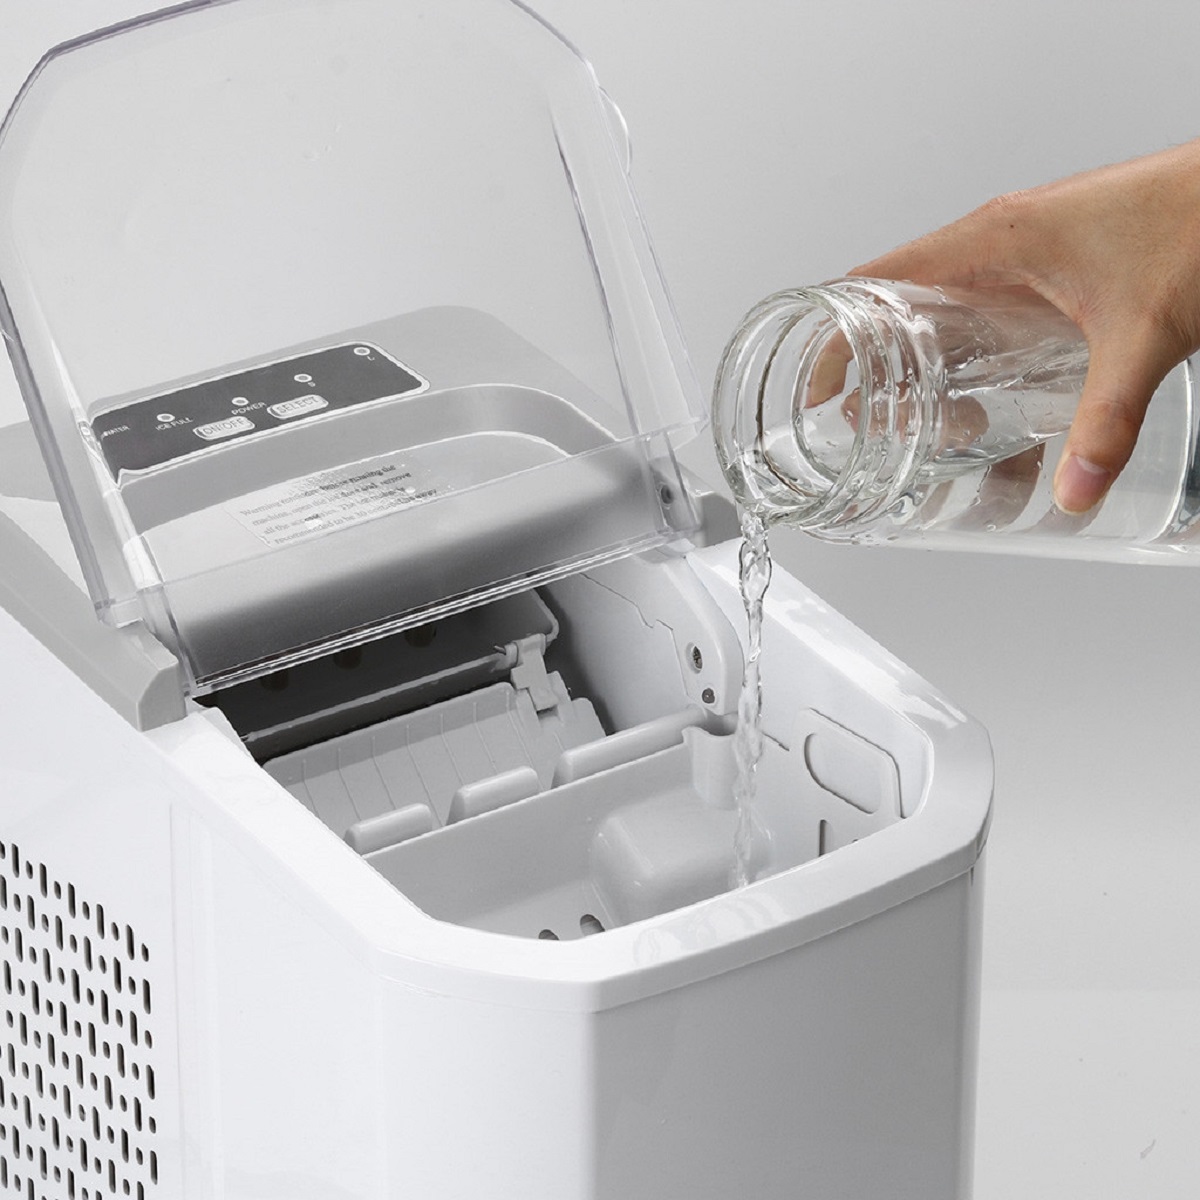
Step 3: Prepare the cleaning solution
In order to thoroughly clean your Dreamiracle Ice Maker, you need to prepare a suitable cleaning solution. This solution will help to break down any mineral deposits, remove bacteria, and eliminate any lingering odors.
Here’s how you can prepare the cleaning solution:
- Read the manufacturer’s instructions: Before preparing the cleaning solution, refer to the manufacturer’s instructions for any specific guidelines or recommendations.
- Mild detergent: If the manufacturer does not provide a specific cleaning solution, you can use a mild detergent that is safe for use with food-contact surfaces. Mix a small amount of the detergent with warm water in a basin or bucket.
- Ice maker cleaning solution: Alternatively, you can purchase an ice maker cleaning solution. Follow the instructions on the packaging to mix the solution with water in the recommended proportions.
It’s important to note that using harsh chemicals or abrasive cleaners can damage the ice maker. Stick to mild detergents or specifically formulated ice maker cleaning solutions to ensure the integrity of your appliance.
Once you have prepared the cleaning solution, you are ready to move on to the next step of the cleaning process.
Step 4: Clean the exterior surfaces
Now that you have gathered the necessary supplies and prepared the cleaning solution, it’s time to start cleaning the exterior surfaces of your Dreamiracle Ice Maker. This step will help to remove any dirt, fingerprints, or spills that may have accumulated on the exterior of the appliance.
Follow these steps to clean the exterior surfaces:
- Ensure the ice maker is turned off: Before you begin cleaning, make sure the ice maker is turned off and unplugged from the power source. This is important for your safety and to prevent any damage to the appliance.
- Dampen a clean cloth or sponge: Dip a clean cloth or sponge into the prepared cleaning solution or warm water. Wring out any excess liquid to avoid dripping.
- Wipe the exterior surfaces: Gently wipe down the exterior surfaces of the ice maker, including the front panel, sides, and top. Pay attention to areas with visible dirt or stains.
- Pay attention to crevices and buttons: Use cotton swabs or a soft-bristle brush to clean any crevices, buttons, or hard-to-reach areas. This ensures that no residue or dirt is left behind.
- Rinse with clean water: Once you have wiped down all the exterior surfaces, dampen a clean cloth with plain water and wipe away any remaining cleaning solution.
- Dry the exterior: Use a dry, lint-free cloth to thoroughly dry the surface of the ice maker. This helps to prevent the accumulation of water spots or streaks.
By cleaning the exterior surfaces, you not only improve the appearance of your ice maker but also maintain its overall hygiene. These simple steps will ensure that your Dreamiracle Ice Maker stays in top condition.
To clean your Dreamiracle ice maker, unplug it and empty any remaining ice. Mix warm water with mild detergent and use a soft cloth to wipe down the interior and exterior. Rinse with clean water and dry thoroughly before plugging it back in.
Read more: How To Clean Out An Ice Maker
Step 5: Clean the interior surfaces
Now that you have successfully cleaned the exterior surfaces of your Dreamiracle Ice Maker, it’s time to focus on the interior surfaces. This step is crucial for removing any mineral deposits, mold, or bacteria that may have accumulated inside the ice maker.
Follow these steps to clean the interior surfaces:
- Remove the ice maker’s cover or access panel: Refer to the manufacturer’s instructions to locate and remove the cover or access panel that allows you to access the interior of the ice maker.
- Dampen a clean cloth or sponge: Dip a clean cloth or sponge into the prepared cleaning solution or warm water. Wring out any excess liquid to avoid dripping.
- Wipe down the interior surfaces: Gently wipe down the interior surfaces of the ice maker, including the ice-making mechanism, water reservoir, and any visible parts. Pay special attention to areas with visible residue or build-up.
- Use cotton swabs or a soft-bristle brush: For hard-to-reach areas or stubborn residue, use cotton swabs or a soft-bristle brush to gently scrub and remove any dirt or debris.
- Rinse with clean water: Once you have wiped down all the interior surfaces, use a clean cloth dampened with plain water to rinse away any remaining cleaning solution.
- Dry the interior: Use a dry, lint-free cloth to thoroughly dry the interior surfaces of the ice maker. This helps to prevent the growth of mold or bacteria and ensures a clean environment for producing ice cubes.
By cleaning the interior surfaces of your ice maker, you are maintaining its functionality and ensuring that your ice cubes are free from any contaminants. Regular cleaning of the interior surfaces is essential for the longevity and optimal performance of your Dreamiracle Ice Maker.
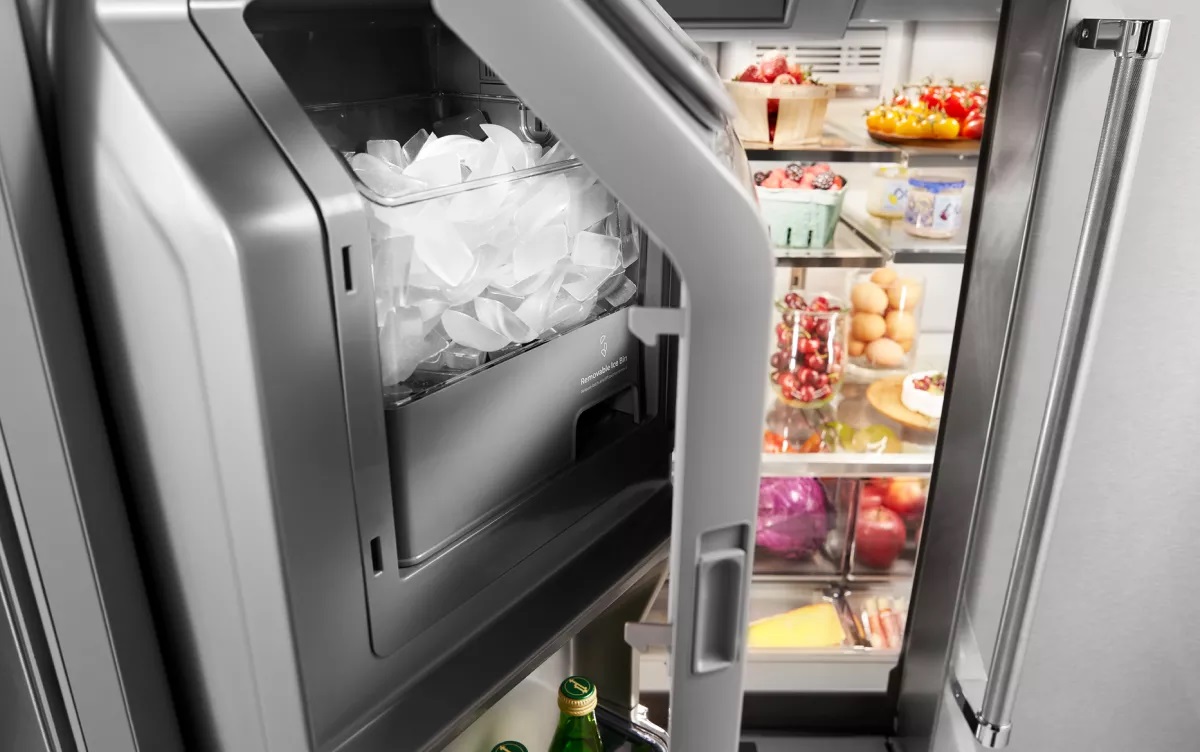
Step 6: Clean the ice bin
As you continue the cleaning process for your Dreamiracle Ice Maker, it’s important to pay attention to the ice bin. The ice bin is where the ice cubes accumulate, so it is crucial to keep it clean and free from any residue or impurities.
Follow these steps to clean the ice bin:
- Remove the ice bin from the ice maker: Gently pull out the ice bin from the ice maker, making sure to hold it level to prevent any spills.
- Empty any remaining ice cubes: Dispose of the remaining ice cubes in a sink or designated area.
- Wash the ice bin with warm, soapy water: Using a mild detergent or the prepared cleaning solution, wash the ice bin thoroughly. Pay attention to the bottom, sides, and corners of the bin.
- Use a soft brush or sponge: For stubborn build-up or residue, use a soft brush or sponge to gently scrub the surfaces of the ice bin. Be careful not to damage the plastic or metal parts.
- Rinse with clean water: Rinse the ice bin with clean water to remove any soap or cleaning solution residue.
- Dry the ice bin completely: Ensure that the ice bin is thoroughly dried before placing it back into the ice maker. This prevents the growth of mold or bacteria.
Cleaning the ice bin on a regular basis ensures that your ice is fresh and free from any contaminants. By following these steps, you are maintaining the hygiene and quality of your Dreamiracle Ice Maker.
Step 7: Rinse and dry
As you near the end of the cleaning process for your Dreamiracle Ice Maker, it’s vital to thoroughly rinse and dry all the components. Rinsing helps to remove any remaining cleaning solution or residue, while drying ensures that no moisture is left behind, which could promote the growth of mold or bacteria.
Follow these steps to rinse and dry your ice maker:
- Rinse with clean water: Use clean water to rinse all the components of the ice maker, including the exterior surfaces, interior surfaces, and the ice bin. This will ensure that no cleaning solution or soap residue remains.
- Check for any lingering odor: After rinsing, check for any lingering odor. If you detect a persistent smell, you can wipe down the surfaces with a mixture of equal parts water and white vinegar. This helps to neutralize any unpleasant odors.
- Dry all components thoroughly: Use a clean, dry cloth to wipe down all the components of the ice maker. Pay special attention to areas prone to moisture, such as the water reservoir, ice bin, and any crevices or corners.
- Allow components to air dry: After wiping down, let all the components air dry completely. This will ensure that no moisture is left behind, preventing the growth of mold or bacteria.
By rinsing and drying your Dreamiracle Ice Maker, you are ensuring that it is clean, fresh, and ready for use. These final steps are essential for maintaining the hygiene and optimal performance of your ice maker.
Step 8: Reassemble and restart
After completing the cleaning process for your Dreamiracle Ice Maker, it’s time to reassemble the components and restart the appliance. This final step ensures that everything is properly put back together and that the ice maker is ready to produce clean and refreshing ice cubes.
Follow these steps to reassemble and restart your ice maker:
- Replace the ice bin: Carefully insert the clean and dry ice bin back into its designated place in the ice maker. Make sure it is positioned securely.
- Place the cover or access panel: If you removed a cover or access panel during the cleaning process, reattach it securely according to the manufacturer’s instructions.
- Plug in the ice maker: Connect the ice maker to a power source and ensure it is properly plugged in.
- Turn on the ice maker: Locate the power button or switch and turn on the ice maker.
- Allow the ice maker to restart: It may take a few minutes for the ice maker to restart and begin its ice-making cycle. Be patient as the machine begins to produce fresh ice.
- Discard the first batch of ice: To ensure optimal cleanliness, it is recommended to discard the first batch of ice produced after cleaning. This helps to eliminate any remaining residue or impurities.
By reassembling and restarting your Dreamiracle Ice Maker, you are ensuring that it is back to its full functionality. Enjoy the clean and refreshing ice cubes that your freshly cleaned ice maker will now produce.
Read more: How To Clean A Silonn Ice Maker
Conclusion
Congratulations! You have successfully completed the cleaning process for your Dreamiracle Ice Maker. By following the steps outlined in this article, you have ensured that your ice maker is clean, hygienic, and ready to produce fresh and delicious ice cubes.
Regular cleaning and maintenance of your ice maker is essential to keep it running efficiently and to maintain the quality of the ice it produces. Cleaning not only removes any mineral deposits or bacteria that may affect the taste and quality of your ice but also helps to prolong the lifespan of the appliance.
Remember to gather the necessary cleaning supplies, empty the ice bin, prepare the cleaning solution, clean the exterior and interior surfaces, clean the ice bin, rinse and dry all the components, and finally, reassemble and restart your ice maker. These steps will keep your Dreamiracle Ice Maker in optimal condition and ensure that you continue to enjoy refreshing ice cubes for years to come.
Make a habit of cleaning your ice maker regularly, depending on its usage and the manufacturer’s recommendations. Additionally, always refer to the manufacturer’s instructions for any specific guidelines or recommendations on cleaning and maintenance.
With a clean and well-maintained Dreamiracle Ice Maker, you can confidently host parties, enjoy chilled beverages, and create memorable moments with family and friends. Cheers to clean ice and endless convenience!
Frequently Asked Questions about Dreamiracle Ice Maker How To Clean
Was this page helpful?
At Storables.com, we guarantee accurate and reliable information. Our content, validated by Expert Board Contributors, is crafted following stringent Editorial Policies. We're committed to providing you with well-researched, expert-backed insights for all your informational needs.
0 thoughts on “Dreamiracle Ice Maker How To Clean”