Articles
How To Clean Uline Ice Maker
Modified: February 20, 2024
Learn the best techniques and tips for cleaning your Uline ice maker with our informative articles. Keep your ice maker in optimal condition!
(Many of the links in this article redirect to a specific reviewed product. Your purchase of these products through affiliate links helps to generate commission for Storables.com, at no extra cost. Learn more)
Introduction
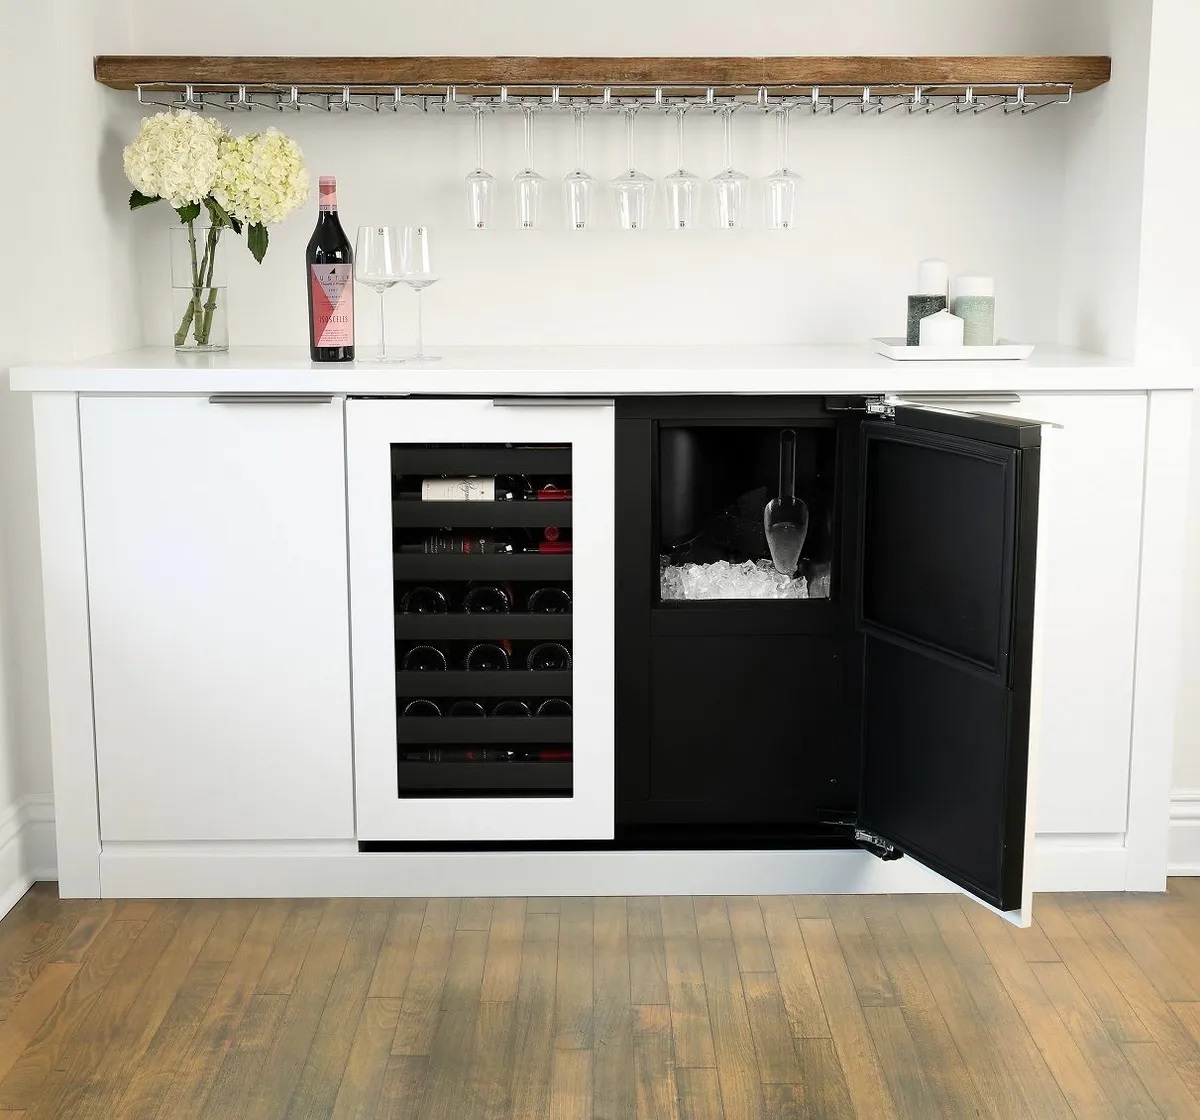
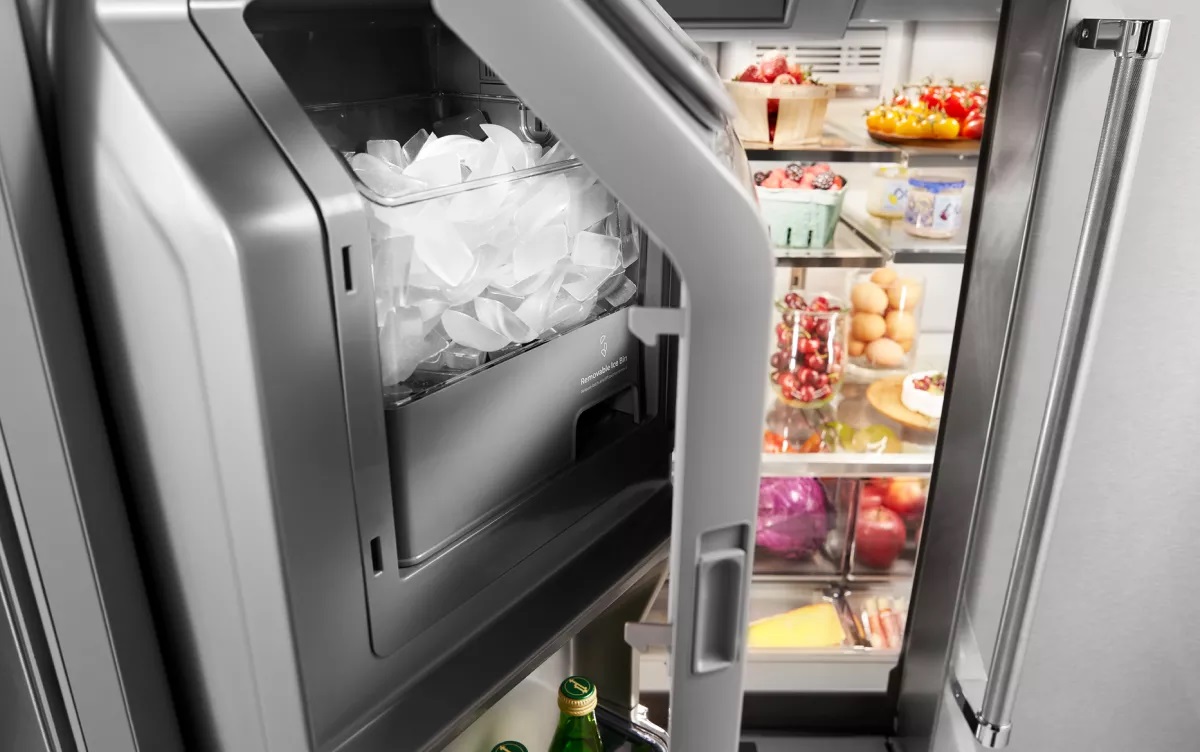
Welcome to our comprehensive guide on how to clean your Uline ice maker. Keeping your ice maker clean is crucial to ensure its optimal performance and longevity. Over time, mineral deposits, mold, and bacteria can build up inside the machine, affecting the quality and taste of the ice it produces. Regular cleaning not only helps maintain a hygienic ice-making environment but also ensures that your ice maker operates efficiently.
Before we dive into the cleaning process, it is essential to familiarize yourself with the safety precautions to ensure your well-being during the cleaning procedure. Additionally, we will discuss the supplies you need to gather before getting started.
So, grab your cleaning supplies and let’s give your Uline ice maker the care it deserves!
Key Takeaways:
- Regularly cleaning and maintaining your Uline ice maker is crucial for optimal performance and hygienic ice production. Follow safety precautions, gather supplies, and disconnect, clean, and reconnect the ice maker for best results.
- Prioritize safety, gather necessary supplies, and follow step-by-step instructions to clean and maintain your Uline ice maker. Regular maintenance ensures high-quality ice and extends the lifespan of your appliance.
Read also: 12 Amazing Uline Ice Maker for 2025
Safety Precautions
Before you begin cleaning your Uline ice maker, it is crucial to prioritize safety. Here are some important precautions to keep in mind:
- Unplug the ice maker: Before starting any cleaning process, make sure to unplug the ice maker from the power source. This will prevent any accidental electrocution or damage to the machine.
- Protective gear: Wear appropriate protective gear such as gloves and safety goggles to shield yourself from any potential injuries or exposure to cleaning chemicals.
- Ensure proper ventilation: Clean the ice maker in a well-ventilated area to prevent the buildup of fumes from cleaning agents. Open windows or use fans to keep the air flowing during the cleaning process.
- Follow manufacturer’s instructions: Read and follow the instructions provided in the Uline ice maker manual. This will give you specific guidance on the cleaning process and any precautions unique to your machine.
- Be mindful of sharp edges: Take care when working around the ice maker’s components as they may have sharp edges. Handle with caution to prevent any accidental cuts or injuries.
- Avoid abrasive materials: When cleaning the ice maker, avoid using abrasive materials such as steel wool or harsh chemicals that can damage the machine’s surfaces. Stick to gentle and non-abrasive cleaning solutions.
- Use caution with water and electricity: Be careful when working around water and electricity to prevent electrical shock. Make sure your hands are dry before plugging the ice maker back in.
By following these safety precautions, you can ensure a safe and efficient cleaning process for your Uline ice maker.
Gather the Necessary Supplies
Before you begin the cleaning process, it’s important to gather all the necessary supplies. Having everything prepared ahead of time will ensure a smooth and efficient cleaning experience. Here are the supplies you will need:
- Warm water: You will need warm water for cleaning the interior and exterior of the ice maker. Make sure the water is not too hot to avoid damaging any components.
- Mild dish soap: Choose a mild dish soap that is free from harsh chemicals. This will be used to clean the surfaces of the ice maker.
- Vinegar: Vinegar is an excellent natural cleaner that can help remove mineral deposits and sanitize the ice maker. White distilled vinegar is recommended.
- Clean cloth or sponge: Use a clean, soft cloth or sponge to wipe down the interior and exterior of the ice maker.
- Toothbrush or small brush: A toothbrush or a small brush will come in handy for scrubbing hard-to-reach areas and removing any stubborn residue.
- Bucket or basin: You will need a bucket or basin to mix the cleaning solution and to collect any water or debris that may come out during the cleaning process.
- Microfiber cloth or towel: A microfiber cloth or towel can be used to dry the surfaces of the ice maker after cleaning.
By having these supplies ready, you’ll be fully equipped to tackle the cleaning process of your Uline ice maker. Now let’s move on to the next steps: disconnecting the ice maker for cleaning.
Disconnecting the Uline Ice Maker
Before you can begin cleaning your Uline ice maker, you’ll need to disconnect it from the power supply. Follow these steps to safely disconnect the ice maker:
- Locate the power cord: The power cord is typically located at the back or bottom of the ice maker. It may be plugged into a wall outlet or a dedicated power socket.
- Turn off the ice maker: If your Uline ice maker has an on/off switch, make sure it is in the “off” position. This will prevent the ice maker from accidentally turning on while you’re cleaning it.
- Unplug the power cord: Gently pull the power cord out of the wall outlet or power socket. If the cord is hard to reach, you may need to move the ice maker away from the wall slightly.
- Remove the water supply: If your ice maker is connected to a water supply, you’ll also need to disconnect this before cleaning. Locate the water supply line where it connects to the ice maker and carefully disconnect it.
- Drain any remaining water: If there is any water remaining in the ice maker, either let it melt and drain naturally or use a towel or sponge to soak up the water. It’s important to ensure that there is no moisture left inside the ice maker before proceeding with the cleaning.
Once you have successfully disconnected the ice maker and removed any remaining water, you’re ready to move on to the next step: cleaning the interior of the Uline ice maker.
Cleaning the Interior of the Ice Maker
Now that your Uline ice maker is disconnected and any remaining water has been drained, it’s time to clean the interior of the machine. Follow these steps:
- Create a cleaning solution: In a bucket or basin, mix warm water with a small amount of mild dish soap. Avoid using harsh chemicals or abrasives as they can damage the ice maker.
- Dip a cloth or sponge into the cleaning solution: Soak a clean cloth or sponge into the cleaning solution, ensuring it is well saturated but not dripping.
- Wipe down the interior surfaces: Gently wipe down the interior surfaces of the ice maker with the damp cloth or sponge. Pay attention to areas where ice can accumulate such as the ice bin, evaporator, and any other removable components.
- Scrub stubborn stains or buildup: For any stubborn stains or mineral deposits, use a toothbrush or small brush to scrub gently. Be careful not to use excessive force that could damage the delicate parts.
- Pay attention to the ice bin: Remove the ice bin if possible and clean it separately. Rinse it with warm water to remove any residue or debris, then dry it thoroughly before placing it back into the ice maker.
- Sanitize with vinegar (optional): To sanitize the interior, you can use a mixture of equal parts water and white vinegar. Thoroughly coat the interior surfaces with this solution, allowing it to sit for a few minutes before rinsing with clean water.
- Rinse with clean water: Once you have cleaned and sanitized the interior, use a clean, damp cloth or sponge to rinse away any soap residue or vinegar solution. Make sure to remove all cleaning agents to prevent any undesirable tastes in the ice.
- Dry the interior: Finally, use a microfiber cloth or towel to dry the interior surfaces of the ice maker. This will help prevent the growth of mold or bacteria.
Remember, always refer to your Uline ice maker’s manual for specific cleaning instructions as some models may have unique components or requirements. With the interior of your ice maker now sparkling clean, it’s time to move on to the next step: cleaning the exterior surfaces.
To clean a Uline ice maker, mix a solution of warm water and mild dish soap. Use a soft cloth to wipe down the interior and exterior of the machine, then rinse with clean water and dry thoroughly. Clean the ice bin and ice scoop separately with the same solution.
Read more: How To Clean A Igloo Ice Maker
Cleaning the Exterior of the Ice Maker
While cleaning the interior of your Uline ice maker is important for maintaining its functionality, it’s equally important to keep the exterior surfaces clean. Here’s how you can effectively clean the exterior of your ice maker:
- Dampen a clean cloth: Start by dampening a clean cloth with warm water. Make sure it is not dripping wet.
- Wipe down the exterior surfaces: Gently wipe down the exterior surfaces of the ice maker, including the top, sides, and front panel. Pay special attention to areas that may have accumulated dust, fingerprints, or other stains.
- Stubborn stains and residue: For any stubborn stains or residue on the exterior surfaces, you can use a mild dish soap solution. Dip the cloth into the soapy water and gently scrub the affected areas.
- Dry the exterior: Once you have wiped down the exterior surfaces and removed any stubborn stains or residue, use a dry microfiber cloth or towel to thoroughly dry the surfaces. This will help prevent streaks and water spots from forming.
- Polish if necessary: If your Uline ice maker has a stainless steel finish, you may choose to polish it with a stainless steel cleaner or a homemade solution of vinegar and water. Apply the cleaner or solution to a soft cloth and gently buff the stainless steel in the direction of the grain.
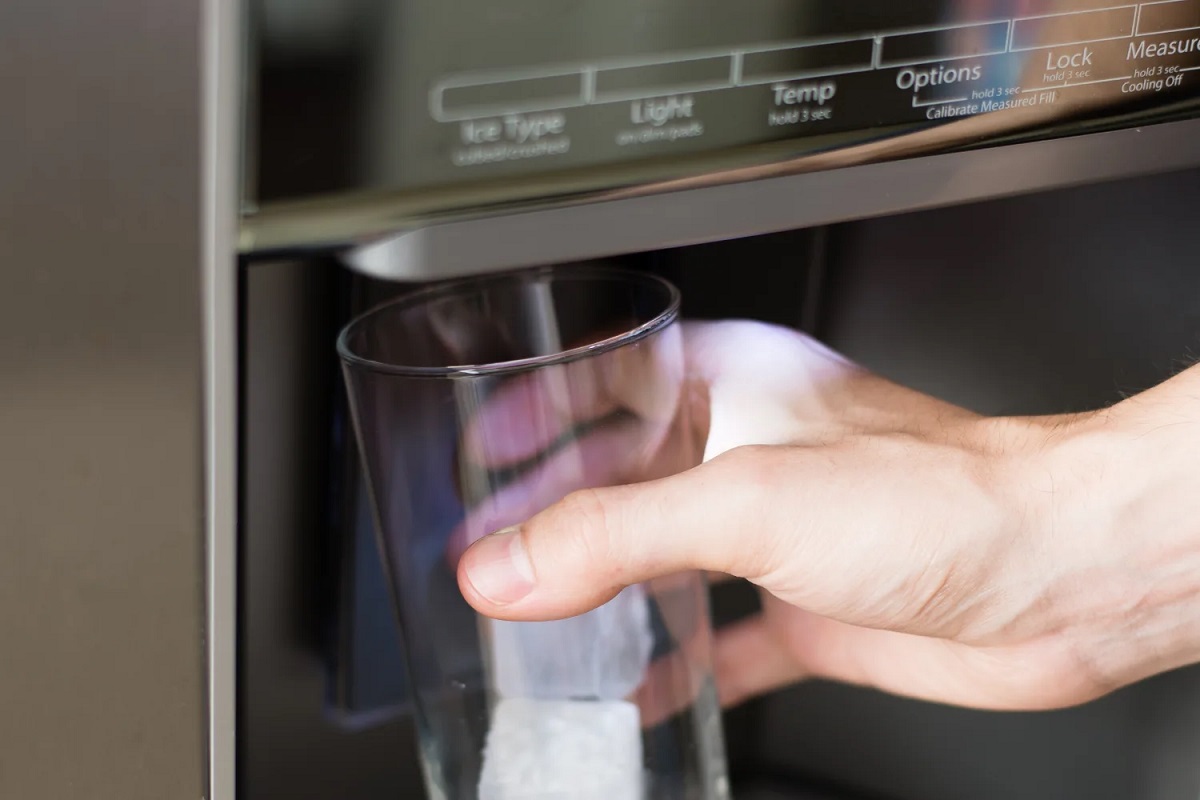
- Check the control panel: If your ice maker has a control panel, use a slightly damp cloth to wipe it clean. Avoid using excessive water or cleaning agents to prevent damage to the electronic components.
By regularly cleaning the exterior surfaces of your Uline ice maker, you can maintain its aesthetic appeal and prevent the buildup of dirt or grime. With the interior and exterior of your ice maker now fresh and clean, it’s time to reconnect it and ensure proper maintenance for continued optimal performance.
Reconnecting the Uline Ice Maker
Now that you have thoroughly cleaned both the interior and exterior of your Uline ice maker, it’s time to reconnect it and ensure that it’s properly set up for use. Follow these steps:
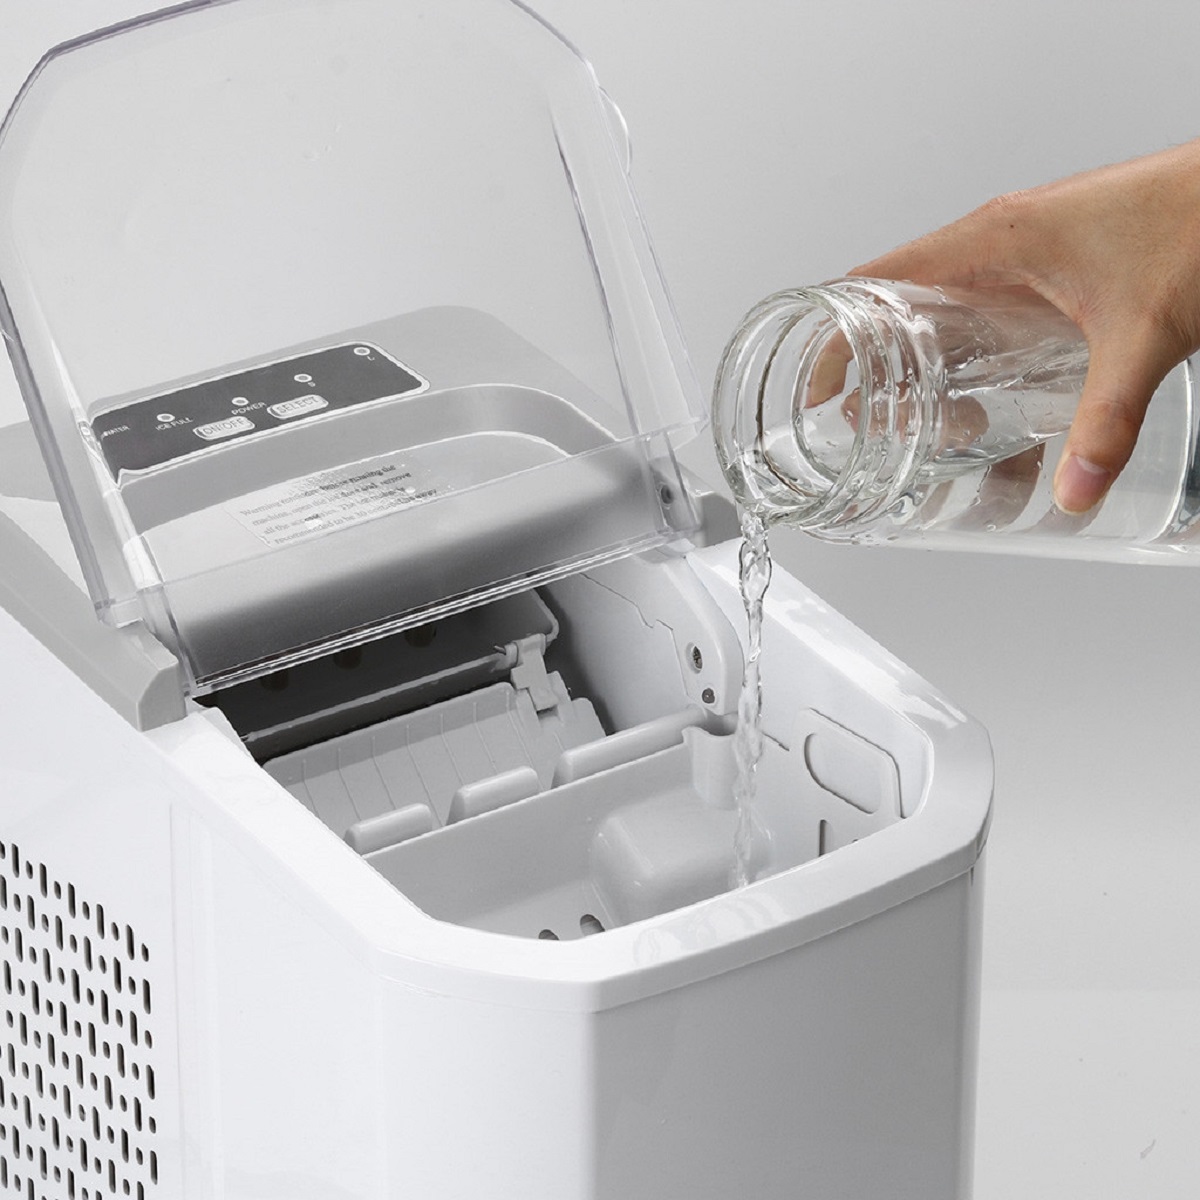
- Check the water supply line: Before reconnecting the ice maker, make sure to inspect the water supply line for any leaks or damages. Replace or repair any faulty components as needed.
- Reattach the water supply line: Carefully reconnect the water supply line to the back of the ice maker, ensuring it is securely attached. Check for any potential leaks or loose connections.
- Plug in the power cord: Gently plug the power cord back into the wall outlet or power socket. Ensure it is firmly connected.
- Turn on the ice maker: If your Uline ice maker has an on/off switch, turn it on. The machine will start the ice-making process and should begin producing ice shortly.
- Allow the ice maker to run a cycle: Once the ice maker is turned on, let it run through a complete ice-making cycle to ensure that everything is functioning properly.
- Check for any issues: Monitor the ice maker for any unusual sounds, leaks, or malfunctions during the ice-making process. If you notice any issues, refer to the manufacturer’s manual or contact Uline customer support for assistance.
It’s important to note that the time it takes for your ice maker to produce ice after reconnecting it may vary. Give it some time to reach the desired ice thickness and output before expecting a full supply of ice.
With your Uline ice maker now reconnected and in operation, it’s crucial to maintain it regularly to ensure its longevity and efficiency. Let’s discuss some essential maintenance tips to keep your ice maker in optimal condition.
Maintenance Tips for the Uline Ice Maker
To keep your Uline ice maker running smoothly and producing high-quality ice, follow these maintenance tips:
- Regularly clean the ice maker: Cleaning the ice maker on a regular basis, ideally every 3-6 months or as recommended by the manufacturer, helps prevent the buildup of mineral deposits, mold, and bacteria. Refer to the cleaning instructions in your Uline ice maker manual for specific guidance.
- Change the water filter: If your Uline ice maker has a water filter, make sure to replace it according to the manufacturer’s recommendations. This helps maintain the quality and taste of the ice by filtering any impurities from the water.
- Inspect the water supply line: Regularly check the water supply line for any leaks, kinks, or blockages. Repair or replace any damaged components to ensure a steady flow of water to the ice maker.
- Monitor the ice level: Keep an eye on the ice level in the ice bin and avoid overfilling it. Too much ice can strain the ice maker’s components and affect its performance. Remove excess ice as needed to maintain proper ice production.
- Keep the ice maker in a cool environment: Ensure that the ice maker is placed in a cool and well-ventilated area. Excessive heat can affect the ice maker’s efficiency and ice production capacity. Avoid exposing the ice maker to direct sunlight or placing it near heat sources.
- Regularly check for leaks or malfunctions: Routinely inspect the ice maker for any leaks, strange noises, or malfunctions. Address any potential issues promptly to prevent further damage and ensure continued optimal performance.
- Empty and clean the ice bin when not in use: If you know that the ice maker will not be used for an extended period, empty the ice bin and clean it thoroughly. This prevents the buildup of stale ice and keeps the ice bin fresh for the next use.
- Follow the manufacturer’s instructions: Always refer to the manufacturer’s manual for specific maintenance recommendations and guidelines for your Uline ice maker. Each model may have unique features and requirements.
By following these maintenance tips, you can extend the lifespan of your Uline ice maker and ensure a consistent supply of clean and refreshing ice. Remember, a well-maintained ice maker not only enhances your ice experience but also reduces the risk of contamination. Cheers to enjoying perfectly chilled beverages with the help of your Uline ice maker!
Conclusion
Cleaning and maintaining your Uline ice maker is essential for ensuring optimal performance and hygienic ice production. By following the steps outlined in this guide, you can keep your ice maker in excellent condition and enjoy high-quality ice for years to come.
We began by emphasizing the importance of safety precautions when cleaning the ice maker. Protecting yourself and following guidelines provided by the manufacturer are crucial for a safe and successful cleaning process.
We then discussed gathering the necessary supplies, including warm water, mild dish soap, vinegar, clean cloths, and brushes. Having these supplies ready beforehand streamlines the cleaning process and ensures you have everything you need.
You learned how to disconnect the ice maker from the power supply and properly clean the interior and exterior surfaces. Taking the time to thoroughly clean the ice maker, removing any mineral deposits and bacteria, helps maintain its functionality and hygiene.
Additionally, we provided maintenance tips such as regularly cleaning the ice maker, changing the water filter, inspecting the water supply line, and monitoring the ice level. Following these tips will help prevent malfunctions and ensure your ice maker continues producing high-quality ice.
In conclusion, proper cleaning and maintenance are vital for the longevity and performance of your Uline ice maker. By incorporating these practices into your routine, you can enjoy clean and refreshing ice for all your beverages. Remember to consult your Uline ice maker manual for model-specific instructions and reach out to customer support for further assistance if needed. Cheers to a well-maintained ice maker and many chilled moments ahead!
Frequently Asked Questions about How To Clean Uline Ice Maker
Was this page helpful?
At Storables.com, we guarantee accurate and reliable information. Our content, validated by Expert Board Contributors, is crafted following stringent Editorial Policies. We're committed to providing you with well-researched, expert-backed insights for all your informational needs.
0 thoughts on “How To Clean Uline Ice Maker”