Articles
How To Clean Fan Without Taking It Apart
Modified: August 20, 2024
Learn how to clean a fan without the hassle of taking it apart. Our articles provide step-by-step instructions for quick and easy maintenance.
(Many of the links in this article redirect to a specific reviewed product. Your purchase of these products through affiliate links helps to generate commission for Storables.com, at no extra cost. Learn more)
Introduction
Cleaning a fan is an important maintenance task that can improve its performance and prolong its lifespan. However, many people hesitate to clean their fans because they are afraid of disassembling them and potentially causing damage. The good news is that you can effectively clean a fan without taking it apart, saving you time and effort. In this article, we will guide you through the process of cleaning a fan efficiently and safely, ensuring that it continues to provide you with cool and clean air.
Key Takeaways:
- Regularly cleaning your fan without disassembling it can improve its performance and prolong its lifespan, ensuring you enjoy cool and clean air for years to come.
- Prioritize safety by unplugging the fan, using protective gear, and following the step-by-step cleaning process to maintain a well-functioning and happy fan.
Read more: How To Take Apart A Honeywell Fan
Safety Precautions
Before you start cleaning your fan, it is important to prioritize your safety. Here are some essential safety precautions to keep in mind:
1. Unplug the fan: Always remember to disconnect the fan from the power source before you begin cleaning. This eliminates the risk of electrical shock or damage to the fan during the cleaning process.
2. Ensure a stable surface: Place the fan on a stable and secure surface to prevent any accidental falls or damage while you clean it. Avoid balancing it on unstable surfaces or working at heights without proper support.
3. Use protective gear: It’s a good idea to wear protective gear such as gloves and safety glasses to shield your hands and eyes from the dust and debris that may be released during the cleaning process. This will minimize the risk of any potential harm to yourself.
4. Avoid using wet or damp materials: Never clean the fan with wet or damp materials, as this can pose a risk of electrical shock. Instead, opt for dry cleaning methods such as using a soft brush or a vacuum cleaner with appropriate attachments.
5. Work in a well-ventilated area: Ensure that you are working in a well-ventilated space when cleaning the fan. This will help disperse any airborne dust particles and improve air quality in the area.
6. Follow manufacturer’s instructions: If you have the user manual or instructions for your specific fan model, refer to them for any additional safety guidelines or precautions that may be specific to your fan.
By following these safety precautions, you can minimize the risks and ensure a safe cleaning process for both yourself and your fan. Now that you’re aware of the safety measures, let’s gather the necessary tools and materials for cleaning.
Tools and Materials Needed
To effectively clean your fan without taking it apart, you will need the following tools and materials:
1. Soft brush or microfiber cloth: These are essential for dusting off the fan blades, grille, and housing. Use a brush with soft bristles or a microfiber cloth to gently remove dust and debris from these surfaces.
2. Vacuum cleaner with brush attachment: A vacuum cleaner with a brush attachment is useful for sucking up loose dust and dirt from the fan blades and grille. It helps to remove built-up debris that may be difficult to reach with a brush or cloth.
3. Compressed air or can of compressed air: Compressed air can effectively blow away dust and dirt from hard-to-reach areas, such as the motor and internal components of the fan. If you don’t have access to compressed air, you can use a can of compressed air specifically designed for cleaning electronics.
4. Screwdriver (if necessary): Some fans may have screws that hold the grille or housing in place. If this is the case, you will need a screwdriver to remove them and access the inner parts of the fan. Refer to the manufacturer’s instructions to determine if you need a screwdriver for disassembly.
5. Mild detergent or cleaning solution: In case the fan grille or housing is particularly dirty or sticky, you may need a mild detergent or cleaning solution. Make sure it is suitable for the material of your fan and follow the manufacturer’s guidelines for dilution and usage.
6. Safety gloves and glasses: As mentioned in the safety precautions, it is important to protect yourself while cleaning the fan. Wear safety gloves to avoid direct contact with dirt and cleaning solutions, and safety glasses to shield your eyes from any particles that may be dislodged during the cleaning process.
By gathering these tools and materials beforehand, you will be prepared to clean your fan efficiently. In the next steps, we will guide you through the process of cleaning the fan without taking it apart.
Step 1: Unplug the Fan
Before you start cleaning your fan, it is crucial to unplug it from the power source. This is to ensure your safety and prevent any accidents or electrical hazards during the cleaning process.
Locate the power cord of the fan and follow it to the power outlet. Gently pull the plug from the outlet to disconnect the fan from the electricity supply. Make sure the fan is completely powered down before proceeding to the next steps.
Unplugging the fan not only protects you from the risk of electrical shock but also prevents the fan from accidentally turning on while you are cleaning it. By taking this simple precaution, you can clean your fan with peace of mind.
Once the fan is unplugged, it is recommended to let it cool down for a few minutes. This will ensure that the fan blades and motor are not hot to the touch, reducing the risk of burns or discomfort during the cleaning process.
Remember, safety should always be your top priority when working with electronic devices. Take the time to unplug the fan properly and wait for it to cool down before proceeding to the next steps. With the fan safely disconnected from the power source, we can now move on to cleaning the fan blades.
Step 2: Remove Dust from Fan Blades
Now that the fan is unplugged, it’s time to tackle the dust that has accumulated on the fan blades. Dust accumulation can hinder the airflow and reduce the fan’s efficiency, so it’s important to clean the blades regularly.
Start by using a soft brush or a microfiber cloth to gently wipe off the dust from the fan blades. Begin from the center of the blade and move towards the outer edges. Ensure that you clean both sides of each blade to remove all the dust and dirt.
For stubborn dust or hard-to-reach areas, you can use a vacuum cleaner with a brush attachment. Hold the brush attachment close to the fan blades but without touching them. Turn on the vacuum cleaner and let the suction draw the loose dust away. Move the brush attachment along the length of each blade to cover the entire surface.
If there are any areas that are difficult to clean, you can also use a can of compressed air. Hold the can upright and use short bursts to blow the dust away. Pay attention to the crevices and corners of the fan blades, where dust tends to accumulate.
Remember to be gentle when cleaning the blades to avoid bending or damaging them. Use light pressure and avoid using excessive force. Take your time to ensure that all the dust is removed from each blade.
After cleaning the fan blades, you may notice that the dust has settled on the fan grille or housing. Don’t worry; we will address that in the next step. Cleaning the fan blades is an essential part of the process, as it improves the airflow and allows the fan to operate more effectively.
Now that the fan blades are clean, it’s time to move on to the next step: cleaning the fan grille or housing.
Use a can of compressed air to blow out dust and debris from the fan blades and vents. Hold the fan steady and use short bursts of air to avoid damaging the motor.
Step 3: Clean Fan Grille or Housing
After removing the dust from the fan blades, it’s time to clean the fan grille or housing. This part of the fan tends to accumulate dust, dirt, and other debris over time, which can restrict the airflow and affect the fan’s performance.
Start by using a soft brush or a microfiber cloth to gently wipe off the dust from the fan grille or housing. You may need to apply a bit more pressure in this step as the surface may have more stubborn dirt or grime.
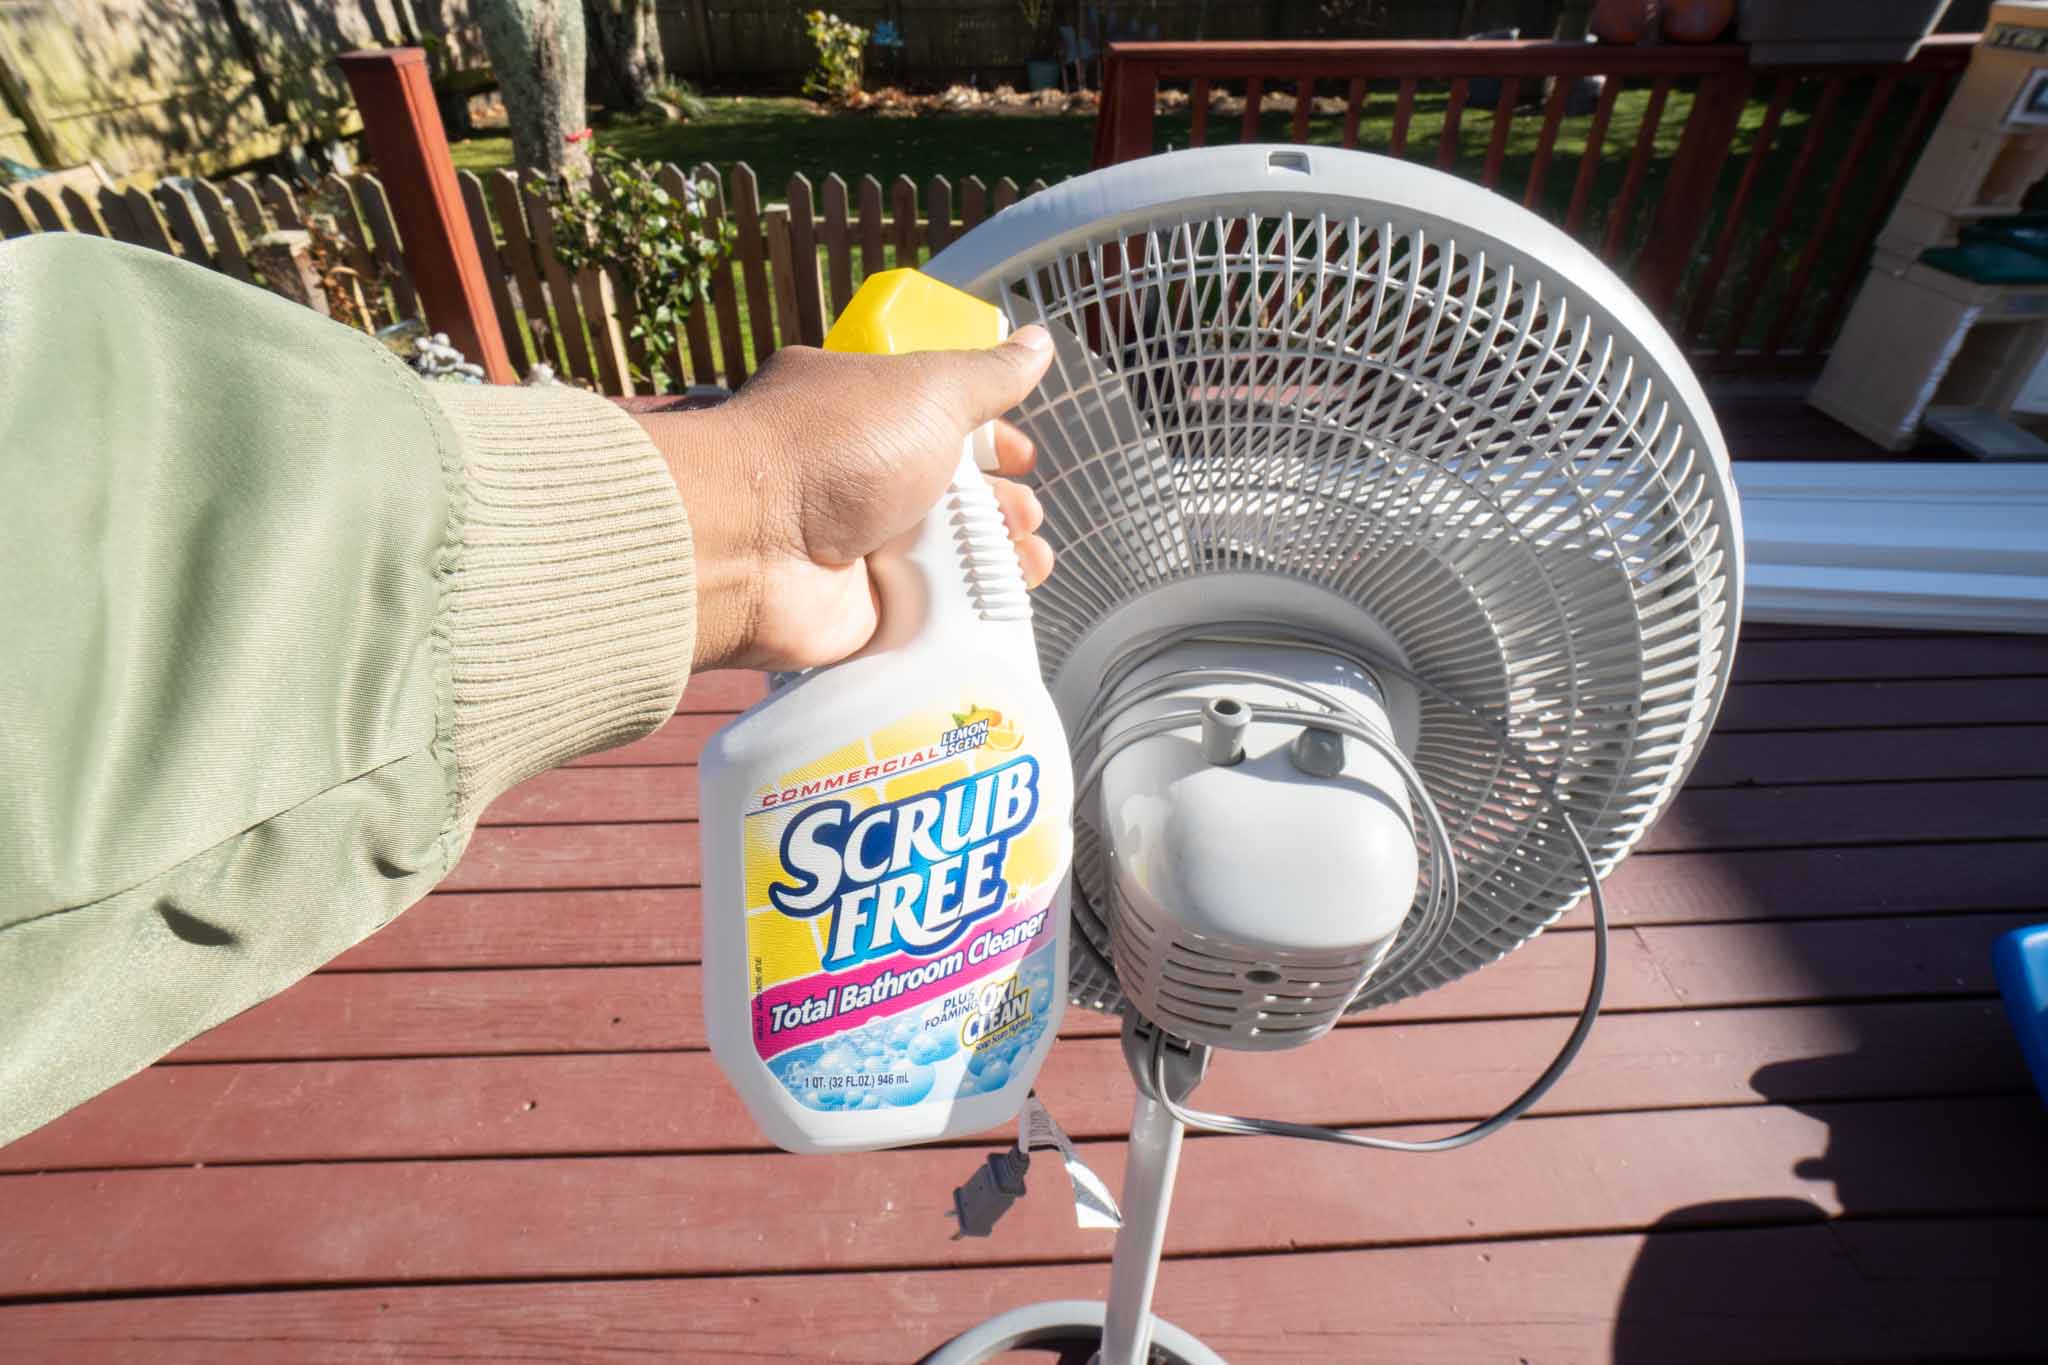
If the grille or housing is particularly dirty or sticky, you can use a mild detergent or cleaning solution. Dilute the detergent according to the manufacturer’s instructions and apply it to a cloth or sponge. Gently scrub the surface of the fan grille or housing, paying extra attention to any areas with stubborn stains.
Avoid getting the cleaning solution into any openings or electrical components of the fan. Also, make sure not to use excessive amounts of liquid, as it can seep into the fan motor and cause damage.
Once you have cleaned the fan grille or housing, use a clean, damp cloth to wipe away any remaining cleaning solution. Ensure that the cloth is not dripping wet to prevent water from entering the fan.
If there are any hard-to-reach areas or crevices, you can use a small brush or a cotton swab to gently clean them. Take your time to ensure that all the dirt and grime are removed.
After cleaning, allow the fan grille or housing to dry completely before reassembling the fan. This will prevent the accumulation of moisture and potential damage to the fan motor.
Cleaning the fan grille or housing is crucial for maintaining optimal airflow and preventing the buildup of dust and dirt. With this step complete, let’s move on to cleaning the fan motor in the next step.
Step 4: Clean the Fan Motor
Cleaning the fan motor is a crucial step to ensure that it operates smoothly and efficiently. Over time, dust and debris can accumulate on the motor, leading to overheating and reduced performance. Follow these steps to clean the fan motor:
1. Use compressed air: Start by using a can of compressed air to blow away dust and debris from the fan motor. Hold the can upright and use short bursts of air to dislodge the particles. Pay special attention to any vents or openings on the motor housing where dust may accumulate.
2. Brush away remaining dust: After using compressed air, use a soft brush or a microfiber cloth to gently brush away any remaining dust from the motor housing and vents. Ensure that all areas of the motor are thoroughly cleaned.
3. Vacuum if necessary: If there are any stubborn dust particles or debris that cannot be removed with compressed air or brushing, you can use a vacuum cleaner with a brush attachment to gently suck them away. Hold the brush attachment close to the motor housing, being careful not to touch any delicate components.
4. Be cautious with the actual motor: It is important to note that you should not attempt to clean the motor itself. The delicate internal components of the motor require specialized knowledge and tools for cleaning and maintenance. It is best to leave this task to a professional technician if the motor requires cleaning or servicing.
By following these steps, you can effectively clean the fan motor without causing any damage or interfering with its delicate components. Once you have completed this step, you are ready to reassemble the fan in the next step.
Step 5: Reassemble the Fan
Now that you have cleaned the fan blades, grille or housing, and fan motor, it’s time to reassemble the fan. Follow these steps to ensure a proper reassembly:
1. Check for any loose or damaged parts: Before reassembling the fan, carefully inspect all the components to ensure that nothing is loose or damaged. Check the fan blades, grille, housing, and any screws or clips that hold them together. If you notice any issues, address them before proceeding.
2. Align the fan blades: Place the fan blades back onto the motor shaft in their original position. Make sure they are aligned properly and securely attached.
3. Attach the grille or housing: If you had to remove the grille or housing, position it back over the fan blades and align it with the corresponding slots or clips. Secure it in place using screws or clips, if required.
4. Double-check everything: Once the fan blades and grille or housing are reassembled, give them a gentle spin to ensure that they move freely and without any obstruction. Ensure that all the components are securely fitted and properly aligned.
5. Plug in the fan: With the fan completely reassembled, it’s time to plug it back into the power source. Check that the fan is in the off position before connecting the power cord to the outlet.
6. Test the fan: Turn on the fan to see if it operates smoothly and without any unusual noises. Allow it to run for a few minutes and observe the airflow and performance.
By carefully following these steps, you can successfully reassemble your fan after cleaning it. If you encounter any issues during the reassembly process or if the fan does not function properly after cleaning, consult the manufacturer’s manual or consider seeking assistance from a professional technician.
Congratulations! You have successfully cleaned and reassembled your fan without taking it apart. Regular cleaning and maintenance will help prolong the life of your fan and ensure its optimal performance.
Conclusion
Cleaning a fan without taking it apart is a simple yet effective way to maintain its performance and prolong its lifespan. By following the steps outlined in this guide, you can remove dust, debris, and dirt from the fan blades, grille or housing, and motor, ensuring that it continues to provide you with cool and clean air.
Remember to prioritize safety by unplugging the fan before cleaning it and using protective gear such as gloves and safety glasses. Take your time to gather the necessary tools and materials, including a soft brush, vacuum cleaner, compressed air, and mild detergent if needed.
Throughout the cleaning process, be gentle and avoid using excessive force to prevent damage to the fan components. Clean the fan blades by wiping them with a soft brush or cloth and using a vacuum cleaner or compressed air to remove loose dust. Clean the fan grille or housing by wiping it with a soft brush or cloth and, if necessary, using a mild detergent to remove stubborn dirt.
Pay attention to the fan motor by using compressed air and a soft brush to remove dust from the housing and vents. Avoid attempting to clean the motor itself, as it requires specialized knowledge and tools.
Once all the cleaning is complete, reassemble the fan by aligning the blades, attaching the grille or housing, and checking for any loose or damaged parts. Finally, plug in the fan and test its operation to ensure everything is working correctly.
Regularly cleaning your fan without taking it apart will not only improve its performance and efficiency but also contribute to a healthier indoor environment by reducing the circulation of dust and allergens.
By following these steps and maintaining a regular cleaning schedule, you can enjoy a well-functioning fan that provides you with refreshing air for years to come.
Remember, a clean fan is a happy fan!
Frequently Asked Questions about How To Clean Fan Without Taking It Apart
Was this page helpful?
At Storables.com, we guarantee accurate and reliable information. Our content, validated by Expert Board Contributors, is crafted following stringent Editorial Policies. We're committed to providing you with well-researched, expert-backed insights for all your informational needs.


0 thoughts on “How To Clean Fan Without Taking It Apart”