Home>Storage Ideas>Bathroom Storage>How To Clean A Bathroom Fan
Bathroom Storage
How To Clean A Bathroom Fan
Modified: January 18, 2024
Learn how to clean a bathroom fan to improve its performance and prolong its lifespan. Discover effective tips for removing dust and grime from your bathroom fan.
(Many of the links in this article redirect to a specific reviewed product. Your purchase of these products through affiliate links helps to generate commission for Storables.com, at no extra cost. Learn more)
Introduction
Welcome to the world of bathroom storage! Bathrooms are often one of the smallest rooms in the house, but they can quickly become cluttered and disorganized without proper storage solutions. From towels and toiletries to cleaning supplies and beauty products, the bathroom can easily become a chaotic mess if not properly managed.
But fear not! With a little planning, creativity, and the right storage solutions, you can transform your bathroom into a neat and organized space. In this comprehensive guide, we will explore various bathroom storage ideas, tips, and tricks to help you maximize the space in your bathroom and keep it looking tidy and functional.
Firstly, it’s important to assess your bathroom’s needs and identify the specific items that require storage. This will depend on factors such as the size of your household, your individual storage preferences, and the overall layout of your bathroom. Taking the time to carefully analyze your storage needs will enable you to choose the most effective and efficient storage solutions.
There are several key areas in the bathroom where storage is essential. These include:
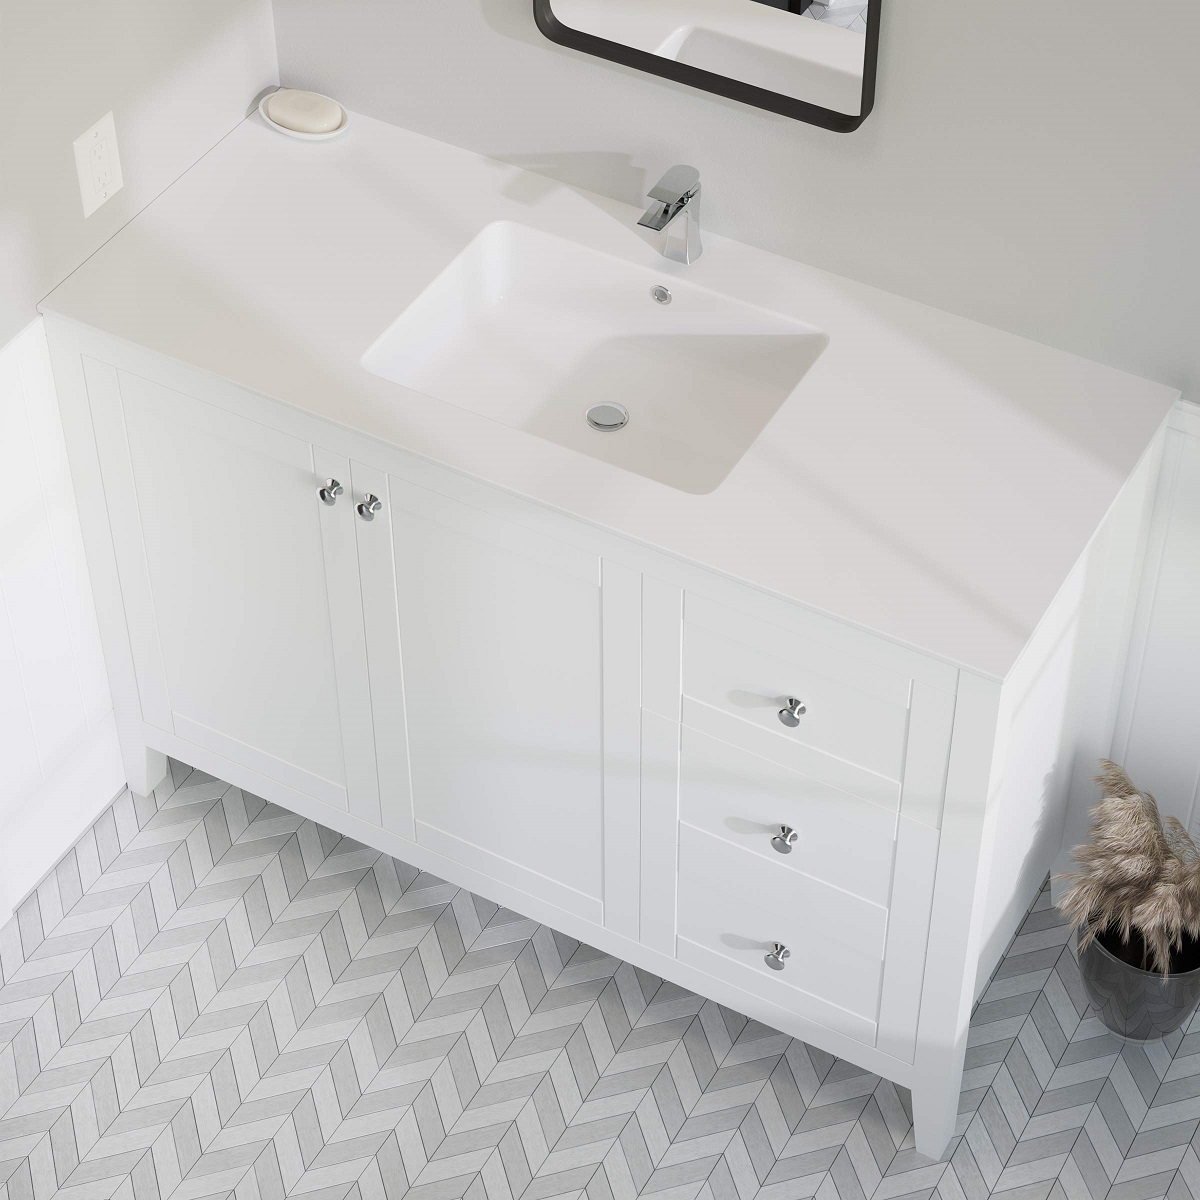
- Vanity: The vanity is the most common storage area in a bathroom. With the right organization tools, such as drawer dividers and bins, you can store everything from toiletries and makeup to hair styling tools and cleaning supplies.
- Shower and bath area: It’s important to have storage solutions within easy reach of the shower or bath area. Consider installing shower caddies, shelves, or hooks to keep bath essentials like shampoo, conditioner, and loofahs within arm’s reach.
- Medicine cabinet: If your bathroom is equipped with a medicine cabinet, make the most of this valuable storage space. Use labeled containers or small baskets to corral medications, first aid supplies, and other small items. Consider installing additional shelves or organizers to maximize the cabinet’s storage potential.
- Wall space: Don’t neglect the vertical space in your bathroom. Install floating shelves or wall-mounted cabinets to store towels, extra toilet paper, and decorative items. You can also hang hooks or racks for towels and robes, maximizing both storage and style.
- Under sink: The area under the sink is often underutilized. Consider installing storage solutions like pull-out shelves or baskets to make the most of this space. Store cleaning supplies, spare toiletries, and extra towels in this easily accessible area.
By considering these key storage areas, you can begin to envision the best storage solutions for your bathroom. Whether you have a spacious master bathroom or a cozy powder room, there are countless options available to help you create a functional and organized space.
Throughout this article, we will delve into specific storage ideas and tips for each of these areas. From clever DIY solutions to innovative products, we will explore a range of options to suit any budget or style. So let’s get started on our journey to transform your bathroom into a well-organized oasis!
Key Takeaways:
- Transform your bathroom into a well-organized oasis by maximizing storage areas like the vanity, shower, medicine cabinet, wall space, and under the sink. Explore DIY solutions and innovative products to suit any budget or style.
- Prioritize safety when working on bathroom storage projects by switching off power, using protective gear, and securing heavy objects. Gather essential tools and materials for efficient storage solutions.
Read more: How To Clean Small Fan
Safety Precautions
Before diving into any bathroom storage project, it’s important to prioritize safety. Working in a bathroom can involve dealing with electrical outlets, sharp objects, and potentially hazardous materials. To ensure a safe and accident-free experience, follow these essential safety precautions:
- Switch off the power: Whenever you are working with electrical outlets or fixtures, it’s crucial to switch off the power to prevent accidental electric shocks. Locate the circuit breaker or fuse box and turn off the appropriate switch or breaker before starting any work.
- Use protective gear: Depending on the project, you may need to use protective gear such as gloves, safety glasses, and a dust mask. This will protect your hands, eyes, and lungs from any potential hazards, such as chemicals or debris.
- Be mindful of sharp objects: When handling tools or assembling storage units, be cautious of sharp edges or points. Use appropriate tools and handle them with care to avoid accidental cuts or injuries.
- Follow manufacturer’s instructions: If you are using store-bought storage solutions, make sure to read and follow the manufacturer’s instructions carefully. Each product may have specific installation or assembly steps, and deviating from these instructions could lead to safety hazards or damage to the product.
- Secure heavy objects: If you are installing wall-mounted shelves or cabinets, ensure they are properly secured to the wall. Use appropriate anchors or screws to bear the weight of the storage unit and prevent it from falling and causing injury or damage.
- Store chemicals properly: If you are storing cleaning supplies or other chemicals in your bathroom, make sure to store them in a safe and secure manner. Keep them out of reach of children and pets, and ensure they are stored in their original containers or in appropriately labeled containers.
- Maintain proper ventilation: When working with chemicals, it’s important to have proper ventilation in the bathroom. Open windows or use fans to ensure fresh air circulation, minimizing the risk of inhaling fumes or harmful substances.
Remember, safety should always come first. If you are unsure about any aspect of a storage project, consult a professional or seek expert advice. Taking the necessary precautions will not only protect you from potential harm but also ensure the longevity and effectiveness of your storage solutions.
Tools and Materials Needed
Before you embark on your bathroom storage project, it’s important to gather the necessary tools and materials. Having everything prepared beforehand will save you time and ensure a smooth and efficient process. Here’s a list of commonly used tools and materials for various bathroom storage projects:
Tools:
- Screwdriver set: A set of screwdrivers with different sizes and types will come in handy for various tasks, such as removing cabinet doors or tightening screws.
- Power drill: If you’re planning to install wall-mounted shelves or cabinets, a power drill will make the job much easier. Make sure to have the appropriate drill bits for your specific project.
- Level: A level tool is essential for ensuring that your shelves or cabinets are installed straight and level.
- Measuring tape: Accurate measurements are vital for planning and installing your storage solutions. A measuring tape will help you determine the dimensions of your bathroom and ensure a proper fit.
- Pliers: Pliers are useful for tightening or loosening nuts and bolts, particularly when assembling storage units.
- Utility knife: A sharp utility knife will be handy for cutting materials such as adhesive liners or organizing inserts to fit your storage compartments.
- Caulk gun: If you’re planning to install new bathroom fixtures or make repairs, a caulk gun will allow you to apply caulk smoothly and evenly.
- Stepladder: A sturdy stepladder will give you the necessary height and stability to reach high shelves or work on overhead storage solutions.
- Protective gear: Don’t forget to have necessary safety gear like gloves, safety glasses, and a dust mask to protect yourself during the project.
Materials:
- Storage units: Depending on your needs, you may choose freestanding shelves, wall-mounted cabinets, wire baskets, or drawer organizers. Consider the size and style of your bathroom when selecting the right storage units.
- Mounting hardware: If you’re installing wall-mounted storage, you’ll need appropriate hardware such as screws, anchors, and brackets. Make sure to choose hardware suitable for your wall material.
- Adhesive liners: Adhesive liners can be used to protect shelves or drawers and prevent items from sliding. They also add a decorative touch to your storage units.
- Drawer dividers: If you want to keep your drawers organized, drawer dividers are essential. They will help separate different items and maximize the use of space.
- Bins and baskets: Utilize bins and baskets to corral similar items and make them easily accessible. Look for ones that fit your storage units and have handles for easy maneuverability.
- Labels: Labeling containers or drawers will help you easily locate and retrieve items. Use a label maker or adhesive labels for a neat and organized look.
- Cleaning supplies: Don’t forget cleaning supplies such as all-purpose cleaner, microfiber cloths, and brushes to clean your bathroom thoroughly before and after the storage project.
Make sure to gather all the necessary tools and materials before starting your bathroom storage project. Having everything on hand will streamline the process and make it easier to tackle any unexpected challenges that may arise. Now that you’re prepared, let’s move on to the next steps of your storage journey!
Step 1: Switch off the Power
Before you begin any work on your bathroom’s electrical components, it’s crucial to ensure your safety by switching off the power. This step will prevent the risk of electric shock while you’re working. Follow these instructions to switch off the power in your bathroom:
- Locate the circuit breaker or fuse box: The circuit breaker or fuse box is usually located in a utility room or basement. It contains fuses or circuit breakers that control the flow of electricity to different areas of your home, including the bathroom.
- Identify the bathroom circuit: Look for the circuit or breaker that corresponds to your bathroom. Most homes have labels indicating the different circuits, but if not, you may need to test each one to determine which controls the bathroom.
- Switch off the circuit/breaker: Once you have identified the correct circuit, switch off the associated breaker by flipping it to the “off” position. If your home has fuses, remove the fuse that corresponds to the bathroom circuit.
- Confirm the power is off: To be absolutely certain the power is off, test the bathroom outlets and switches with a non-contact voltage tester. This device will indicate whether there is any electrical current present.
It’s important to note that some bathrooms may have separate circuits for different areas, such as lighting, outlets, and exhaust fans. Make sure to identify and switch off the relevant circuits based on the work you’ll be performing.
If you’re unsure about any aspect of switching off the power, consult with a licensed electrician. It’s always better to be safe and seek professional assistance when needed.
By switching off the power, you have taken an important safety precaution before starting any work on your bathroom’s electrical components. With the power off, you can confidently move on to the next steps of your bathroom storage project.
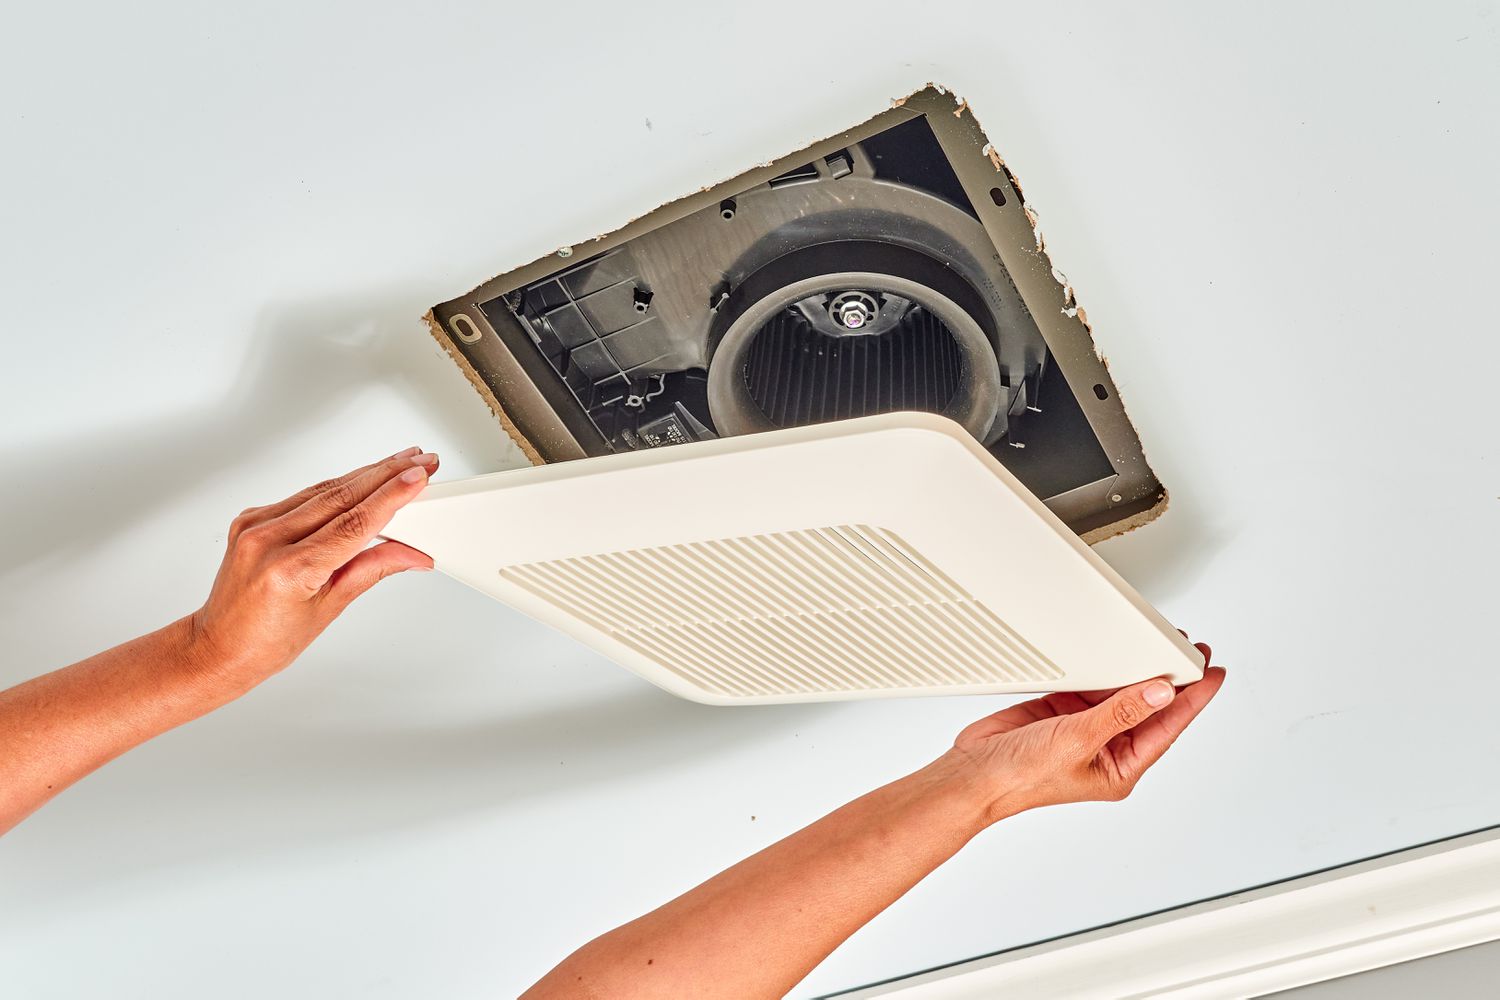
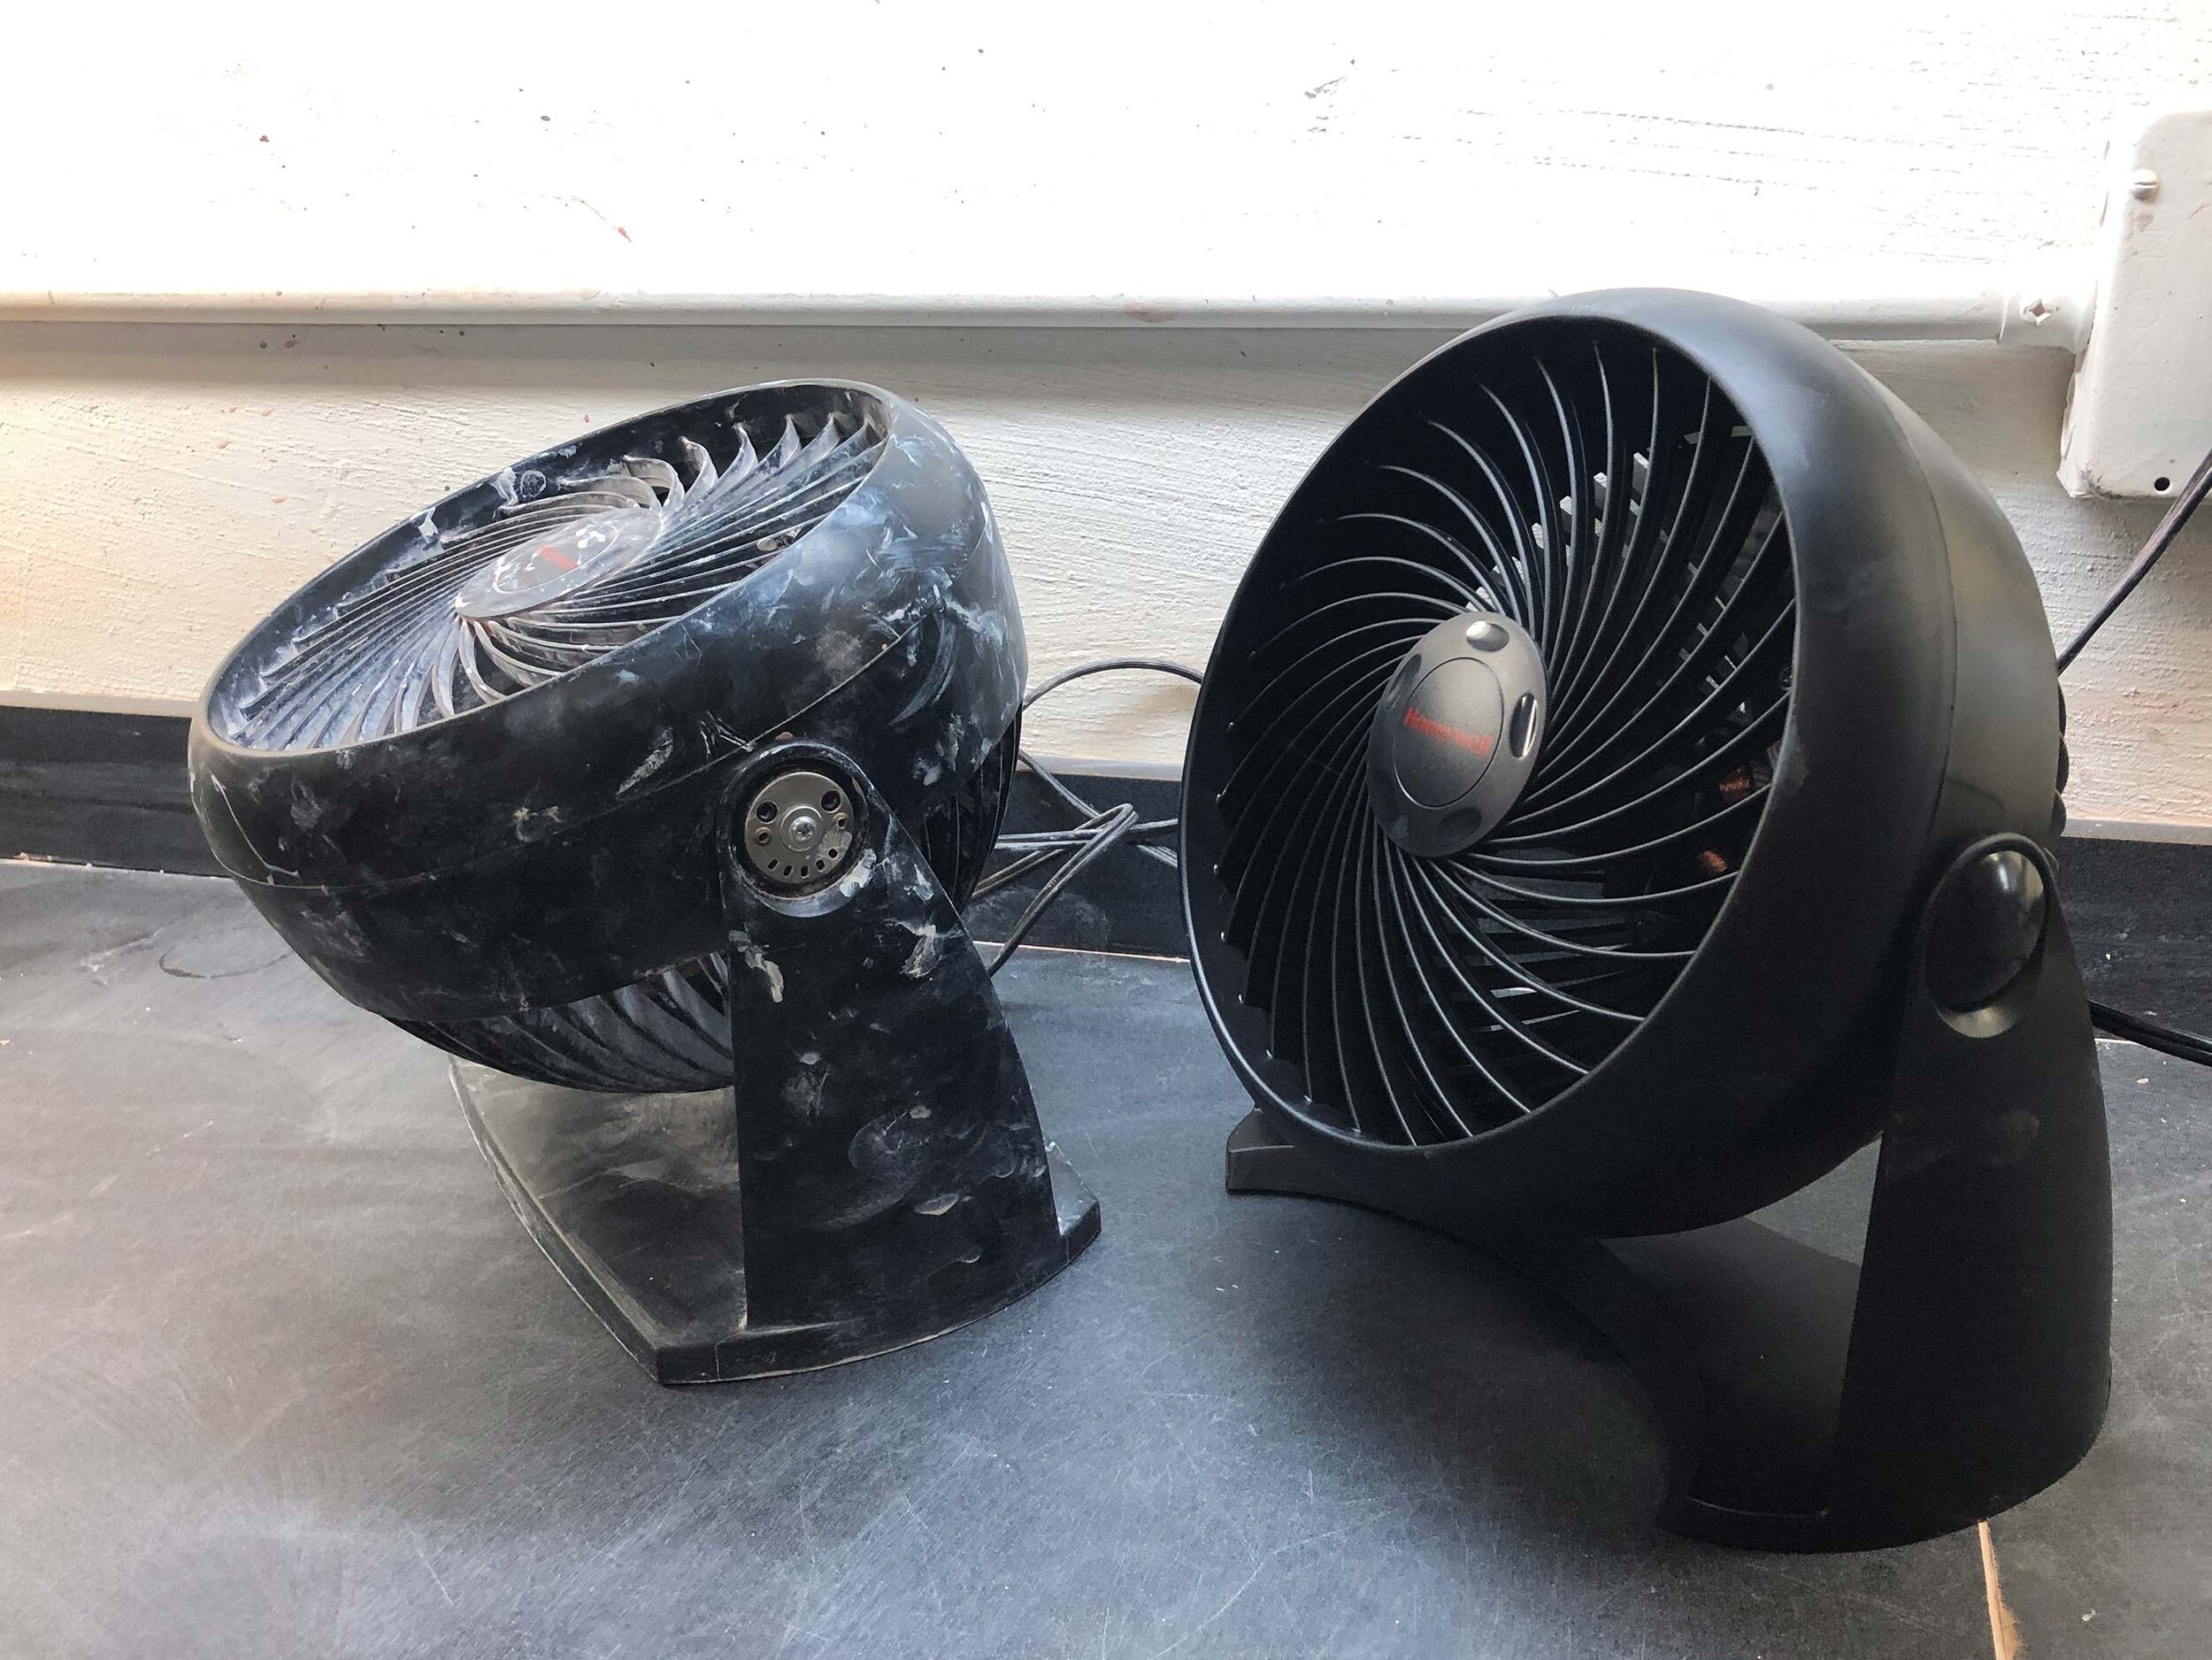
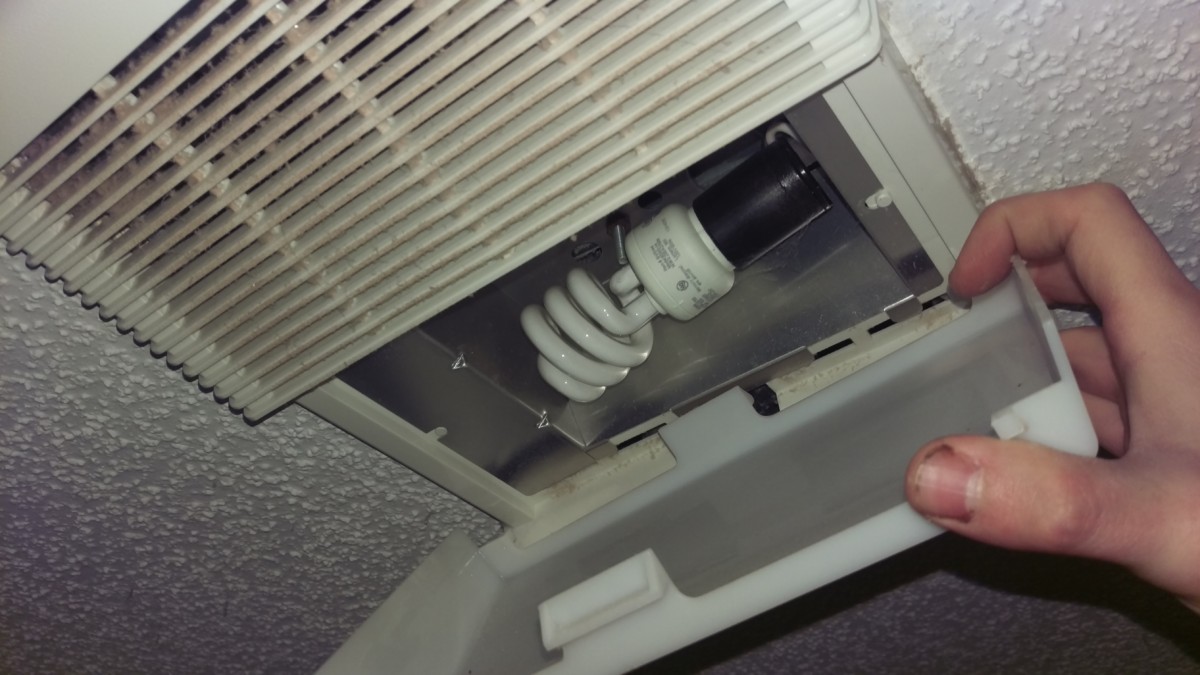
Step 2: Remove and Clean the Fan Cover
Over time, bathroom fan covers can accumulate dust, dirt, and grime, affecting their performance and efficiency. Cleaning the fan cover is an important step in maintaining a clean and functional bathroom ventilation system. Follow these instructions to remove and clean the fan cover:
- Prepare the area: Before handling the fan cover, ensure the bathroom is well-ventilated. Open a window or turn on an exhaust fan to minimize the spread of dust and allergens throughout your home.
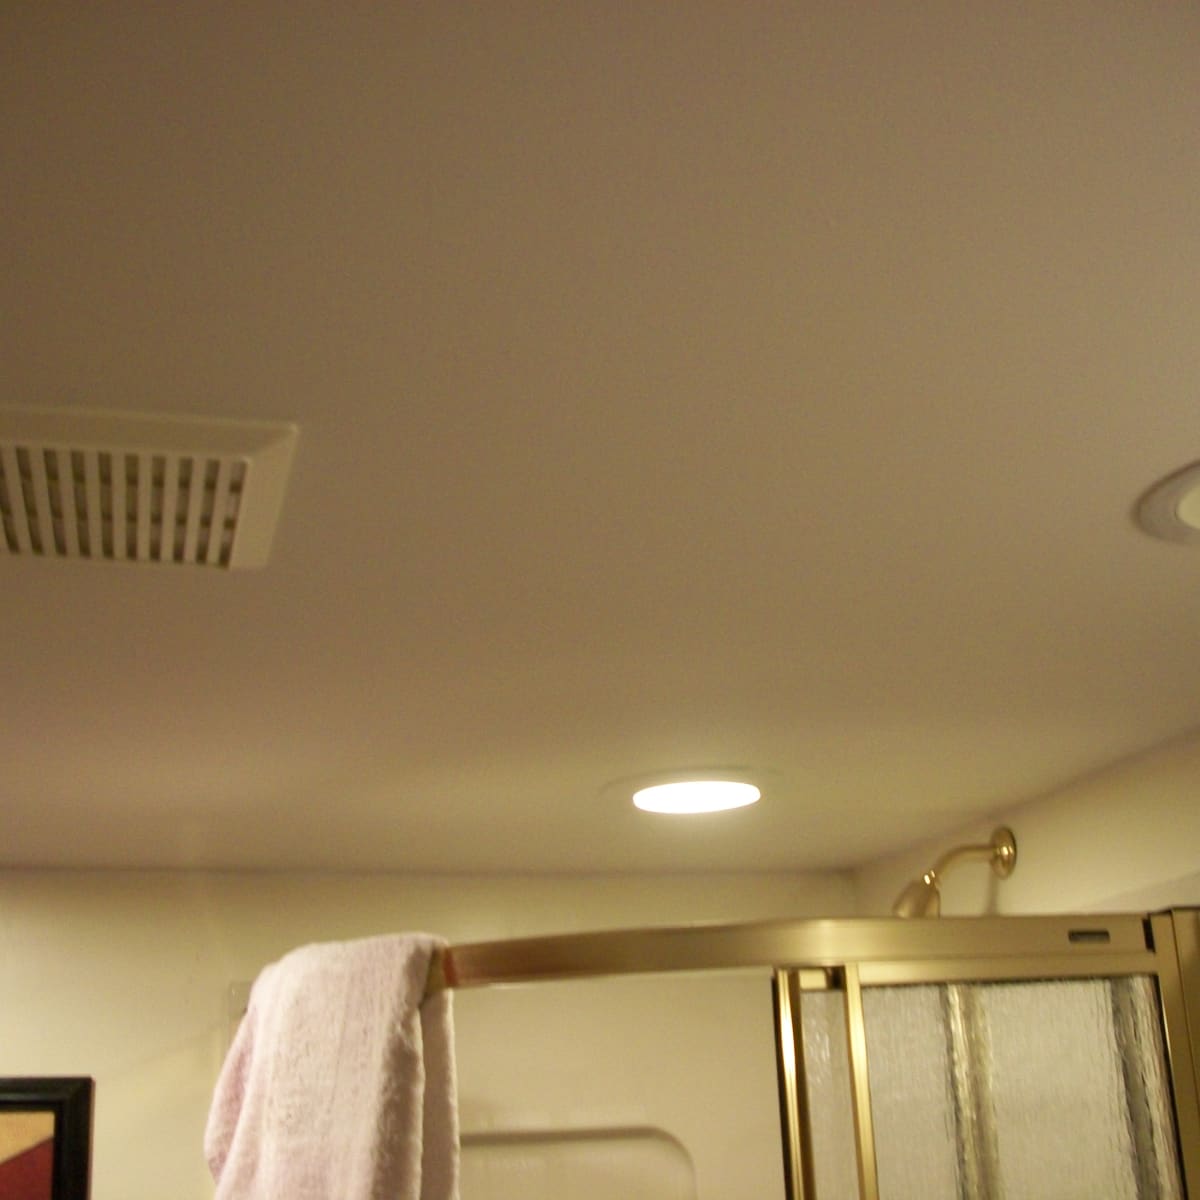
- Locate the fan cover: The fan cover is typically located on the ceiling or wall of the bathroom. Use a step ladder if needed to reach the cover safely.
- Check for screws or clips: Depending on the design of your fan cover, it may be secured with screws or clips. Inspect the cover to determine the method of attachment.
- Remove the screws or unclip the cover: If the fan cover is held in place by screws, use a screwdriver to carefully remove them. If it is clipped on, gently press or pull on the appropriate areas to release the clips and detach the cover.
- Clean the fan cover: Take the fan cover to a sink or bathtub and rinse it with warm water to remove loose dirt and debris. For more stubborn stains or buildup, use a mild detergent or bathroom cleaner. Scrub gently with a soft brush or sponge to avoid damaging the cover’s surface.
- Rinse and dry the cover: Thoroughly rinse the cover with clean water to remove any soap or cleaning residue. Pat it dry with a towel or let it air dry completely before reattaching it.
While the fan cover is removed, take the opportunity to inspect the fan blades for any dust or debris buildup. If necessary, use a soft brush or cloth to gently clean the blades.
Before reinstalling the fan cover, ensure it is completely dry to prevent moisture-related issues. Line up the screw holes or clips and carefully reattach the cover, securing it in place.
Regularly cleaning the fan cover will help maintain proper ventilation in your bathroom, improve air quality, and extend the lifespan of your fan. It is recommended to clean the fan cover at least once every few months, or more frequently in high-humidity environments.
With the fan cover removed, cleaned, and reinstalled, you can move on to the next steps of cleaning and maintaining your bathroom’s ventilation system.
Read more: How to Clean PC Fan
Step 3: Disconnect the Fan from the Power Source
Before proceeding with any maintenance or cleaning tasks, it is crucial to disconnect the bathroom fan from its power source to ensure your safety. Follow these steps to safely disconnect the fan:
- Locate the power switch: Identify the power switch that controls the bathroom fan. It is typically located near the fan or on the bathroom wall.
- Turn off the power switch: Flip the power switch to the “Off” position, ensuring that the fan is no longer receiving electricity. This will prevent any accidental starting of the fan while you are working on it.
- Switch off the circuit breaker: Locate the circuit breaker or fuse box for your home. Look for the circuit that controls the bathroom fan and switch it off. This provides an extra layer of safety by cutting off the power to the fan directly from the electrical panel.
- Double-check the power: To ensure that the fan is disconnected from all power sources, use a voltage tester to confirm that there is no electricity flowing to the fan. Hold the voltage tester near the fan’s wiring and make sure the tester does not detect any electrical current.
It is essential to disconnect the fan from the power source to avoid any electrical accidents or injuries while cleaning or performing maintenance tasks. By following these steps, you can ensure a safe working environment.
Remember, if you are uncomfortable working with electrical components, or if you are unsure about any aspect of the disconnection process, it is always wise to consult a licensed electrician. Safety should always be the top priority when working on any electrical devices or systems.
Once you have disconnected the fan from the power source, you can proceed with cleaning and maintaining the fan, ensuring it operates at its optimal efficiency.
Use a vacuum with a brush attachment to clean the fan cover and remove any dust and debris. Then, use a damp cloth to wipe down the fan blades and motor housing. Be sure to turn off the power before cleaning.
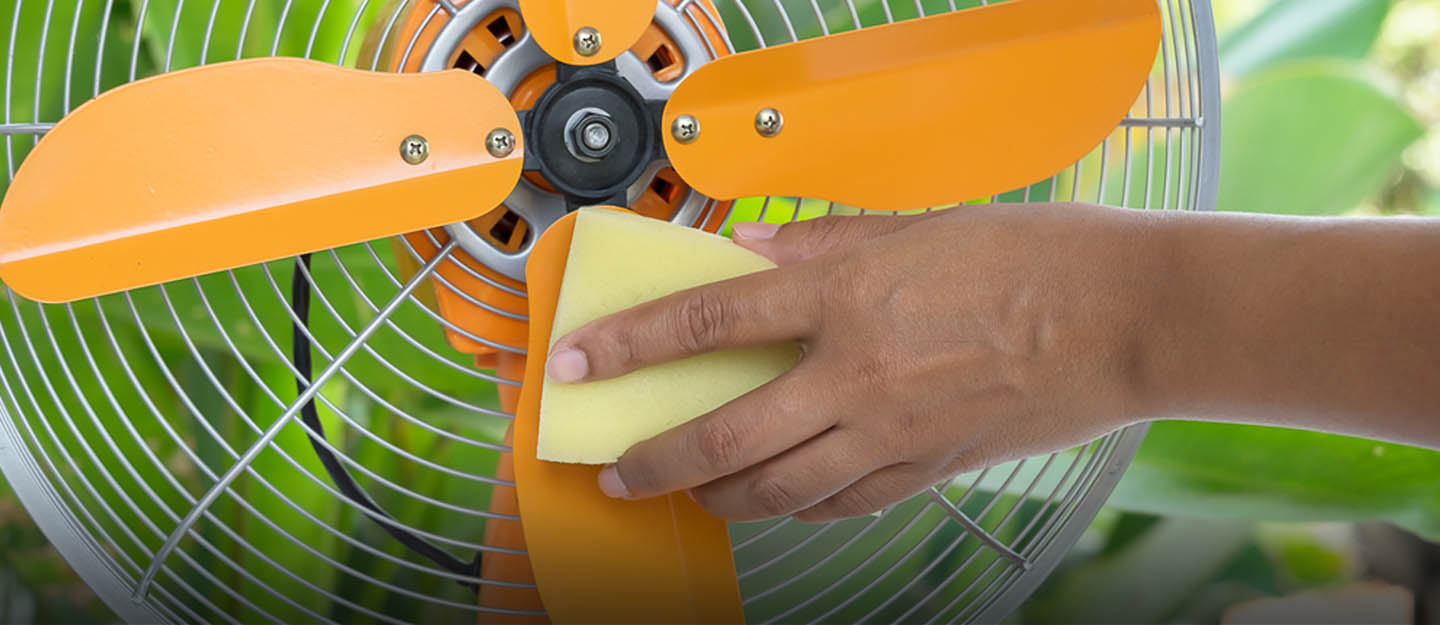
Step 4: Clean the Fan Blades
The fan blades in your bathroom exhaust fan can accumulate dust, dirt, and debris over time, which can hinder the fan’s performance and airflow. Cleaning the fan blades is an essential maintenance task to keep your bathroom ventilation system running efficiently. Follow these steps to clean the fan blades:
- Prepare the area: Before starting, ensure the power to the fan is switched off and the fan is disconnected from the power source. This eliminates any risk of electric shock during the cleaning process.
- Access the fan blades: Depending on the design of your bathroom exhaust fan, you may need to remove the fan cover or grille to access the fan blades. Refer to the manufacturer’s instructions for details on accessing the blades.
- Remove loose debris: Use a soft brush or a vacuum cleaner with a brush attachment to gently remove any loose debris or dust from the fan blades. Be careful not to apply excessive pressure or bend the blades.
- Clean the blades: Dampen a cloth or sponge with a mild household cleaner or a mixture of warm water and vinegar. Wipe each blade carefully, removing any built-up grime or residue. For stubborn stains, you may need to gently scrub using a soft brush.
- Rinse the blades: Using a clean, damp cloth or sponge, wipe the blades with clean water to remove any cleaning solution residue. Make sure not to saturate the fan with water as excessive moisture can cause damage.
- Dry the fan blades: Allow the fan blades to air dry completely before reattaching the fan cover or grille. Make sure to let them dry thoroughly to prevent the growth of mold or mildew. You can also use a dry cloth to wipe away any remaining moisture.
- Reattach the fan cover or grille: Once the fan blades are dry, reattach the fan cover or grille according to the manufacturer’s instructions. Ensure that any screws or clips are tightened securely.
Regularly cleaning the fan blades will not only improve the efficiency of your bathroom exhaust fan but also help maintain better air quality by removing accumulated dust and allergens. Aim to clean the fan blades at least every few months, or more frequently in high-humidity environments.
By following these steps, you can keep the fan blades clean and ensure that your bathroom ventilation system operates at its best. Remember to always prioritize safety by disconnecting the fan from the power source before cleaning.
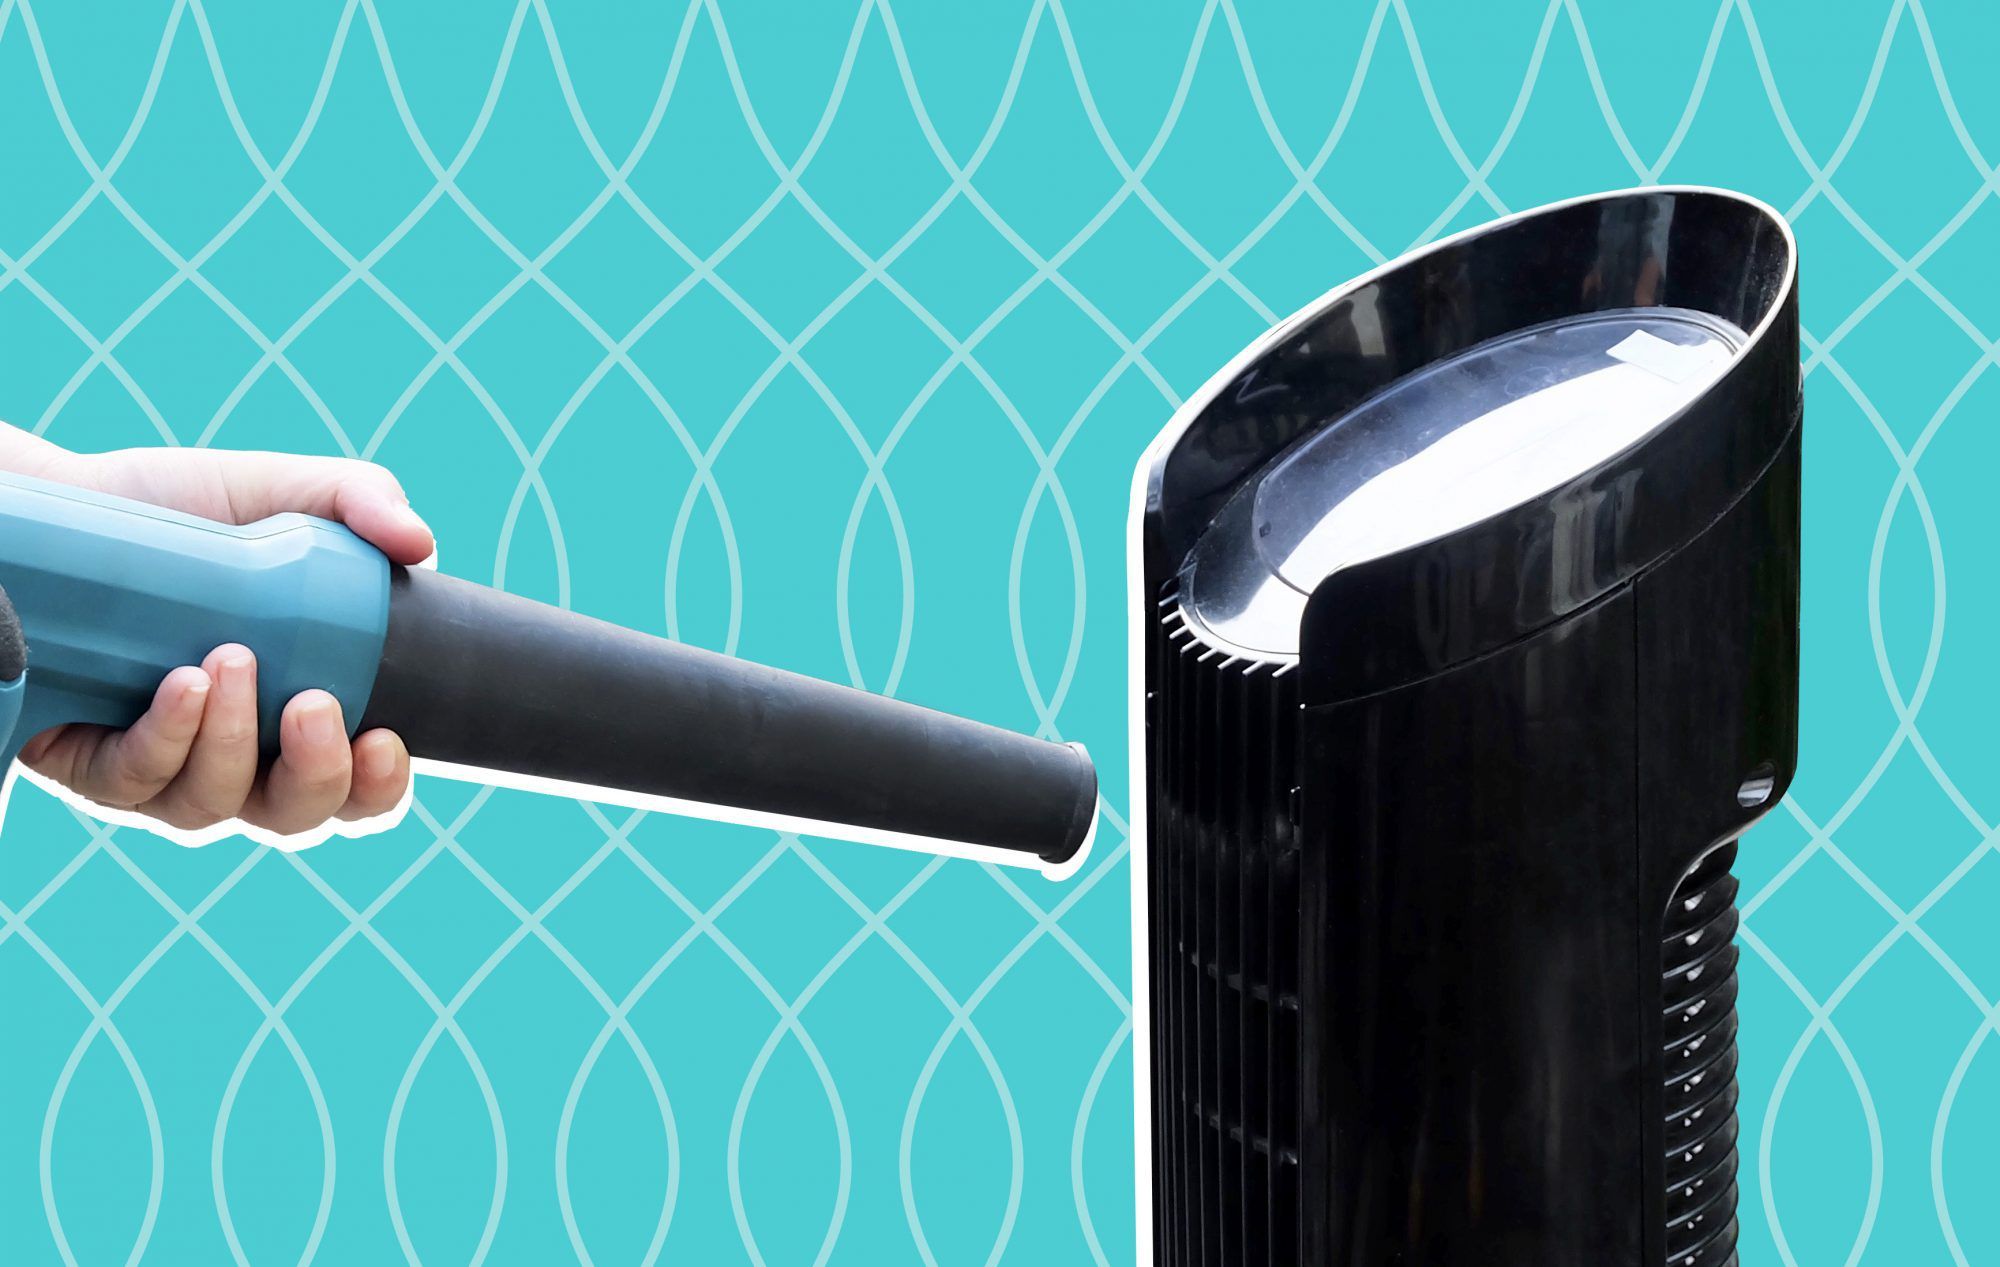
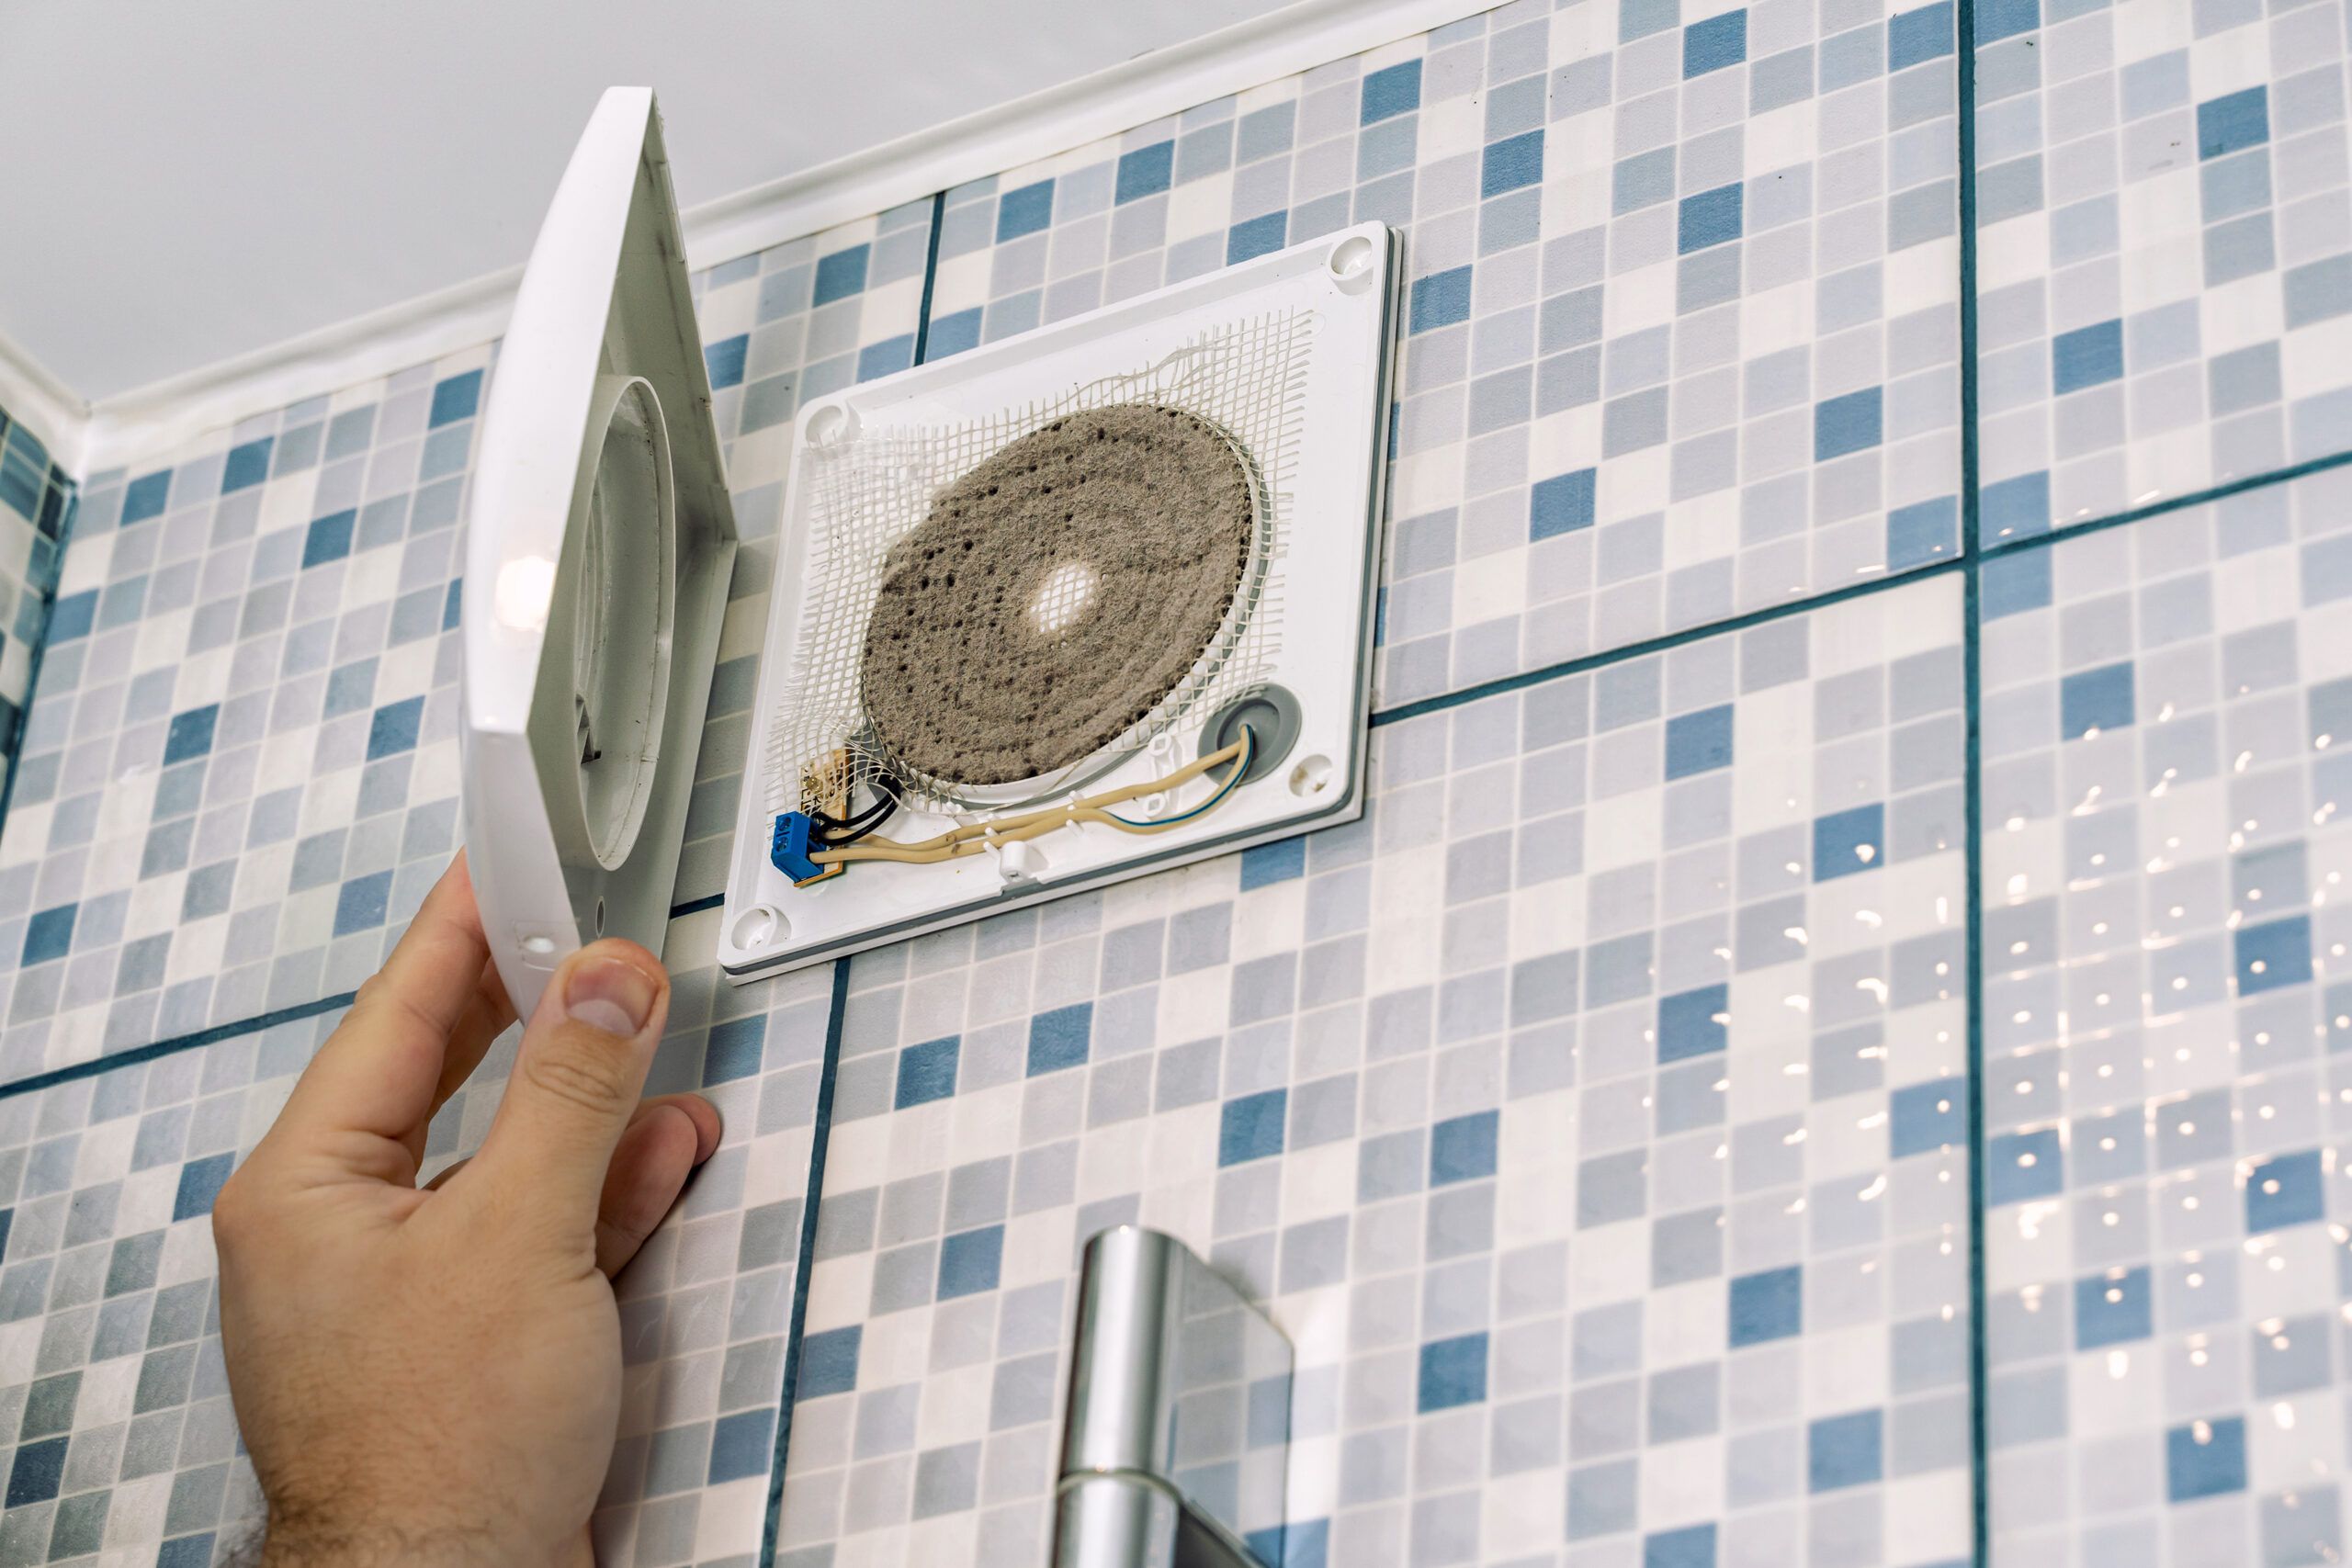
Step 5: Vacuum the Interior of the Fan Housing
The interior of the fan housing in your bathroom exhaust fan can accumulate dust, dirt, and debris, which can impede the fan’s performance and airflow over time. Vacuuming the interior of the fan housing is an important maintenance task to keep your bathroom ventilation system running efficiently. Follow these steps to effectively clean the interior of the fan housing:
- Prepare the area: Before you begin, ensure that the power to the fan is switched off and the fan is safely disconnected from the power source. This will eliminate any risk of electrical shock while cleaning the fan housing.
- Access the fan housing: Depending on the design of your bathroom exhaust fan, you may need to remove the fan cover or grille to access the interior of the fan housing. Refer to the manufacturer’s instructions for guidance on accessing the housing.
- Use a vacuum cleaner: Attach a brush attachment or a crevice tool to your vacuum cleaner. Gently vacuum the interior of the fan housing, paying attention to areas where dust and debris may have accumulated. Ensure that you remove as much loose dirt and dust as possible.
- Reach difficult areas: If there are any hard-to-reach areas in the fan housing, use a soft brush or a toothbrush to dislodge the dust. Be gentle to avoid damaging any components.
- Clean the fan housing exterior: Use a damp cloth or sponge with a mild household cleaner to wipe down the exterior surfaces of the fan housing. This will help remove any dirt or smudges that may have accumulated over time.
- Dry the fan housing: Allow the interior and exterior of the fan housing to air dry completely before reattaching the fan cover or grille. Make sure there is no moisture remaining to prevent the growth of mold or mildew.
- Reattach the fan cover or grille: Once the fan housing is dry, carefully reattach the fan cover or grille following the manufacturer’s instructions. Ensure that any screws or clips are securely tightened.
By vacuuming the interior of the fan housing, you can remove accumulated dust and debris that can hinder the fan’s performance. This will help maintain optimal airflow and improve the efficiency of your bathroom exhaust fan.
Remember to always prioritize safety by disconnecting the fan from the power source before cleaning. Regularly cleaning the fan housing will contribute to the longevity and effectiveness of your bathroom ventilation system.
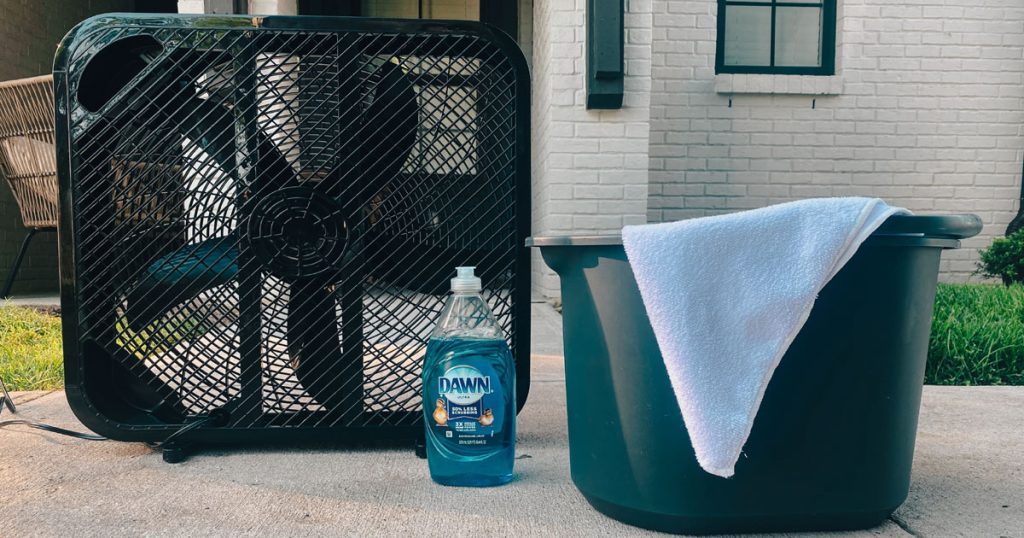
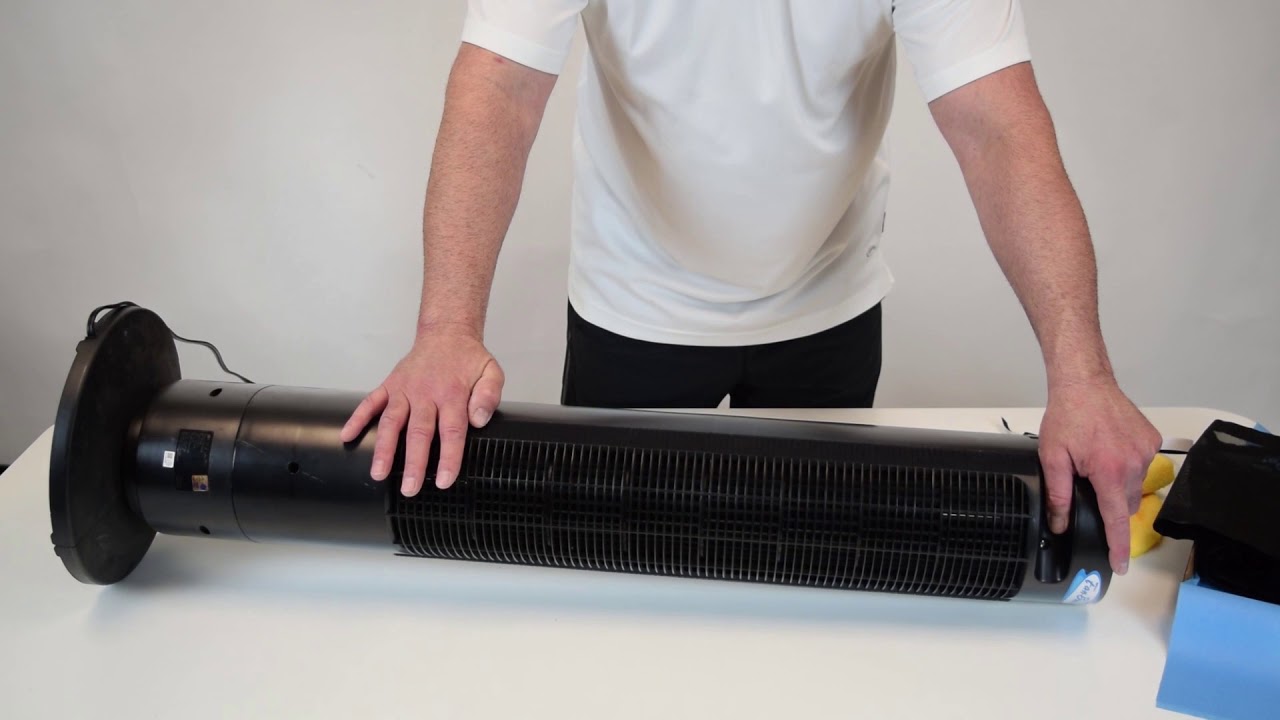
Step 6: Clean the Fan Housing with Soap and Water
Cleaning the fan housing of your bathroom exhaust fan is essential for maintaining optimal performance and preventing the buildup of dirt and grime. While vacuuming helps remove loose debris, a more thorough cleaning with soap and water will ensure a deep clean. Follow these steps to effectively clean the fan housing:
- Prepare the area: Ensure the power to the fan is switched off and the fan is detached from the power source for safety.
- Remove the fan cover or grille: Depending on the design of your bathroom exhaust fan, you may need to remove the fan cover or grille to access the fan housing. Refer to the manufacturer’s instructions for guidance on removing the cover.
- Mix a cleaning solution: In a bucket or basin, prepare a mixture of warm water and mild dish soap or a bathroom cleaner. Avoid using abrasive cleaners or bleach, as they may damage the fan housing.
- Dampen a cloth or sponge: Dip a cloth or sponge into the cleaning solution, ensuring it’s not overly saturated, and wring out any excess liquid.
- Clean the fan housing: Gently wipe the interior and exterior surfaces of the fan housing with the damp cloth or sponge. Pay attention to areas where dirt and grime may have accumulated, such as corners or crevices. Apply light pressure as needed, and avoid getting the motor or wiring wet.
- Rinse with clean water: Using a clean cloth or sponge dampened with clean water, wipe down the fan housing to remove any soap residue.
- Dry thoroughly: Allow the fan housing to air dry completely before reattaching the fan cover or grille. Make sure there is no moisture remaining to prevent the growth of mold or mildew.
- Reattach the fan cover or grille: Once the fan housing is dry, carefully reattach the fan cover or grille following the manufacturer’s instructions. Ensure that any screws or clips are securely tightened.
Regularly cleaning the fan housing with soap and water will help maintain a clean and efficient bathroom ventilation system. It is recommended to clean the fan housing at least once every few months, or more frequently in high-humidity environments.
Remember to always prioritize safety by disconnecting the fan from the power source before cleaning. With a clean fan housing, your bathroom exhaust fan will continue to provide optimal airflow and improve the overall air quality in your bathroom.
Read more: How To Clean Box Fan
Step 7: Dry and Reassemble the Fan Components
After cleaning the fan cover and housing, it’s important to ensure that all the components are completely dry before reassembling them. Proper drying will prevent the growth of mold or mildew and ensure the longevity of your bathroom exhaust fan. Follow these steps to dry and reassemble the fan components:
- Dry the fan cover: If you haven’t already done so, make sure the fan cover is completely dry after cleaning. Use a clean towel or leave it to air dry for sufficient time.
- Dry the fan housing: Ensure that the interior and exterior surfaces of the fan housing are dry. Use a dry cloth or towel to wipe away any residual moisture.
- Check the fan blades: Inspect the fan blades to ensure they are dry and clean. If needed, wipe them with a dry cloth or allow them to air dry completely.
- Reassemble the fan components: Carefully reattach the fan cover or grille to the fan housing, following the manufacturer’s instructions. Make sure any clips or screws are securely fastened.
- Test the fan: Once the fan components are reassembled, turn on the power and test the fan to ensure it is functioning properly. Listen for any unusual sounds or vibrations and make sure the airflow is strong.
- Perform any necessary adjustments: If you notice any issues with the fan’s performance or operation, consult the manufacturer’s instructions for troubleshooting tips. Make any necessary adjustments or repairs to ensure the fan is functioning optimally.
Proper drying and reassembling of the fan components are crucial to maintaining the functionality and efficiency of your bathroom exhaust fan. By following these steps, you can ensure that your fan is clean, dry, and ready to continue providing excellent ventilation in your bathroom.
Remember to prioritize safety by disconnecting the fan from the power source before reassembling. Regular maintenance and cleaning of your bathroom exhaust fan will help extend its lifespan and keep your bathroom fresh and well-ventilated.
Step 8: Reconnect the Fan to the Power Source
After completing the cleaning and reassembly of your bathroom exhaust fan, it’s time to reconnect it to the power source. This final step ensures that the fan is ready to function efficiently and provide proper ventilation in your bathroom. Follow these steps to reconnect the fan to the power source:
- Double-check the power: Before proceeding, ensure that the power switch for the fan is in the “Off” position.
- Switch on the circuit breaker: Locate the circuit breaker or fuse box for your home and switch on the circuit that controls the bathroom fan.
- Turn on the fan switch: Locate the power switch for the fan, which is typically located on the wall or adjacent to the fan unit. Flip the switch to the “On” position to provide power to the fan.
- Listen for operation: Once the power is restored, listen for the sound of the fan running. Ensure that it starts up smoothly and functions without any unusual noise or vibration.
- Check the airflow: Stand near the fan and feel the airflow. Verify that the fan is creating a steady stream of air and effectively ventilating the bathroom.
- Make any necessary adjustments: If you notice any issues with the operation of the fan, such as insufficient airflow or unusual noise, consult the manufacturer’s instructions for troubleshooting advice. Make necessary adjustments or seek professional assistance if needed.
By reconnecting the fan to the power source, you are ensuring that it is ready to provide the necessary ventilation in your bathroom. Regularly check the fan’s operation and airflow to ensure that it continues to function effectively.
If you encounter any difficulties during the reconnection process or notice any persistent issues with the fan’s performance, it is advisable to consult a professional electrician or contact the manufacturer for further assistance.
With the fan successfully reconnected to the power source, you can enjoy a well-ventilated and comfortable bathroom environment.
Conclusion
Congratulations! You have now completed the journey of optimizing your bathroom storage. By implementing the tips and steps outlined in this guide, you have transformed your bathroom into a well-organized and functional space. With proper storage solutions in place, you can now enjoy a clutter-free environment and make the most of the available space.
Throughout this guide, we have explored various aspects of bathroom storage, from organizing vanity cabinets to maximizing wall space and utilizing under-sink areas. We discussed safety precautions to ensure a secure working environment and provided a comprehensive list of tools and materials needed for your projects.
Step by step, we guided you through the process of cleaning and maintaining your bathroom fan. We covered important steps such as switching off the power, removing and cleaning the fan cover, disconnecting the fan from the power source, cleaning the fan blades, vacuuming the interior of the fan housing, cleaning the fan housing with soap and water, and drying and reassembling the fan components. Finally, we walked you through the process of reconnecting the fan to the power source.
By following these steps, you have not only improved the cleanliness and efficiency of your bathroom but also created a safer and more enjoyable space for yourself and your family. Proper bathroom storage is a key element of maintaining a functional and organized home, and this guide has provided you with the knowledge and tools to achieve just that.
Remember to regularly assess and adjust your storage solutions as your needs change over time. Stay proactive in decluttering and reevaluating the effectiveness of your storage systems to ensure they continue to meet your requirements.
Thank you for joining us on this journey to optimize your bathroom storage. We hope you found this guide informative and insightful. Here’s to a beautifully organized bathroom that meets all your storage needs!
Frequently Asked Questions about How To Clean A Bathroom Fan
Was this page helpful?
At Storables.com, we guarantee accurate and reliable information. Our content, validated by Expert Board Contributors, is crafted following stringent Editorial Policies. We're committed to providing you with well-researched, expert-backed insights for all your informational needs.
0 thoughts on “How To Clean A Bathroom Fan”