
Articles
How To Make Driveway Pavers
Modified: January 9, 2024
Learn how to make driveway pavers with our informative articles. Get step-by-step instructions and expert tips for a beautiful and durable driveway.
(Many of the links in this article redirect to a specific reviewed product. Your purchase of these products through affiliate links helps to generate commission for Storables.com, at no extra cost. Learn more)
Introduction
Welcome to our comprehensive guide on how to make driveway pavers. Are you tired of having a plain and boring driveway? Do you want to add a touch of elegance and durability to your home’s entrance? Look no further than driveway pavers. These interlocking stones not only enhance the visual appeal of your property but also provide a sturdy surface for vehicles.
Creating your own driveway pavers is a rewarding and cost-effective DIY project that can transform the overall look of your exteriors. Whether you want a traditional brick-like pattern or a more modern design, making your own driveway pavers allows you to customize the size, shape, and color of the stones to suit your preferences.
In this guide, we will walk you through the step-by-step process of making driveway pavers. From preparing the ground to securing the pavers in place, we’ll cover everything you need to know to successfully complete this project.
Before we dive in, let’s quickly go over the materials you will need:
- Paver molds
- Concrete mix
- Sand
- Gravel
- Water
- Tamping tool
- Leveling tool
- Mallet or hammer
- Chisel
- Protective gloves and eyewear
With these materials on hand, you’re ready to get started on your driveway paver project. So, let’s jump right into step one: preparing the ground.
Key Takeaways:
- Transform your plain driveway into an elegant and durable entrance with custom-made pavers, adding value and charm to your home while enjoying the satisfaction of a DIY project.
- Create a visually appealing and stable driveway surface by following a step-by-step process, from preparing the ground to adding finishing touches, for a professional and polished result.
Read more: How To Install Driveway Pavers
Materials Needed
Before you begin making your driveway pavers, it’s important to gather all the necessary materials. Here’s a list of what you’ll need:
- Paver molds: These molds will determine the shape and size of your driveway pavers. You can find a variety of molds in different designs and dimensions to suit your desired style.
- Concrete mix: Choose a high-quality concrete mix that is suitable for outdoor use. The mix should be strong and durable to withstand the weight of vehicles and changing weather conditions.
- Sand: Sand will be used as a base and filler material for the pavers. Make sure to choose sand that is clean, fine-grained, and free of debris or organic matter.
- Gravel: Gravel will be used to create a stable base for your driveway pavers. Opt for medium to coarse gravel that is compactable and provides good drainage.
- Water: You will need water to mix with the concrete and activate its curing process.
- Tamping tool: A tamping tool, such as a hand tamper or plate compactor, will be used to compact the base materials and create a solid foundation for the pavers.
- Leveling tool: A leveling tool, such as a long straight board and a bubble level, will help ensure that your pavers are laid evenly and at the right height.
- Mallet or hammer: These tools will be used to tap the pavers into place and make adjustments, if needed. Ensure they are sturdy and suitable for outdoor use.
- Chisel: A chisel will be handy for cutting pavers to fit into specific areas or to create custom shapes along the edges of your driveway.
- Protective gloves and eyewear: Safety should always come first. Wear gloves and safety eyewear to protect your hands and eyes while working with concrete, gravel, and other materials.
By having these materials readily available, you’ll have everything you need to start making your driveway pavers. Now, let’s move on to the first step: preparing the ground.
Step 1: Preparing the Ground
The first step in making driveway pavers is to prepare the ground where they will be laid. Proper preparation is crucial for ensuring a stable and long-lasting installation. Here’s how to get started:
- Clear the area: Begin by removing any existing vegetation, debris, or obstacles from the area where your driveway pavers will be installed. This includes grass, weeds, rocks, and any other objects that may hinder the installation process.
- Mark the boundaries: Use stakes and string to mark the boundaries of your driveway. This will help you visualize the layout and ensure that the pavers are installed in a straight and aligned manner.
- Excavate the area: Use a shovel or a rented excavator to dig up the ground to a depth of approximately 8 to 10 inches. This will allow space for the base materials and the thickness of the pavers.
- Remove the soil: Once the area is excavated, remove the excess soil and debris from the site. You can either dispose of it or use it for other landscaping purposes if applicable.
- Compact the soil: Use a plate compactor or a hand tamper to compact the soil in the excavated area. This will help create a solid and stable base for the driveway pavers.
- Check for proper drainage: Ensure that the excavated area has appropriate slope and drainage to prevent water pooling. This can be achieved by adding or removing soil as needed.
By following these steps, you will have effectively prepared the ground for your driveway paver installation. Now, it’s time to move on to the next step: laying the base.
Step 2: Laying the Base
Once you’ve prepared the ground for your driveway pavers, the next step is to lay the base. The base serves as a stable foundation for the pavers, ensuring that they remain level and supported. Follow these steps to properly lay the base:
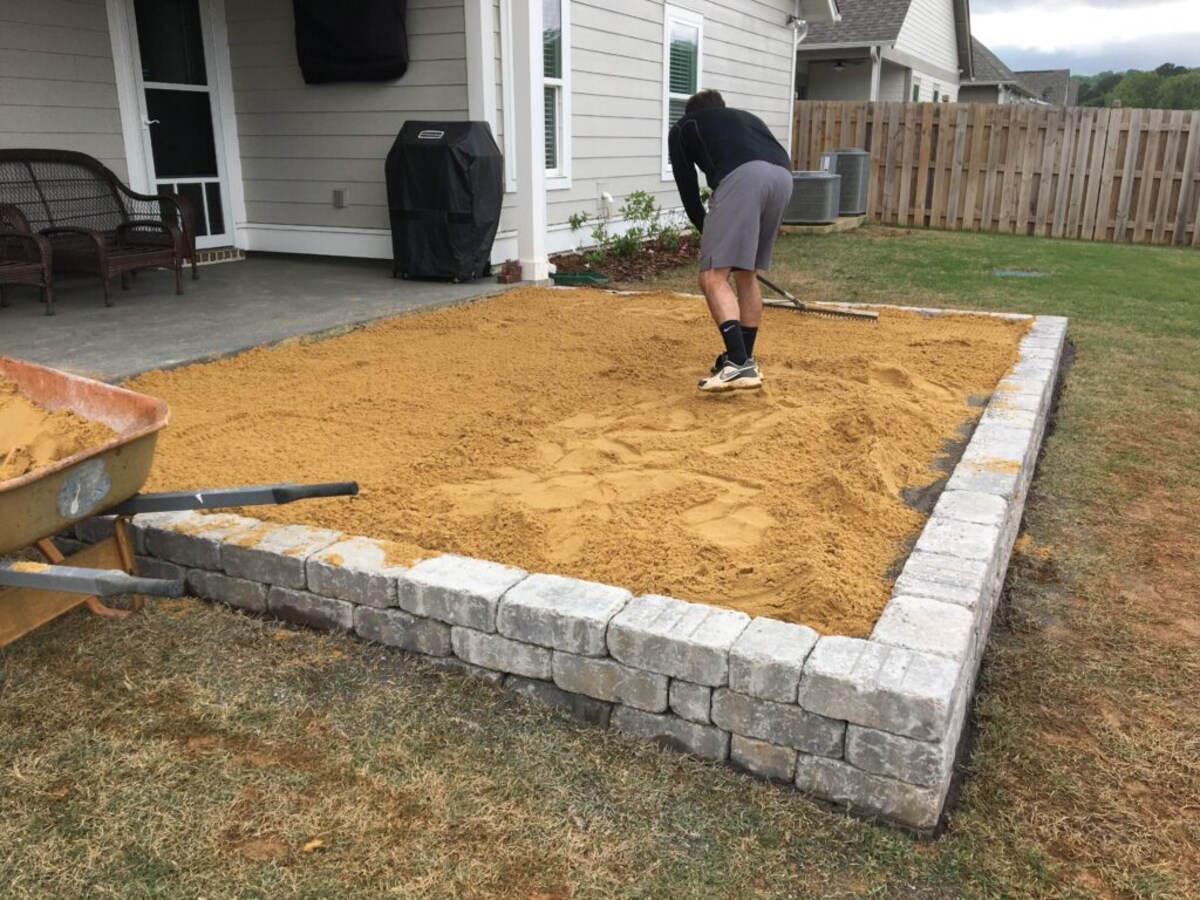
- Add a layer of gravel: Start by adding a layer of compactible gravel to the excavated area. Spread the gravel evenly and use a rake to smooth it out. The recommended thickness for the gravel layer is around 4 to 6 inches.
- Compact the gravel: Use a plate compactor or a hand tamper to compact the gravel layer. This will help create a solid and stable base for the driveway pavers. Ensure that the gravel is firmly packed and level.
- Check for proper slope: Use a leveling tool and a string line to ensure that the compacted gravel has a slight slope away from the house or main structure. This will promote proper drainage and prevent water from accumulating on the surface.
- Add a layer of sand: Once the gravel base is properly leveled, add a layer of coarse sand on top. The sand layer should be approximately 1 inch thick. Spread the sand evenly and use a rake or a leveling tool to smoothen it out.
- Compact the sand: Similar to the gravel layer, use a plate compactor or a hand tamper to gently compact the sand layer. This will help create a smooth and even surface for the pavers.
- Check for level: To ensure that the sand layer is level, use a long straight board or a level across the surface. Make any necessary adjustments by adding or removing sand as needed.
By following these steps, you will have successfully laid the base for your driveway pavers. The compacted gravel and sand layers will provide a solid foundation and ensure a level surface for the pavers to be installed on. Now, it’s time to move on to the next step: placing the pavers.
Step 3: Placing the Pavers
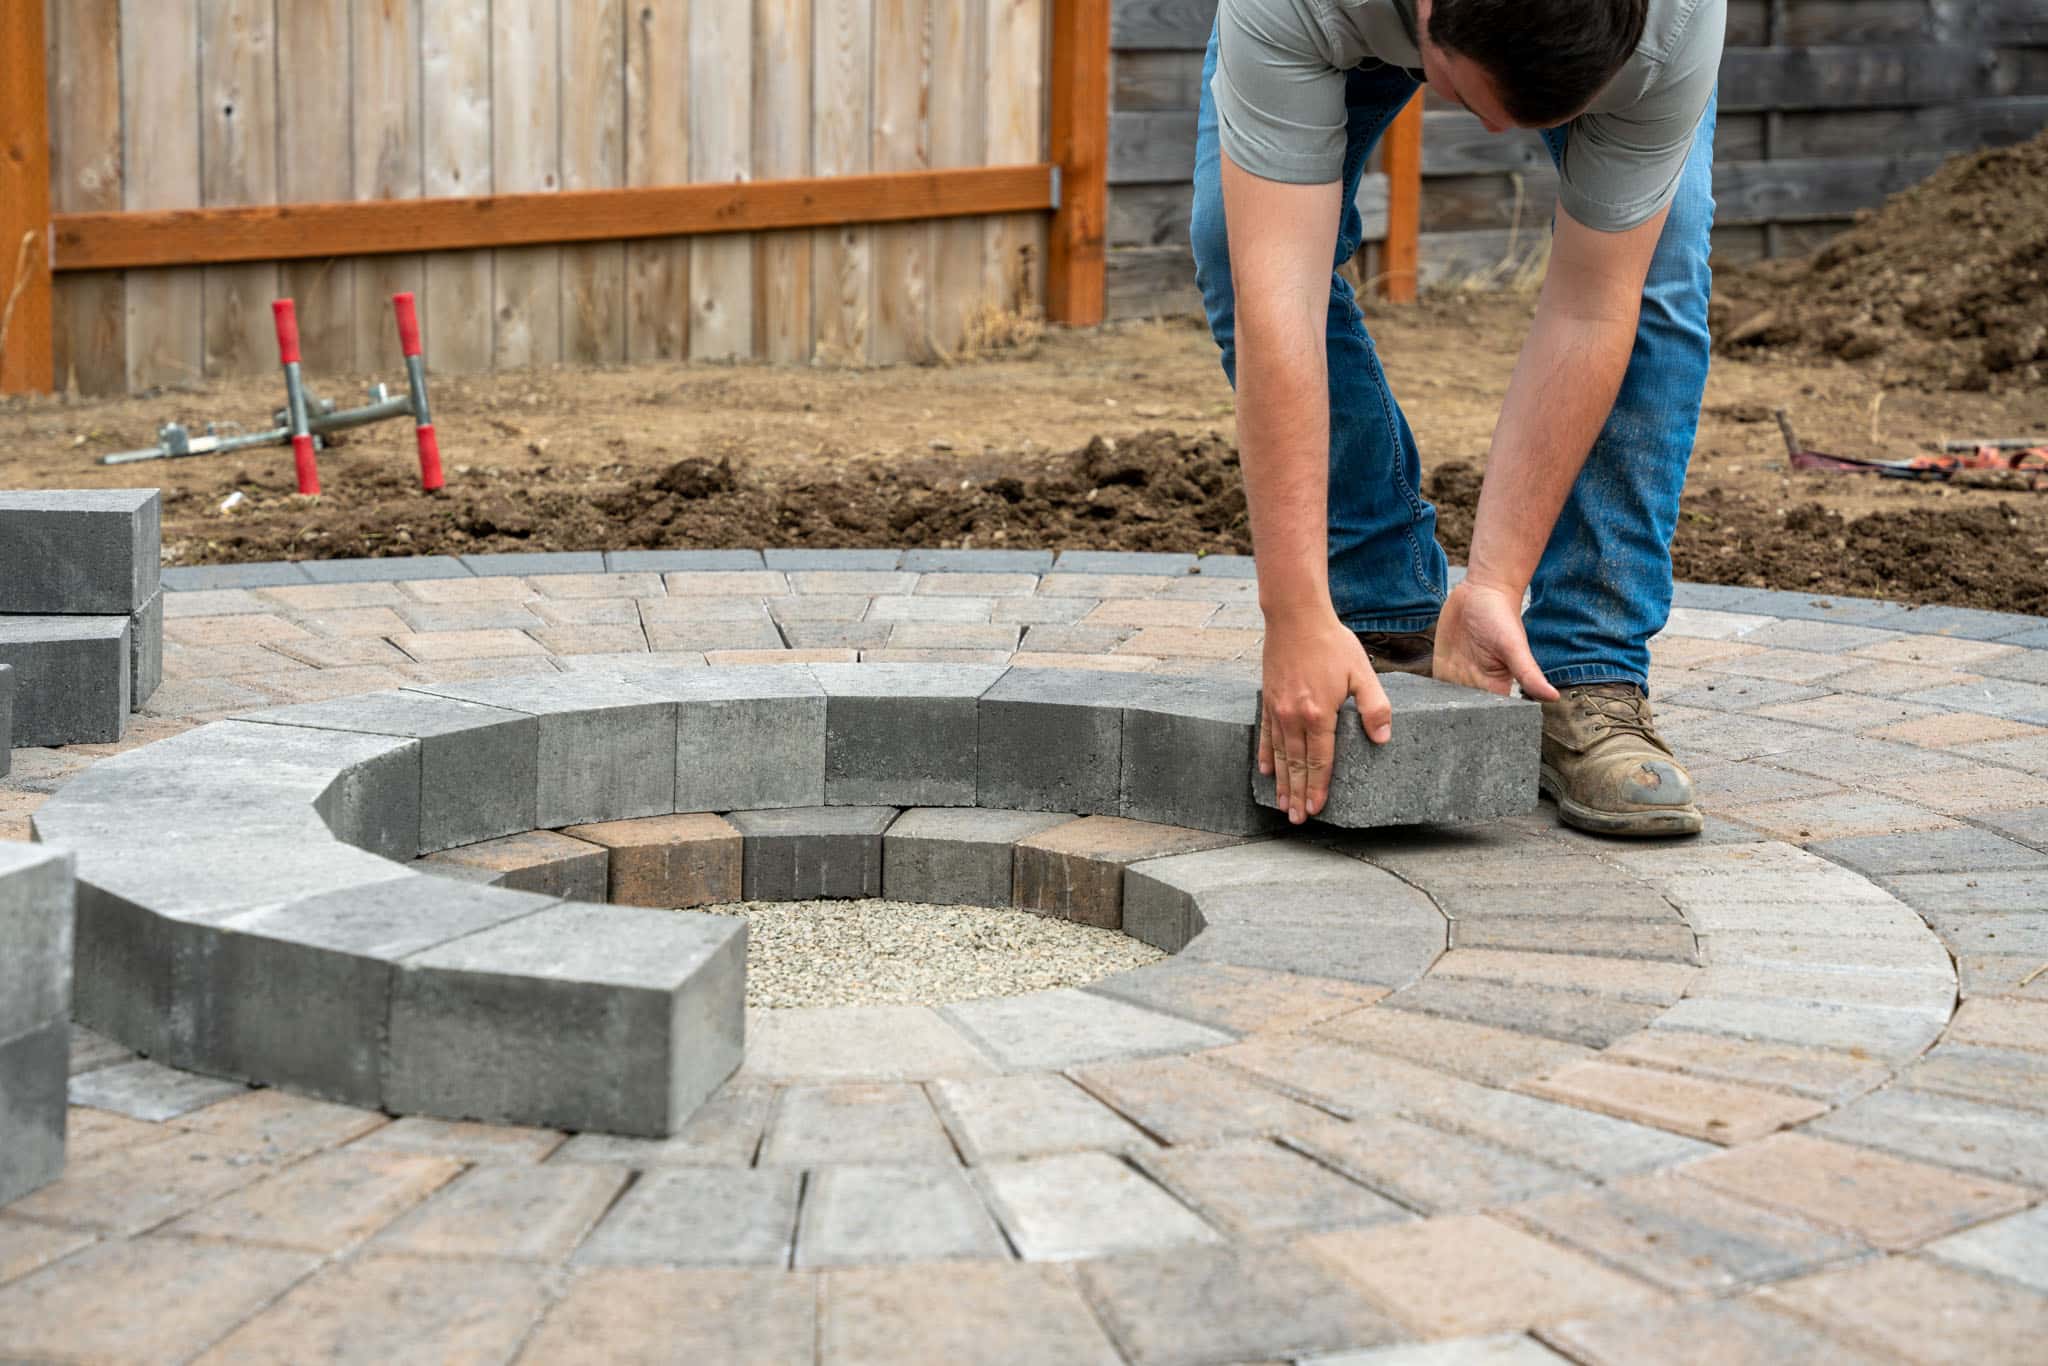
With the base in place, it’s time to start placing the driveway pavers. This step requires careful planning and precision to achieve a visually appealing and structurally sound result. Follow these steps to properly place the pavers:
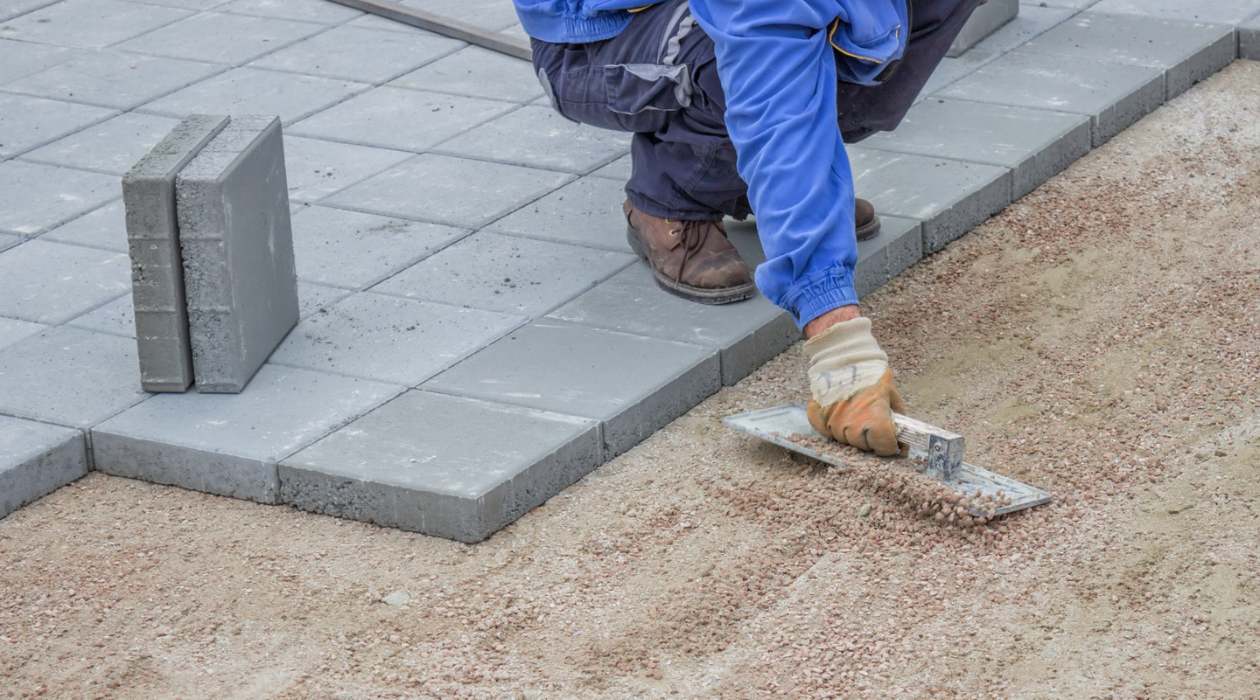
- Start from one corner: Begin laying the pavers from one corner of the driveway area. This will serve as your starting point and allow you to work your way across.
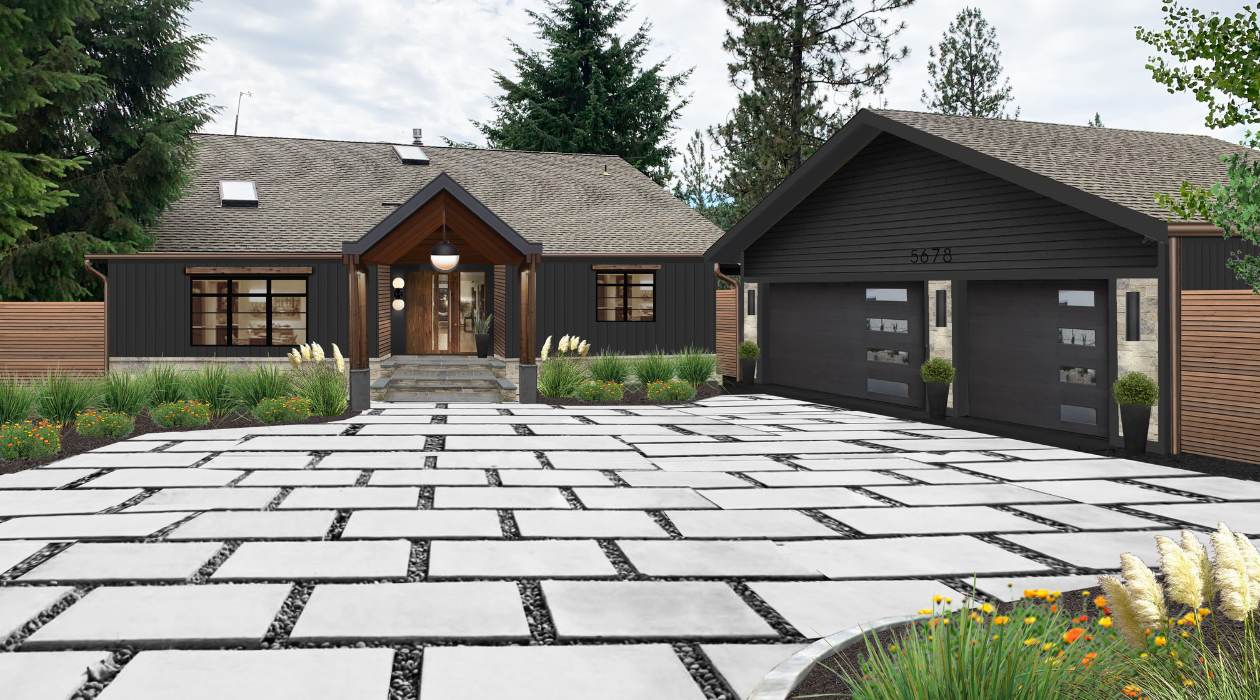
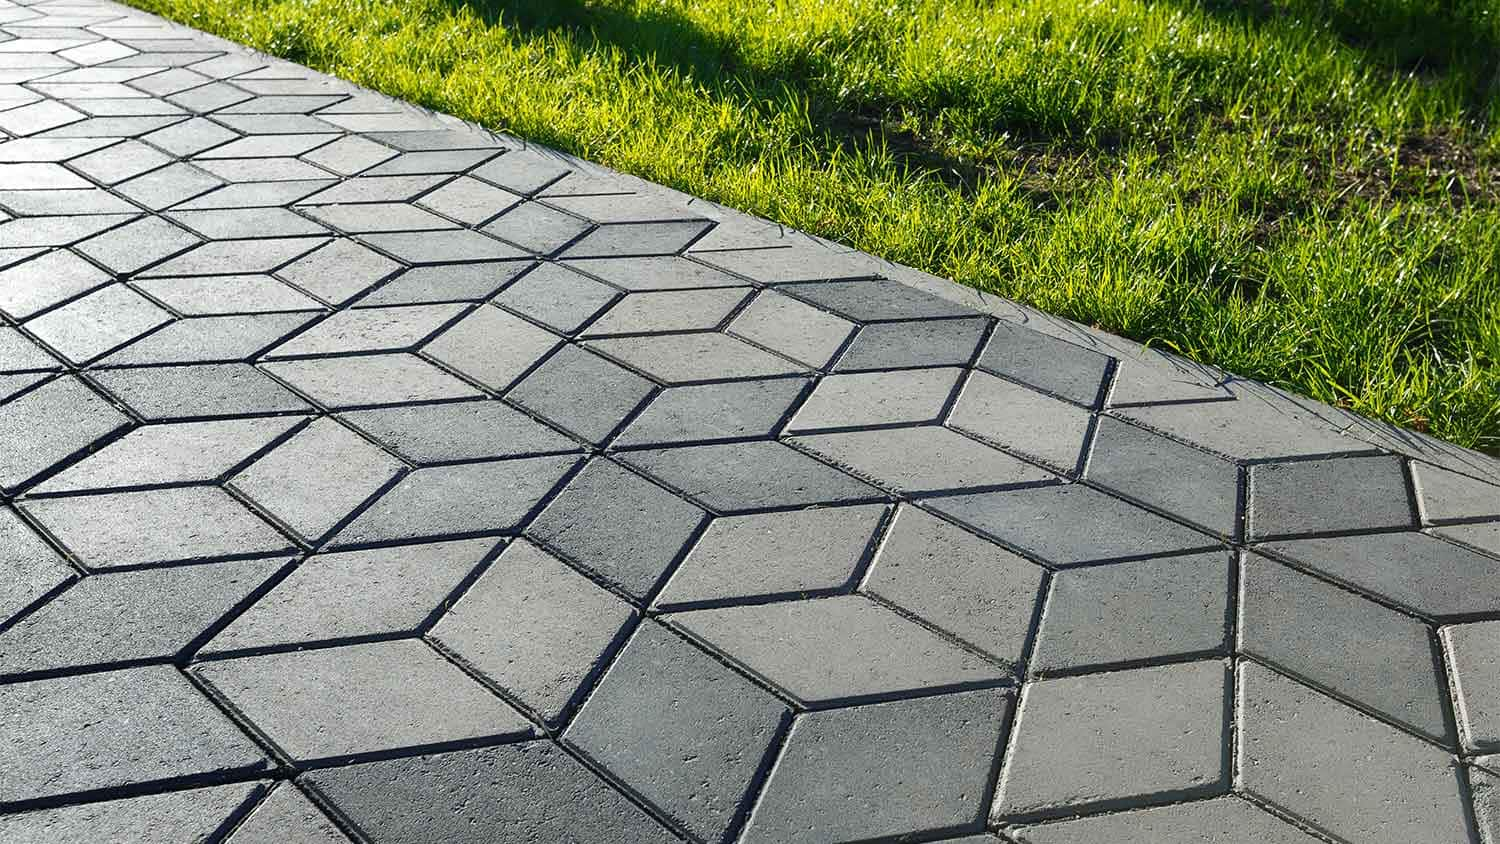
- Place the pavers in the desired pattern: Depending on the design you have in mind, carefully place each paver on top of the sand layer. Make sure to align the edges of the pavers and maintain consistent spacing between them.
- Tap the pavers into place: Once a paver is positioned, use a mallet or hammer to gently tap it into place until it is level with the surrounding pavers. Be careful not to apply excessive force that could damage the paver or disrupt the sand layer beneath.
- Check for level and alignment: As you progress, periodically check the levelness and alignment of the pavers using a straight board or a level. Adjust as necessary to ensure a uniform surface.
- Fill the gaps: Once all the pavers are laid, fill the gaps between them with fine sand. Use a broom to sweep the sand into the joints, making sure it is evenly distributed and fills the spaces completely.
- Compact the pavers: After filling the gaps with sand, use a plate compactor or a hand tamper to gently compact the pavers. This will help settle the sand and ensure a tight fit between the pavers.
By following these steps, you’ll be able to successfully place the pavers in your desired pattern. Take your time and double-check the levelness and alignment as you go. A properly placed paver surface will not only look great but also provide a durable and stable driveway. Now, let’s move on to step four: cutting and filling.
When making driveway pavers, use a strong and durable material such as concrete or brick to ensure longevity and withstand heavy vehicle traffic. Properly compact the base and use a quality sealer to protect the pavers from stains and damage.
Read more: What Is A Paver Driveway
Step 4: Cutting and Filling
Once the pavers are in place, you may encounter areas where the standard-sized pavers do not fit perfectly. In this step, you will learn how to cut and fill the pavers to ensure a seamless and polished finish. Follow these steps to complete this process:
- Measure and mark the pavers: Use a measuring tape and a straight edge to determine the required size and shape of the paver that needs to be cut. Mark the measurements clearly on the paver using a pencil or chalk.
- Cut the pavers: Carefully cut along the marked lines using a masonry saw or a chisel and hammer. Take your time and make precise cuts to achieve the desired shape. Wear safety goggles and gloves while cutting to protect yourself from flying debris.
- Replace the pavers: Once the paver is cut to the proper size and shape, remove the original paver from its position and replace it with the cut paver. Fit it into the gap tightly, ensuring that it aligns with the surrounding pavers.
- Fill the gaps: Fill the gaps between the pavers with fine sand. Use a broom to sweep the sand into the joints, ensuring it is evenly distributed and fills the spaces completely. Compact the pavers gently to settle the sand.
By following these steps, you will be able to cut and fill the pavers to achieve a uniform and cohesive appearance. Take your time during the cutting process to ensure accurate measurements and clean cuts. This attention to detail will contribute to the overall professional look of your driveway pavers. Now, let’s move on to step five: securing the pavers.
Step 5: Securing the Pavers
Securing the pavers is an important step to ensure that they stay in place and maintain their stability over time. By properly securing the pavers, you can prevent shifting or loosening that may occur due to vehicle traffic or natural elements. Follow these steps to secure the pavers:
- Spread polymeric sand: Once the pavers are in their final position, spread polymeric sand over the entire surface. Polymeric sand is a mixture of fine sand and polymer additives that, when activated with water, hardens and provides a strong bond between the pavers.
- Sweep the sand into the joints: Use a broom to sweep polymeric sand into the joints between the pavers. Make sure to fill all the gaps completely and evenly. Sweep at a 45-degree angle to help the sand settle down into the joints.
- Mist the area with water: After sweeping the sand, lightly mist the surface with water to activate the polymer additives. This will initiate the hardening process of the sand, creating a secure bond between the pavers and locking them in place.
- Allow the sand to cure: Let the polymeric sand cure according to the manufacturer’s instructions. This usually involves keeping the area dry for a certain period of time. Avoid driving or walking on the pavers during the curing process.
By following these steps, you will effectively secure the pavers, ensuring they remain in place and resist movement over time. The polymeric sand acts as a strong adhesive, enhancing the overall stability of your driveway surface. Now, let’s move on to the final step: adding the finishing touches.
Step 6: Finishing Touches
With the driveway pavers securely in place, it’s time to add the finishing touches to complete the project and give your driveway a polished look. Follow these steps to add those final details:
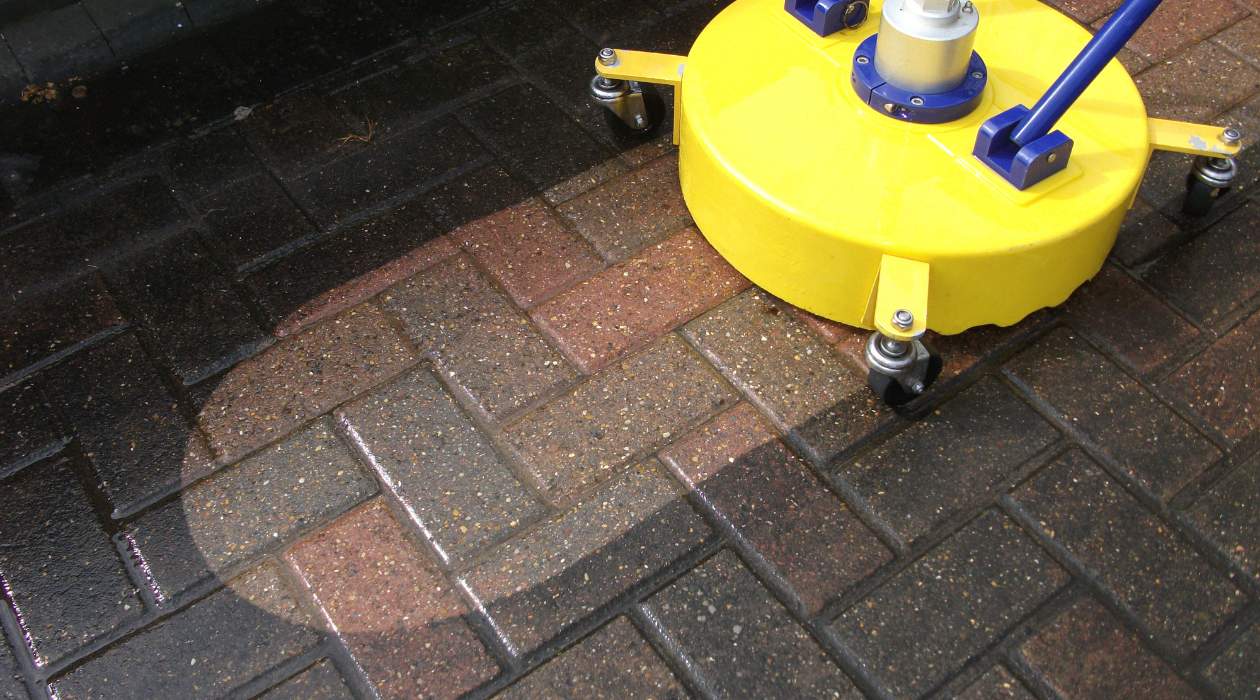
- Clean the surface: Use a broom or a leaf blower to remove any excess debris or sand from the surface of the pavers. This will help create a clean and tidy appearance.
- Inspect for any loose pavers: Take a thorough walk around the driveway to check for any loose or uneven pavers. If you find any, gently tap them into place or add more sand to stabilize them.
- Apply a sealant (optional): Depending on your preference and the type of pavers you’ve used, you may consider applying a sealant to enhance the color and protect the surface. Follow the manufacturer’s instructions and allow sufficient drying time before using the driveway.
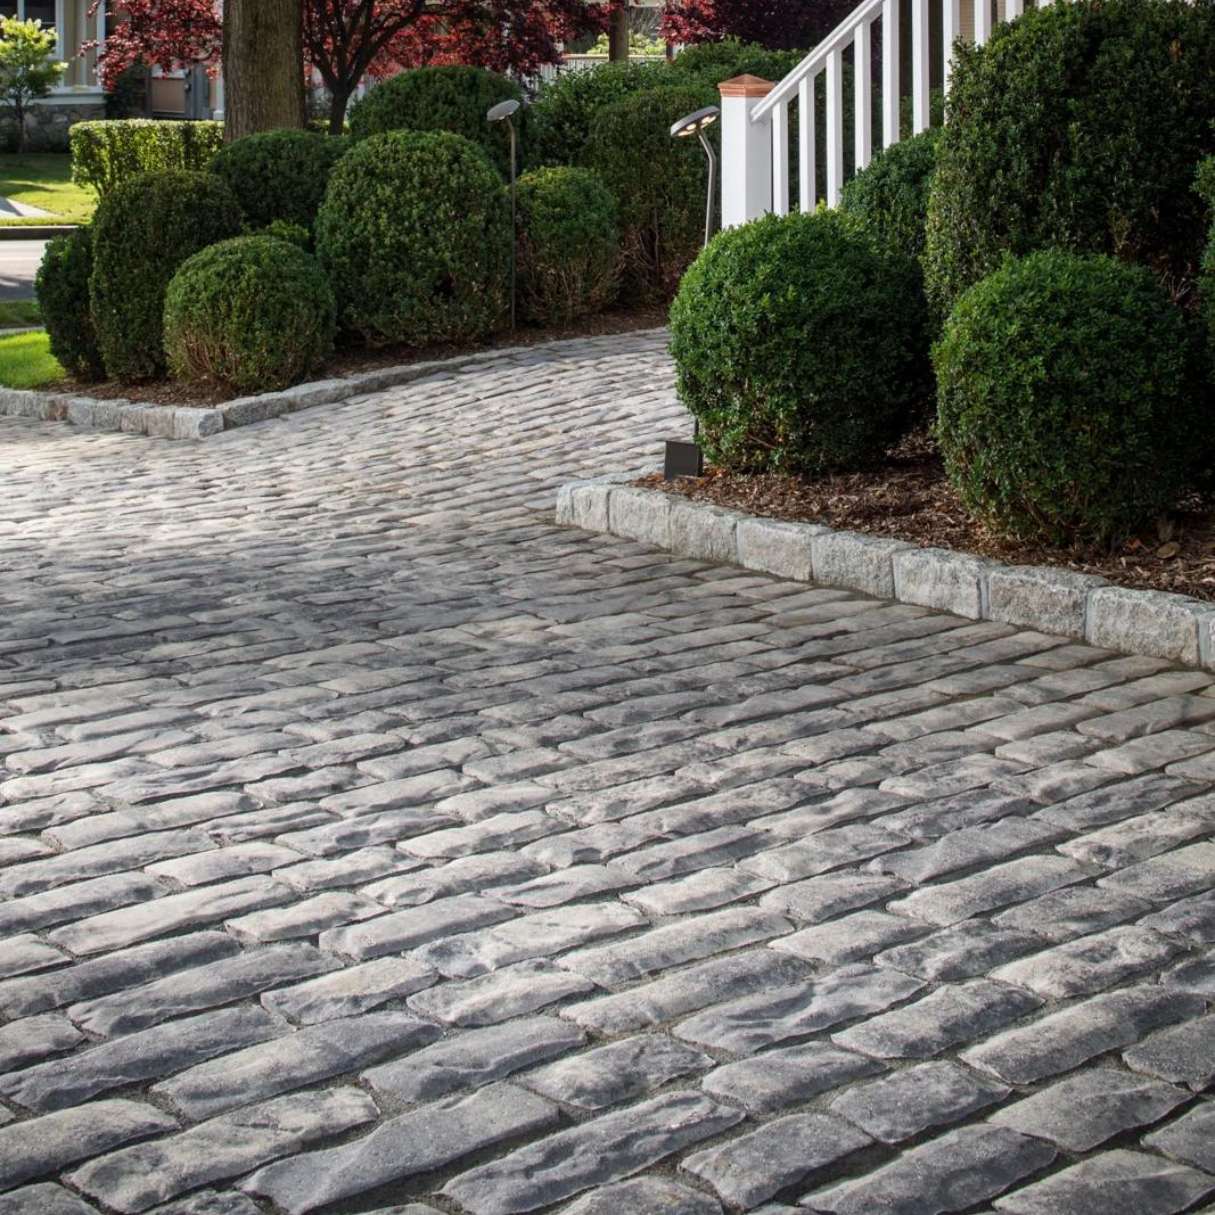
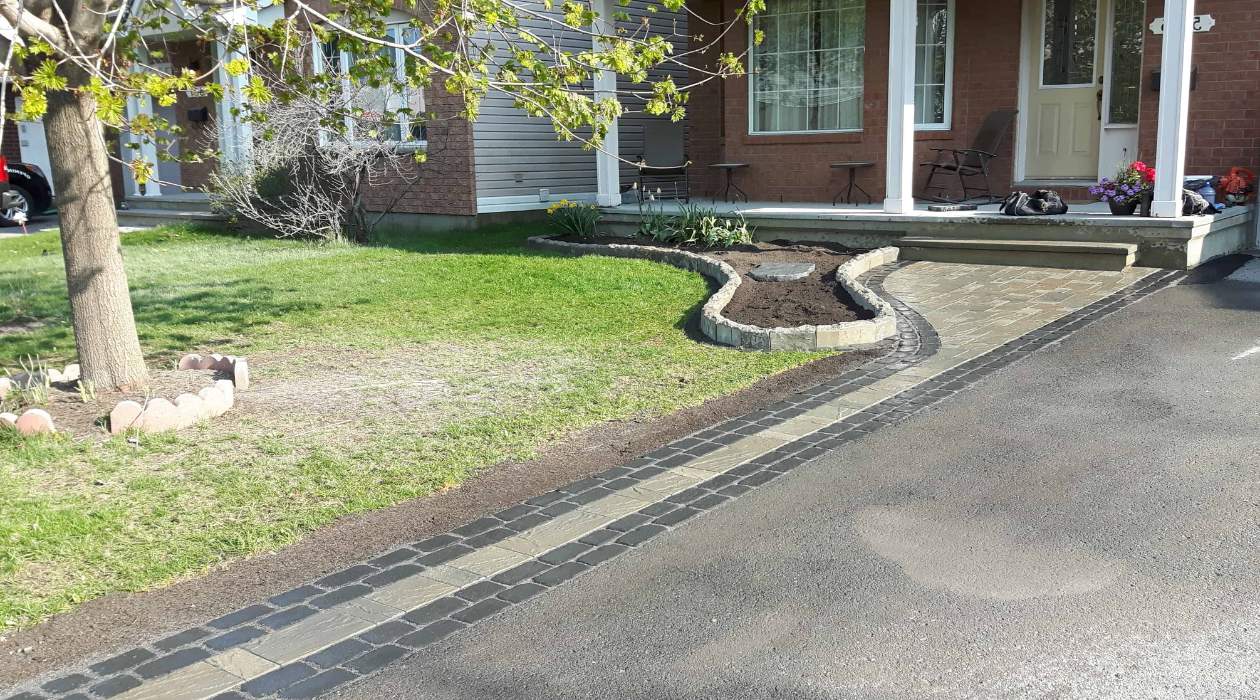
- Add landscaping elements: To further enhance the look of your new driveway, consider adding landscaping elements such as flowers, shrubs, or decorative lighting along the edges. These accents can provide an inviting and finished touch to your entire property.
- Maintain your driveway: Regular maintenance is essential for preserving the longevity and appearance of your driveway pavers. Sweep the surface regularly to remove debris, periodically reapply sealant if necessary, and address any repairs or releveling as needed.
By following these finishing touches, you will complete your driveway paver project with a professional and polished look. Take pride in your work and enjoy the beauty and functionality that your new driveway brings to your home. Congratulations!
With that, we have come to the end of our guide on how to make driveway pavers. We hope this step-by-step process has been helpful in guiding you through this DIY project. Remember, by creating your own driveway pavers, you not only add value and charm to your home but also have the satisfaction of a job well done. Enjoy your new driveway and the benefits it brings!
Conclusion
Congratulations on completing your driveway paver project! By following the steps outlined in this guide, you have successfully transformed your plain and boring driveway into a visually appealing and durable surface. Making your own driveway pavers allows for customization and creativity, giving you the opportunity to design a unique entrance to your home.
We started with preparing the ground, ensuring a solid foundation for the pavers. Then, we laid the base, creating a stable surface to support the pavers. Next, we placed the pavers, carefully aligning them and ensuring an even and level installation. Cutting and filling allowed us to customize the pavers and fill any gaps for a seamless finish. Securing the pavers with polymeric sand locked them in place and provided stability. Finally, adding the finishing touches completed the project, giving your driveway a polished look.
Remember that regular maintenance is important to preserve the beauty and functionality of your driveway pavers. Sweep away debris, reapply sealant if needed, and address any repairs promptly to extend the lifespan of your project.
Making driveway pavers is a rewarding DIY project that not only enhances the curb appeal of your home but also adds value and durability. By creating a customized and unique driveway, you can make a lasting impression on guests and enjoy the benefits of your hard work for years to come.
We hope that this guide has provided you with the information and inspiration you need to embark on your driveway paver project. Enjoy your new driveway, and may it bring beauty and functionality to your home!
Frequently Asked Questions about How To Make Driveway Pavers
Was this page helpful?
At Storables.com, we guarantee accurate and reliable information. Our content, validated by Expert Board Contributors, is crafted following stringent Editorial Policies. We're committed to providing you with well-researched, expert-backed insights for all your informational needs.




0 thoughts on “How To Make Driveway Pavers”