Articles
How To Extend Driveway With Pavers
Modified: October 22, 2024
Learn the step-by-step process of extending your driveway with pavers in this comprehensive articles. Enhance your curb appeal and add value to your home.
(Many of the links in this article redirect to a specific reviewed product. Your purchase of these products through affiliate links helps to generate commission for Storables.com, at no extra cost. Learn more)
Introduction
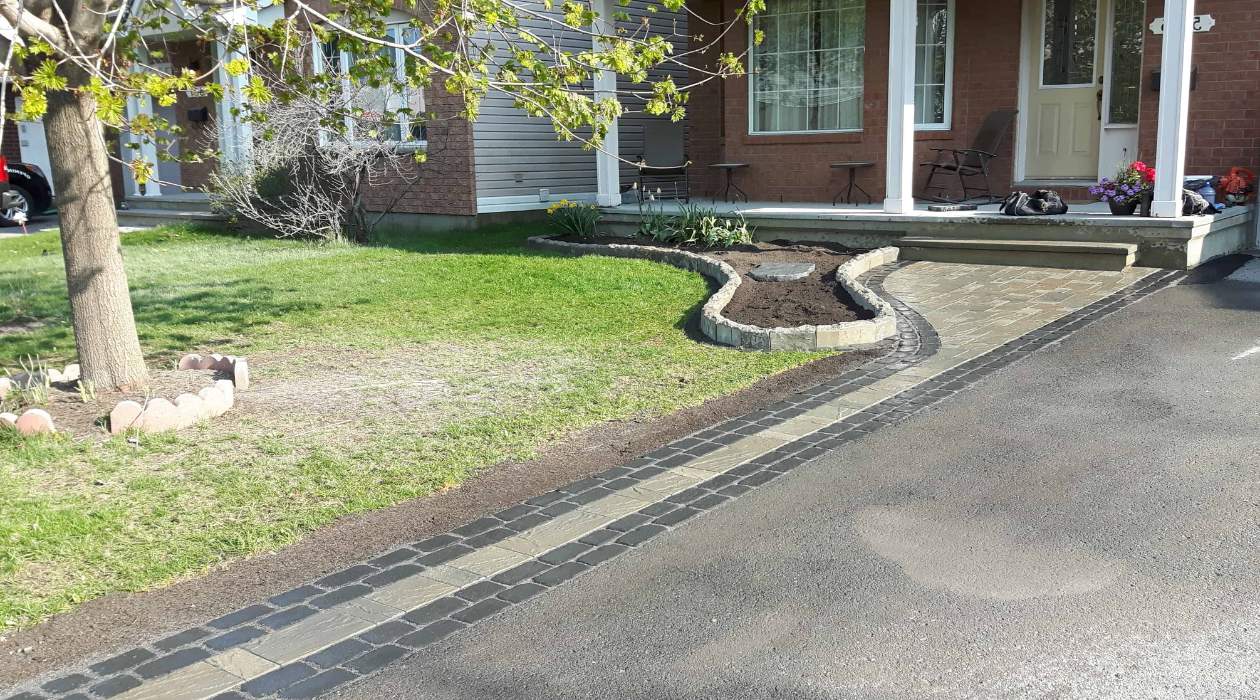
Building a driveway is a substantial investment that can greatly enhance the curb appeal and functionality of your home. However, if you find that your current driveway does not provide enough space for parking or maneuvering vehicles, extending it with pavers is a great solution. Not only do pavers offer flexibility in design and durability, but they also add a touch of elegance to your driveway.
In this comprehensive guide, we will take you through the step-by-step process of extending your driveway with pavers. Whether you are a seasoned DIY enthusiast or a first-timer, this article will equip you with the knowledge and skills required to complete the project successfully.
Before we jump into the technical details, it’s important to note that extending your driveway with pavers is not a small undertaking. It requires careful planning, patience, and a bit of physical effort. However, the end result will be a beautiful and functional extended driveway that can accommodate your vehicles and add value to your property.
Are you ready to embark on this exciting journey? Let’s get started by assessing the area and determining the right materials and tools to gather.
Key Takeaways:
- Extending your driveway with pavers requires careful planning, proper site preparation, and precise installation. The process involves assessing the area, gathering materials, laying pavers, and adding finishing touches for a durable and visually appealing result.
- By following the step-by-step guide, you can create a stunning and functional driveway extension that enhances the curb appeal and value of your property. Take pride in the transformation and enjoy the convenience of a well-executed project.
Read more: How To Clean A Paver Driveway
Step 1: Assessing the Area
Before you begin extending your driveway with pavers, it’s crucial to assess the area and plan accordingly. Here are a few key factors to consider:
- Space: Determine how much additional space you need for your driveway extension. Measure the length and width of the area to be paved to get an accurate estimate of the number of pavers required.
- Drainage: Evaluate the existing drainage system on your property. Ensure that the extension will not obstruct the flow of water or create any drainage issues. It’s important to redirect water away from your home to prevent any potential damage.
- Soil Stability: Check the stability of the soil in the area where you plan to extend your driveway. Ensure that it is firm and compact enough to support the weight of the pavers and vehicles. If you encounter any soft or unstable soil, it may need to be excavated and replaced with a suitable base material.
- Permits and Regulations: Research any local permits or regulations that may be required for extending your driveway. Some areas have specific guidelines concerning the size and placement of driveways, so it’s important to be aware of these regulations to avoid any future issues.
By thoroughly assessing the area, you can plan your driveway extension project effectively and anticipate any potential challenges that may arise. Take note of any additional considerations specific to your property and consult with a professional, if necessary.
Once you have completed the assessment, you can move on to the next step: gathering the necessary materials and tools for the project.
Step 2: Gathering Materials and Tools
Now that you have assessed the area and have a clear plan in mind, it’s time to gather the materials and tools needed for extending your driveway with pavers. Here’s a list of items you will need:
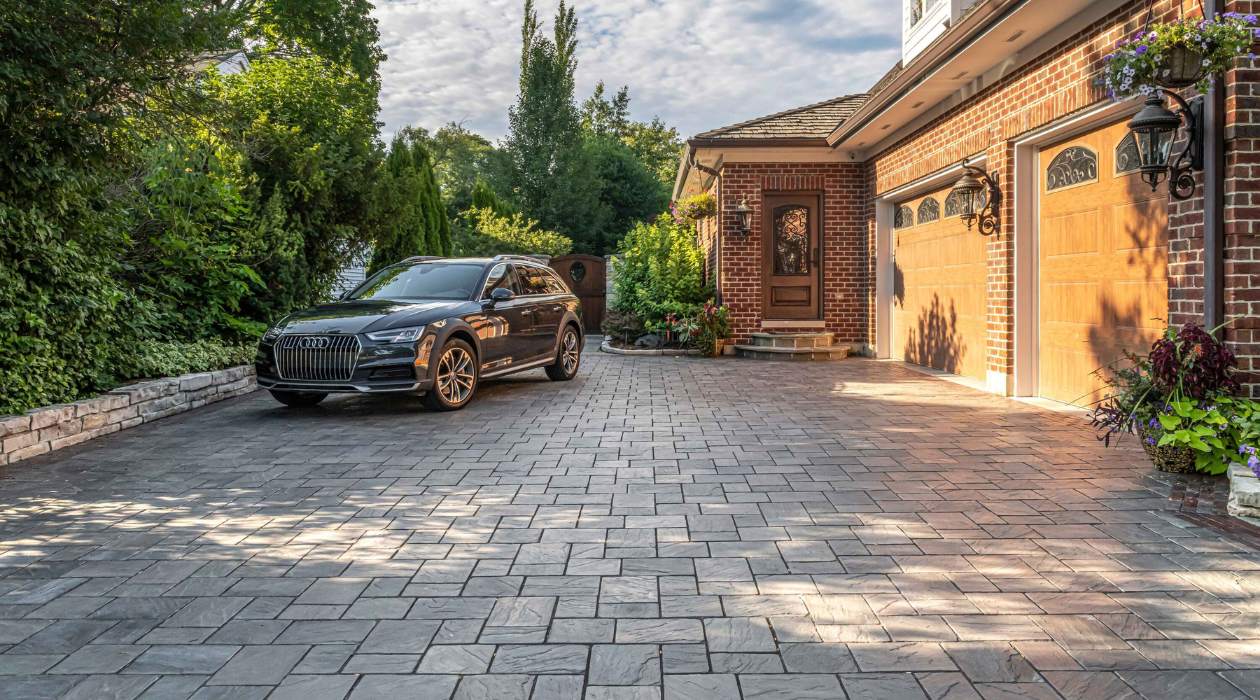
- Pavers: Choose pavers that are suitable for driveways and can withstand the weight of vehicles. Consider the color, shape, and pattern of the pavers to ensure they complement your home’s aesthetic.
- Edge Restraints: Edge restraints are essential for keeping the pavers in place and preventing them from shifting. These can be made of plastic, metal, or concrete and should be sturdy enough to withstand the pressure exerted by vehicles.
- Base Material: The base material provides a solid foundation for the pavers. It should be compacted and leveled properly to ensure a stable driveway. Common base materials include crushed stone, gravel, or sand.
- Joint Sand: Joint sand is used to fill the gaps between the pavers, providing stability and preventing weed growth. Choose a sand specifically designed for this purpose.
- Tools: You will need a variety of tools for the project, including a shovel, wheelbarrow, plate compactor, level, tape measure, rubber mallet, and a saw for cutting pavers if necessary. Make sure you have all the necessary tools on hand before starting the project.
- Safety Gear: Don’t forget to prioritize safety. Wear protective gear such as safety glasses, work gloves, and sturdy footwear to safeguard yourself during the project.
Once you have gathered all the materials and tools, you will be fully prepared to begin the driveway extension process. In the next step, we will guide you through the process of preparing the site for the installation of the pavers.
Step 3: Preparing the Site
Before installing the pavers, it’s crucial to properly prepare the site to ensure a stable and long-lasting driveway extension. Follow these steps to prepare the site:
- Clear the Area: Remove any obstacles or debris from the area where the extension will be located. This includes plants, rocks, or any other objects that could interfere with the installation process.
- Excavate the Existing Driveway: Use a shovel or excavator to remove the top layer of the existing driveway where the extension will be placed. Excavate to a depth of at least 8-10 inches to allow space for the base material and pavers.
- Grade the Area: Ensure that the excavated area has a slight slope to facilitate proper drainage. The recommended slope is 1/8 inch per linear foot, directing water away from your property.
- Compact the Soil: Use a plate compactor to compact the soil in the excavated area. This will provide a solid base for the base material and prevent any future settling.
- Add a Geotextile Fabric: Place a geotextile fabric over the compacted soil to prevent weed growth and ensure stability. This fabric allows water to pass through while preventing the growth of vegetation.
- Add Base Material: Spread a layer of base material such as crushed stone or gravel over the geotextile fabric. This layer should be about 4-6 inches deep and will provide the foundation for the pavers.
- Compact the Base Material: Use the plate compactor to compact the base material to create a solid and level surface. Check the level frequently to ensure an even and uniform base.
By properly preparing the site, you create a stable foundation that will support the pavers and withstand the weight of vehicles. This step is crucial in ensuring the longevity of your driveway extension. Once the site is prepared, you can move on to the next step: installing the edge restraints.
Step 4: Installing the Edge Restraints
Installing edge restraints is an important step in the process of extending your driveway with pavers. Edge restraints help to keep the pavers securely in place, prevent shifting, and maintain the structural integrity of the driveway. Follow these steps to install the edge restraints:
- Measure and Mark: Measure the length and width of the driveway extension and mark where the edge restraints will be placed. Ensure that the measurements are accurate and the marks are straight.
- Excavate Trenches: Use a shovel or an edging tool to dig trenches along the marked lines. The trenches should be about 6-8 inches deep and wide enough to accommodate the edge restraints.
- Place the Edge Restraints: Carefully position the edge restraints into the trenches, ensuring that they are level with the top of the excavated area. Use a rubber mallet to tap them into place and ensure a secure fit.
- Secure the Edge Restraints: Drive metal spikes or stakes through the pre-drilled holes in the edge restraints to secure them to the ground. Place the spikes at regular intervals along the length of the restraints, ensuring that they are firmly anchored.
- Check for Levelness: Use a level to check that the edge restraints are perfectly level along the entire length. Adjust as necessary by adding or removing soil beneath the restraints.
Properly installed edge restraints will provide stability and prevent the pavers from shifting over time. It is crucial that they are securely anchored and level to ensure a professional finish. Once the edge restraints are in place, you are ready to move on to the next step: laying the pavers.
Read more: How Thick Are Driveway Pavers
Step 5: Laying the Pavers
Now that the site is prepared and the edge restraints are in place, it’s time to start laying the pavers for your driveway extension. Follow these steps for a successful installation:
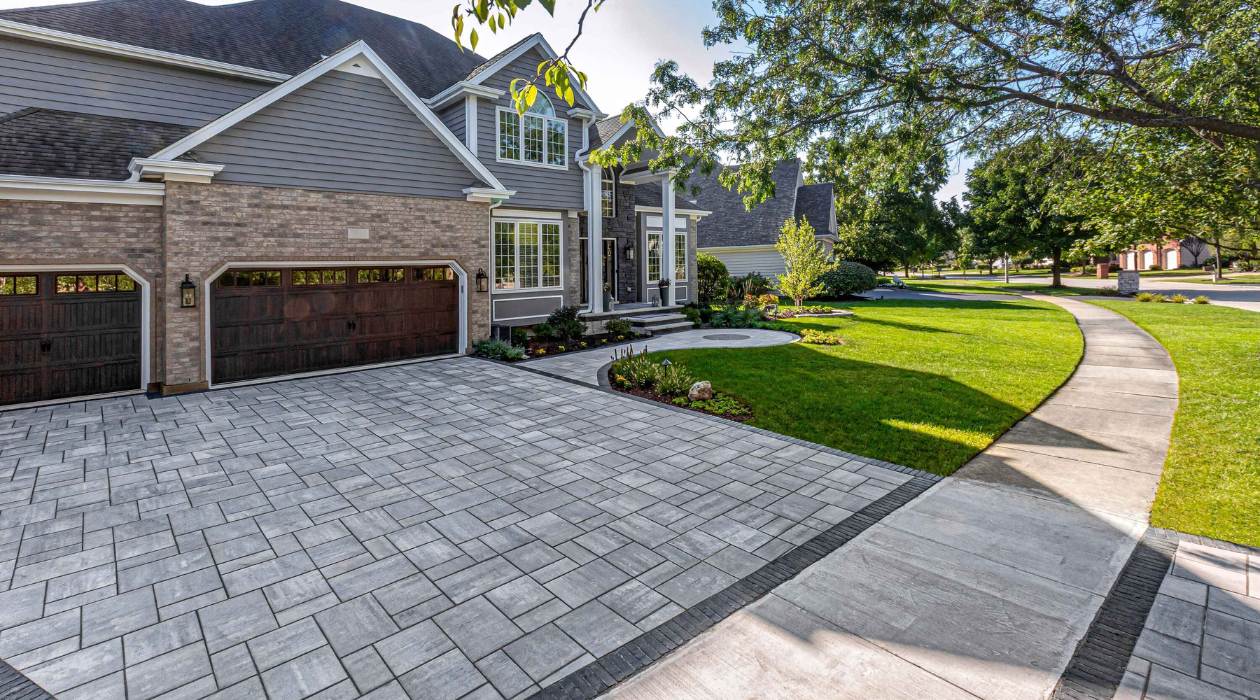
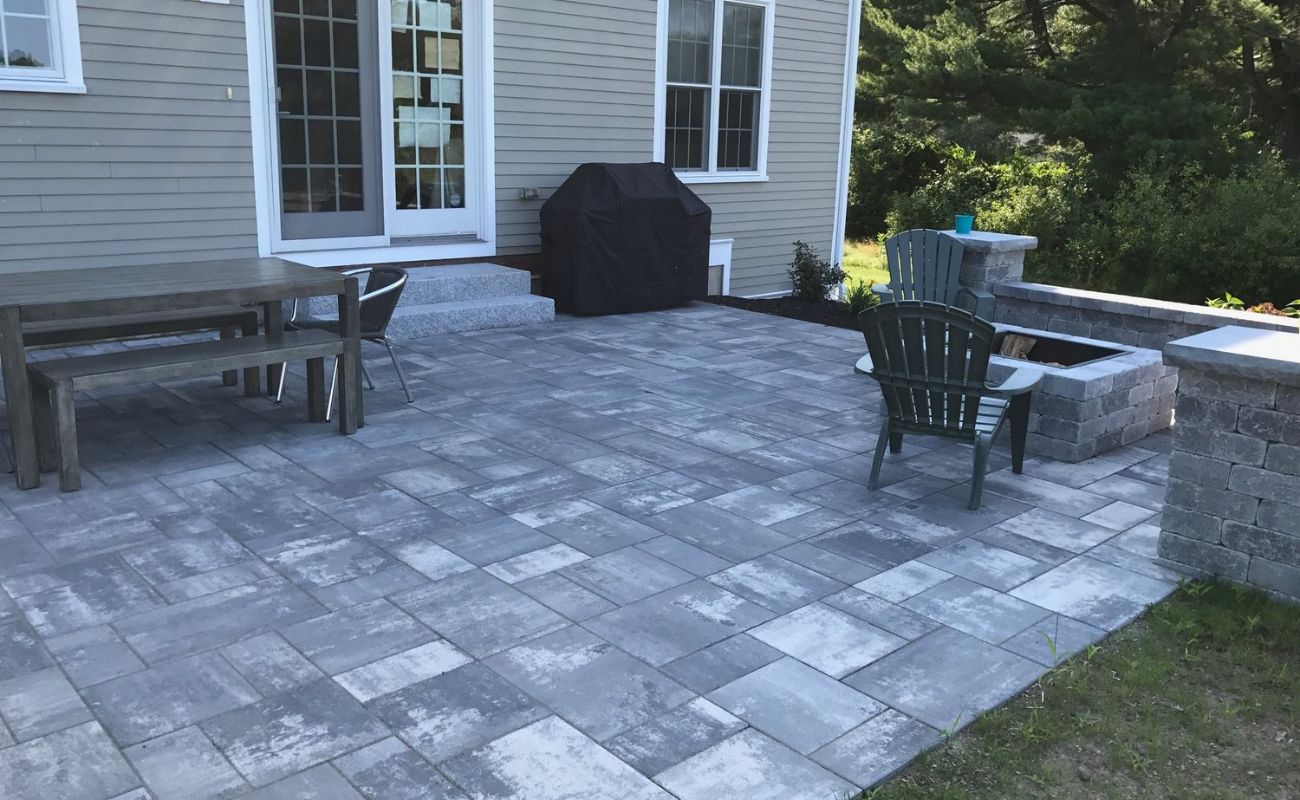
- Plan the Layout: Plan the layout of the pavers before starting the installation. Consider the pattern and design you want to achieve. There are various patterns to choose from, such as herringbone, basket weave, or running bond. Make sure to account for any necessary cuts or adjustments.
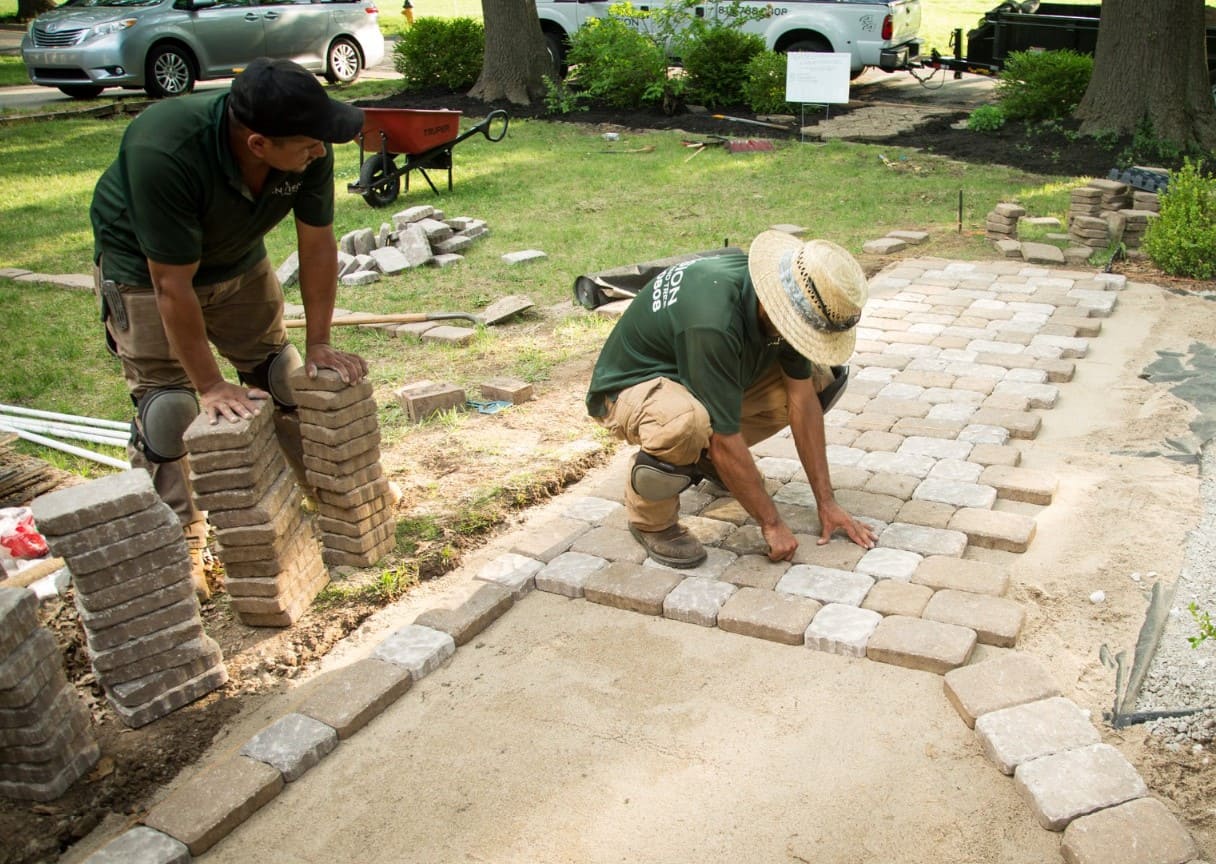
- Start at a Corner: Begin laying the pavers at one corner of the driveway extension. This will provide a starting point and help maintain alignment and pattern consistency.
- Place the Pavers: Carefully place each paver into position, ensuring they are snug against the edge restraints and each other. Use a rubber mallet to tap them gently into place, creating a flush and even surface.
- Check for Levelness and Alignment: Use a level to check that the pavers are level both individually and in relation to each other. Make any necessary adjustments by adding or removing sand beneath the pavers to achieve a uniform surface.
- Continue the Process: Repeat the process of placing and leveling the pavers, working your way across the driveway extension. Maintain consistent spacing between each paver and regularly step back to assess the overall alignment and pattern.
- Make Cuts (If Necessary): As you reach the edges or corners of the driveway extension, you may need to make cuts on some pavers to fit into the space. Use a saw with a diamond blade to carefully cut the pavers to the desired size and shape.
Take your time with this step to ensure precision and accuracy. Properly laid pavers will create a visually appealing and functional driveway extension. Once all the pavers are in place, you’re ready to move on to the next step: adding joint sand.
When extending a driveway with pavers, make sure to properly prepare the base by excavating the area, adding a layer of compacted gravel, and using edge restraints to keep the pavers in place. This will ensure a durable and long-lasting extension.
Step 6: Cutting Pavers (If Necessary)
During the process of extending your driveway with pavers, you may encounter situations where some pavers need to be cut to fit into specific spaces or achieve the desired layout. Follow these steps to cut pavers effectively:
- Measure the Space: Measure the area where the paver needs to fit and mark the cutting line on the paver using a straight edge and a pencil or marker. Double-check the measurements to ensure accuracy.
- Prepare the Cutting Equipment: Use a wet saw or a diamond-blade saw specifically designed for cutting pavers. Ensure that the saw is set up and ready for use according to the manufacturer’s instructions. Wear appropriate safety gear, such as safety glasses and gloves.
- Cut the Paver: Align the marked cutting line on the paver with the cutting guide on the saw. Gently guide the paver through the saw, applying steady pressure and maintaining control. Take your time and cut slowly to achieve a clean and precise cut.
- Check the Fit: After cutting the paver, test the fit in the desired space. Make any necessary adjustments by trimming the paver further if needed.
- Smooth the Edges: If the cut edges of the paver are rough or jagged, use a stone file or sandpaper to smooth them down. This will ensure a seamless fit and prevent any potential tripping hazards.
- Clean Up: Remove any debris or dust from the paver and the cutting area. Dispose of any waste materials properly.
Remember, cutting pavers is a delicate process that requires precision and care. Take your time and work slowly to achieve accurate cuts. It’s always a good idea to practice on a few test pavers before cutting the actual pavers for your project. Once all the necessary cuts are made, you’re ready to proceed to the next step: adding joint sand.
Step 7: Adding Joint Sand
After successfully laying the pavers, the next step in extending your driveway with pavers is to add joint sand. Joint sand plays a crucial role in stabilizing the pavers and preventing weed growth. Follow these steps to add joint sand effectively:
- Check for Debris: Before adding the joint sand, ensure that the spaces between the pavers are clean and free of any debris, such as dust or loose particles. Use a broom or a leaf blower to remove any unwanted materials.
- Pour the Sand: Pour the joint sand onto the paved area, ensuring that it covers the entire surface. Use a push broom to sweep the sand into the joints, back and forth, until the gaps are evenly filled.
- Compact the Sand: Use a plate compactor or a hand tamper to gently compact the sand into the joints. This step ensures that the sand settles evenly and provides stability to the pavers.
- Add More Sand: If necessary, add more joint sand to the gaps and repeat the sweeping and compacting process until the joints are completely filled and the sand is level with the surface of the pavers.
- Clean Off Excess Sand: Use a broom or a leaf blower to clean off any excess sand from the surface of the pavers. This will help maintain the aesthetics of your driveway extension.
The joint sand acts as a binding agent, locking the pavers in place and preventing them from shifting. It also helps to deter weed growth and provides additional strength to the overall structure. Taking the time to add and compact the joint sand is essential for the long-term durability of your driveway extension.
With the joint sand in place, your driveway extension is almost complete. The next step involves compacting the pavers to ensure a solid and stable surface. Continue reading to learn more about step 8: compacting the pavers.
Step 8: Compact the Pavers
Once the joint sand has been added and properly swept into the gaps between the pavers, it’s time to compact the pavers to create a solid and stable surface. Compact the pavers using the following steps:
- Prepare the Plate Compactor: Ensure that the plate compactor is in good working condition and set at the appropriate vibration frequency for the pavers you are using. Refer to the manufacturer’s instructions for specific settings.
- Start at the Edge: Begin compacting the pavers at one of the edges of the driveway extension. Position the compactor at a slight angle and slowly guide it over the surface of the pavers.
- Work in Sections: Divide the driveway extension into manageable sections and compact each section individually. Overlapping each pass by a few inches ensures even compaction across the entire surface.
- Check for Levelness: Periodically use a level to check that the pavers are still level throughout the compaction process. Make any necessary adjustments by adding or removing sand beneath the pavers.
- Compact the Edges: Pay special attention to compacting the edges of the driveway extension. Use a hand tamper or a rubber mallet to firmly compact the pavers along the edges.
- Repeat the Process: Continue compacting the pavers in sections, working your way across the entire driveway extension. Take your time and ensure thorough compaction for a sturdy surface.
Compacting the pavers is crucial for establishing a solid and durable driveway extension. It helps to set the pavers in place, strengthen the overall structure, and prevent any movement or shifting. Regularly check the levelness throughout the process to achieve a professional finish.
With the pavers compacted, your driveway extension is nearly complete. The final step involves adding the finishing touches to perfect your project. Continue reading to learn more about step 9: finishing touches.
Read more: How To Install Driveway Pavers
Step 9: Finishing Touches
Congratulations! You’re on the final step of extending your driveway with pavers. This step involves adding the finishing touches to complete the project and give it that polished look. Follow these steps for the final touches:
- Clean the Surface: Thoroughly clean the surface of the pavers by sweeping off any remaining debris or excess sand. This will enhance the appearance of your driveway extension.
- Inspect for Any Issues: Take a close look at the entire driveway extension and inspect for any loose, uneven, or damaged pavers. If you find any issues, carefully remove and replace them to ensure a seamless finish.
- Seal the Pavers (Optional): Consider sealing the pavers to protect against stains, moisture, and UV damage. Follow the instructions on the sealant product and apply it evenly over the entire surface of the pavers. Allow sufficient drying time before using the driveway.
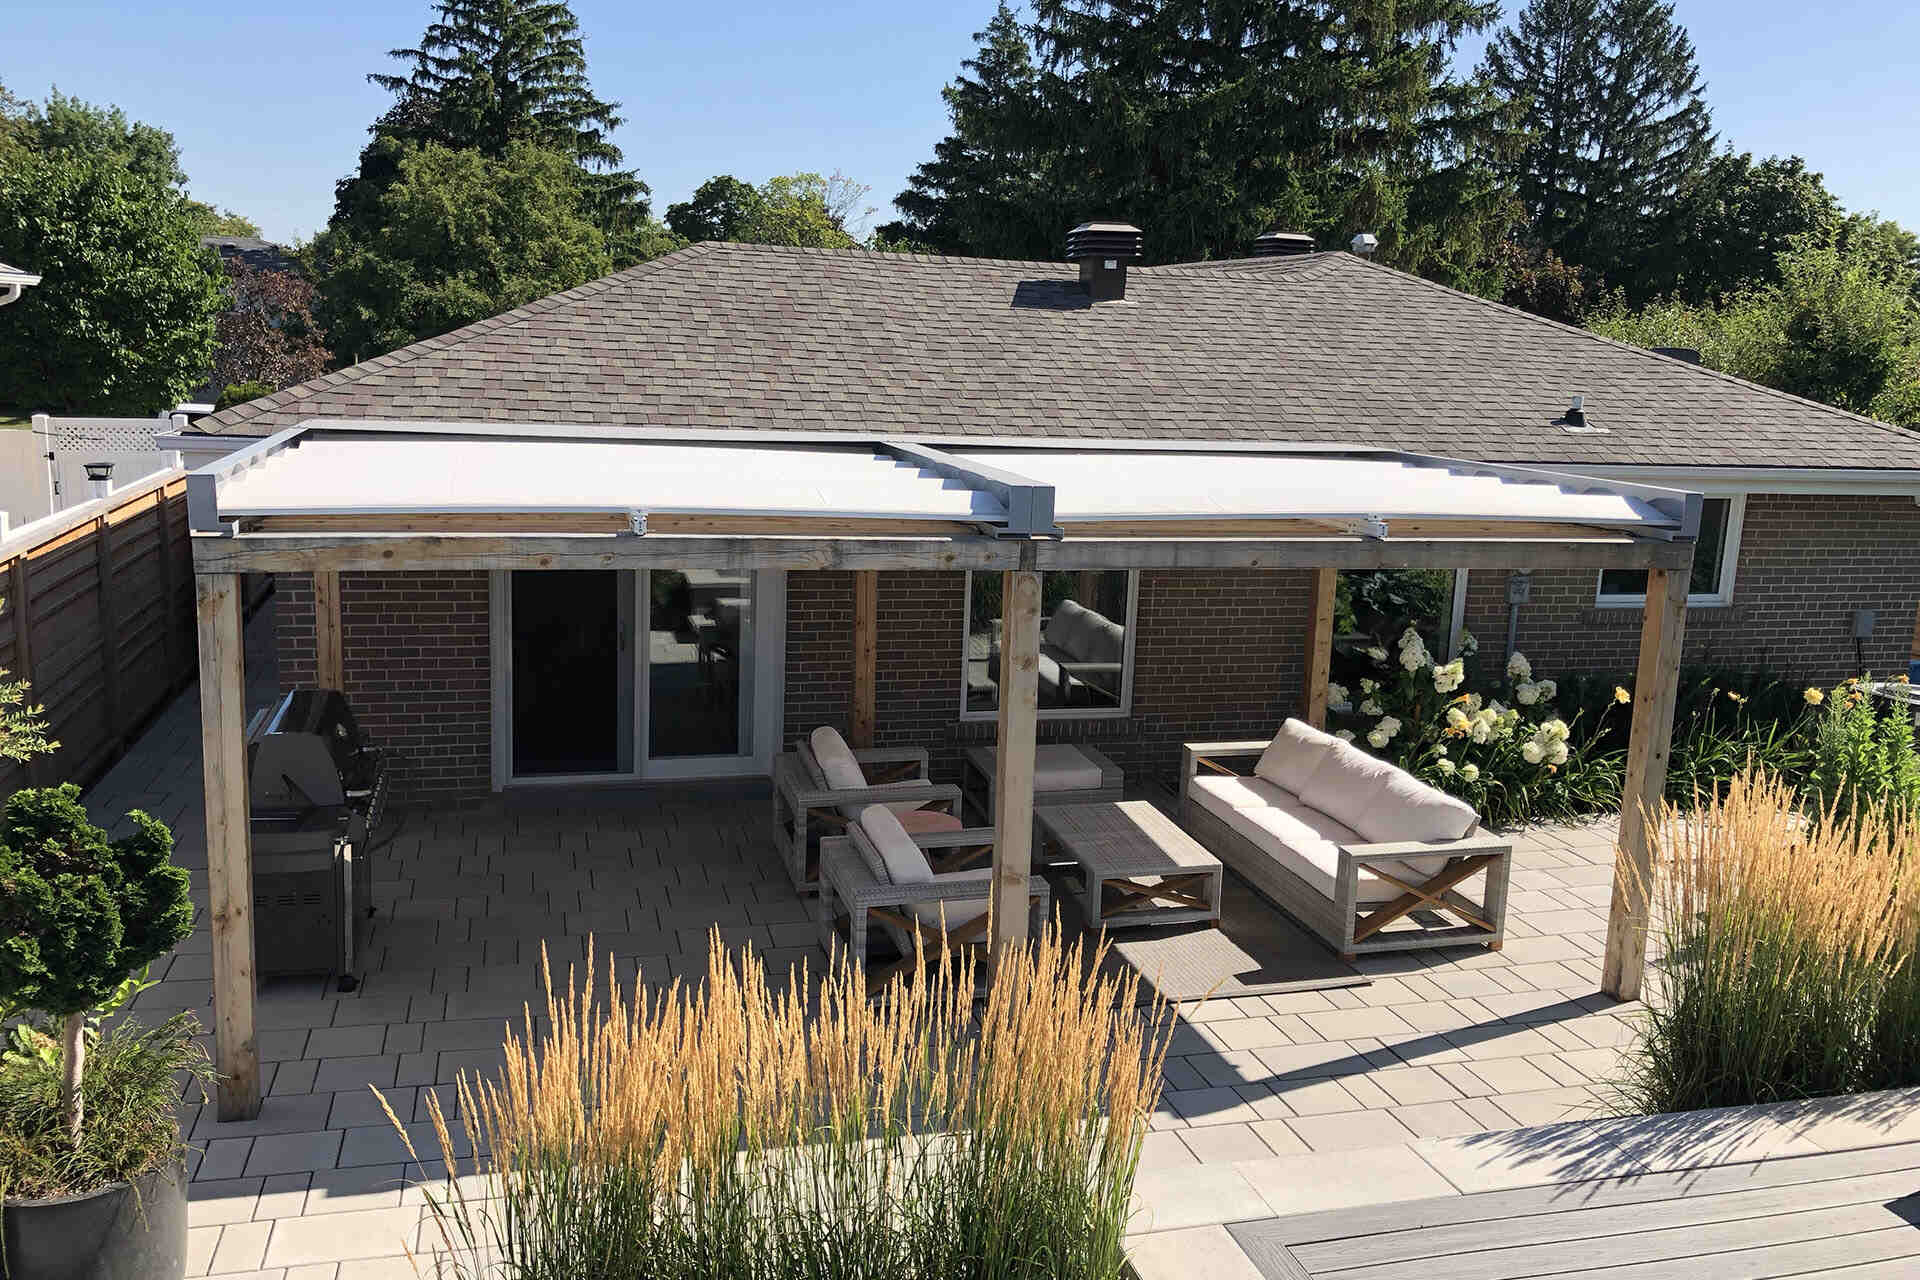
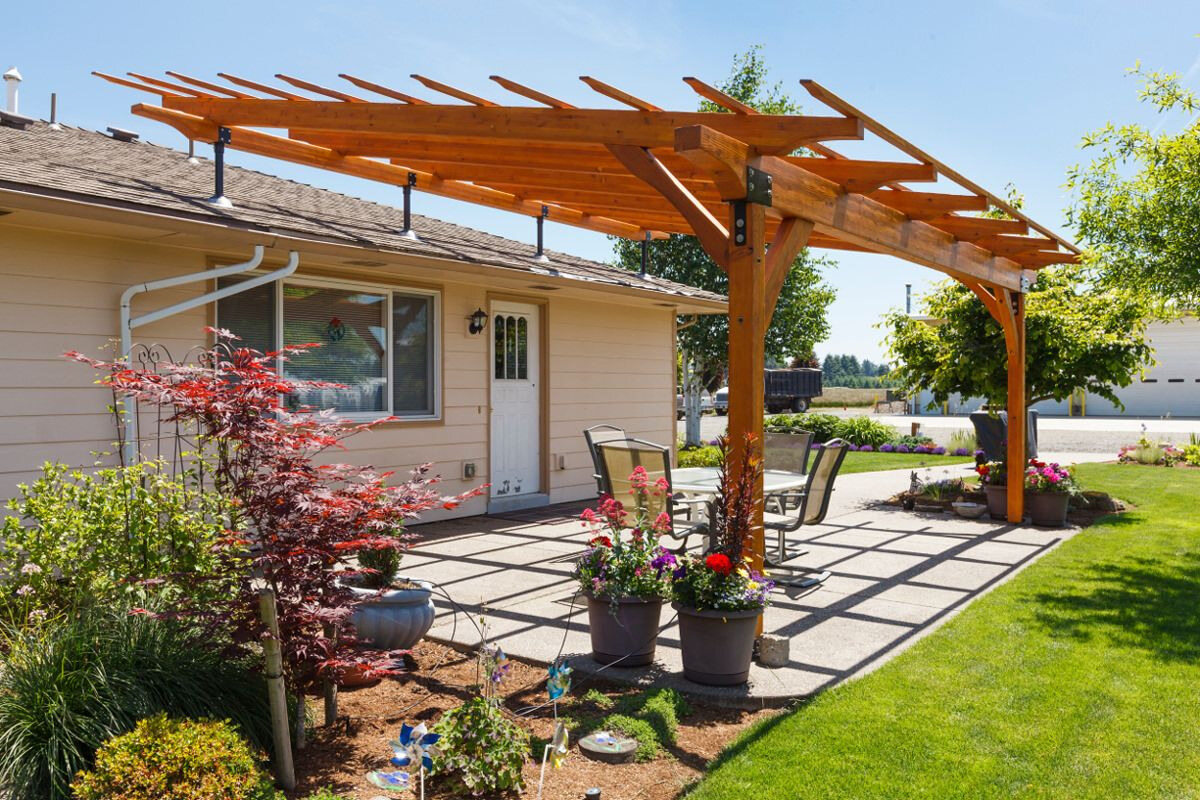
- Enhance with Landscaping: To further enhance the beauty of your driveway extension, consider adding landscaping elements around the area. Plant flowers, shrubs, or decorative stones along the edges to create an inviting and visually appealing entrance to your home.
- Maintain Regularly: Finally, maintain your driveway extension by regularly cleaning and sweeping the surface to prevent the buildup of dirt, leaves, or debris. Additionally, check the joint sand periodically and add more sand as needed to keep the pavers securely in place.
By adding these finishing touches, you’ll transform your driveway extension into a stunning and functional addition to your home. Enjoy the improved aesthetics and practicality as you park your vehicles and welcome guests to your newly extended driveway.
Congratulations once again on completing the whole process of extending your driveway with pavers. You’ve successfully achieved a beautiful and durable result. Now, sit back, relax, and admire the impressive transformation you’ve made!
If you have any questions or need further assistance, don’t hesitate to consult with a professional or reach out to experts in the field. Happy driveway extending!
Conclusion
Extending your driveway with pavers is a rewarding project that can significantly enhance the functionality and aesthetic appeal of your property. By following the step-by-step guide outlined in this article, you now have the knowledge and confidence to tackle this project successfully.
Throughout the process, you have learned how to assess the area, gather the necessary materials and tools, prepare the site, install edge restraints, lay the pavers, cut them if needed, add joint sand, compact the pavers, and add the finishing touches. Each step plays a crucial role in creating a durable, visually appealing, and functional driveway extension.
Remember, the key to a successful driveway extension is careful planning, attention to detail, and patience. Take your time during each step, ensuring proper measurements, alignment, and compacting of materials. Regular maintenance, such as sweeping and inspecting the surface, will help prolong the lifespan of your driveway extension and keep it looking its best.
As you complete this project, take pride in the transformation you have achieved. Your extended driveway with pavers not only provides practicality in terms of parking and maneuvering space but also adds value and curb appeal to your property. Enjoy the enhanced aesthetics and take pleasure in the satisfaction of a job well done.
Should you have any questions or require further guidance, don’t hesitate to consult a professional or reach out to experts with experience in driveway construction. They can provide valuable insights and assistance tailored to your specific needs.
Thank you for choosing this comprehensive guide as your resource for extending your driveway with pavers. We hope it has been informative and inspiring, empowering you to create a beautiful and functional driveway extension that you can enjoy for years to come.
Best of luck with your project, and may your extended driveway bring you joy and convenience!
Excited about sprucing up your outdoor space after extending that driveway? Dive into our next read on creative boundary solutions. Our article on garden fences offers landscaping insights, showcasing forty unique designs perfect for any home. Whether seeking privacy, security, or simply an aesthetic upgrade, these ideas cater to diverse tastes and needs. Don't miss out on transforming your garden into a visually appealing sanctuary.
Frequently Asked Questions about How To Extend Driveway With Pavers
Was this page helpful?
At Storables.com, we guarantee accurate and reliable information. Our content, validated by Expert Board Contributors, is crafted following stringent Editorial Policies. We're committed to providing you with well-researched, expert-backed insights for all your informational needs.


0 thoughts on “How To Extend Driveway With Pavers”