Articles
How To Change Light Bulb In Zephyr Range Hood
Modified: May 6, 2024
Learn how to change the light bulb in your Zephyr range hood with our helpful step-by-step articles. Keep your kitchen bright and functional.
(Many of the links in this article redirect to a specific reviewed product. Your purchase of these products through affiliate links helps to generate commission for Storables.com, at no extra cost. Learn more)
Introduction
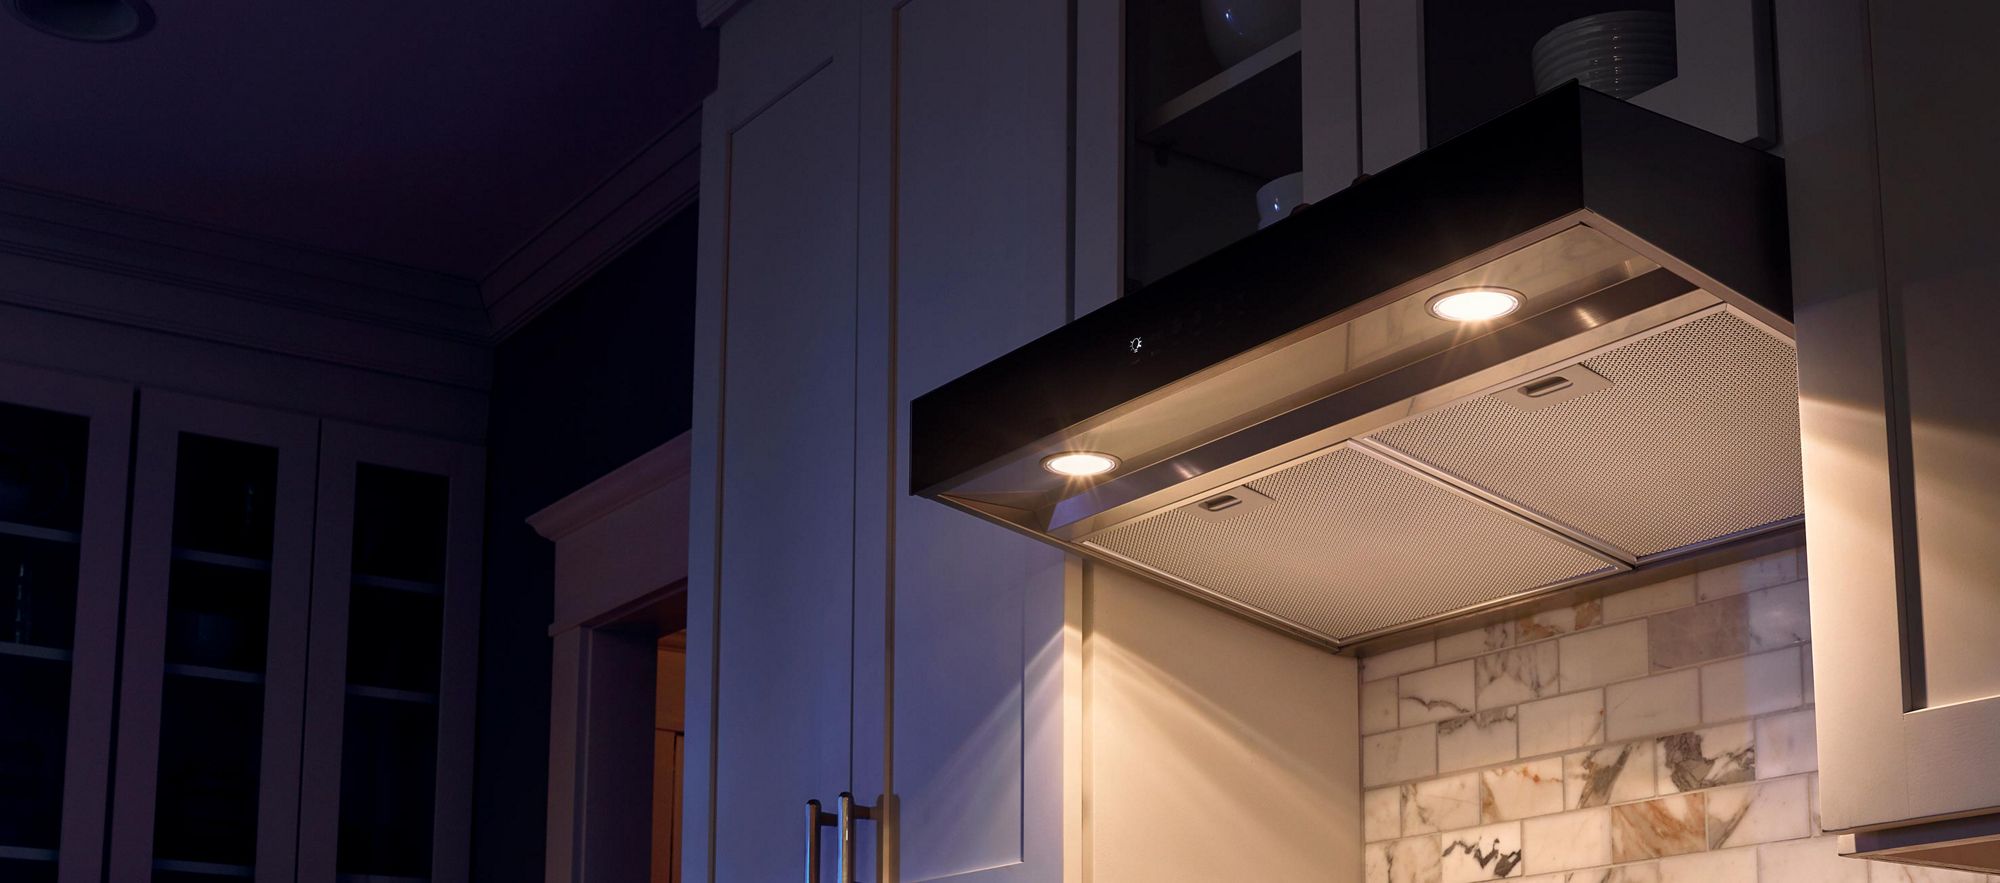
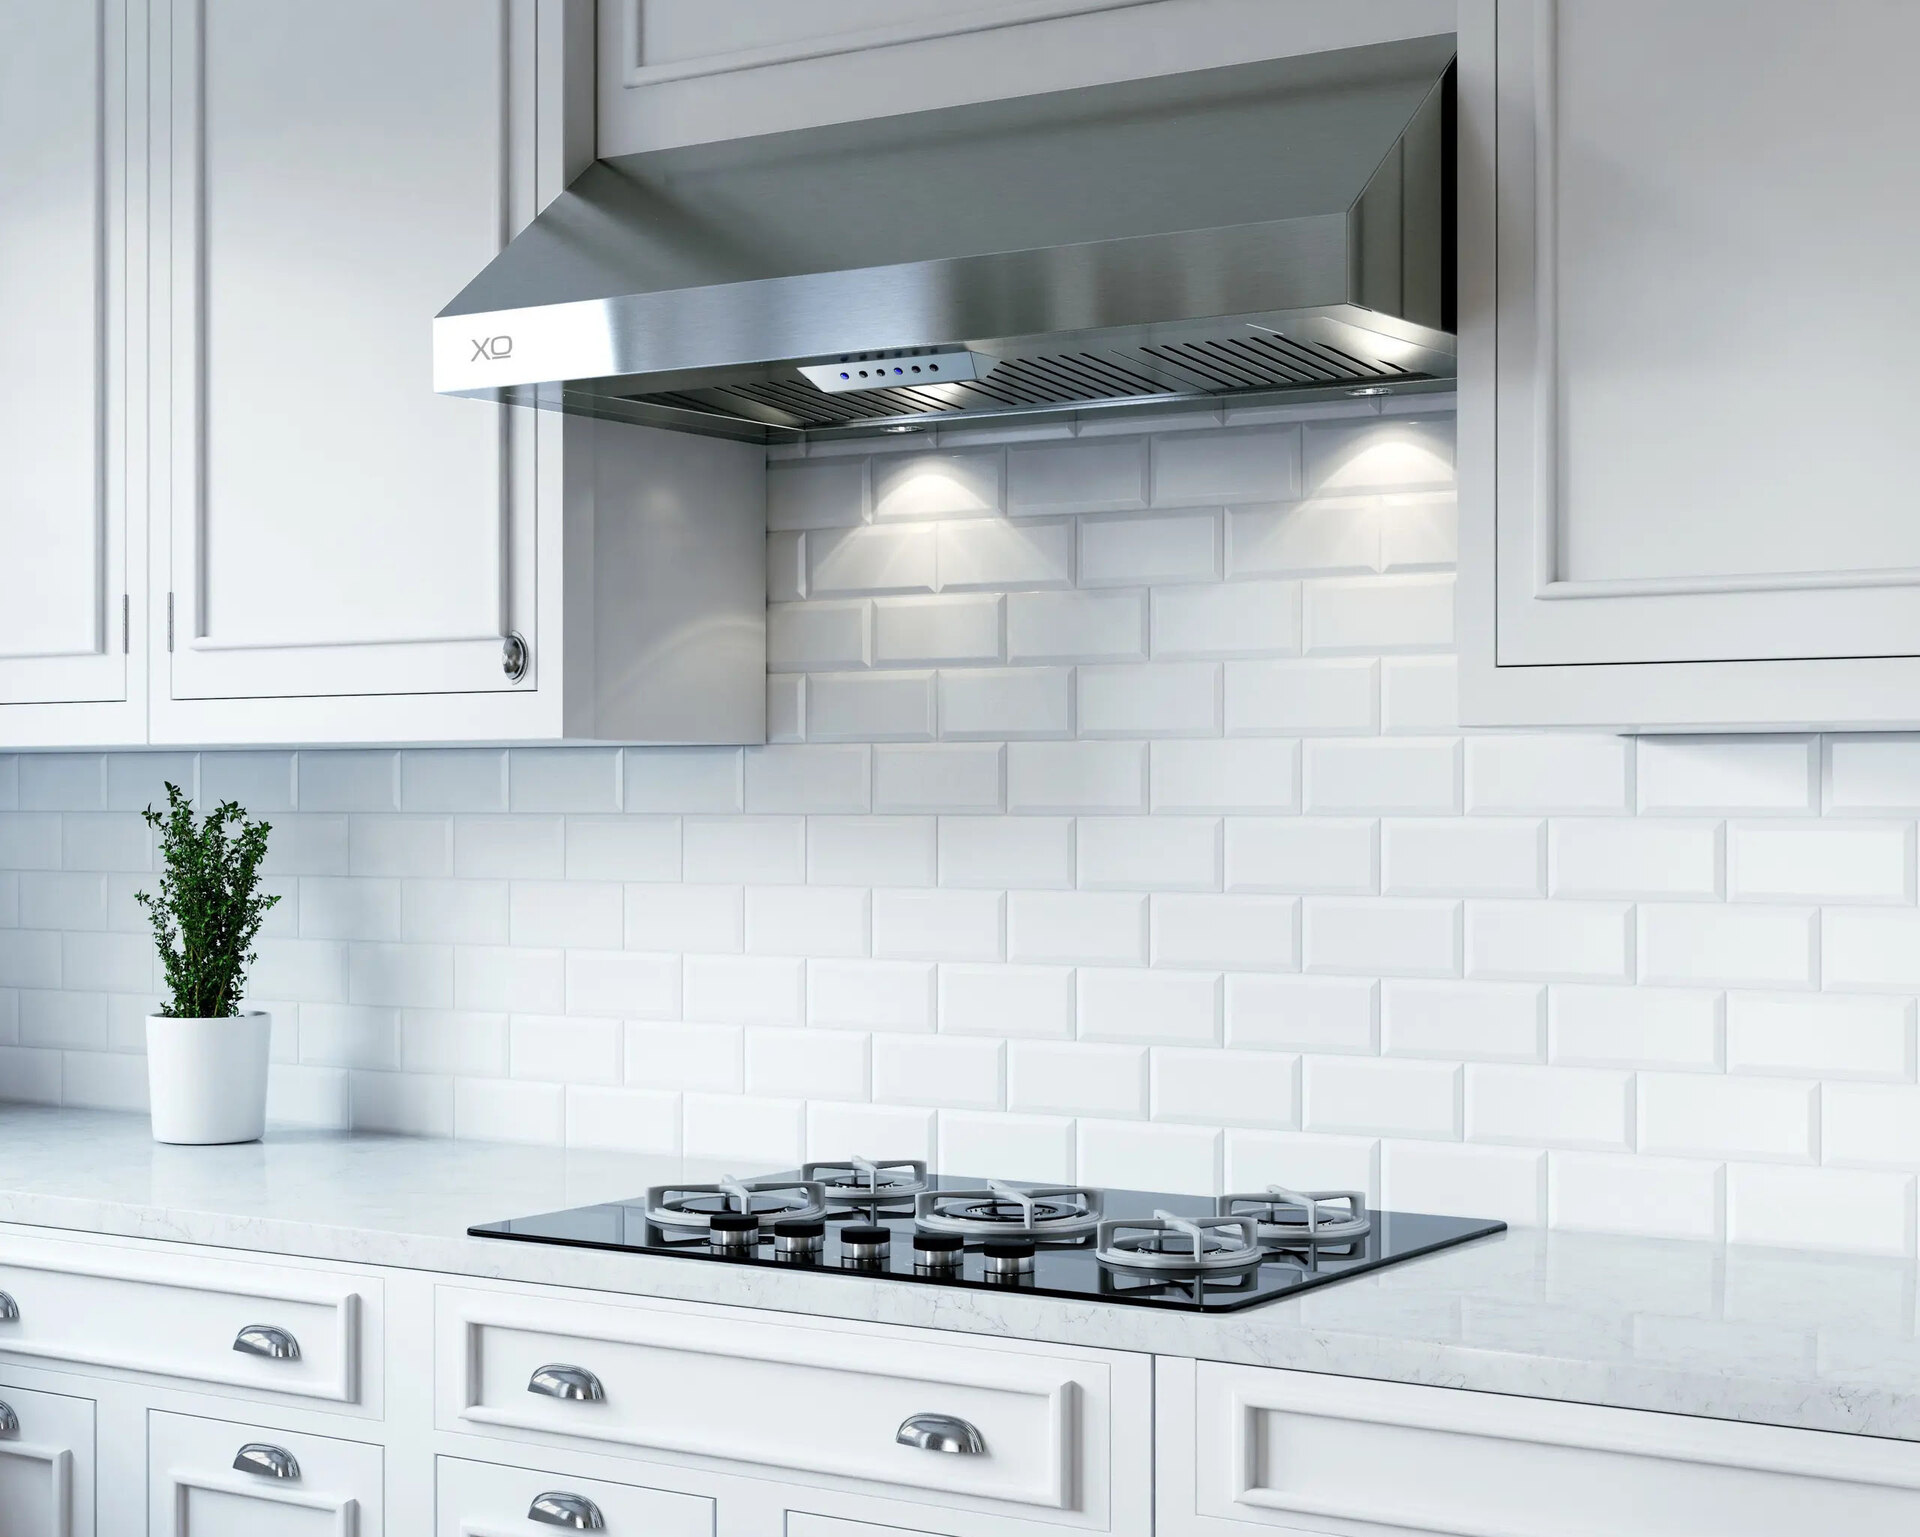
Welcome to our guide on how to change the light bulb in a Zephyr range hood. The light bulb in your range hood provides essential illumination for your cooking area, making it easier to see while you’re preparing meals. Over time, however, the bulb can burn out and need to be replaced. Fortunately, changing the light bulb in a Zephyr range hood is a relatively simple process that can be completed with just a few tools and a little bit of time.
Before we begin, it’s important to note that safety should always be your top priority when working with electrical appliances. Make sure to follow all safety precautions outlined by Zephyr and consult your range hood’s user manual for specific instructions. Additionally, always ensure that the power is turned off and the range hood is disconnected from the electrical supply before attempting any maintenance.
With that in mind, let’s proceed with the step-by-step guide on how to change the light bulb in a Zephyr range hood.
Key Takeaways:
- Easily change the light bulb in your Zephyr range hood by following simple steps. Prioritize safety, from turning off the power to testing the new bulb, for a brighter cooking experience.
- With caution and a few tools, you can successfully replace the light bulb in your Zephyr range hood. Enjoy improved illumination and a brighter kitchen for your culinary adventures.
Read more: How To Clean A Zephyr Range Hood
Step 1: Turn Off the Power
The first step in safely changing the light bulb in your Zephyr range hood is to turn off the power. This will ensure that you don’t accidentally electrocute yourself during the process.
Start by locating the circuit breaker or the power switch for your range hood. It is usually located near the hood itself or in your main electrical panel. Once you’ve identified the correct switch or breaker, flip it to the “off” position to cut off the power supply to the range hood.
It’s always a good practice to use a voltage tester to double-check that the power is indeed turned off. Simply place the voltage tester near the power source or any exposed wires and ensure that it doesn’t light up or make any sound. This step will give you peace of mind and further protect you from any potential electrical hazards.
Once you’ve confirmed that the power is off, you can proceed with the next steps to safely change the light bulb in your Zephyr range hood.
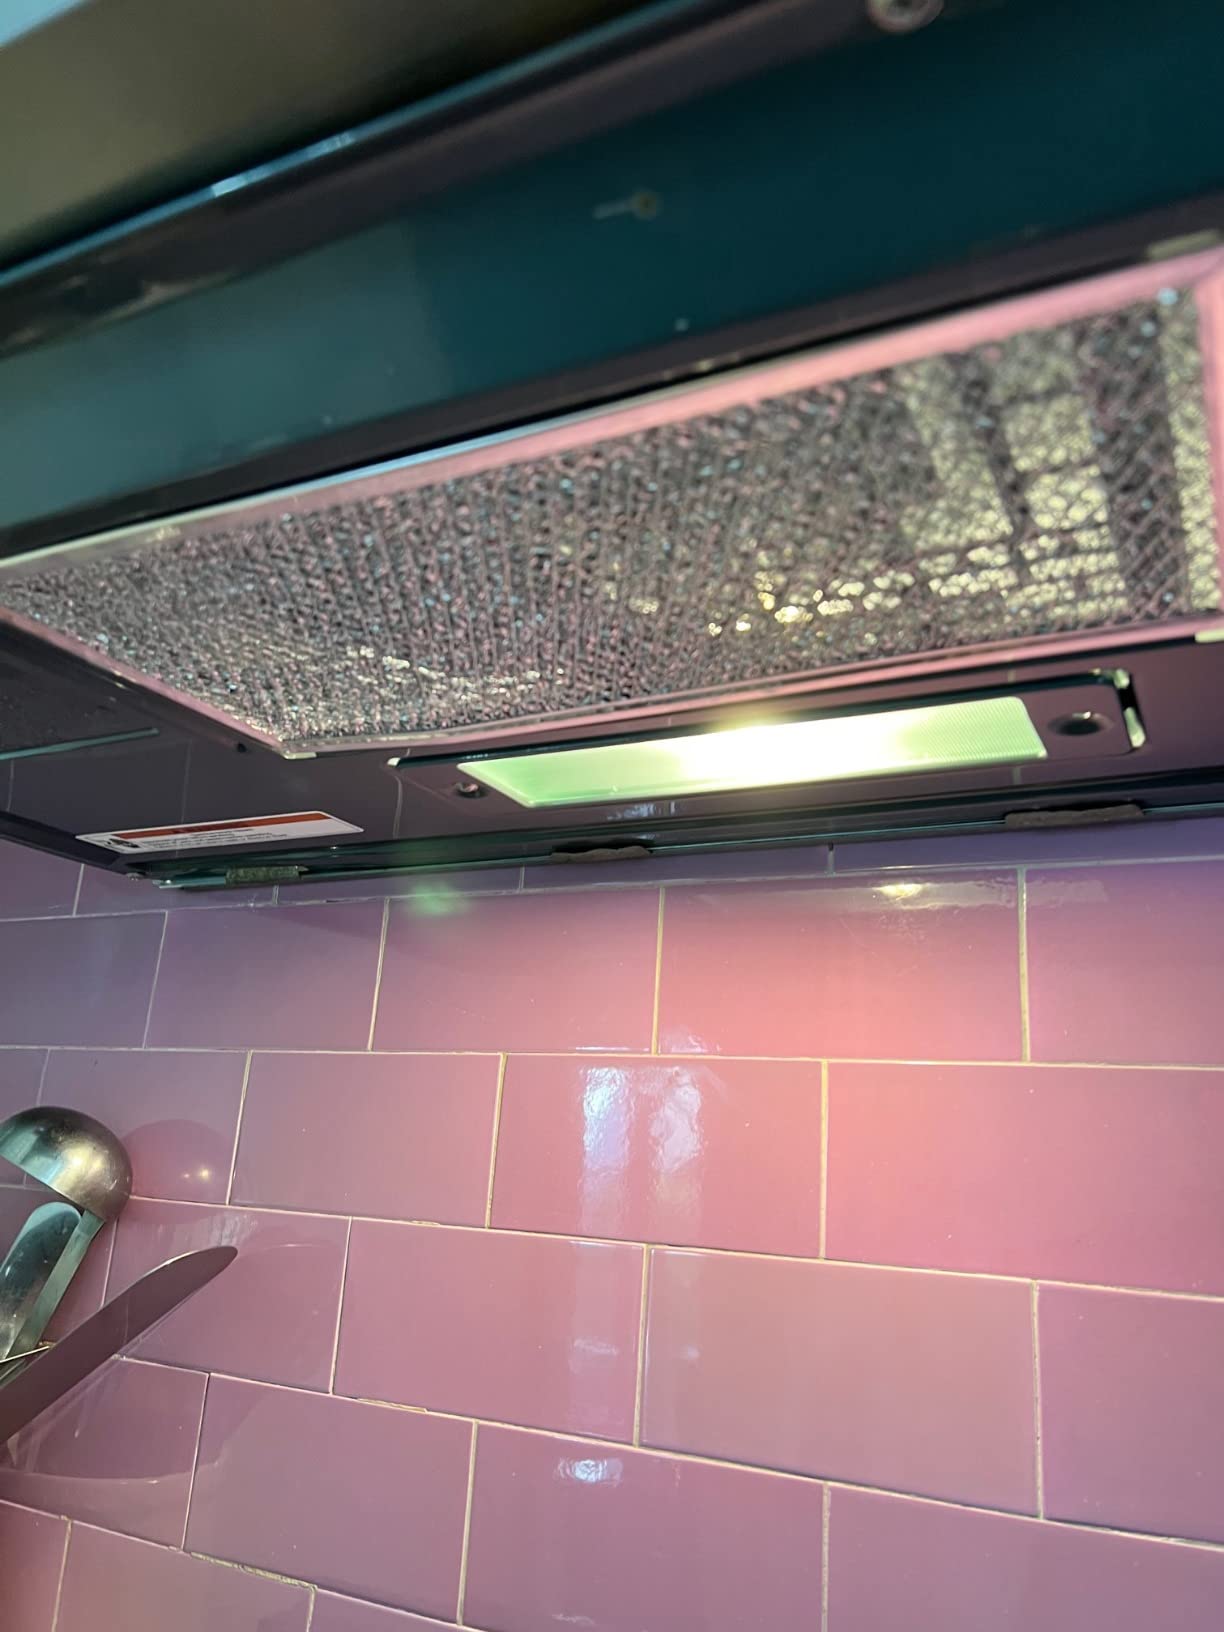
Step 2: Remove the Range Hood Filters
With the power turned off, it’s time to remove the range hood filters. The filters are typically located underneath the hood and are designed to trap grease and other particles from the air while you’re cooking.
To remove the filters, look for the release tabs or handles on the sides or edges of the filters. These tabs are usually spring-loaded and can be pushed or pulled to release the filters from their position.
Once you’ve located the release tabs, gently push or pull them to disengage the filters from the hood. Take care not to apply too much force to avoid damaging the filters or the hood.
After removing the filters, inspect them for any excessive dirt or grease buildup. If necessary, you can clean the filters according to the manufacturer’s instructions or replace them if they are worn out or damaged.
Keep the filters in a safe location while you proceed with the next steps. It’s important to reinstall them correctly once you’ve changed the light bulb.
With the filters removed, you can now move on to the next step: removing the old bulb.
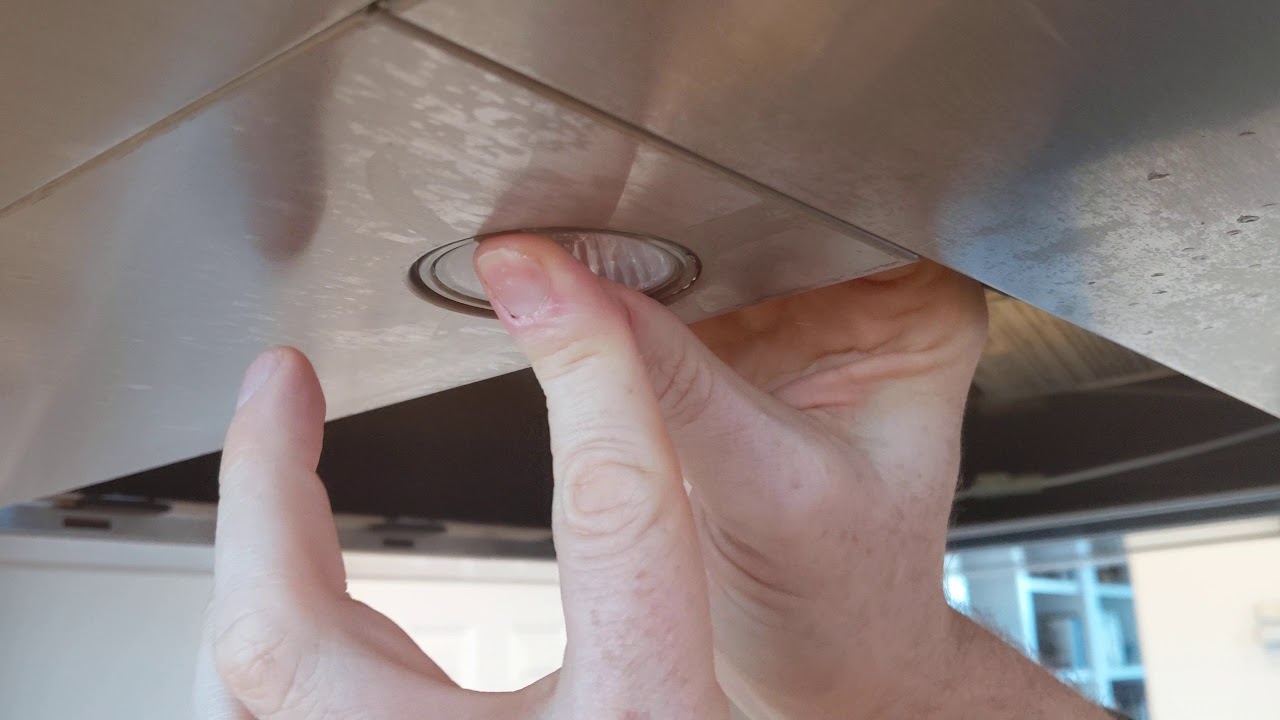
Step 3: Remove the Old Bulb
Now that the range hood filters are out of the way, it’s time to remove the old light bulb. Before you start, make sure the power to the range hood is still turned off to avoid any accidental electrical shocks.
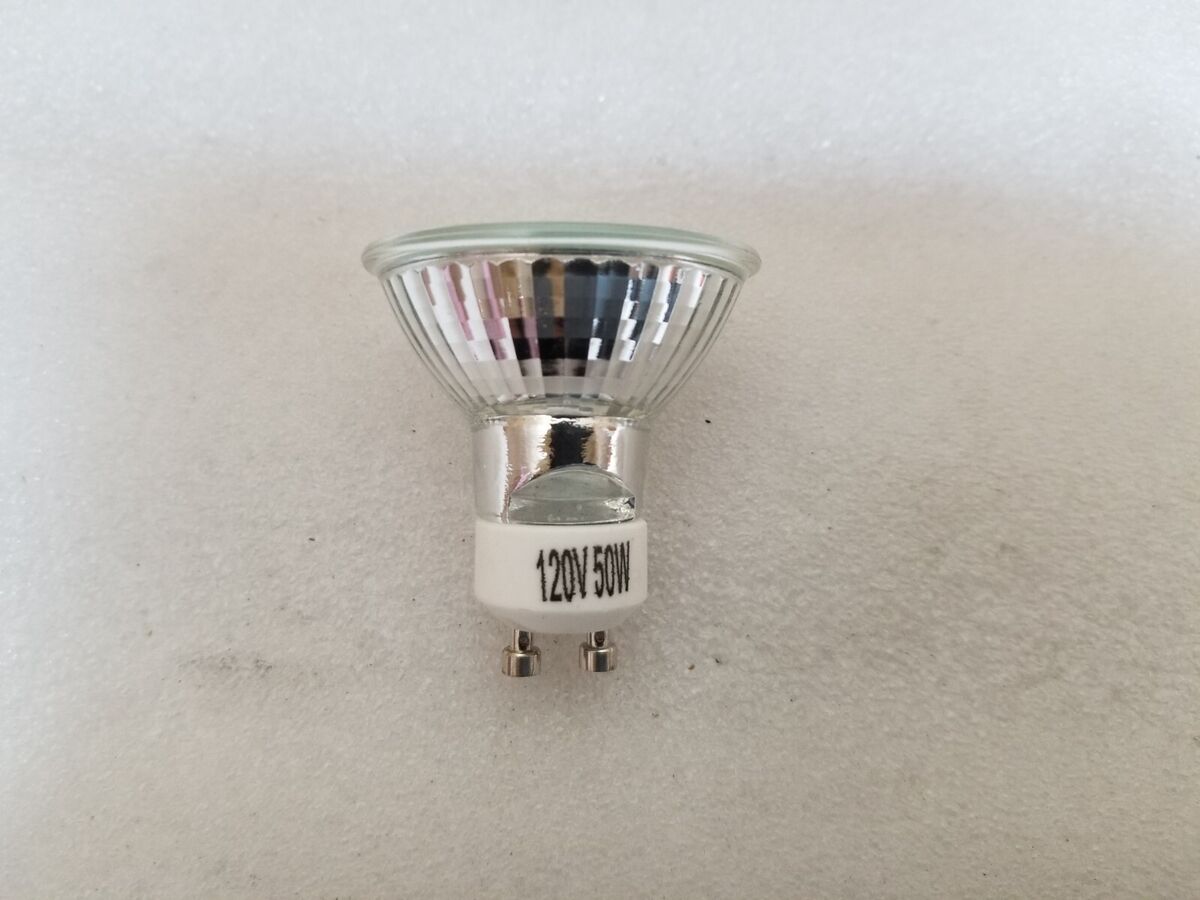
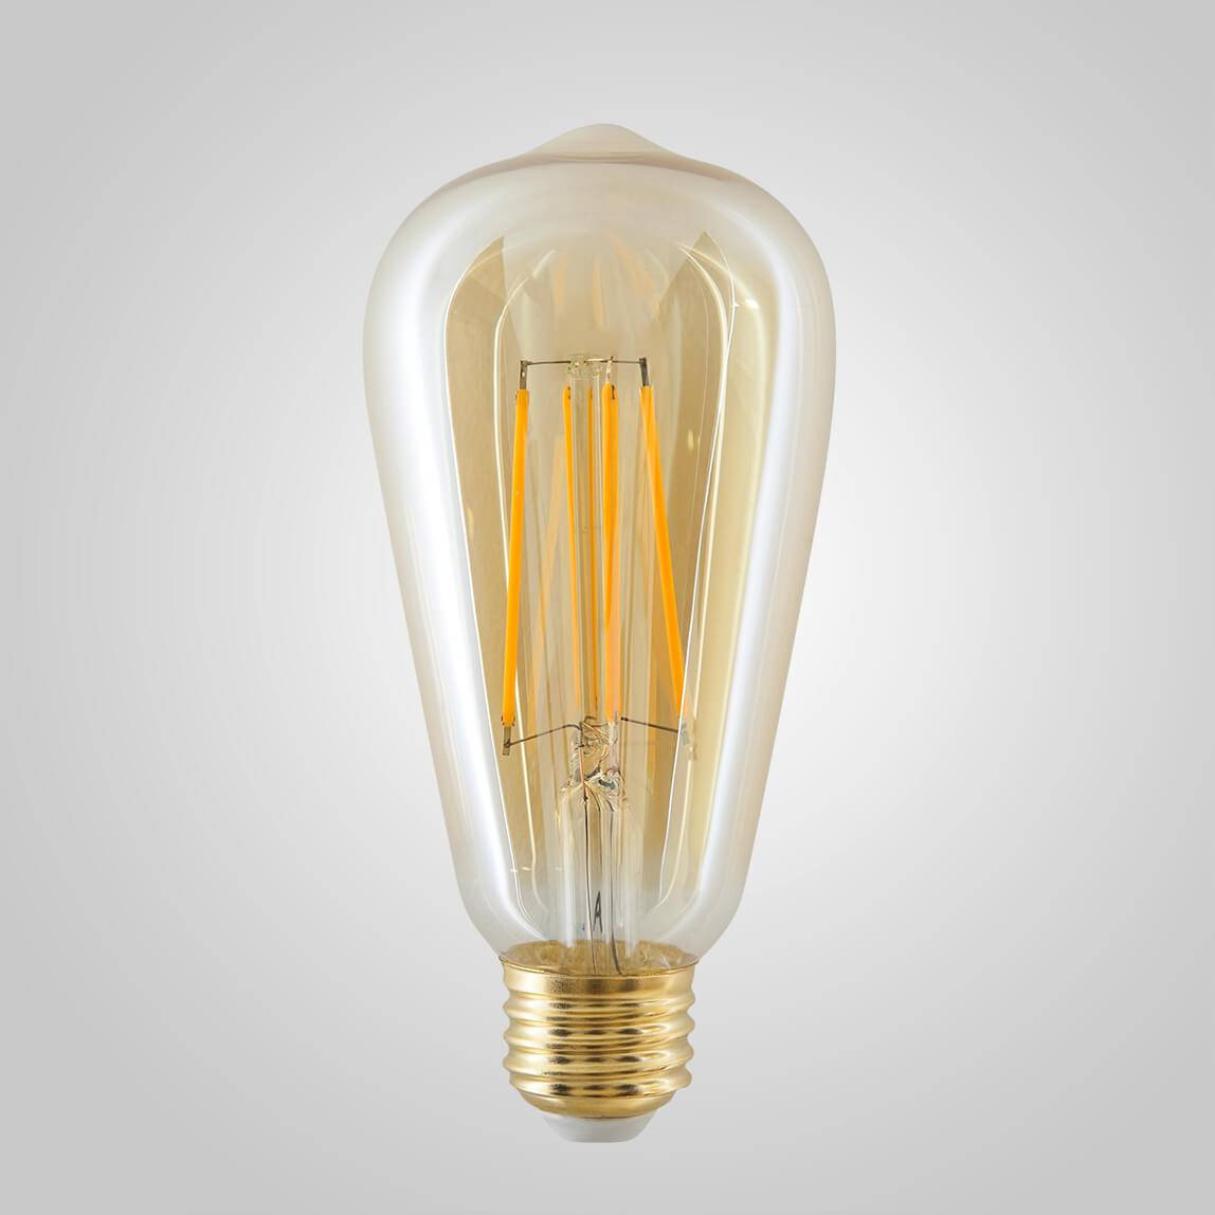
Take a moment to inspect the bulb socket and determine the type of bulb used in your Zephyr range hood. Most models use either a standard screw-in bulb or a halogen bulb.
If your range hood utilizes a screw-in bulb, you can simply twist the bulb counterclockwise to loosen it from the socket. Gently pull the bulb out once it is free from the socket. Be cautious as the bulb might still be hot if it was recently in use, so it’s advisable to wear gloves or use a cloth to handle it.
For halogen bulbs, they are typically held in place by a spring-loaded clip or harness. Locate the clip or harness and carefully release it to disengage the bulb. Once the clip or harness is released, you can safely remove the halogen bulb from the socket.
Set the old bulb aside in a safe place and avoid touching the glass part as it may be hot or fragile. Properly dispose of the old bulb according to local regulations and restrictions, as it may contain harmful substances.
Now that the old bulb is removed, you’re ready to move on to the next step: installing the new bulb.
Make sure the range hood is turned off and cool before attempting to change the light bulb. Use a step stool or ladder to reach the bulb, and carefully unscrew it from the socket. Replace with a new bulb of the same wattage and screw it in securely.
Step 4: Install the New Bulb
With the old bulb safely removed, it’s time to install the new bulb in your Zephyr range hood. Make sure you have the appropriate replacement bulb that matches the specifications of your range hood model.
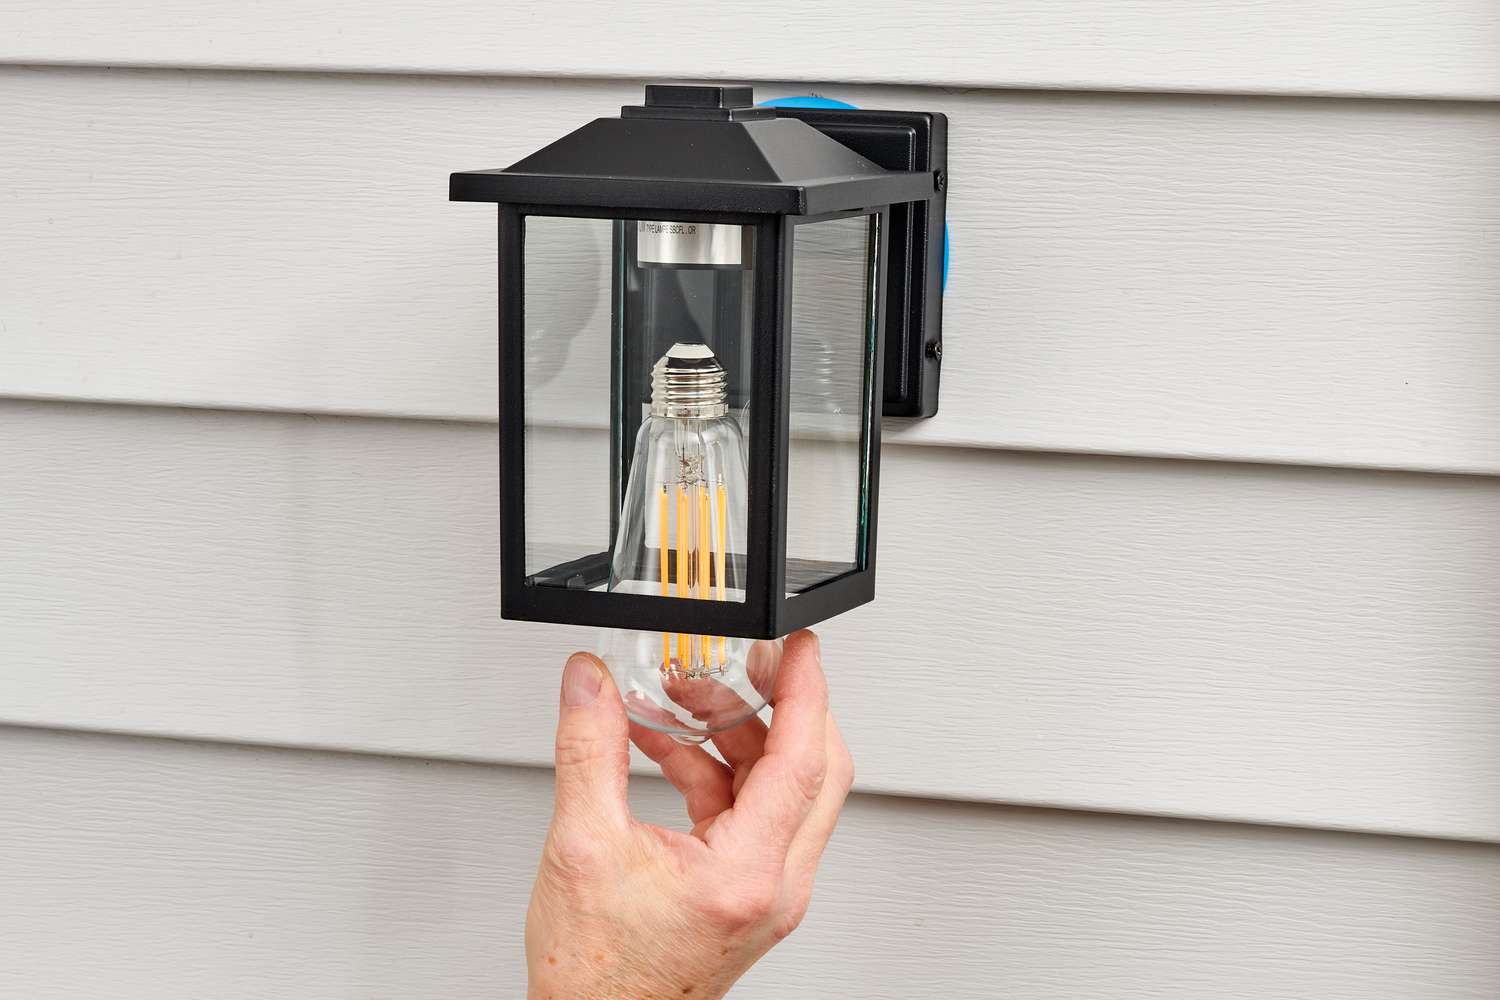
If you are using a screw-in bulb, take the new bulb and align the base with the socket. Insert the bulb into the socket and gently twist it clockwise to secure it in place. Be careful not to overtighten the bulb, as this can cause damage to the socket.
For halogen bulbs, position the bulb into the socket and align the tabs or notches. Once aligned, push the bulb into the socket until it clicks into place. Ensure that the bulb is securely held in position before proceeding.
In some cases, it may be necessary to slide the spring-loaded clip or harness back into place to secure the halogen bulb. Ensure that the clip or harness firmly holds the bulb in place without putting excessive pressure on the glass.
Once the new bulb is securely installed in the socket, you can proceed to the next step: reassembling the range hood.
Read more: How To Replace Range Hood Light Bulb
Step 5: Reassemble the Range Hood
With the new light bulb in place, it’s time to reassemble the range hood. Start by retrieving the filters that were removed earlier in the process. Ensure that they are clean and free from any debris before proceeding.
Align the filters with the slots or tracks in the range hood and gently slide them back into position. Make sure they are securely seated and properly aligned with the hood.
If there are any latches or locking mechanisms to secure the filters, engage them to ensure a tight fit. This will prevent the filters from accidentally falling or shifting while the range hood is in use.
Double-check that all the filters are properly installed and that they are aligned symmetrically within the range hood. This will help maintain optimal airflow and filtration efficiency.
Once the filters are securely reassembled, take a moment to inspect the surrounding area for any loose screws or components. Tighten any loose screws and ensure that everything is in its proper place.
With the range hood filters and components in place, you’re now ready for the final step: testing the new light bulb.
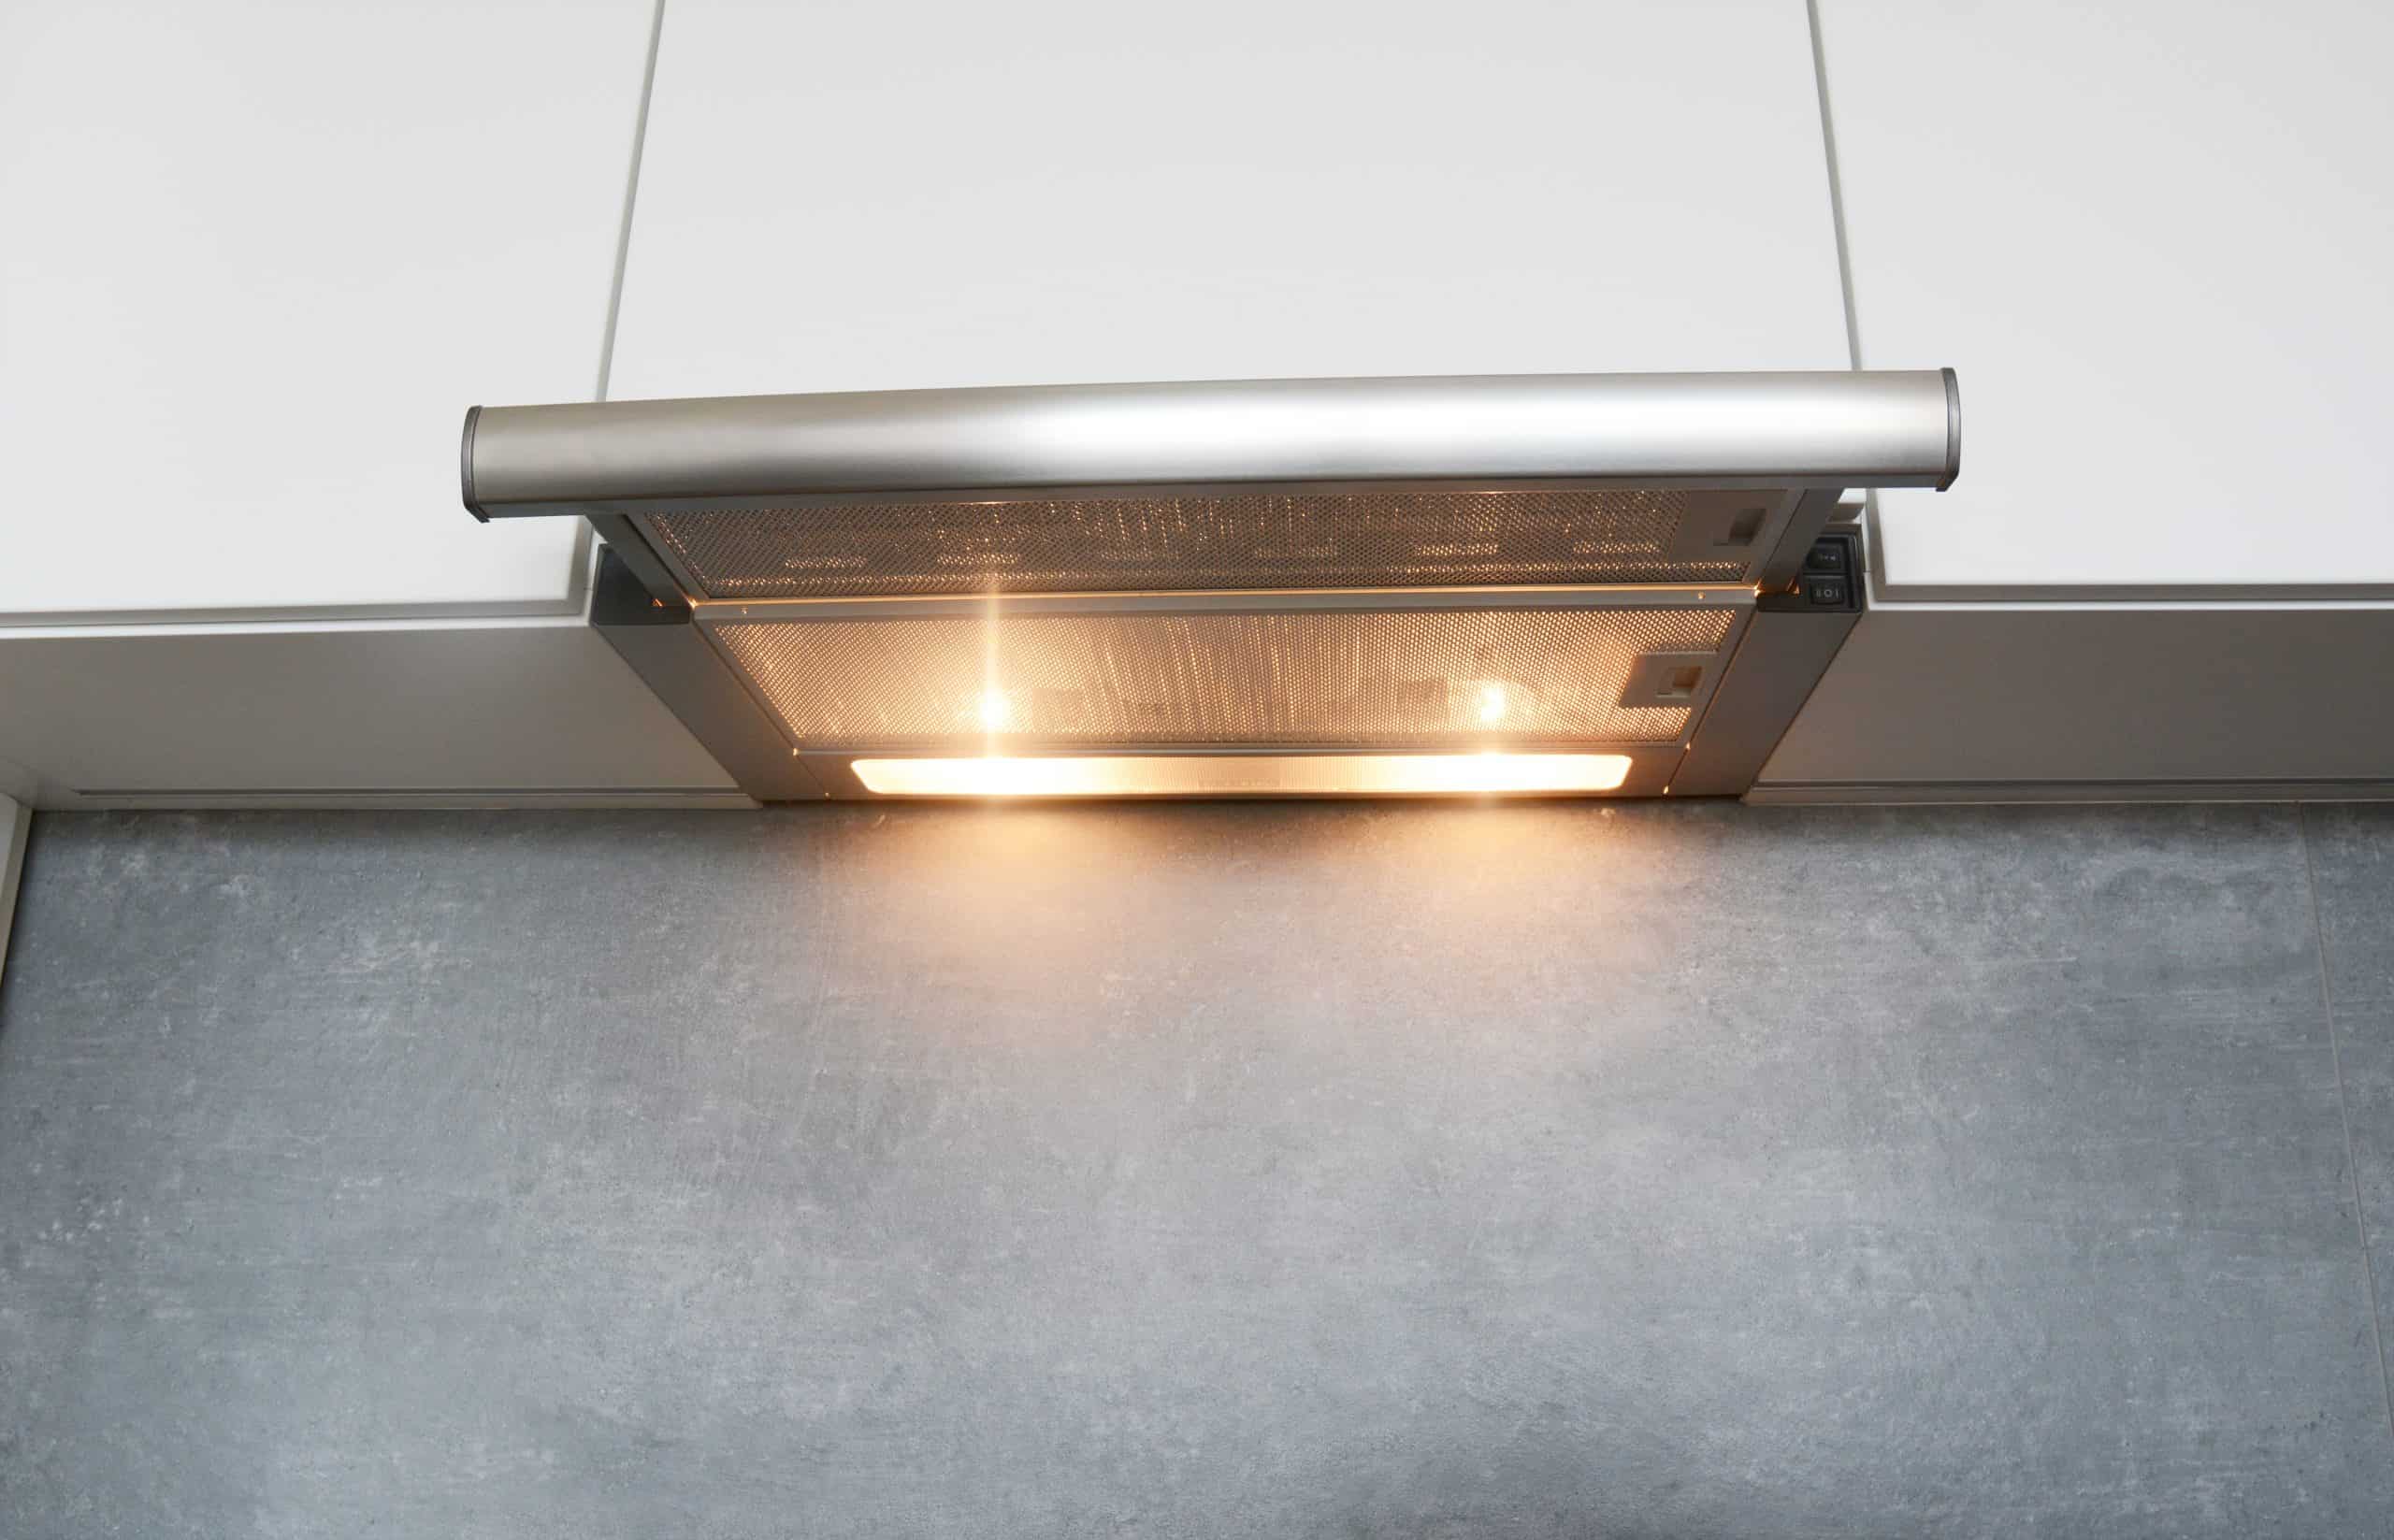
Step 6: Test the New Light Bulb
Now that you have successfully reassembled the range hood, it’s time to test the new light bulb to ensure it is working properly. Before you proceed, make sure that the power to the range hood has been turned back on.
Switch on the power to the range hood and turn on the light switch or controls that activate the light. If the new bulb is functioning correctly, it should illuminate and provide the desired level of brightness.
Take a moment to observe the new light bulb and ensure that there are no flickering or dimming issues. If the bulb is flickering, it may indicate a loose connection or a compatibility issue. Double-check the installation and consult the user manual or manufacturer for further troubleshooting steps.
If the new light bulb is working as expected, congratulations! You have successfully changed the light bulb in your Zephyr range hood. Enjoy the improved illumination in your cooking area as you prepare delicious meals.
If, however, the new bulb is not functioning correctly, make sure to turn off the power again and recheck the installation. Ensure that the bulb is securely screwed in or properly seated in the socket. If the issue persists, it may be necessary to seek professional assistance or contact the manufacturer for further guidance.
Remember to exercise caution when handling and working with electrical components. If you are unsure or uncomfortable with any part of the process, it’s always best to seek professional help to avoid any potential safety hazards.
With the new light bulb tested and working, your Zephyr range hood is now ready to provide you with clear and bright lighting for your cooking adventures.
Conclusion
Changing the light bulb in your Zephyr range hood doesn’t have to be a daunting task. With a few simple steps and precautions, you can safely replace the bulb and restore optimal lighting to your cooking area.
Remember to always turn off the power before starting any maintenance on your range hood. Take the time to remove the range hood filters and carefully remove the old bulb. Install the new bulb according to the manufacturer’s specifications and reassemble the range hood with the filters securely in place.
Once everything is back together, test the new light bulb to ensure it is functioning correctly. If there are any issues, consult the user manual or seek professional help to troubleshoot the problem.
Changing the light bulb in your Zephyr range hood is a simple and worthwhile maintenance task that can greatly enhance your cooking experience. Enjoy the improved illumination and make your kitchen a brighter and more enjoyable space.
Remember to always prioritize your safety when working with electrical appliances. If you are unsure or uncomfortable with any step of the process, it is always best to seek professional assistance to avoid accidents or damage.
We hope this guide has been helpful in guiding you through the process of changing the light bulb in your Zephyr range hood. Happy cooking!
Now that you've mastered changing a light bulb in your Zephyr range hood, why not consider upgrading? Our detailed guide on top Zephyr range hoods offers insights into models that could be perfect for your kitchen in 2024. If brightening up other areas of your home is on your mind, don't miss our selection of stylish LED mirrors. These lighting solutions not only illuminate spaces beautifully but also add a touch of elegance to any room.
Frequently Asked Questions about How To Change Light Bulb In Zephyr Range Hood
Was this page helpful?
At Storables.com, we guarantee accurate and reliable information. Our content, validated by Expert Board Contributors, is crafted following stringent Editorial Policies. We're committed to providing you with well-researched, expert-backed insights for all your informational needs.


0 thoughts on “How To Change Light Bulb In Zephyr Range Hood”