
Articles
How To Remove Faucet Handle
Modified: December 7, 2023
Learn how to easily remove a faucet handle with this informative article. Get step-by-step instructions and expert tips to make the process effortless.
(Many of the links in this article redirect to a specific reviewed product. Your purchase of these products through affiliate links helps to generate commission for Storables.com, at no extra cost. Learn more)
Introduction
Do you have a faulty faucet handle that needs to be replaced or repaired? Dealing with a dripping faucet or a handle that has become loose can be frustrating, but the good news is that you can tackle this common household problem on your own. With the right tools and a little know-how, you can remove and replace a faucet handle with ease.
In this step-by-step guide, we will walk you through the process of removing a faucet handle. By following these easy instructions, you will be able to take control of your plumbing and fix the issue in no time.
Before we dive into the steps, it’s important to note that the specific instructions may vary depending on the type of faucet you have. However, the general process remains the same. Remember to always consult the manufacturer’s instructions or seek professional help if you are unsure or uncomfortable with performing any of the tasks.
Now, let’s gather our tools and get ready to dive into the world of faucet handle repair!
Key Takeaways:
- Takeaway 1: DIY Faucet Handle Repair
You can confidently tackle faucet handle repairs on your own by following this step-by-step guide. Gather the right tools, assess the issue, and reassemble with ease. - Takeaway 2: Prioritize Safety and Functionality
Ensure safety by turning off the water supply and carefully reassembling the faucet handle. Test for leaks and irregularities to guarantee proper functionality.
Read more: How To Remove Stuck Faucet Handle
Step 1: Gather the necessary tools
Before you begin the process of removing your faucet handle, it’s important to gather all the necessary tools. Having everything you need on hand will save you time and frustration during the repair process.
Here are the tools you’ll typically need:
- Adjustable wrench
- Phillips or flathead screwdriver (depending on the type of screw)
- Allen wrench (if applicable)
- Plumber’s grease or lubricant
- Tape measure (optional, for reference)
Make sure to have these tools readily available before you begin. You may also want to grab a small container to hold any loose screws or parts that you remove during the process.
Once you have gathered all the necessary tools, you’re ready to move on to the next step.
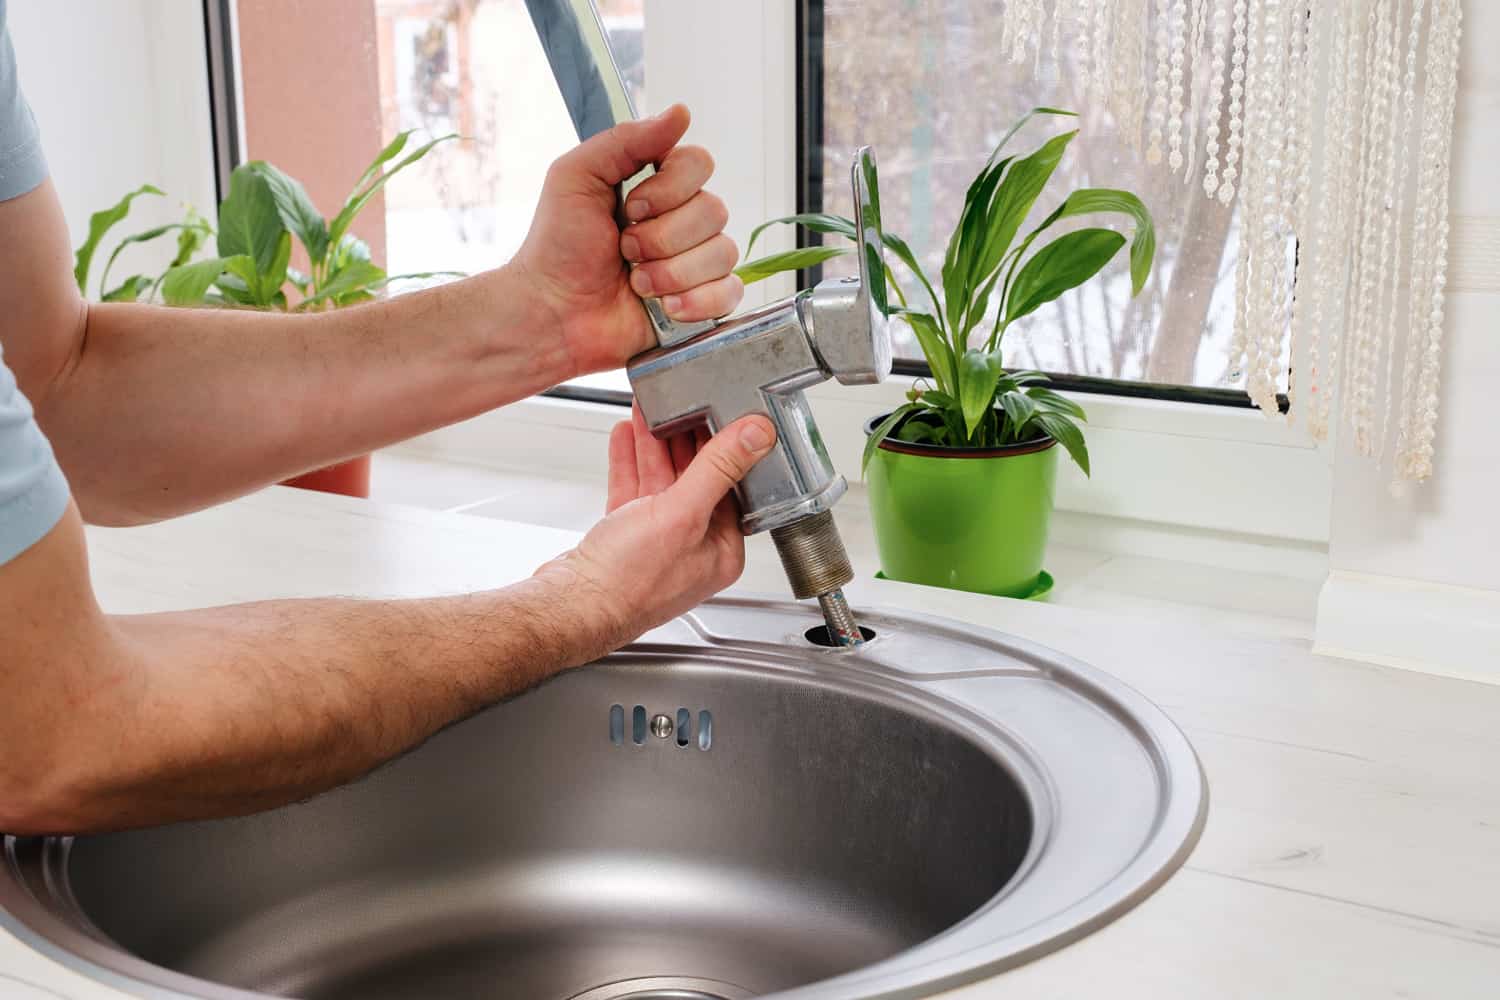
Step 2: Turn off the water supply
Before you can safely work on removing the faucet handle, it’s crucial to turn off the water supply. This step will prevent any water flow to the faucet and minimize the risk of leaks or accidents.
To shut off the water supply, locate the water valves under the sink. There are typically two valves, one for hot water and one for cold water. Rotate the valves clockwise until they are fully closed. If you have trouble identifying the correct valves, you may need to shut off the main water supply to your home.
It’s also a good idea to relieve any remaining pressure in the faucet by turning it on and allowing any water to drain out. This step will make it easier to remove the handle without encountering any resistance.
Once you have successfully turned off the water supply, move on to the next step in the process.
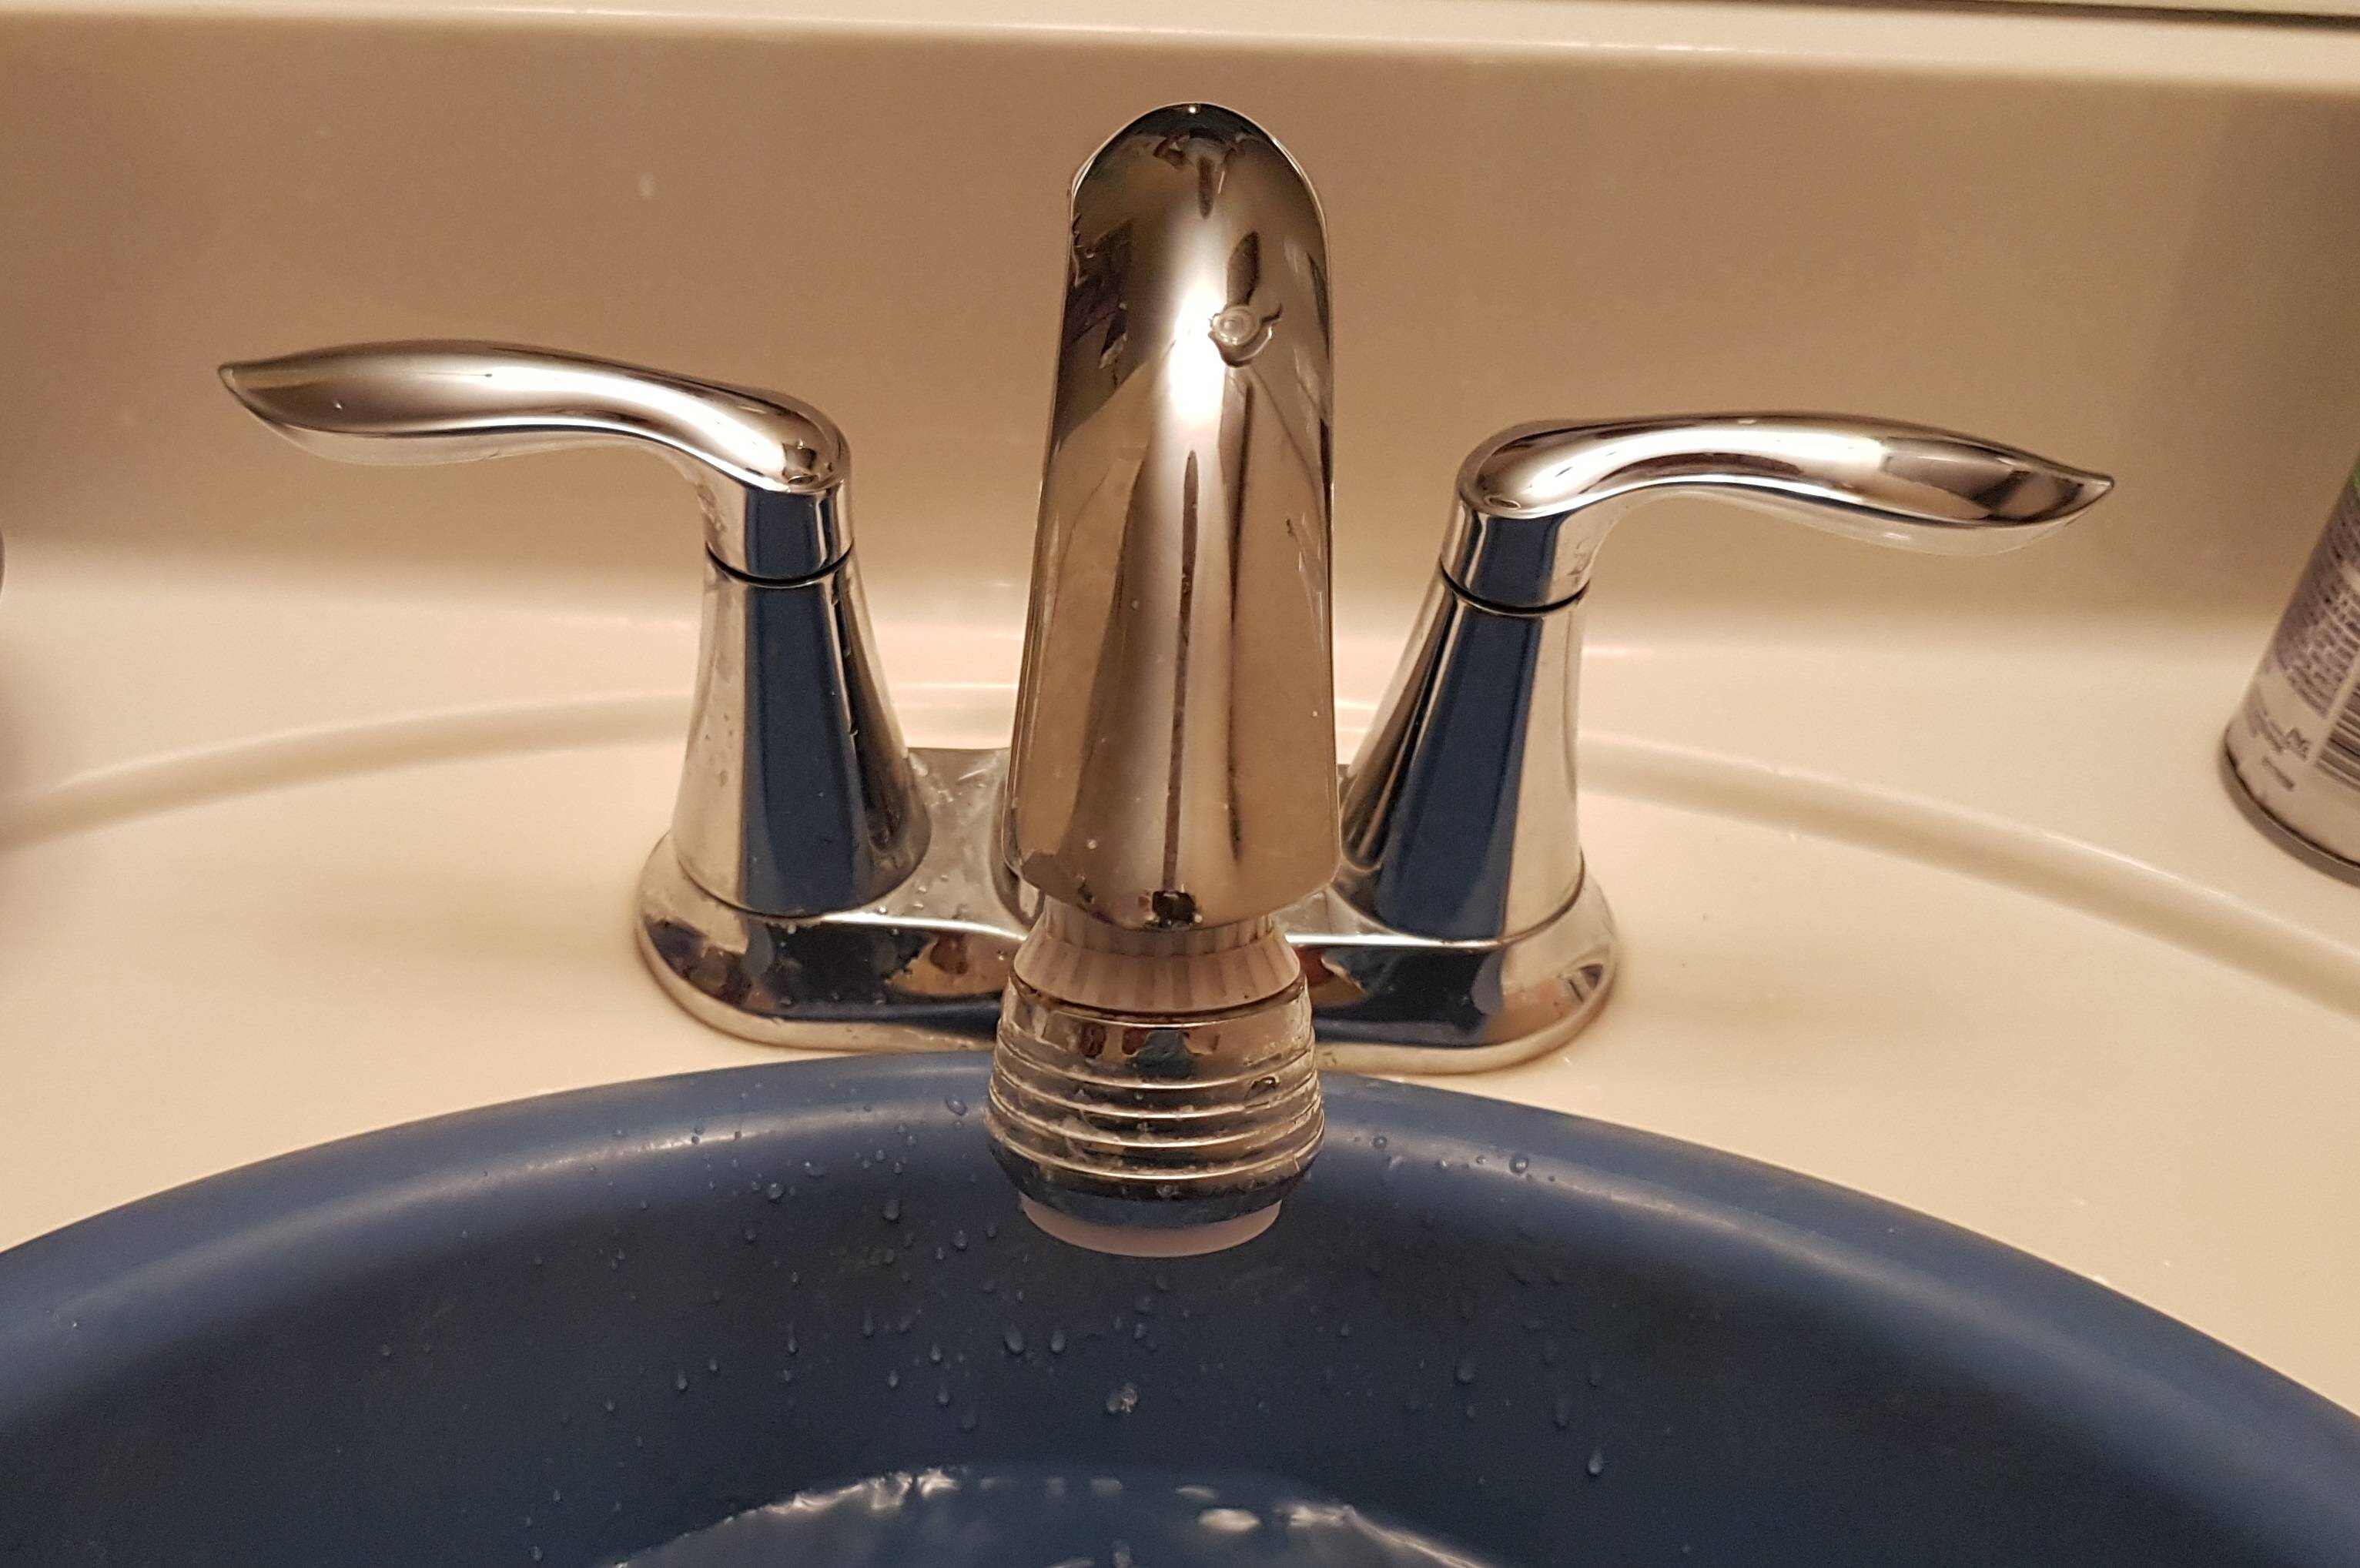
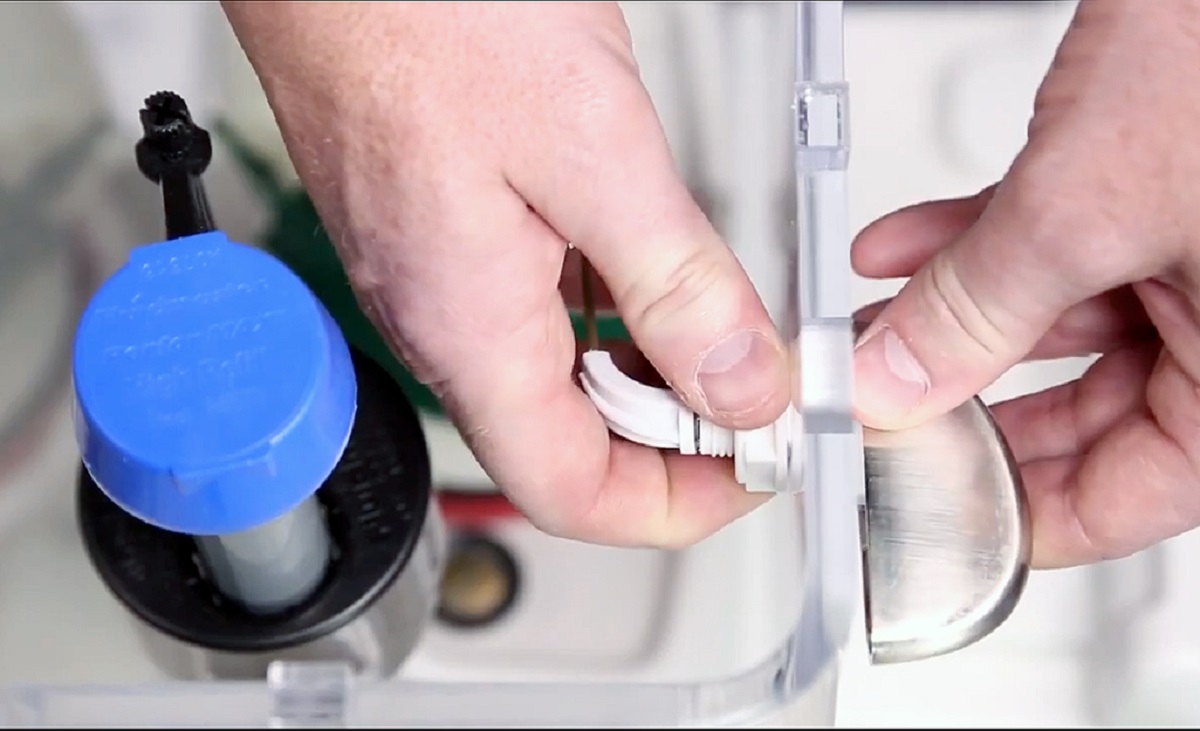
Step 3: Remove the decorative cap
With the water supply turned off, it’s time to move on to removing the decorative cap on the faucet handle. The decorative cap is usually located on the top or front of the handle and serves as a cover for the screw that holds the handle in place.
To remove the decorative cap, carefully inspect the handle for any visible screws or tabs. Some handles may have a small visible screw on the top or underside of the cap, while others may have a tab that needs to be pushed or pried off.
Once you have identified the method for removing the decorative cap, use a flathead screwdriver or your fingers to gently pry it off or unscrew it. Be cautious not to apply too much force to avoid damaging the cap or the surrounding surface.
If the decorative cap doesn’t seem to budge, consult the manufacturer’s instructions or do a quick online search for your specific faucet model. Some faucets may have unique mechanisms for removing the cap, such as hidden set screws or snap-on caps.
After removing the decorative cap, set it aside in a safe place. You may need to reattach it later once you have finished repairing or replacing the faucet handle.
Now that the decorative cap is removed, we can move on to the next step in the process.
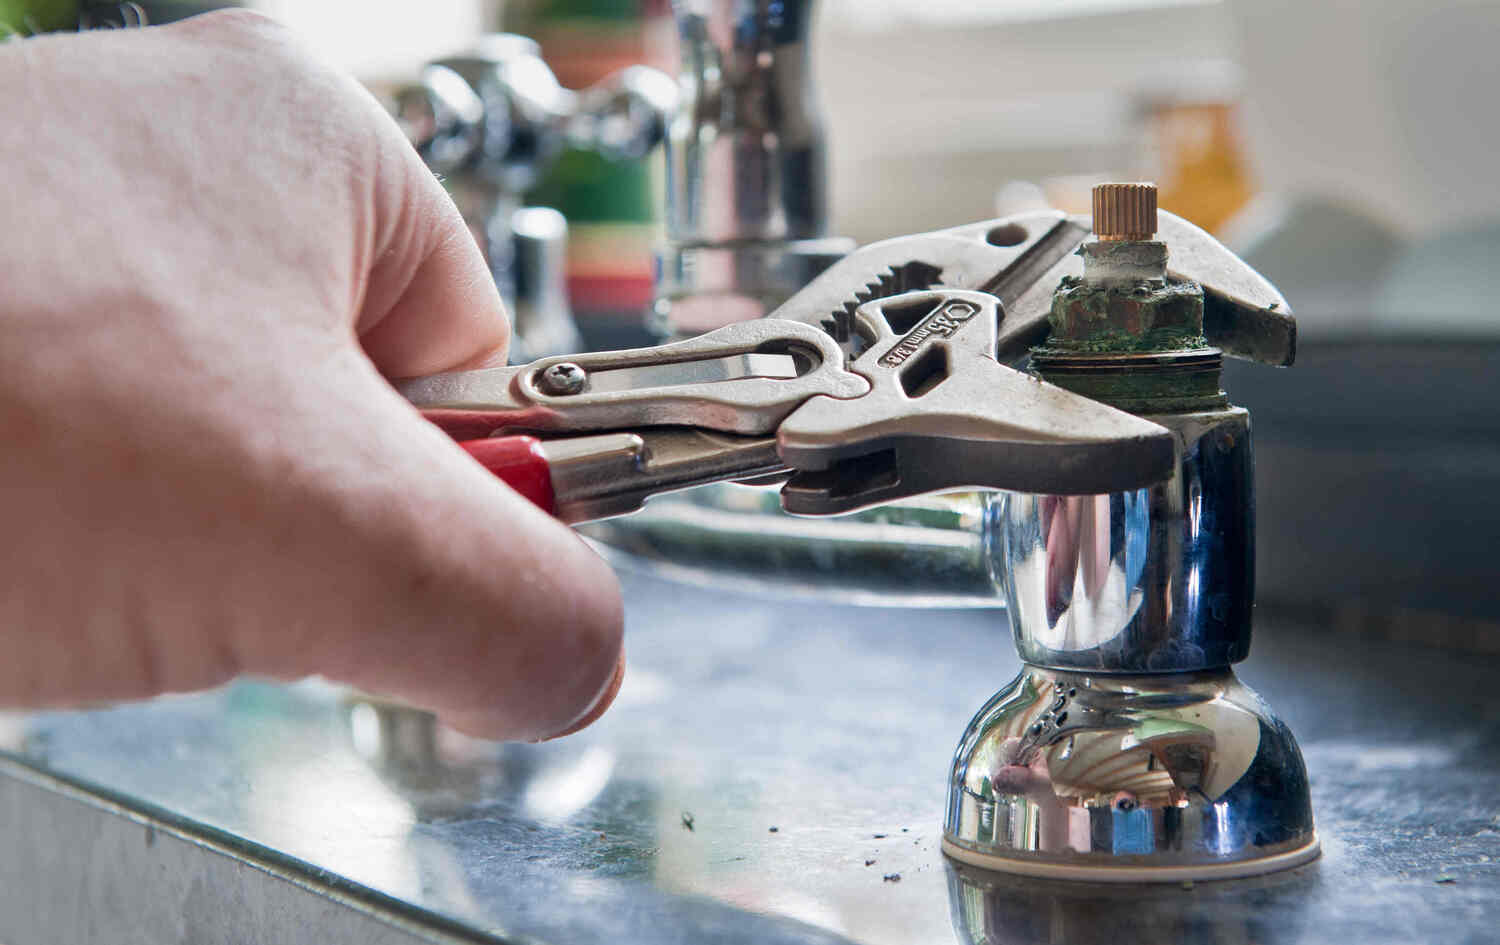
Step 4: Loosen and remove the handle screw
Now that the decorative cap has been removed, you can access the handle screw that holds the faucet handle in place. This step involves loosening and removing the screw to detach the handle from the faucet.
Using a Phillips or flathead screwdriver (depending on the type of screw), locate the handle screw inside the opening where the decorative cap used to be. Insert the screwdriver into the screw and turn it counterclockwise to loosen it.
Keep in mind that some faucet handles may have an Allen screw instead of a regular screw. In this case, you will need an Allen wrench that matches the size of the screw to remove it.
Once the screw is loose, carefully unscrew it completely. Place it in your container or set it aside in a safe spot to ensure it doesn’t get lost. Be mindful of any other small components that may be attached to the screw.
After removing the handle screw, you should be able to easily lift off the faucet handle from the base. If the handle feels stuck or doesn’t come off easily, try wiggling it gently or applying some light pressure while pulling upwards.
Set the faucet handle aside and proceed to the next step to continue with the repair or replacement process.
Use a screwdriver to remove the screw holding the handle in place. If the handle is stuck, try using a lubricant or a handle puller tool to gently pry it off.
Read more: How To Remove Sink Faucet Handle
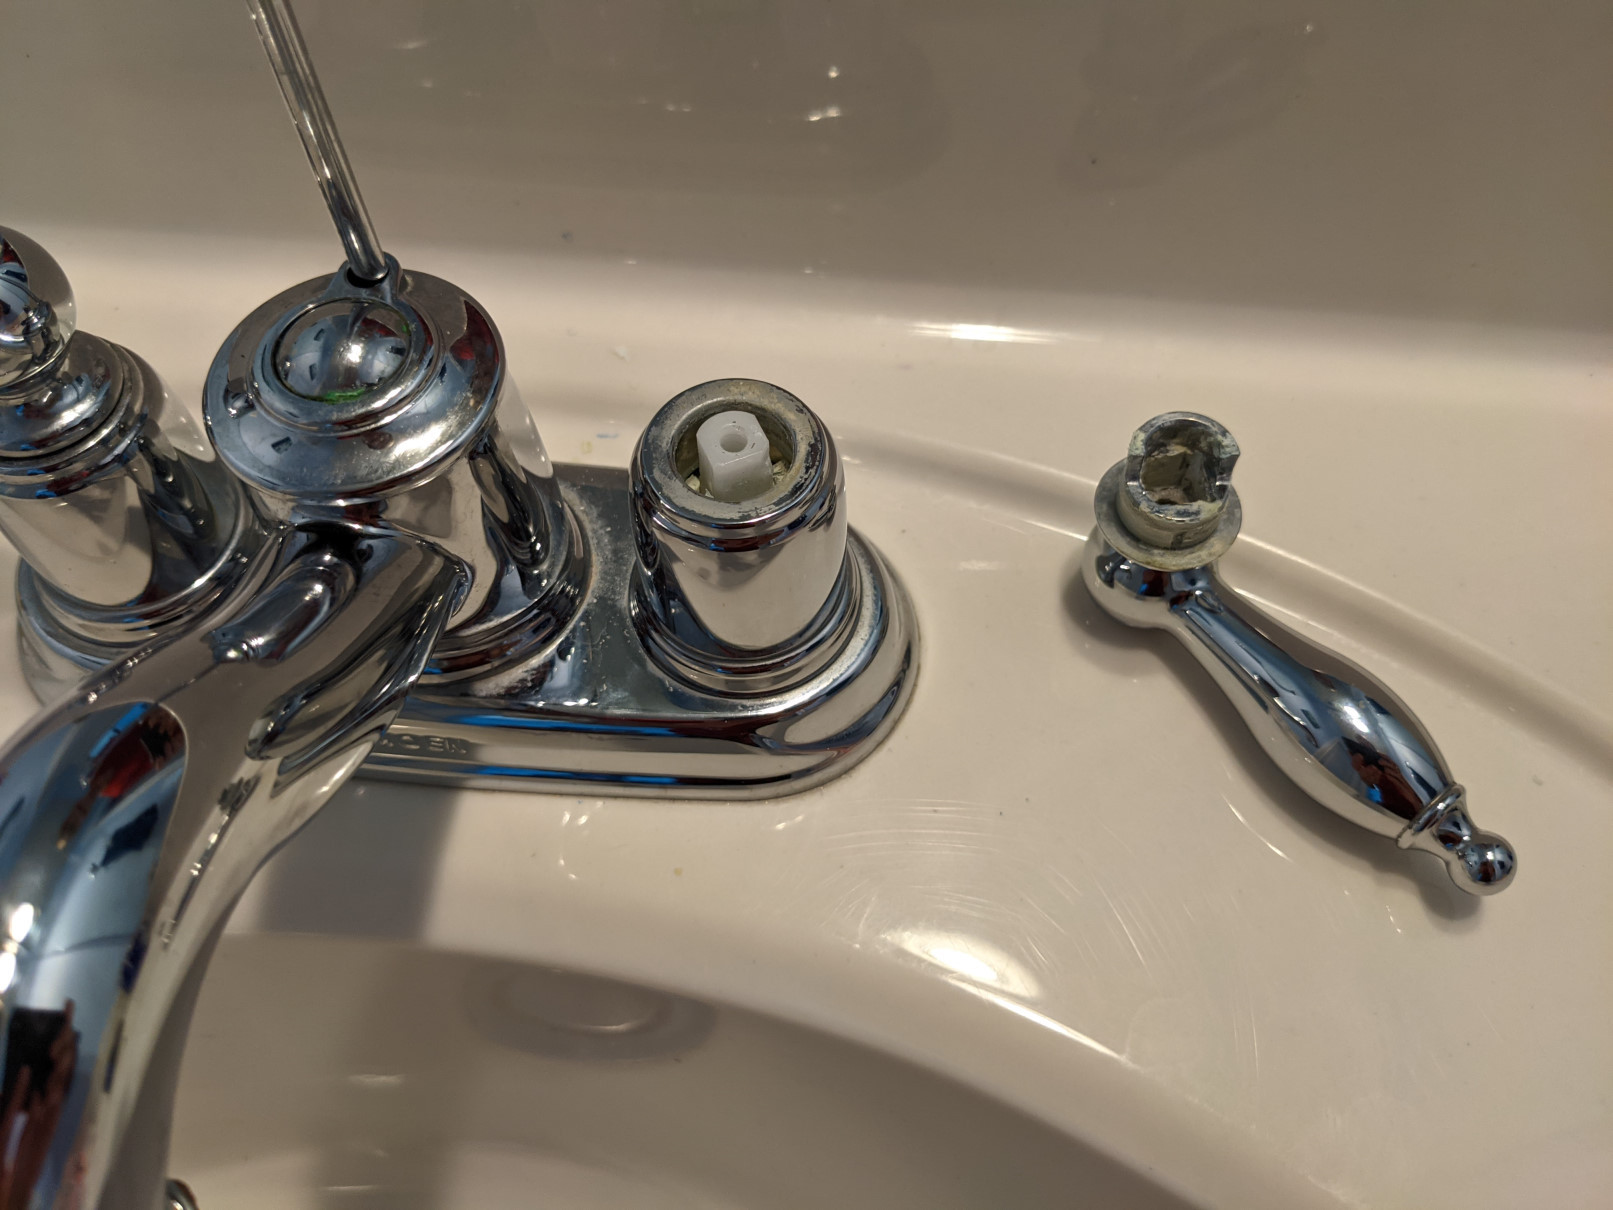
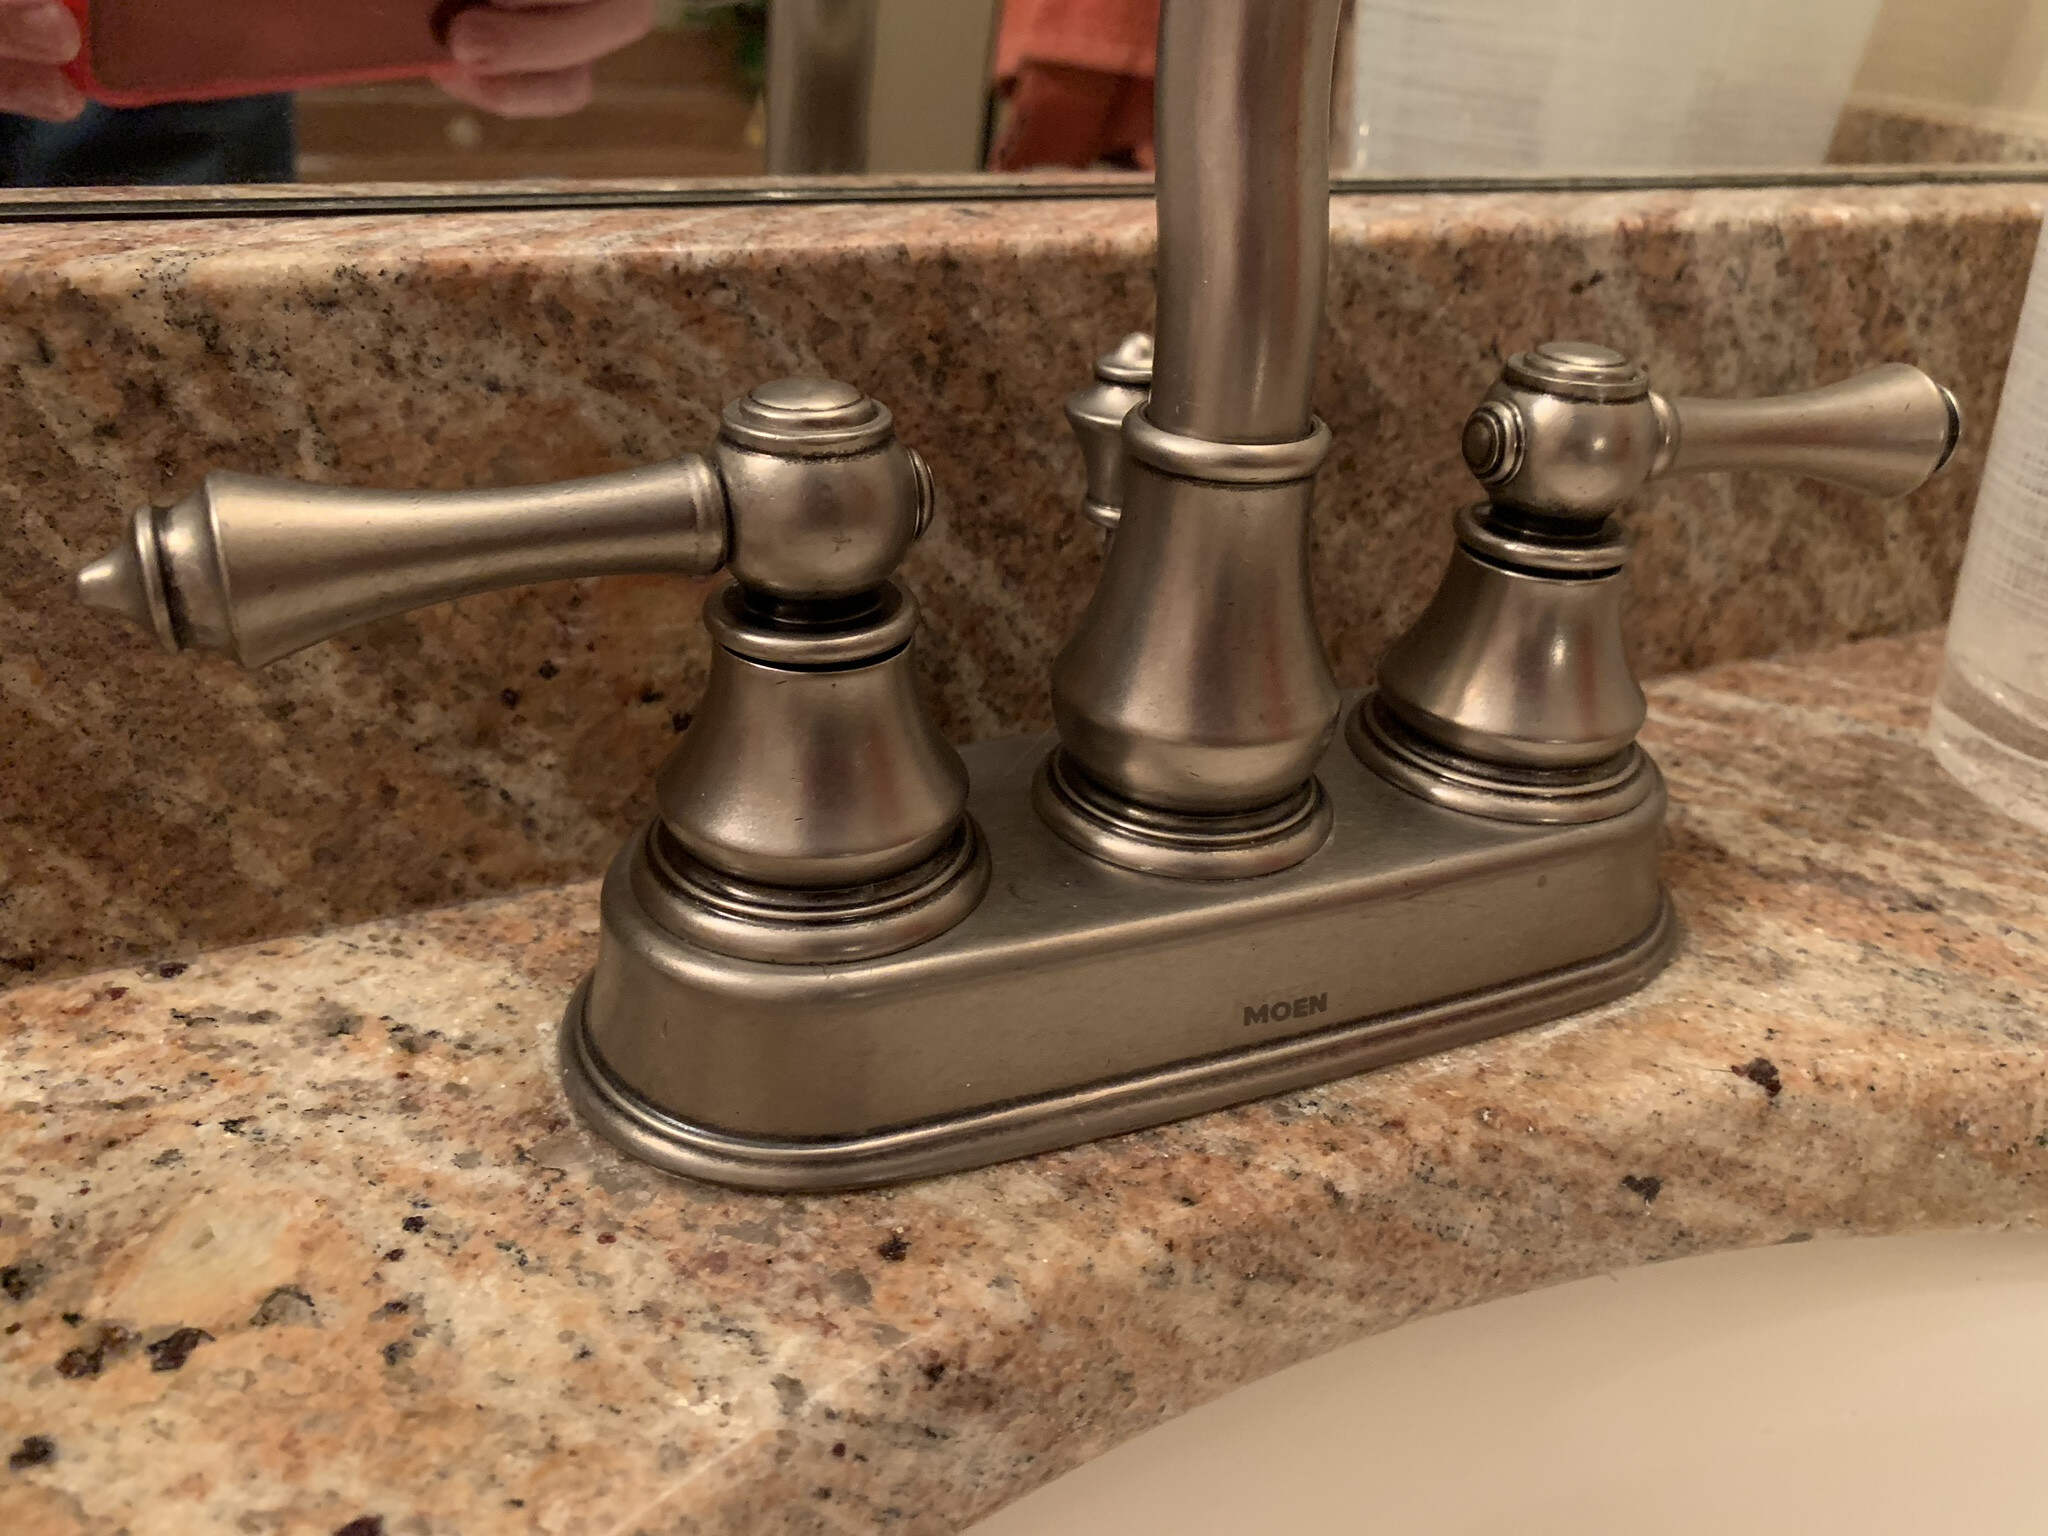
Step 5: Take off the faucet handle
Now that you have removed the handle screw, it’s time to take off the faucet handle itself. This step involves gently pulling the handle away from the base to fully detach it.
Depending on the faucet model and design, the handle may come off easily with a gentle pull. However, some handles may require a bit more effort to remove. If the handle feels stuck, try twisting it slightly back and forth while pulling upwards to loosen it.
Be careful not to use excessive force when removing the handle to avoid damaging any internal components or the faucet itself. If the handle still won’t budge, consult the manufacturer’s instructions or seek professional assistance to avoid causing further damage.
Once you have successfully taken off the faucet handle, inspect the area beneath it for any signs of corrosion, leaks, or worn-out components. This visual examination can give you an idea of the underlying issue and help you determine whether a repair or replacement is necessary.
Set the removed faucet handle aside in a safe location, as you may need it later for reference or reinstallation.
With the faucet handle now removed, we can move on to the next step in the process.
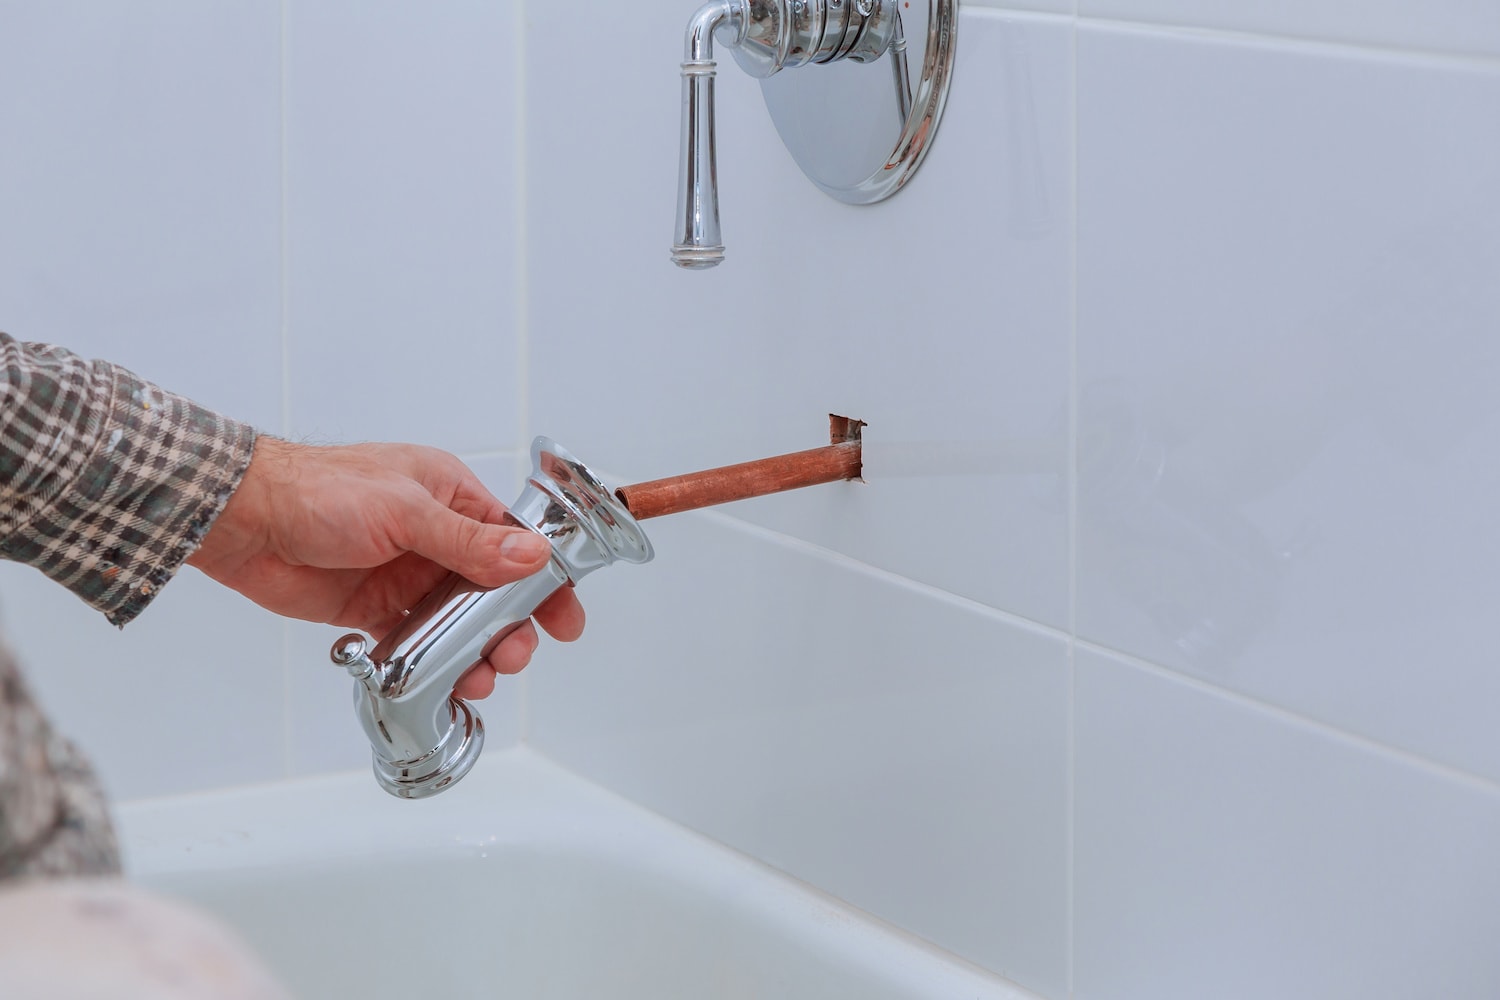
Step 6: Replace or repair the faulty component
Now that you have successfully removed the faucet handle, it’s time to assess the faulty component that was causing the issue. This step involves determining whether the component needs to be repaired or replaced.
Inspect the area beneath the faucet handle for any visible signs of damage or wear. Look for leaks, cracks, corrosion, or any other indications of a faulty component. Common culprits include a worn-out cartridge, a damaged O-ring, or a faulty valve.
If the component can be easily repaired, such as by replacing a worn-out O-ring or a faulty valve, you can purchase the necessary replacement parts from a hardware or plumbing supply store. Consult the manufacturer’s instructions or refer to online resources for guidance on how to properly repair the specific component.
If the component is beyond repair or if you’re unsure of how to proceed with the repair, it may be best to replace the entire faulty component. This could involve replacing the cartridge, the valve, or any other necessary parts. Be sure to take note of the specific model or make of your faucet to ensure you purchase the correct replacement component.
Remember to follow all safety precautions and instructions provided by the manufacturer when performing repairs or replacements. If you’re uncertain or uncomfortable with the process, it’s best to consult a professional plumber for assistance.
Once you have either repaired or replaced the faulty component, proceed to the next step to reassemble the faucet handle.
Step 7: Reassemble the faucet handle
With the faulty component repaired or replaced, it’s time to reassemble the faucet handle. This step involves putting all the parts back together in the reverse order of the disassembly process.
Start by carefully aligning the faucet handle with the base. Ensure that any grooves or notches on the handle match up with the corresponding ones on the base. Gently push the handle down onto the base, making sure it’s firmly in place.
Next, take the handle screw that you removed earlier and insert it back into its designated hole. Use a screwdriver or Allen wrench (depending on the type of screw) to tighten it securely. Be careful not to overtighten the screw, as this can damage the handle or the base.
Once the screw is tightened, it’s time to reattach the decorative cap. Place the cap back onto the handle and align it with the appropriate position. Press down or screw it on, depending on how it attaches to the handle. Ensure that it’s snugly in place, but again, be cautious not to apply too much force.
Give the faucet handle a gentle test to ensure that it’s properly reassembled and functioning correctly. Turn the faucet on and off to check for any leaks, drips, or irregularities. If everything looks and sounds good, you have successfully reassembled the faucet handle.
Congratulations! You have now completed the process of reassembling the faucet handle.
Step 8: Turn on the water supply
Now that you have successfully reassembled the faucet handle, it’s time to turn on the water supply and test your repair work. This step involves restoring the water flow to the faucet and ensuring that everything is functioning properly.
Locate the water valves under the sink that you turned off earlier in the process. Slowly turn the valves counterclockwise to reopen the water supply. Take note of any leaks or drips that may occur as the water starts flowing.
Once the water supply is fully open, test the faucet by turning it on and off. Check for any leaks or unusual sounds. Pay attention to the handle’s operation, making sure it turns smoothly and without any resistance.
If you notice any leaks or issues, turn off the water supply immediately and reassess the faucet handle. It’s possible that there may be a loose connection or another underlying problem that requires further attention. Make sure to double-check that all components are properly tightened and aligned.
If everything looks good and the faucet is functioning as expected, congratulations! You have successfully completed the process of removing, repairing, and reassembling a faucet handle.
Remember to periodically check the handle and the repaired or replaced component for any signs of wear or damage. Regular maintenance can help prolong the lifespan of your faucet and prevent future issues.
Thank you for following this step-by-step guide. We hope you found it helpful and gained the confidence to tackle faucet handle repairs on your own.
Read more: How To Remove A Two-Handle Bathroom Faucet
Conclusion
Repairing or replacing a faulty faucet handle doesn’t have to be a daunting task. By following the step-by-step instructions provided in this guide, you can confidently tackle this common household issue on your own.
We began by gathering the necessary tools to ensure a smooth repair process. Then, we turned off the water supply to prevent any accidents or leaks. The decorative cap was carefully removed, followed by loosening and removing the handle screw to detach the faucet handle. With the handle off, we inspected the faulty component and determined whether it needed to be repaired or replaced.
After repairing or replacing the faulty component, we reassembled the faucet handle in the exact reverse order of the disassembly process. We tightened the handle screw, replaced the decorative cap, and conducted a thorough check to ensure proper functionality.
Finally, we turned on the water supply, tested the faucet, and looked for any leaks or irregularities. Following these steps will help you complete the repair process successfully and ensure a functioning faucet handle.
Remember to consult the manufacturer’s instructions or seek professional help if you encounter any difficulties or uncertainties during the repair process. It’s essential to prioritize safety and accuracy when working with plumbing fixtures.
We hope that this guide has empowered you to take control of your plumbing and successfully remove and repair a faucet handle. With the right tools, knowledge, and a bit of patience, you can confidently handle simple household repairs and save both time and money in the process.
Thank you for reading this comprehensive guide. Best of luck with your faucet handle repair endeavors!
Frequently Asked Questions about How To Remove Faucet Handle
Was this page helpful?
At Storables.com, we guarantee accurate and reliable information. Our content, validated by Expert Board Contributors, is crafted following stringent Editorial Policies. We're committed to providing you with well-researched, expert-backed insights for all your informational needs.


0 thoughts on “How To Remove Faucet Handle”