Articles
How To Replace Plug On Extension Cord
Modified: October 20, 2024
Learn how to replace the plug on an extension cord with step-by-step instructions in this informative article. Save money and stay safe with DIY cord repair.
(Many of the links in this article redirect to a specific reviewed product. Your purchase of these products through affiliate links helps to generate commission for Storables.com, at no extra cost. Learn more)
Introduction
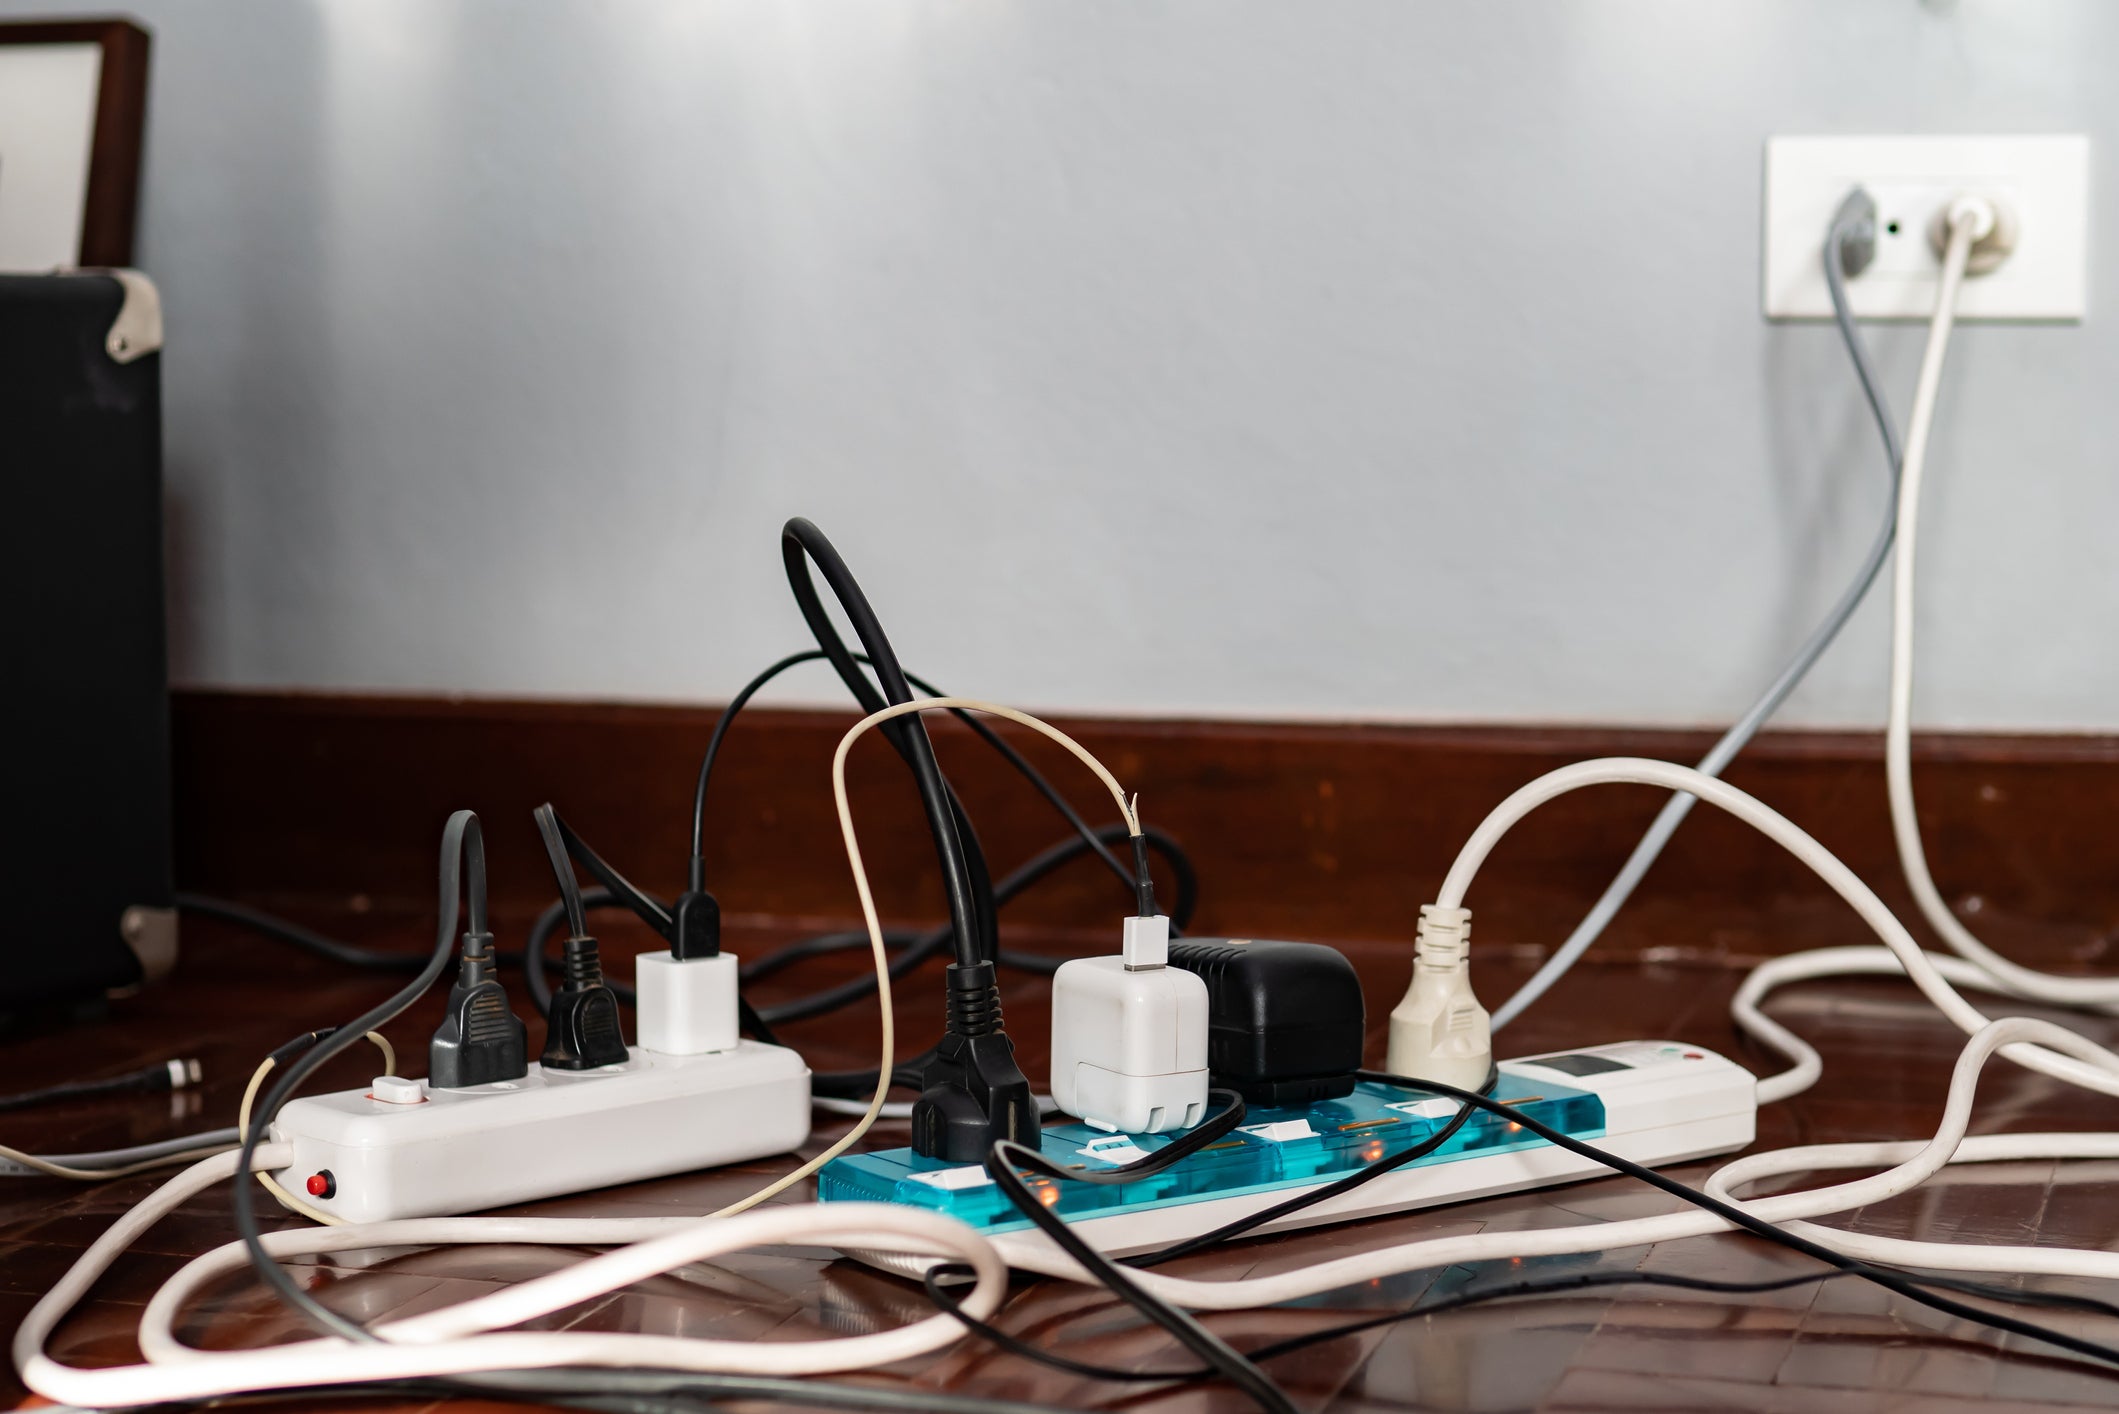
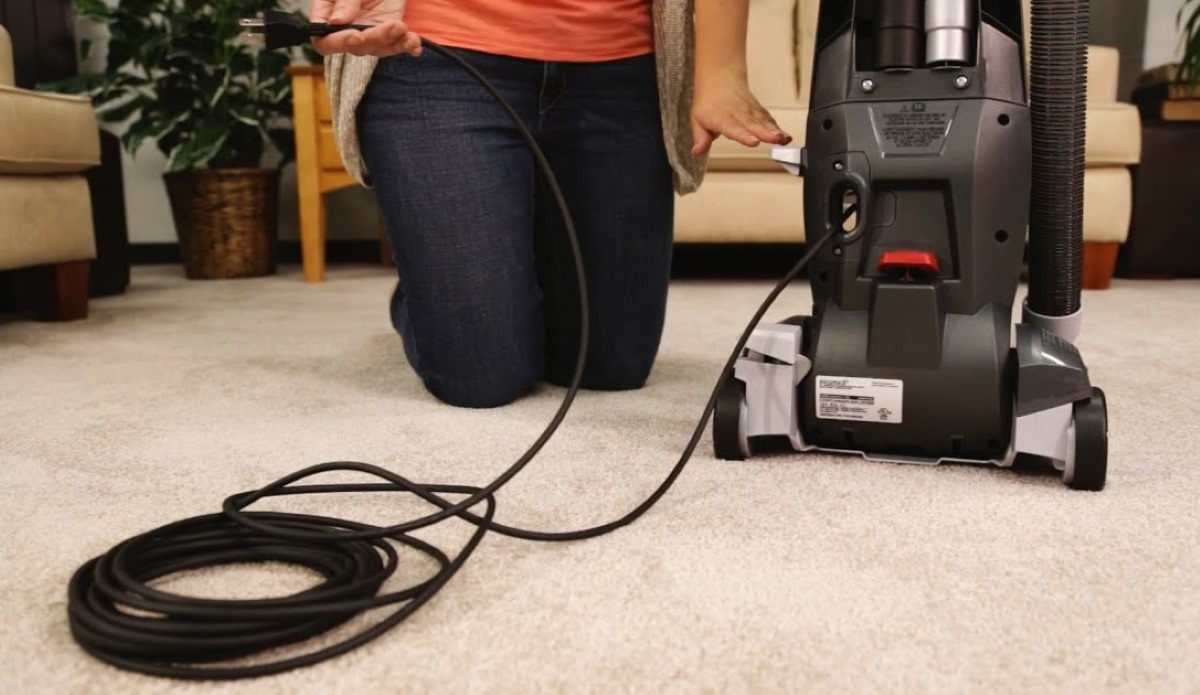
Electrical extension cords are a common tool used in homes and workplaces to provide power to devices and appliances that are located far away from the nearest electrical outlet. Over time, the plugs on these cords can become worn, damaged, or broken, posing a safety hazard and rendering the cord unusable.
Fortunately, replacing the plug on an extension cord is a relatively simple task that can be done by anyone with basic knowledge of electrical wiring and the right tools. In this article, we will walk you through the step-by-step process of replacing a plug on an extension cord, ensuring that you can continue safely and effectively using your cord.
Before we get started, it’s important to note that working with electrical wiring can be dangerous if not done correctly. If you are unsure of your abilities or uncomfortable working with electricity, it is strongly recommended to seek the assistance of a qualified electrician.
Now that we’ve addressed the necessary precautions, let’s gather the tools and materials you’ll need for this project.
Key Takeaways:
- Safely and effectively replace a damaged plug on your extension cord by following a step-by-step process, ensuring continued use and preventing potential safety hazards. Prioritize safety and proper preparation for a successful replacement.
- Regularly inspect your extension cords for wear or damage, and confidently tackle plug replacement when needed. By maintaining safety and functionality, you prolong the life of your cords and prevent potential hazards.
Tools and Materials Needed
Before you begin replacing the plug on your extension cord, make sure you have the following tools and materials on hand:
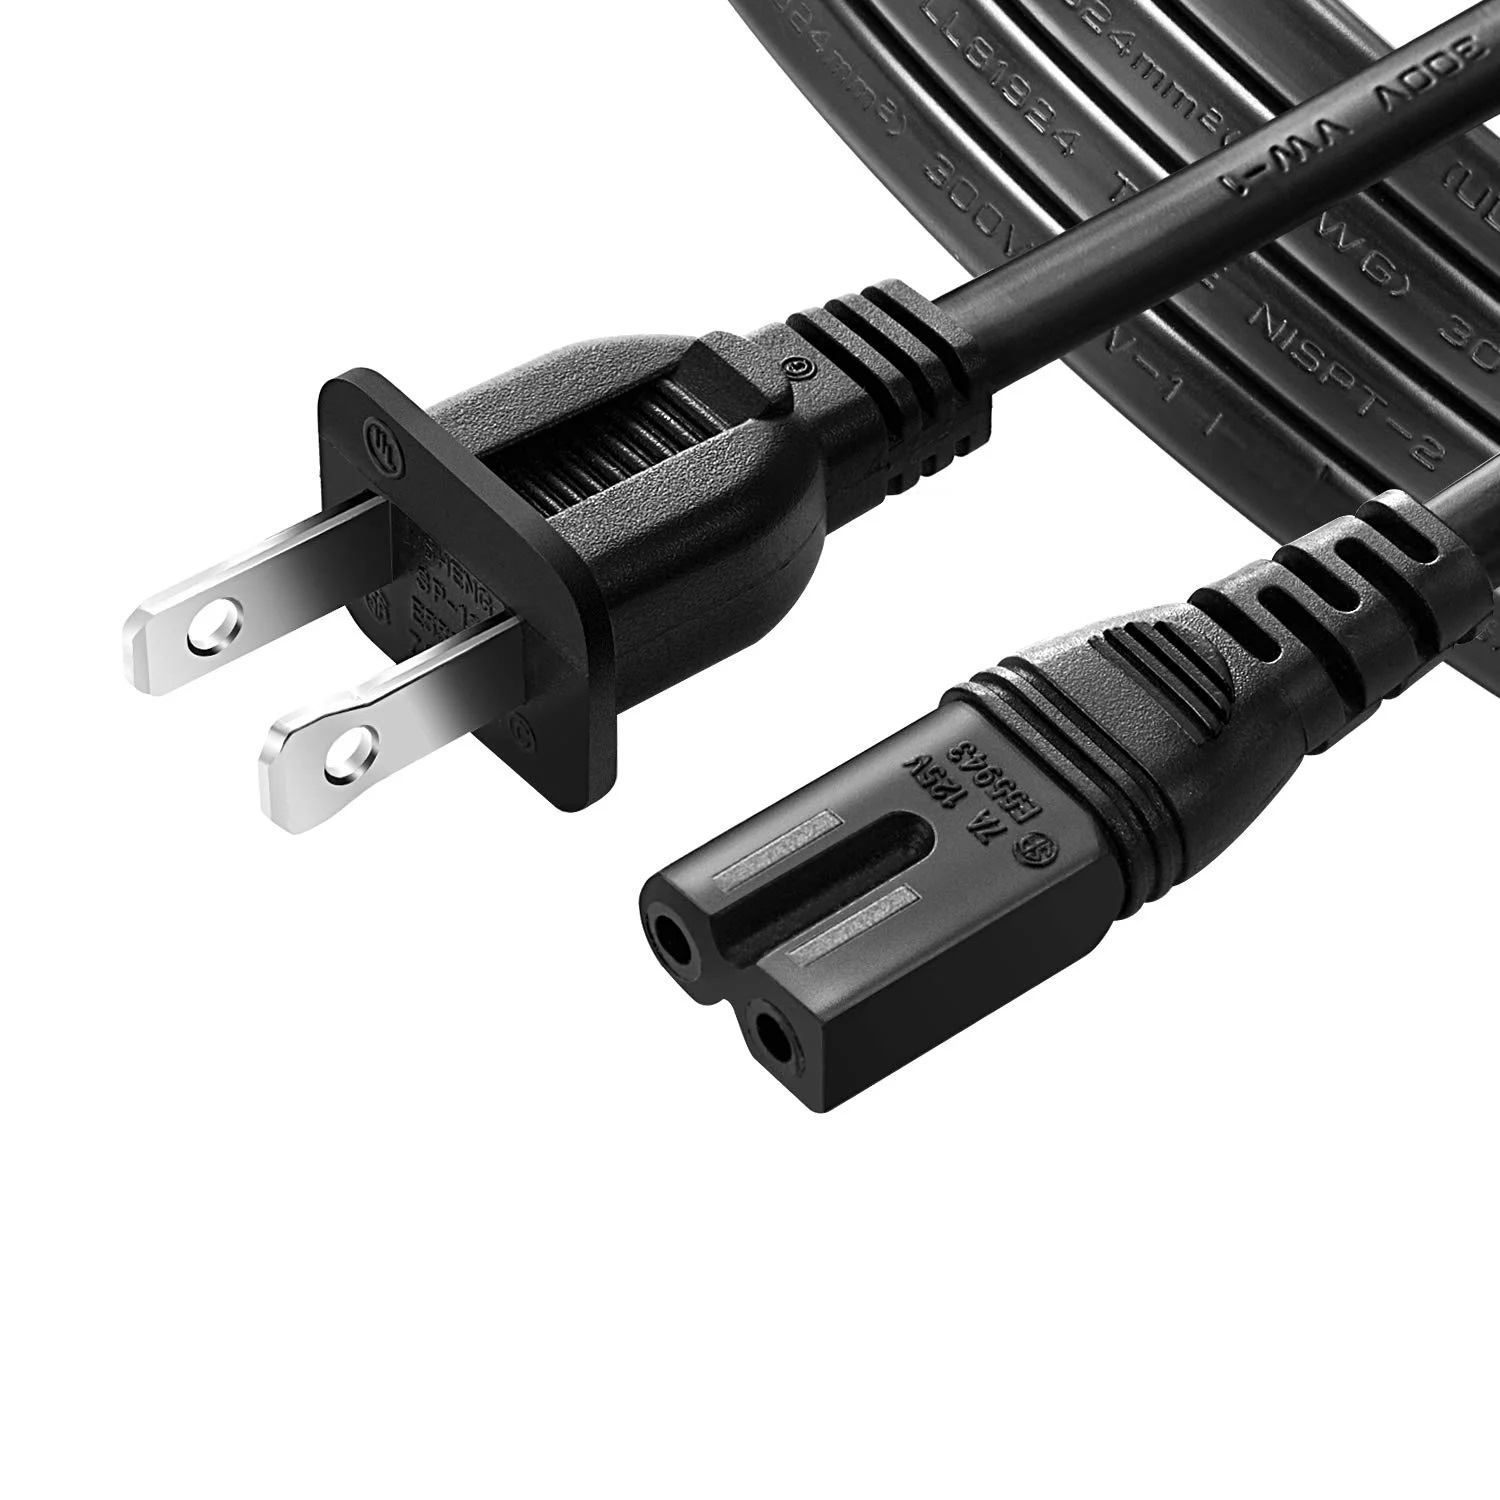
- A replacement plug – You can purchase a new plug from any hardware store or online retailer. Make sure to choose a plug that is compatible with the gauge of your extension cord.
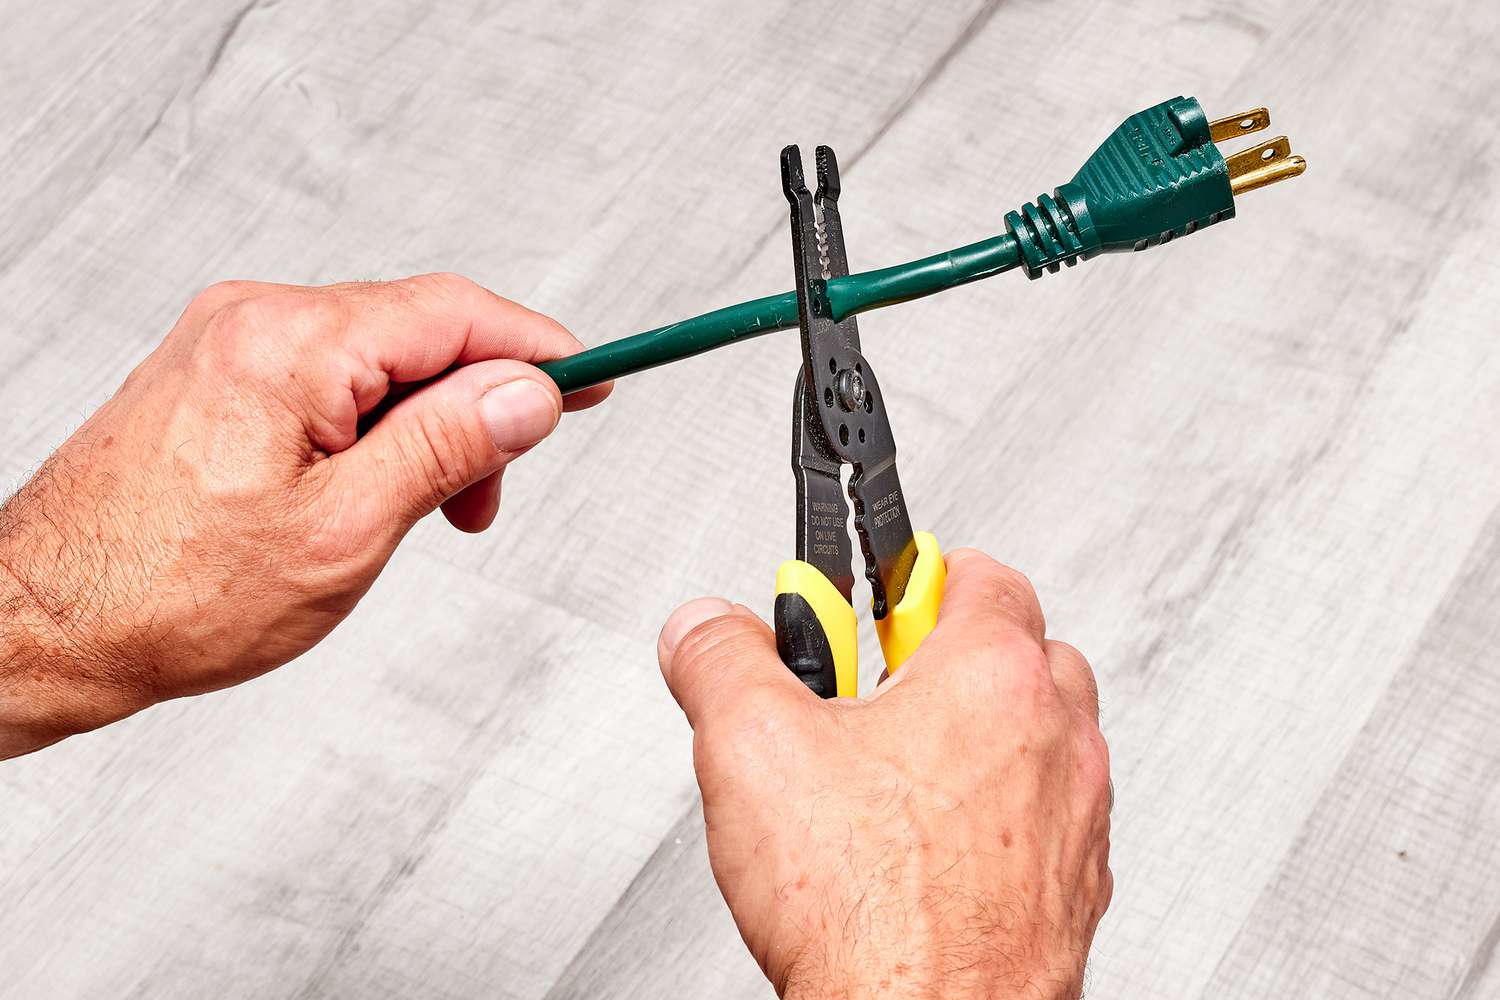
- Wire cutters – These will be used to cut the wires of the old plug and strip the insulation off the ends.
- Wire strippers – These specialized tools will help you remove the insulation from the wires without damaging them.
- Electrical tape – This will be used to secure the wires and provide insulation.
- A screwdriver – Most replacement plugs require a screwdriver to secure the wires and assemble the plug.
- A utility knife – This may be needed to remove the outer covering of the extension cord.
- A volt tester – This is an optional but recommended tool to test for the presence of electrical current.
It is essential to have all the necessary tools and materials to complete the task efficiently and safely. Now that you have everything ready, let’s move on to the step-by-step process of replacing the plug on your extension cord.
Step 1: Preparation
Before you begin replacing the plug on your extension cord, it’s crucial to take some preparatory steps to ensure your safety and the success of the project. Here’s what you need to do:
- Turn off the power – Locate the breaker that controls the circuit supplying power to the outlet where your extension cord is plugged in. Switch off the breaker to cut off the power supply.
- Unplug the cord – If your extension cord is currently connected to a device or appliance, make sure to unplug it from the outlet before proceeding.
- Choose a suitable workspace – Find a well-lit area with enough space to comfortably work on the cord. A table or workbench is ideal.
- Inspect the cord – Before you can replace the plug, examine the entire length of the cord for any signs of damage, such as cuts, frayed wires, or exposed conductors. If you notice any significant damage, it is best to replace the entire cord rather than just the plug.
- Cut off the old plug (optional) – If your extension cord already has a damaged plug that needs to be replaced, you can skip this step. Otherwise, if your cord has a detachable plug, use wire cutters to carefully cut off the old plug.
By taking the time to prepare properly, you set yourself up for a smooth and safe plug replacement process. Once you have completed these preparatory steps, you’re ready to move on to the next stage – safely disconnecting the old plug from the extension cord.
Step 2: Safely Disconnect the Old Plug
Now that you’ve prepared your workspace and examined the extension cord, it’s time to safely disconnect the old plug. Follow these steps:
- Put on safety gloves – Before working with the electrical components of the cord, it’s important to protect your hands by wearing safety gloves.
- Ensure the power is off – Double-check that the breaker controlling the circuit is switched off to prevent any electrical accidents.
- Examine the plug – Inspect the old plug. It may have screws or clips that hold it together. If you see any, use the appropriate tools to loosen and remove them.
- Separate the plug – Once any fasteners have been removed, gently pry apart the plug’s casing to expose the internal connections.
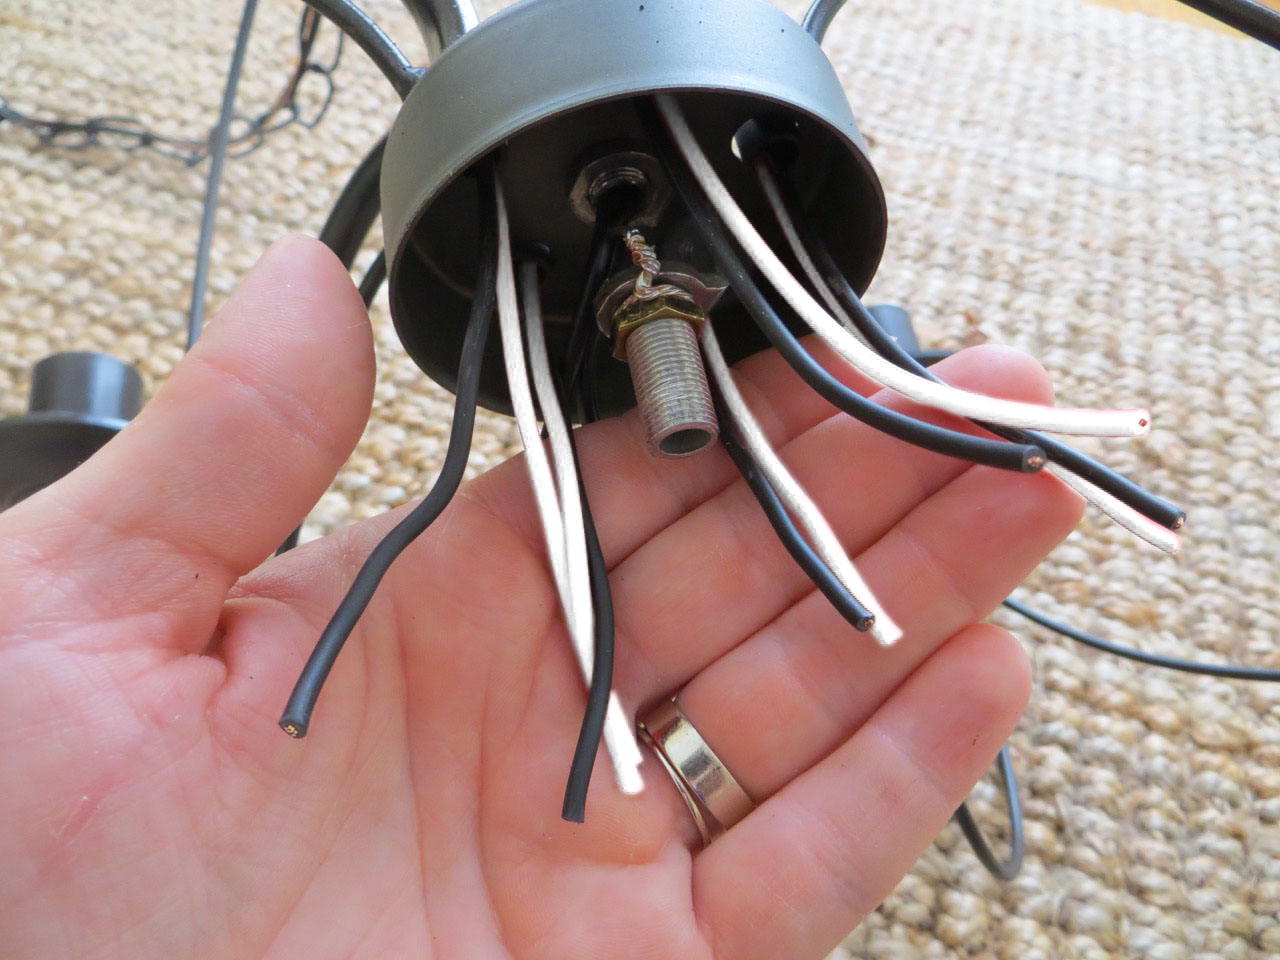
- Identify the wiring – Observe the wiring configuration of the old plug. Typically, you will see three wires – a black (hot) wire, a white (neutral) wire, and a green or bare (ground) wire.
- Take note of wire connections – Notice how the wires are connected to the plug’s terminals. It’s important to remember or document these connections for proper reassembly later.
- Disconnect the wires – Using wire cutters, carefully cut the wires near the plug terminals. Be cautious not to damage the wires or leave them too short.
Now that the old plug is safely disconnected from the extension cord, you can move on to the next step – removing the old plug from the cord itself.
Step 3: Remove the Old Plug
With the old plug safely disconnected from the extension cord, it’s time to remove it entirely. Follow these steps:
- Inspect the cord end – Examine the end of the cord where the old plug was attached. Ensure that there are no frayed or damaged wires and that the insulation is intact. If you notice any issues, it’s best to replace the entire cord.
- Prepare the cord end – If necessary, use a utility knife to cut off any damaged or frayed portions of the cord. Make sure to trim the edges cleanly.
- Strip the wires – Grab your wire strippers and carefully remove about 1 inch (2.5 cm) of the outer insulation from the cord end. Take care not to cut into the individual wires inside.
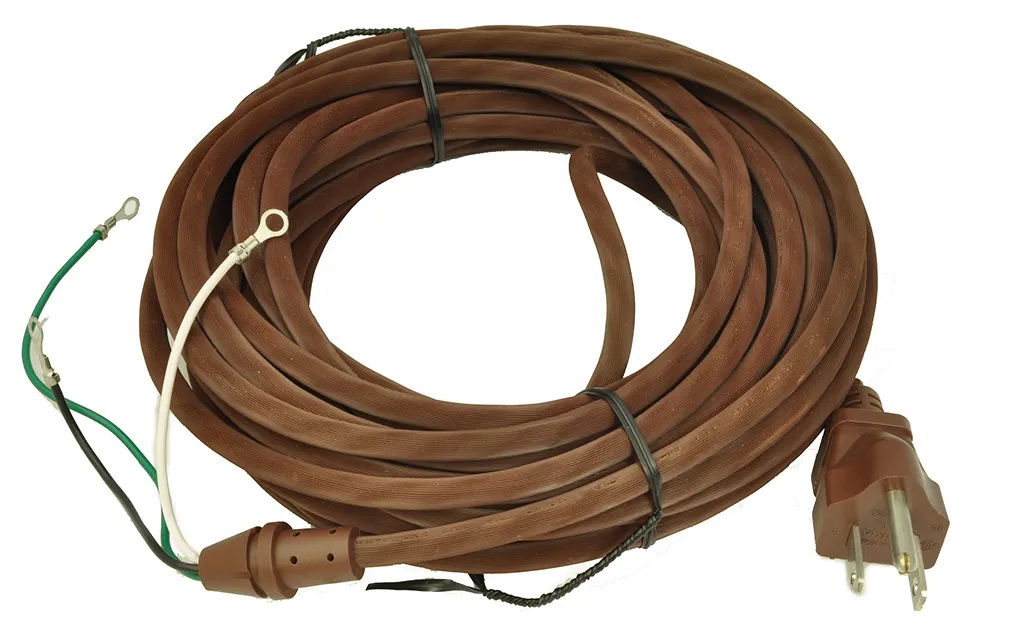
- Separate the wires – Once the insulation is removed, you will see three separate wires – a black (hot) wire, a white (neutral) wire, and a green or bare (ground) wire.
- Trim the wires – Use your wire cutters to trim the ends of the wires to ensure they are even and free from any fraying or damage.
- Straighten the wires – Straighten each wire so they are neat and parallel to one another. This will make it easier to attach them to the new plug.
- Double-check the cord – Before proceeding, verify that the wires are free from any twists or tangles and that the insulation is not compromised.
Once you’ve removed the old plug and prepared the cord end, you’re ready to move on to the next step – preparing the cord for the installation of the new plug.
When replacing a plug on an extension cord, make sure to match the new plug to the cord’s wire gauge and amperage rating to ensure safety and proper function. Always follow the manufacturer’s instructions for installation.
Read more: How To Wire An Extension Cord Plug
Step 4: Prepare the Cord
Now that the old plug has been removed, it’s important to properly prepare the cord for the installation of the new plug. Follow these steps:
- Thread the new plug – Take the new plug and loosen the screws or clips that will secure the wires. Ensure that the screws or clips are open wide enough to accommodate the cord.
- Insert the cord – Gently insert the stripped end of the cord into the new plug. Make sure to push it all the way in until the insulation is flush with the plug’s casing.
- Arrange the wires – In the new plug, you will see three terminals labeled for the black (hot), white (neutral), and green or bare (ground) wires. Position each wire in its respective terminal.
- Tighten the screws or clips – Once the wires are properly positioned, use a screwdriver or pliers to tighten the screws or clips securely. Be careful not to overtighten and risk damaging the wires.
- Check the cord attachment – After securing the wires, gently tug on the cord to ensure it is firmly attached to the plug. There should be no movement or slack.
- Inspect for exposed wires – Double-check that none of the wire strands are exposed outside of the terminals. If necessary, reposition the wires or trim them slightly.
By properly preparing the cord and ensuring a secure attachment to the new plug, you’re setting yourself up for a safe and reliable connection. Now it’s time to move on to the next step – attaching and securing the new plug.
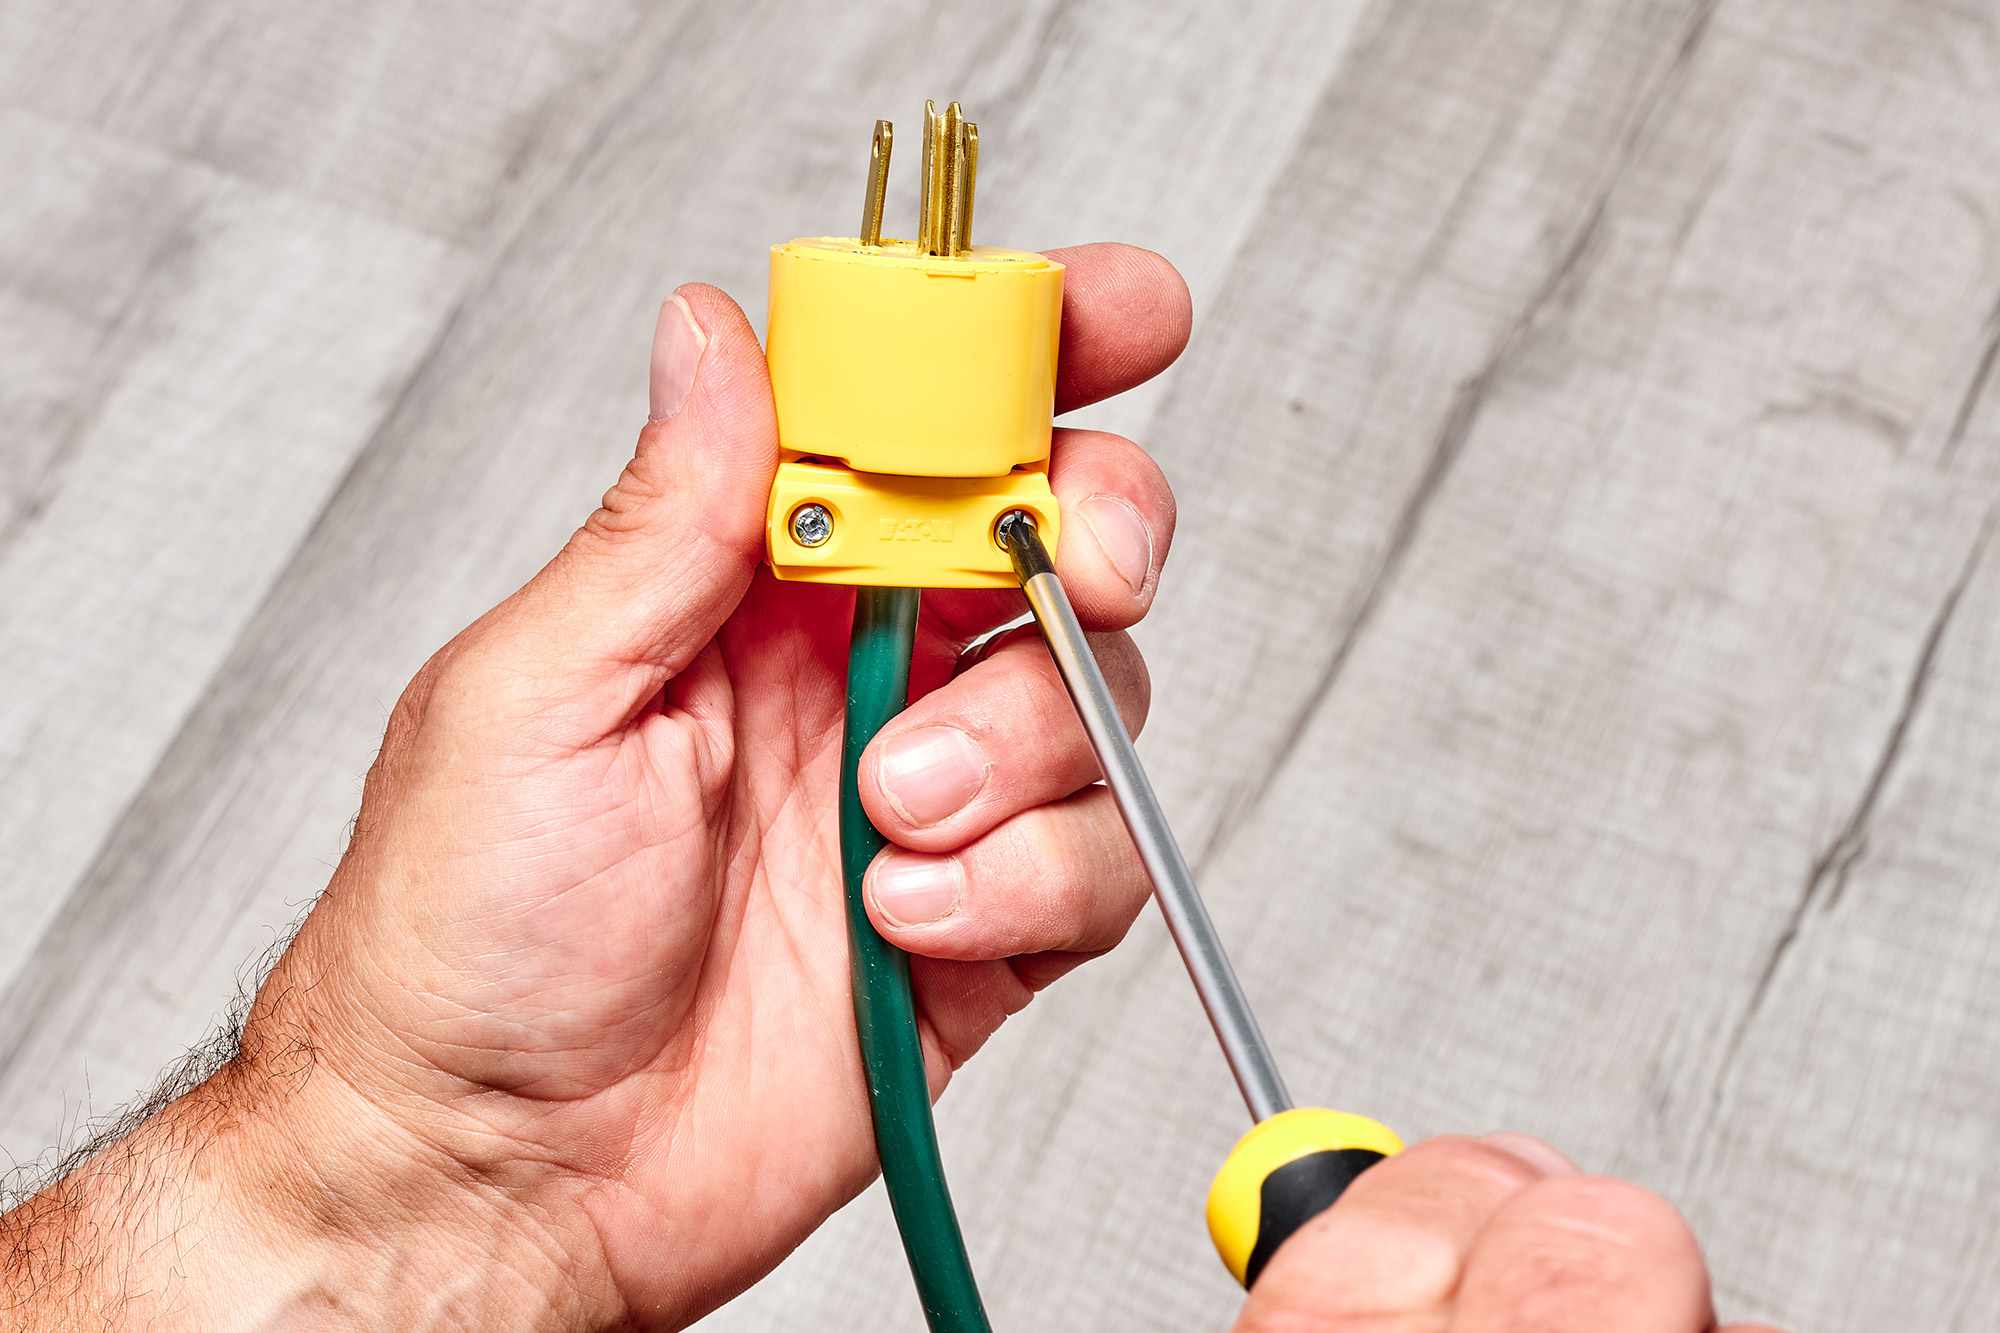
Step 5: Attach the New Plug
The next step in replacing the plug on your extension cord is to attach the new plug securely. Follow these steps:
- Position the plug – Hold the new plug in your hand, with the terminals facing upwards and the cord extending out.
- Insert the wires – Take the stripped end of the cord and insert each wire into its corresponding terminal in the new plug. The black (hot) wire should go into the brass or gold-colored terminal, the white (neutral) wire into the silver-colored terminal, and the green or bare (ground) wire into the green-colored terminal.
- Tighten the screws – Using a screwdriver or pliers, tighten the screws of each terminal to secure the wires. Ensure that the wires are snugly held in place, but be cautious not to overtighten and damage the wire insulation.
- Double-check the connections – Confirm that each wire is securely fastened and that there are no loose or exposed strands. A clean and tight connection is essential for safety.
At this point, you have successfully attached the new plug to the wires of your extension cord. However, we’re not done yet – let’s move on to the next step, which involves securing the new plug to ensure long-lasting functionality.
Step 6: Secure the New Plug
After attaching the new plug to the wires of your extension cord, it’s important to secure it properly to ensure a reliable and safe connection. Follow these steps:
- Check the plug housing – Ensure that the plug housing is intact and undamaged. If you notice any cracks or signs of wear, it’s best to replace the plug entirely to maintain safety.
- Close the plug casing – Carefully bring the two halves of the plug casing together, aligning the screw holes or clips.
- Secure the plug casing – Depending on the type of plug you have, use the appropriate method to secure the casing. This may involve tightening screws or snapping the casing shut.
- Tighten all fasteners – If there are any screws or clips holding the plug casing together, use a screwdriver or pliers to ensure they are tightened properly. This will prevent any accidental opening of the plug.
- Inspect the cord connection – After securing the plug, inspect the cord connection point to ensure that it is properly aligned and centered. The plug should be securely attached to the cord without any visible gaps.
- Test the plug’s flexibility – Gently flex the cord near the plug to ensure that the connection remains intact and does not loosen. If there is any movement or instability, disassemble the plug and recheck your wiring and connections.
By properly securing the new plug, you are ensuring a durable and dependable connection for your extension cord. However, before you consider the replacement complete, it’s crucial to test the connection for proper functionality.
Step 7: Test the Connection
Before you assume that the replacement of the plug on your extension cord is successful, it’s essential to test the connection to ensure proper functionality and safety. Follow these steps:
- Plug into a power source – Locate a suitable power outlet and plug your newly replaced extension cord into it.
- Switch on the power – Turn on the breaker or switch associated with the power outlet to restore the power supply.
- Inspect for any issues – Observe the connection point between the plug and the cord. Ensure that there are no sparks, smoke, unusual heat, or other signs of electrical issues.
- Check device/appliance operation – Connect a device or appliance to the other end of the extension cord. Make sure that it powers on and functions properly.
- Test different outlets – If possible, try plugging the extension cord into different power outlets to confirm that the connection works consistently and reliably.
- Use a volt tester (optional) – For added peace of mind, you can use a volt tester to check for the presence of electrical current. Follow the instructions provided with the tester to perform the test safely.
By thoroughly testing the connection and confirming its functionality, you can be confident in the success of replacing the plug on your extension cord. If you encounter any issues during the testing process, immediately disconnect the cord and seek professional assistance to address the problem.
Congratulations! You have now completed the process of replacing the plug on your extension cord, allowing you to safely and effectively power your devices and appliances.
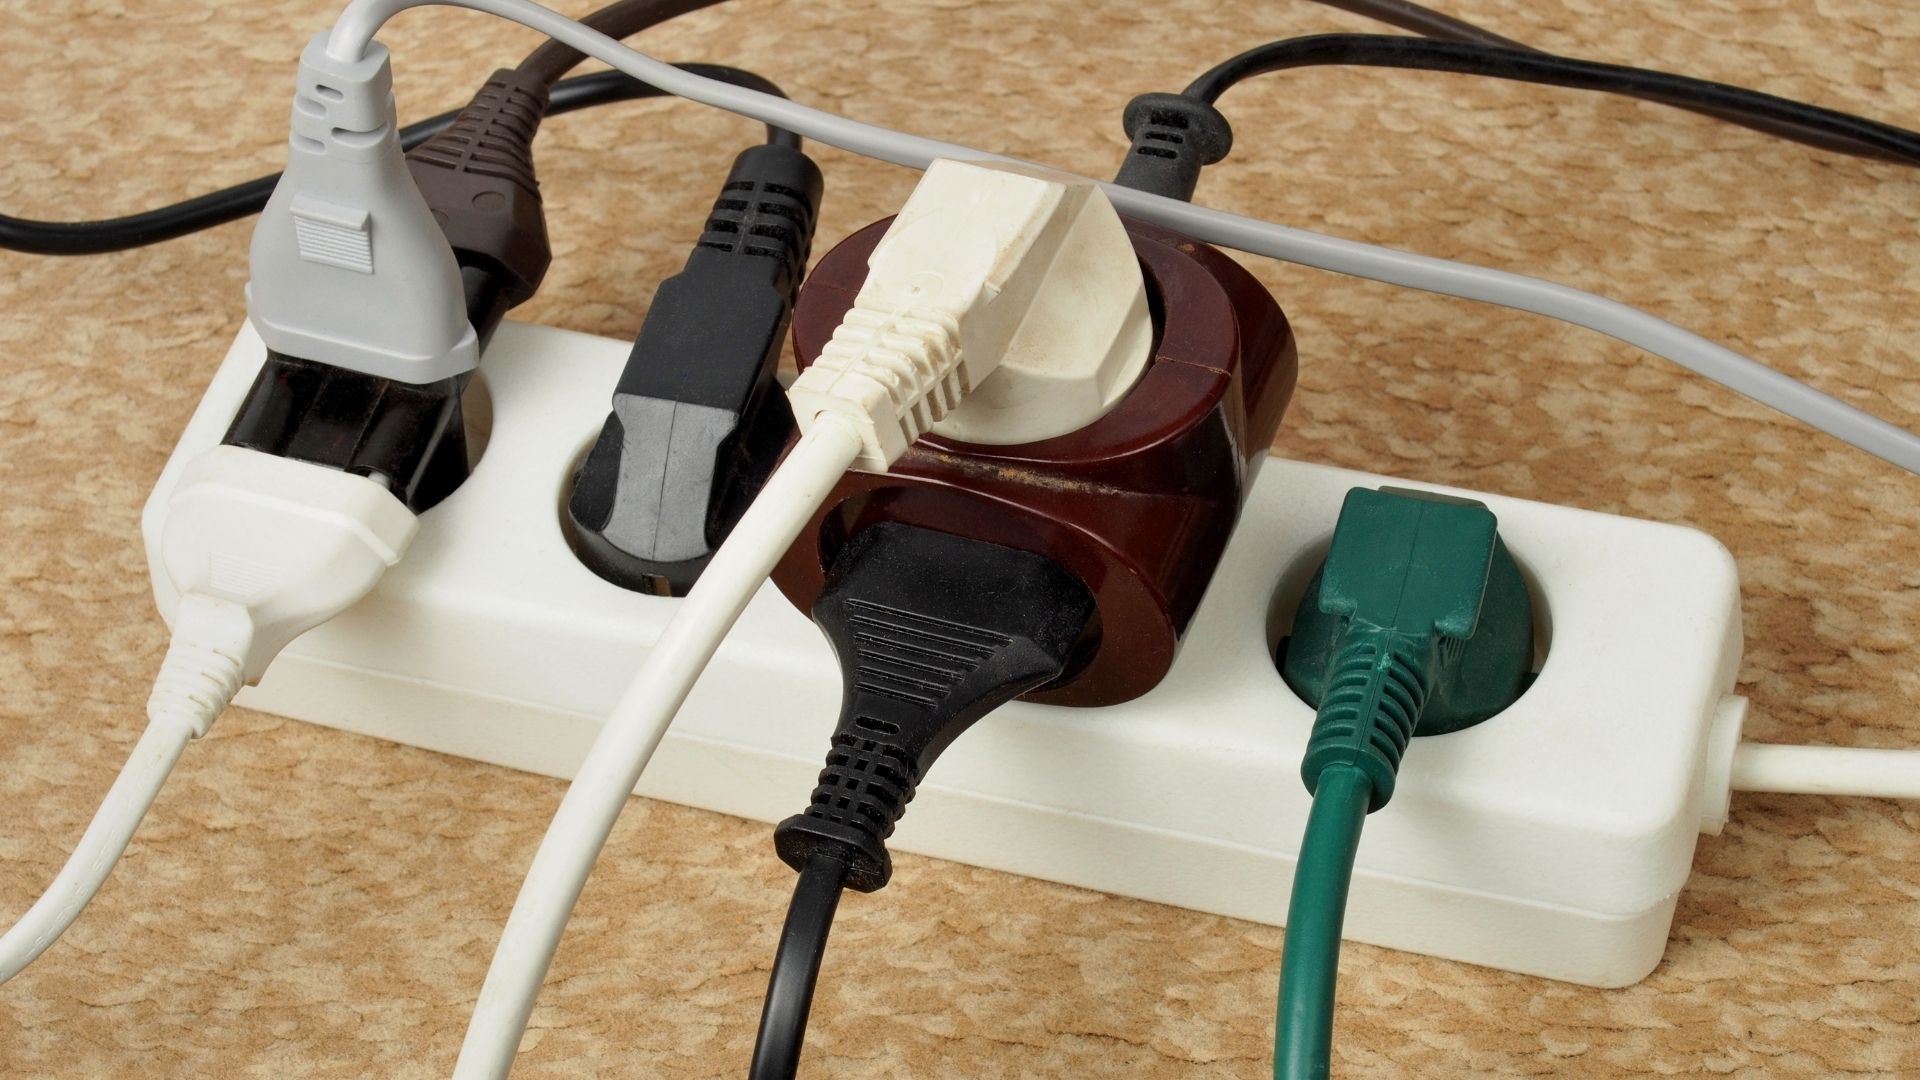
Remember, it’s important to inspect your extension cords regularly for any signs of wear or damage and replace them as needed to maintain optimal safety. Happy and safe electrical powering!
Conclusion
Replacing the plug on an extension cord is a simple yet essential skill that can save you time and money while ensuring your safety. With the right tools, materials, and knowledge, you can effectively replace a damaged or worn-out plug, allowing you to continue using your extension cord without any issues.
In this article, we have walked you through the step-by-step process of replacing the plug on your extension cord. From the initial preparation and safely disconnecting the old plug to removing the old plug, preparing the cord, attaching the new plug, securing it, and finally testing the connection, we have covered each stage in detail.
Throughout the process, it is critical to prioritize safety. Remember to turn off the power, wear safety gloves, and double-check your connections to avoid electrical accidents and ensure a reliable connection. If you ever feel uncomfortable with any step or encounter any difficulties, reach out to a qualified electrician for assistance.
By replacing the plug on your extension cord, you prolong the life of your cord and prevent potential hazards that could arise from using a damaged or faulty plug. Regularly inspect your extension cords for any signs of damage or wear, and replace them as necessary to maintain a high level of safety in your home or workplace.
Now that you have learned how to replace the plug on an extension cord, you can confidently tackle this task whenever the need arises. Stay cautious, follow the steps carefully, and enjoy the convenience and reliability of your fully functional extension cord.
Frequently Asked Questions about How To Replace Plug On Extension Cord
Was this page helpful?
At Storables.com, we guarantee accurate and reliable information. Our content, validated by Expert Board Contributors, is crafted following stringent Editorial Policies. We're committed to providing you with well-researched, expert-backed insights for all your informational needs.


0 thoughts on “How To Replace Plug On Extension Cord”