Articles
How To Clean Antique Picture Frames
Modified: February 25, 2024
Discover the best articles on how to clean antique picture frames, including expert tips and techniques to preserve their beauty and value.
(Many of the links in this article redirect to a specific reviewed product. Your purchase of these products through affiliate links helps to generate commission for Storables.com, at no extra cost. Learn more)
Introduction
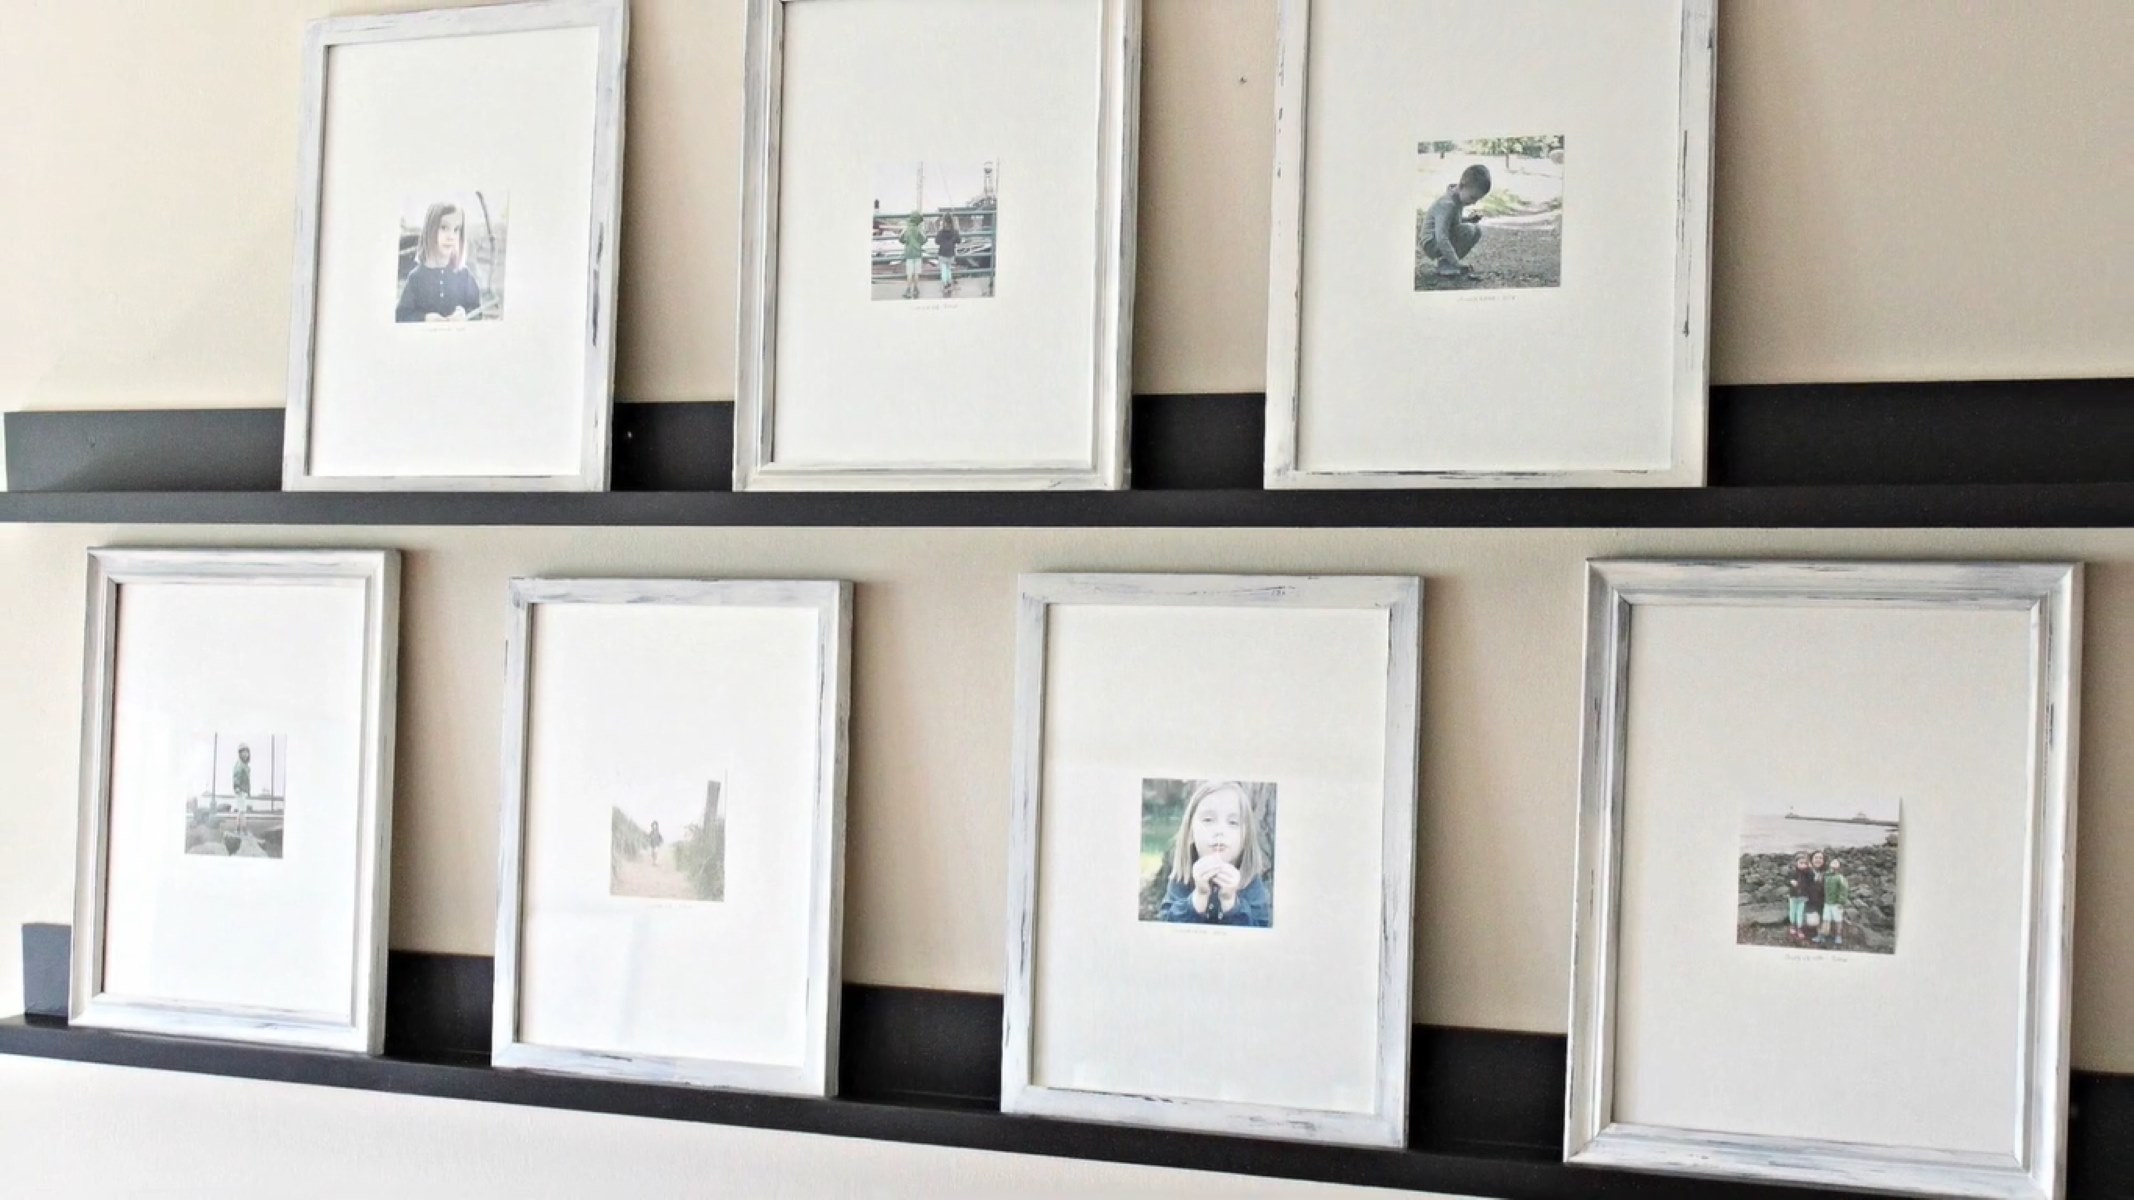
Antique picture frames are not just decorative pieces; they are artifacts that hold a piece of history. Whether you’ve inherited one or stumbled upon a unique find at a flea market, preserving and maintaining antique frames is essential to keep their charm intact. Over time, these frames can accumulate dust, dirt, stains, and even mold, but with the right techniques and supplies, you can restore them to their former glory.
Cleaning antique picture frames requires a delicate touch and a thorough understanding of the different materials and finishes used in their construction. It is crucial to approach the cleaning process with caution to avoid any damage. In this article, we will guide you through the step-by-step process of cleaning and caring for your antique picture frames, ensuring that they stay beautiful for years to come.
Key Takeaways:
- Preserve the Past: Cleaning antique picture frames requires delicate care and attention to detail. By following the step-by-step process, you can restore their beauty and ensure they continue to captivate for years to come.
- Expert Guidance: When dealing with fragile or valuable frames, seeking professional advice is crucial. Understanding the unique needs of each frame and employing the right techniques will help maintain their value and beauty.
Read more: How To Repair Antique Picture Frames
Supplies Needed
Before you begin cleaning your antique picture frames, make sure you have the necessary supplies gathered and ready. Having these items on hand will help ensure a smooth and efficient cleaning process. Here are the supplies you’ll need:
- Mild soap or detergent
- Lukewarm water
- Soft, clean cloths or microfiber towels
- Cotton swabs
- Bristle brush or soft-bristle toothbrush
- Isopropyl alcohol
- White vinegar
- Distilled water
- Polishing cloth
- Protective gloves
- Mildew or mold treatment solution (if necessary)
Ensure that the soap or detergent is non-abrasive and free from harsh chemicals that could damage the frame. Likewise, use soft cloths or microfiber towels to avoid scratching or leaving lint residue on the frame’s surface.
Remember to always wear protective gloves to prevent any skin contact with cleaning agents or potential hazardous substances, particularly if you are working with a frame that may have mold or mildew.
Preparing the Picture Frame
Before starting the cleaning process, it’s important to prepare the antique picture frame properly. Here are the steps to follow:
- Choose a clean and well-lit area: Find a suitable workspace where you can comfortably clean and examine the frame without any distractions.
- Remove the picture: If there is a photo or artwork inside the frame, carefully remove it and set it aside in a safe place.
- Inspect the frame: Take a close look at the frame to identify any loose or damaged parts. If there are any fragile areas or embellishments, be extra cautious when cleaning them.
- Dust the frame: Use a soft brush or a can of compressed air to remove any loose dust or debris from the frame’s surface. Be gentle to minimize the risk of scratching the frame.
- Protect delicate features: If the frame has delicate details, such as intricate carvings or gilding, place a thin layer of masking tape over these areas to protect them during the cleaning process.
Preparing the picture frame ensures that you have a clear and safe canvas for the cleaning process. By taking the time to inspect and dust the frame beforehand, you can prevent any further damage and ensure a more effective cleaning outcome.
Removing Dust and Dirt
Dust and dirt are common culprits that can accumulate on the surface of antique picture frames. Before moving on to deeper cleaning, it’s essential to remove as much dust and dirt as possible. Here’s how you can do it:
- Use a soft brush or a can of compressed air: Gently brush the frame’s surface using a soft-bristle brush or use a can of compressed air to blow away loose dirt and dust. Start from the top of the frame and work your way down, being careful around any delicate or fragile features.
- Wipe with a microfiber cloth: After removing the loose dust, gently wipe the frame with a clean microfiber cloth to capture any remaining particles. Make sure to wipe in a sweeping motion to avoid pushing the dust back onto the frame.
- Clean hard-to-reach areas: For hard-to-reach areas and decorative crevices, use a cotton swab dipped in rubbing alcohol or mild soap diluted with water. Carefully maneuver the swab to remove any dirt or grime. Be gentle and do not apply excessive pressure to avoid damaging the frame.
Removing dust and dirt not only improves the appearance of the antique picture frame but also prepares it for further cleaning. It’s important to be gentle and avoid using harsh chemicals or abrasive materials that can cause damage. By taking these initial steps, you’ve laid the foundation for a thorough and effective cleaning process.
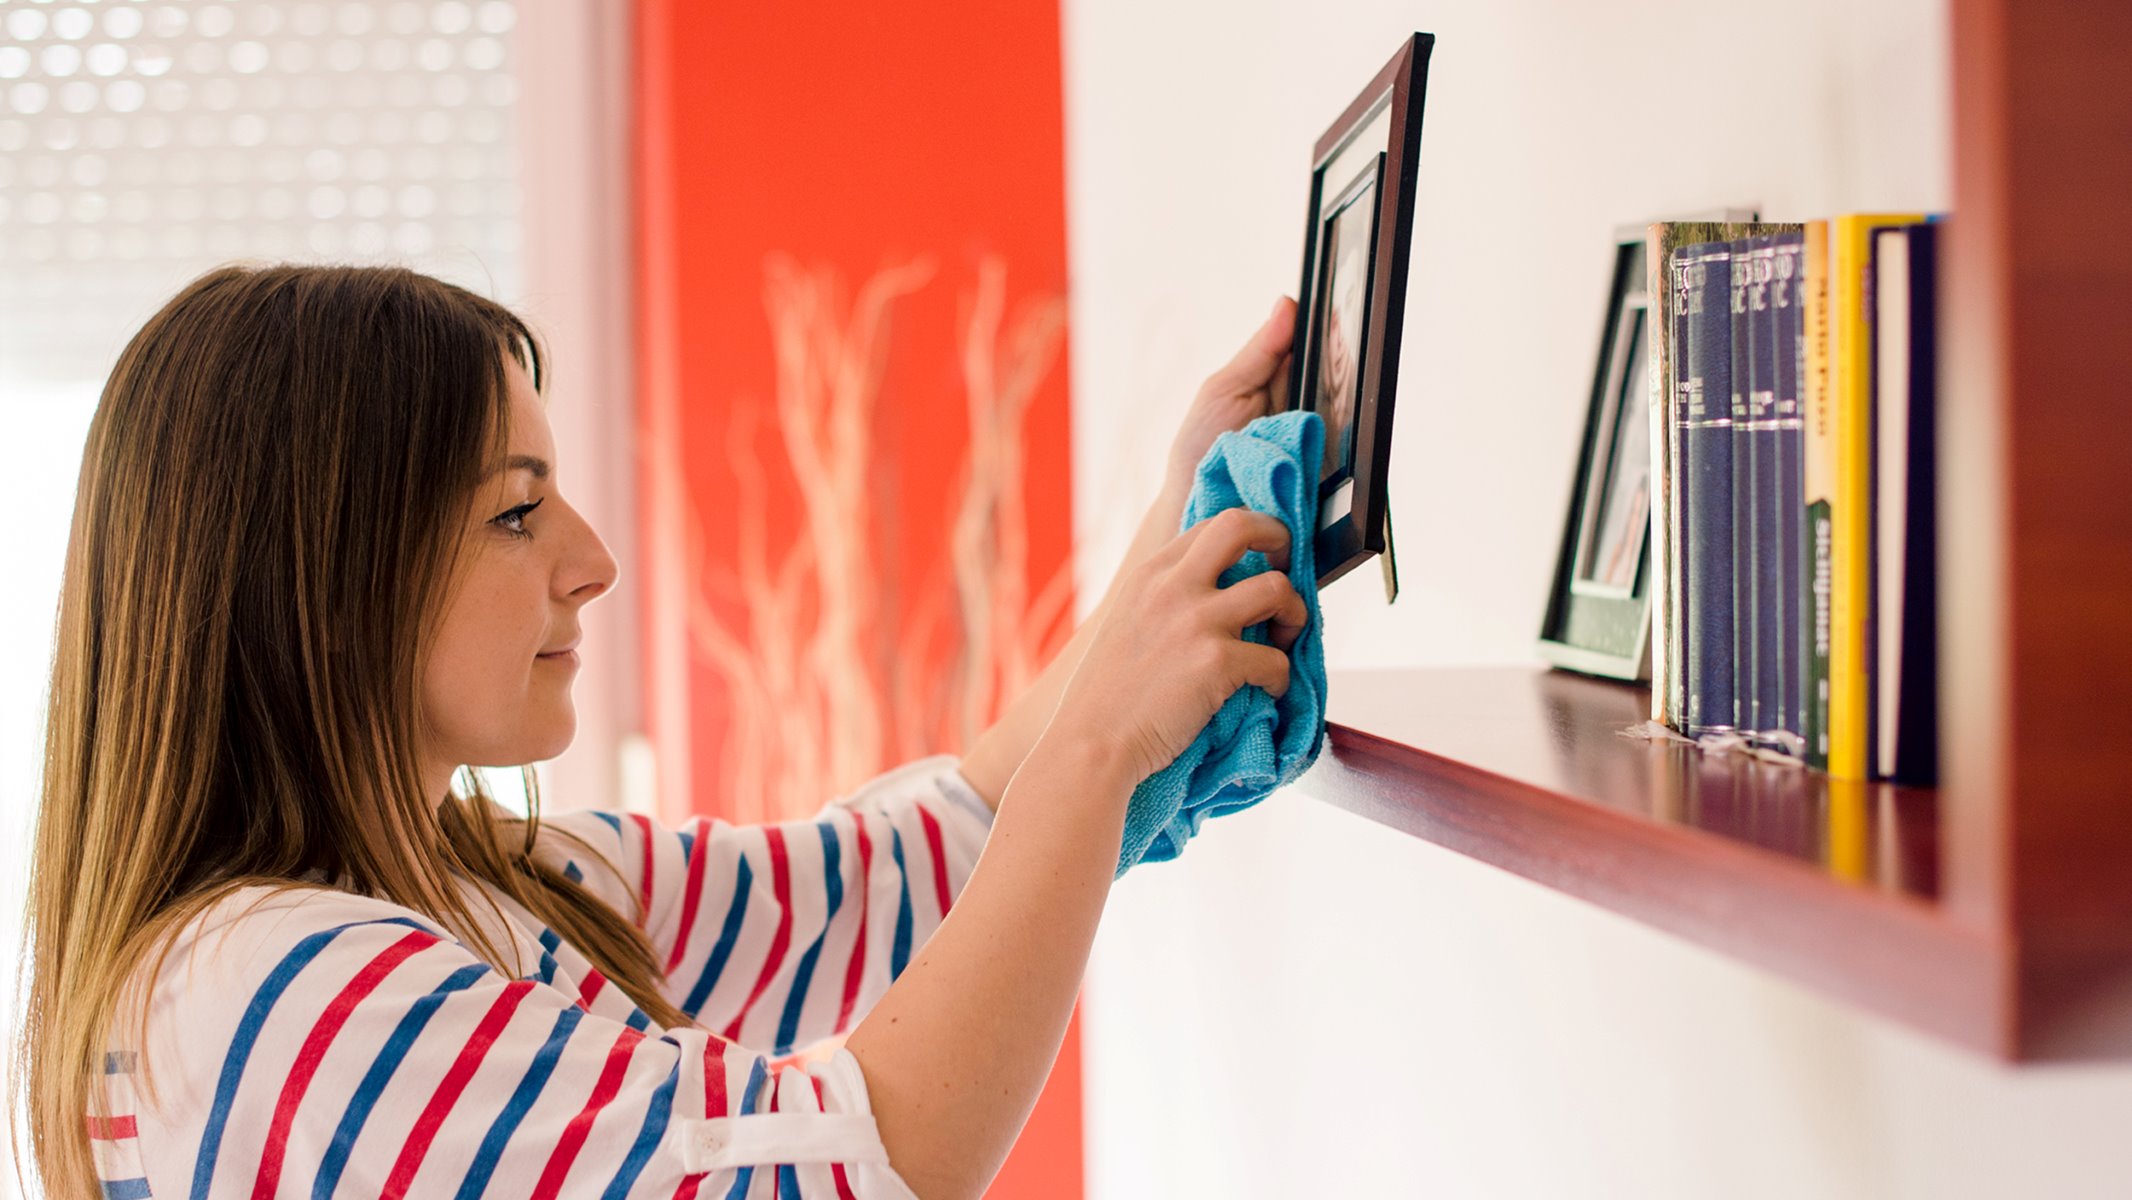
Cleaning the Frame
Once you’ve removed the dust and dirt from the antique picture frame, it’s time to proceed with the cleaning process. Here are the steps to follow:
- Prepare a cleaning solution: In a small bowl or bucket, mix a few drops of mild soap or detergent with lukewarm water. Avoid using any harsh chemicals or abrasive cleaners that can damage the frame.
- Dampen a soft cloth: Dip a soft cloth into the cleaning solution, making sure it is damp but not soaking wet. Wring out any excess liquid to prevent water from seeping into the frame or causing damage.
- Gently wipe the frame: Starting from the top and working your way down, gently wipe the frame’s surface with the damp cloth. Use light, circular motions and apply minimal pressure to avoid scratching the frame. Pay extra attention to any stained or dirty areas, applying a bit more pressure if necessary.
- Rinse with clean water: Once you have cleaned the frame, rinse the cloth with clean water and use it to wipe away any soap residue. This step helps prevent the soap from leaving behind a film on the frame’s surface.
- Dry the frame: Using a clean, dry cloth or microfiber towel, gently pat the frame to remove any excess moisture. Make sure to dry the frame thoroughly to prevent water spots or potential damage.
It’s important to note that different types of antique picture frames may require specific cleaning techniques or precautions. For example, frames with delicate or porous surfaces, such as gilt or wood, may require a more specialized approach. If you’re unsure about how to clean a particular type of antique frame, it’s recommended to consult with a professional or seek advice from an expert in antique restoration.
By following these steps, you can effectively clean the antique picture frame and restore its original luster. However, if you encounter stubborn stains or marks, additional steps may be necessary to restore the frame’s appearance fully.
Use a soft, dry cloth to gently dust the frame, avoiding any harsh cleaning products or water. For stubborn dirt, use a small amount of mild soap and water on a cloth, then dry immediately. Avoid using any abrasive materials that could damage the delicate surface.
Read more: How To Identify Antique Picture Frames
Removing Stains
Stains can be a common issue with antique picture frames, especially if they have been exposed to environmental factors over time. Here are some steps you can take to remove stains and restore the beauty of your frame:
- Identify the stain: Different types of stains require different cleaning methods. Before attempting to remove the stain, carefully evaluate its nature. Is it a water stain, grease stain, or something else? This will guide your approach in removing it effectively.
- Water stains: For water stains, dampen a clean cloth with distilled water and gently blot the stained area. Avoid using excessive moisture, as it can further damage the frame. Once the stain has lightened, blot the area with a dry cloth to absorb any remaining moisture.
- Grease stains: Grease or oily stains can be more challenging to remove. Start by blotting the stain with a clean cloth to absorb any excess grease. Then, create a mixture of mild soap and warm water. Dampen a cloth with the soapy solution and gently blot the grease stain. Rinse the cloth, dampen it with clean water, and use it to remove any soap residue. Finally, dry the area thoroughly.
- Stubborn stains: If the stain persists or is particularly stubborn, it might require a more specialized approach. In these cases, it is advisable to consult an expert in antique restoration. They will have the necessary knowledge and techniques to safely remove the stain without causing damage to the frame.
Remember, when dealing with stains on antique picture frames, patience is key. Avoid using harsh chemicals or abrasive materials, as they can cause irreversible damage. It is always better to proceed with caution or to seek professional advice to ensure the integrity of the frame is maintained.
Polishing the Frame
Polishing the antique picture frame is an essential step in restoring its beauty and enhancing its overall appearance. Here are the steps you can follow to polish your frame:
- Choose an appropriate polishing agent: Depending on the frame’s material and finish, select an appropriate polishing agent. For frames with metal components, such as silver or brass, specific metal polishes may be required. For wooden frames, furniture polish or beeswax can be used.
- Apply the polish: Dampen a soft cloth with a small amount of the chosen polishing agent. Gently rub the cloth on the frame’s surface in circular motions. Ensure even coverage and pay extra attention to any tarnished or dull areas.
- Buff the frame: After applying the polish, use a clean, dry cloth or microfiber towel to buff the frame. Apply moderate pressure and use a back-and-forth motion to achieve a smooth and lustrous finish.
- Inspect for residue: Once you have finished buffing, carefully inspect the frame for any residue or excess polish. Use a clean cloth to remove any leftover polish, lint, or smudges, ensuring a clean and polished appearance.
When polishing your antique picture frame, it is important to remember that different finishes and materials require different approaches. Take care to use products and techniques suitable for your specific frame to achieve the best results. If in doubt, consult with an expert in antique restoration to ensure you’re using the right polishing methods for your frame’s unique characteristics.
Regular polishing not only enhances the frame’s beauty but also helps protect its surface from oxidation, corrosion, and other forms of deterioration. By incorporating polishing into your maintenance routine, you can ensure that your antique picture frame retains its elegance and charm for years to come.
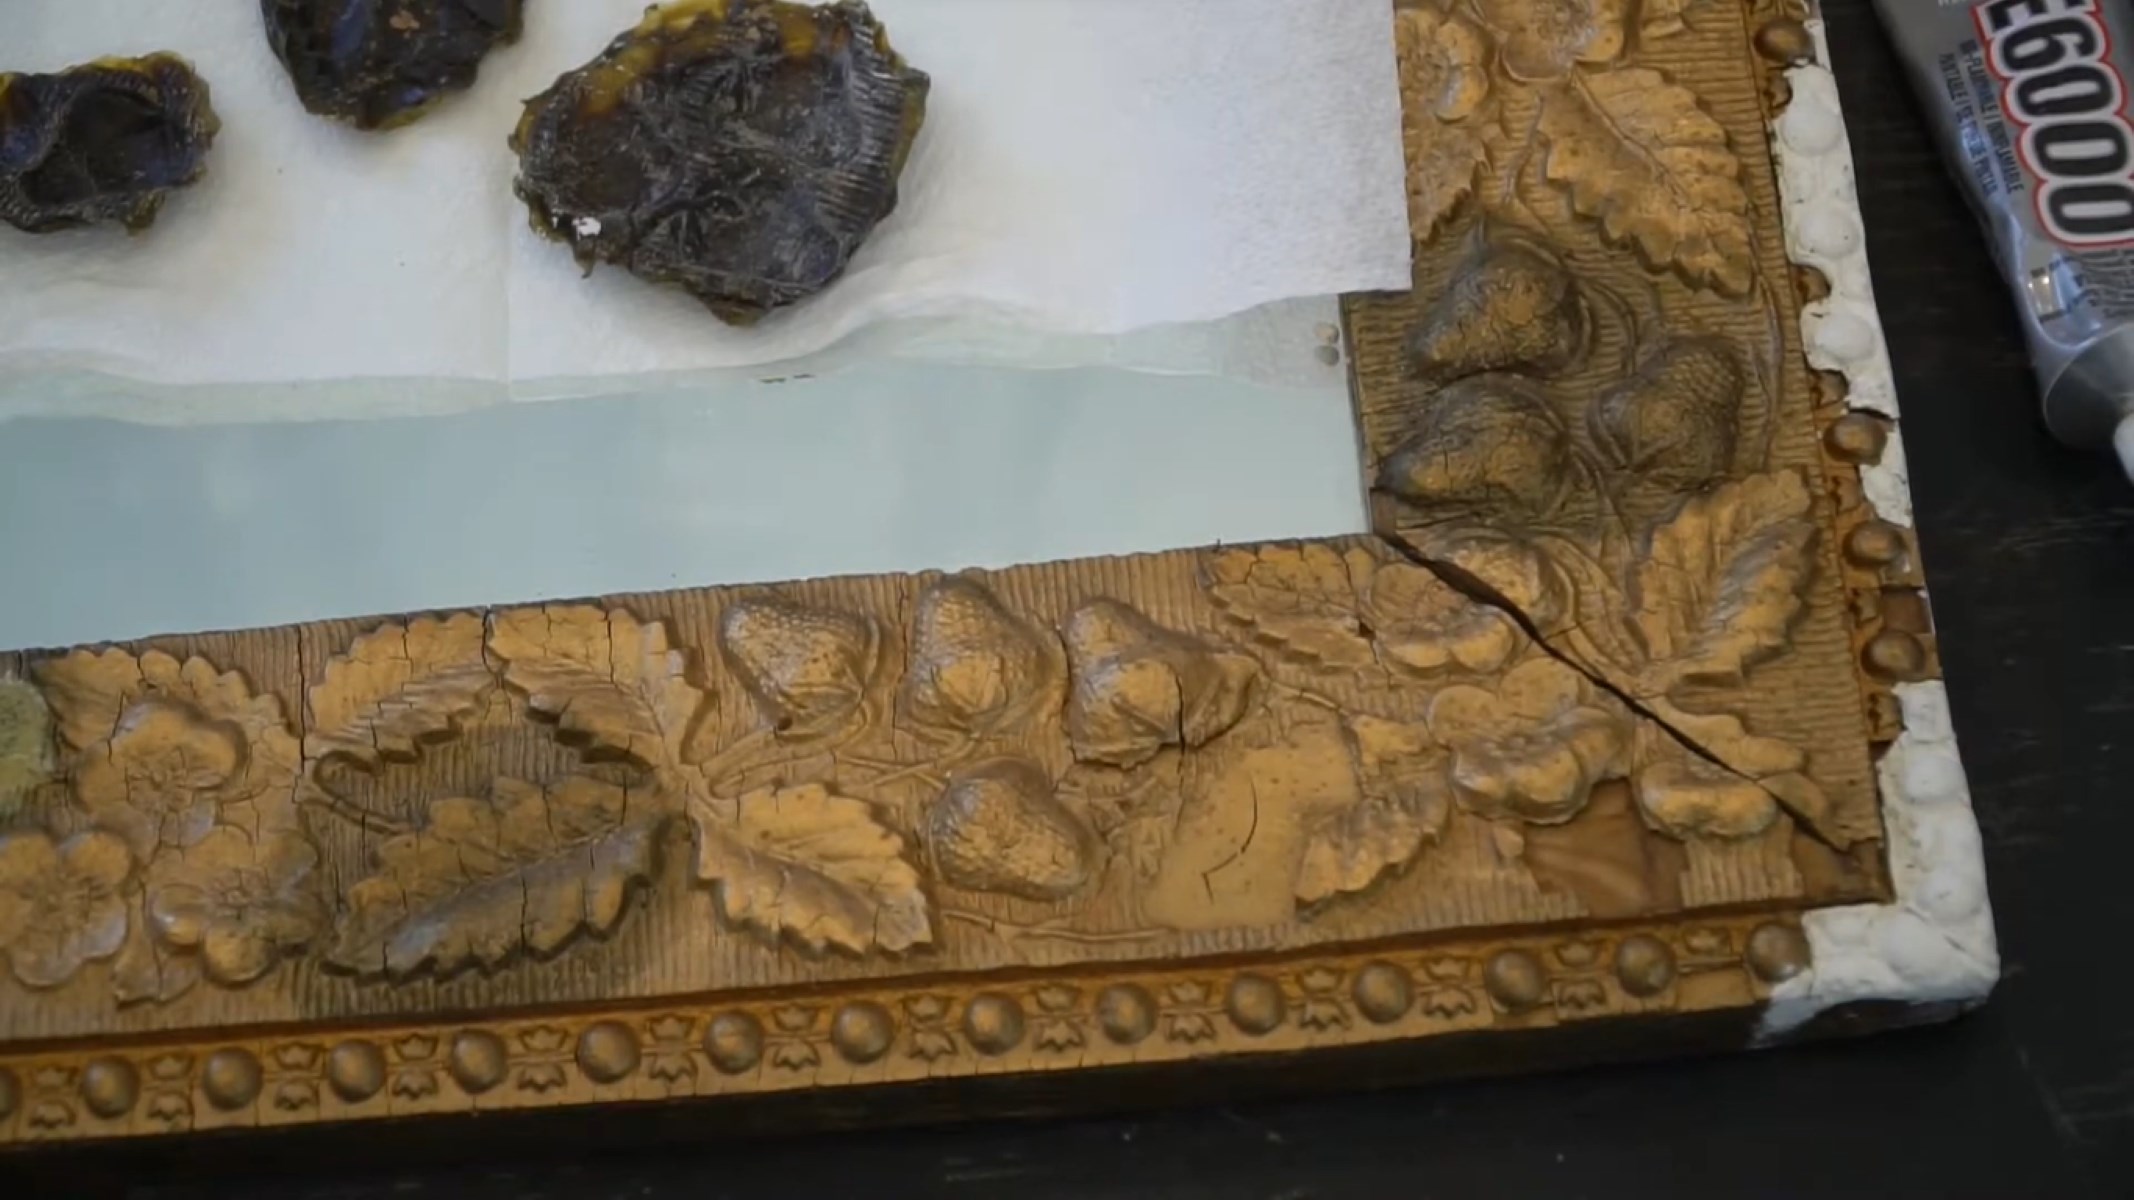
Dealing with Mildew or Mold
The presence of mildew or mold on an antique picture frame can not only ruin its appearance but also pose a health risk. It is crucial to address this issue promptly and effectively. Here’s how you can deal with mildew or mold on your frame:
- Isolate the frame: If you notice any signs of mildew or mold on your antique picture frame, move it to a well-ventilated area away from other belongings to prevent the spread of spores.
- Protective gear: Before attempting to clean the mold or mildew, make sure to wear protective gloves, a mask, and safety goggles to prevent any potential health hazards.
- Dry brushing: Using a soft-bristle brush or a toothbrush, gently brush away any loose mold or mildew from the frame’s surface. Be cautious not to spread the spores further during this process.
- Isopropyl alcohol or vinegar solution: Mix a solution of isopropyl alcohol and water or white vinegar and water in equal parts. Dampen a clean cloth with the solution and gently wipe the affected areas of the frame. This will help kill the mold and mildew and prevent further growth.
- Drying: After cleaning, thoroughly dry the frame to prevent any moisture that could encourage mold or mildew growth. Use a fan or allow the frame to air-dry in a well-ventilated area.
- Monitor and prevent: Keep a close eye on the frame to ensure that the mold or mildew does not return. Regularly inspect the area and maintain a dry and well-ventilated environment to discourage any future growth.
If you are dealing with a severe case of mold or mildew, or if you are uncertain about the proper cleaning method, it is highly recommended to seek assistance from a professional in antique restoration. They will have the expertise and tools necessary to safely and effectively remove the mold or mildew without causing damage to the frame.
Taking immediate action to address mold or mildew issues is crucial to prevent further damage to both the frame and your health. By following these steps and implementing preventive measures, you can tackle mold or mildew growth on your antique picture frame and safeguard its integrity.
Handling Fragile Frames
Antique picture frames, especially those with delicate materials or intricate details, require extra care and attention during the cleaning process. Here are some tips for handling fragile frames:
- Assess the fragility: Before cleaning, carefully assess the frame’s fragility. Take note of any loose parts, weak joints, or delicate embellishments that may require special treatment.
- Work on a soft surface: Place a soft cloth or towel on your work surface to cushion the frame and protect it from any potential damage during the cleaning process.
- Use gentle pressure: When cleaning, apply only gentle pressure to delicate areas of the frame. Avoid using abrasive materials or scrubbing vigorously, as this can cause damage.
- Avoid excessive moisture: It’s important to use minimal amounts of water or cleaning solutions when dealing with fragile frames. Too much moisture can warp, loosen, or discolor delicate materials.
- Consider professional assistance: If you have a highly fragile or valuable antique frame, it’s advisable to seek professional assistance. Experts in antique restoration will have the expertise and experience to clean and handle fragile frames without causing harm.
- Protective padding: If necessary, use soft padding or masking tape to protect delicate areas or vulnerable corners while handling or cleaning the frame.
- Support while cleaning: Use your non-dominant hand to support the frame while gently scrubbing or wiping with the other hand. This helps distribute pressure evenly and reduces the risk of accidental drops or mishandling.
Remember, when dealing with fragile antique picture frames, it’s better to err on the side of caution. If you’re unsure about how to handle or clean a particular frame, it’s always wise to seek expert advice. Preserving the integrity of the frame should be the top priority to maintain its value and beauty for future generations to enjoy.
Conclusion
Caring for antique picture frames is not only about maintaining their aesthetic appeal but also preserving a piece of history. With proper knowledge and techniques, you can clean and restore these frames, ensuring they continue to captivate and tell their stories for years to come.
By following the step-by-step process outlined in this article, you can effectively clean and care for your antique picture frames. From removing dust and dirt to tackling stains, polishing the frame, dealing with mold or mildew, and handling fragile frames, each step is essential in maintaining the frame’s integrity and beauty.
It’s important to remember that every antique picture frame is unique and may require individualized care. Understanding the materials, finishes, and intricacies of your frame will guide your approach in cleaning and preserving its original charm.
If you encounter any challenges or uncertainties during the cleaning process, it’s always wise to seek expert advice. Professional antique restorers can provide valuable insights and ensure the proper techniques are employed to protect and enhance your frame.
By dedicating time and attention to the cleaning and preservation of your antique picture frames, you are not only honoring their historical significance but also ensuring their longevity and legacy. These frames are more than just decorative items; they are glimpses into the past and cherished pieces of art.
So, embrace the joy of restoring antique picture frames and allowing them to shine once again. Through your careful efforts, these frames will continue to enchant and inspire for generations to come.
Frequently Asked Questions about How To Clean Antique Picture Frames
Was this page helpful?
At Storables.com, we guarantee accurate and reliable information. Our content, validated by Expert Board Contributors, is crafted following stringent Editorial Policies. We're committed to providing you with well-researched, expert-backed insights for all your informational needs.


0 thoughts on “How To Clean Antique Picture Frames”