Home>Articles>How To Make Homemade Picture Frames With Popsicle Sticks
Articles
How To Make Homemade Picture Frames With Popsicle Sticks
Modified: August 22, 2024
Learn how to create stunning homemade picture frames using popsicle sticks with our informative articles. Discover tips, tricks, and step-by-step tutorials to bring your DIY frame projects to life.
(Many of the links in this article redirect to a specific reviewed product. Your purchase of these products through affiliate links helps to generate commission for Storables.com, at no extra cost. Learn more)
Introduction
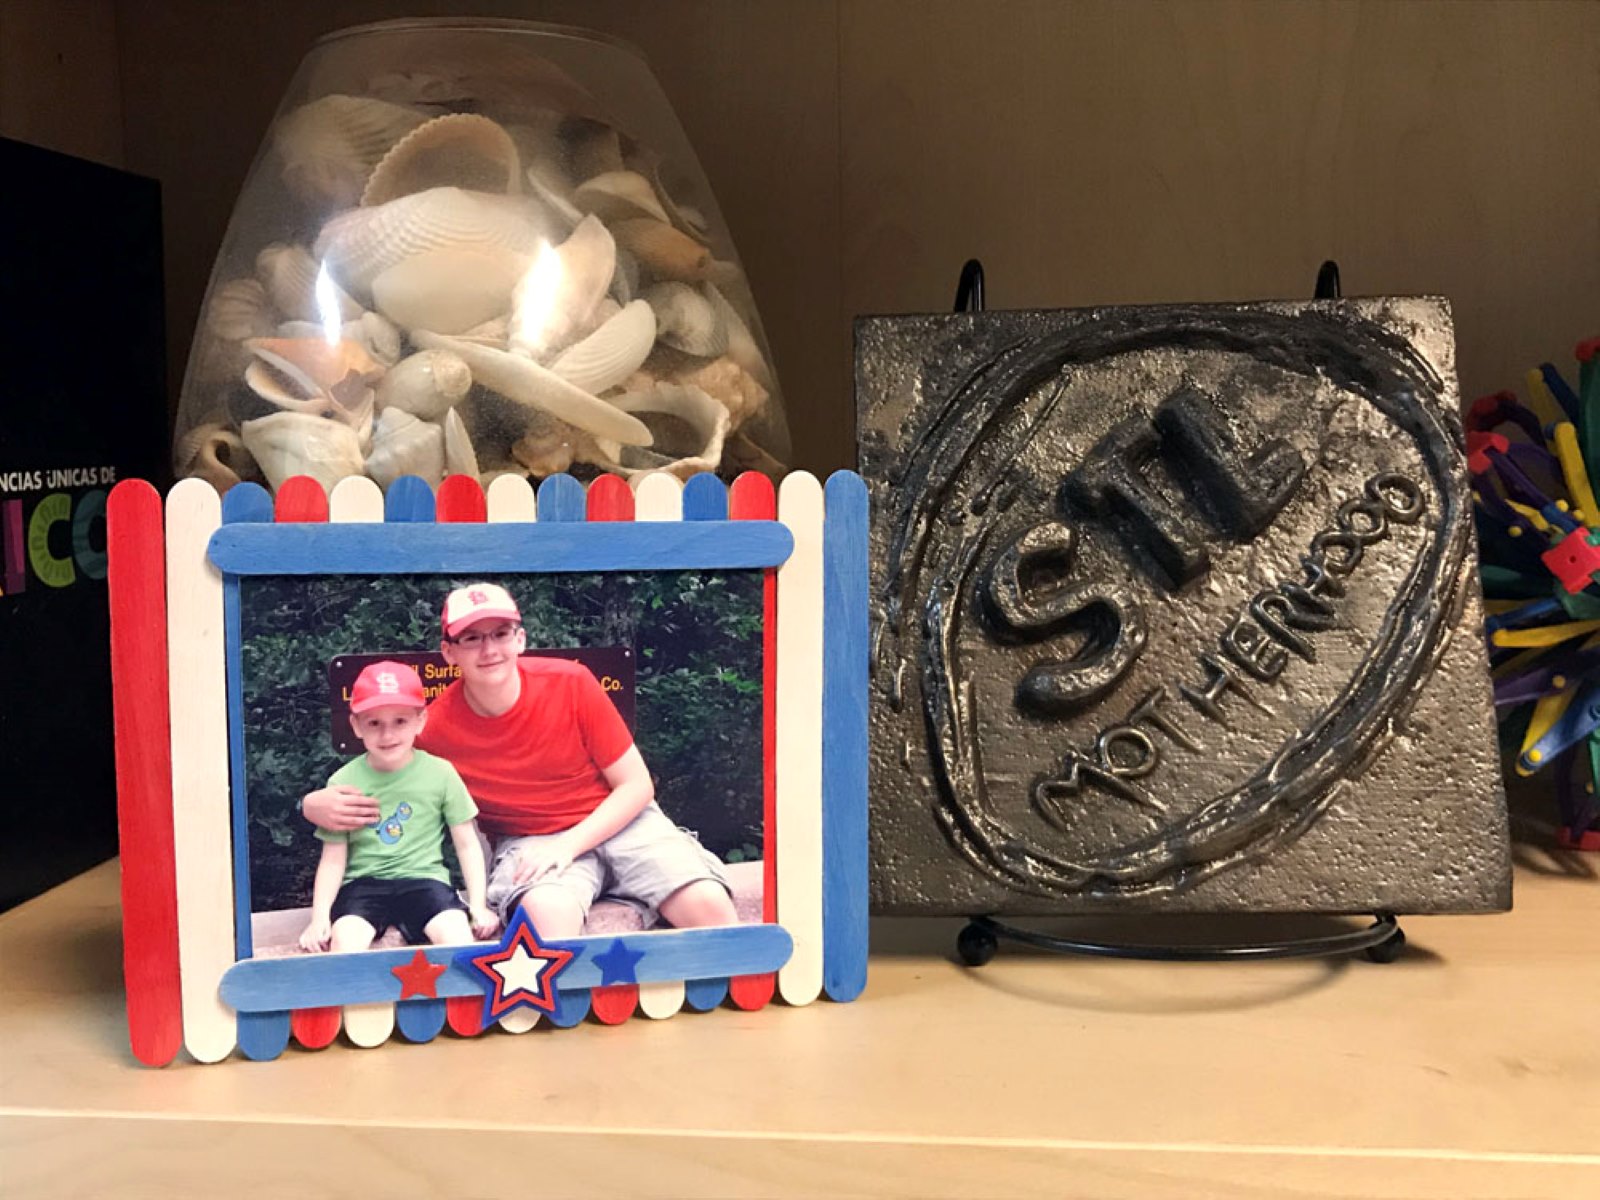
Welcome to the world of DIY crafts! If you’re looking for a fun and creative project, making homemade picture frames with popsicle sticks is an excellent choice. Not only is it a budget-friendly option, but it also allows you to unleash your artistic side and create unique frames that perfectly showcase your favorite memories.
Picture frames made with popsicle sticks are versatile and can be customized to match any style or theme you desire. Whether you’re aiming for a rustic look, a modern design, or a colorful and whimsical frame, the options are endless. Plus, this DIY project can be enjoyed by people of all ages, making it a wonderful activity to do with family and friends.
In this guide, we’ll walk you through the step-by-step process of creating your own homemade picture frames using popsicle sticks. You’ll learn how to gather materials, design the frame, assemble it, decorate it, add a backing, and finally, mount your precious photo. So, grab your popsicle sticks and let’s get started on this crafty adventure!
Key Takeaways:
- Making homemade picture frames with popsicle sticks is a budget-friendly and creative DIY project that allows you to personalize your frames to perfectly showcase your favorite memories. It’s a fun and rewarding activity for all ages.
- By utilizing popsicle sticks, you can transform a simple material into a unique and personalized piece of art. Creating homemade picture frames offers a budget-friendly, customizable, and gratifying way to display cherished memories.
Read more: How To Store Homemade Popsicles
Materials Needed
Before you dive into making homemade picture frames with popsicle sticks, it’s essential to gather all the necessary materials. Here’s what you’ll need:
- Popsicle sticks: Depending on the size of the frame you want to create, you’ll need a sufficient amount of popsicle sticks. You can either use standard popsicle sticks or jumbo-sized ones for a more substantial frame.
- Glue: To securely attach the popsicle sticks together, you’ll need a reliable adhesive. A hot glue gun works best for this project, ensuring a strong bond between the sticks.
- Scissors: You’ll need scissors to trim the popsicle sticks if necessary or to cut any additional materials for decoration.
- Paint or markers: If you want to add some color to your picture frame, have some acrylic paint or permanent markers on hand. Choose colors that complement your photo or match your overall design.
- Decorative materials: Depending on your creative vision, gather various decorations such as ribbons, beads, buttons, sequins, or any other embellishments you desire for personalizing your frame.
- Clear adhesive tape: This will be used to secure the picture to the frame once it’s mounted.
- Backboard or cardboard: To create a sturdy backing for your frame, have a piece of backboard or thick cardboard that’s slightly larger than the frame size.
- Photo print: Lastly, choose a cherished photo that you’d like to display and make sure it’s printed in the appropriate size for your frame.
Now that you have all the materials ready, let’s move on to the exciting part – designing and assembling your homemade picture frame with popsicle sticks!
Step 1: Gathering Popsicle Sticks
The first step in making homemade picture frames with popsicle sticks is to gather an adequate amount of popsicle sticks for your project. You can find popsicle sticks at most craft stores or online, and they come in different sizes and colors.
Decide on the dimensions of your frame and calculate how many popsicle sticks you’ll need. Keep in mind that you’ll need four sticks for each side of the frame, so double the number of sides to determine the total stick count.
Once you have an idea of the number of sticks required, count out the necessary amount and lay them out on a flat surface. It’s a good idea to have a few extra sticks on hand in case of any mishaps or if you want to experiment with different designs.
Make sure the popsicle sticks are clean and free from any dust or debris. If needed, wipe them down with a damp cloth or paper towel before proceeding.
You can also consider adding a touch of color to your popsicle sticks before starting the assembly process. Using acrylic paint or markers, add your desired hues to one or both sides of the sticks. This will give your frame a unique and personalized look.
Once your popsicle sticks are ready, move on to the next step – designing and creating the frame.
Step 2: Designing the Frame
In this step, it’s time to unleash your creativity and design your homemade picture frame using the popsicle sticks you gathered. There are countless design possibilities, so feel free to let your imagination run wild!
Start by deciding on the size and shape of your frame. You can opt for a traditional rectangular shape, or get creative and design a square, oval, or even a heart-shaped frame. Use a ruler or a template to ensure your frame has straight and equal sides.
Arrange your popsicle sticks in the desired shape, placing the ends together to form the corners of the frame. Make sure the sticks align neatly and that there are no gaps between them. You can lightly mark the positions with a pencil to guide you during the assembly process.
Before gluing the sticks, take a moment to consider if you want to incorporate any additional decorative touches. For example, you can create patterns or designs by adding colored or painted popsicle sticks in between the main frame sticks, or you can glue on buttons, beads, or sequins for some extra flair.
Once you’re satisfied with the design, carefully take apart the sticks while keeping track of their positions.
Now it’s time to bring out the hot glue gun. Apply a small amount of hot glue to one end of a popsicle stick and press it onto another stick at the marked corner. Hold it in place until the glue sets, ensuring a secure bond. Repeat this process for each corner, gluing the sticks together to form the frame shape.
Double-check that all the corners are tight and that the frame is sturdy. If there are any gaps or loose areas, apply additional glue to reinforce the structure.
Congratulations! You’ve successfully designed and assembled the basic frame structure. Now, it’s time to move on to the next step – adding your personal touch by decorating the frame.
Step 3: Assembling the Frame
Now that you have designed the basic frame structure, it’s time to assemble the popsicle sticks to create a sturdy and visually appealing homemade picture frame.
Start by applying a thin line of hot glue along the edge of one popsicle stick. Carefully align and press another stick onto the glued edge, creating a seamless connection. Hold the sticks together for a few seconds until the glue sets. Repeat this process for each side of the frame, ensuring that the sticks are attached firmly.
As you continue to assemble the frame, periodically check the corners for any alignment issues. Adjust the sticks as needed before the glue dries completely.
If you want to add extra stability to your frame, you can reinforce the corners with small popsicle stick pieces. Cut the sticks to match the length of the corner and glue them diagonally across the joint. This will provide additional support and prevent the frame from coming apart.
Remember to let the glue dry completely before moving on to the next step. This will ensure that the frame stays intact and holds the picture securely.
Once the frame has been fully assembled and the glue has dried, it’s time to add your personal touch by decorating the frame. Let your creativity shine as you choose from numerous options for embellishing the popsicle stick frame. From paint and markers to ribbon, beads, or sequins, the possibilities are endless.
With the frame assembled and decorated, you’re one step closer to displaying your cherished photo. In the next step, we’ll discuss various ways to decorate the frame and make it truly unique and personalized.
When gluing popsicle sticks together to make a picture frame, use a strong adhesive like wood glue or hot glue to ensure the frame is sturdy and durable.
Read more: How To Make Picture Frames
Step 4: Decorating the Frame
In this step, let your creativity take center stage as you decorate your homemade picture frame to add that extra touch of charm and personalization.
One option for decorating the frame is to paint it with acrylic paint. Choose colors that complement your photo or match the overall theme of your decor. You can paint the entire frame or create patterns, designs, or even write a meaningful quote on it.
If painting isn’t your preferred method, you can also use permanent markers to add intricate designs or doodles to the frame. This allows for more precision and detail in your artwork.
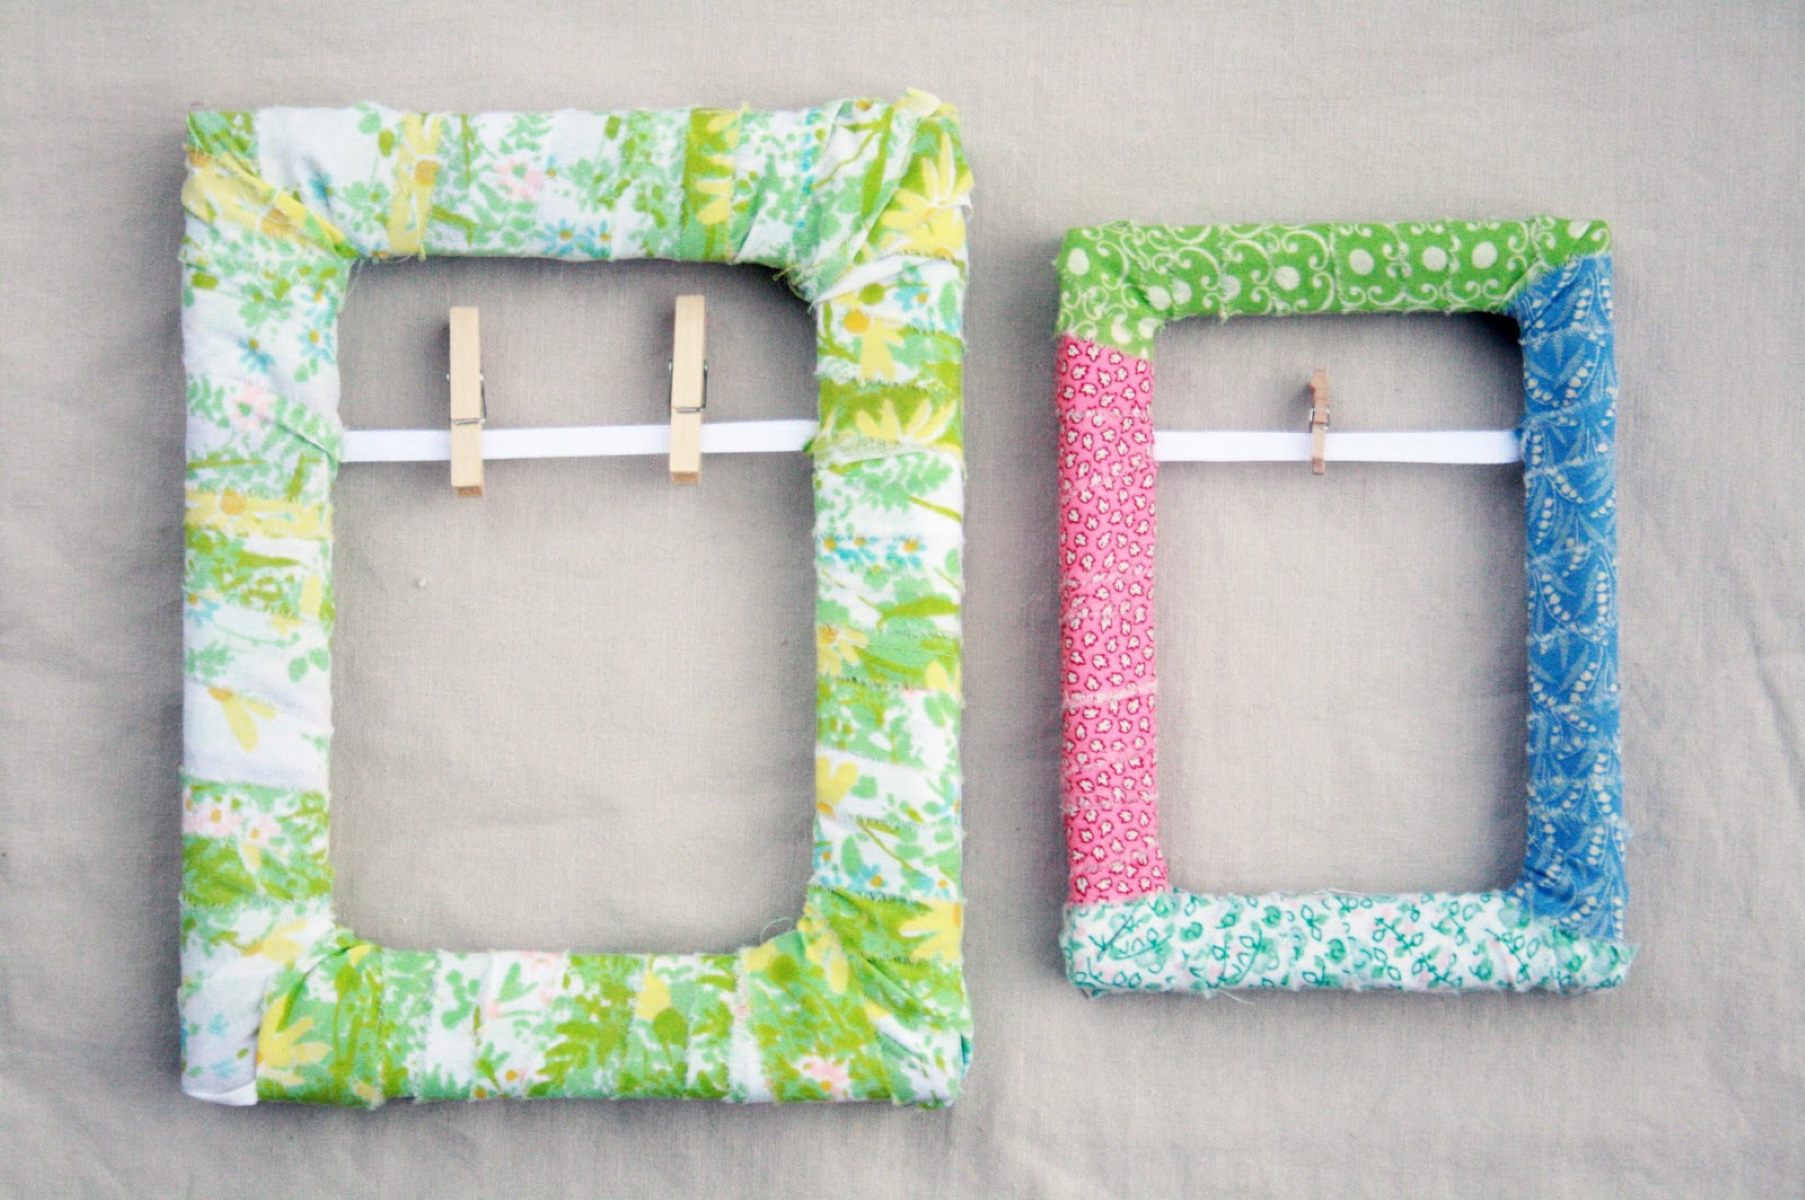
Another way to decorate the frame is by using various embellishments. Add ribbons or twine around the edges, glue buttons onto the corners, or attach beads or sequins for a touch of sparkle.
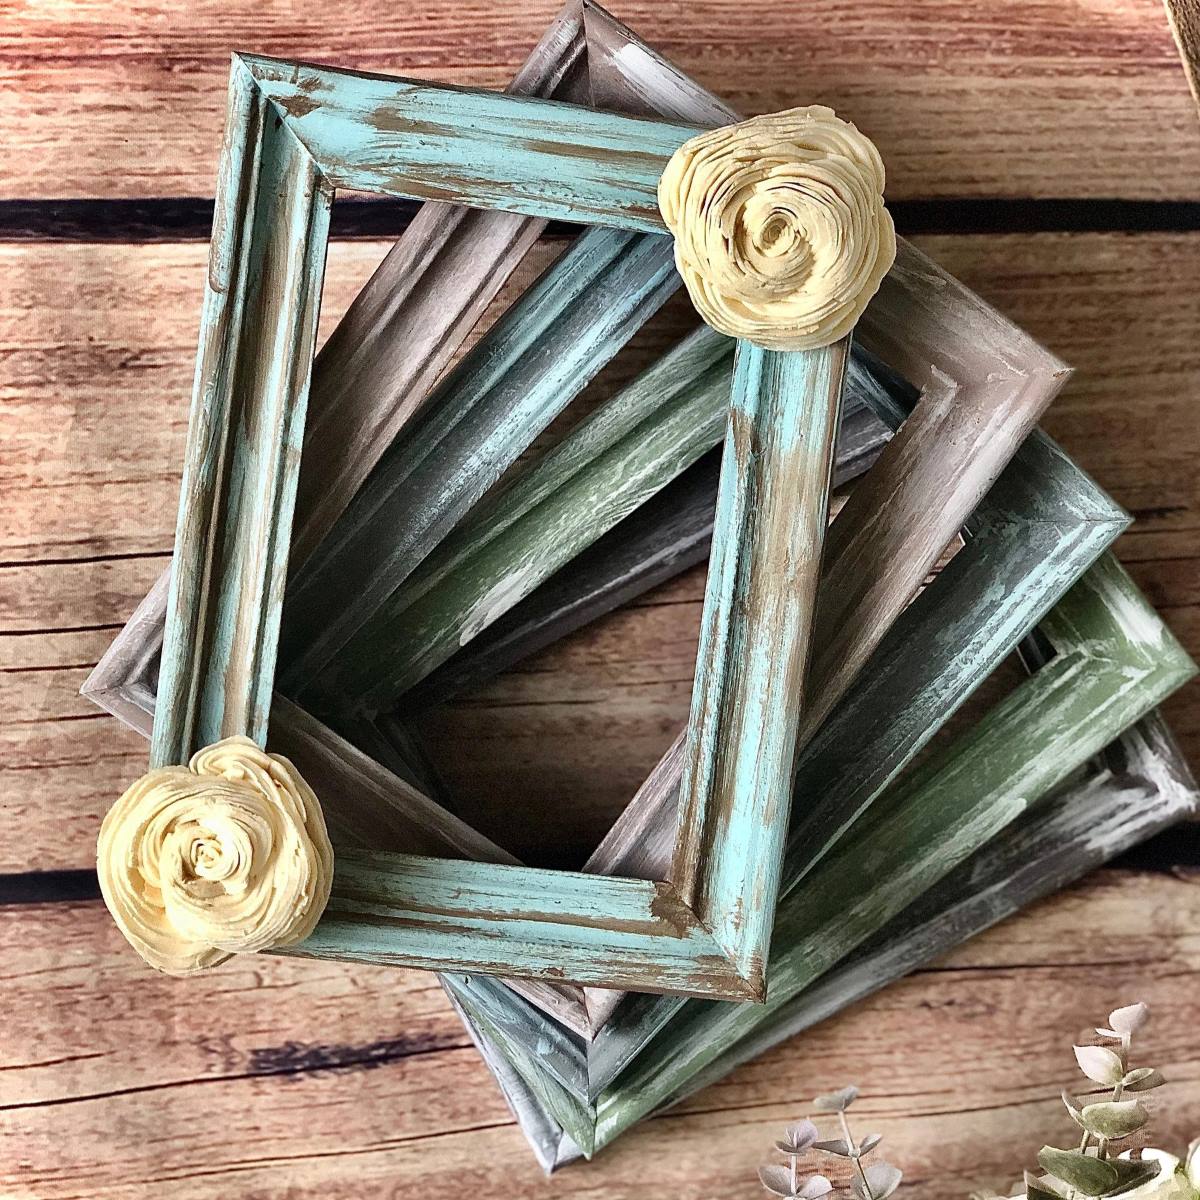
If you want a more rustic look, you can distress the frame by sanding the edges or applying a wood stain. This technique adds character and gives your frame a vintage feel.
Remember to let any paint or glue dry completely before moving on to the next step. This will ensure that the decoration remains intact throughout the framing process.
Whether you choose to paint, draw, or embellish, remember that the goal is to enhance the frame’s visual appeal and make it uniquely yours. Don’t be afraid to experiment and get creative!
Now that you’ve added your personal touch and made the frame truly special, it’s time to move on to the next step – adding a backing for support and stability.
Step 5: Adding a Backing
Adding a backing to your homemade picture frame is an essential step to provide support and stability to the structure. A backing helps to keep your photo in place and protects it from dust and damage.
To create a backing, you’ll need a piece of backboard or thick cardboard that’s slightly larger than the frame size. This will ensure that the backing covers the entire backside of the frame.
Start by placing the frame face down on a flat surface. Position the backboard or cardboard on the back of the frame, aligning it with the edges. Use a pencil to trace the outline of the frame onto the backing material.
Next, carefully cut along the traced lines to create the backing piece. Make sure to cut precisely to match the shape and size of the frame.
Once you have the backing piece ready, it’s time to attach it to the frame. Apply a generous amount of hot glue to the edge of the frame or along the backboard/cardboard. Press the backing firmly onto the glued area and hold it in place until the glue sets. This will ensure that the backing is securely attached.
If desired, you can further reinforce the backing by adding additional glue or using clear adhesive tape along the edges of the backing piece. This will provide extra stability and prevent the backing from coming loose over time.
Allow the glue to dry completely before moving on to the final step of mounting your picture onto the frame.
With the backing securely in place, your homemade picture frame is now ready for the finishing touch – mounting the picture.
Step 6: Mounting the Picture
Now that you have completed the previous steps of creating your homemade picture frame, it’s time to mount your precious photo inside.
Start by preparing your printed photo. Ensure that it is trimmed to fit perfectly within the frame opening. If necessary, use scissors or a paper trimmer to achieve the desired size.
With the frame facing down, carefully place your photo on top of the backing, ensuring that it is centered and aligned correctly. You can use small pieces of clear adhesive tape to secure the corners or edges of the photo to the backing. Take care not to tape directly onto the photo itself to avoid damaging it.
Once your photo is securely in place, flip the frame over and inspect it from the front. Make any necessary adjustments to ensure that the photo is straight and properly aligned within the frame opening.
Finally, give the frame a thorough check for any loose or damaged popsicle sticks, decorations, or backing. If you notice any areas that need extra glue or reinforcement, address them as needed to ensure the frame is sturdy and long-lasting.
Now, step back and admire your beautifully crafted homemade picture frame with the mounted photo. You have successfully created a unique piece of art that showcases your cherished memory.
Remember to clean the glass or clear plastic cover of the frame using a soft cloth before displaying it in your home or gifting it to someone special. This will ensure that the photo is clear and visible for everyone to enjoy.
Congratulations! You have completed all the steps to make your homemade picture frame with popsicle sticks. The finished frame not only adds a personal touch to your decor but also serves as a testament to your creativity and craftsmanship.
So, go ahead and proudly display your homemade frame or gift it to a loved one. It’s a wonderful reminder of the joy and satisfaction that comes from creating something with your own hands.
Enjoy your DIY masterpiece and continue exploring the world of crafts and creativity!
Conclusion
Congratulations on successfully creating your very own homemade picture frame using popsicle sticks! Through the process of gathering materials, designing the frame, assembling it, decorating, adding a backing, and mounting the picture, you have crafted a unique and personalized piece of art.
By utilizing popsicle sticks, you have transformed a simple and inexpensive material into a beautiful frame that showcases your cherished memories. The possibilities for creative designs and decorations are endless, allowing you to tailor the frame to your own unique style and preferences.
Not only is making homemade picture frames a fun and rewarding DIY project, but it also offers numerous benefits. It is a budget-friendly option compared to store-bought frames, and it provides a creative outlet to express your artistic side. Furthermore, making your own frames allows you to customize the design and decoration to perfectly complement the photo you wish to display.
Whether you choose to make frames as a solo project or involve friends and family, this craft is bound to bring joy and creativity to your life. It’s a gratifying experience to see the transformation of popsicle sticks into a beautiful frame that holds your cherished memories.
So, why wait? Gather your popsicle sticks, glue, and decorations, and start creating your own homemade picture frames. Let your imagination soar as you design, assemble, decorate, and proudly display your personalized frame.
Remember, the key is to have fun and enjoy the process. Let your creativity flow, experiment with different designs, colors, and decorations, and create frames that truly reflect your unique personality and style.
Thank you for joining us on this crafty adventure. We hope you found this guide helpful and inspiring. Now, go ahead and share your creations with others or create a beautiful display in your own home. Happy crafting!
Frequently Asked Questions about How To Make Homemade Picture Frames With Popsicle Sticks
Was this page helpful?
At Storables.com, we guarantee accurate and reliable information. Our content, validated by Expert Board Contributors, is crafted following stringent Editorial Policies. We're committed to providing you with well-researched, expert-backed insights for all your informational needs.


0 thoughts on “How To Make Homemade Picture Frames With Popsicle Sticks”