Home>Articles>How To Clean Ceiling Fan Blades Without Getting Dust Everywhere
Articles
How To Clean Ceiling Fan Blades Without Getting Dust Everywhere
Modified: August 31, 2024
Discover effective techniques to clean ceiling fan blades without spreading dust everywhere. Read our informative articles for expert tips and tricks.
(Many of the links in this article redirect to a specific reviewed product. Your purchase of these products through affiliate links helps to generate commission for Storables.com, at no extra cost. Learn more)
Introduction
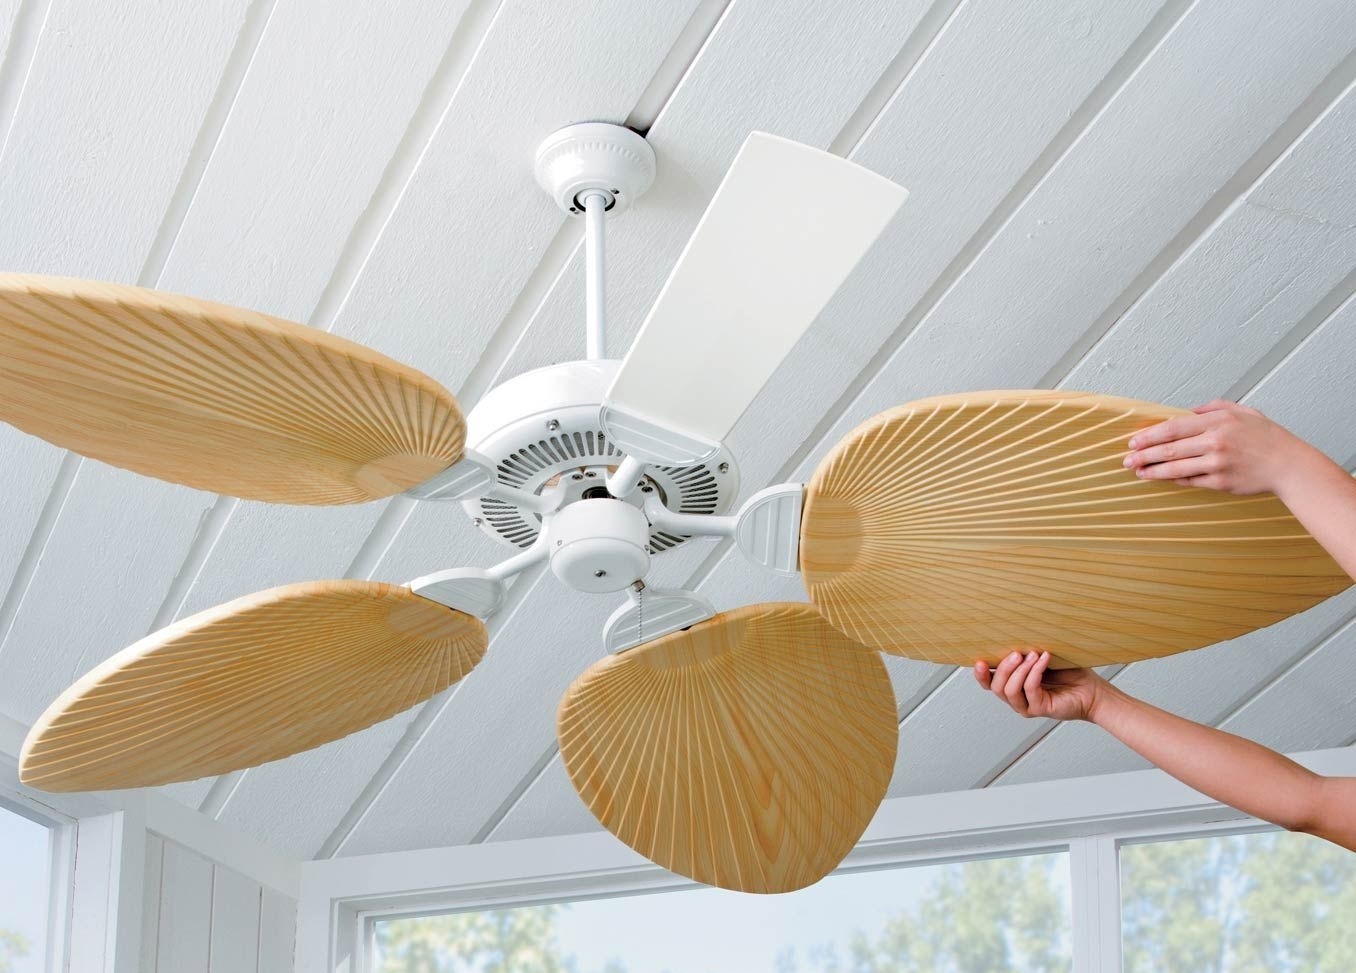
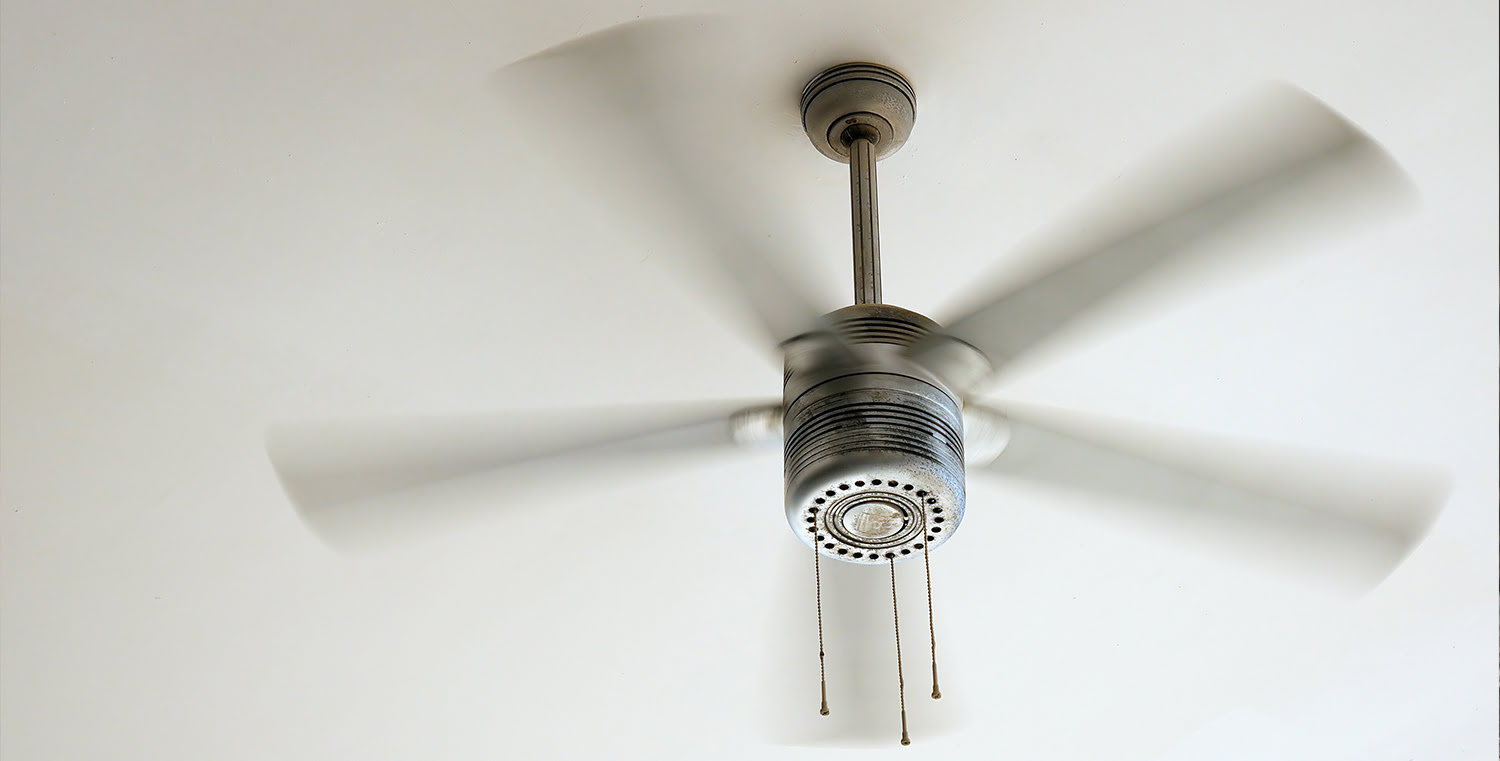
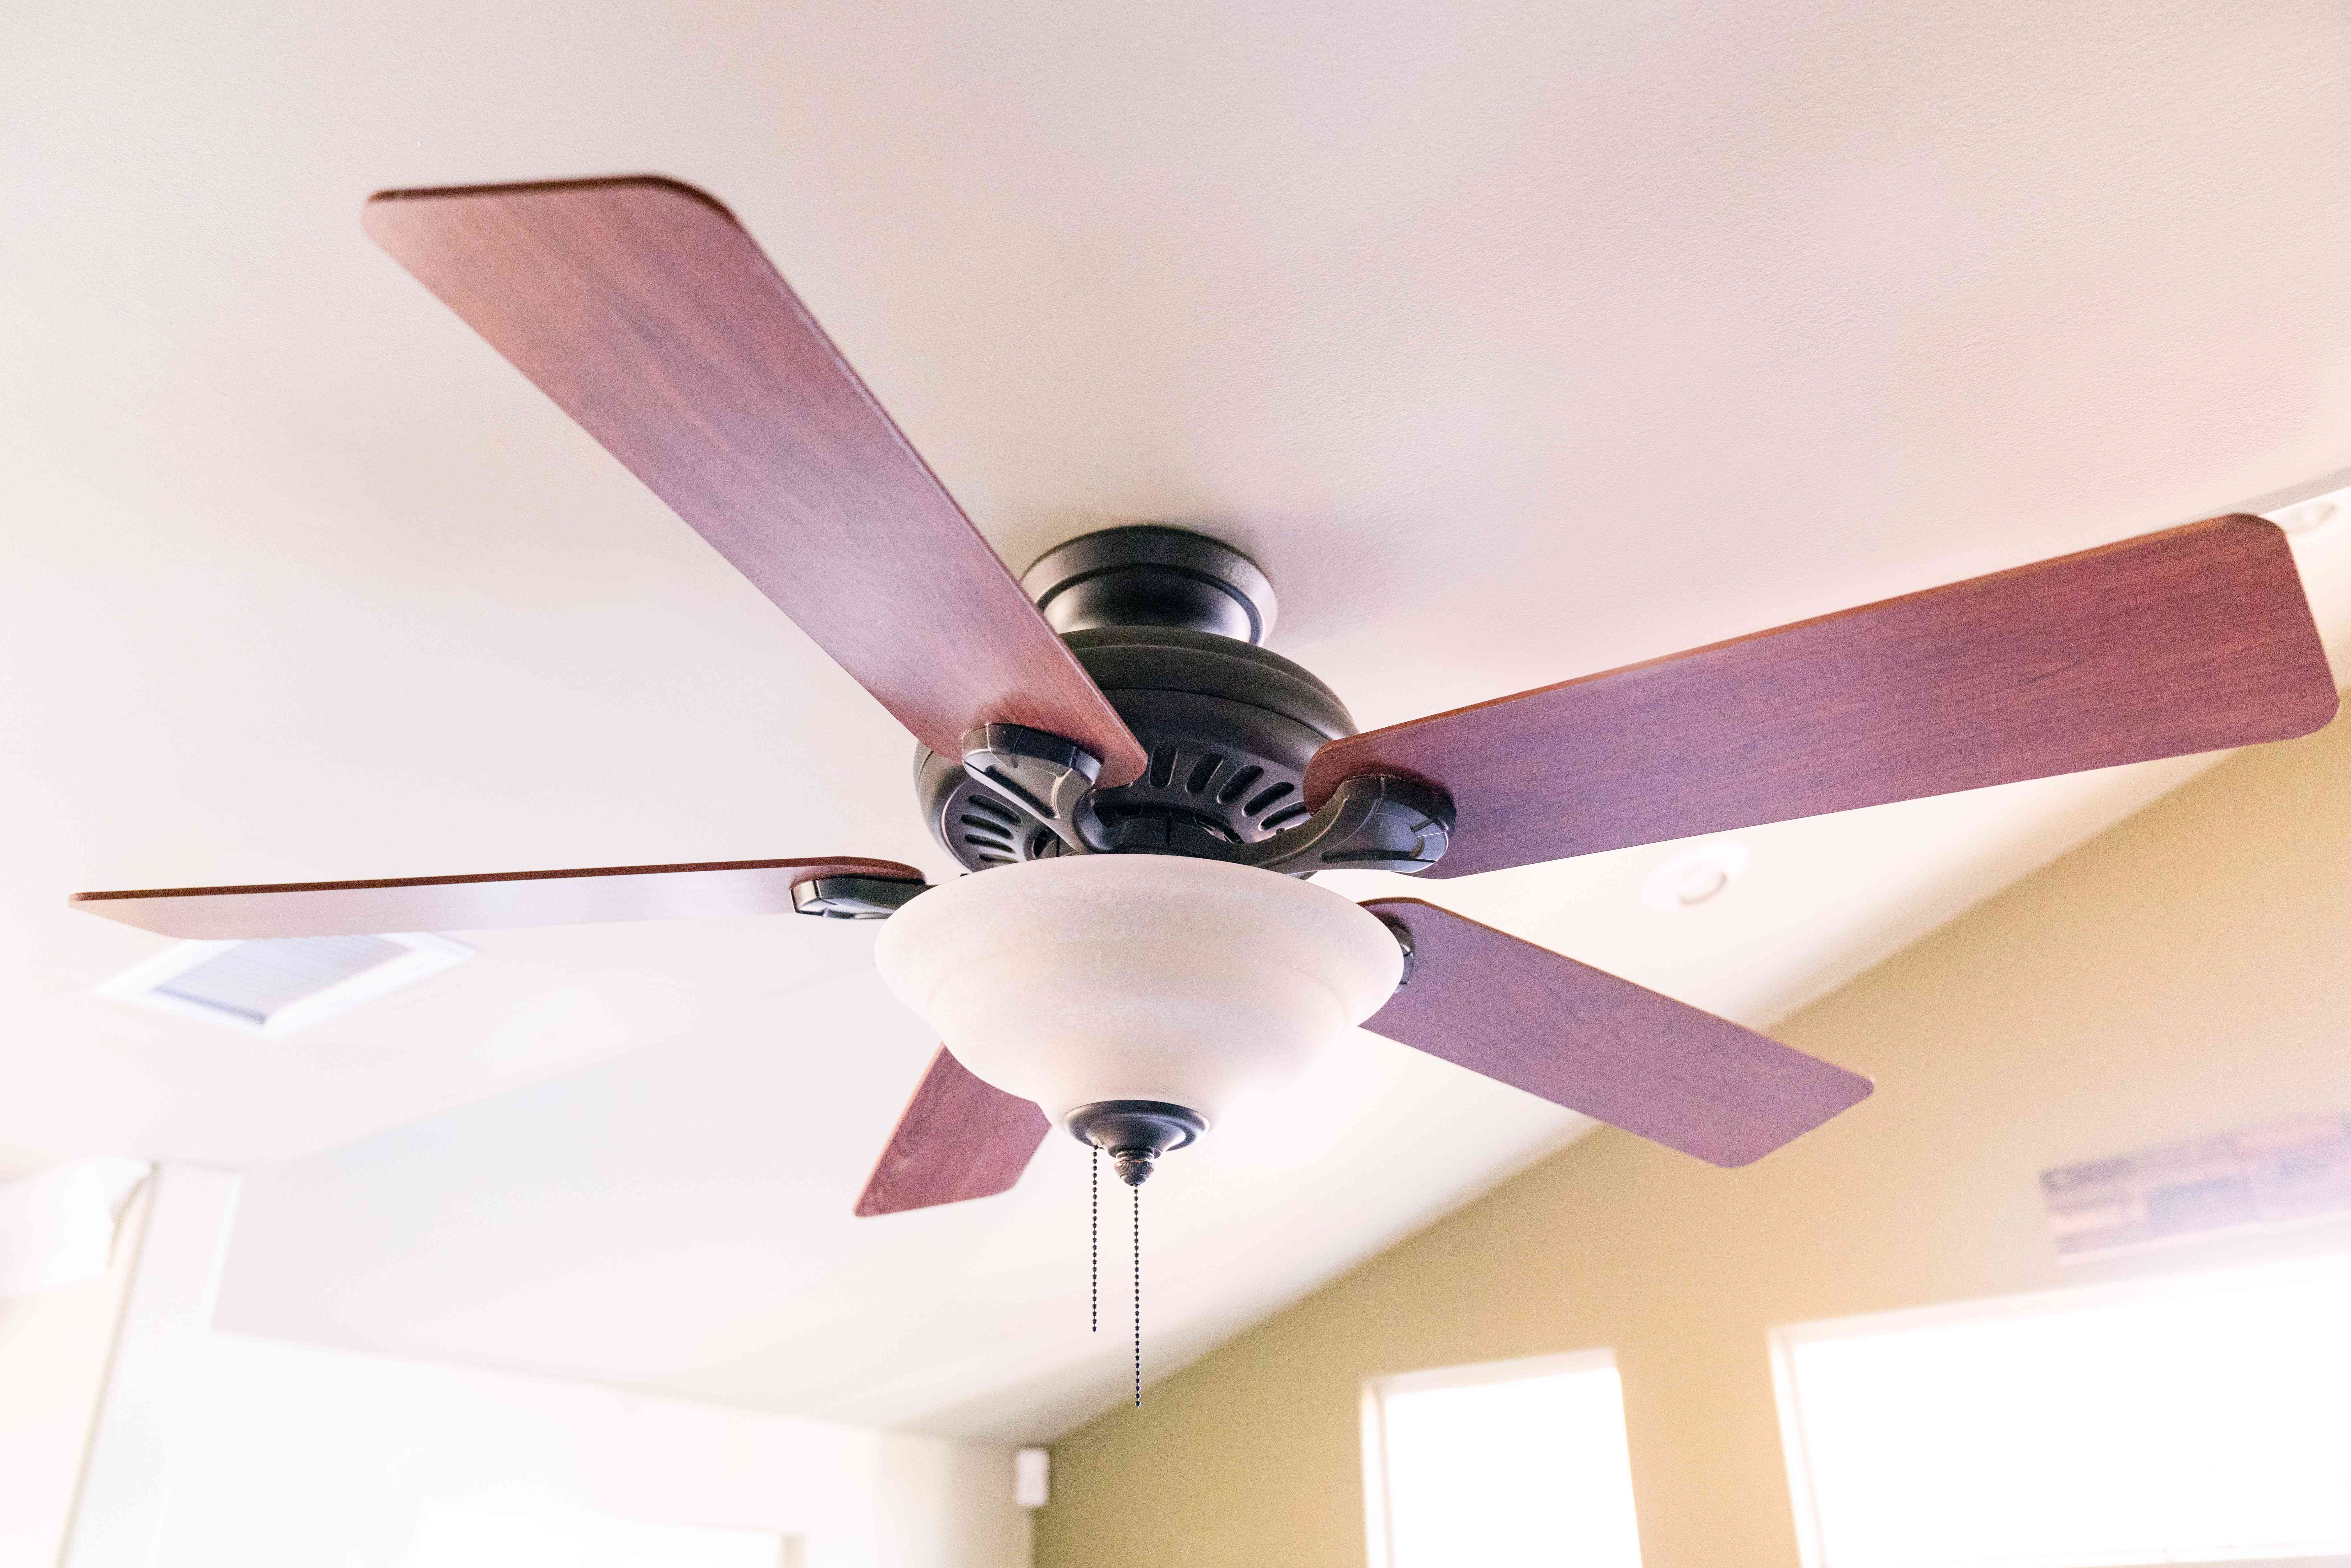
Ceiling fans are a great addition to any home, providing comfort and a cool breeze on warm days. However, over time, ceiling fan blades can accumulate dust, dirt, and debris, causing them to become unsightly and less efficient. Cleaning ceiling fan blades may seem like a daunting task, but with the right approach, it can be a simple and effective way to keep your fan working optimally.
Regular cleaning of ceiling fan blades not only helps to maintain their appearance but also ensures that the fan operates smoothly and efficiently. When dust and dirt accumulate on the blades, it can create an imbalance that leads to wobbling or noisy operation. Additionally, the accumulated dust can get circulated into the air, causing potential respiratory issues for you and your family.
In this article, we will discuss a step-by-step guide on how to clean ceiling fan blades without getting dust everywhere. By following these steps, you’ll be able to maintain a clean and functional ceiling fan, allowing you to enjoy its benefits all year round.
Before we get started, it’s important to gather the necessary materials for this cleaning task. Having the right tools will make the cleaning process much easier and more effective.
Read more: How To Clean Ceiling Fan Without Ladder
Materials Needed:
- Step ladder or stool
- Vacuum cleaner with brush attachment
- Microfiber cloths
- Pillowcase
- Water and mild detergent solution
Once you have these materials ready, you can proceed with the cleaning process. But before you start, take a moment to prepare the area and ensure your safety.
Preparation:
- Make sure the ceiling fan is turned off and disconnected from the power source. This will prevent any accidents or injuries while cleaning.
- Place a drop cloth or old bedsheet underneath the fan to catch any falling dust or debris. This will make the cleaning process much easier and prevent your floor or furniture from getting dirty.
With the necessary preparation done, we can now move on to the step-by-step cleaning process. Let’s dive into it in the next section.
Key Takeaways:
- Regularly cleaning ceiling fan blades not only maintains their appearance but also ensures smooth operation and a healthier indoor environment by reducing dust circulation.
- Proper preparation, including securing the blades and using a pillowcase to capture loose dust, makes cleaning ceiling fan blades efficient and minimizes mess.
Materials Needed
Before you embark on the process of cleaning your ceiling fan blades, it’s important to gather the necessary materials. Having the right tools will make the cleaning process much more efficient and effective. Here’s a list of materials you will need:
1. Step ladder or stool: Since ceiling fans are usually mounted high up, you will need a secure and stable platform to reach them safely. Make sure to choose a ladder or stool that is the appropriate height for your ceiling.
2. Vacuum cleaner with brush attachment: A vacuum cleaner with a brush attachment is a must-have tool for cleaning ceiling fan blades. This attachment helps to effectively remove dust and debris from the blades without simply dispersing it into the air.
3. Microfiber cloths: Microfiber cloths are excellent for cleaning various surfaces and are particularly effective for dusting. These soft and lint-free cloths will help to gently wipe away any remaining dust or dirt on the blades.
4. Pillowcase: A pillowcase may seem like an unusual item to use for cleaning ceiling fan blades, but it can be a game-changer. The pillowcase will be used to capture any loose dust or debris that may fall off when you clean the blades.
5. Water and mild detergent solution: To give your ceiling fan blades a thorough cleaning, you’ll need a solution of water and mild detergent. This will help remove any stubborn dirt or grime that may have accumulated on the blades.
Having these materials ready before you start cleaning will ensure a smooth and efficient process. Moreover, it’s always a good idea to wear protective eyewear and gloves while cleaning to prevent any potential eye irritation or skin sensitivities.
Now that you have all the necessary materials, let’s move on to the next section, where we’ll discuss the step-by-step process for cleaning your ceiling fan blades without getting dust everywhere.
Preparation
Before you start the process of cleaning your ceiling fan blades, it’s crucial to take a few moments to prepare the area and ensure your safety. Proper preparation will make the cleaning process much smoother and help to minimize any potential mess. Here are the steps to follow for preparation:
1. Turn off the fan and disconnect the power: The first and most important step is to ensure that the ceiling fan is turned off and disconnected from the power source. This will eliminate any risk of accidental injury from moving parts or electrical shock while cleaning.
2. Place a drop cloth or old bedsheet underneath the fan: Cleaning the fan blades can lead to dust and debris falling onto the floor or nearby furniture. To prevent any mess and make the cleanup easier, place a drop cloth or an old bedsheet underneath the fan before you begin cleaning. This will catch any falling dust or debris, saving you time and effort later.
3. Secure the blade position: Ceiling fans usually have multiple blades that can rotate freely. Before starting the cleaning process, it’s essential to secure the blade position to prevent them from moving or swinging during cleaning. You can use a small piece of tape or a rubber band to hold the blades in place, ensuring stability and making it easier to clean each blade without them spinning.
4. Wear protective gear: Cleaning ceiling fan blades can release dust and allergens into the air. To protect yourself from breathing in these particles and prevent any potential eye irritation or skin sensitivities, it’s advisable to wear protective eyewear and gloves. These will safeguard your eyes and hands from dust and cleaning agents throughout the process.
By following these preparation steps, you are setting yourself up for a successful cleaning session. Take a moment to double-check that the fan is turned off and disconnected properly, the drop cloth or bedsheet is in place, and you have your protective gear on. Once you are prepared, we can move on to the step-by-step cleaning process for your ceiling fan blades without getting dust everywhere.
Read more: How To Clean Dust Without A Duster
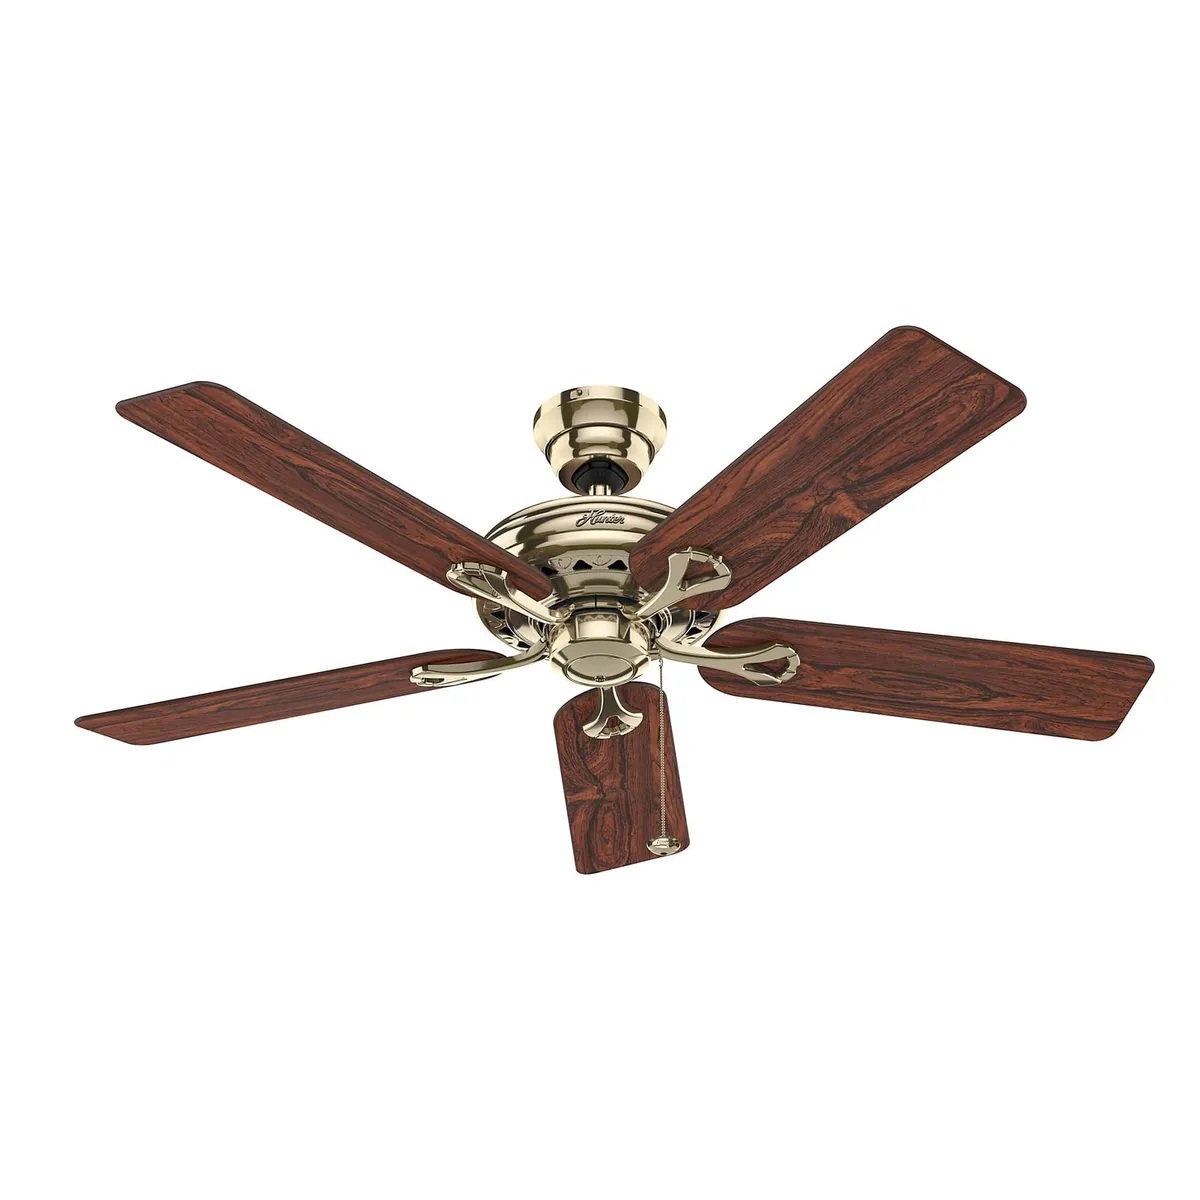
Step 1: Turn Off the Fan and Secure the Blades
The first step in cleaning your ceiling fan blades is to ensure that the fan is turned off and disconnected from the power source. This is a crucial safety measure that will prevent any accidents or injuries while you clean.
Here’s how you can properly turn off the fan and secure the blades:
1. Locate the fan’s power switch: Depending on the type of fan you have, the power switch can be located on the fan itself or on the wall. Look for the switch and make sure it is in the “off” position.
2. Disconnect the fan from the power source: To ensure the fan is completely turned off and to prevent any accidental activation, it is recommended to disconnect it from the power source. If your fan is connected to a switch or power outlet, unplug it from the socket. If it’s hard-wired, locate the circuit breaker that controls the fan and switch it off.
3. Secure the blades in place: Ceiling fans typically have rotating blades. Before cleaning, you want to secure the blades to prevent them from moving or spinning during the cleaning process. This will make it easier to clean each blade without any accidental movements.
To secure the blades, you can use a small piece of tape or a rubber band. Gently wrap the tape or band around each blade, near the base where it attaches to the motor. Make sure it is snug enough to hold the blade in place but not too tight that it could cause damage.
By turning off the fan and securing the blades, you are ensuring your safety and preventing any mishaps while cleaning. Always double-check that the fan is disconnected from the power source and that the blades are securely fixed before proceeding to the next step. Now that you’ve completed the first step, let’s move on to the next one: using a vacuum cleaner with a brush attachment to remove loose dust and debris from the blades.
Step 2: Use a Vacuum Cleaner with a Brush Attachment
Once you have turned off the fan and secured the blades, it’s time to remove loose dust and debris from the ceiling fan blades using a vacuum cleaner with a brush attachment. This step will help eliminate surface-level dirt and prepare the blades for a thorough cleaning.
Follow these steps to effectively use a vacuum cleaner with a brush attachment:
1. Attach the brush attachment to your vacuum cleaner: Most vacuum cleaners have a detachable brush attachment specifically designed for cleaning delicate surfaces, such as fan blades. Make sure the brush attachment is securely connected to the vacuum cleaner.
2. Adjust the vacuum cleaner settings: Depending on the model of your vacuum cleaner, you may need to adjust the suction power or brush speed settings to suit the delicacy of the ceiling fan blades. Opt for a gentle setting to avoid any potential damage to the blades.
3. Start at the top of the blade and work your way down: Begin cleaning the blades one at a time, starting from the top and working your way down towards the base. Position the brush attachment against the top surface of the blade and gently move it along the length of the blade, suctioning up any loose dust or debris.
4. Repeat for each blade: Continue cleaning each blade with the vacuum cleaner until you have removed all visible dust and debris. Pay attention to both sides of the blades, as dust can accumulate on both surfaces.
5. Empty the vacuum cleaner’s dust compartment: Regularly check and empty the dust compartment of your vacuum cleaner to maintain optimal suction power. Accumulated dust can hinder the effectiveness of the vacuum cleaner.
Using a vacuum cleaner with a brush attachment is an efficient way to remove loose dust and debris from your ceiling fan blades. It helps to prevent the dust from spreading into the air and settling on surrounding surfaces. Once you have completed this step, we can move on to the next one: wiping down the blades with microfiber cloths.
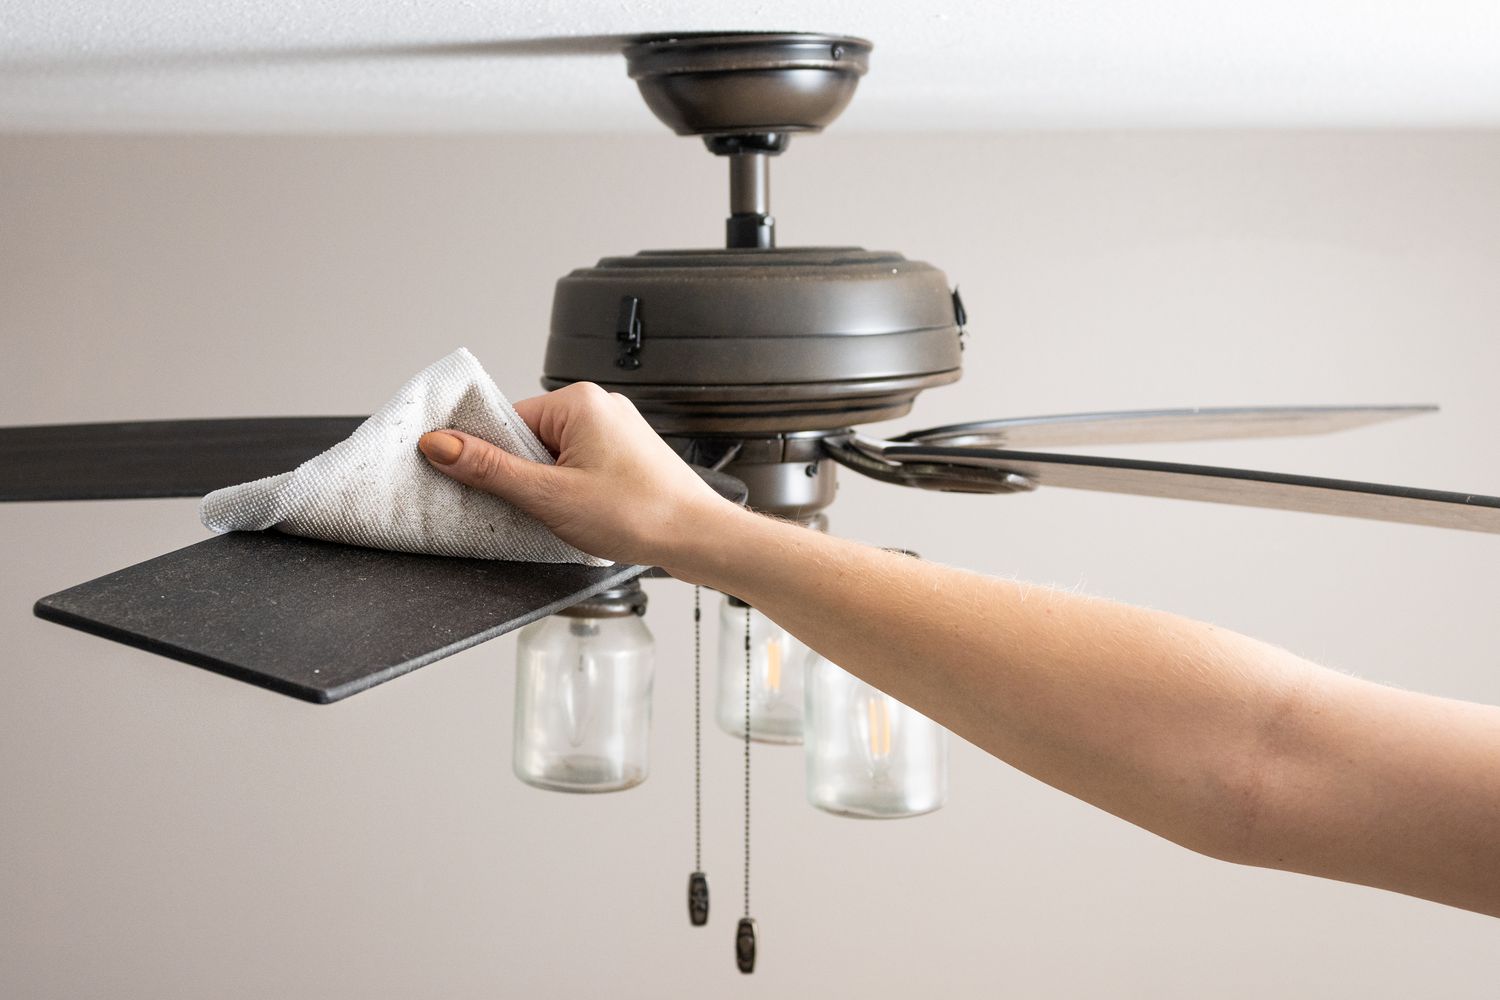
Step 3: Wipe Down the Blades with Microfiber Cloths
After using a vacuum cleaner with a brush attachment to remove loose dust and debris from your ceiling fan blades, it’s time to give them a thorough wipe down using microfiber cloths. Microfiber cloths are excellent for capturing remaining dust and ensuring a clean and polished finish.
Follow these steps to effectively wipe down the blades with microfiber cloths:
1. Dampen the microfiber cloths: Moisten a microfiber cloth with water or a mixture of water and mild detergent. Avoid using excessive moisture as it can potentially damage the fan or lead to electrical issues.
2. Start at the top of the blade and work your way down: Begin cleaning the first blade by positioning the damp microfiber cloth against the top surface of the blade. Gently wipe the cloth along the length of the blade, removing any remaining dust or dirt. Repeat this process on both sides of the blades.
3. Use a new cloth for each blade: To prevent cross-contamination and ensure optimum cleanliness, use a fresh microfiber cloth for each blade. This will ensure that you’re not spreading dust from one blade to another.
4. Pay attention to the edges and corners: As you wipe down the blades, make sure to focus on the edges and corners where dust tends to accumulate. Gently fold the microfiber cloth to target those hard-to-reach areas, ensuring a thorough clean.
5. Change the cloths as needed: If the microfiber cloth becomes too dirty or saturated with dust, replace it with a clean one. This will maintain the effectiveness of the cleaning process.
By wiping down the blades with microfiber cloths, you’re effectively removing any remaining dust and dirt, leaving them clean and ready for the next step. Microfiber cloths are gentle on surfaces and trap dust particles effectively, minimizing the chances of dust spreading around the room.
Once you have completed this step, we can move on to the next one: using a pillowcase to capture loose dust while cleaning the remaining blades.
Step 4: Use a Pillowcase to Capture Loose Dust
Cleaning ceiling fan blades can sometimes result in loose dust and debris falling to the floor or surrounding areas. To prevent this from happening and minimize the mess, you can use a simple yet effective method: using a pillowcase to capture the loose dust while cleaning the remaining blades.
Follow these steps to effectively use a pillowcase to capture loose dust:
1. Take a clean pillowcase: Choose a pillowcase that is large enough to easily fit over the ceiling fan blade. Ensure that the pillowcase is clean and free from any dust or debris.
2. Position the pillowcase over the next blade: Starting with the next blade you will clean, gently slide the pillowcase over the blade. Hold the opening of the pillowcase firmly against the base of the blade to create a barrier.
3. Slide the pillowcase along the blade: With one hand holding the pillowcase against the blade base, use the other hand to slide the pillowcase along the length of the blade. Apply gentle pressure to capture any loose dust or debris within the pillowcase.
4. Repeat for each remaining blade: Continue this process for each remaining blade, one at a time. As you move from blade to blade, be mindful of emptying the collected dust from the pillowcase into a trash bag or bin.
5. Shake out the collected dust: Once you have cleaned all the blades, take the pillowcase outside or to an open area and give it a good shake to release any trapped dust. Be cautious not to inhale the dust particles while shaking the pillowcase.
Using a pillowcase to capture loose dust is an effective way to prevent it from falling onto the floor or furniture, saving you from additional clean-up later. This method not only reduces the mess but also helps to maintain a clean and dust-free living environment.
After completing this step, we can move on to the next one: cleaning the fan blades with a mixture of water and mild detergent to tackle any stubborn dirt or grime.
Use a pillowcase to cover the fan blade, then gently wipe the dust off. This will prevent the dust from falling onto the floor or furniture.
Read more: How To Clean Dust From A Fan
Step 5: Clean the Blades with a Mixture of Water and Mild Detergent
Once you have captured loose dust with the pillowcase, it’s time to give your ceiling fan blades a deeper cleaning using a mixture of water and mild detergent. This step will help remove any stubborn dirt or grime that may have accumulated on the blades over time.
Follow these steps to effectively clean the blades with a water and mild detergent solution:
1. Prepare the cleaning solution: Fill a bucket or basin with warm water and add a small amount of mild detergent. Mix it gently until the detergent is dissolved in the water.
2. Dampen a clean microfiber cloth or sponge: Dip a clean microfiber cloth or sponge into the water and mild detergent solution. Wring out any excess liquid to avoid over-saturating the cloth.
3. Clean each blade individually: Starting with the first blade, gently wipe it down with the dampened cloth or sponge. Pay attention to both sides of the blade, making sure to remove any dirt or grime that may be present. Repeat this process for each remaining blade.
4. Reapply the cleaning solution as needed: If the water and detergent solution becomes too dirty or soapy while cleaning, dispose of it and prepare a fresh batch. This will ensure effective cleaning without spreading dirt from one blade to another.
5. Rinse with a clean, damp cloth: After cleaning each blade, rinse the cloth or sponge in clean water and wring it out well. Use this rinsed cloth to wipe down the blades, removing any residual detergent. This step is important to prevent the accumulation of soap residue on the blades.
By using a mixture of water and mild detergent, you are effectively breaking down and removing stubborn dirt and grime from your ceiling fan blades. This step helps to restore their cleanliness and efficiency, making them look as good as new.
Once you have completed this step, proceed to the next one: drying the blades thoroughly before reassembling and testing the fan.
Step 6: Dry the Blades Thoroughly
After cleaning the ceiling fan blades with a mixture of water and mild detergent, it’s important to dry them thoroughly before reassembling and testing the fan. Proper drying will help prevent water spots and ensure that the blades are ready for use.
Follow these steps to effectively dry the blades:
1. Use a clean, dry microfiber cloth: Take a clean microfiber cloth and use it to wipe down each blade, removing any excess moisture. Start from the top of the blade and work your way down, ensuring that all surfaces are dry.
2. Pay attention to corners and edges: Be thorough when drying the blades, paying extra attention to the corners and edges where moisture can get trapped. Use the cloth to gently reach into these areas and remove any lingering dampness.
3. Let the blades air dry: Once you have wiped down the blades, allow them to air dry for a few minutes. This will help ensure that any remaining moisture evaporates completely.
4. Check for any signs of moisture: Before proceeding with reassembly, double-check each blade to ensure there are no signs of moisture. If you notice any areas that are still damp, carefully dry them with a clean, dry microfiber cloth.
It’s essential to dry the blades thoroughly to prevent water spots and potential damage to the fan. Leaving moisture on the blades can also lead to the accumulation of dust and dirt more quickly.
Once you are certain that the blades are completely dry, you can proceed to the next step: reassembling the fan and conducting a test to ensure that it is operating smoothly.
Step 7: Reassemble and Test the Fan
After completing the cleaning and drying process, it’s time to reassemble your ceiling fan and test its functionality. By following this final step, you can ensure that the fan is properly put back together and working as expected.
Follow these steps to effectively reassemble and test your ceiling fan:
1. Remove any protective coverings: Before reassembling the fan, remove any protective coverings or drop cloths that were placed around the area during the cleaning process. This will ensure a clean and tidy space.
2. Remove tape or rubber bands securing the blades: Carefully remove any tape or rubber bands that were used to secure the blades during the cleaning process. Ensure that no residue is left behind on the blades.
3. Align the blades with the brackets: Align each blade with its respective bracket on the fan motor. Once aligned, insert the screws through the holes in the blades and tighten them securely. Repeat this step for all the blades.
4. Check the stability of the fan blades: Gently give each blade a slight tug to ensure that they are securely attached. If any blades feel loose, tighten the screws further to ensure stability.
5. Reconnect the power and turn on the fan: Once the fan blades are securely in place, you can proceed to reconnect the power. Plug your fan back into the power outlet or turn on the circuit breaker that controls the fan’s electricity. Then, turn on the fan using the appropriate control switch or remote.
6. Observe the fan’s operation: As the fan starts to spin, observe its operation carefully. Ensure that it is running smoothly, without any wobbling or unusual noises. If you notice any issues, turn off the fan immediately and check for any loose connections or improperly installed components.
By reassembling and testing the fan, you are confirming that it is functioning properly and ready to provide you with a cool and comfortable airflow once again. If you notice any lingering issues, it may be necessary to troubleshoot further or seek professional assistance.
With the completion of this step, your ceiling fan cleaning process is now finished. Congratulations on successfully cleaning your ceiling fan blades and maintaining a clean and efficient fan for your home!
Conclusion
Cleaning your ceiling fan blades without getting dust everywhere is an important maintenance task that helps to keep your fan in optimal condition and ensures a healthier living environment. By following the step-by-step guide outlined in this article, you can effectively clean and maintain your ceiling fan blades with ease.
We started by gathering the necessary materials, including a step ladder or stool, a vacuum cleaner with a brush attachment, microfiber cloths, a pillowcase, and a water and mild detergent solution. Proper preparation, such as turning off the fan and securing the blades, helped to ensure safety and ease during the cleaning process.
Using a vacuum cleaner with a brush attachment, we removed loose dust and debris from the blades. Then, we wiped down the blades with microfiber cloths to capture remaining dust effectively. Utilizing a pillowcase helped to contain loose dust and avoid spreading it throughout the room.
Next, we cleaned the blades more thoroughly with a mixture of water and mild detergent, targeting stubborn dirt and grime. The blades were then dried thoroughly to prevent water spots and ensure a clean finish. Finally, we reassembled the fan and tested its functionality to ensure it was operating correctly.
Routine cleaning and maintenance of ceiling fan blades not only improve the fan’s appearance but also contribute to its efficiency and longevity. Regularly cleaning your fan blades reduces the accumulation of dust and dirt, enhances airflow, and promotes a healthier indoor environment.
Remember to take the necessary safety precautions, such as turning off the fan and disconnecting the power before cleaning. Use proper tools and techniques to avoid any damage to the fan or injury to yourself.
By following the steps outlined in this article, you can maintain a clean and well-functioning ceiling fan and enjoy its benefits for years to come. So, don’t let dust accumulate on your ceiling fan blades any longer — it’s time to give them a thorough cleaning and enjoy a fresh and comfortable living space.
Frequently Asked Questions about How To Clean Ceiling Fan Blades Without Getting Dust Everywhere
Was this page helpful?
At Storables.com, we guarantee accurate and reliable information. Our content, validated by Expert Board Contributors, is crafted following stringent Editorial Policies. We're committed to providing you with well-researched, expert-backed insights for all your informational needs.


0 thoughts on “How To Clean Ceiling Fan Blades Without Getting Dust Everywhere”