Home>Articles>How To Paint A Ceiling Without Getting It On The Walls

Articles
How To Paint A Ceiling Without Getting It On The Walls
Modified: December 7, 2023
Learn how to paint a ceiling without any messy spills or drips on the walls with our informative articles.
(Many of the links in this article redirect to a specific reviewed product. Your purchase of these products through affiliate links helps to generate commission for Storables.com, at no extra cost. Learn more)
Introduction
Welcome to this comprehensive guide on how to paint a ceiling without getting it on the walls. Painting a ceiling can be a daunting task, especially when it comes to avoiding those dreaded paint drips and splatters on the walls. But fear not, with the right preparation, technique, and tools, you can achieve a professional-looking result with minimal mess.
In this article, we will walk you through the step-by-step process of preparing the room, prepping the ceiling, choosing the right paint and tools, applying the paint, and adding those finishing touches to ensure a clean and seamless ceiling paint job.
So, if you’re ready to transform your space and add a fresh coat of paint to your ceiling, let’s dive into the details and make sure the walls stay paint-free!
Key Takeaways:
- Achieve a professional-looking ceiling paint job by preparing the room, cleaning and repairing the ceiling, and choosing the right paint and tools. Maintain a wet edge while painting and add finishing touches for a flawless result.
- Transform your space with a fresh coat of ceiling paint while keeping the walls paint-free. Follow the step-by-step process, from preparation to finishing touches, for a smooth and successful painting experience.
Read more: How To Paint A Ceiling Without Streaks
Preparing the Room
Before you start painting the ceiling, it’s important to prepare the room properly. This will help minimize any potential mess and ensure a smooth painting process. Here are the key steps to follow:
- Clearing the area: Begin by removing all furniture, decorations, and any other items that may hinder your movement or get in the way. It’s easier to work in a clear, open space, allowing you to focus solely on painting the ceiling without any obstacles.
- Protecting furniture and flooring: Next, cover any remaining furniture and the flooring with drop cloths or plastic sheeting. This will protect them from accidental paint spills or splatters. Make sure to secure the covers properly to avoid any movement during the painting process.
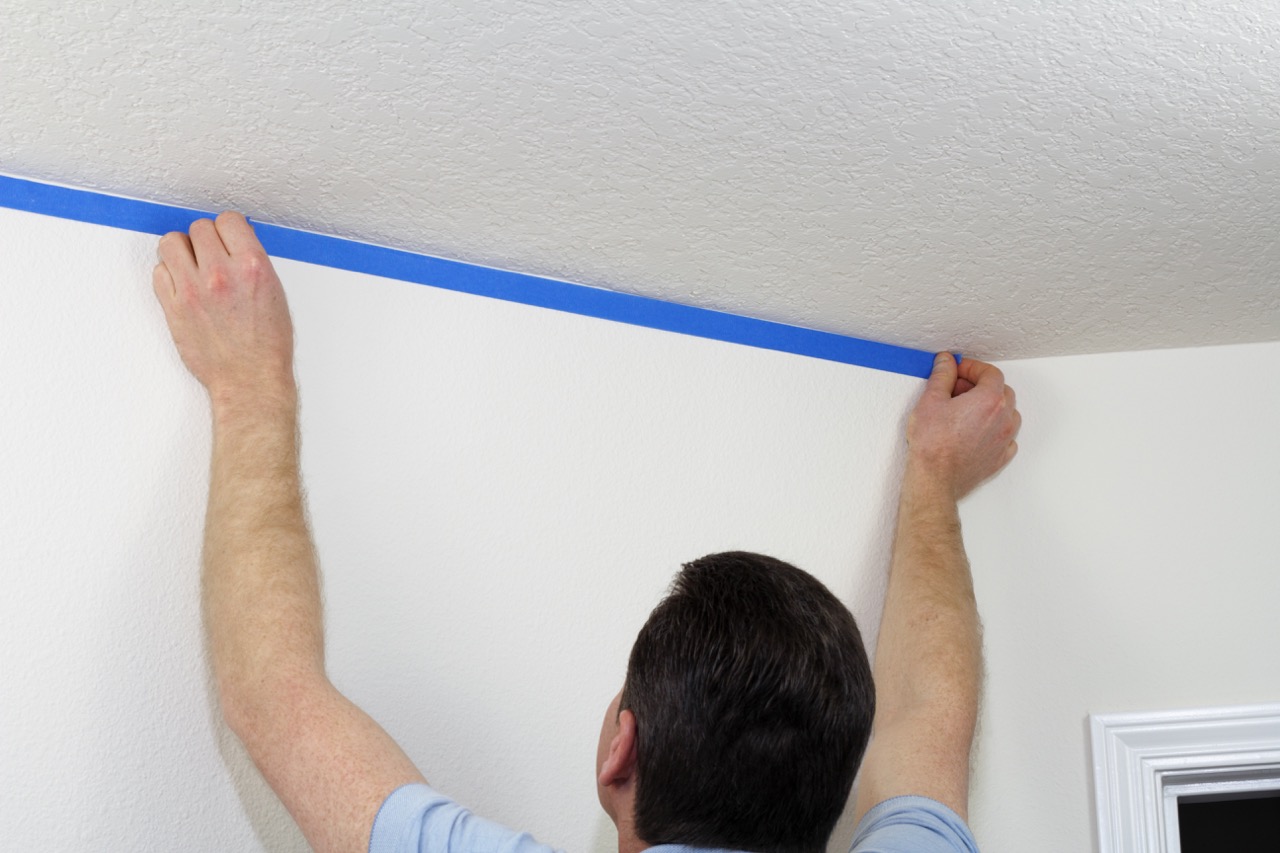
- Gathering supplies: Now it’s time to gather all the necessary supplies for the job. You’ll need a ladder or scaffolding to reach the ceiling, painter’s tape to mask off areas you don’t want to paint, a paint tray, roller, extension pole, and brushes. Additionally, have a damp cloth or sponge handy for any immediate cleanup.
By taking the time to clear the area, protect your furniture and flooring, and gather the right supplies, you’ll be well-prepared for the upcoming steps of painting your ceiling.
Preparing the Ceiling
Now that the room is ready, it’s time to focus on preparing the ceiling itself. This step is crucial in achieving a smooth and flawless paint finish. Here’s what you need to do:
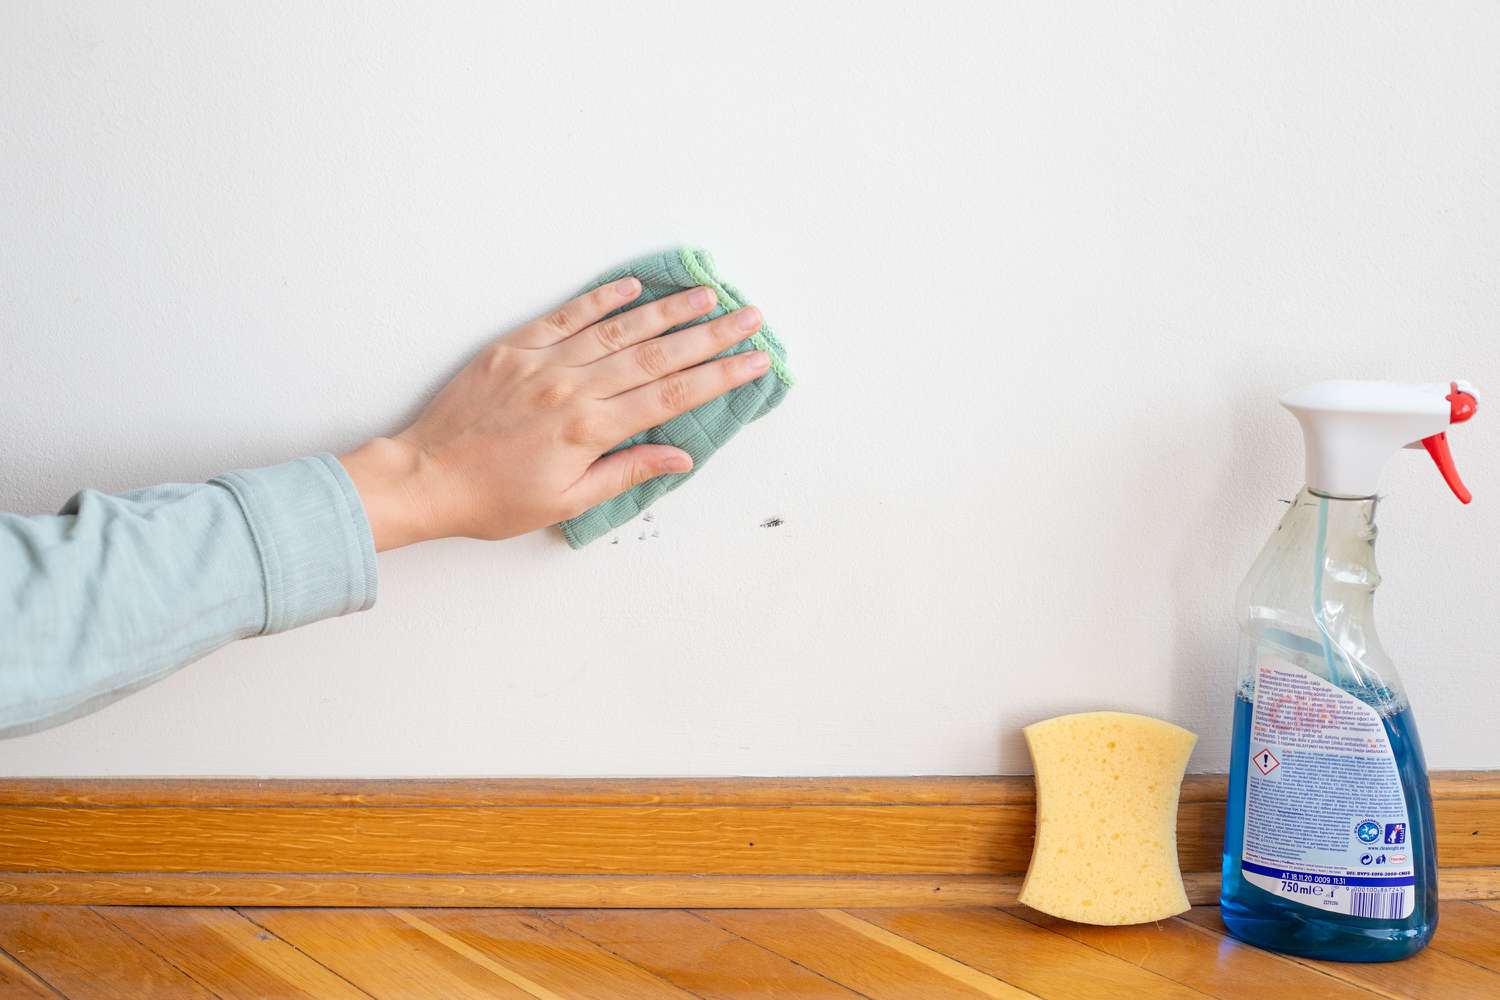
- Cleaning the ceiling: Start by thoroughly cleaning the ceiling to remove any dirt, dust, or grease. Use a broom or vacuum with a brush attachment to gently clean the surface. If there are stains or stubborn dirt, you can also lightly wipe the ceiling with a damp cloth or sponge. Make sure the ceiling is completely dry before moving on to the next step.
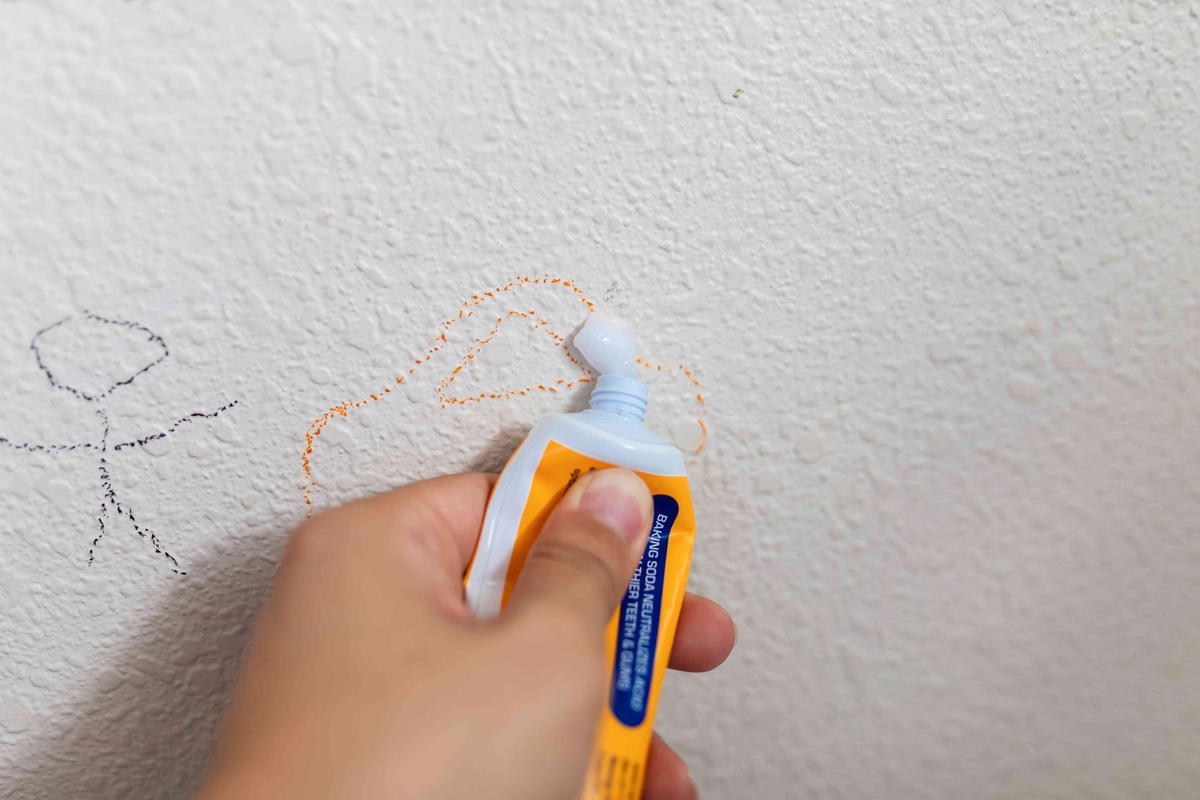
- Repairing any damage: Inspect the ceiling for any cracks, holes, or other damages that need repair. Use spackling compound or filler to fill in any cracks or holes, smoothing it out with a putty knife. Allow the compound to dry completely, and then sand it down to create a smooth surface. Wipe away any dust with a damp cloth.
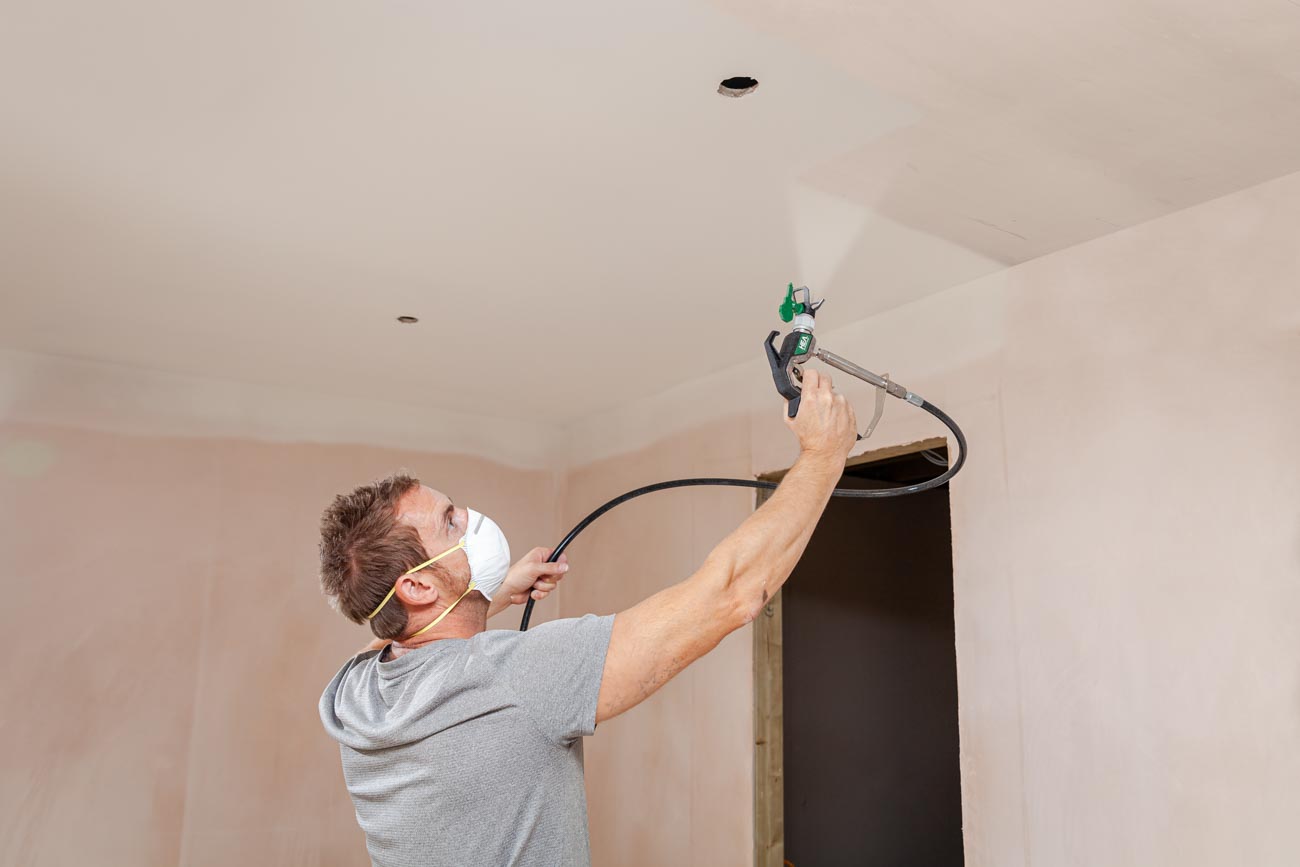
- Applying primer (optional): Depending on the condition of your ceiling and the type of paint you’ll be using, applying a primer may be necessary. Primer helps to create a smooth and even base, enhances paint adhesion, and can also help cover up stains. If you decide to use a primer, follow the manufacturer’s instructions for application and drying time. Allow the primer to dry completely before moving on to the next step.
By cleaning the ceiling, repairing any damage, and considering the use of a primer, you’re ensuring that your ceiling is ready to be painted with a professional-looking finish. These steps will help create an even surface and maximize the longevity of your ceiling paint job.
Choosing the Right Paint and Tools
When it comes to painting a ceiling, selecting the right paint and having the right tools can make a significant difference in the final outcome. Here are the key considerations when choosing your paint and tools:
- Selecting the appropriate paint: Look for a ceiling paint that is specifically formulated for ceilings. These paints are designed to have a thicker consistency, which helps minimize drips and provides excellent coverage. Opt for a finish that suits your preferences, such as matte for a non-reflective surface or satin for a slight sheen.
- Determining the right tools: The tools you choose for painting the ceiling can greatly impact the ease and efficiency of the job. A roller with an extension pole is ideal for covering larger areas while standing on the ground. For cutting in around edges and corners, use a high-quality angled brush. Consider using a paint tray with a grid to evenly distribute the paint on the roller.
- Preparing the paint for application: Before you start applying the paint, it’s essential to prepare it correctly. If you’re using a new paint can, make sure to thoroughly mix the paint using a stirring stick. If you’re using leftover paint, strain it to remove any clumps or debris. Additionally, pour a small amount of paint into the paint tray and load the roller evenly to avoid excess dripping.
By selecting the appropriate paint, determining the right tools, and properly preparing the paint for application, you’ll set yourself up for success in achieving a smooth and professional-looking ceiling paint job. These considerations will ensure ease of application and help you achieve the desired finish.
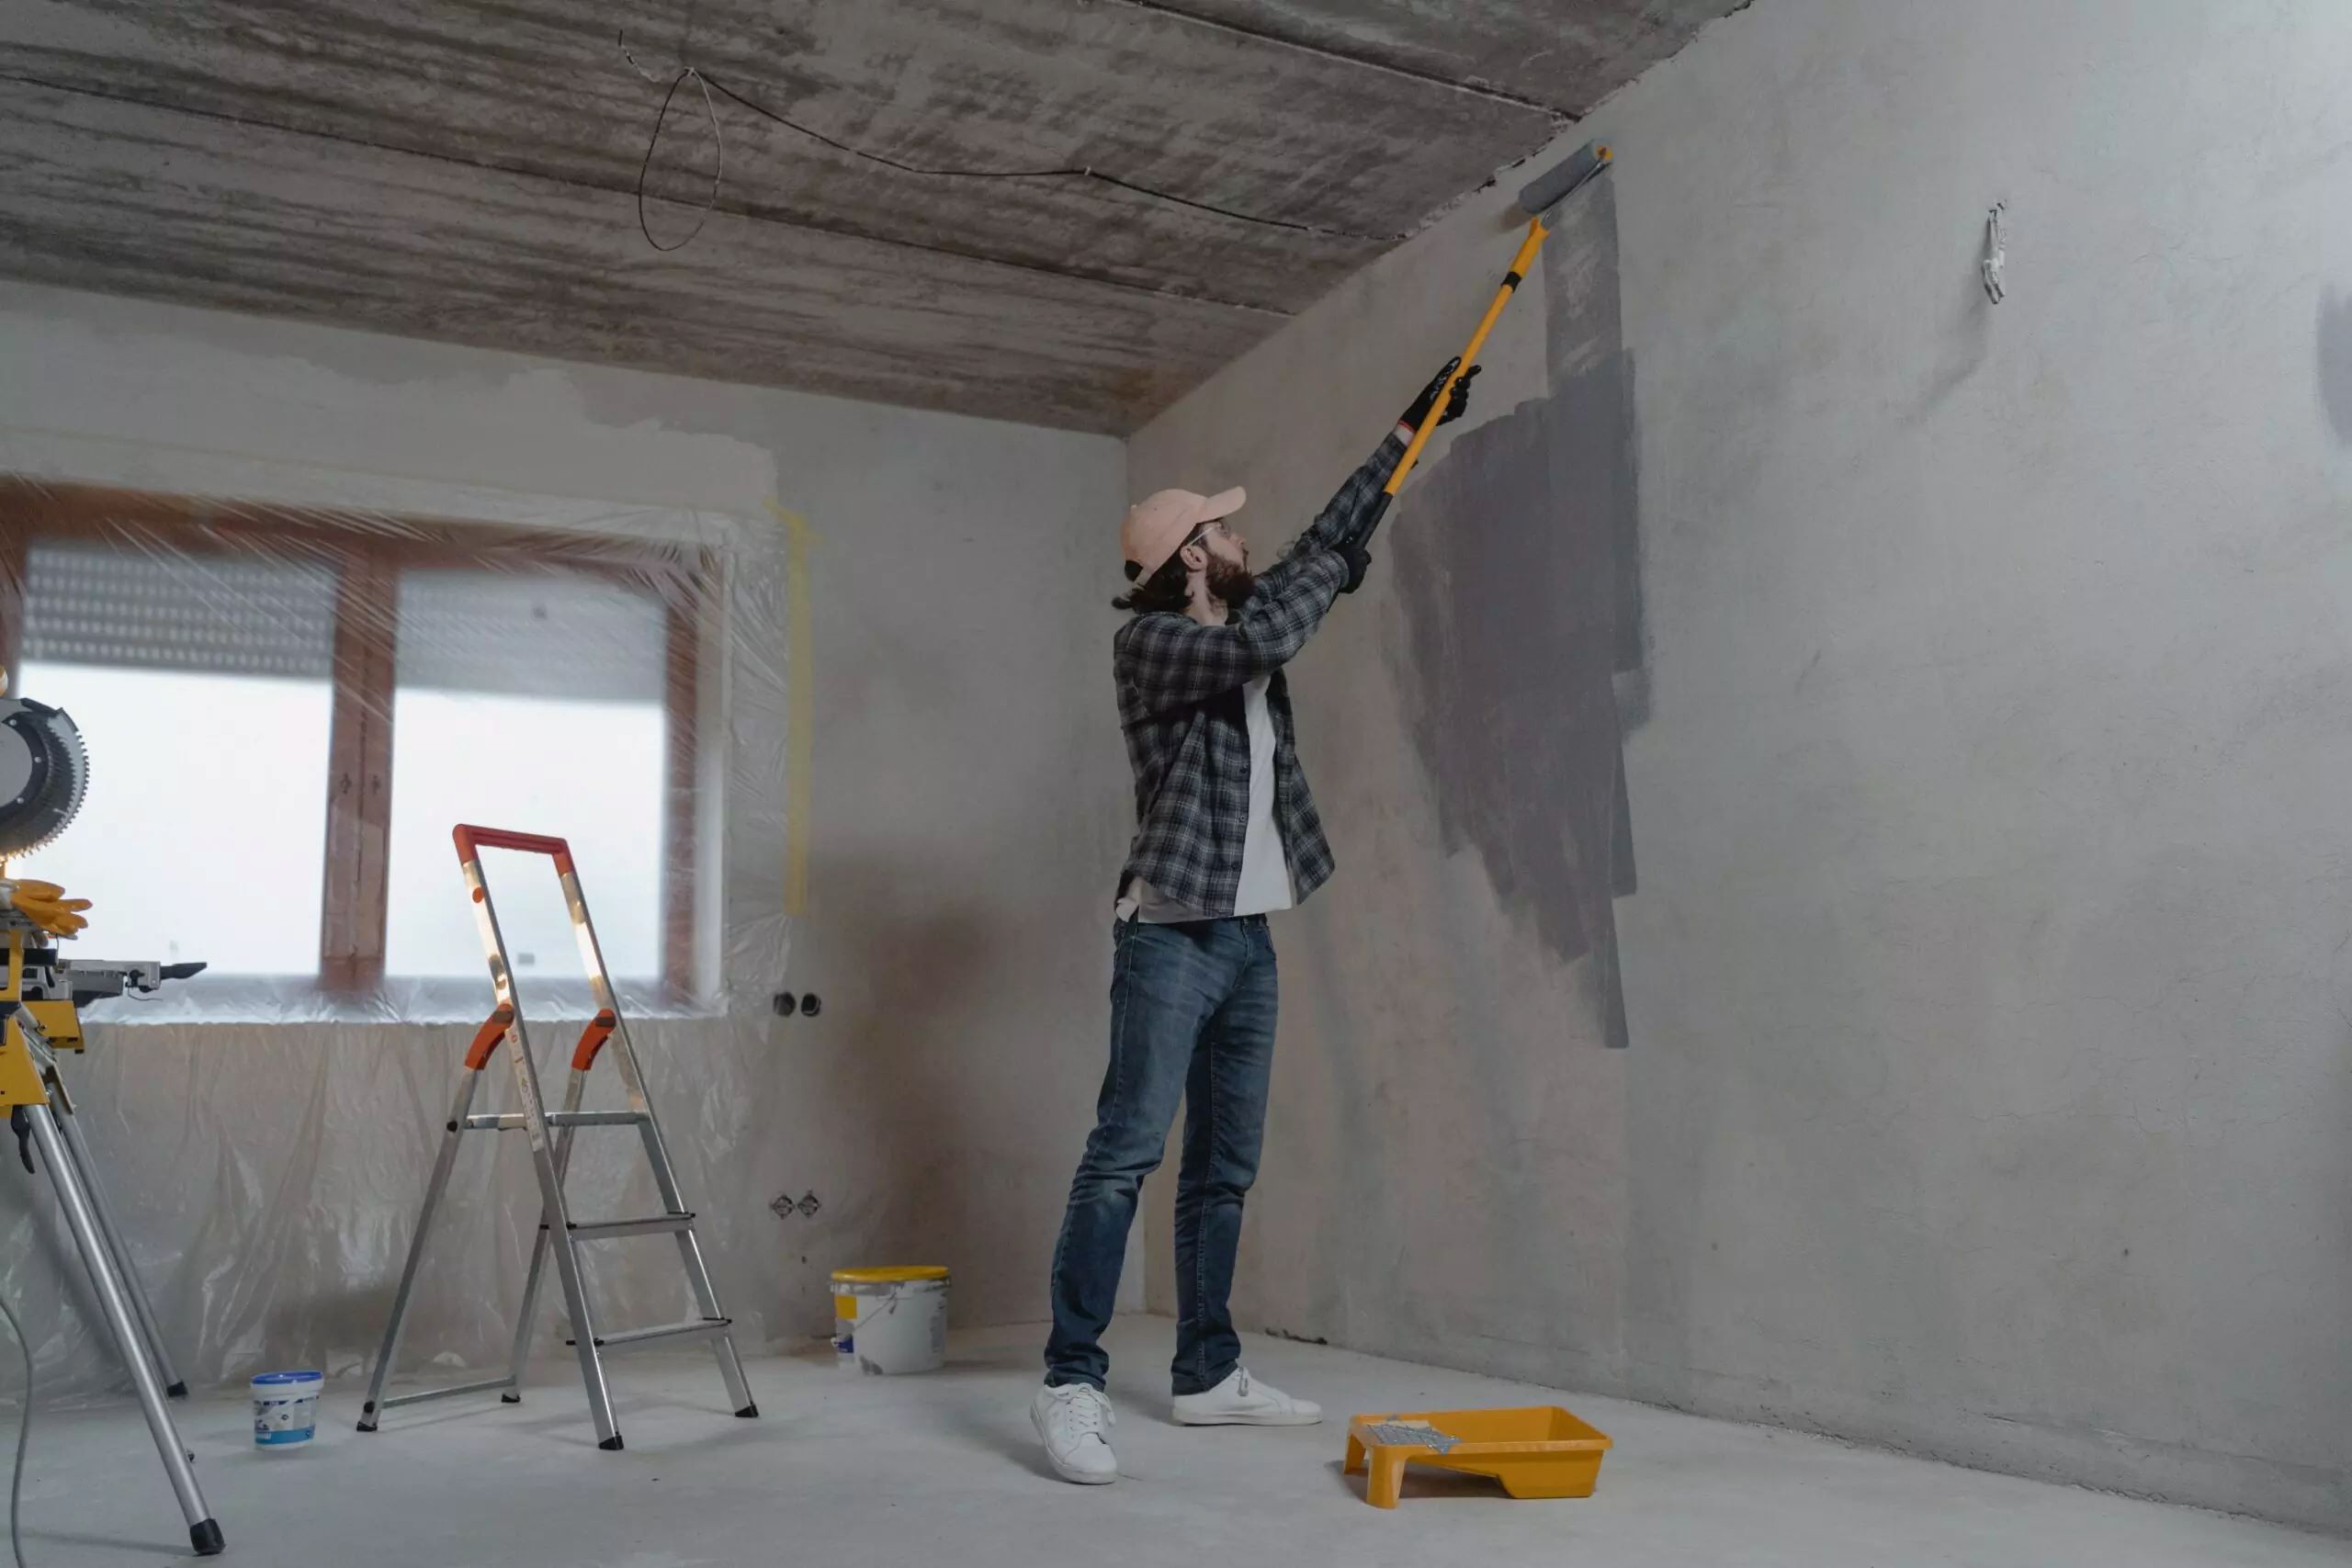
Use a high-quality angled brush to cut in along the edges of the ceiling, then use a roller with an extension pole for the main area. Be sure to use a drop cloth to protect the walls.
Applying the Paint
Now it’s time to apply the paint to your prepared ceiling. Follow these steps to ensure a seamless and even application:
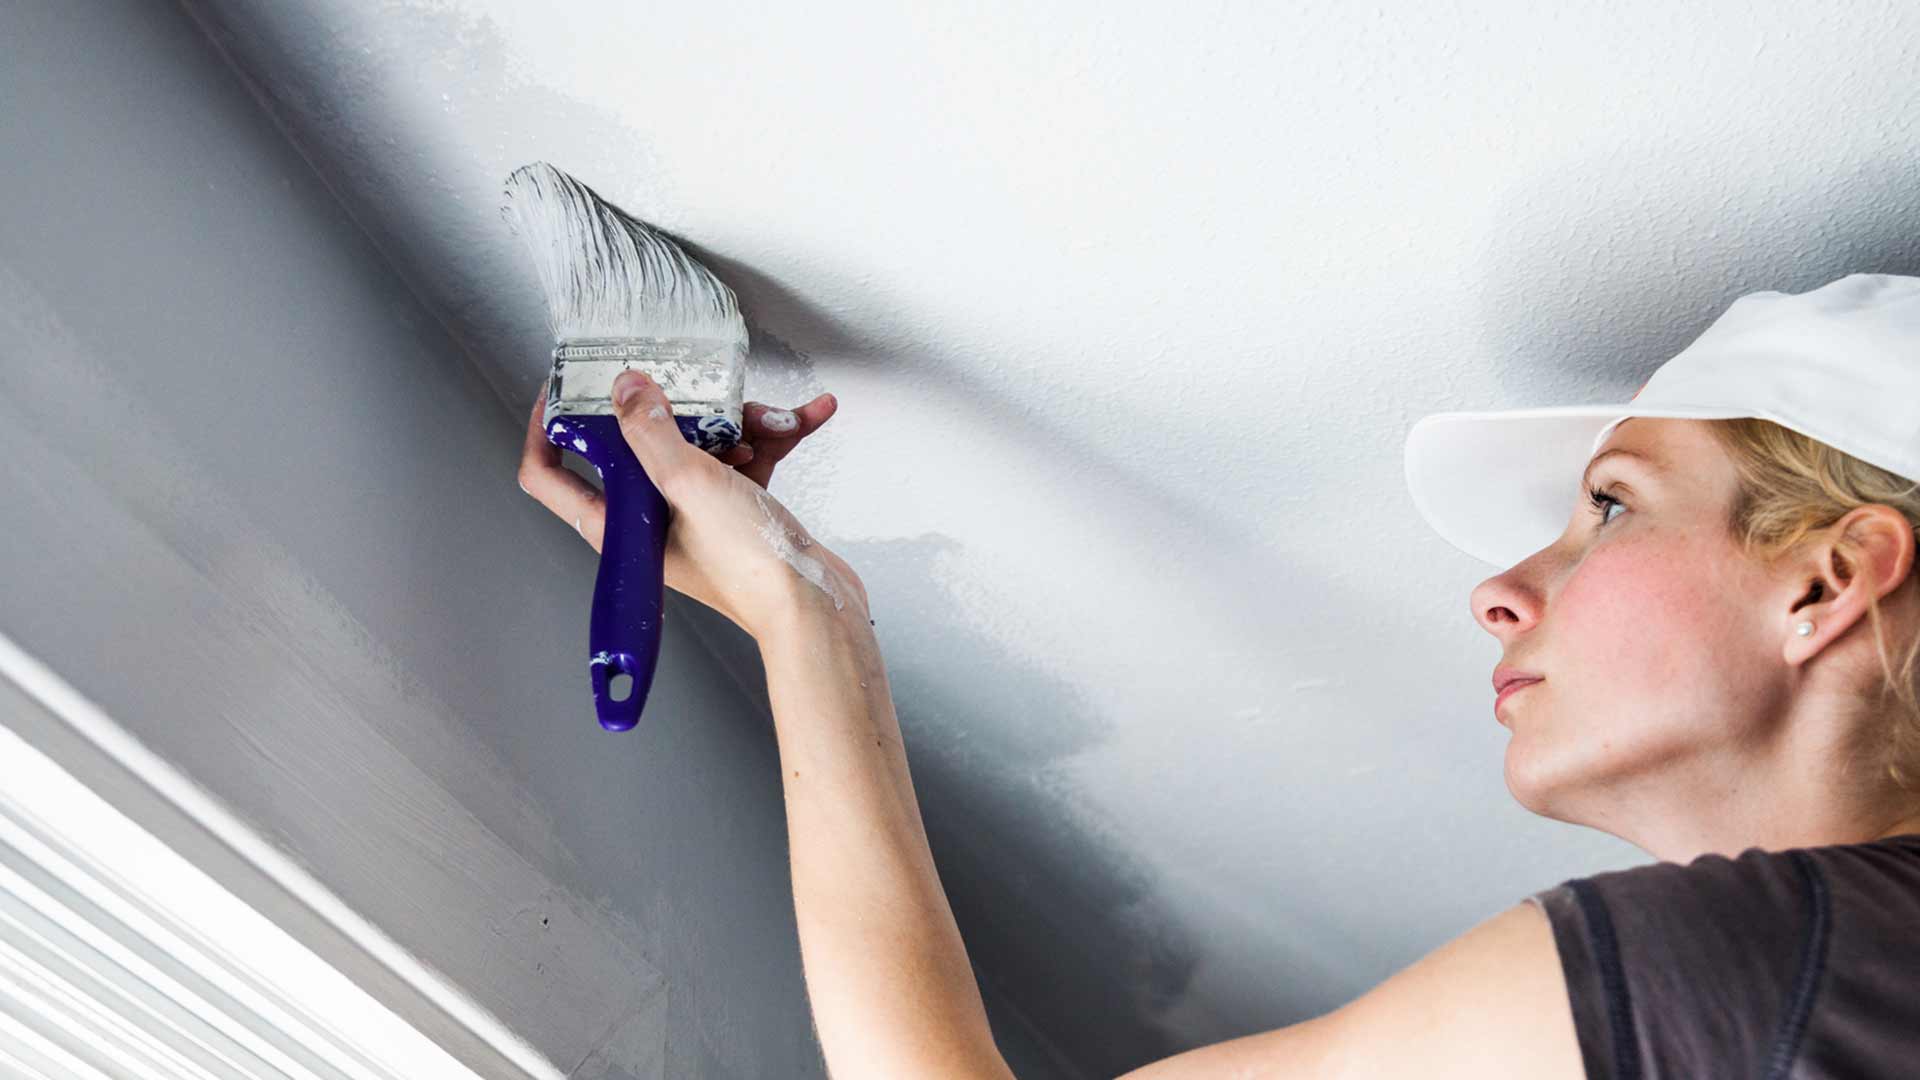
- Cutting in the ceiling: Start by cutting in the edges of the ceiling using an angled brush. Paint a strip of approximately 2 to 3 inches along the perimeter of the ceiling, where it meets the walls. Be careful not to overlap onto the walls. This technique creates a clean and precise line.
- Using a roller for larger areas: Once you’ve cut in the edges, switch to a roller for the larger surface areas of the ceiling. Load the roller evenly with paint from the tray. Begin rolling in one corner of the ceiling, working in small sections at a time. Use smooth and even strokes to apply the paint, working in a consistent direction.
- Maintaining a wet edge: It’s important to maintain a wet edge while painting the ceiling. This means that you should always overlap into the previous wetly painted area to avoid visible lines or uneven drying. Work quickly but without rushing, ensuring that each section blends seamlessly into the next.
By cutting in the ceiling before using a roller, you’ll achieve a clean and defined edge. Using a roller for larger areas allows for efficient coverage and a smooth finish. Just remember to maintain a wet edge to ensure a uniform application. Take breaks between sections if needed, allowing the paint to dry slightly before continuing.
Read more: How To Get Paint Off The Ceiling
Finishing Touches
As you near the end of your ceiling painting project, there are a few final touches you can make to ensure a flawless finish. Follow these steps for those finishing touches:
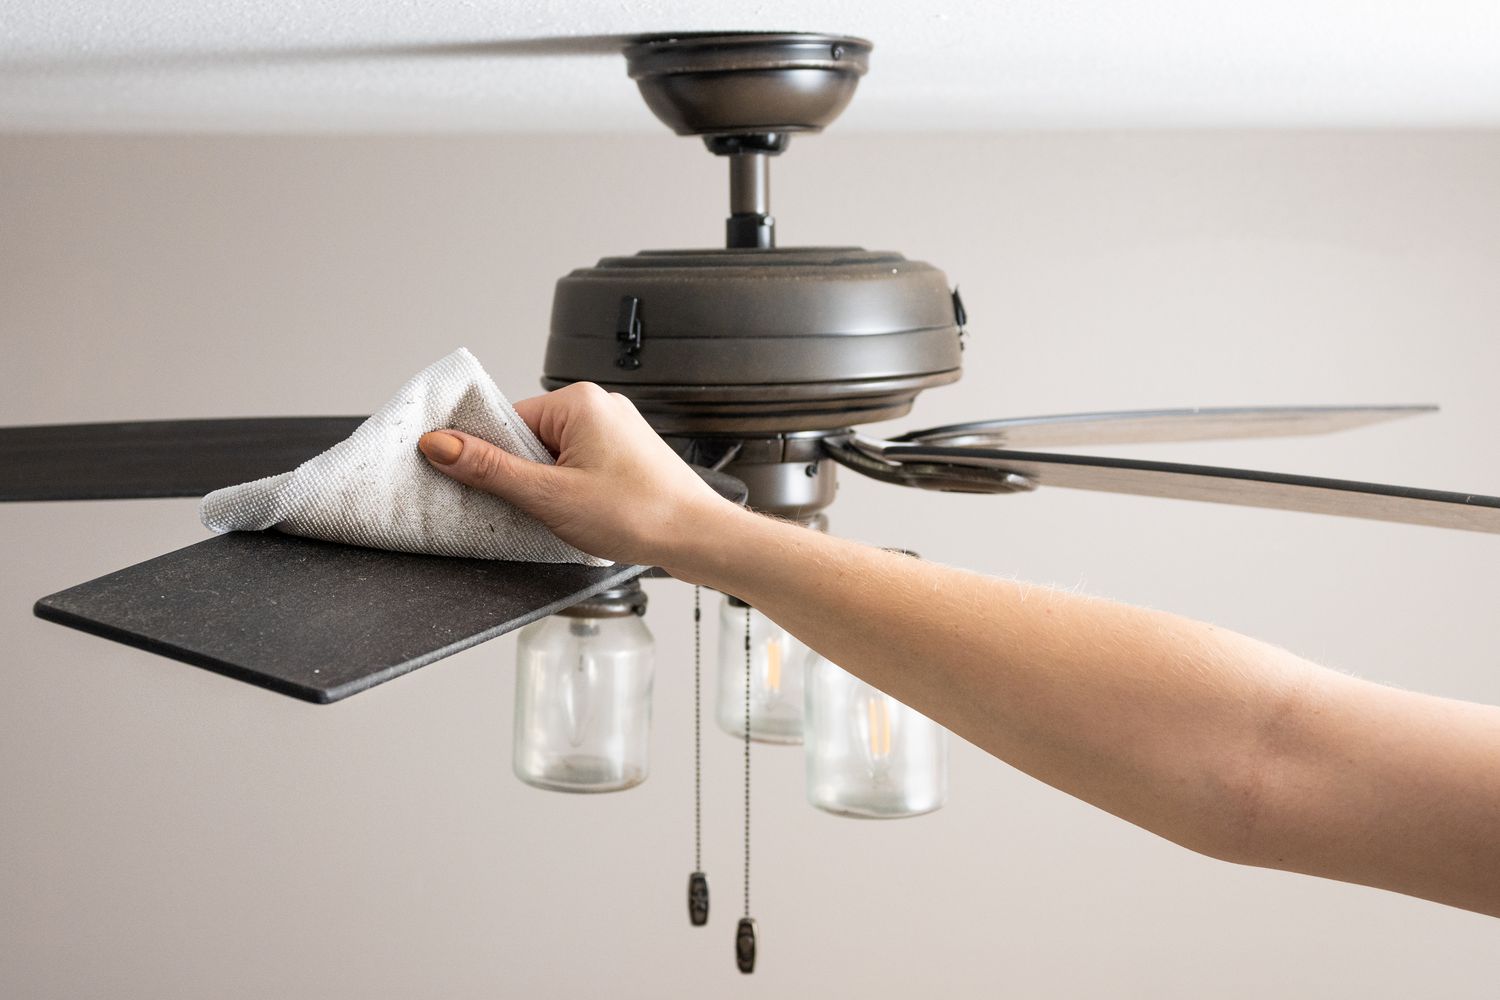
- Removing any paint drips or splatters: After you’ve completed painting the ceiling, take a closer look for any paint drips or splatters on the walls, furniture, or flooring. If you notice any, use a damp cloth or sponge to quickly wipe them away before the paint dries. This will help maintain a clean and tidy appearance.
- Inspecting the finished ceiling: Once the paint has dried, step back and inspect the finished ceiling. Look for any missed spots or uneven areas. If needed, touch up those areas by using a small brush and carefully applying the paint to create a seamless finish. This final inspection ensures that your ceiling looks polished and professionally painted.
By taking the time to remove any paint drips or splatters and thoroughly inspecting the finished ceiling, you’ll achieve a clean and professional result that you can be proud of. These finishing touches elevate the overall appearance and ensure that your hard work pays off.
Conclusion
Painting a ceiling without getting it on the walls may seem challenging at first, but with the right preparation, technique, and tools, it can be a smooth and successful process. By following the steps outlined in this guide, you can achieve a professional-looking finish while minimizing mess and frustration.
Remember to start by preparing the room, clearing the area, protecting furniture and flooring, and gathering all the necessary supplies. Preparing the ceiling involves cleaning it thoroughly, repairing any damage, and considering the use of a primer for optimal results.
Choosing the right paint and tools is essential. Opt for a ceiling paint that is specifically formulated for ceilings and offers good coverage. Utilize the appropriate tools such as rollers, brushes, and extension poles to achieve efficient and even application. Preparing the paint correctly, whether it’s stirring a new can or straining leftover paint, ensures a smooth painting process.
During the painting process, cut in the ceiling using an angled brush, then switch to a roller for larger areas. Maintain a wet edge to avoid visible lines or uneven drying. Take breaks between sections if needed and allow the paint to dry slightly before continuing.
Once the painting is complete, remove any paint drips or splatters on walls, furniture, or flooring. Inspect the finished ceiling for any missed spots or uneven areas, and touch up if necessary.
By following these steps and paying attention to detail, you can achieve a beautifully painted ceiling without any paint on the walls. So, go ahead and tackle that ceiling painting project, confident in your ability to achieve professional results!
Frequently Asked Questions about How To Paint A Ceiling Without Getting It On The Walls
Was this page helpful?
At Storables.com, we guarantee accurate and reliable information. Our content, validated by Expert Board Contributors, is crafted following stringent Editorial Policies. We're committed to providing you with well-researched, expert-backed insights for all your informational needs.


0 thoughts on “How To Paint A Ceiling Without Getting It On The Walls”