
Articles
How To Clean Dust Off Ceiling Fan
Modified: April 23, 2024
Discover effective techniques and tips in our informative articles on how to clean dust off ceiling fans. Keep your fans spotless and dust-free for optimal performance and air quality.
(Many of the links in this article redirect to a specific reviewed product. Your purchase of these products through affiliate links helps to generate commission for Storables.com, at no extra cost. Learn more)
Introduction
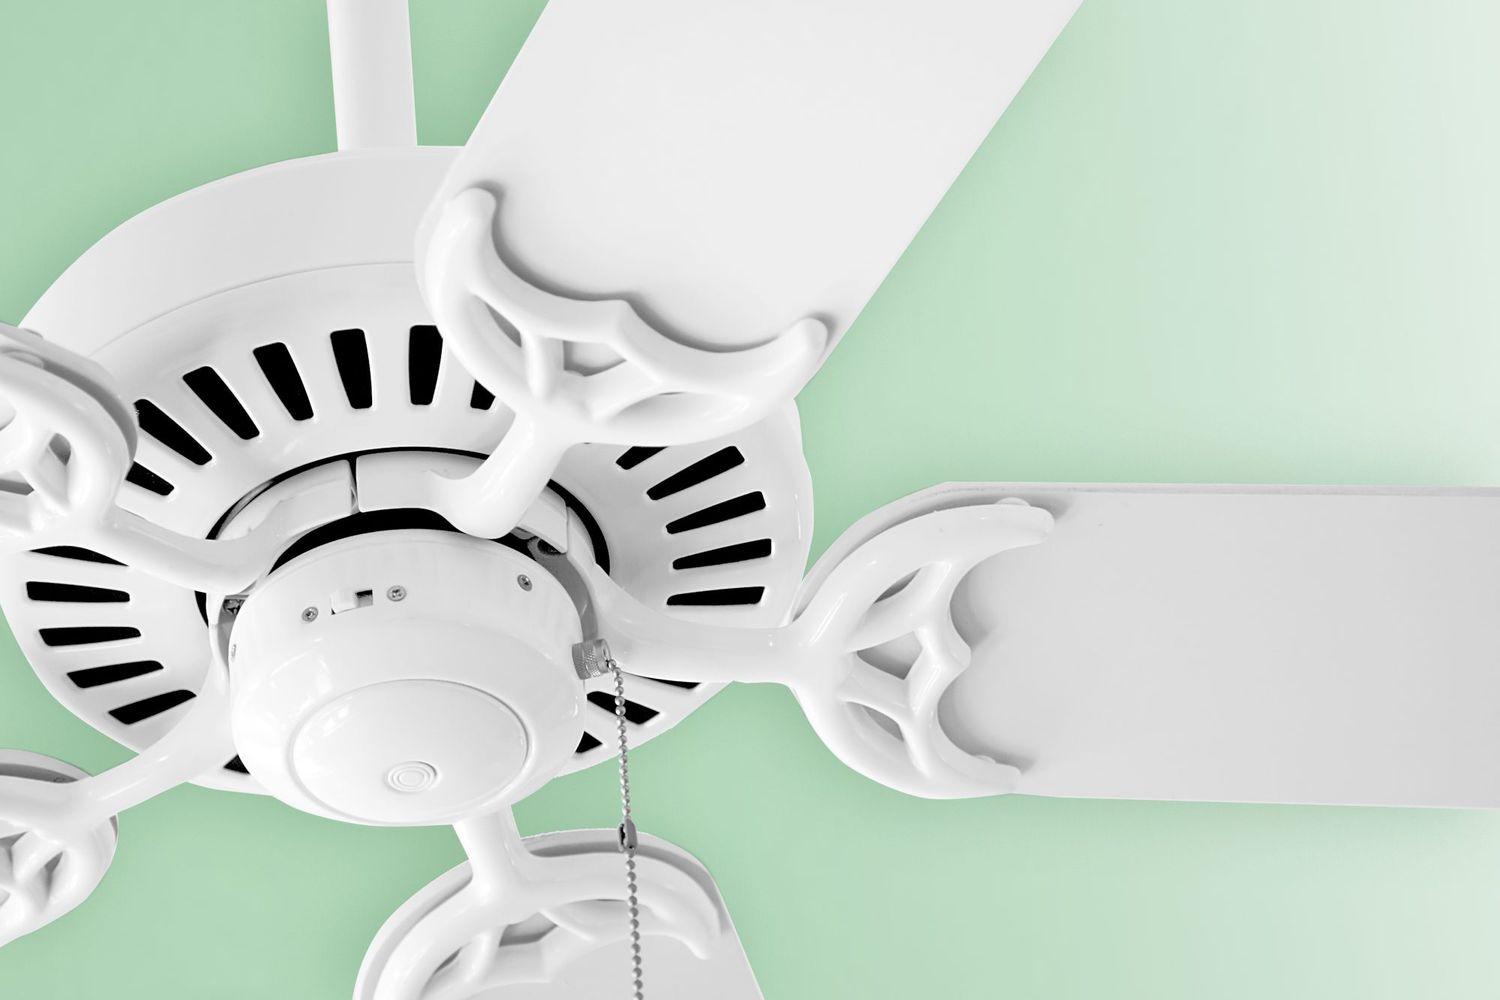
Ceiling fans are a common feature in many homes and provide a refreshing breeze during hot summer months. However, over time, they can accumulate a thick layer of dust on their blades. Not only does this negatively impact the efficiency of the fan, but it can also spread allergens and contaminants around the room when the fan is turned on.
Cleaning dust off a ceiling fan may seem like a daunting task, but with the right tools and techniques, it can be a simple and rewarding process. Regularly cleaning your ceiling fan not only improves its performance but also helps maintain a clean and healthy indoor environment.
In this article, we will explore the importance of cleaning ceiling fans, the tools and materials needed, step-by-step instructions to clean the dust off a ceiling fan, safety precautions to consider, and additional tips and tricks to make the process easier.
So, if you’re ready to restore your ceiling fan to its former glory and enjoy a fresher and cleaner living space, let’s dive in!
Key Takeaways:
- Regularly cleaning your ceiling fan is crucial for improving air quality, enhancing energy efficiency, and preventing dust buildup in your living space, ultimately leading to a cleaner and healthier environment.
- By following safety precautions, using the right tools, and incorporating regular maintenance, you can efficiently clean the dust off your ceiling fan, ensuring optimal performance and a longer lifespan for your fan.
Read more: How To Clean Dust Off Blinds
Importance of Cleaning Ceiling Fans
Regularly cleaning your ceiling fans goes beyond just maintaining their appearance. There are several important reasons why you should make cleaning your ceiling fans a regular part of your household cleaning routine:
- Improves Air Quality: Ceiling fans circulate the air in a room, keeping it fresh and preventing stagnation. However, when the fan blades are coated in dust, they can distribute allergens, pet dander, and other particles into the air you breathe. Regularly cleaning your ceiling fan helps improve the overall air quality indoors, reducing the risk of allergies and respiratory issues.
- Enhances Energy Efficiency: A ceiling fan covered in a layer of dust will operate less efficiently. The accumulation of dust on the blades creates added resistance and reduces airflow, making the fan work harder to generate the desired cooling effect. By cleaning the dust off the blades, you can ensure that your ceiling fan operates optimally, saving energy and reducing your utility bills.
- Extends Fan Lifespan: Dust can have a negative impact on the performance and lifespan of your ceiling fan. Over time, the accumulation of dust can put extra strain on the motor, leading to premature wear and tear. By regularly cleaning your fan, you can help prolong its lifespan and avoid costly repairs or replacements.
- Prevents Dust Buildup in the Room: When a ceiling fan is turned on, the movement of the blades can actually dislodge the dust that has settled on furniture, curtains, and other surfaces in the room. By cleaning the dust off the fan blades, you can minimize the amount of dust that is redistributed throughout the room, reducing the need for frequent dusting and cleaning of other surfaces.
Overall, cleaning your ceiling fan is an essential part of maintaining a clean and healthy living space. It not only improves air quality and energy efficiency, but it also extends the lifespan of your fan and reduces dust buildup in the room. With these benefits in mind, it’s time to gather the necessary tools and materials to tackle the task of cleaning the dust off your ceiling fan.
Tools and Materials Needed
Before you begin cleaning the dust off your ceiling fan, it is important to gather the necessary tools and materials. Having these items on hand will make the process more efficient and ensure that you can effectively remove the dust from all parts of the fan. Here’s what you’ll need:
- Ladder or Step Stool: Depending on the height of your ceiling fan, you may need a ladder or step stool to safely reach the blades. Make sure the ladder or step stool is stable and secure before climbing on it.
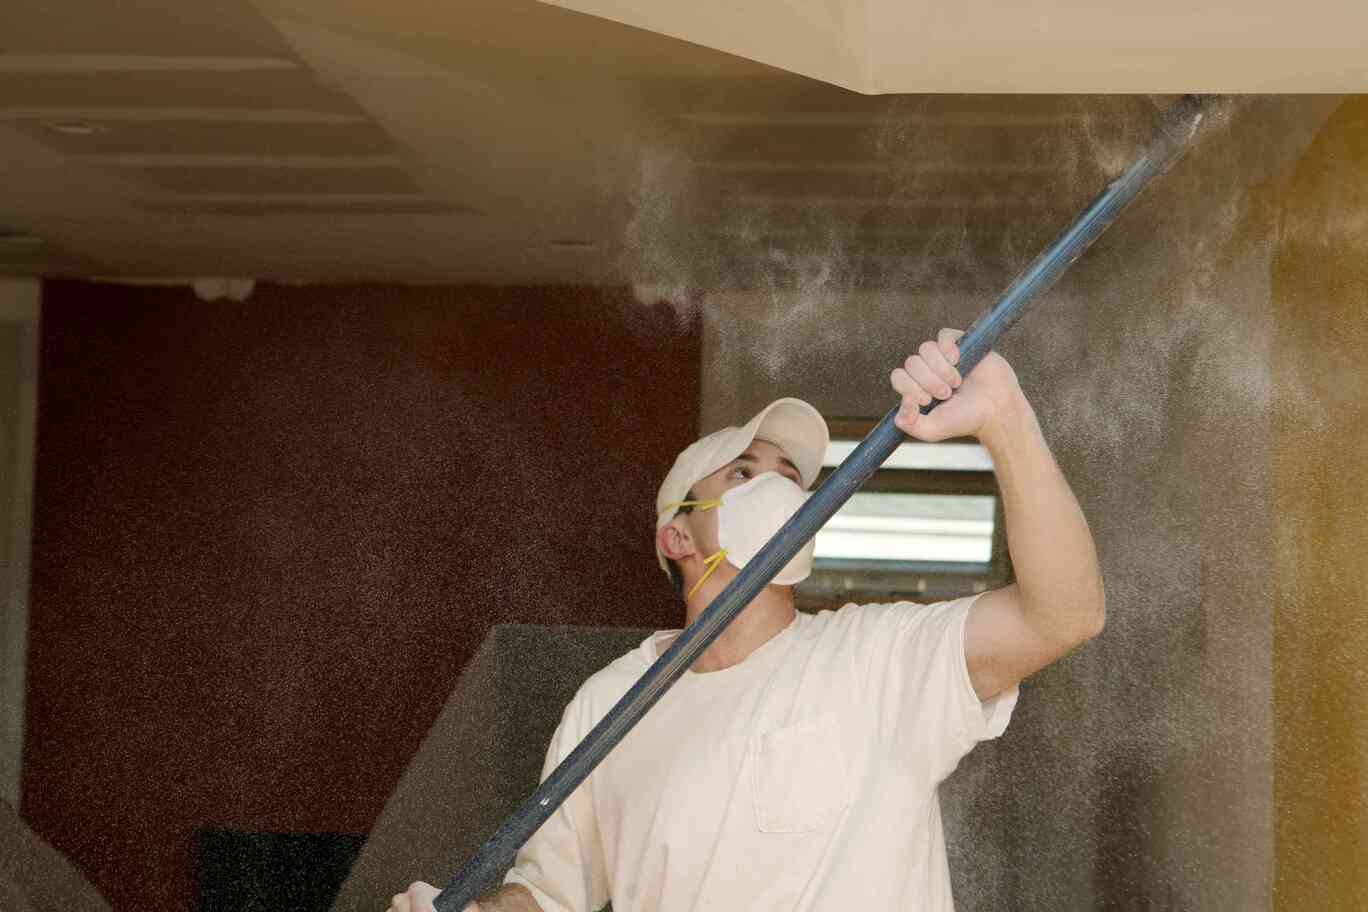
- Dust Mask or Respirator: Cleaning a ceiling fan can stir up a significant amount of dust. To protect your respiratory system, wear a dust mask or respirator while cleaning.
- Microfiber Cloth or Duster: Microfiber cloths are ideal for capturing dust particles and preventing them from being scattered around. Alternatively, you can use a duster with an extendable handle to reach high spots without the need for a ladder.
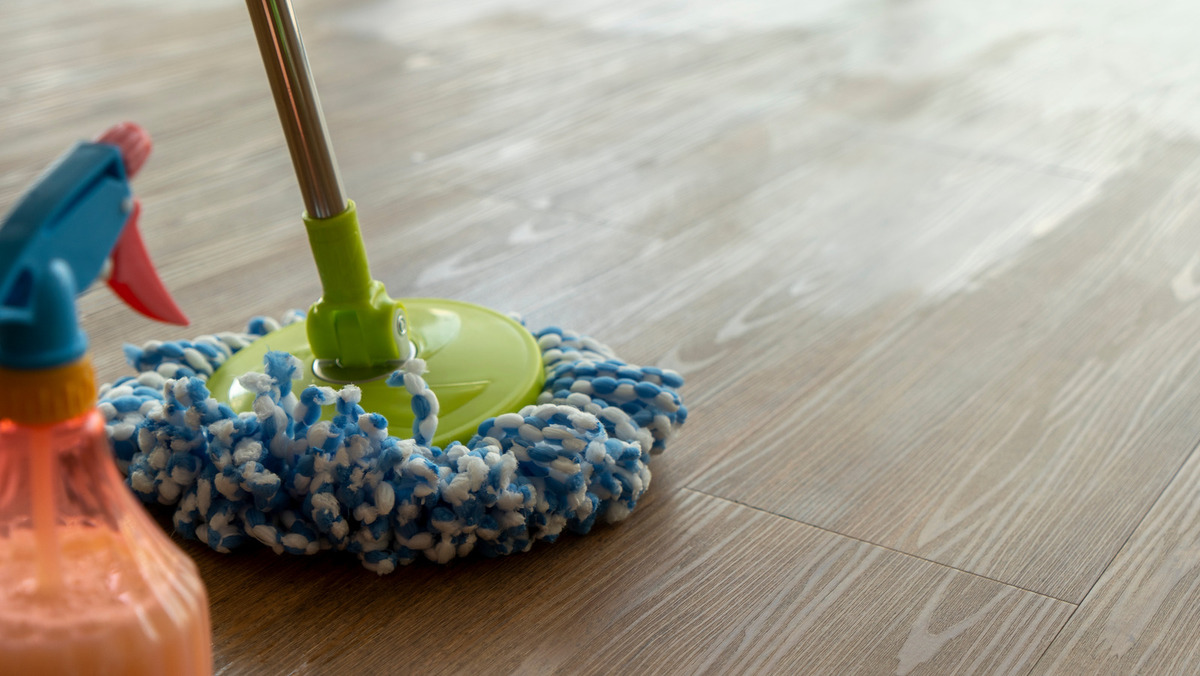
- Cleaning Solution: A mild cleaning solution such as a mixture of water and a gentle detergent will help remove stubborn dirt and grime. Avoid using harsh chemicals that could potentially damage the fan’s finish.
- Bucket of Water: Fill a bucket with lukewarm water to dip your cloth or duster and rinse it during the cleaning process.
- Vacuum Cleaner with Brush Attachment: A vacuum cleaner with a soft brush attachment can be used to remove loose debris and dust from the fan blades.
- Protective Cover or Cloth: Place a protective cover or cloth on the floor or furniture beneath the fan to catch any falling dust or debris during the cleaning process.
- Optional: Step Ladder Stabilizer: If your ladder does not feel stable against the wall, you can use a ladder stabilizer or ladder padding to increase stability and prevent scratches or damage to the wall.
With these tools and materials at your disposal, you are now ready to begin the process of cleaning the dust off your ceiling fan. Follow the step-by-step instructions provided in the next section to ensure an effective and thorough cleaning.
Steps to Clean Dust Off Ceiling Fan
Now that you have gathered all the necessary tools and materials, it’s time to roll up your sleeves and tackle the task of cleaning the dust off your ceiling fan. Follow these step-by-step instructions to ensure a thorough and effective cleaning:
- Turn off the fan: Before you begin cleaning, make sure the ceiling fan is turned off. This will prevent any accidents or injuries while you are working.
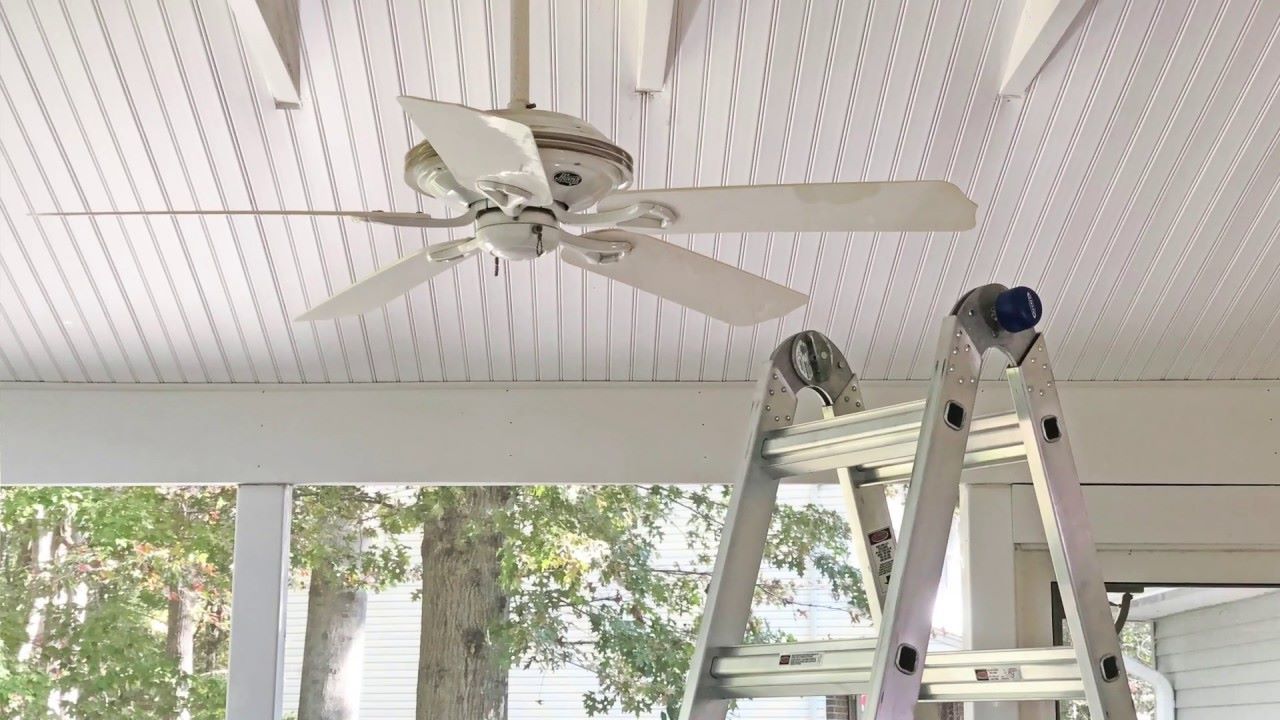
- Position the ladder or step stool: Place the ladder or step stool securely beneath the fan, ensuring it is stable and level. Take caution and choose a sturdy support that is appropriate for the height of your ceiling fan.
- Wear a dust mask or respirator: Put on a dust mask or respirator to protect yourself from inhaling dust particles during the cleaning process.
- Clean loose dust with a vacuum: If your vacuum cleaner has a brush attachment, use it to gently remove any loose dust and debris from the fan blades. Start from the center of the blades and work your way outward, taking care not to apply too much pressure that could bend or damage the blades.
- Dampen a microfiber cloth or duster: Dip a clean, lint-free microfiber cloth or duster into a bucket of lukewarm water with a mild cleaning solution. Wring out any excess liquid so that the cloth is damp but not dripping.
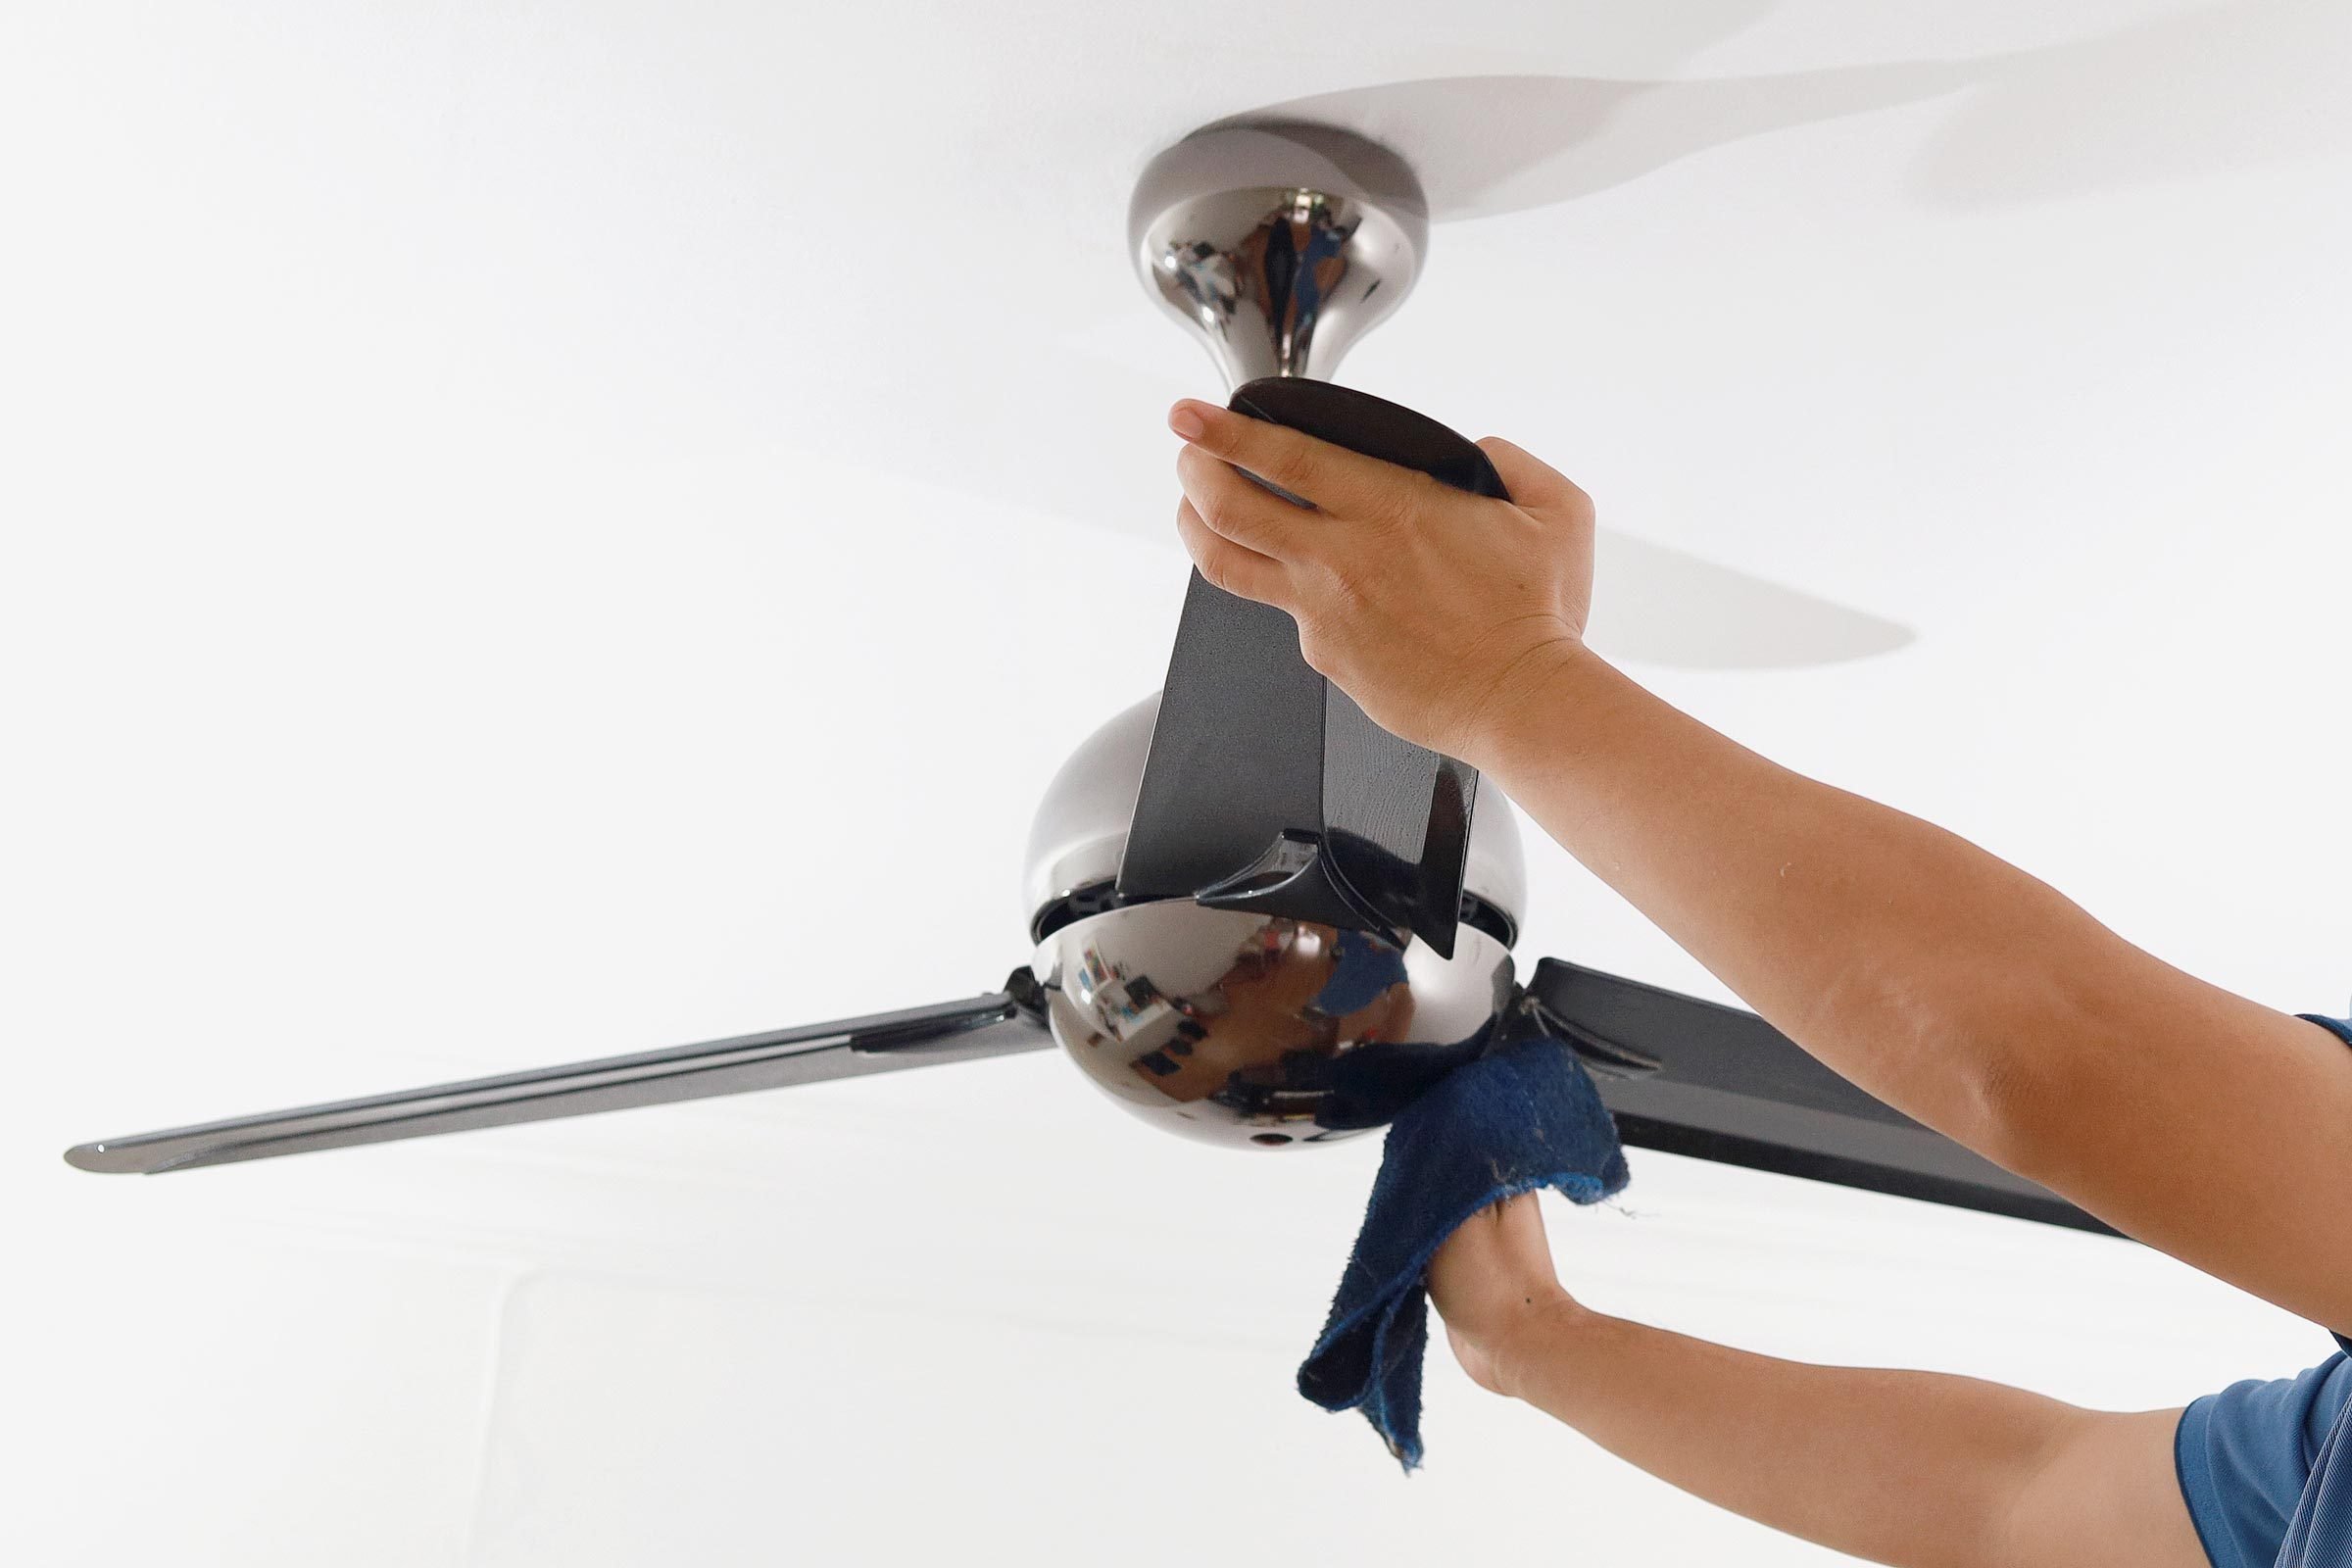
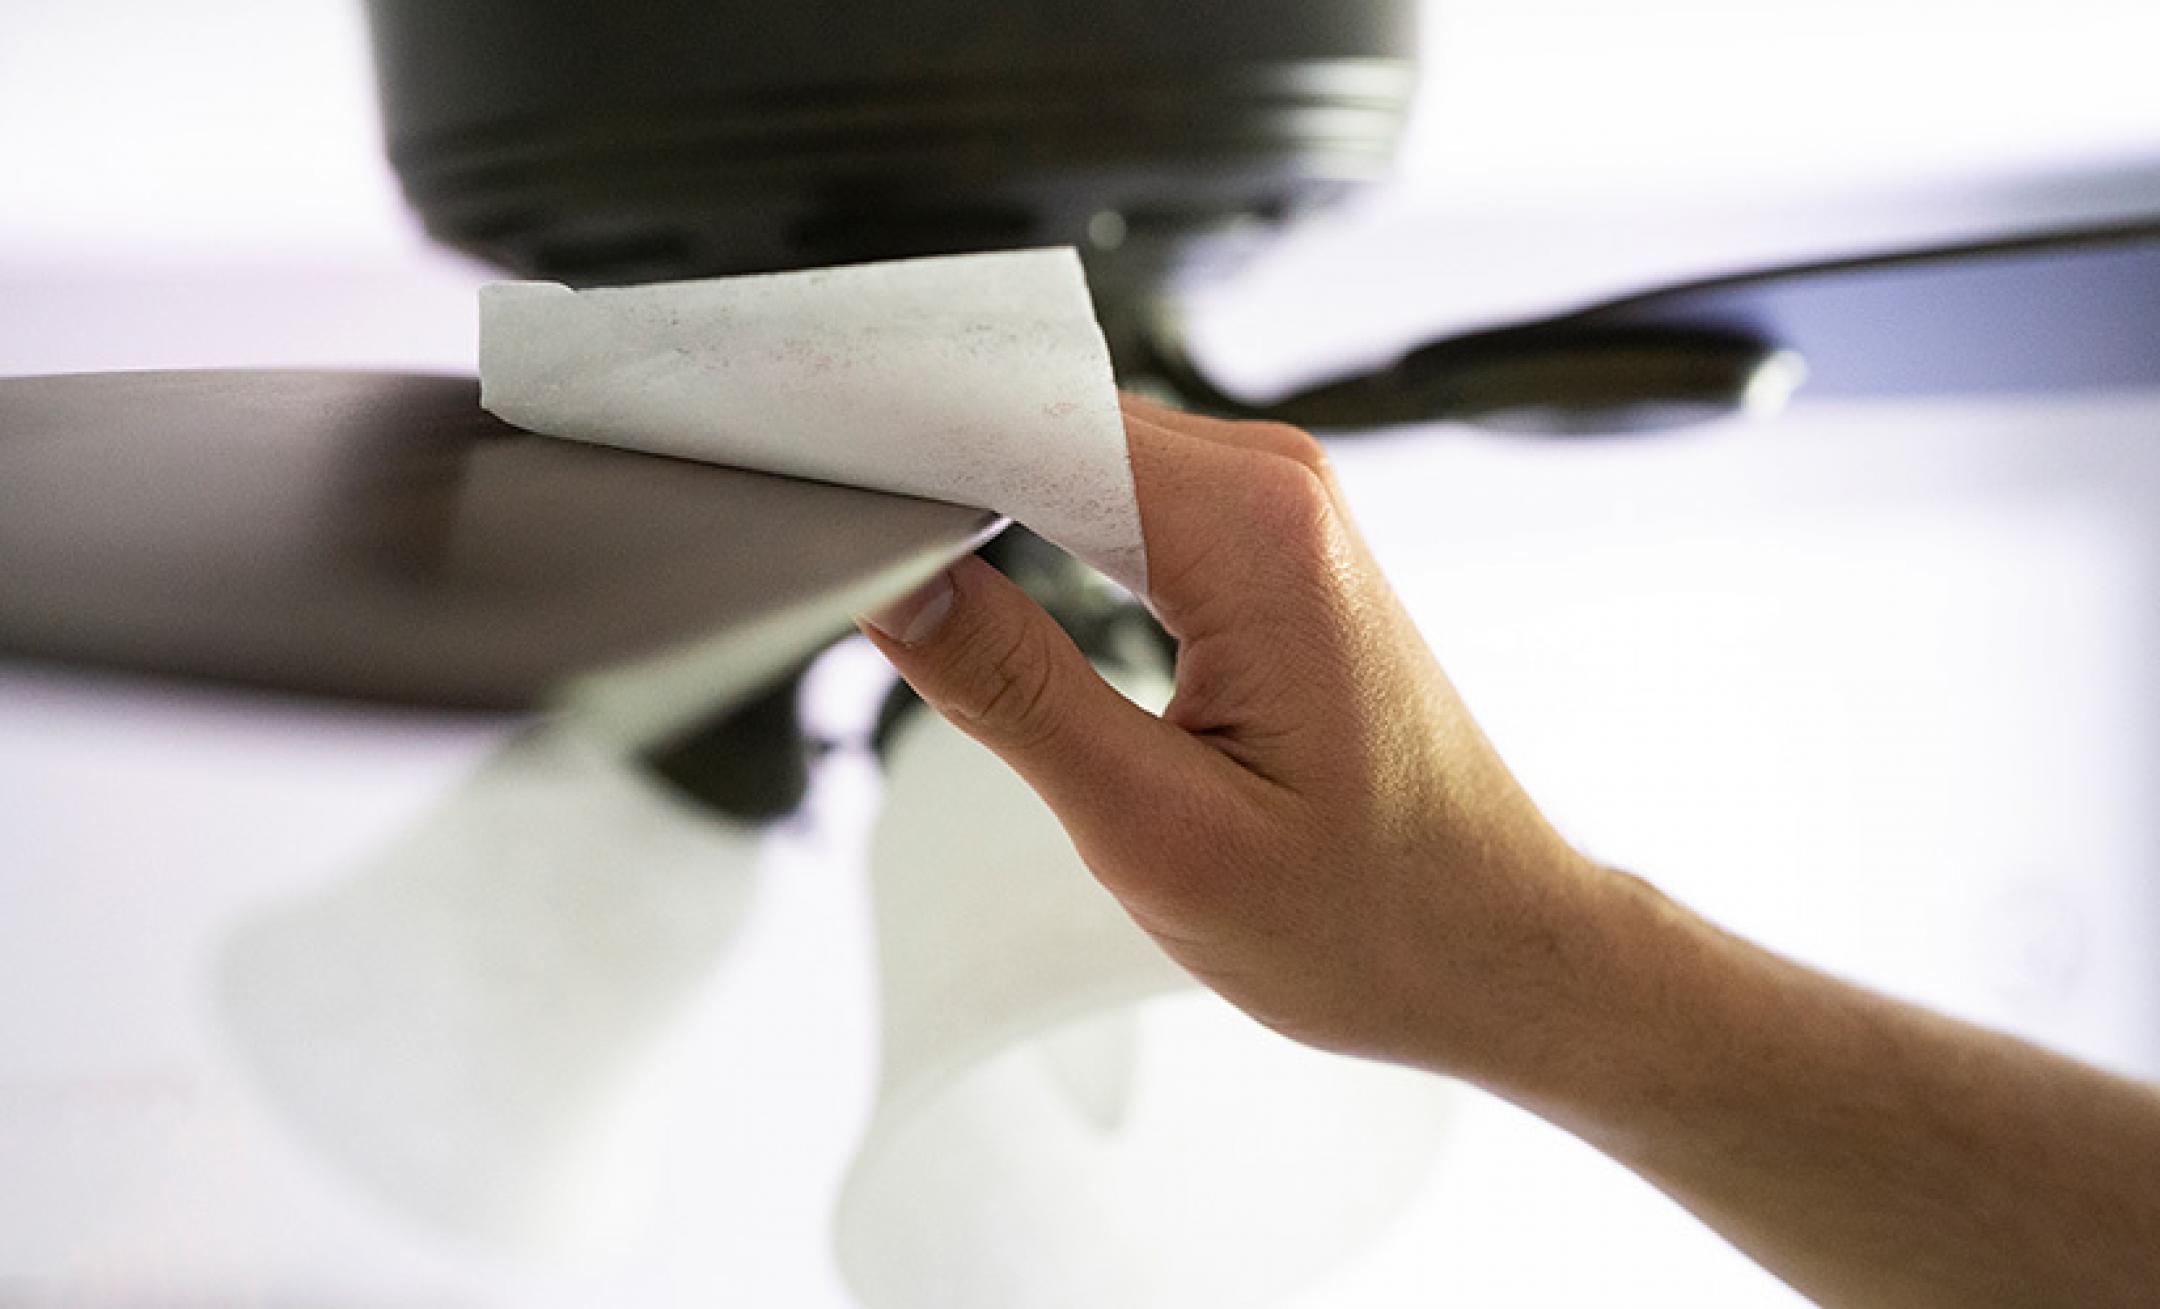
- Clean the blades: Starting from the base of each blade, use the damp cloth or duster to wipe away the dust in a gentle sweeping motion. Repeat this process for all the fan blades, rotating the microfiber cloth or duster to a clean section as needed.
- Check for stubborn dirt: If there are any stubborn dirt stains or grime on the fan blades, use a mixture of water and gentle detergent to spot clean those areas. Gently scrub the affected areas with a soft cloth or sponge, being careful not to scratch or damage the fan blades.
- Dry the fan blades: After cleaning, use a dry microfiber cloth to thoroughly dry the fan blades. This will help prevent any water spots or streaks from forming and ensure a clean and shiny finish.
- Double-check for any missed spots: Take a step back and inspect the fan blades from different angles to ensure that you haven’t missed any dusty spots. If necessary, repeat the cleaning process for any areas that require further attention.
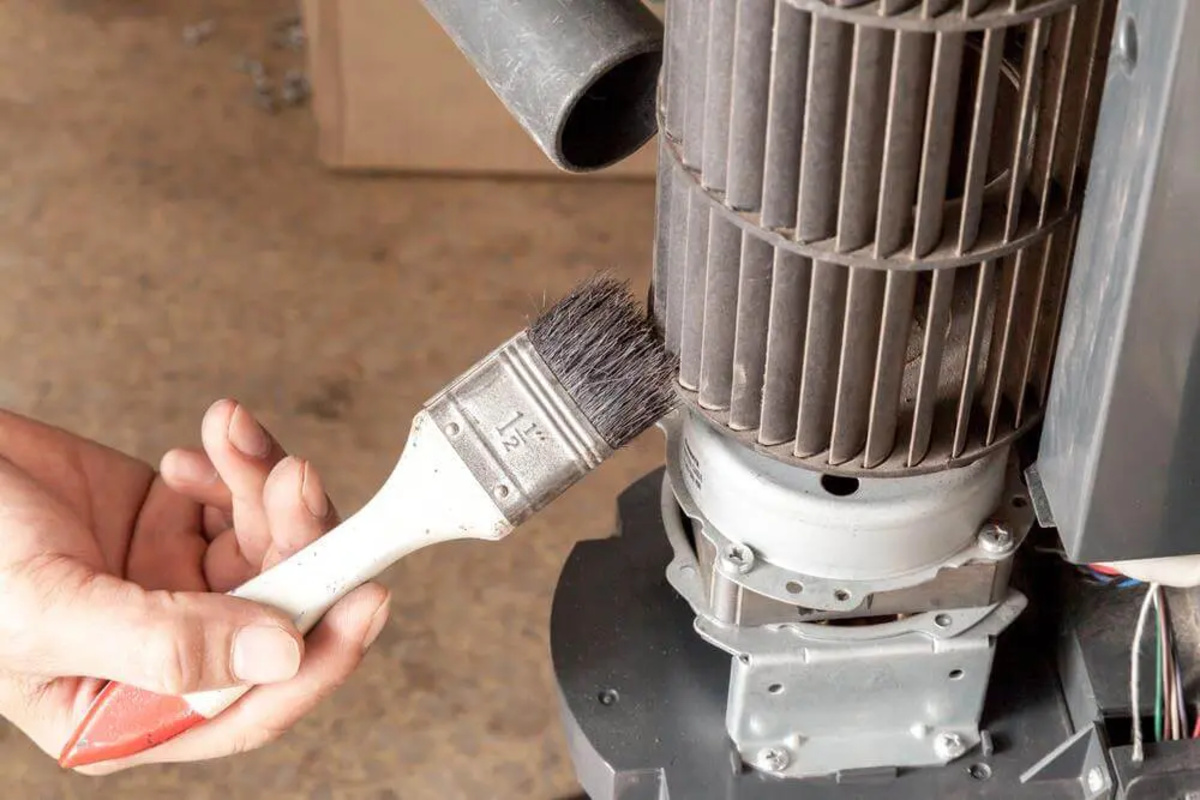
- Clean the fan housing and other parts: While you’re at it, don’t forget to clean the fan housing, motor, and any other parts that may have accumulated dust. Use a soft cloth or brush to gently wipe away the dust and debris.
- Dispose of the dust: Empty the contents of your protective cover or cloth into a trash bag and seal it tightly. This will prevent the dust from spreading back into the room.
Following these steps will help you effectively remove dust from your ceiling fan, restoring its performance and enhancing the cleanliness of your living space. However, before you get started, it’s important to keep some safety precautions in mind.
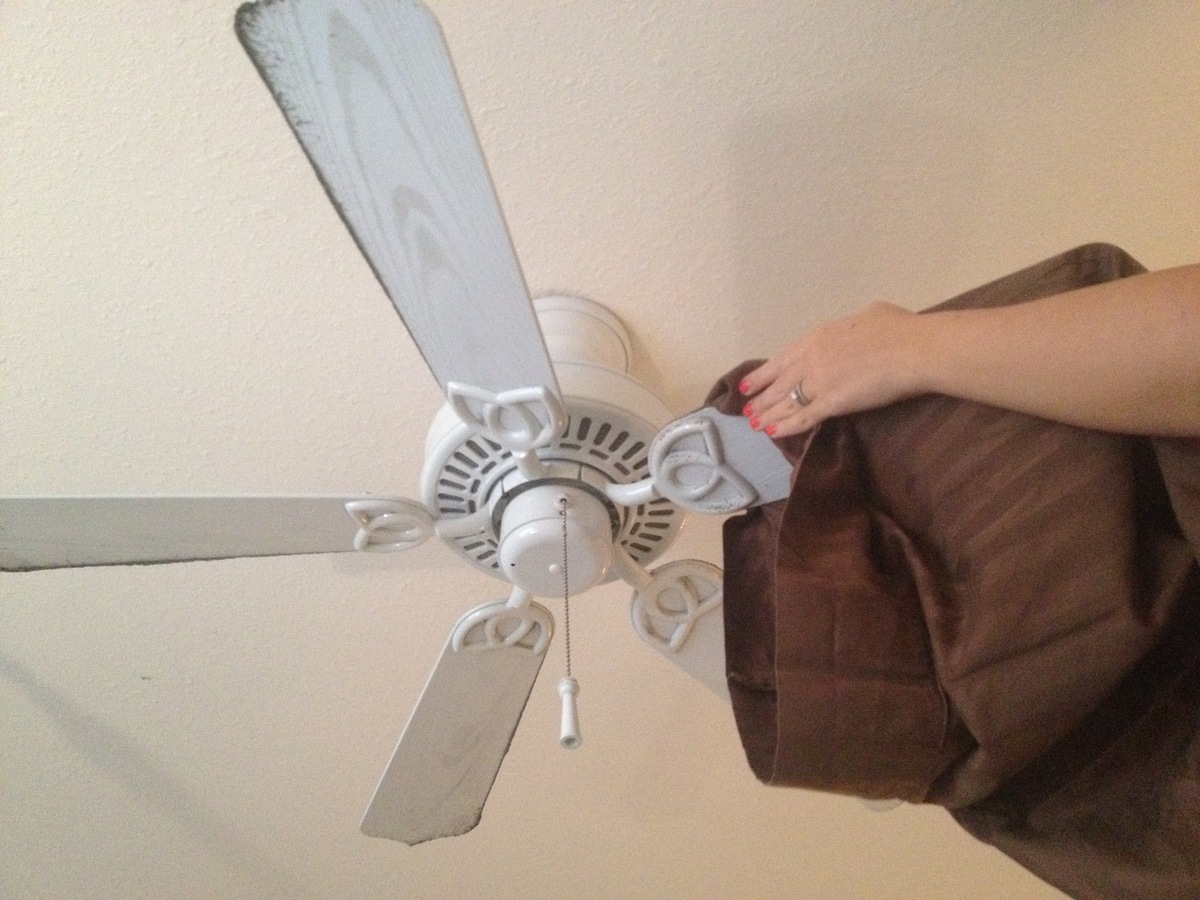
Use a long-handled duster or a pillowcase to gently wipe the dust off the ceiling fan blades. For stubborn dust, use a damp cloth with a mild cleaning solution. Always make sure the fan is turned off before cleaning.
Safety Precautions
While cleaning the dust off your ceiling fan, it is important to prioritize your safety to prevent accidents and injuries. Here are some safety precautions to keep in mind:
- Turn off the fan: Always ensure that the ceiling fan is turned off before you start cleaning. This will prevent any accidental activation of the fan while you are working.
- Secure the ladder or step stool: Before climbing on a ladder or step stool, make sure it is stable and secure. Position it on a flat and level surface, and consider using a ladder stabilizer or padding if needed.
- Use a dust mask or respirator: Wear a dust mask or respirator to protect yourself from inhaling dust particles during the cleaning process. This is especially important if you have allergies or respiratory sensitivities.
- Avoid excessive pressure: When cleaning the fan blades, avoid applying excessive pressure that could bend or damage them. Use gentle sweeping motions to remove the dust without putting too much strain on the blades.
- Be cautious with cleaning solutions: If you are using a cleaning solution, ensure that it is mild and gentle to avoid damaging the fan’s finish. Avoid using abrasive cleaners or harsh chemicals that may cause discoloration or corrosion.
- Protect your eyes and hands: Consider wearing safety goggles or protective glasses to shield your eyes from falling dust or debris. You may also wear gloves to protect your hands from any sharp edges or cleaning solutions.
- Be mindful of electrical connections: When cleaning the fan housing or motor, be careful to avoid contact with electrical connections. If necessary, consult the manufacturer’s instructions or seek professional assistance for cleaning these components.
- Do not overreach: When using a ladder or step stool, avoid overreaching or leaning too far to one side. This can cause the ladder/stool to become unstable or lead to falls and injuries. Instead, reposition the ladder or step stool as needed.
- Dispose of dust properly: After cleaning, dispose of the dust and debris in a tightly sealed trash bag. This will prevent the dust from being dispersed back into the room or causing allergic reactions.
- Follow manufacturer’s instructions: If your ceiling fan has specific cleaning instructions provided by the manufacturer, make sure to follow them to ensure safe and effective cleaning.
By observing these safety precautions, you can minimize the risk of accidents and injuries while cleaning the dust off your ceiling fan. Now, let’s explore some additional tips and tricks to make the cleaning process even more efficient.
Additional Tips and Tricks
Cleaning the dust off your ceiling fan doesn’t have to be a tedious chore. Here are some additional tips and tricks that can help make the process more efficient and effective:
- Use an extendable duster: If you have a ceiling fan that is particularly tall or hard to reach, consider using an extendable duster with a long handle. This will allow you to clean the fan blades without the need for a ladder.
- Clean the fan regularly: To prevent excessive dust buildup, aim to clean your ceiling fan at least once every few months. Regular maintenance will make the cleaning process quicker and easier each time.
- Apply a dust-repellent spray: Consider using a dust-repellent spray on your ceiling fan blades after cleaning. This can help reduce the amount of dust that accumulates on the blades in between cleanings.
- Protect the surrounding area: Before you start cleaning, cover nearby furniture or surfaces with a protective cloth or plastic sheet to prevent dust from settling on them.
- Have a cleaning routine: Incorporate cleaning the ceiling fan into your regular cleaning routine. This way, you won’t forget to clean it, and the dust won’t accumulate excessively.
- Clean the fan in the right direction: When cleaning the blades, start from the base and work your way outward. This will prevent any dust from falling onto already cleaned areas.
- Use a fan blade cover: Consider using a fan blade cover to minimize the amount of dust that accumulates on the blades in the first place. These covers can be easily removed and washed, making maintenance even easier.
- Inspect for damage: While cleaning, take the opportunity to inspect the fan blades for any signs of damage or wear. Any loose, cracked, or damaged blades should be immediately replaced for safety.
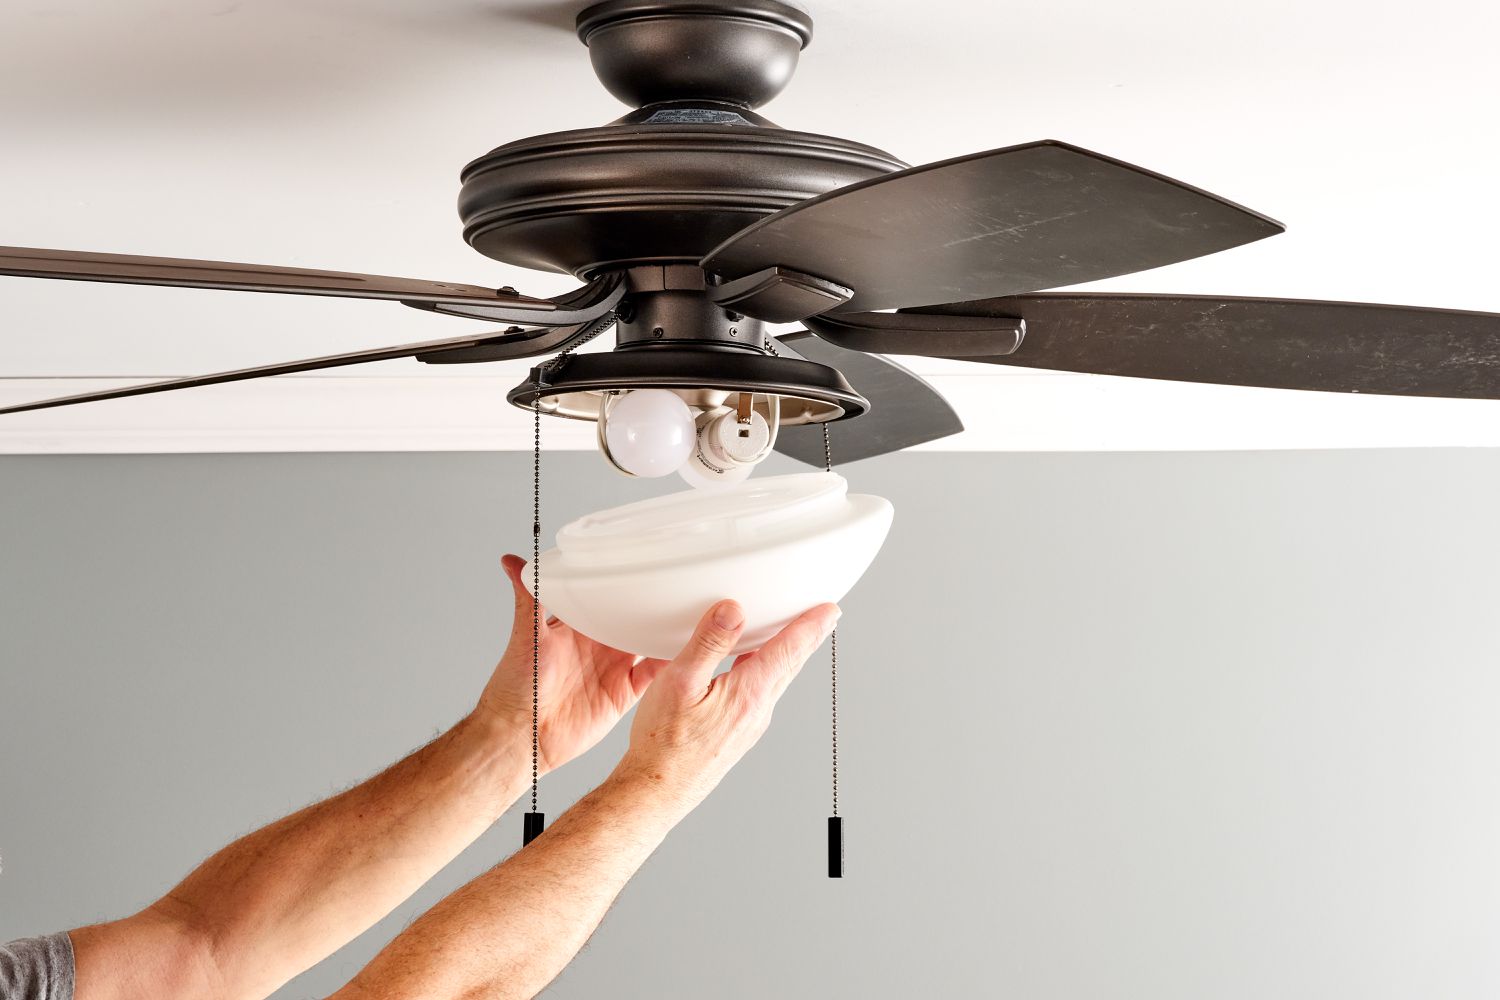
- Clean other components: Don’t forget to clean other components of your ceiling fan, such as the light fixtures, chains, and switches. Use a gentle cleaning solution and a soft cloth to wipe away dust and debris.
- Maintain a clean environment: Reduce the amount of dust in your home by regularly dusting and vacuuming other areas. This will help prevent excessive buildup on your ceiling fan.
By implementing these tips and tricks, you can streamline the process of cleaning the dust off your ceiling fan and maintain a cleaner and healthier living space. With your fan now dust-free and functioning optimally, you can enjoy the refreshing breeze without worrying about circulated dust or reduced performance.
Conclusion
Cleaning the dust off your ceiling fan is an essential task to ensure optimal performance, maintain a clean indoor environment, and extend the lifespan of your fan. By regularly cleaning your ceiling fan, you can improve air quality, enhance energy efficiency, and prevent the redistribution of dust throughout the room.
In this article, we discussed the importance of cleaning ceiling fans and provided step-by-step instructions on how to effectively remove dust from the fan blades. We also emphasized the significance of following safety precautions to prevent accidents and injuries while cleaning.
Remember to gather the necessary tools and materials, turn off the fan, and position a stable ladder or step stool before starting the cleaning process. Use a combination of vacuuming, wiping with a damp cloth, and spot-cleaning to remove dust and dirt from the fan blades. Additionally, be sure to clean other components of the fan, such as the housing and motor, for thorough maintenance.
We also provided some additional tips and tricks to make the process more efficient, such as using extendable dusters, applying dust-repellent sprays, and incorporating ceiling fan cleaning into your regular cleaning routine.
By following these guidelines and investing a little time and effort in cleaning your ceiling fan, you can enjoy a fresher and healthier living environment, improved energy efficiency, and a longer lifespan for your fan.
So, go ahead, grab your cleaning tools, and give your ceiling fan the attention it deserves. Happy cleaning!
Frequently Asked Questions about How To Clean Dust Off Ceiling Fan
Was this page helpful?
At Storables.com, we guarantee accurate and reliable information. Our content, validated by Expert Board Contributors, is crafted following stringent Editorial Policies. We're committed to providing you with well-researched, expert-backed insights for all your informational needs.





0 thoughts on “How To Clean Dust Off Ceiling Fan”