Home>Storage Ideas>Living Room Storage>How To Clean Ceiling Fans Without Making A Mess

Living Room Storage
How To Clean Ceiling Fans Without Making A Mess
Modified: February 22, 2024
Discover the best tips and tricks for cleaning ceiling fans in your living room without creating a mess. Don't let dust accumulate, keep your living room storage clean and your fans dust-free.
(Many of the links in this article redirect to a specific reviewed product. Your purchase of these products through affiliate links helps to generate commission for Storables.com, at no extra cost. Learn more)
Introduction
Ceiling fans are a practical and stylish addition to any room. Not only do they provide a refreshing breeze during hot summer months, but they also help to circulate air and improve ventilation throughout the year. However, over time, ceiling fans can accumulate dust, dirt, and grime, which not only affects their performance but also creates a potential eyesore in your living space.
Regularly cleaning your ceiling fans not only helps to maintain their efficiency but also ensures that the air you breathe is free from dust particles. However, the thought of cleaning ceiling fans can be daunting, as it involves reaching overhead and dealing with the mess that can potentially fall down.
But fear not! In this comprehensive guide, we will walk you through the step-by-step process of cleaning ceiling fans without making a mess. With the right materials and techniques, you can easily tackle this cleaning task and enjoy a cleaner, more efficient, and visually appealing ceiling fan in no time.
Before we get started, let’s gather all the necessary materials to ensure a hassle-free cleaning experience.
Key Takeaways:
- Keep your ceiling fan clean and efficient by following a step-by-step guide. Regular maintenance and safety precautions ensure a visually appealing living space and improved air quality.
- Gather the necessary materials and follow safety guidelines to clean your ceiling fan without making a mess. Enjoy a refreshing breeze and a tidy living space.
Read more: How To Paint A Ceiling Without Making A Mess
Materials Needed
Before diving into the cleaning process, it’s important to gather all the necessary materials. Having everything prepared beforehand will save you time and ensure a smooth and efficient cleaning session. Here are the materials you will need:
- A sturdy step ladder: Since ceiling fans are located overhead, it’s important to have a stable and secure step ladder to reach them safely.
- A microfiber duster or a long-handled dusting tool: These tools are ideal for capturing and trapping dust without spreading it around.
- A soft cloth or microfiber cloth: This will be used for wiping down the blades and other parts of the fan.
- A mild cleaning solution: You can make your own cleaning solution by mixing a few drops of dish soap with warm water. Alternatively, you can use a multipurpose cleaner suitable for the material of your fan.
- A spray bottle: This will be used to apply the cleaning solution to the blades and other surfaces of the fan.
- A plastic bag or drop cloth: To catch any falling dust or debris, place a plastic bag or a drop cloth directly under the fan.
- A vacuum cleaner with a brush attachment: This will come in handy for cleaning hard-to-reach areas and removing any loose dust or debris.
- A screwdriver: In case your fan requires the removal of screws to access certain parts, have a screwdriver of the appropriate size on hand.
- A safety goggles and a dust mask: Protect your eyes and respiratory system by wearing safety goggles and a dust mask during the cleaning process.
Once you have gathered all these materials, you will be well-prepared to tackle the cleaning process without any interruptions. Now let’s move on to the step-by-step guide on cleaning your ceiling fan.
Step 1: Preparation
Before you start cleaning your ceiling fan, it’s important to take some preparatory measures to ensure safety and minimize any mess. Here’s what you need to do:
- Turn off the fan: Before doing anything, make sure that the fan is completely turned off. This will prevent any accidental injuries while cleaning.
- Clear the surrounding area: Remove any furniture or objects that are directly underneath the fan to create a clear workspace. Cover the floor with a plastic bag or drop cloth to catch any falling dust or debris.
- Put on safety gear: Wear safety goggles to protect your eyes from falling dust or debris. It’s also a good idea to wear a dust mask to prevent inhaling any dust particles during the cleaning process.
- Set up the step ladder: Place a sturdy step ladder directly beneath the fan, ensuring a stable and secure position. Make sure that the ladder is at the appropriate height for you to comfortably reach the fan without straining.
Once you have completed these preparatory steps, you’re ready to move on to the next step: dusting the fan blades.
Step 2: Dusting the Blades
Now that you have prepared the area and ensured your safety, it’s time to start dusting the ceiling fan blades. Dusting the blades regularly not only improves the fan’s performance but also keeps the air in your living space cleaner. Follow these steps to effectively dust the blades:
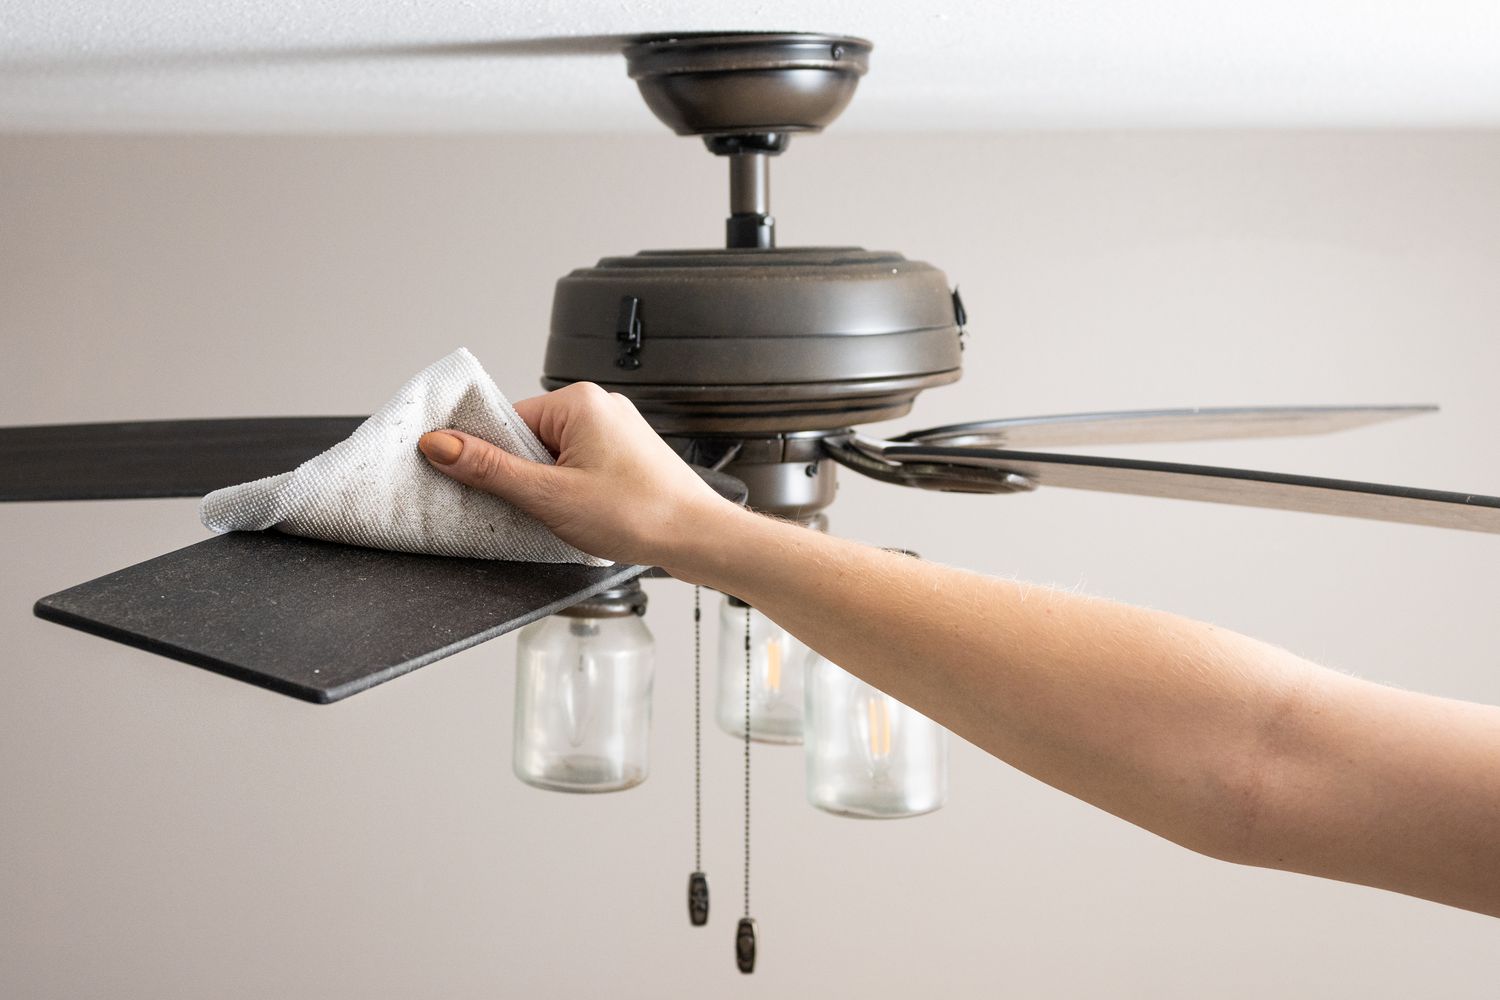
- Start from the outer edge: Begin by dusting the outer edge of the fan blade closest to the fan’s motor. Use a microfiber duster or a long-handled dusting tool to gently swipe along the top and bottom of the blade.
- Work your way towards the center: Continue dusting the rest of the blade, moving towards the center. Make sure to cover the entire surface of each blade, including the top and bottom sides.
- Use a gentle, sweeping motion: Avoid applying excessive pressure or using rough materials that can scratch or damage the surface of the blades. A gentle, sweeping motion with a soft cloth or microfiber cloth will effectively remove dust without causing any harm.
- Collect the dust: As you dust the blades, you may notice dust particles falling down. Try to collect the falling dust with the plastic bag or drop cloth that you placed on the floor earlier, minimizing the mess.
- Continue with all blades: Repeat the dusting process for all the blades of the fan, ensuring that each one is thoroughly cleaned. Take your time and be thorough to achieve the best results.
Dusting the blades regularly not only helps to maintain the fan’s performance but also prevents the dust from accumulating and spreading to the surrounding areas. Once you have completed dusting the blades, it’s time to move on to the next step: removing the cover or globes (if applicable).
Step 3: Removing the Cover or Globes
In this step, we will focus on removing the cover or globes that may be present on your ceiling fan. Not all ceiling fans have covers or globes, so if your fan does not have them, you can skip this step and move on to the next one.
Follow these steps to safely remove the cover or globes:
- Locate the screws or fasteners: Examine the top or bottom of the cover or globes to identify the screws or fasteners that hold them in place. Most covers are secured with screws, while globes may have different types of fasteners.
- Prepare your screwdriver or appropriate tool: Once you have located the screws or fasteners, use the appropriate screwdriver or tool to loosen and remove them. Be careful not to strip or damage the screws in the process.
- Hold the cover or globe securely: With one hand, support and hold the cover or globe firmly while you remove the screws or fasteners with the other hand. This will prevent them from accidentally falling and causing any damage or injury.
- Set aside the cover or globe: Once you have successfully removed the screws or fasteners, carefully set aside the cover or globe in a safe place. Make sure to remember the order and arrangement of any components to simplify reassembly later.
Removing the cover or globes allows easier access to the blades, motor housing, and other parts of the fan for a more thorough cleaning. Now that you have successfully removed the cover or globes, it’s time to move on to the next step: cleaning the cover or globes themselves.
Step 4: Cleaning the Cover or Globes
With the cover or globes removed, it’s time to focus on cleaning them to remove any dust, dirt, or smudges that may have accumulated over time. Follow these steps to effectively clean the cover or globes:
- Inspect the cover or globes: Take a close look at the cover or globes to identify any visible stains, dirt, or smudges. This will help determine the appropriate cleaning method.
- Prepare the cleaning solution: Depending on the material of the cover or globes, prepare a mild cleaning solution by mixing a few drops of dish soap with warm water. Alternatively, you can use a multipurpose cleaner suitable for the material.
- Dampen a soft cloth or sponge: Dip a soft cloth or sponge into the cleaning solution, ensuring it is damp but not overly saturated. Excess water can seep into electrical components, so be cautious.
- Gently clean the cover or globes: Wipe the cover or globes thoroughly with the damp cloth or sponge, paying attention to any stained or dirty areas. Use gentle and circular motions to remove grime without scratching the surface.
- Rinse or wipe down with clean water: If necessary, rinse the cover or globes with clean water or use a separate clean, damp cloth to wipe away any soapy residue. Ensure that no excess moisture remains.
- Dry the cover or globes: Use a soft and dry cloth to carefully dry the cover or globes, removing any remaining moisture. Make sure they are completely dry before reassembling them to avoid any water damage or streaks.
By cleaning the cover or globes, you not only enhance the overall appearance of your ceiling fan but also ensure that the light emitted is clear and unobstructed. Once you have finished cleaning the cover or globes, it’s time to move on to the next step: cleaning the motor housing.
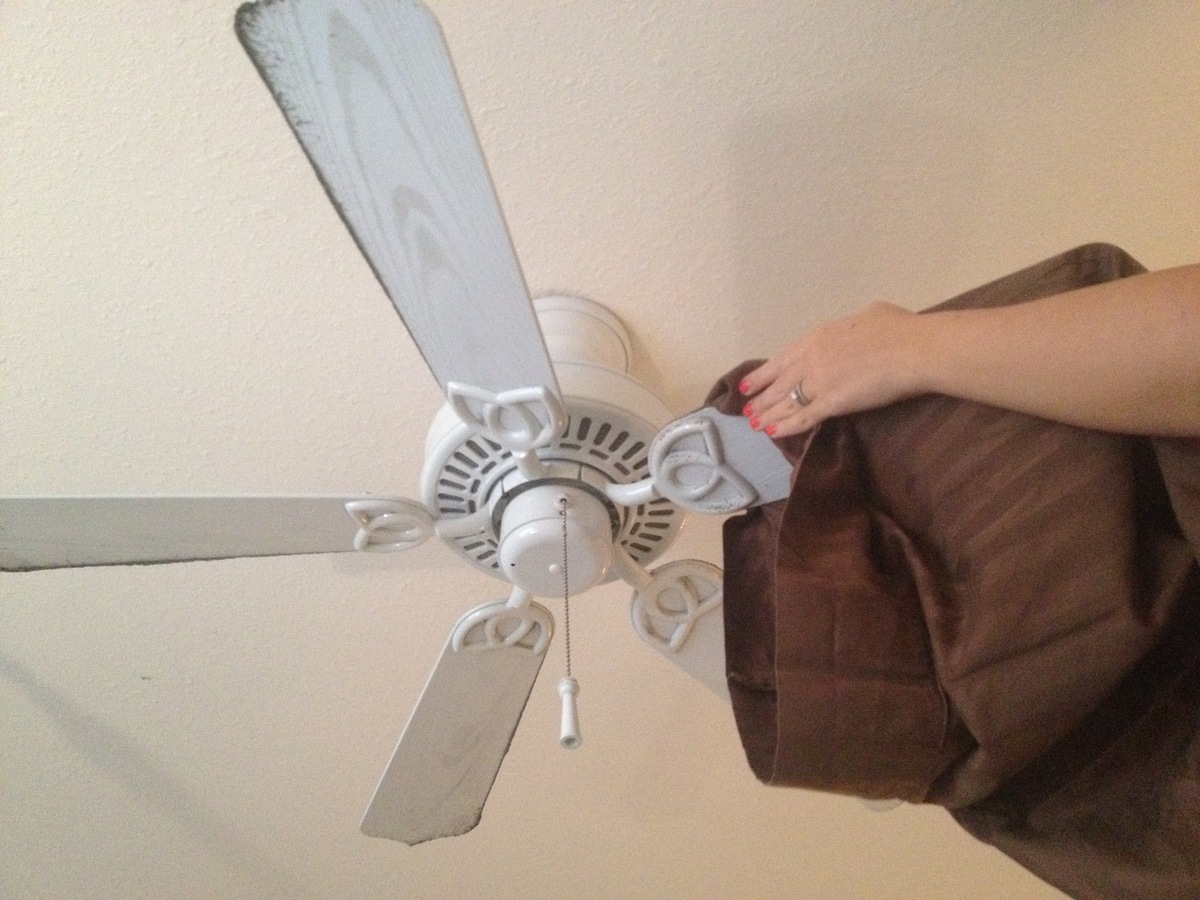
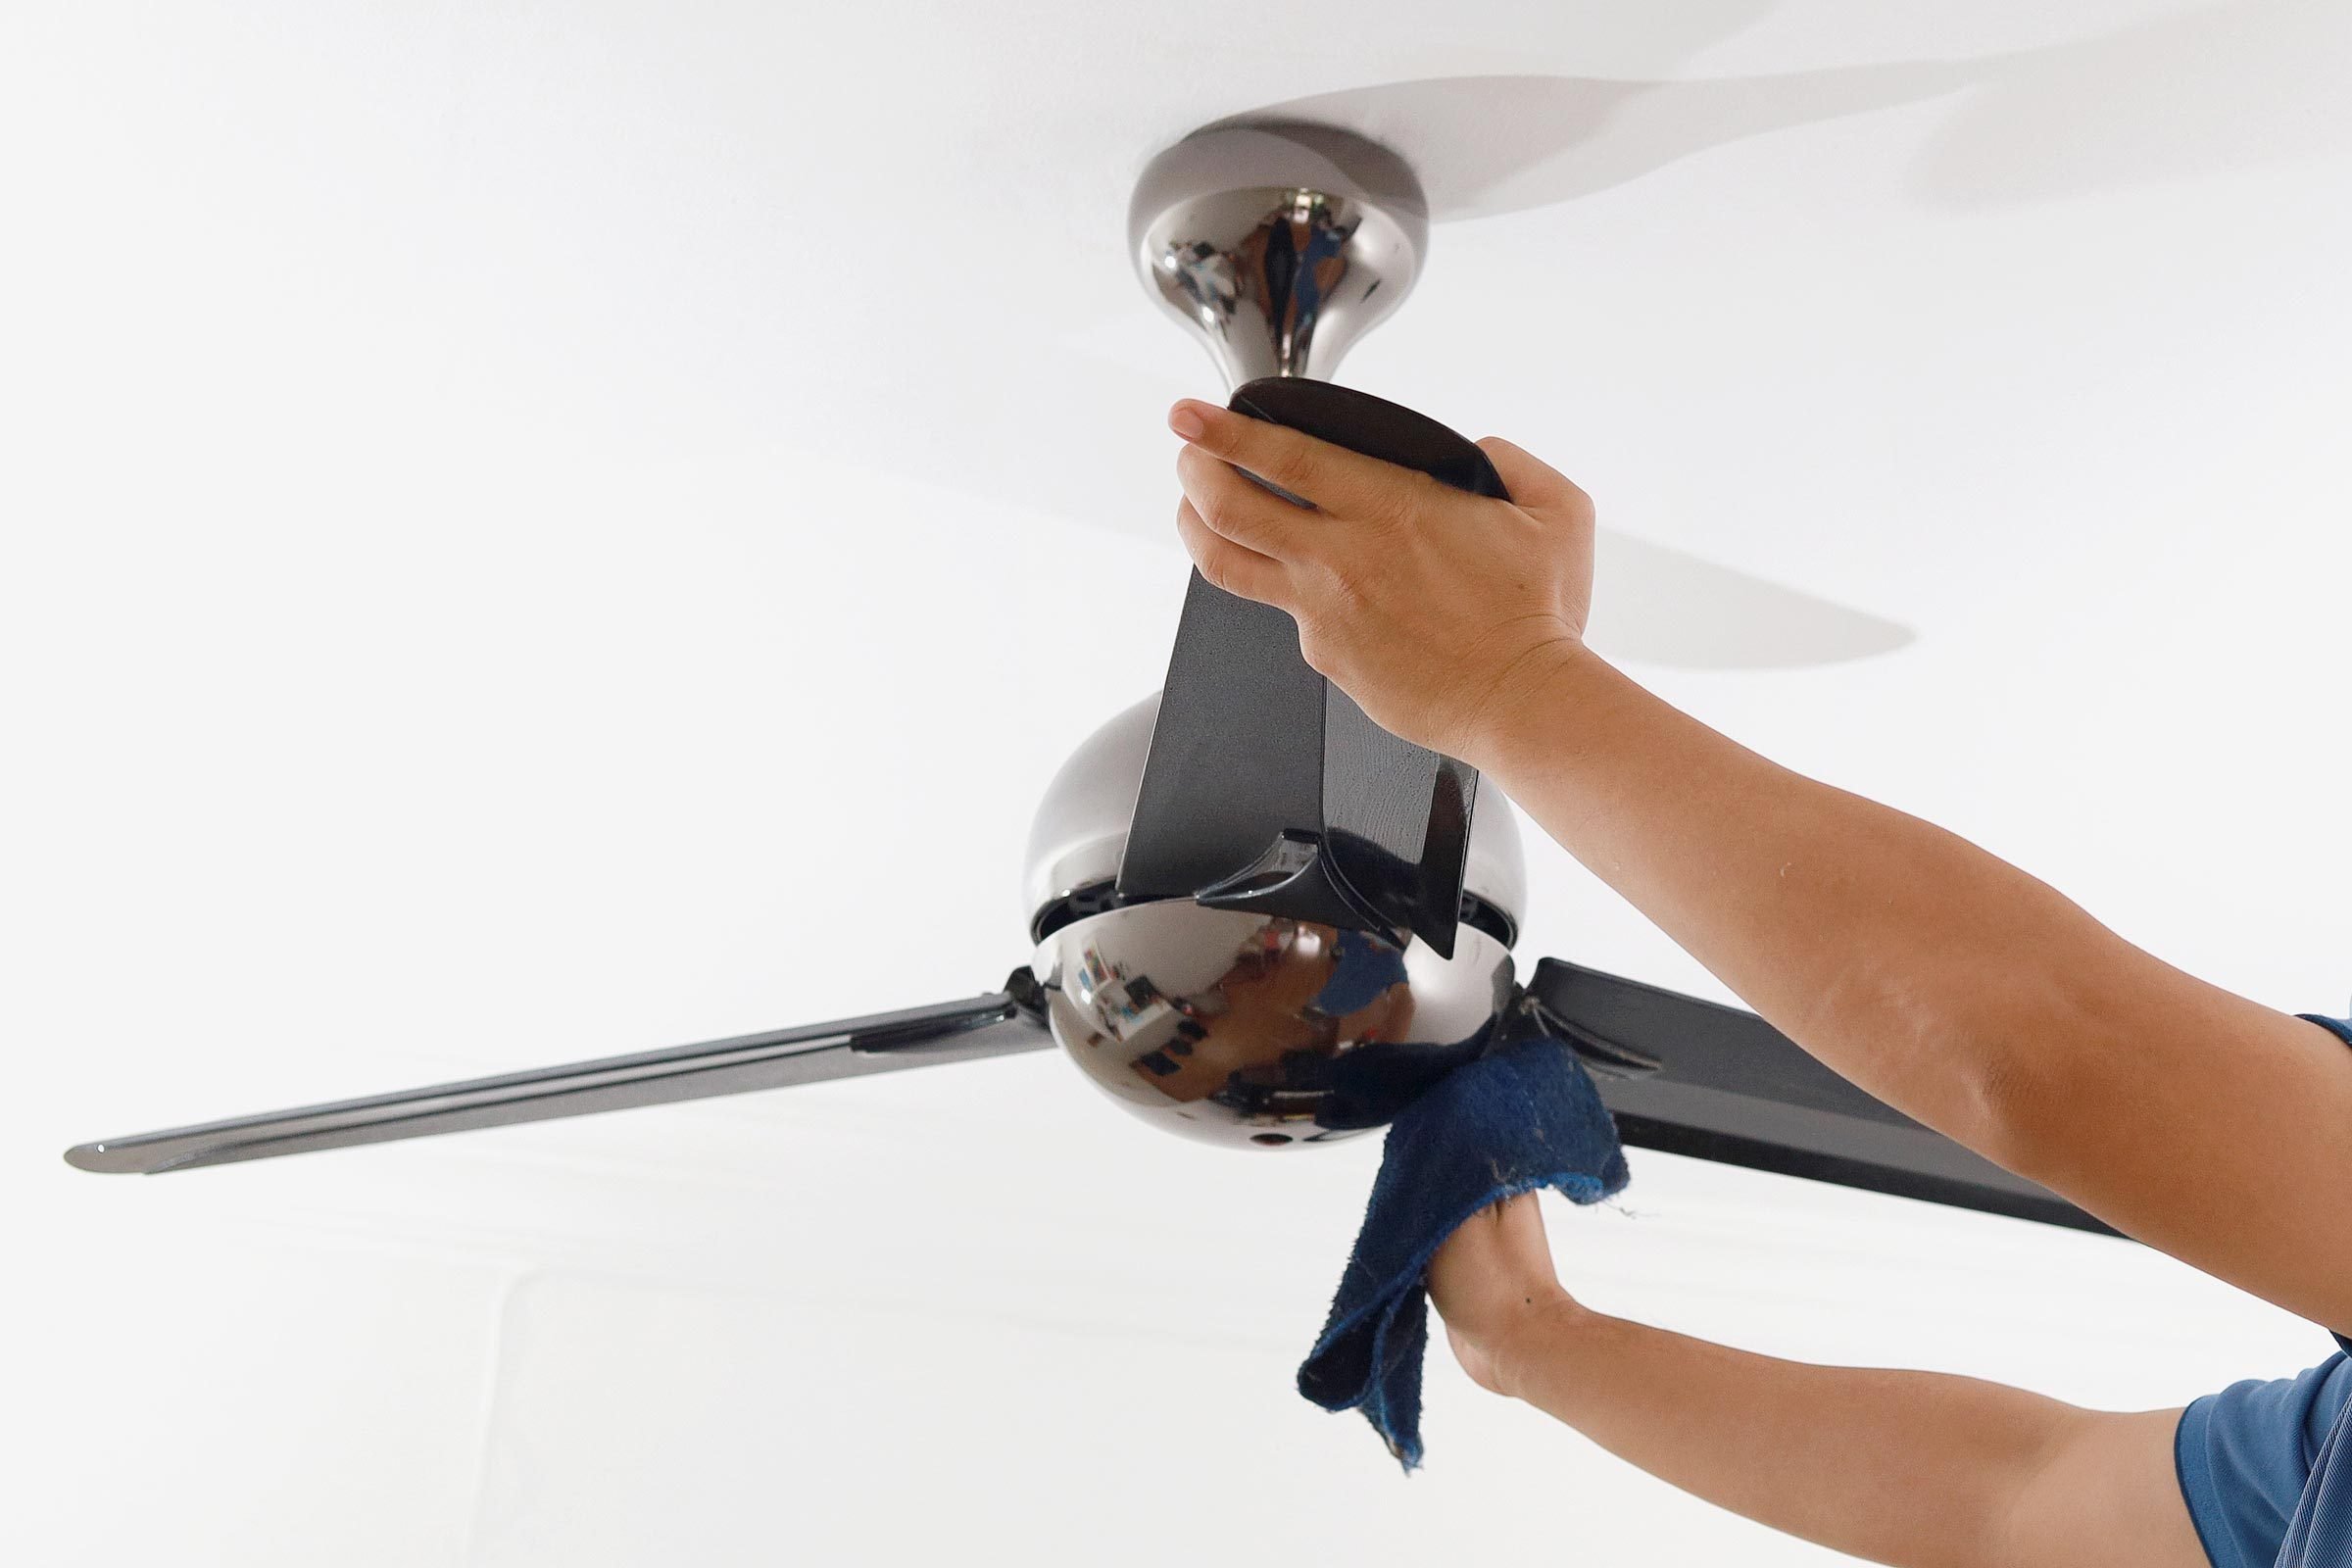
Use a pillowcase to cover the fan blade, then gently wipe off the dust. This will prevent the dust from falling onto the floor and creating a mess.
Step 5: Cleaning the Motor Housing
In this step, we will focus on cleaning the motor housing of your ceiling fan. The motor housing is typically located at the center of the fan and houses the motor and other internal components. Cleaning the motor housing helps to improve the fan’s performance and prevent the accumulation of dust and debris. Follow these steps to effectively clean the motor housing:
- Ensure the fan is turned off: Before cleaning the motor housing, ensure that the fan is completely turned off and disconnected from any power source. This is crucial for your safety during the cleaning process.
- Utilize the brush attachment on a vacuum cleaner: With the help of a vacuum cleaner’s brush attachment, gently remove any loose dust and debris from the motor housing. Be cautious not to come into direct contact with any electrical components.
- Wipe down the motor housing: Dampen a soft cloth or microfiber cloth with a mild cleaning solution or multipurpose cleaner. Use the cloth to wipe down the motor housing, paying attention to any visible dirt or stains. Take care not to saturate the cloth or allow any excess liquid to enter the motor housing.
- Remove stubborn stains if necessary: If there are any persistent stains on the motor housing, you can use a non-abrasive cleaner or a paste made from baking soda and water. Apply the cleaner to a soft cloth and gently rub the stained areas. Rinse the cloth and wipe away any residual cleaner or paste.
- Dry the motor housing: After cleaning, use a dry cloth to wipe down the motor housing and remove any excess moisture. Make sure the housing is completely dry before proceeding to the next step.
Cleaning the motor housing not only helps to maintain the fan’s performance but also promotes better airflow and reduces the risk of overheating. Now that you have successfully cleaned the motor housing, it’s time to move on to the next step: wiping down the fan blades.
Step 6: Wiping Down the Blades
Now that you have cleaned the motor housing, it’s time to focus on the fan blades. The blades are often the most visible part of the ceiling fan, and keeping them clean ensures optimal fan performance and prevents dust from circulating in the air. Follow these steps to effectively wipe down the fan blades:
- Prepare a clean cloth or microfiber cloth: Ensure that the cloth you use is soft and lint-free. Avoid rough materials that can scratch or damage the surface of the blades.
- Dampen the cloth with a mild cleaning solution: Dip the cloth in a mixture of warm water and a small amount of mild dish soap or a suitable multipurpose cleaner. Wring out any excess liquid to prevent dripping.
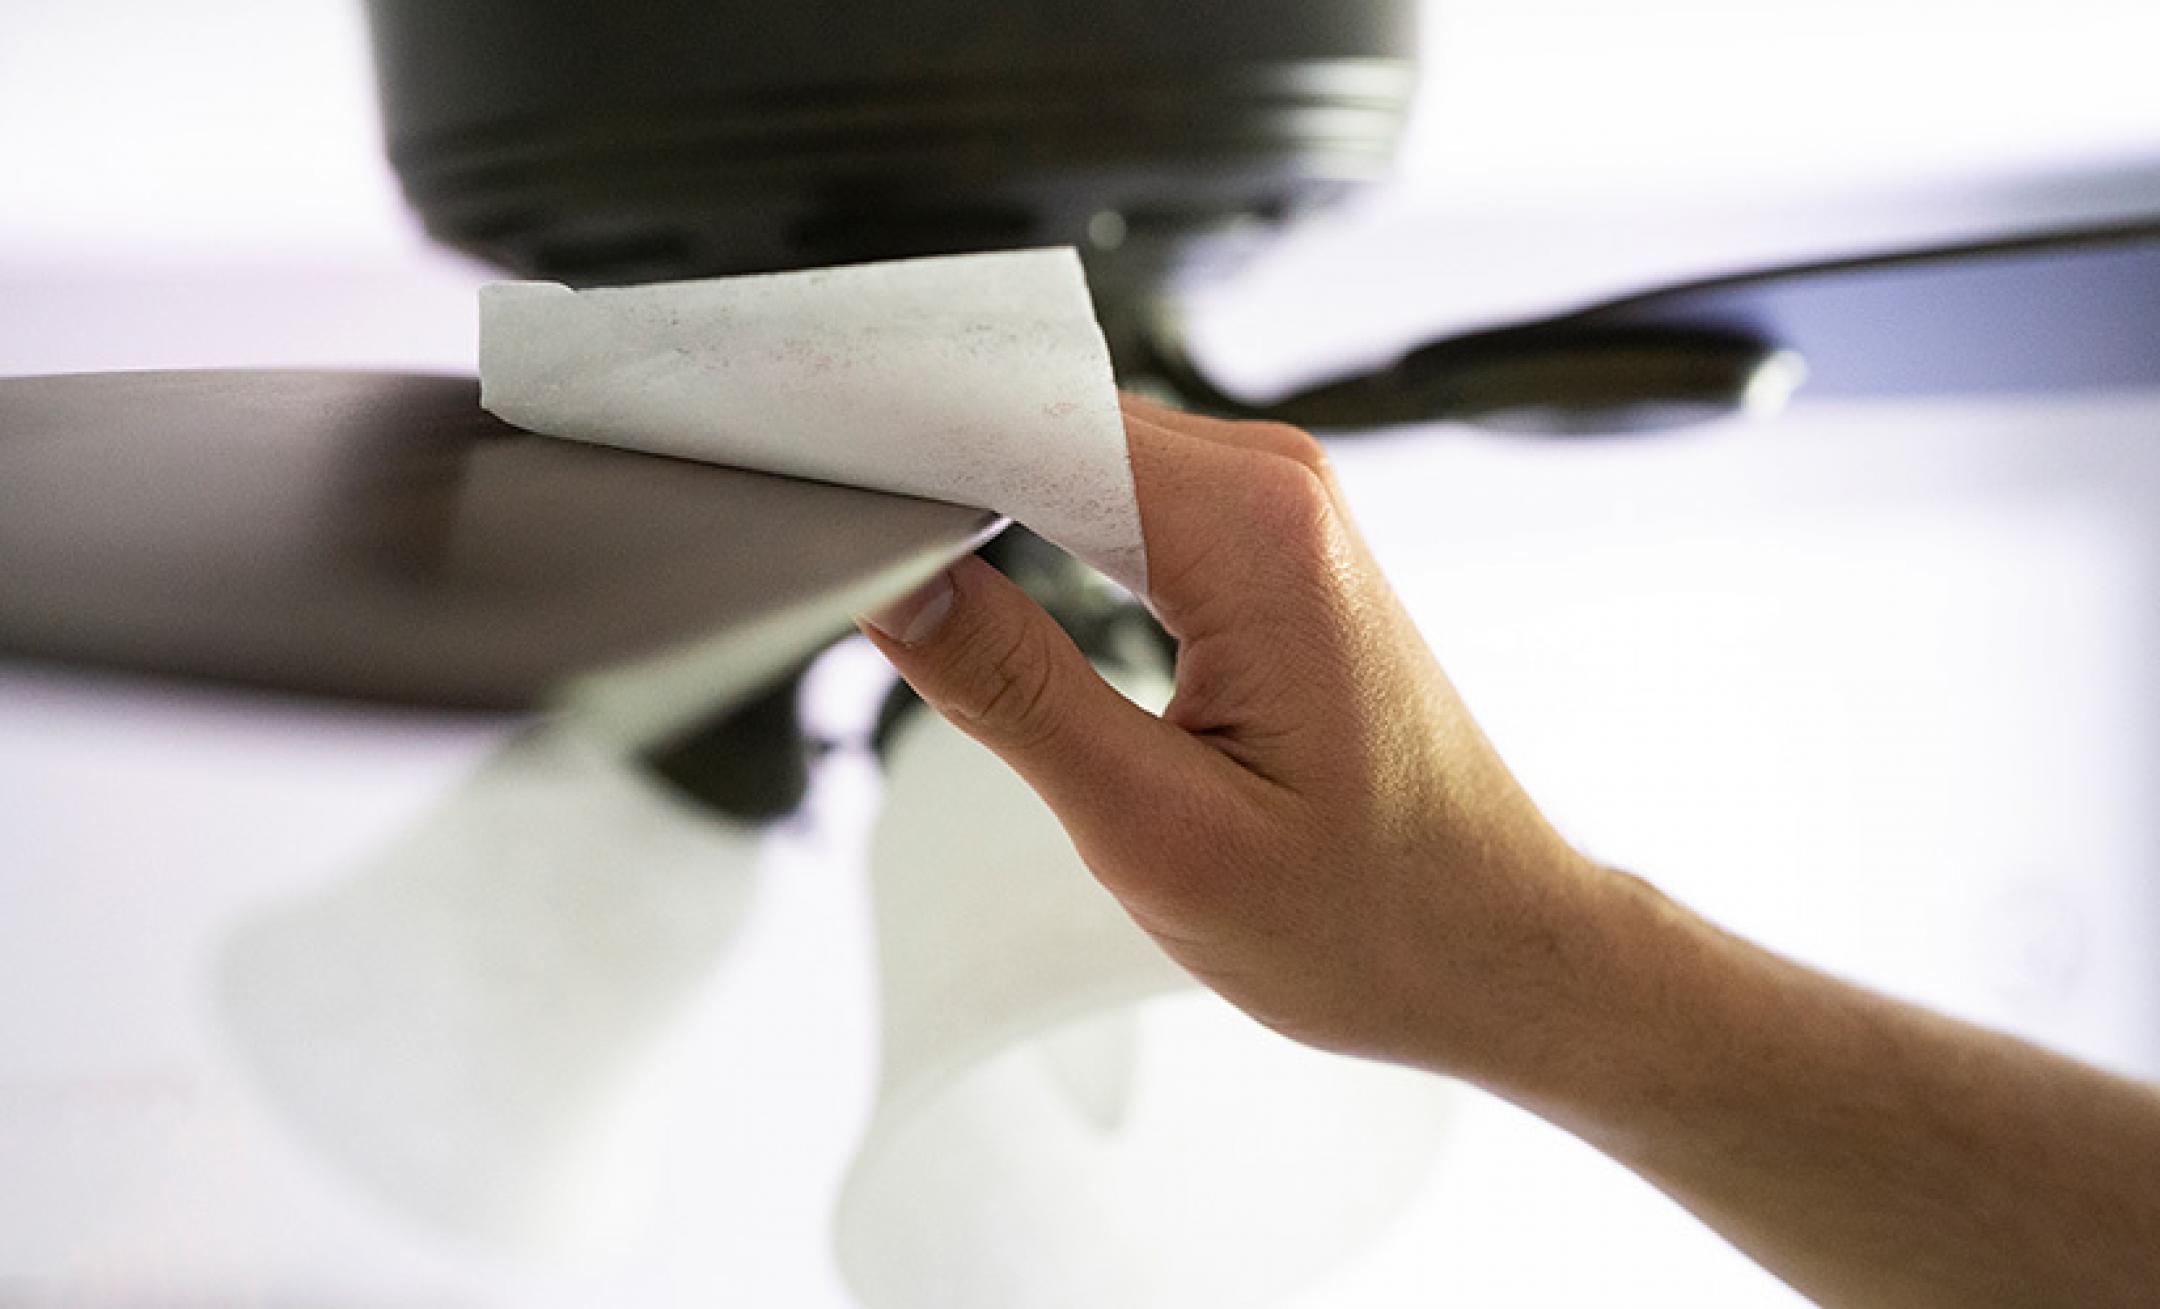
- Starting from the base, wipe each blade: Begin wiping each blade from the base towards the tip. Use gentle but firm strokes to remove any dust or grime that may have accumulated on the surface.
- Pay attention to the leading edge: The leading edge of the blades, where air flows over them, tends to accumulate more dirt and debris. Give extra attention to this area and ensure it is thoroughly cleaned.
- Rinse or wipe down with clean water: If necessary, rinse the cloth or use a separate clean, damp cloth to wipe away any soapy residue from the blades. Ensure they are free of any cleaning solution.
- Dry the blades completely: Use a dry cloth to wipe down the blades and remove any remaining moisture. Make sure the blades are completely dry before reassembling the fan.
By regularly wiping down the fan blades, you not only enhance the appearance of your ceiling fan but also ensure better air circulation and prevent the buildup of dust. Once you have finished wiping down the blades, it’s time to move on to the next step: reassembling the fan.
Step 7: Reassembling the Fan
Now that you have completed the cleaning process, it’s time to reassemble your ceiling fan. Follow these steps to ensure a successful reassembly:
- Retrieve the cover or globes: If you removed the cover or globes in a previous step, locate them and ensure they are clean and dry.
- Align the cover or globes: Align the screw holes of the cover or globes with the holes on the fan housing. Carefully position the cover or globes in place, making sure they are secured properly.
- Insert and tighten the screws or fasteners: Using your screwdriver or appropriate tools, insert and tighten the screws or fasteners securely. Ensure that they are snug but not overly tightened, as this can cause damage.
- Double-check the stability: Gently tug on the cover or globes to verify that they are securely attached. This will help prevent any unwanted movements or accidents once the fan is in operation.
With the cover or globes securely reassembled, you have successfully completed the reassembly process. Finally, let’s move on to the last step: adding final touches and maintenance tips to keep your ceiling fan in top condition.
Read more: How To Clean Ceiling Fan Without Ladder
Step 8: Final Touches and Maintenance Tips
Congratulations on successfully cleaning and reassembling your ceiling fan! To add the finishing touches and ensure the longevity of your fan, consider the following final touches and maintenance tips:
- Turn on the fan: Before placing any furniture back underneath the fan, turn it on to make sure it is functioning properly. Check for any unusual noises or vibrations, which may indicate a loose component that requires adjustment.
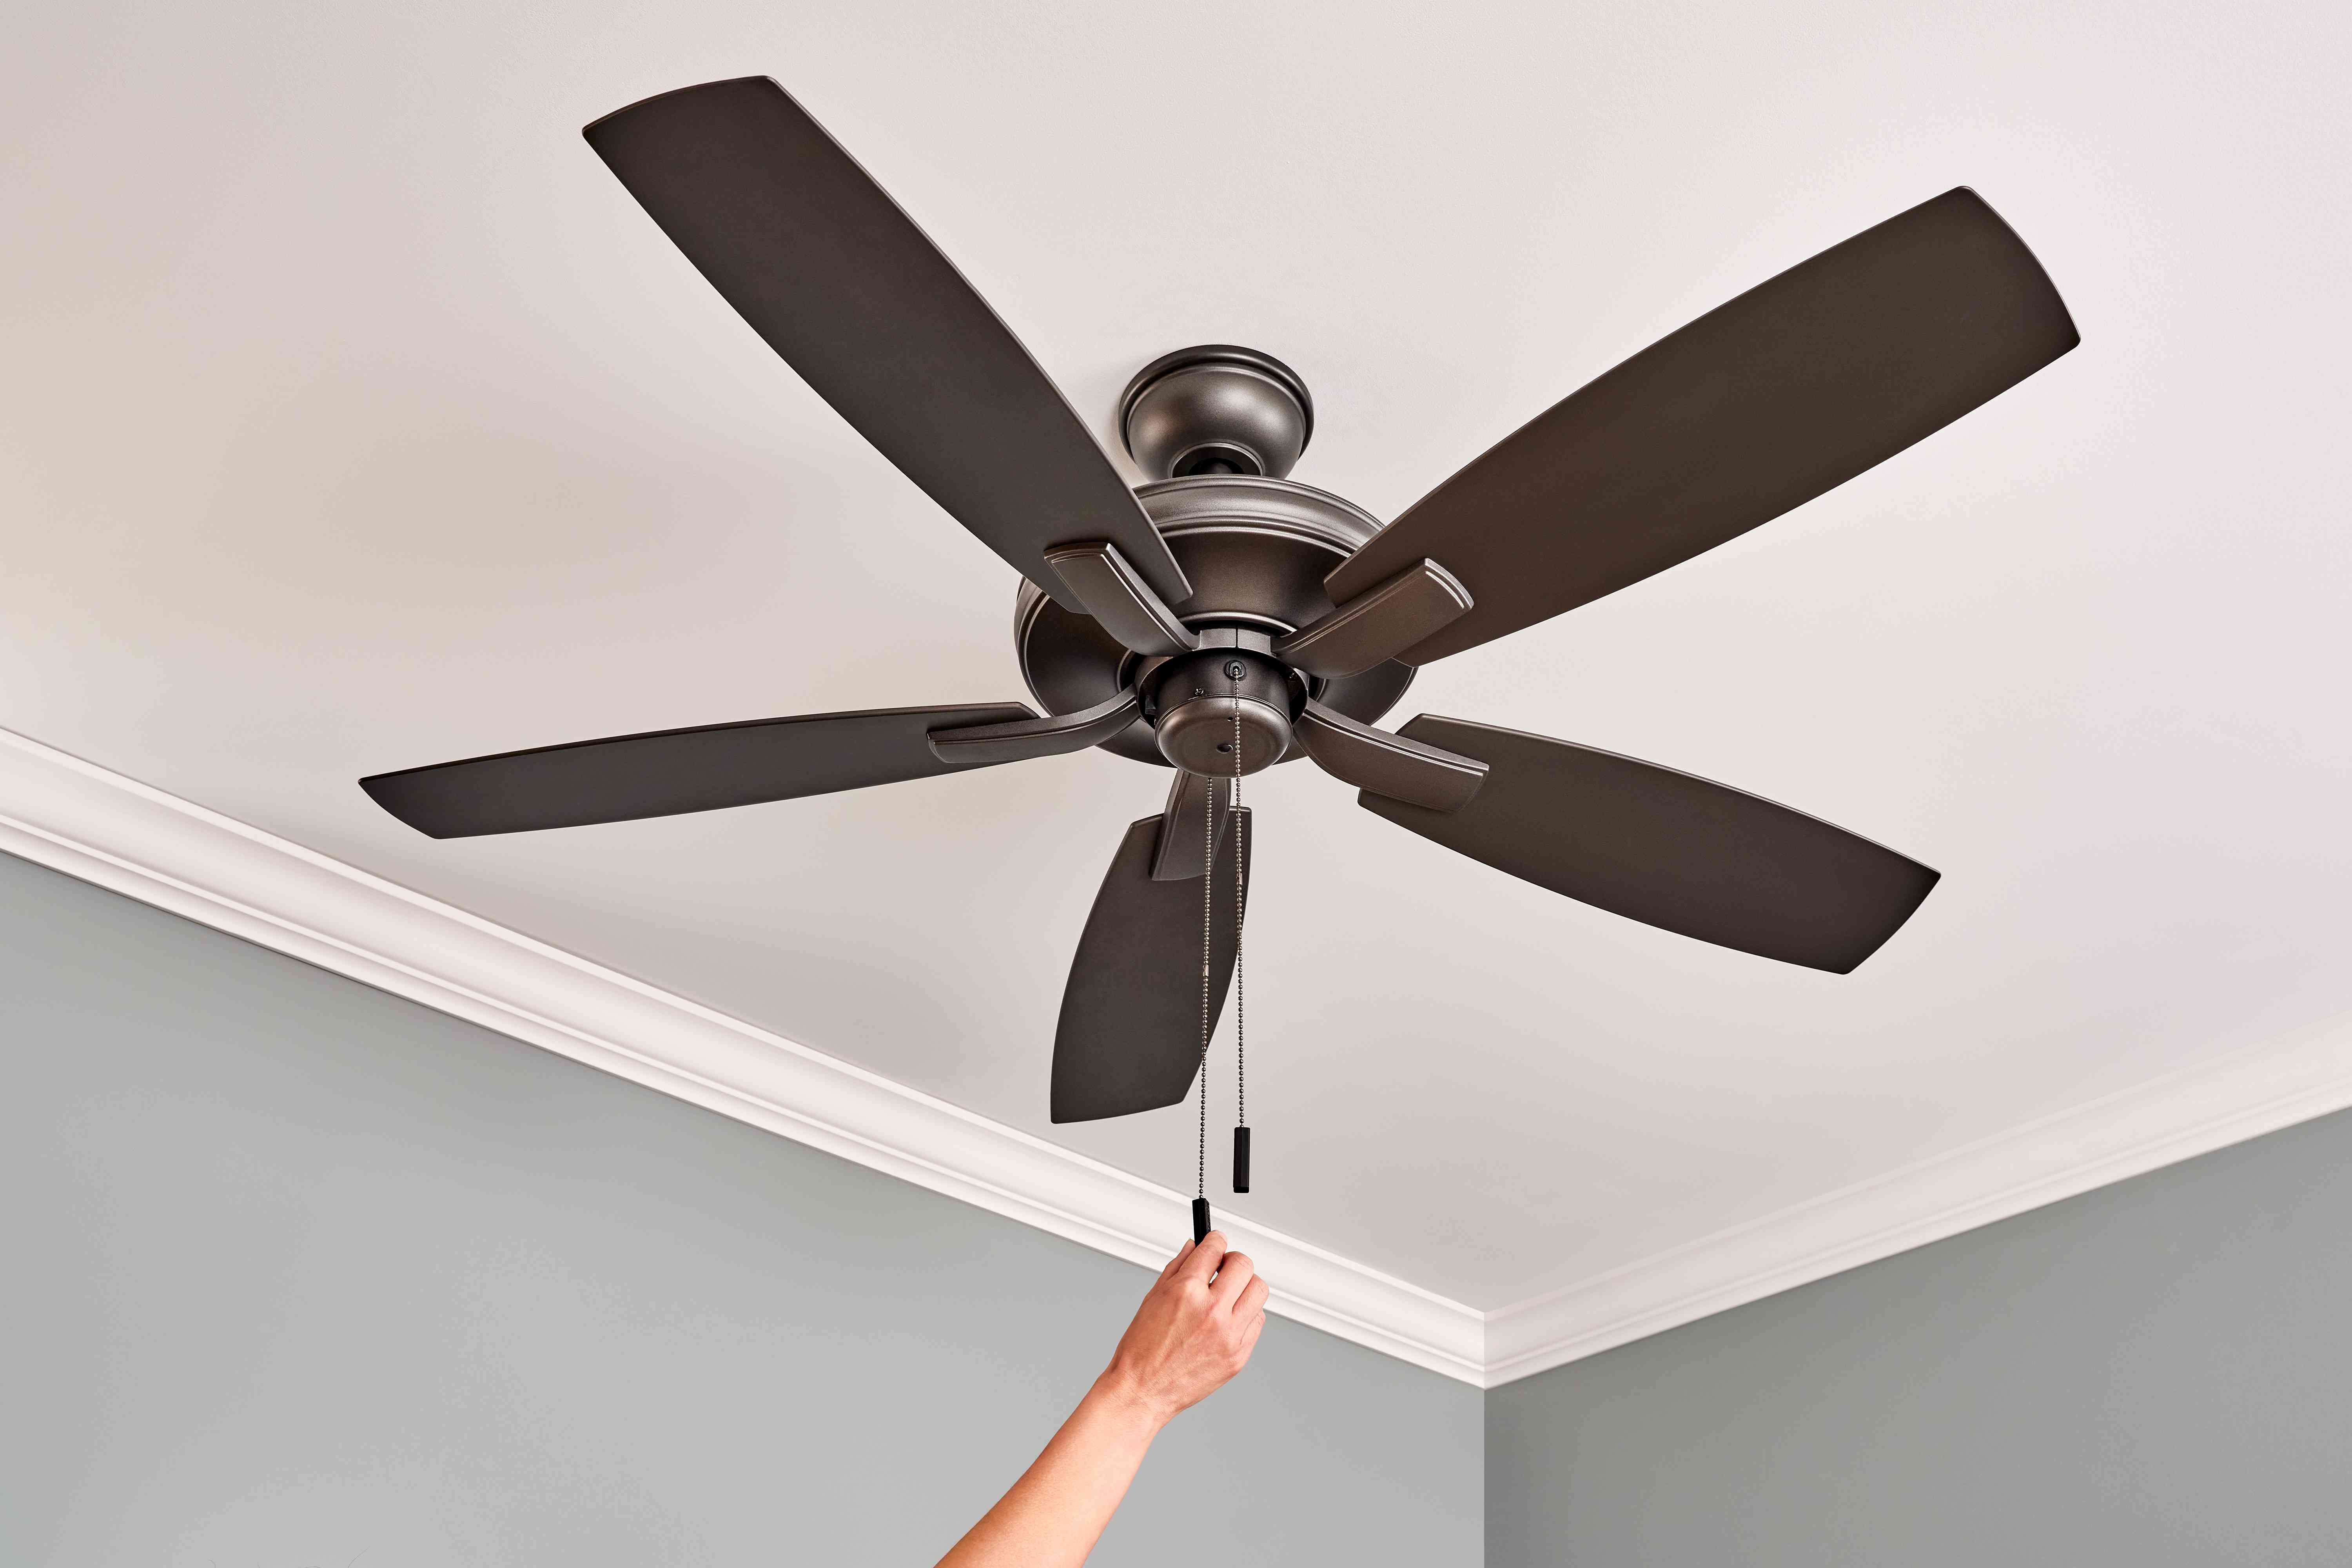
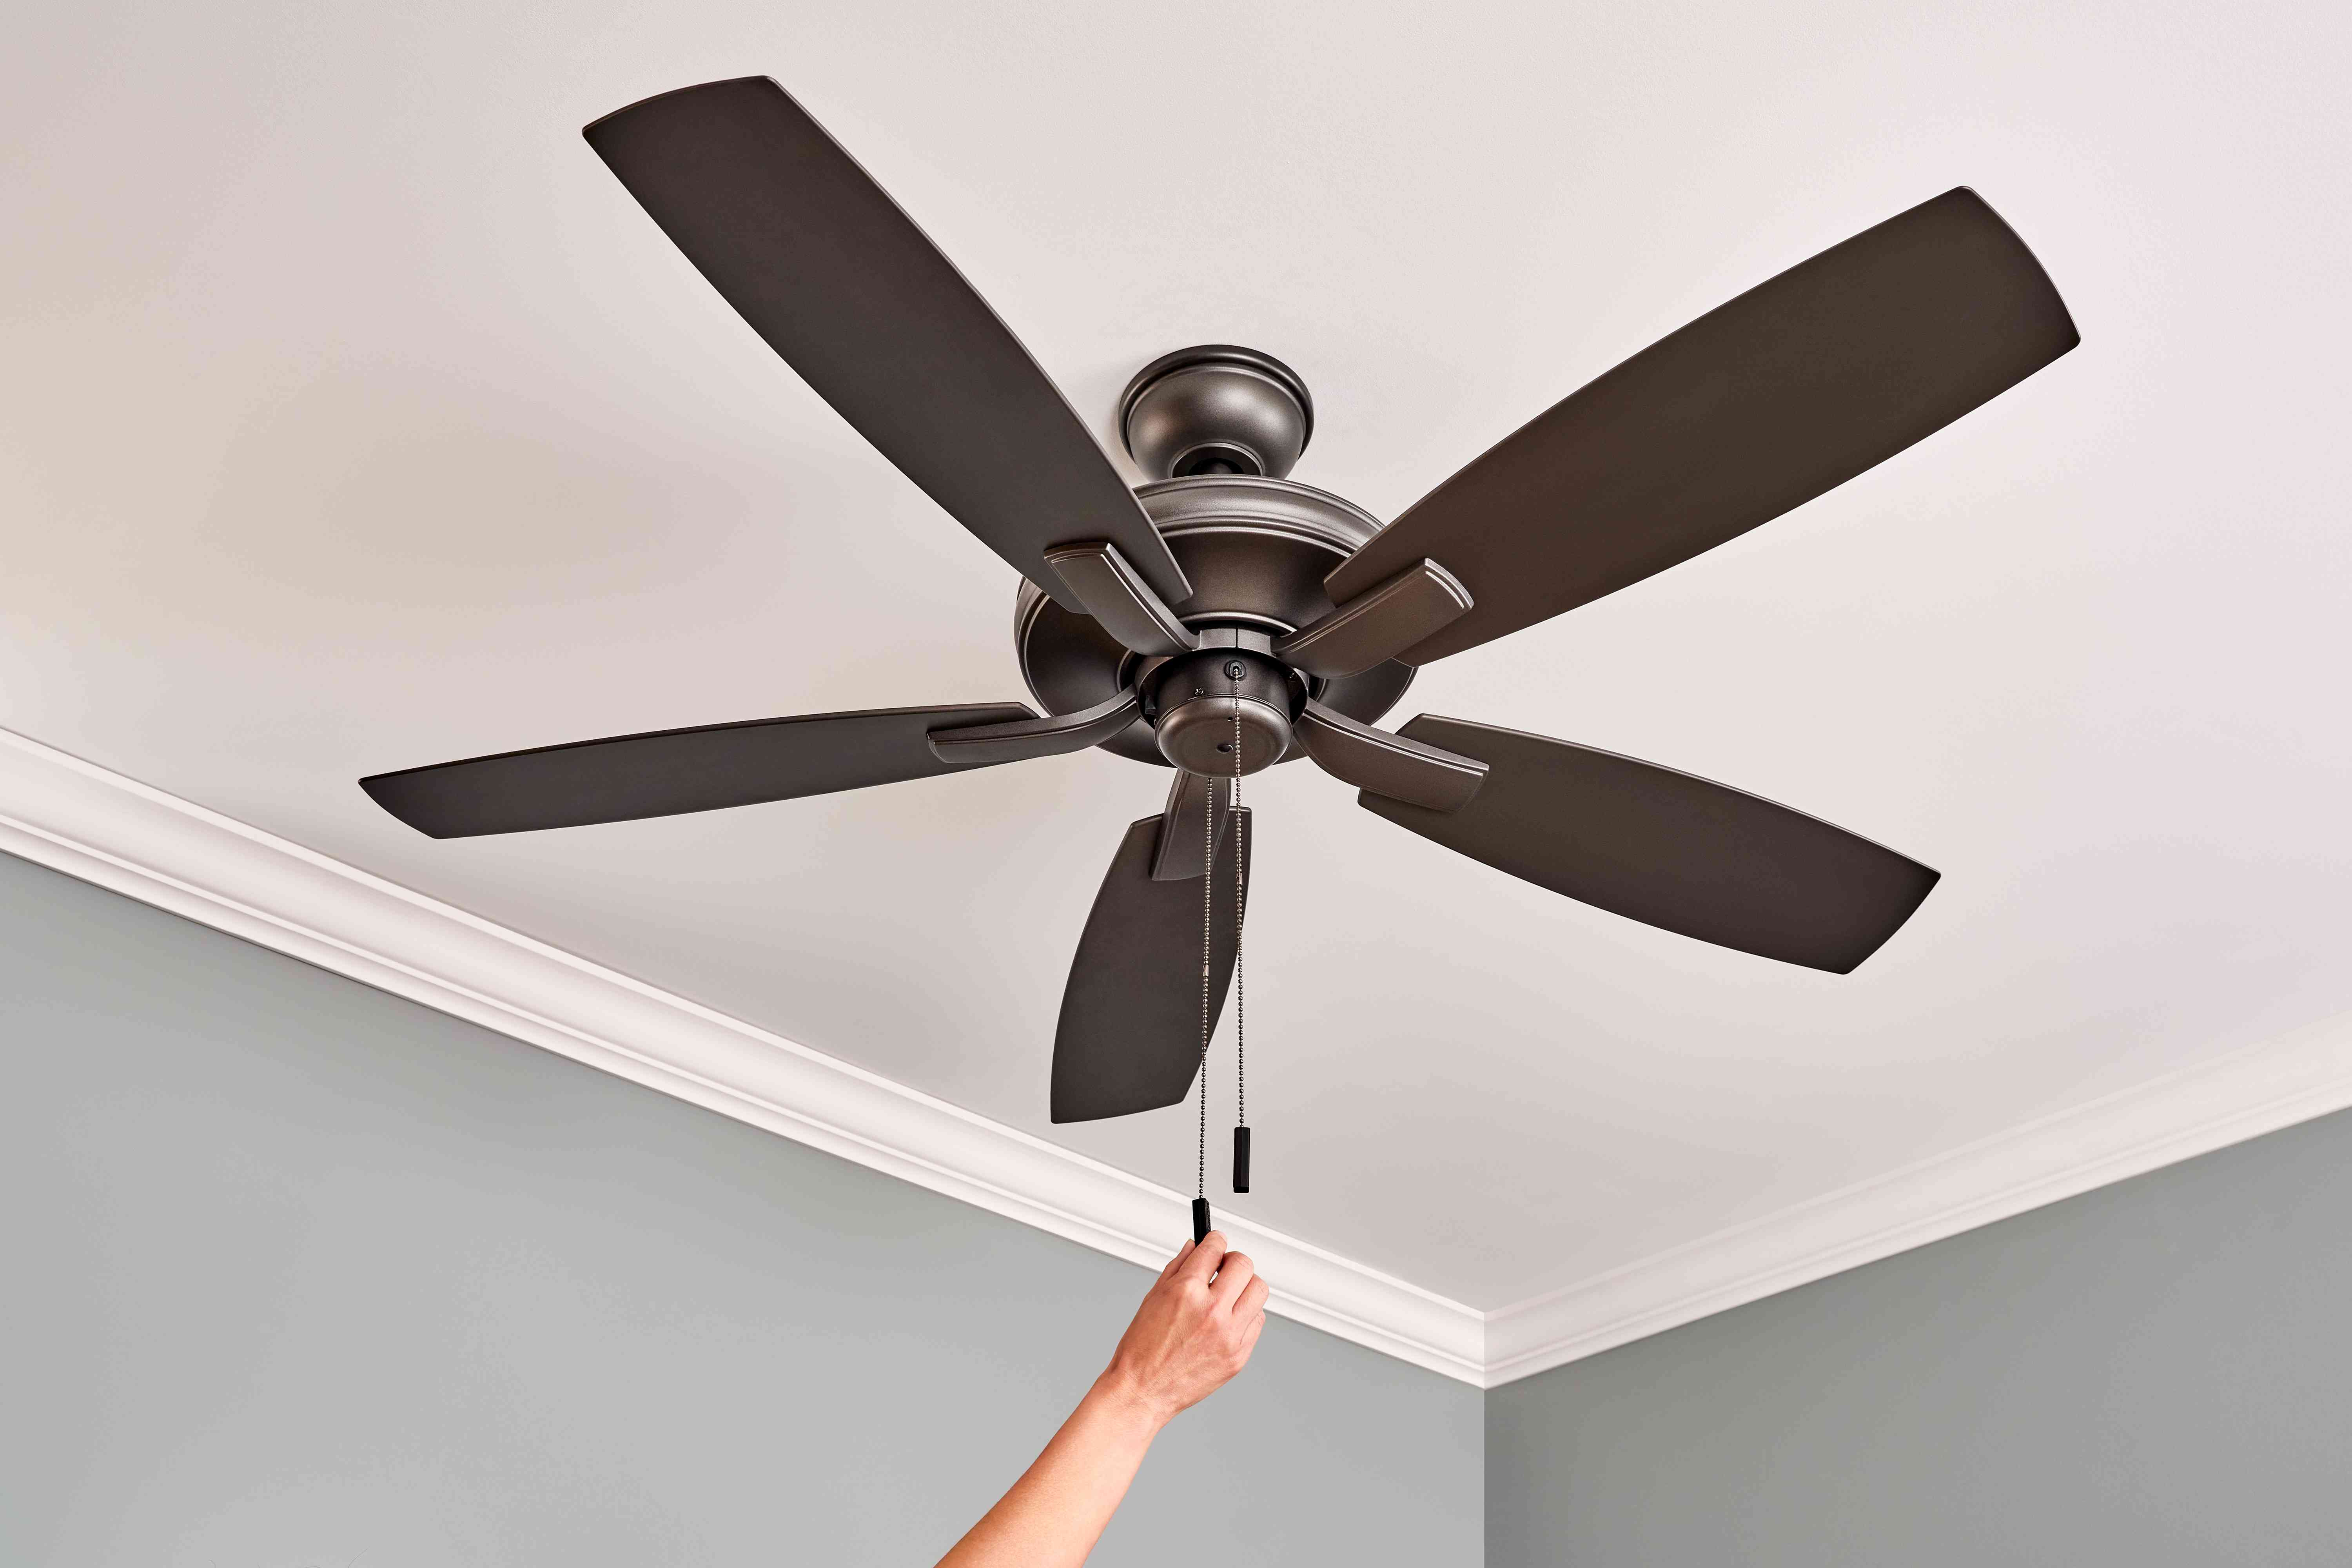
- Inspect and clean fan pull chains: Take a moment to inspect and clean the fan pull chains, if applicable. These chains are often overlooked but can collect dust and become grimy over time. Use a damp cloth to wipe them down and ensure smooth operation.
- Maintain regular cleaning schedule: To keep your ceiling fan in top condition, establish a regular cleaning schedule. Dusting the blades and cleaning the motor housing every few months, or as needed, will help maintain optimal performance and minimize the buildup of dirt and dust.
- Check and tighten screws: Periodically check and tighten the screws holding the fan blades, motor housing, and cover or globes in place. Over time, these screws may loosen, causing the fan to wobble or operate less effectively.
- Keep the surrounding area clean: Regularly dust and clean the surrounding area of the fan, including the ceiling, walls, and light fixtures, to prevent dust and grime from accumulating and being circulated by the fan.
- Consider using fan blade covers: If you live in an area with high dust or debris, or if you have pets shedding fur, you may want to consider using fabric or plastic fan blade covers. These covers can help trap dust and protect the blades from dirt buildup.
- Replace worn-out parts: Keep an eye on the condition of your fan. If you notice any worn-out or damaged parts, such as worn-out blades, cracked globes, or malfunctioning pull chains, replace them promptly to maintain the fan’s performance and safety.
- Consult the manufacturer’s manual: Check the manufacturer’s manual or website for specific maintenance recommendations and guidelines for your ceiling fan model. Following their instructions will help you properly care for your fan.
By incorporating these final touches and following maintenance tips, you can ensure that your ceiling fan remains clean, efficient, and visually appealing for years to come. Enjoy the cool breeze and improved air circulation in your living space!
With the final touches and maintenance tips in mind, you have now completed the comprehensive process of cleaning your ceiling fan without making a mess. Give yourself a pat on the back for a job well done!
Conclusion
Cleaning your ceiling fan doesn’t have to be a messy and daunting task. With the step-by-step guide provided in this article, you now have the knowledge and tools to clean your fan effectively and efficiently, all while keeping your living space tidy and free of dust.
By following the outlined steps, including preparation, dusting the blades, removing the cover or globes, cleaning them, and wiping down the motor housing and fan blades, you can maintain the performance and appearance of your ceiling fan.
Remember to take precautions and follow safety guidelines throughout the cleaning process. This includes turning off the fan, using a stable step ladder, wearing safety goggles and a dust mask, and practicing caution when handling electrical components.
Maintaining a regular cleaning schedule and implementing the final touches and maintenance tips provided will help keep your ceiling fan in optimal condition. Regular maintenance, such as tightening screws, checking pull chains, and keeping the surrounding area clean, will extend the lifespan and efficiency of your fan.
Now that you have successfully cleaned and maintained your ceiling fan, sit back, relax, and enjoy the refreshing breeze it provides. Appreciate not only the functionality, but also the clean and visually appealing addition it brings to your living space.
Remember, a clean and well-maintained ceiling fan not only enhances the comfort of your home but also contributes to the overall cleanliness and air quality. So make cleaning your ceiling fan a regular part of your cleaning routine and enjoy the benefits it brings.
Thank you for following along with this comprehensive guide. Happy cleaning!
Frequently Asked Questions about How To Clean Ceiling Fans Without Making A Mess
Was this page helpful?
At Storables.com, we guarantee accurate and reliable information. Our content, validated by Expert Board Contributors, is crafted following stringent Editorial Policies. We're committed to providing you with well-researched, expert-backed insights for all your informational needs.





0 thoughts on “How To Clean Ceiling Fans Without Making A Mess”