Home>Articles>How To Change Direction On Ceiling Fan Without Switch
Articles
How To Change Direction On Ceiling Fan Without Switch
Modified: September 2, 2024
Learn how to change the direction of your ceiling fan without using a switch. Follow our step-by-step article for easy instructions.
(Many of the links in this article redirect to a specific reviewed product. Your purchase of these products through affiliate links helps to generate commission for Storables.com, at no extra cost. Learn more)
Introduction
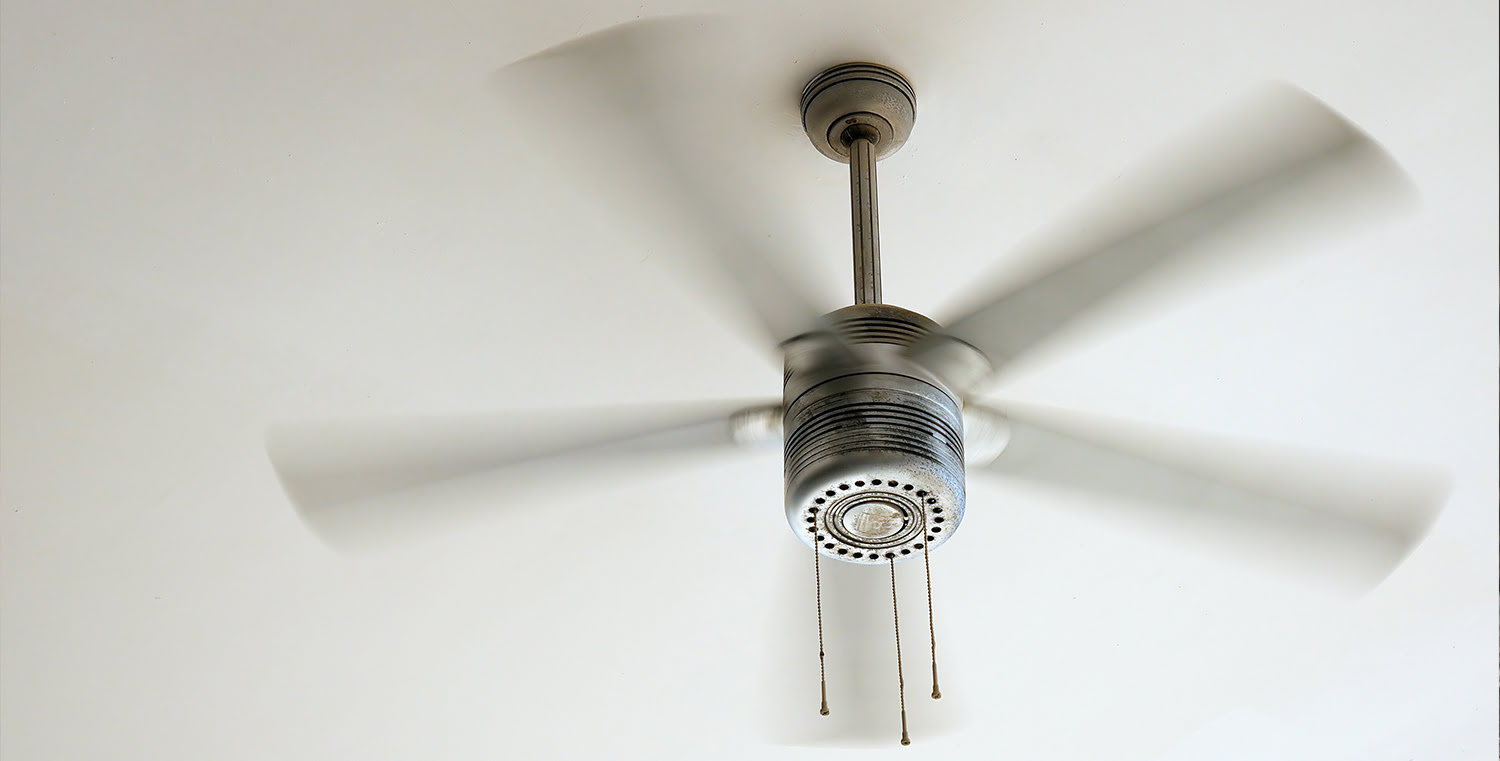
Ceiling fans are a popular and practical addition to any home. They provide a cost-effective way to cool down a room, circulate air, and even provide lighting. While most ceiling fans have a switch that allows you to change their direction, there may be instances when you need to change the direction of your ceiling fan without a designated switch. Fortunately, there are several methods you can use to accomplish this task, whether you have a remote control or not.
In this article, we will explore four different methods to change the direction of a ceiling fan without relying on a switch. These methods include using a remote control, utilizing the pull chain, installing a wall control switch, or even connecting your ceiling fan to a smart home system. Let’s dive in and find the best method for you!
Key Takeaways:
- Easily change your ceiling fan’s direction using a remote control, pull chain, wall control switch, or smart home system. Enjoy improved air circulation and energy efficiency without relying on a designated switch.
- Embrace modern convenience by installing a smart home system for seamless control of your ceiling fan. Adjust the direction, speed, and integrate with other smart devices for a futuristic and comfortable home environment.
Read more: How To Change A Ceiling Fan
Method 1: Using a Remote Control
If you have a ceiling fan with a remote control, changing the direction is typically as easy as pressing a button. Most modern ceiling fans come with remote controls that offer convenient access to various settings, including changing the direction of the fan blades.
To change the direction of your ceiling fan using a remote control, follow these simple steps:
- Locate the remote control for your ceiling fan. It is usually included in the packaging when you purchase the fan.
- Identify the button or setting on the remote control specifically designed to change the fan’s direction. This button is typically labeled “Reverse” or “Direction.”
- Press the “Reverse” or “Direction” button on the remote control. Some remote controls may have separate buttons for clockwise and counterclockwise rotation, so ensure you press the correct button.
- Observe the movement of the fan blades to confirm that the direction has been changed. If the fan was previously set on a clockwise rotation, it should now switch to a counterclockwise rotation and vice versa.
Using a remote control to change the direction of your ceiling fan is the easiest and most convenient method, especially if your fan is equipped with this feature. However, if you don’t have a remote control or your fan doesn’t have this capability, don’t worry. There are other methods you can try to change the direction of your ceiling fan.
Method 2: Utilizing the Pull Chain
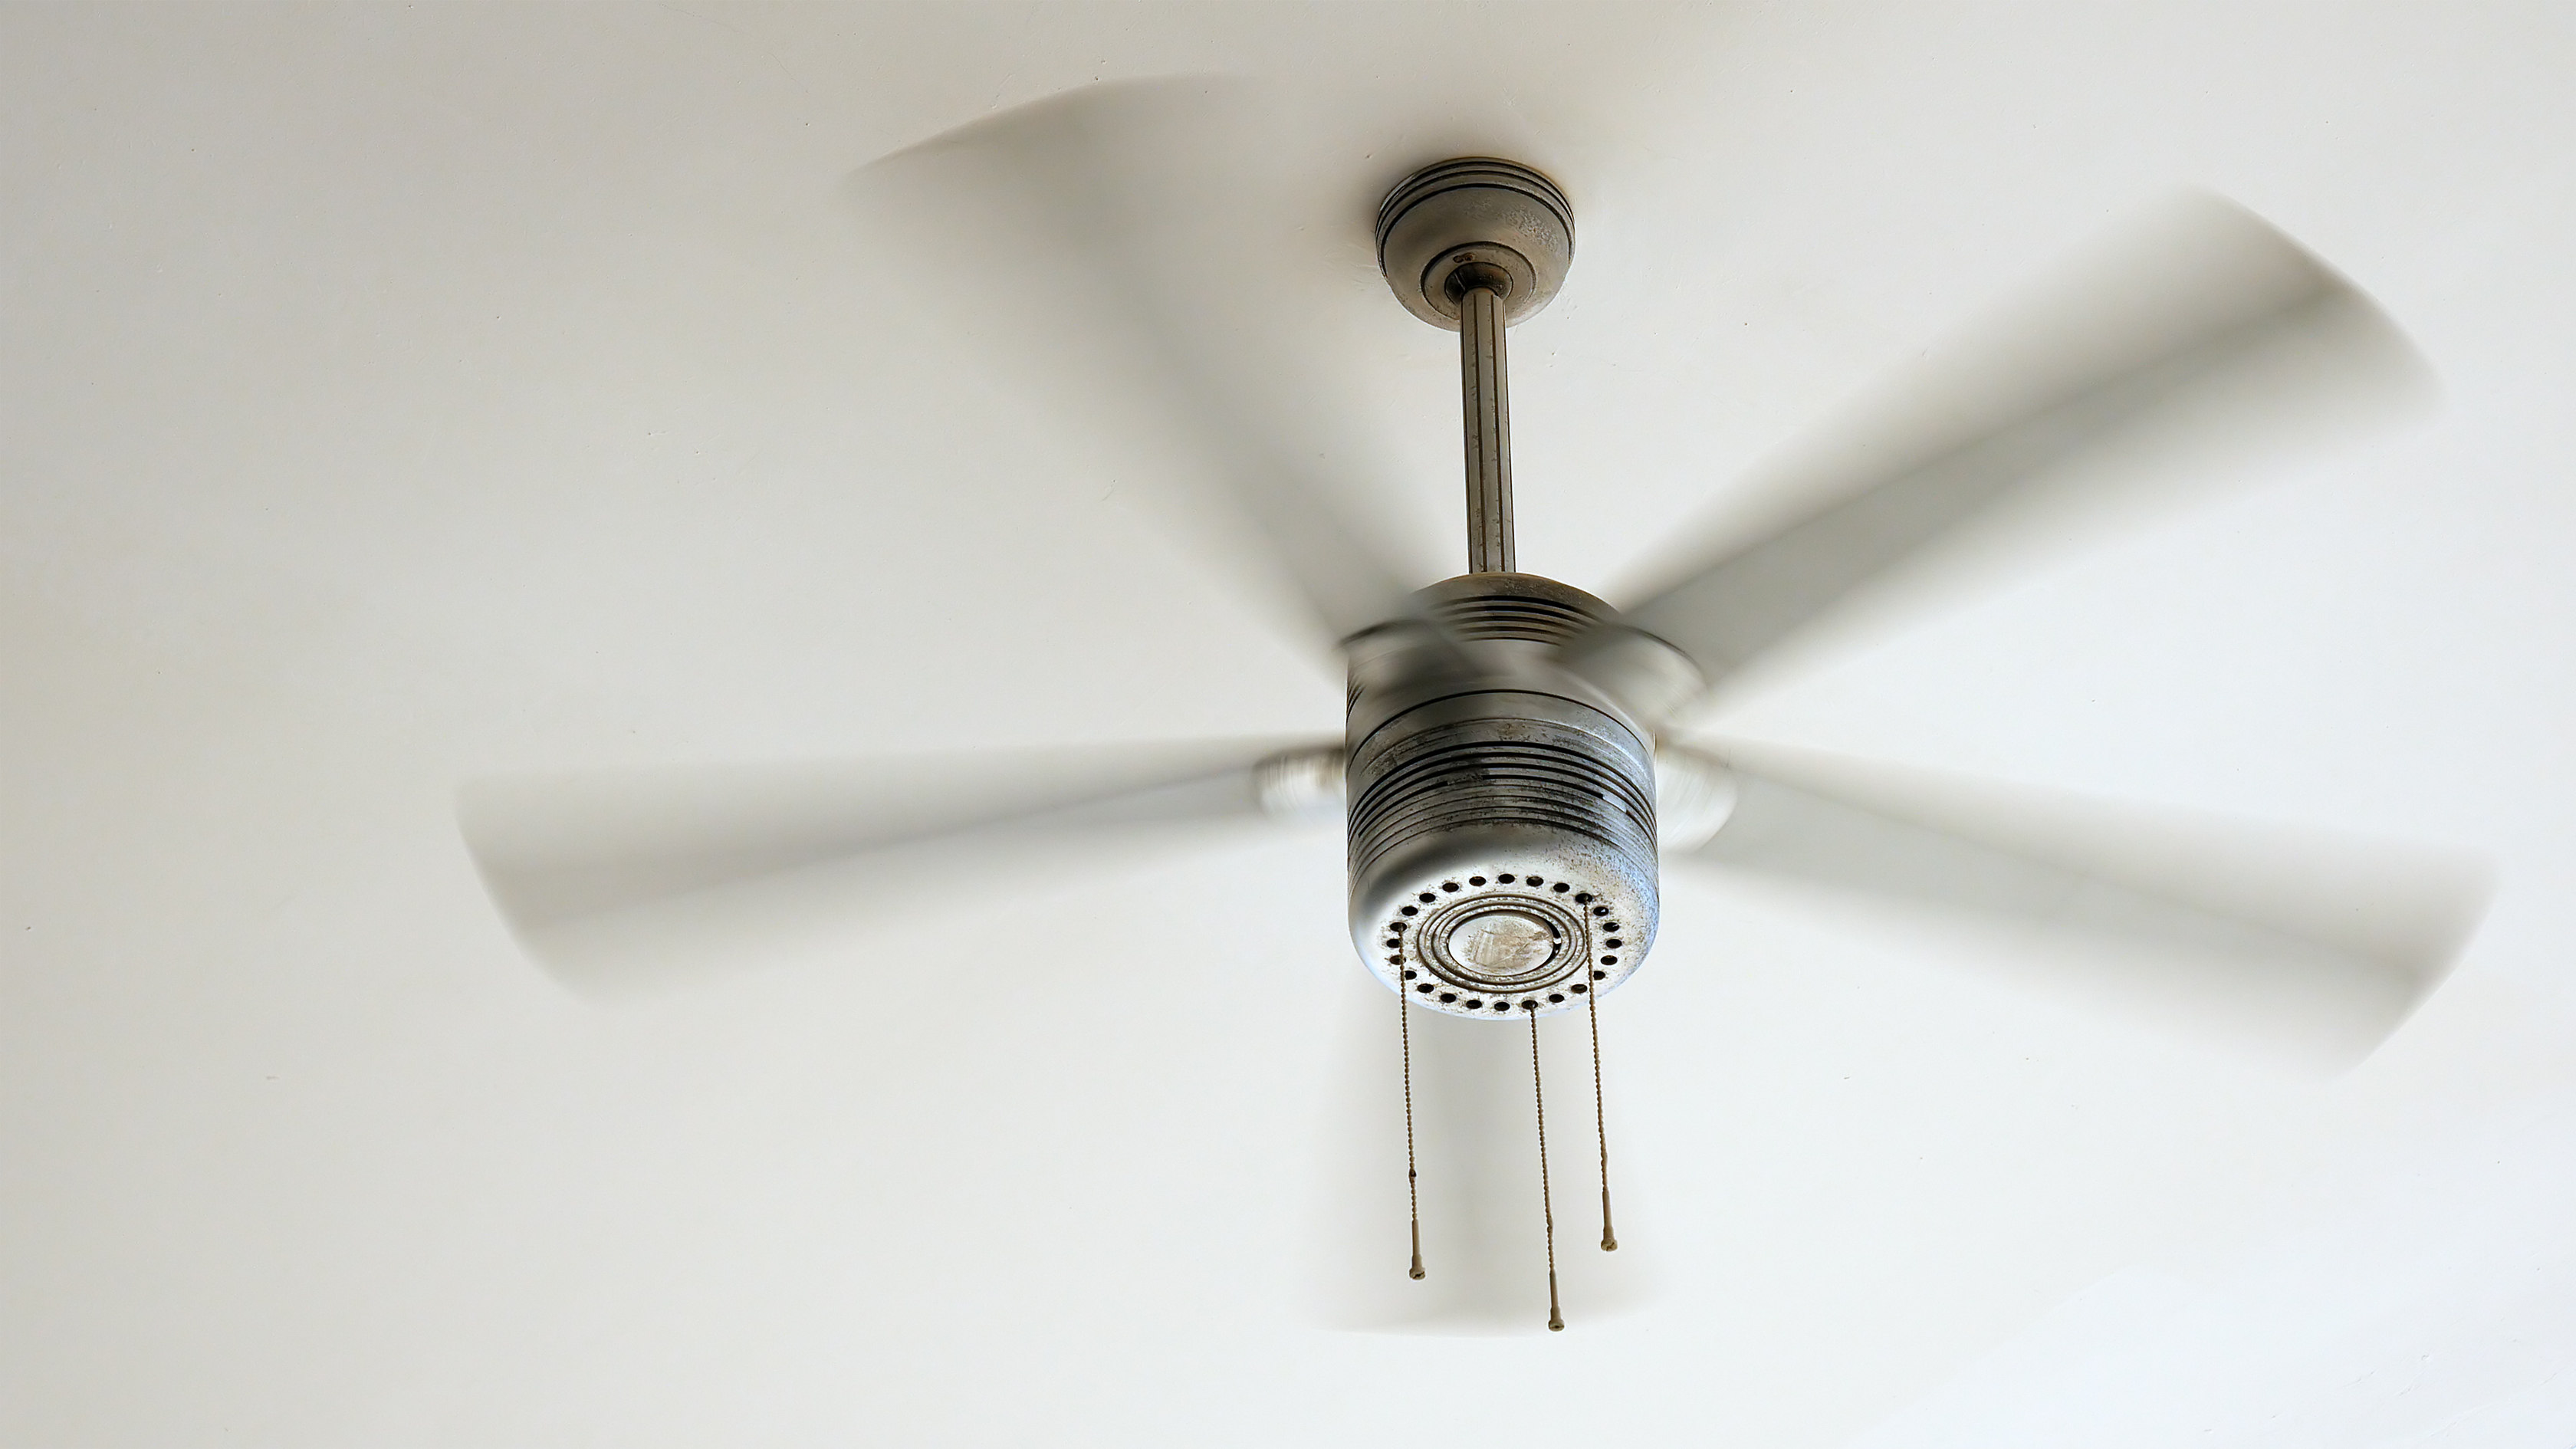
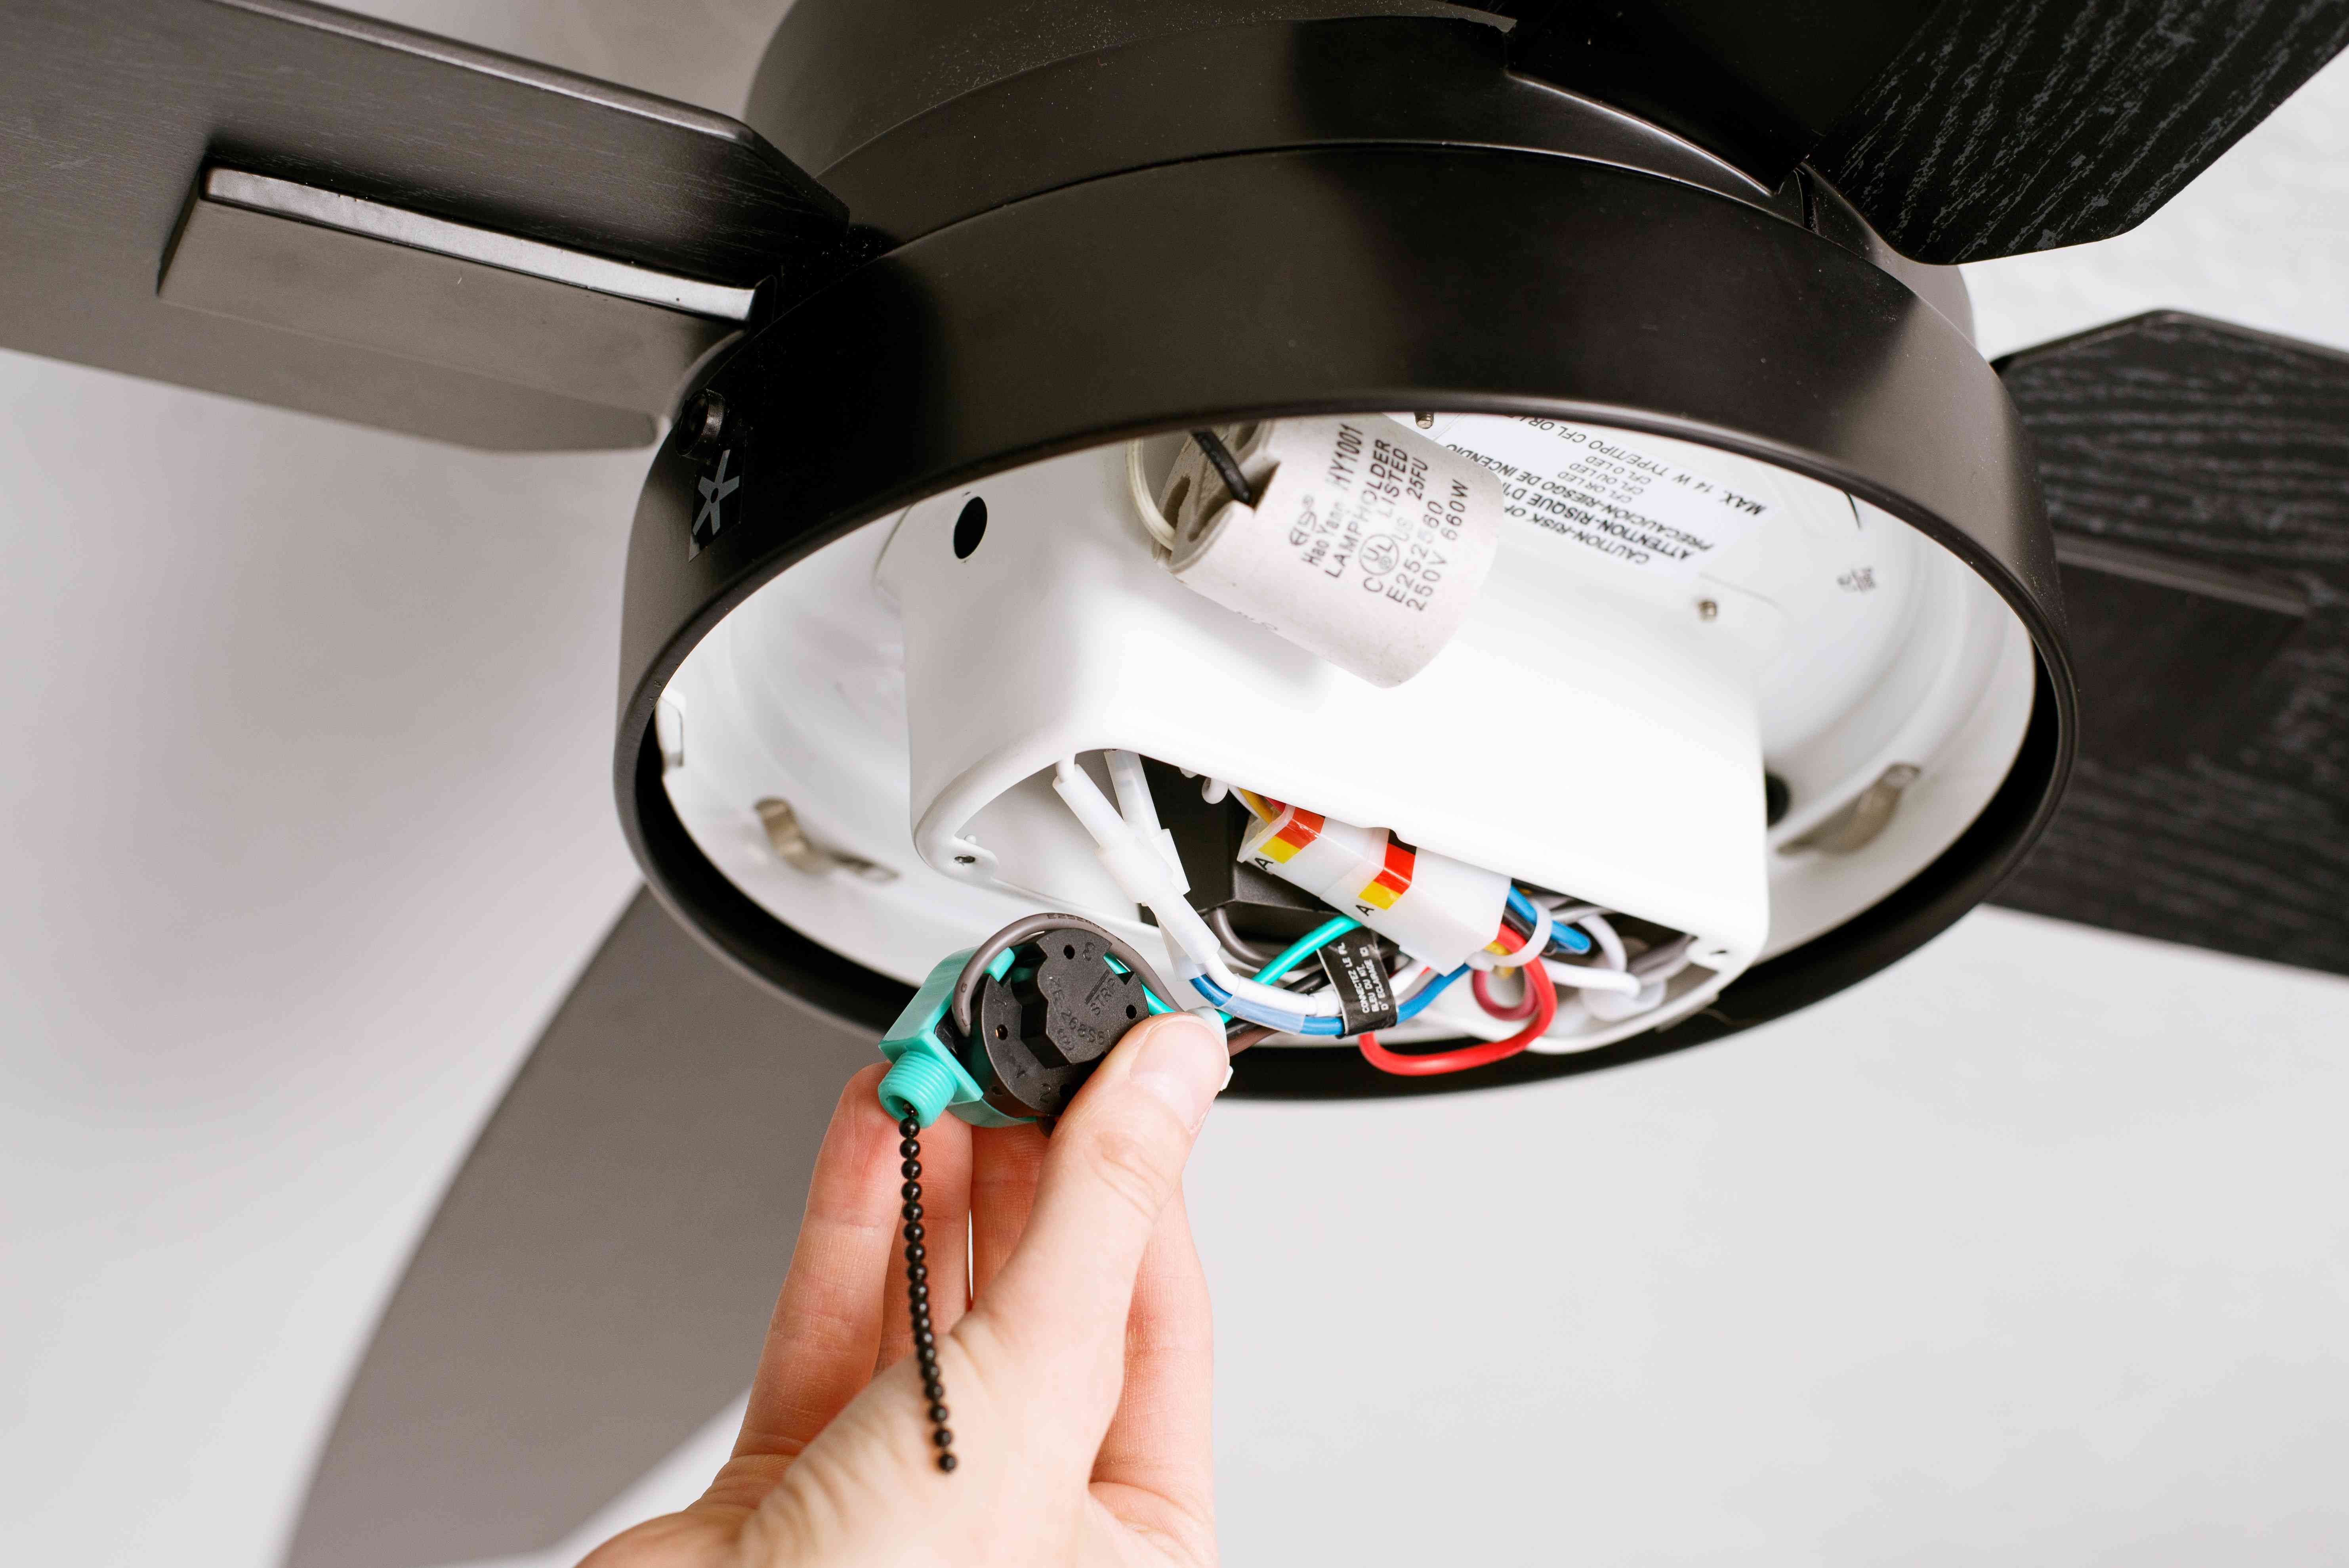
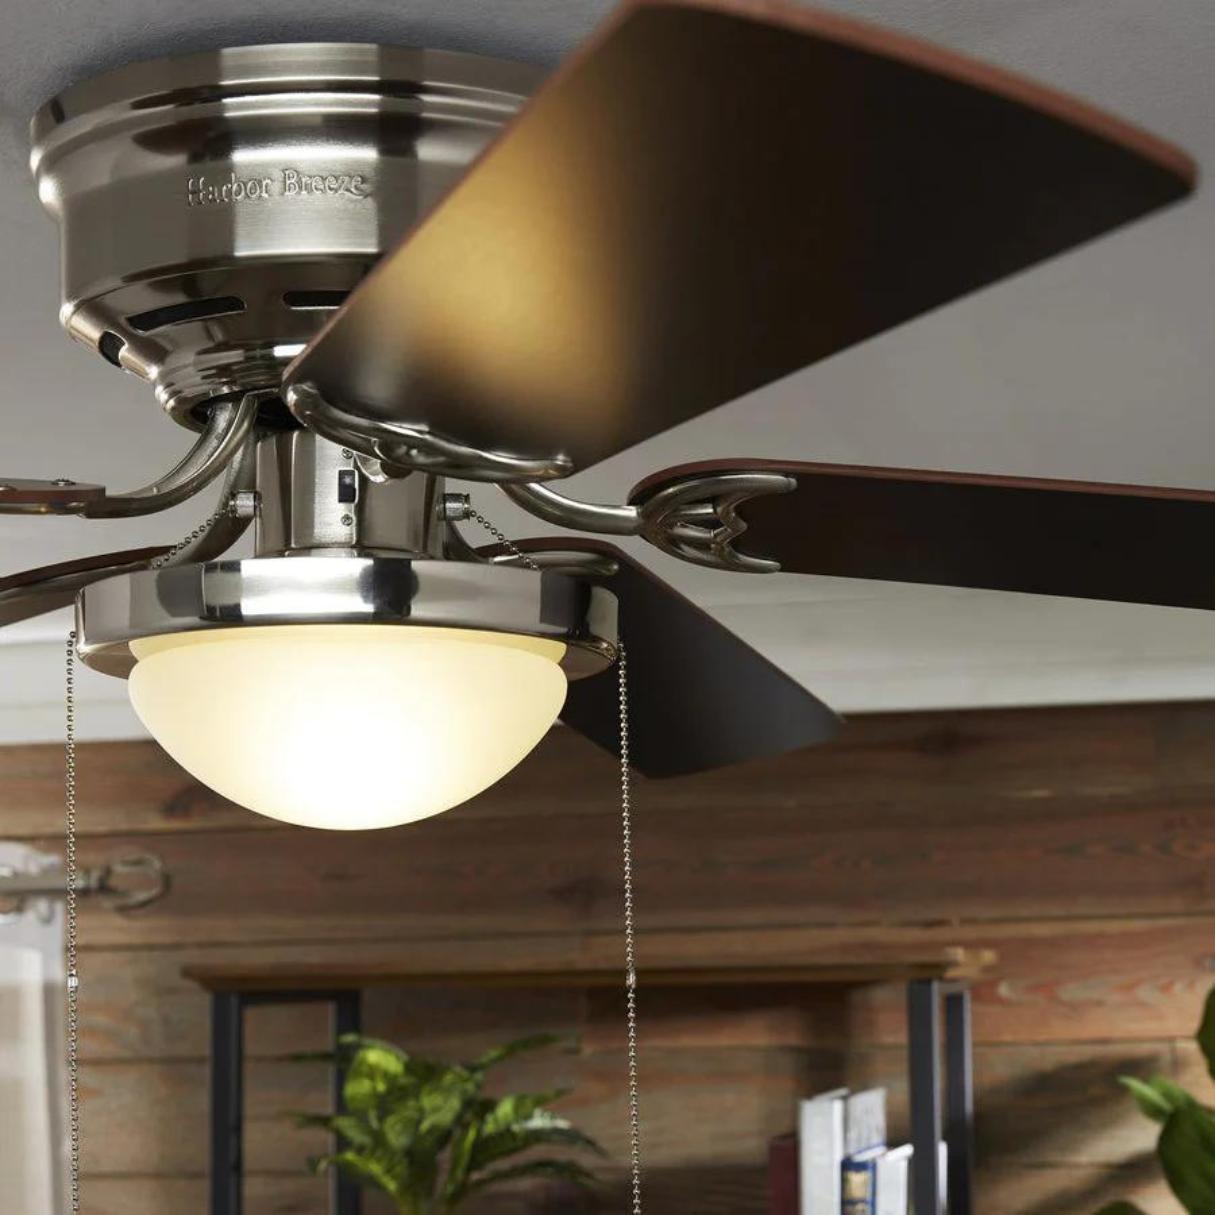
If your ceiling fan doesn’t have a remote control or if the remote control doesn’t have a button to change the direction, you can rely on the pull chain to adjust the fan’s direction. Most ceiling fans have a pull chain that controls the fan’s speed, and some models also have a pull chain specifically designed to change the direction of the fan blades.
Here’s how you can utilize the pull chain to change the direction of your ceiling fan:
- Locate the pull chain on your ceiling fan. It is usually located near the center of the fan, hanging down from the fan body.
- Identify the pull chain that is designated for changing the direction of the fan blades. It is often labeled with “Reverse” or “Direction.”
- Gently pull the designated pull chain down or give it a slight tug, depending on the design of your ceiling fan. This action should activate the mechanism that controls the direction of the fan blades.
- Observe the movement of the fan blades to confirm that the direction has been changed. If the fan was previously rotating in a clockwise direction, it should now rotate in a counterclockwise direction and vice versa.
Utilizing the pull chain is a straightforward and practical method to change the direction of your ceiling fan. However, keep in mind that not all ceiling fans have a pull chain dedicated to changing the direction. If your fan doesn’t have this feature, don’t worry, as we have two more methods for you to try.
If your ceiling fan doesn’t have a switch to change direction, try using a universal remote control or a fan direction reversing module to easily change the direction of the fan blades.
Method 3: Installing a Wall Control Switch
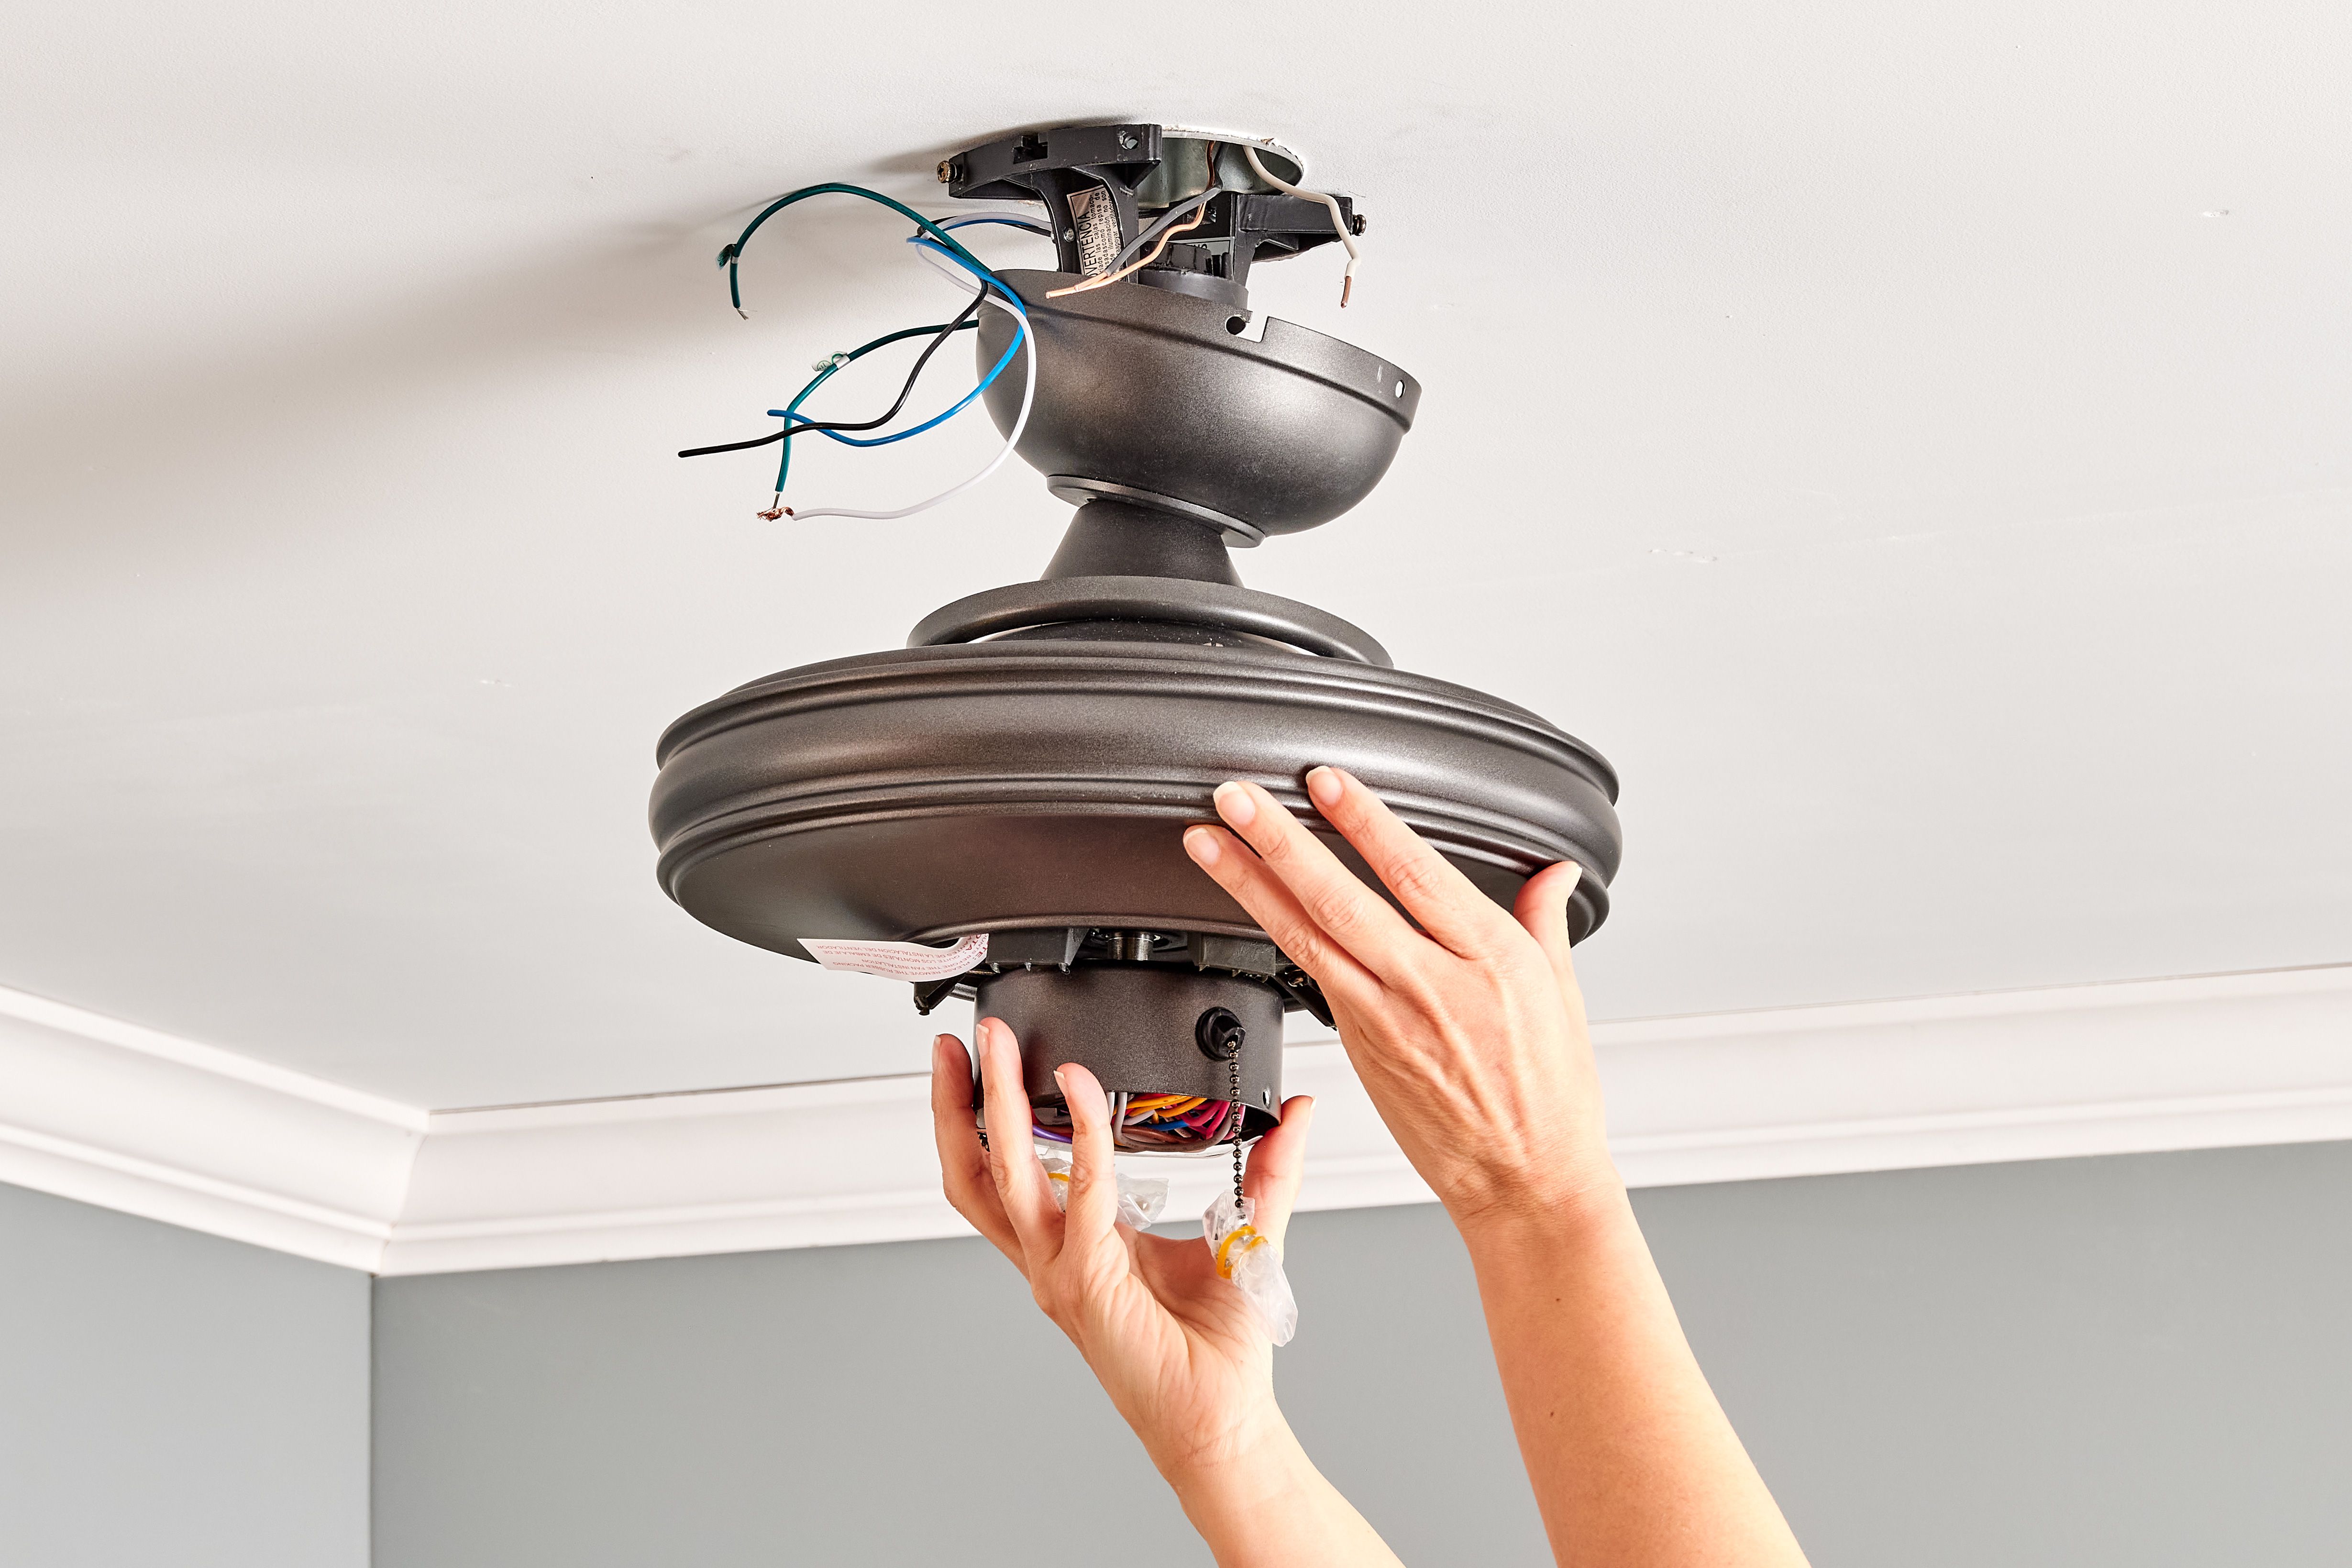
If your ceiling fan doesn’t have a remote control and doesn’t offer a pull chain option to change the direction of the fan blades, you can consider installing a wall control switch. A wall control switch provides a convenient and permanent solution to change the direction of your ceiling fan without relying on any additional accessories.
Here are the steps to install a wall control switch for your ceiling fan:
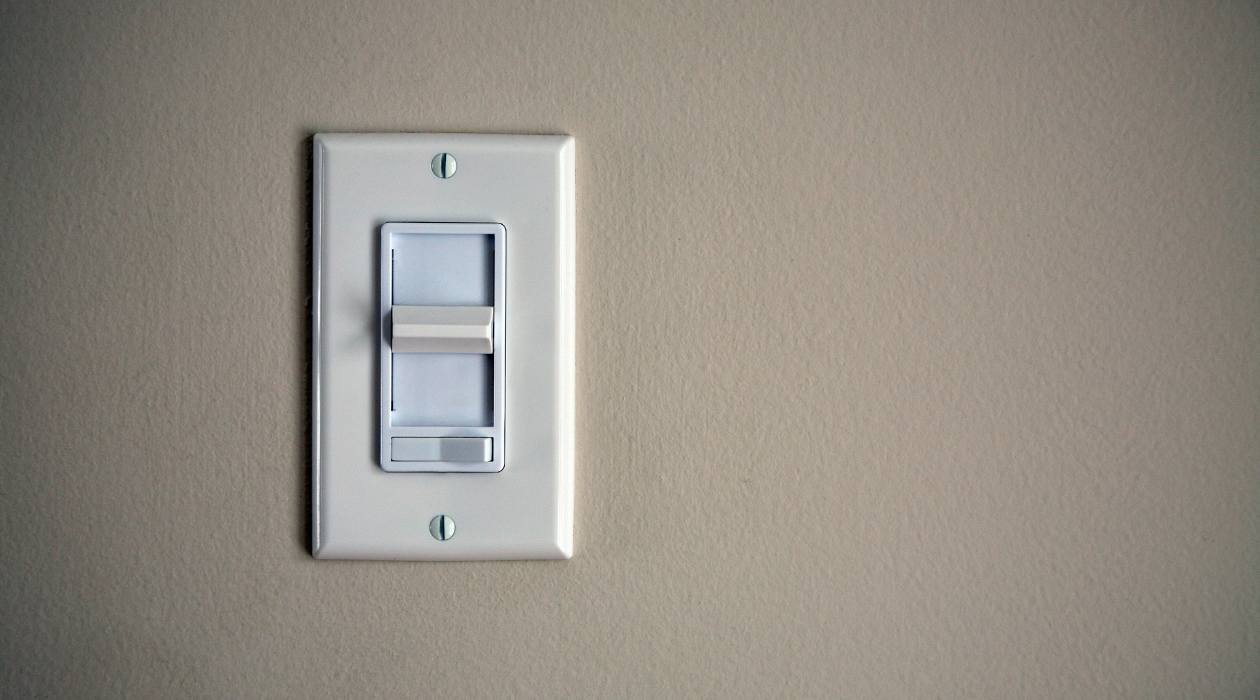
- Choose a suitable location on your wall to install the wall control switch. Ideally, it should be easily accessible and within reach of the fan.
- Turn off the power supply to the room and ensure that there is no electrical current running through the existing light switch or electrical outlet where you plan to install the wall control switch.
- Remove the existing light switch cover using a screwdriver. Next, remove the screws holding the light switch in place.
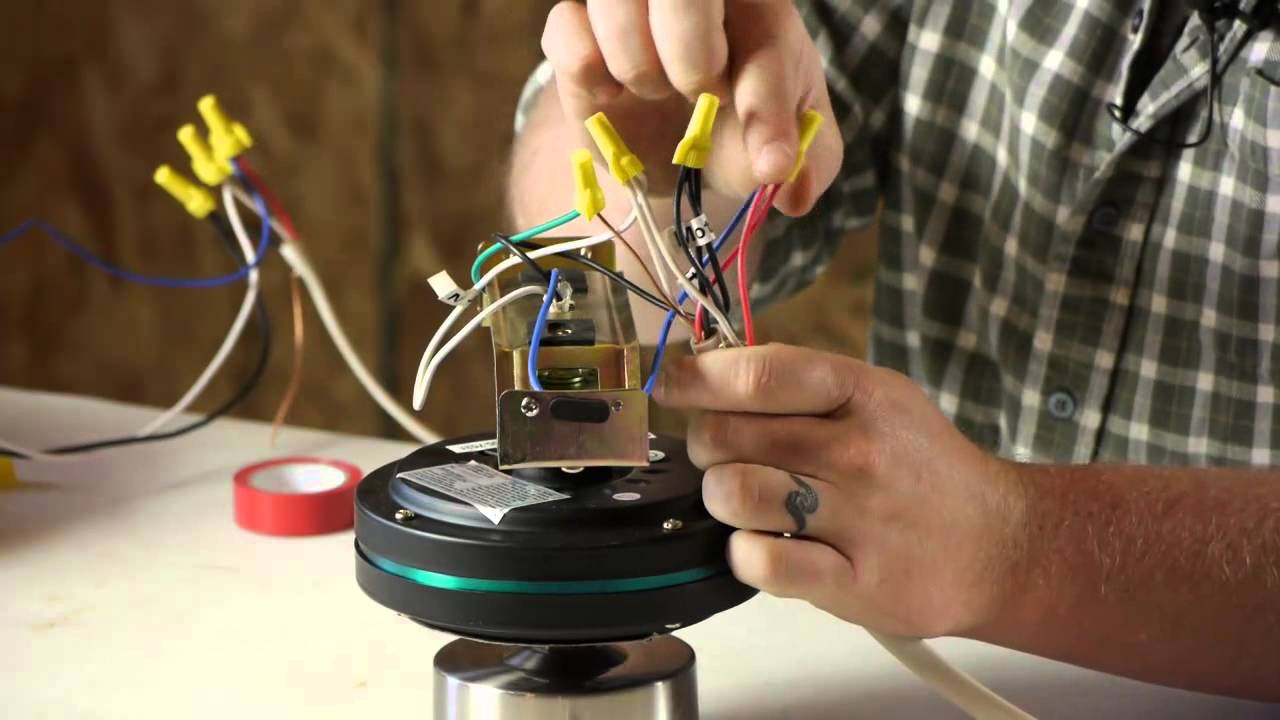
- Disconnect the wires connected to the light switch. Take note of the wire connections or take a clear photo for reference.
- Install the wall control switch according to the manufacturer’s instructions. Typically, this involves connecting the wires from the switch to the corresponding wires in the electrical box.
- Secure the wall control switch in place by tightening the screws. Replace the light switch cover.
- Turn on the power supply and test the wall control switch by flipping the switch and observing the rotation of the fan blades. Make sure the fan blades rotate in the desired direction.
Installing a wall control switch may require some electrical knowledge and experience. If you’re not familiar with electrical work, it’s recommended to seek assistance from a licensed electrician to ensure proper installation and safety.
With a wall control switch in place, changing the direction of your ceiling fan becomes as easy as flipping a switch. However, if you prefer a more advanced and futuristic option, we have one more method for you to explore.
Method 4: Installing a Smart Home System
For homeowners who prefer advanced technology and want greater control over their ceiling fans, installing a smart home system is an excellent option. With a smart home system, you can control various appliances, including your ceiling fan, using your smartphone or voice commands.
Here are the steps to install a smart home system for your ceiling fan:
- Choose a smart home system that offers compatibility with ceiling fans. Some popular options include systems like Amazon Alexa, Google Home, or Apple HomeKit.
- Make sure your ceiling fan is compatible with the chosen smart home system. Check the manufacturer’s specifications or consult a professional if necessary.
- Install the smart home system according to the manufacturer’s instructions. This typically involves setting up a hub or connecting the smart home device to your home’s Wi-Fi network.
- Download the corresponding mobile app for the smart home system on your smartphone or tablet.
- Follow the app’s instructions to connect and sync your ceiling fan with the smart home system. This may involve configuring settings and pairing the fan with the system.
- Once the setup is complete, you can control the ceiling fan’s direction using the smart home system’s mobile app or through voice commands if supported by the system.
Installing a smart home system provides a seamless and futuristic way to change the direction of your ceiling fan. In addition to controlling the fan blades’ rotation, you can often adjust the fan speed, set timers, and integrate it with other smart devices in your home.
Remember to consult the manufacturer’s instructions and seek professional assistance if needed when installing a smart home system, as the setup process may vary depending on the chosen system and your specific ceiling fan model.
Conclusion
Changing the direction of a ceiling fan is a practical way to optimize its performance, whether you want to cool down a room or distribute warm air during colder months. While most ceiling fans come with a switch to change their direction, there may be instances where you need to explore alternative methods.
In this article, we discussed four methods to change the direction of a ceiling fan without relying on a switch. These methods included using a remote control, utilizing the pull chain, installing a wall control switch, or connecting the fan to a smart home system. Each method offers its own advantages and possibilities.
If you have a ceiling fan equipped with a remote control, simply press the designated button to change the direction. Alternatively, if your fan has a pull chain, use the specific chain labeled for changing the direction. For a more permanent solution, consider installing a wall control switch in a convenient location. Finally, for those who embrace smart home technology, installing a smart home system allows for effortless control through a mobile app or voice commands.
Remember, always follow the manufacturer’s instructions when trying any of these methods. If you’re unsure about electrical work or complex installations, seek assistance from a professional electrician to ensure safety and proper functioning.
By utilizing these methods, you can easily change the direction of your ceiling fan and create a comfortable environment in your home throughout the year. Enjoy the benefits of improved air circulation and energy efficiency, and make the most out of your ceiling fan’s capabilities.
Frequently Asked Questions about How To Change Direction On Ceiling Fan Without Switch
Was this page helpful?
At Storables.com, we guarantee accurate and reliable information. Our content, validated by Expert Board Contributors, is crafted following stringent Editorial Policies. We're committed to providing you with well-researched, expert-backed insights for all your informational needs.


0 thoughts on “How To Change Direction On Ceiling Fan Without Switch”