Articles
How To Clean Exhaust Fan In Bathroom
Modified: October 19, 2024
Learn the best techniques and methods for cleaning your bathroom exhaust fan in this informative article. Keep your bathroom fresh and odor-free with these helpful tips.
(Many of the links in this article redirect to a specific reviewed product. Your purchase of these products through affiliate links helps to generate commission for Storables.com, at no extra cost. Learn more)
Introduction
Welcome to our comprehensive guide on how to clean the exhaust fan in your bathroom. Over time, dust, dirt, and debris can accumulate in your bathroom exhaust fan, diminishing its performance and potentially leading to unpleasant odors or even mold growth. Regularly cleaning your exhaust fan not only helps keep the air in your bathroom fresh and clean but also prolongs the lifespan of the fan.
In this article, we will walk you through the step-by-step process of cleaning your bathroom exhaust fan. We will also provide you with important safety precautions to take before starting the cleaning process, as well as a list of tools and materials you will need.
By following our guide, you will be able to maintain a well-functioning exhaust fan that effectively removes moisture and odors from your bathroom. So let’s get started and make your bathroom a healthier and more comfortable space!
Key Takeaways:
- Regularly cleaning your bathroom exhaust fan not only keeps the air fresh and clean but also prolongs the fan’s lifespan, reducing the need for repairs or replacements.
- Following safety precautions, using the right tools, and thorough cleaning of the cover, blades, and housing ensures a well-functioning exhaust fan for improved air quality.
Read more: How To Fix Bathroom Exhaust Fan
Safety Precautions
Before you begin cleaning your bathroom exhaust fan, it is important to take certain safety precautions to protect yourself and avoid any accidents. Here are some essential safety measures to keep in mind:
- Turn off the power: Before you start working on your exhaust fan, make sure to turn off the power to prevent any electrical hazards. Locate the circuit breaker or switch that controls the fan and turn it off. Double-check that the power is indeed off by trying to turn on the fan.
- Use appropriate safety gear: Always wear safety goggles and gloves to protect yourself from dust, debris, and any cleaning chemicals you may be using during the cleaning process. Additionally, consider wearing a mask to avoid inhaling any particles.
- Be mindful of your surroundings: Work in a well-lit area and ensure that you have enough space to move around comfortably. Avoid overcrowding the area and remove any obstacles that may hinder your access to the exhaust fan.
- Secure the ladder: If your exhaust fan is mounted on the ceiling, you may need to use a ladder to reach it. Make sure the ladder is stable and securely positioned before climbing. Have someone assist you if needed.
- Know your limitations: If you are uncomfortable working at heights or dealing with electrical components, it is advisable to seek professional help. Don’t hesitate to contact a licensed electrician or a qualified professional if you are uncertain about any aspect of cleaning your exhaust fan.
By adhering to these safety precautions, you can minimize the risks associated with cleaning your bathroom exhaust fan and ensure a safe and successful cleaning experience.
Tools and Materials Needed
Before you begin cleaning your bathroom exhaust fan, gather the following tools and materials:
- Screwdriver: You will need a screwdriver – either a Phillips or flathead, depending on the type of screws used to secure the fan cover.
- Soft-bristle brush: A soft-bristle brush, such as a paintbrush or a toothbrush, will help you remove dust and debris from the fan blades and housing.
- Vacuum cleaner or dusting cloth: A vacuum cleaner with a brush attachment or a dusting cloth can be used to clean the cover and remove any loose particles.
- Mild cleaning solution: Prepare a solution of mild dish soap or a mixture of water and vinegar to clean the fan cover, blades, and housing.
- Clean cloth or sponge: You will need a clean cloth or sponge to dampen with the cleaning solution and wipe down the various components of the exhaust fan.
- Step ladder: If your exhaust fan is mounted on the ceiling, a step ladder will come in handy. Ensure it is stable and secure before standing on it.
- Dust mask: Wear a dust mask to protect yourself from inhaling dust particles and allergens while cleaning.
- Safety goggles and gloves: Protect your eyes and hands by wearing safety goggles and gloves throughout the cleaning process.
It’s a good idea to gather all the necessary tools and materials before you start cleaning, as this will streamline the process and prevent any unnecessary interruptions.
Step 1: Turn Off the Power
Before you begin cleaning your bathroom exhaust fan, the first and most important step is to turn off the power to the fan. This is crucial to ensure your safety and prevent any accidents. Here’s how to turn off the power:
- Locate the circuit breaker or switch that controls the power to the exhaust fan. It is usually labeled on the breaker panel or switchboard.
- Flip the switch or turn off the breaker to cut off the power supply. To be certain, try turning on the fan switch or pulling the fan chain to verify that the power is indeed off.
- For added safety, consider using a voltage tester to check if there is any residual power running to the fan. The voltage tester will indicate whether there is any electricity present.
By following these steps, you can ensure that the power to the exhaust fan is completely turned off, minimizing the risk of electric shock while performing the cleaning process.
Note: If you are unsure about which circuit breaker or switch controls the fan, or if you are uncomfortable working with electrical components, it is recommended to consult a licensed electrician for assistance.
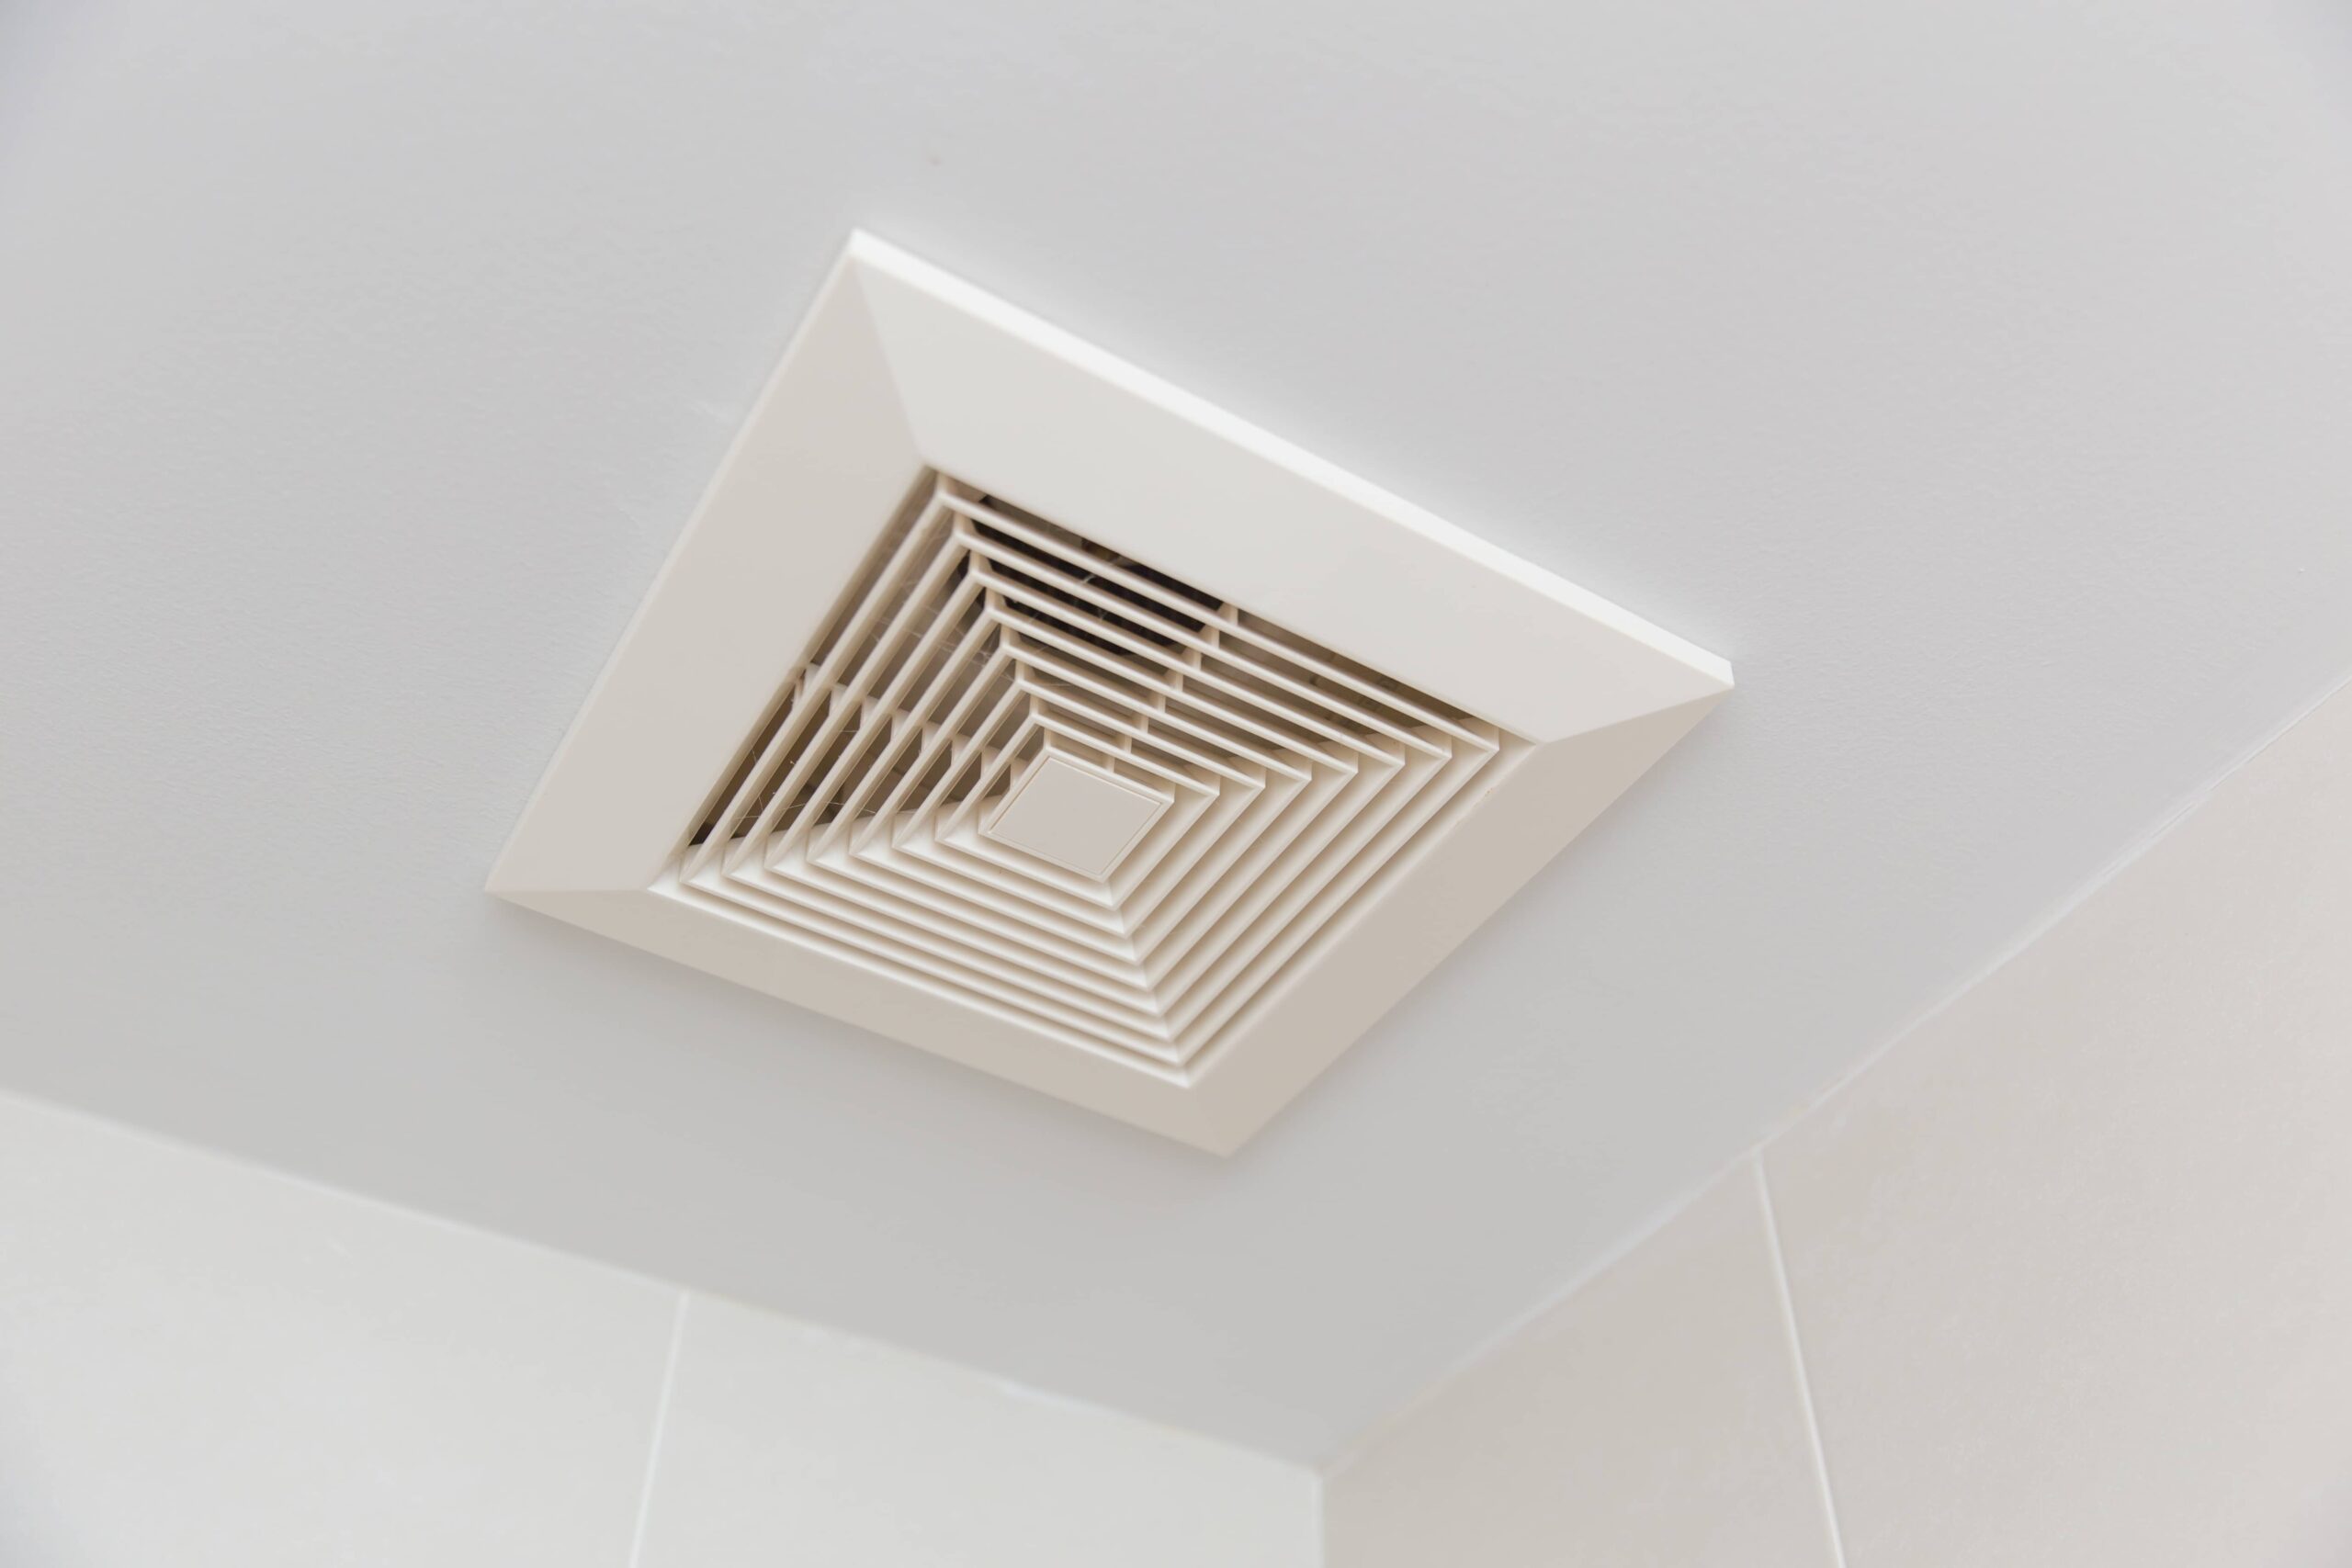
Step 2: Remove the Cover
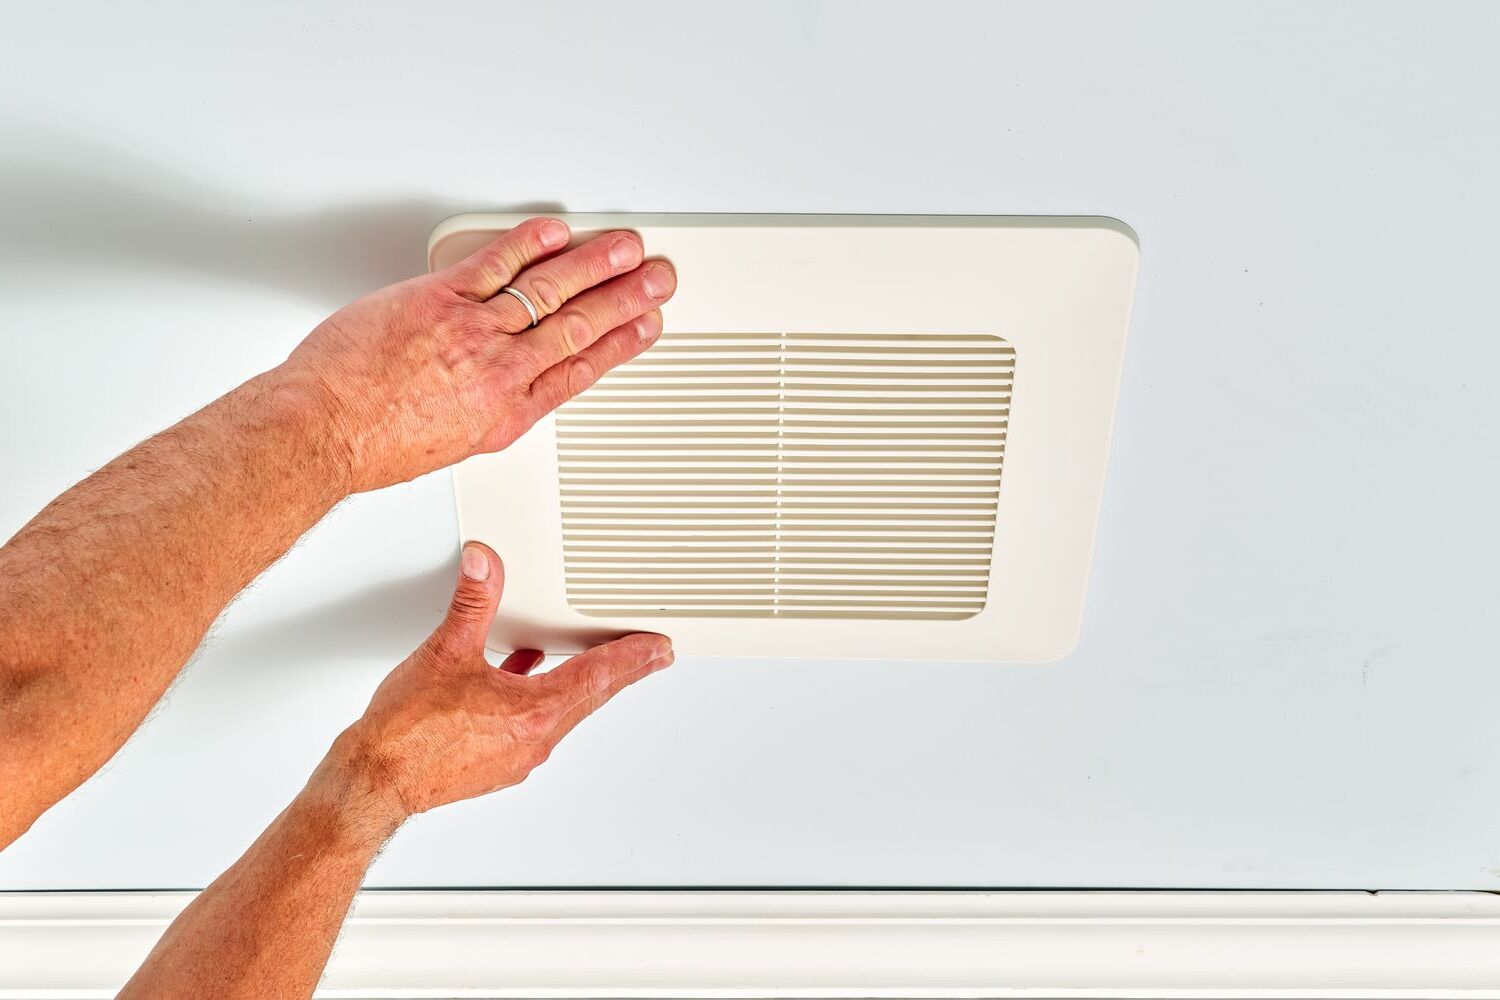
Once you have turned off the power to the bathroom exhaust fan, it’s time to remove the cover. The cover is usually held in place by screws or clips. Follow these steps to safely remove the cover:
- Inspect the cover to identify the attachment method. Most covers are secured with screws, often located on the sides or corners. Alternatively, some covers may have clips or tabs that need to be pressed or released to detach them.
- Using a screwdriver, carefully unscrew the screws securing the cover. If there are clips or tabs, release them by gently pressing or pulling them away from the fan housing.
- Once all the screws or clips have been removed, gently pull the cover down and away from the fan housing. Be cautious not to pull too hard or apply excessive force to avoid damaging the cover or the fan itself.
- Set the cover aside in a safe place. You may want to wipe it down with a damp cloth or use a vacuum cleaner with a brush attachment to remove any dust or debris.
Removing the cover allows you access to the fan blades and the interior of the exhaust fan, making it easier to clean them thoroughly. Keep in mind that covers may vary in design, so refer to the manufacturer’s instructions if you encounter any difficulties while removing the cover.
Now that you have successfully removed the cover, you’re ready to proceed to the next step in cleaning your bathroom exhaust fan.
Read more: What Is An Exhaust Fan
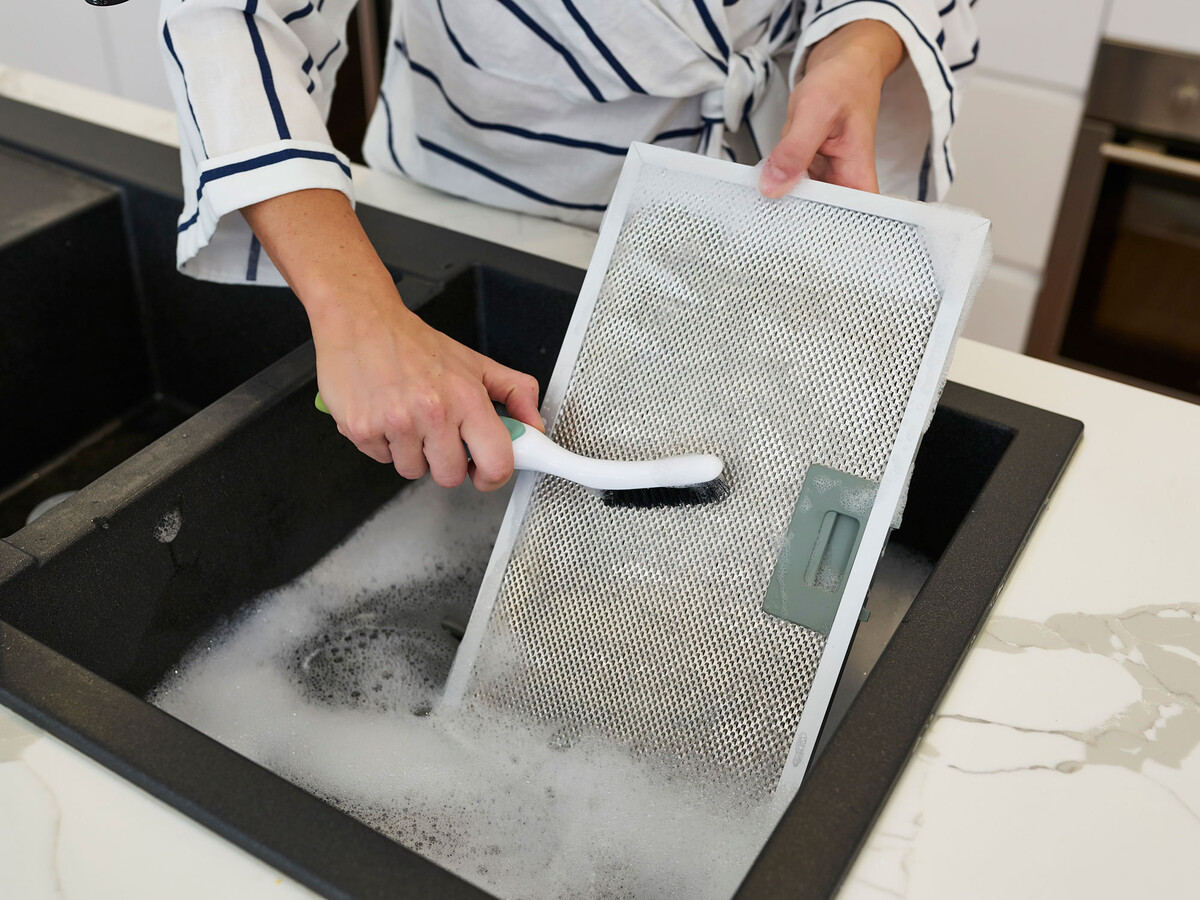
Step 3: Clean the Cover
Now that you have removed the cover of your bathroom exhaust fan, it’s time to clean it. The cover can accumulate dust, dirt, and grime over time. Follow these steps to effectively clean the cover:
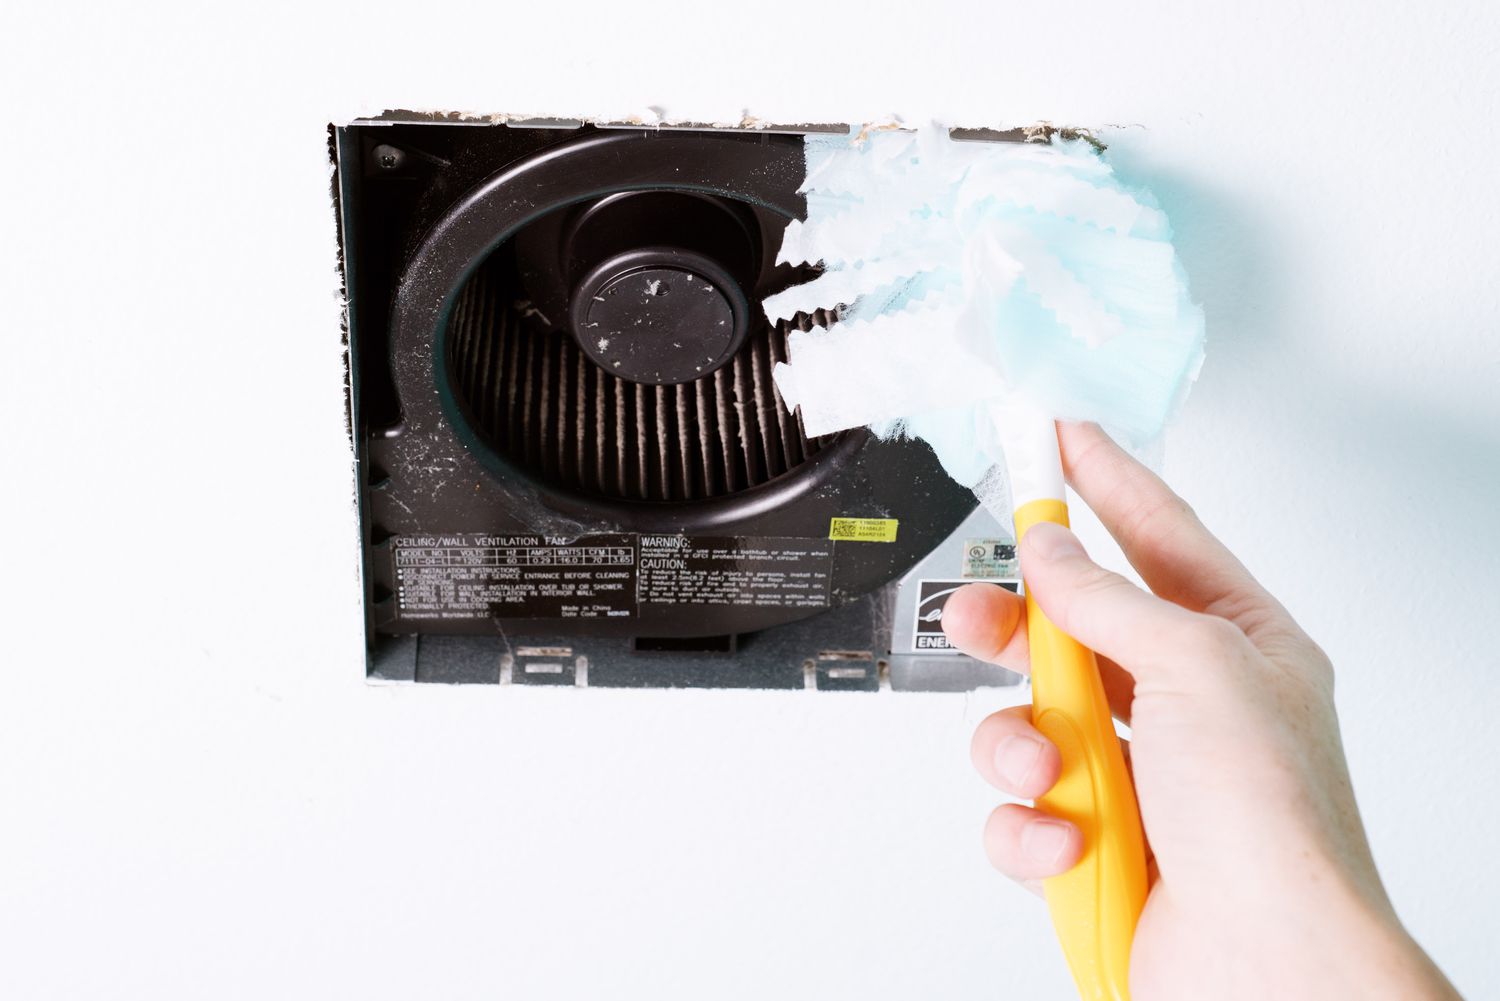
- Start by inspecting the cover for any visible debris or buildup. Use a vacuum cleaner with a brush attachment or a soft cloth to gently remove any loose dust or dirt.
- Prepare a cleaning solution by mixing a mild dish soap or a vinegar and water solution in a small bucket or basin.
- Dampen a clean cloth or sponge in the cleaning solution, making sure it is not dripping wet.
- Gently wipe down the entire surface of the cover, paying special attention to any stubborn stains or grime. Use circular motions and apply moderate pressure to effectively remove dirt and residue.
- For hard-to-reach areas or intricate patterns on the cover, use a soft-bristle brush, such as a toothbrush, to scrub away any buildup.
- Rinse the cover with clean water to remove any residue from the cleaning solution.
- Before reinstalling the cover, ensure it is completely dry. You can let it air dry or use a soft cloth to gently pat it dry.
- Once the cover is dry, you can reinstall it by aligning it with the fan housing and securing it with the screws or clips you removed earlier. Tighten the screws firmly but avoid overtightening to prevent damage.
Cleaning the cover not only improves its appearance but also allows for better airflow and functionality of the exhaust fan. Make sure the cover is completely dry before putting it back in place to prevent any moisture-related issues.
Now that you have cleaned the cover, you can move on to the next steps to clean the fan blades and the housing of your bathroom exhaust fan.
Use a vacuum with a brush attachment to remove dust and debris from the exhaust fan. Then, wipe down the fan blades and cover with a damp cloth and mild cleaner. Be sure to turn off the power before cleaning.
Step 4: Remove the Fan Blades
After cleaning the cover, it’s time to move on to cleaning the fan blades of your bathroom exhaust fan. Dust and debris can collect on the blades, affecting their performance and efficiency. Follow these steps to safely remove the fan blades:
- Locate the screws that secure the fan blades to the fan motor. Depending on the design of your exhaust fan, there may be one or multiple screws holding the blades in place.
- Using a screwdriver, carefully unscrew the screws that attach the blades to the motor. Make sure to hold onto the blades as you remove the screws to prevent them from falling.
- Gently slide the fan blades out of the motor shaft. Be cautious not to apply excessive force or drop the blades, as this could cause damage.
- Place the fan blades on a flat surface covered with a cloth or towel to protect them from scratches or other damage.
- Inspect the blades for any visible dirt, dust, or debris. Use a soft brush or cloth to gently remove any loose particles. For stubborn stains or buildup, you can dampen the cloth or brush with a mild cleaning solution and gently scrub the blades.
- Once you have cleaned the fan blades, rinse them with clean water to remove any residue from the cleaning solution. Make sure to thoroughly dry the blades before reinstalling them.
Removing the fan blades allows for a more thorough cleaning and helps maintain the performance of your bathroom exhaust fan. Take your time to clean the blades carefully, ensuring they are completely dry before reassembling them.
Now that you have successfully removed and cleaned the fan blades, let’s move on to the next step in the cleaning process: cleaning the housing of the exhaust fan.
Step 5: Clean the Blades
With the fan blades removed, you can now focus on cleaning them to ensure optimal performance of your bathroom exhaust fan. Dust and dirt can accumulate on the blades, hindering their ability to effectively move air and circulate it throughout the room. Follow these steps to clean the fan blades:
- Prepare a mild cleaning solution by mixing a small amount of dish soap or a vinegar and water solution in a bucket or basin.
- Dampen a soft cloth or sponge in the cleaning solution. Ensure that it is not soaking wet, as excess moisture can damage the fan blades.
- Starting from the center of the fan blade, gently wipe the entire surface with the damp cloth or sponge. Use circular or back-and-forth motions to effectively remove any dirt or grime.
- If the fan blades have stubborn stains or greasy residue, you can use a soft-bristle brush, such as a toothbrush, to scrub them more thoroughly. Dip the brush in the cleaning solution and gently scrub the blades.
- Rinse the fan blades with clean water to remove any remaining cleaning solution or residue.
- Thoroughly dry the blades with a clean, dry cloth before reassembling them back onto the fan motor. Ensure there is no moisture left on the blades to prevent the growth of mold or mildew.
- Inspect the blades one more time to ensure they are clean and free of any dirt or debris. If needed, repeat the cleaning process until the blades are spotless.
Cleaning the fan blades not only improves the efficiency of your bathroom exhaust fan but also helps maintain the air quality in your bathroom. Make sure the blades are completely dry before reattaching them to the fan motor.
Now that you have successfully cleaned the fan blades, it’s time to move on to the next step: cleaning the housing of your bathroom exhaust fan.
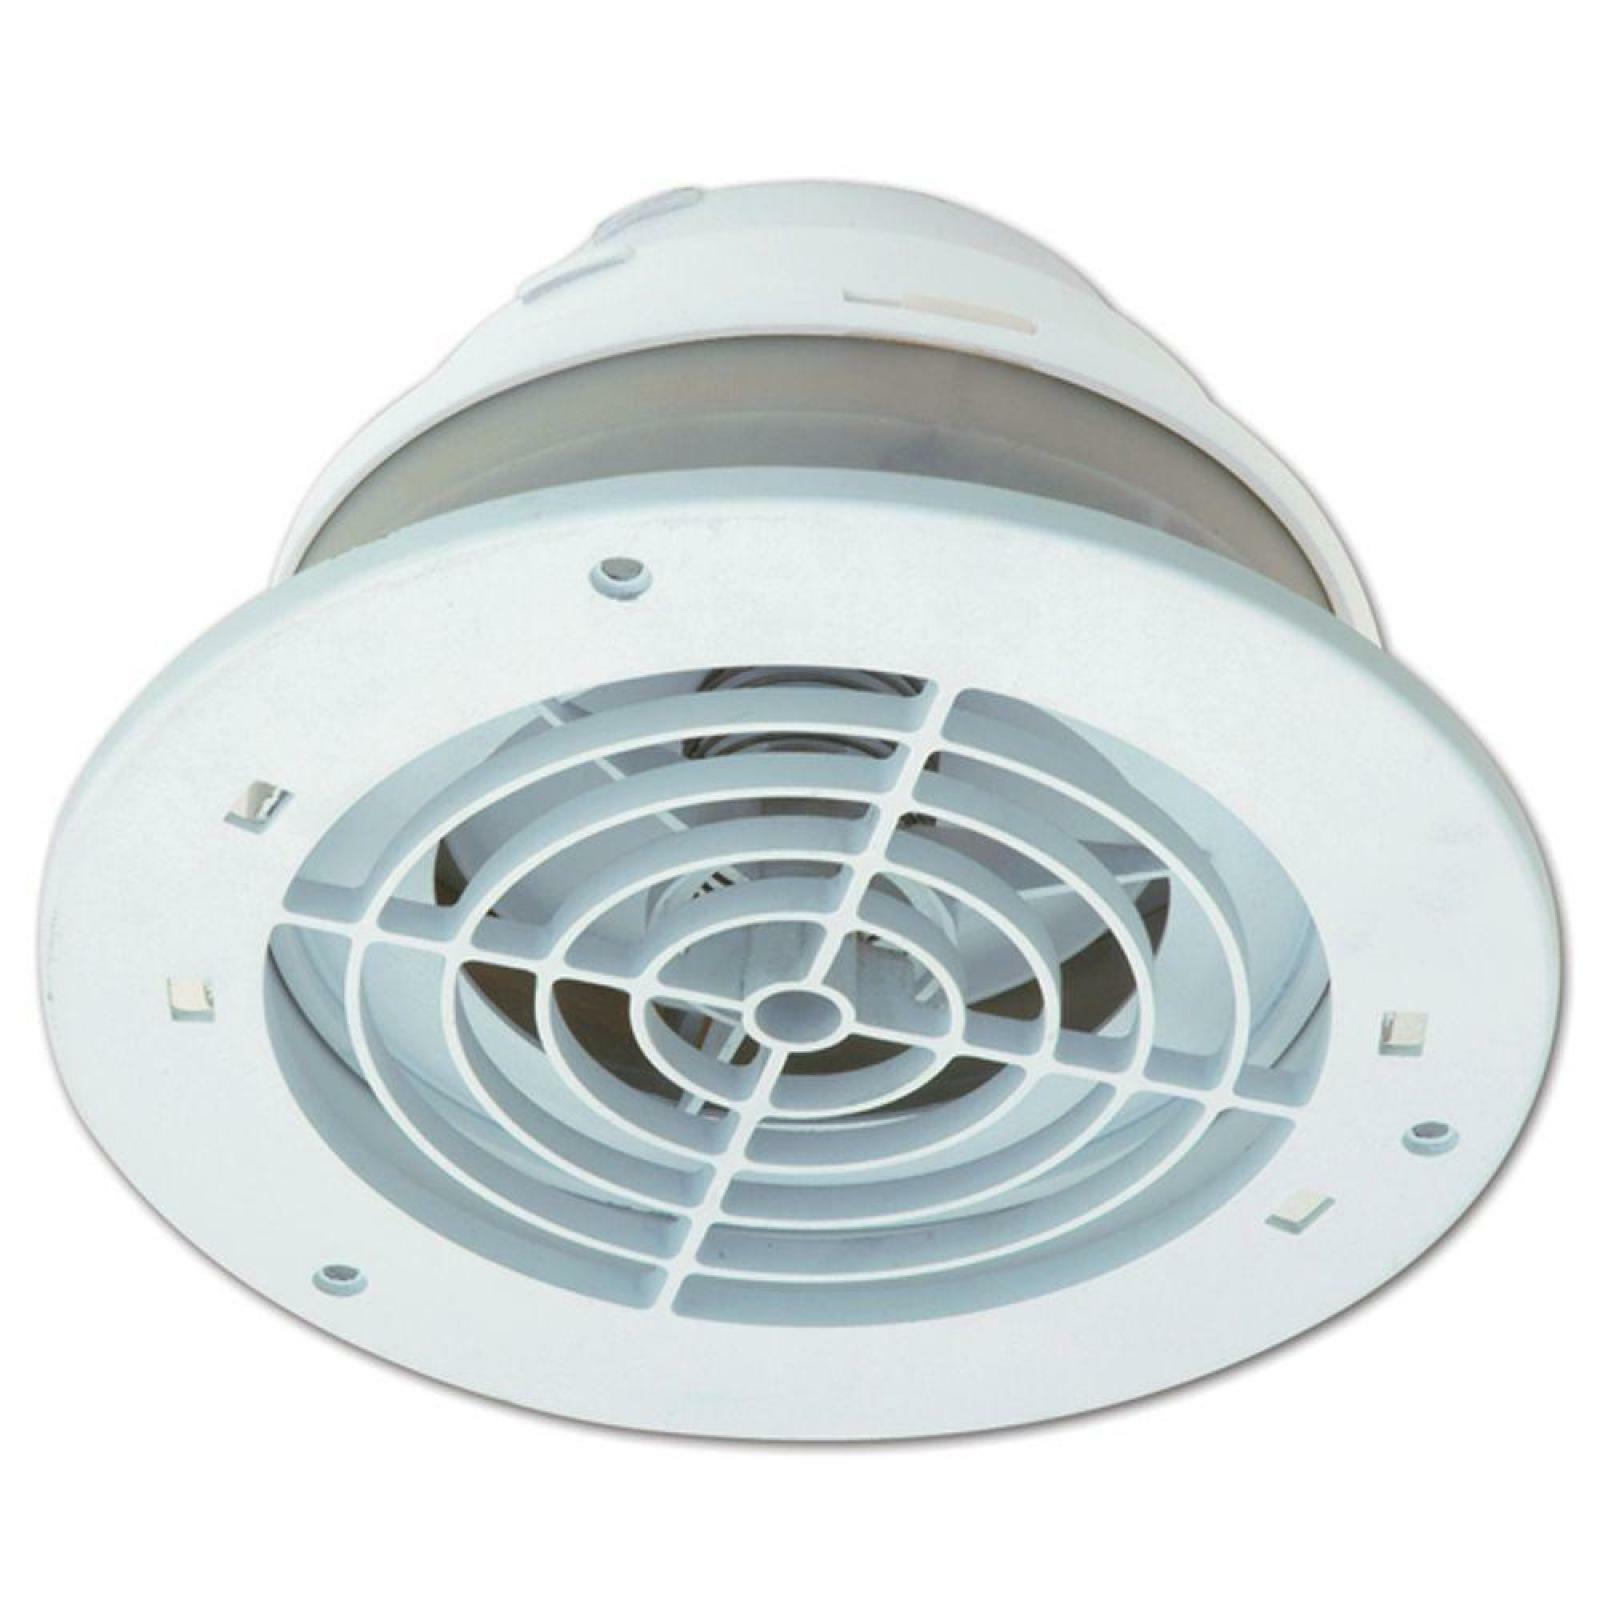
Step 6: Clean the Housing
After cleaning the fan blades, it’s important to clean the housing of your bathroom exhaust fan. Dust, dirt, and grime can accumulate inside the housing, affecting the overall performance and efficiency of the fan. Follow these steps to clean the housing:
- Start by inspecting the interior of the fan housing for any visible dirt or debris. Use a soft-bristle brush or a vacuum cleaner with a brush attachment to gently remove loose particles.
- If there is a significant amount of dust or buildup inside the housing, you can use a mild cleaning solution to more effectively clean the surfaces. Dip a soft cloth or sponge into the cleaning solution and wring out any excess liquid.
- Gently wipe down the interior surfaces of the housing, paying attention to areas that are prone to dirt accumulation. Use circular or back-and-forth motions to remove any grime or residue.
- For hard-to-reach areas or crevices, use a soft-bristle brush to scrub away any stubborn dirt or dust. Be careful not to apply too much pressure, as this could damage the fan or other components.
- Rinse the housing with clean water to remove any remaining cleaning solution or residue.
- Thoroughly dry the housing using a clean, dry cloth. Ensure that there is no moisture left inside the housing to prevent the growth of mold or mildew.
- Once the housing is dry, you can reattach the fan blades and secure them with the screws or clips.
Cleaning the housing of your bathroom exhaust fan ensures the removal of accumulated dust and debris, promoting better airflow and functionality. It also helps to maintain a clean and hygienic environment in your bathroom.
Now that you have successfully cleaned the housing, it’s time to move on to the next step: reassembling the exhaust fan.
Read more: How To Clean A Kitchen Exhaust Fan
Step 7: Reassemble the Exhaust Fan
After thoroughly cleaning the fan blades and housing, it’s time to reassemble your bathroom exhaust fan. Follow these steps to properly reassemble the fan:
- Take the cleaned fan blades and align them with the fan motor shaft. Gently slide the blades into place, making sure they are securely seated and properly aligned.
- Once the fan blades are in position, locate the screws or clips that were initially used to secure them.
- Carefully insert and tighten the screws or reattach the clips to firmly hold the blades in place. Be cautious not to overtighten the screws, as this can damage the fan or the blades.
- Inspect the fan blades and motor assembly to ensure everything is properly secured and aligned.
- Next, take the cleaned fan cover and position it over the fan housing. Ensure that you align any screw holes or tabs properly.
- If the cover is held in place with screws, use the screwdriver to insert and tighten the screws. If it has clips or tabs, press or snap them back into position.
- Confirm that the cover is securely fastened and flush with the fan housing.
- Double-check that all screws, clips, or tabs are properly tightened and nothing is loose.
By following these steps, you will successfully reassemble your bathroom exhaust fan. Take the time to ensure that all components are securely fastened to avoid any issues or noise during operation.
Now that you have reassembled the exhaust fan, it’s time for the final step: turning on the power and testing the fan’s functionality.
Step 8: Turn On the Power
After successfully reassembling your bathroom exhaust fan, it’s time to turn on the power and ensure that the fan is functioning properly. Follow these steps to safely turn on the power:
- Locate the circuit breaker or switch that controls the power to the bathroom exhaust fan.
- Flip the switch or turn on the breaker to restore power to the fan.
- Listen for the fan motor to start running and confirm that it is operating smoothly without any unusual noises or vibrations.
- Observe the movement of the fan blades to ensure that they are spinning freely and evenly.
- If you have a fan with multiple speed settings, test each setting to verify that they are functioning properly.
- While the fan is running, use your hand or a piece of tissue paper to check for proper airflow. Place your hand or the tissue paper in front of the fan to feel if the air is being properly expelled out of the vent.
- If everything is functioning as expected, you can consider the cleaning process complete.
- If you encounter any issues, such as unusual noises, vibrations, or poor airflow, double-check that all components are properly assembled. If the problem persists, it may be necessary to consult a professional to diagnose and resolve the issue.
By following these steps, you can ensure that your bathroom exhaust fan is working effectively and efficiently. Regularly testing the functionality of your fan will help you identify any potential issues and address them promptly.
Congratulations! You have successfully cleaned and reassembled your bathroom exhaust fan. By maintaining a clean fan, you can enjoy improved air quality and a more comfortable bathroom environment.
Remember to periodically clean your exhaust fan to prevent the buildup of dust and maintain its performance over time.
Conclusion
Cleaning the exhaust fan in your bathroom is an essential maintenance task that should not be overlooked. By regularly cleaning your bathroom exhaust fan, you can improve air quality, minimize odors, and ensure the efficient removal of moisture and humidity from the room. Additionally, keeping your exhaust fan clean prolongs its lifespan, reducing the need for repairs or replacements.
In this comprehensive guide, we have provided you with step-by-step instructions on how to clean your bathroom exhaust fan effectively. We covered important safety precautions to follow, listed the necessary tools and materials, and walked you through each stage of the cleaning process.
From turning off the power and removing the cover to cleaning the fan blades and housing, we emphasized the importance of thorough cleaning and proper reassembly. By following these steps, you can maintain a well-functioning exhaust fan that enhances the overall air quality and comfort of your bathroom.
Remember to take your time when cleaning the fan, being mindful of safety precautions and avoiding any excessive force that could damage the fan or its components. Regular cleaning of your bathroom exhaust fan will ensure that it operates efficiently and effectively for years to come.
Thank you for following this guide, and we hope that cleaning your bathroom exhaust fan becomes a regular part of your home maintenance routine. Enjoy fresh, clean air in your bathroom and a healthier living environment!
Frequently Asked Questions about How To Clean Exhaust Fan In Bathroom
Was this page helpful?
At Storables.com, we guarantee accurate and reliable information. Our content, validated by Expert Board Contributors, is crafted following stringent Editorial Policies. We're committed to providing you with well-researched, expert-backed insights for all your informational needs.


0 thoughts on “How To Clean Exhaust Fan In Bathroom”