Articles
How To Clean A Kitchen Exhaust Fan
Modified: October 19, 2024
Learn the best articles on how to clean a kitchen exhaust fan effectively. Get step-by-step instructions and expert tips for a sparkling clean kitchen.
(Many of the links in this article redirect to a specific reviewed product. Your purchase of these products through affiliate links helps to generate commission for Storables.com, at no extra cost. Learn more)
Introduction
Welcome to our comprehensive guide on how to clean a kitchen exhaust fan. Keeping your kitchen exhaust fan clean is essential for maintaining a healthy and functional kitchen environment. Over time, grease, dust, and debris can build up in the fan blades and housing, reducing the fan’s effectiveness and posing a potential fire hazard. Regular cleaning not only improves the efficiency of your exhaust fan but also helps to prevent unpleasant odors and improve indoor air quality.
Cleaning a kitchen exhaust fan may seem like a daunting task, but with the right tools and knowledge, it can be a simple and rewarding process. In this article, we will walk you through the step-by-step process of cleaning your kitchen exhaust fan, from turning off the power to reassembling and testing the fan. We will also provide you with some valuable tips for regular maintenance to keep your kitchen exhaust fan in optimal condition.
Before we dive into the cleaning process, let’s highlight the importance of keeping your kitchen exhaust fan clean.
Key Takeaways:
- Regularly cleaning your kitchen exhaust fan is crucial for improving air quality, preventing fire hazards, enhancing efficiency, reducing odors, and prolonging its lifespan. Follow the step-by-step guide and maintenance tips for a clean and efficient kitchen environment.
- Gather the necessary tools and materials, turn off the power, remove the fan cover, clean the fan blades, housing, and cover, reassemble and test the exhaust fan, and incorporate regular maintenance tasks to ensure a fresh and safe cooking environment. Happy cleaning!
Read more: How To Clean Exhaust Fan In Bathroom
Importance of Cleaning a Kitchen Exhaust Fan
Regularly cleaning your kitchen exhaust fan is crucial for several reasons. Let’s explore the importance of this maintenance task:
- Improves Air Quality: The primary function of a kitchen exhaust fan is to remove smoke, grease, and odors from the air. Over time, these pollutants can build up in the fan blades and housing, reducing the fan’s effectiveness. Cleaning the fan ensures that it can efficiently remove airborne particles, improving the overall air quality in your kitchen.
- Prevents Fire Hazards: Grease and oil can accumulate in the exhaust fan, which poses a significant fire hazard. A buildup of flammable substances can ignite when exposed to heat or sparks. Regular cleaning helps eliminate this risk, ensuring that your kitchen remains safe from potential fires.
- Enhances Efficiency: A clean exhaust fan operates at its full potential. When the fan is clogged with dirt and debris, it has to work harder to ventilate your kitchen. This not only puts a strain on the motor but also reduces its overall efficiency, leading to higher energy consumption. Cleaning your exhaust fan regularly ensures that it functions optimally, saving you money on energy bills.
- Reduces Odors: Cooking produces various odors that can linger in your kitchen. If the exhaust fan is dirty, it won’t be able to effectively remove these odors, resulting in a stale and unpleasant smell. Regular cleaning helps eliminate the buildup of cooking odors, keeping your kitchen fresh and odor-free.
- Prolongs the Lifespan: Kitchen exhaust fans are an investment, and regular maintenance is key to prolonging their lifespan. When the fan is dirty, the motor has to work harder, which can contribute to premature wear and tear. By cleaning the fan regularly, you can extend its lifespan and avoid costly repairs or replacements.
Now that we understand the importance of cleaning a kitchen exhaust fan, let’s move on to the tools and materials you will need for this task.
Tools and Materials Needed for Cleaning
Before you begin cleaning your kitchen exhaust fan, gather the necessary tools and materials to ensure a smooth and effective process. Here’s a list of items you’ll need:
- Screwdriver: A screwdriver will be required to remove the fan cover and access the fan blades and housing. Depending on the type of fan you have, you may need a Phillips or flathead screwdriver.
- Bucket or basin: You’ll need a bucket or basin to hold water and cleaning solution for washing the fan blades and other removable parts.
- All-purpose cleaner or degreaser: Choose an all-purpose cleaner or degreaser suitable for kitchen use. Look for a product that can effectively cut through grease and grime.
- Microfiber cloths: Microfiber cloths are ideal for cleaning the fan blades and housing. They are soft, lint-free, and highly absorbent, making them perfect for capturing dust, grease, and other debris.
- Old toothbrush: An old toothbrush can be used to scrub hard-to-reach areas and remove stubborn grime from the fan blades and housing.
- Warm water: Warm water will be necessary for rinsing and cleaning the fan blades and other removable parts.
- Protective gloves: It’s a good idea to wear protective gloves during the cleaning process to protect your hands from cleaning solutions and any sharp edges.
- Optional: Plastic drop cloth: To protect your kitchen surfaces from any drips or spills, you may want to lay down a plastic drop cloth underneath the fan before you begin cleaning.
Once you have gathered all the necessary tools and materials, you’re ready to start cleaning your kitchen exhaust fan. In the next section, we will guide you through the step-by-step process of cleaning the fan.
Step 1: Turn off the Power
Before you start cleaning your kitchen exhaust fan, it’s essential to ensure your safety by turning off the power. Follow these steps to do so:
- Locate the electrical panel in your home. This is typically found in the basement, utility room, or garage.
- Open the electrical panel door to access the circuit breakers.
- Look for the circuit breaker that controls the power to your kitchen exhaust fan. It is usually labeled “kitchen,” “ventilation,” or “exhaust fan.”
- Flip the switch associated with the fan to the “Off” position.
- Once the power is turned off, verify that the fan is not operational by trying to turn it on using the switch or by checking if the fan blades are spinning.
It’s crucial to ensure that the power is completely off before proceeding with the cleaning process to avoid any electrical accidents.
Once you have confirmed that the power is off, you can move on to the next step: removing the fan cover. This will grant you access to the fan blades and housing for thorough cleaning. Proceed to the next section for the step-by-step guide.
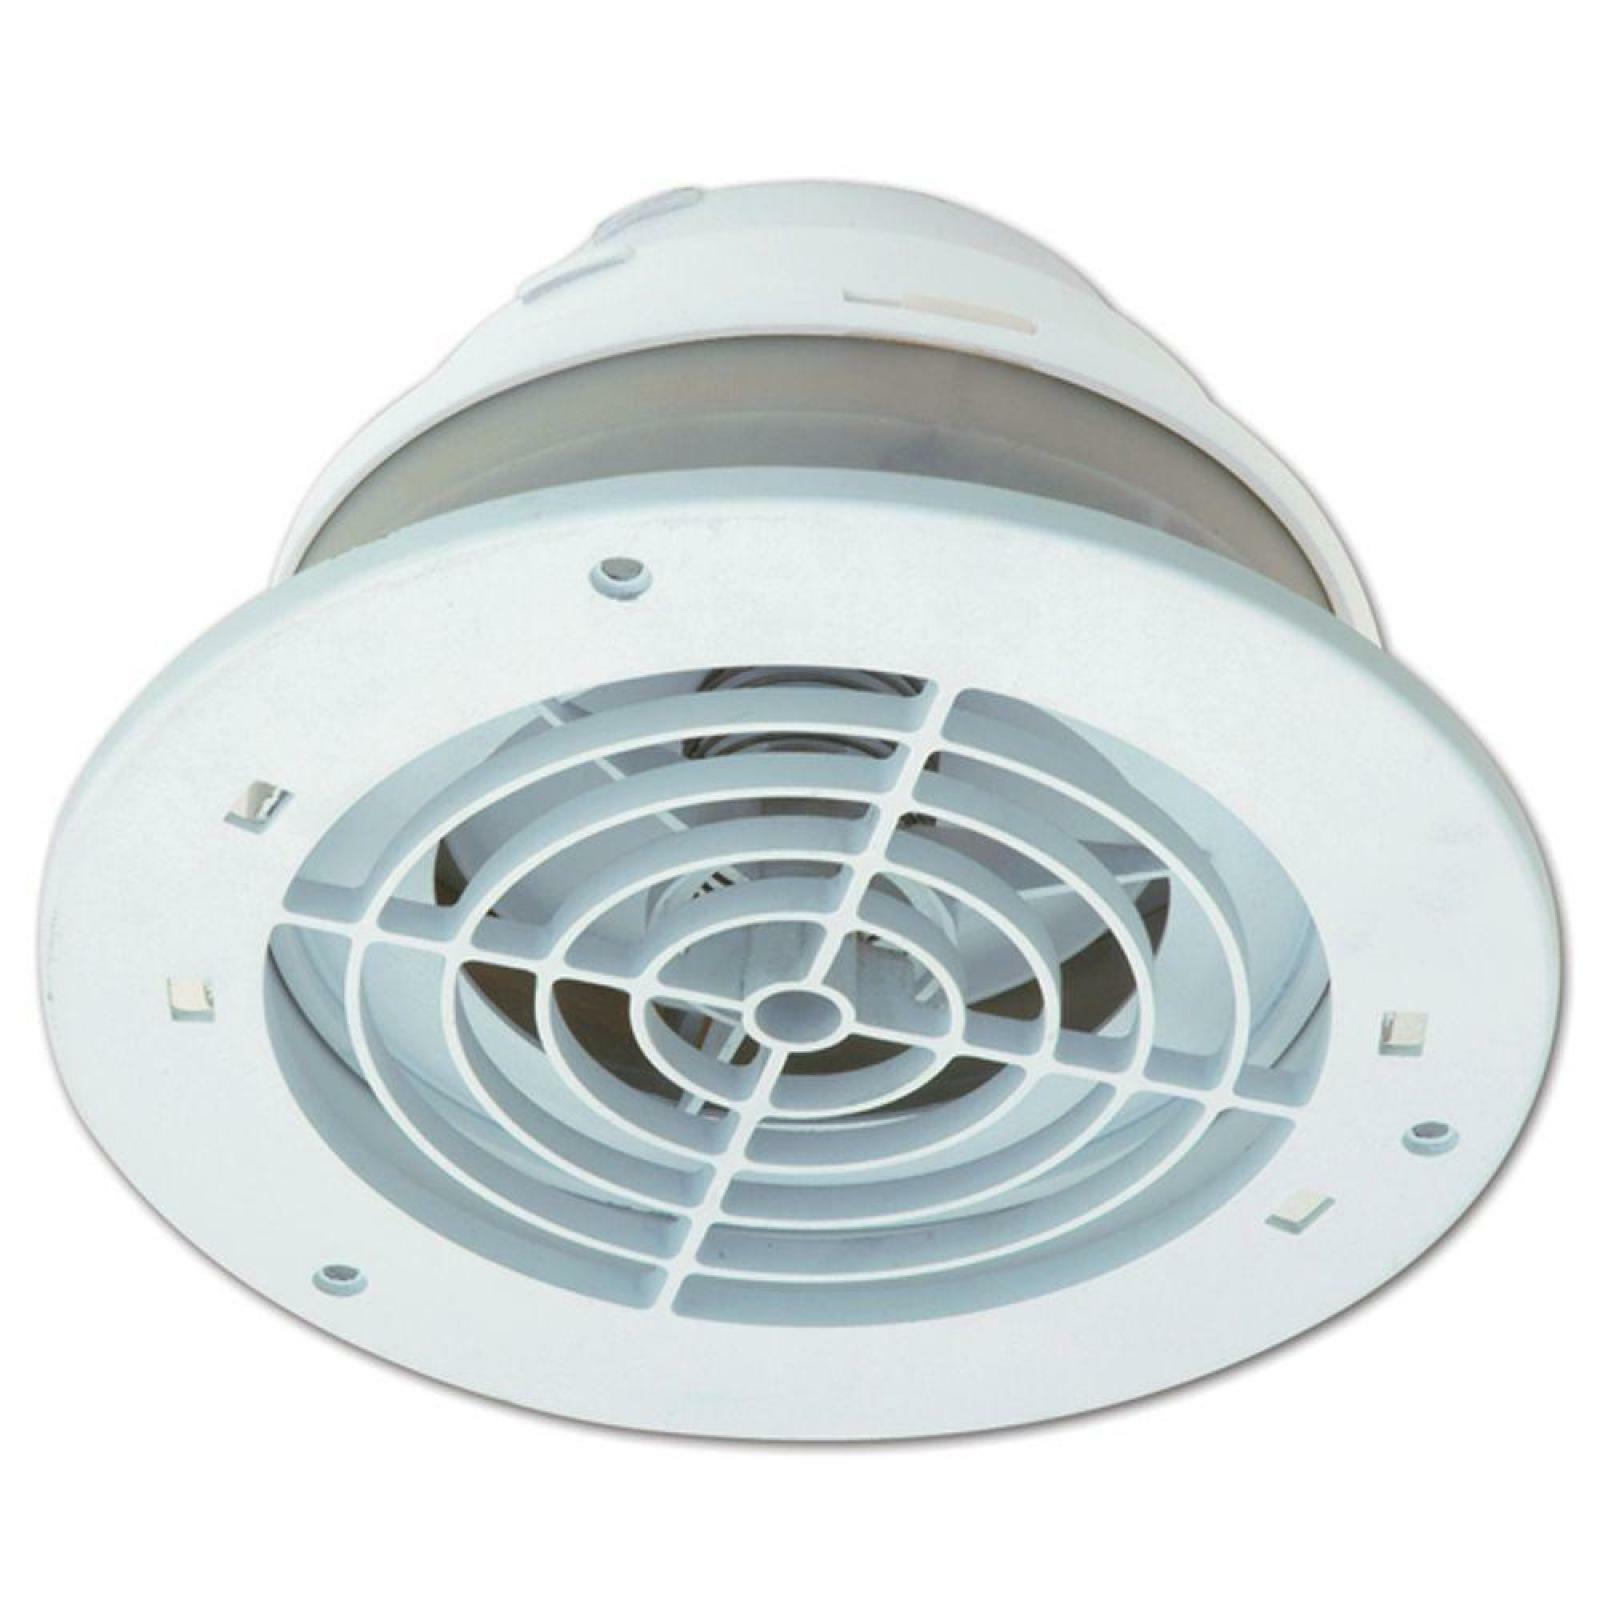
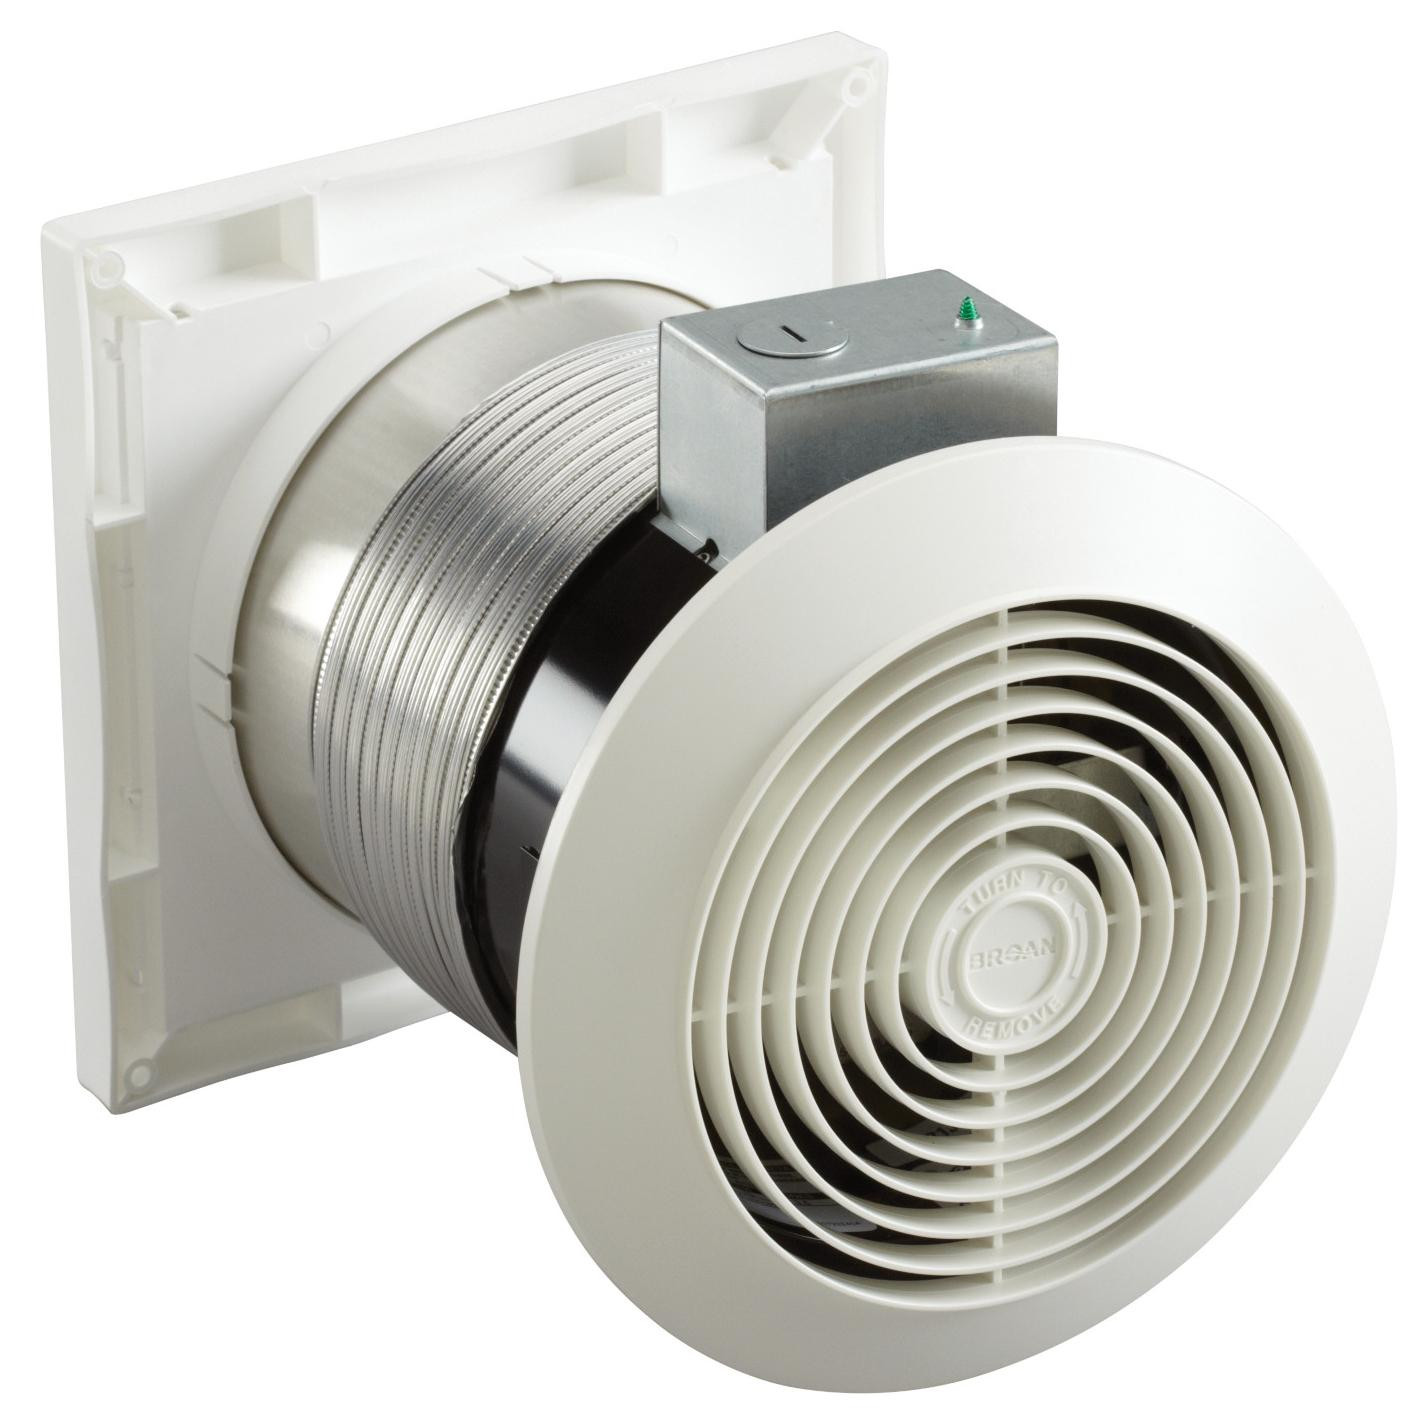
Step 2: Remove the Fan Cover
With the power turned off, it’s time to remove the fan cover to access the fan blades and housing. Follow these steps:
- Locate the screws or clips that secure the fan cover in place. These are typically located on the sides or corners of the cover.
- Using a screwdriver or your fingers, carefully remove the screws or unfasten the clips.
- Set the screws or clips aside in a safe location so you don’t misplace them.
- Gently lift or slide the fan cover off the fan housing. Be cautious not to damage the cover or the surrounding area.
Once you have removed the fan cover, you will have a clear view of the fan blades and housing, which will require cleaning. Proceed to the next step for guidance on cleaning the fan blades.
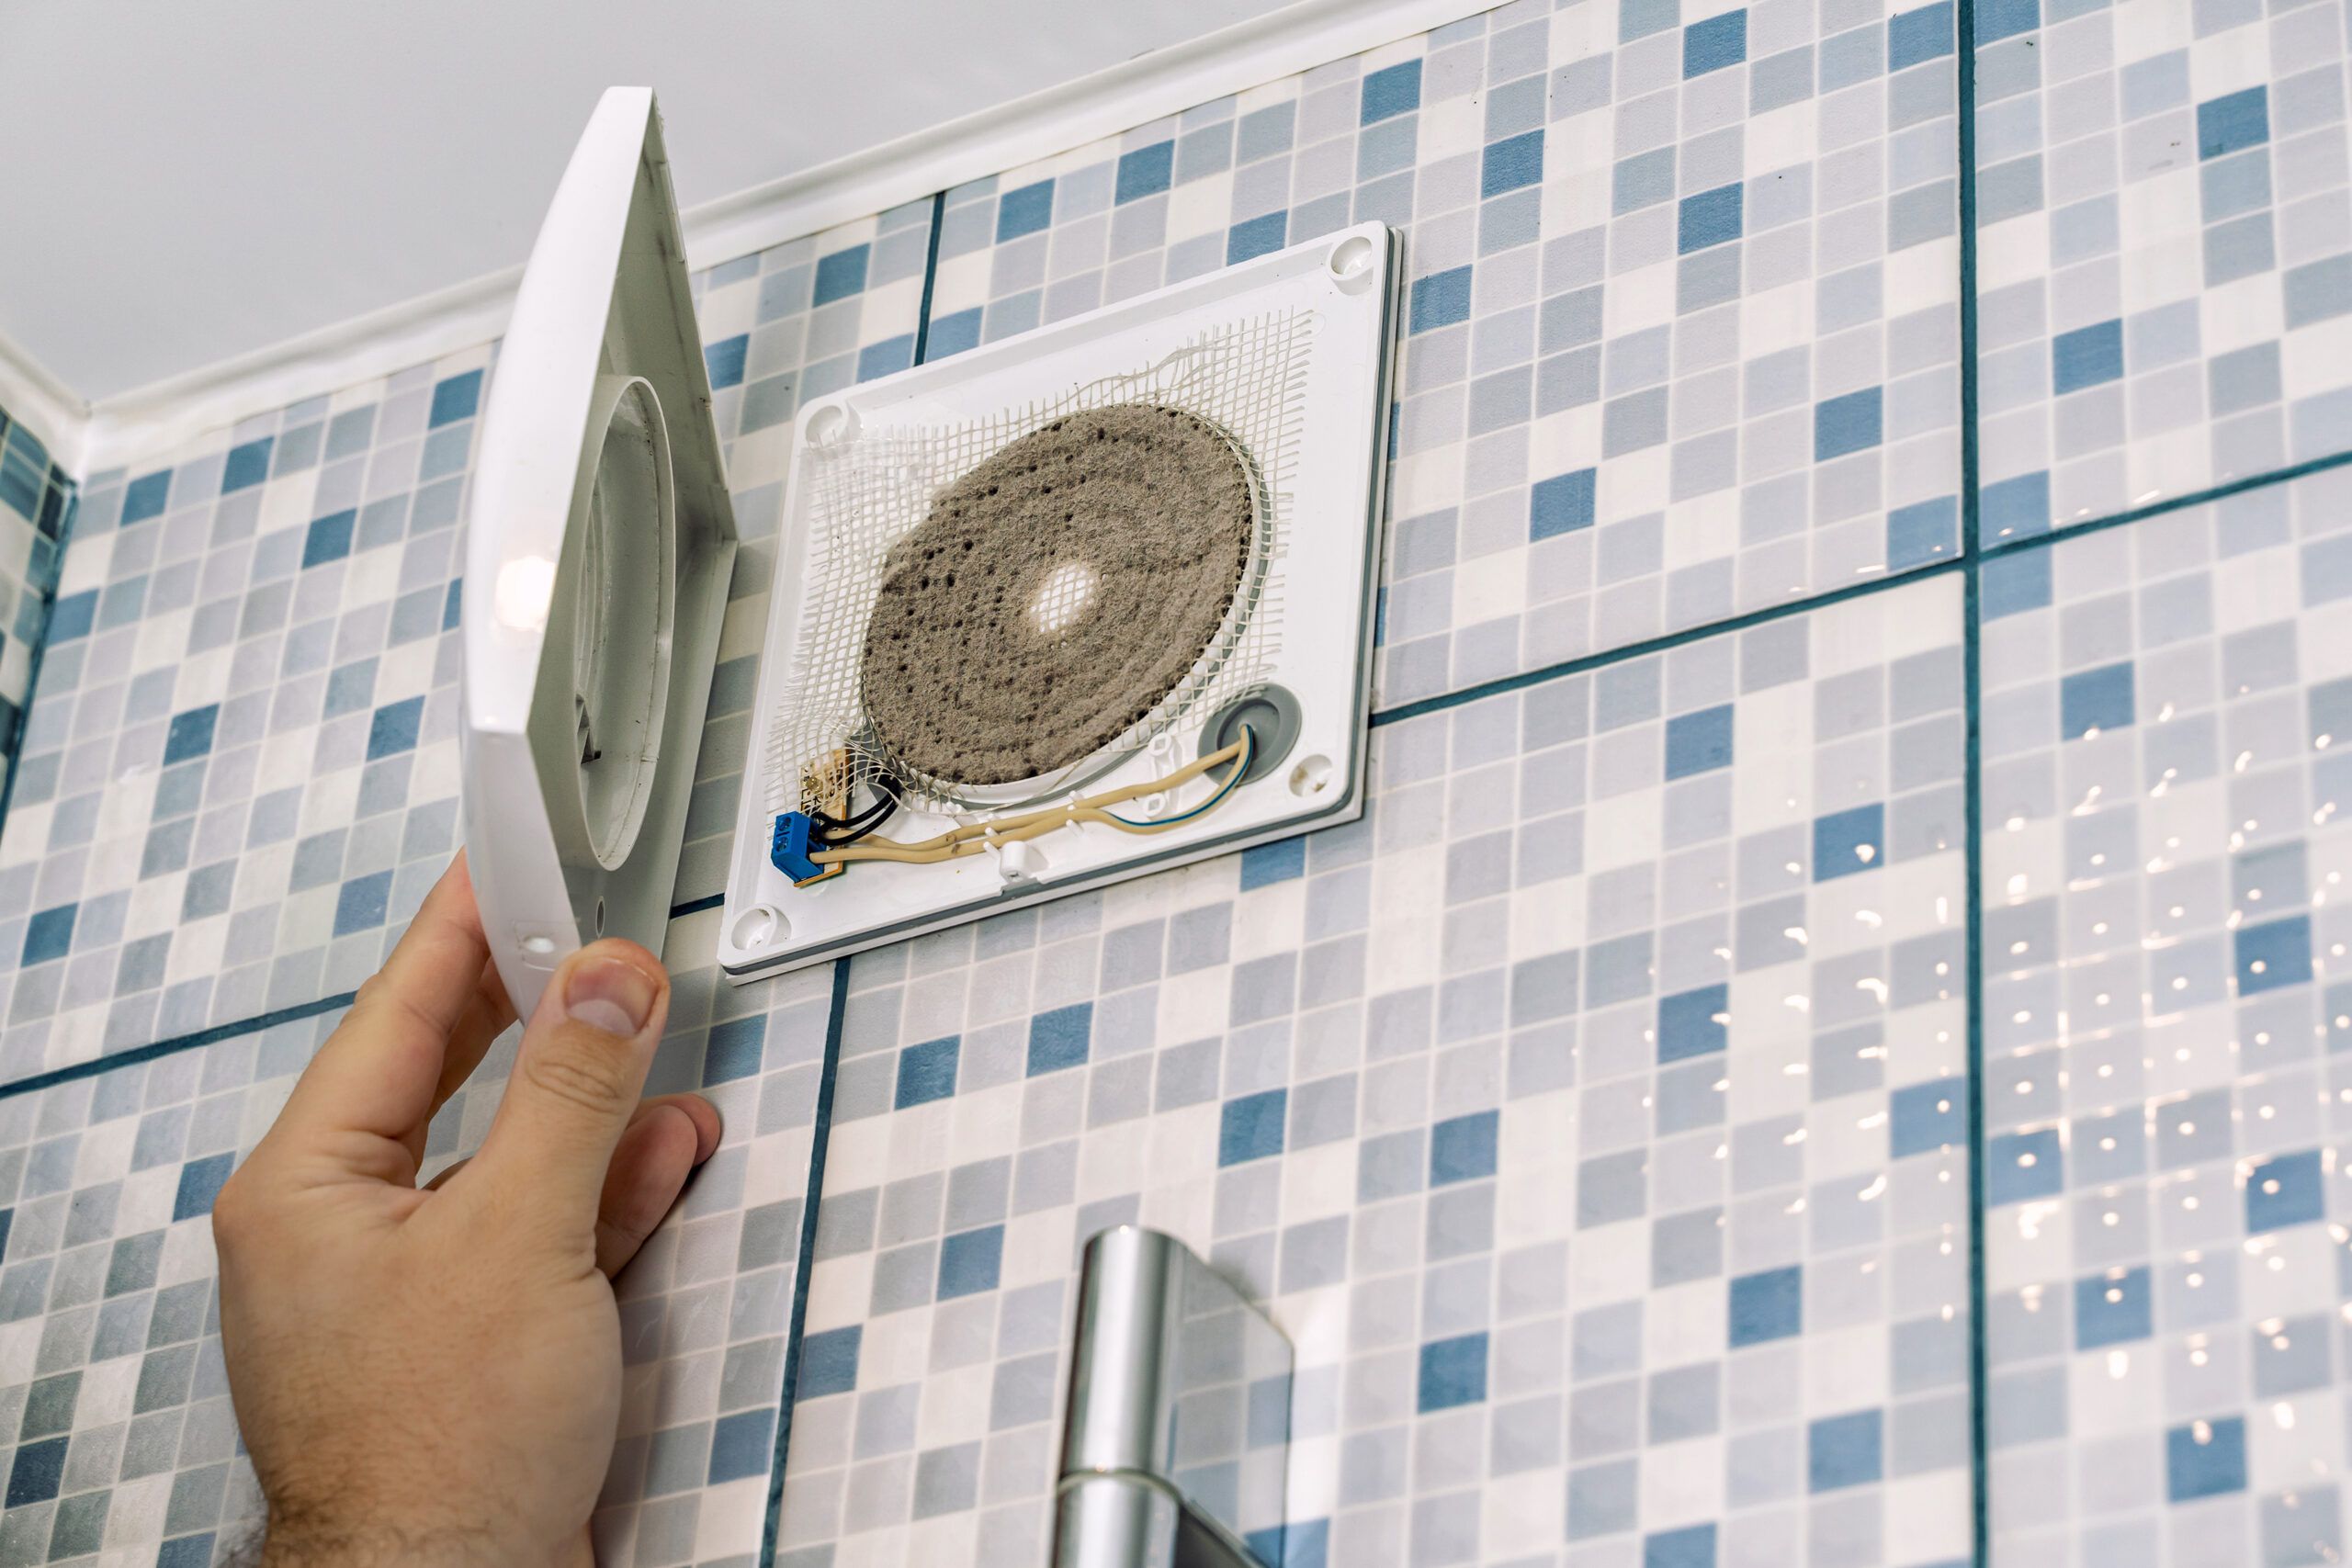
Note: Some kitchen exhaust fans may have a removable filter in addition to the fan cover. If your fan has a filter, remove it following the manufacturer’s instructions and clean it separately.
Read more: How To Install An Exhaust Fan
Step 3: Clean the Fan Blades
Now that you have removed the fan cover, it’s time to clean the fan blades. Follow these steps:
- Prepare a mixture of warm water and an all-purpose cleaner or degreaser in a bucket or basin. Follow the instructions on the cleaner for the appropriate dilution ratio.
- Dip a microfiber cloth or sponge into the cleaning solution, ensuring it is damp but not dripping.
- Gently wipe down each fan blade, removing any accumulated grease, dust, and debris. Start from the base of the blade and work your way outward. Take care not to bend or damage the blades.
- If the fan blades are particularly dirty, you may need to use an old toothbrush or a soft-bristled brush to scrub away stubborn grime. Dip the toothbrush into the cleaning solution and gently scrub the blades in a circular motion.
- Repeat the process until all fan blades are clean and free from dirt and grime. It may be necessary to rinse and wring out the cloth or sponge multiple times during this step.
- Once the fan blades are clean, use a fresh microfiber cloth or sponge dampened with clean water to rinse off any residue or cleaning solution.
- Dry the fan blades thoroughly with a clean, dry cloth to prevent water spots or damage.
Now that the fan blades are clean, you can move on to the next step: cleaning the fan housing. We will guide you through that process in the following step.
Regularly remove and clean the grease filter of your kitchen exhaust fan to ensure proper ventilation and prevent the build-up of grease and grime.
Step 4: Clean the Fan Housing
With the fan blades cleaned, it’s time to turn your attention to the fan housing. Follow these steps to clean the fan housing:
- Dampen a microfiber cloth or sponge with the cleaning solution you prepared earlier.
- Gently wipe down the interior and exterior surfaces of the fan housing, removing any grease, dust, and debris. Pay special attention to areas where dirt tends to accumulate, such as corners and edges.
- If there are any stubborn stains or stuck-on grime, use an old toothbrush or a soft-bristled brush to scrub the affected areas. Dip the toothbrush into the cleaning solution and scrub in a circular motion.
- Once the fan housing is clean, use a fresh microfiber cloth or sponge dampened with clean water to rinse off any residue or cleaning solution.
- Dry the fan housing thoroughly with a clean, dry cloth.
Cleaning the fan housing will help ensure that the exhaust fan functions effectively by allowing proper air circulation. With the fan housing clean, proceed to the next step: cleaning the fan cover.
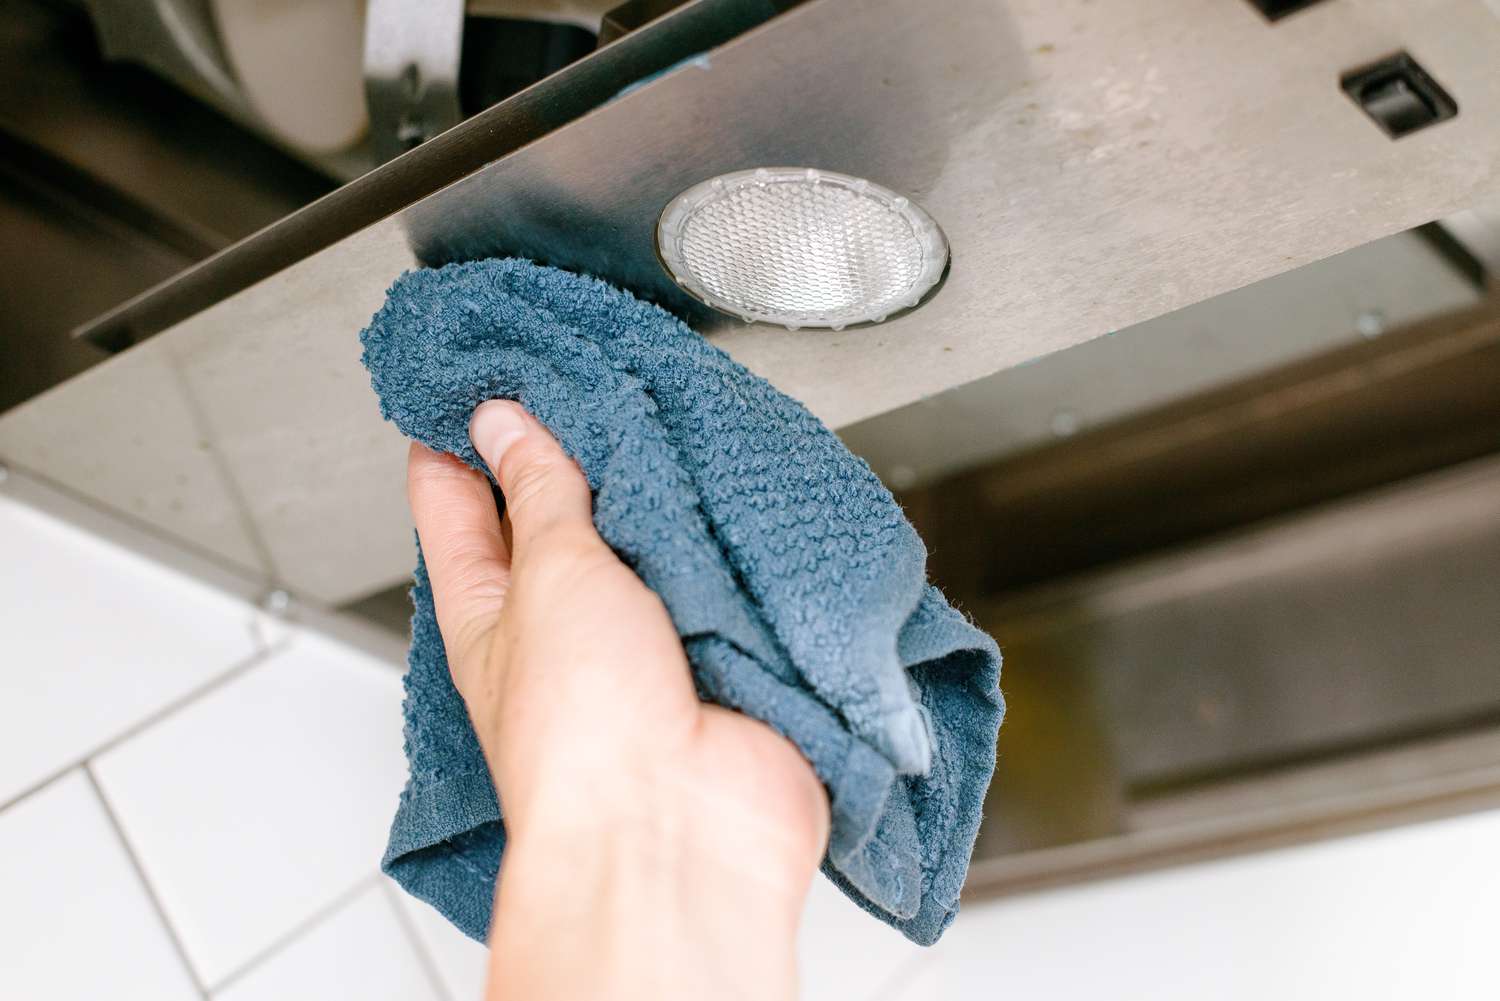
Step 5: Clean the Fan Cover
Now that you’ve cleaned the fan blades and housing, it’s time to focus on cleaning the fan cover. Follow these steps:
- Prepare a mixture of warm water and an all-purpose cleaner or degreaser in a bucket or basin. Follow the instructions on the cleaner for the appropriate dilution ratio.
- Submerge the fan cover in the cleaning solution, ensuring it is fully immersed.
- Allow the fan cover to soak for a few minutes to loosen any grease and grime.
- Using a microfiber cloth or sponge, scrub the fan cover to remove any remaining dirt and grease. Pay attention to the corners and edges, as these areas often collect the most debris.
- If there are any stubborn stains or hard-to-reach areas, use an old toothbrush or a soft-bristled brush to scrub them gently.
- Once the fan cover is clean, rinse it thoroughly with clean water to remove any remaining residue or cleaning solution.
- Dry the fan cover completely with a clean, dry cloth before reassembling it with the fan housing.
Cleaning the fan cover is essential as it helps maintain proper airflow and prevents the accumulation of dirt and debris. With the fan cover cleaned, you’re ready to move on to the next step: reassembling and testing the exhaust fan.
Step 6: Reassemble and Test the Exhaust Fan
After thoroughly cleaning the fan blades, housing, and cover, it’s time to reassemble the exhaust fan. Follow these steps:
- Retrieve the fan cover and align it with the fan housing. Make sure it fits snugly in place.
- Insert and tighten the screws or fasten the clips to secure the fan cover. Double-check that it is securely attached.
- If your fan has a removable filter, clean it according to the manufacturer’s instructions, ensure it is completely dry, and reinstall it in the appropriate slot.
- Once the fan cover and filter are back in place, restore power to the exhaust fan by reversing the steps you took during Step 1. Return to the electrical panel and flip the associated circuit breaker to the “On” position.
- Turn on the exhaust fan and listen for any unusual sounds or vibrations. This step is crucial to ensure that the fan is operating smoothly and efficiently. If you notice any issues, turn off the fan immediately and seek professional assistance if necessary.
- Observe the airflow of the exhaust fan to ensure it is functioning properly. If the airflow seems insufficient, check for any obstructions in the ductwork and clean them if necessary.
- Finally, take a moment to admire your clean and fully functional kitchen exhaust fan!
Now that you have successfully reassembled and tested the exhaust fan, it’s important to keep up with regular maintenance to ensure its longevity and optimal performance. Let’s explore some tips for maintaining a clean and efficient kitchen exhaust fan.
Read more: How To Clean Stove Exhaust Fan Filters
Tips for Regular Maintenance
Performing regular maintenance on your kitchen exhaust fan will help keep it running smoothly and efficiently. Here are some tips to maintain a clean and functional exhaust fan:
- Clean the fan regularly: Set a schedule to clean the fan blades, housing, and cover at least once every few months. This will prevent the buildup of grease, dust, and debris, ensuring optimal airflow and performance.
- Wipe down the fan after each use: After cooking, take a moment to wipe down the fan blades and housing with a microfiber cloth to remove any visible residue. This quick daily maintenance will prevent grease from accumulating and make the deep cleaning process easier and less frequent.
- Replace or clean the filter: If your exhaust fan has a removable filter, check it regularly and clean or replace it as needed. A clogged or dirty filter can hinder airflow and reduce the fan’s efficiency. Refer to the manufacturer’s instructions for proper cleaning or replacement intervals.
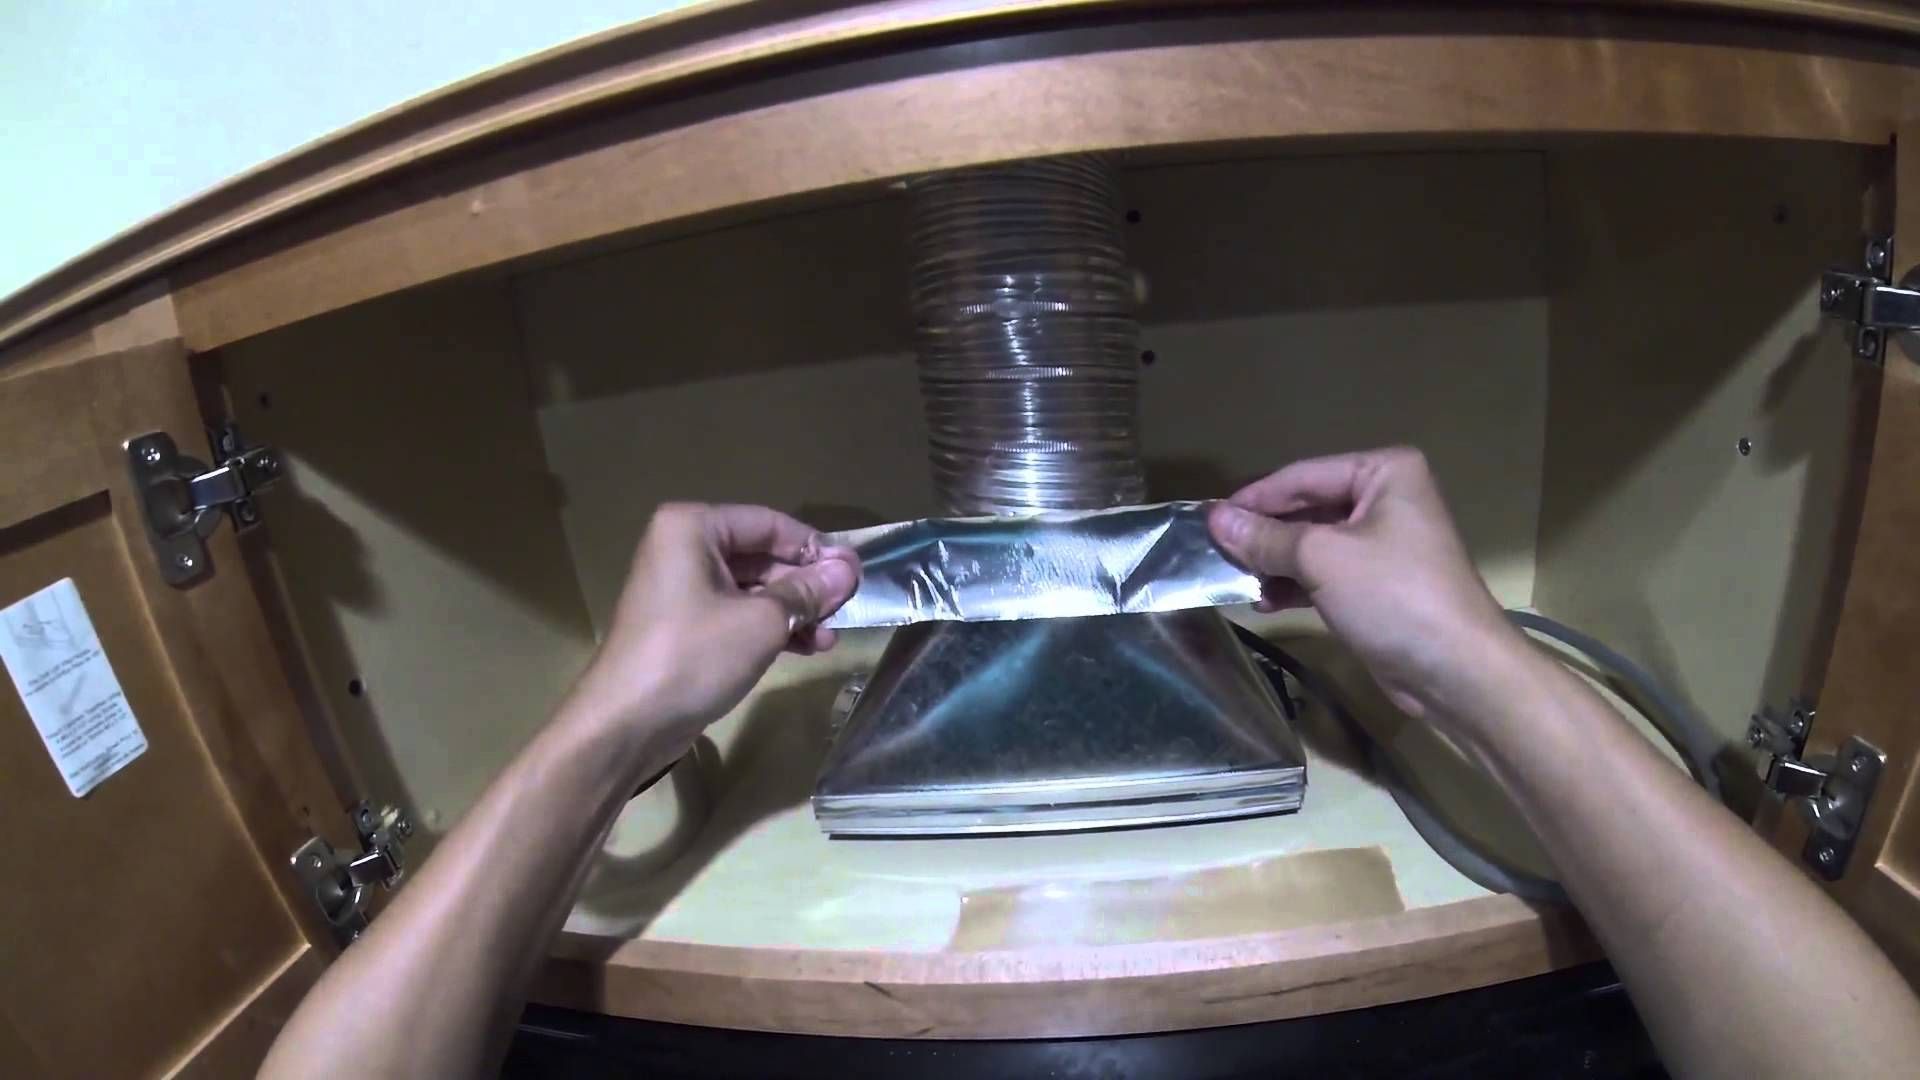
- Check for and remove obstructions: Periodically inspect the fan vent and ductwork for any obstructions such as debris or bird nests. Clear away any blockages to ensure proper ventilation and prevent air transfer issues.
- Inspect and lubricate moving parts: Regularly check the motor and blades for any signs of wear or damage. Lubricate the motor bearings, if applicable, to keep them running smoothly. If you notice any significant issues with the fan’s functionality, consult a professional for assistance.
- Keep the surrounding area clean: Regularly clean the area around the exhaust fan, including the countertops, stovetop, and backsplash. This will minimize the accumulation of grease and help maintain a cleaner and healthier kitchen environment.
- Consider professional servicing: If you are unable to clean the exhaust fan or notice any persistent issues, it may be beneficial to schedule professional servicing. Certified technicians can provide a thorough cleaning, inspect for any potential problems, and ensure the fan is functioning optimally.
By following these maintenance tips, you can prolong the lifespan of your kitchen exhaust fan and enjoy a clean and efficient cooking environment for years to come!
Next, let’s wrap up this comprehensive guide on cleaning a kitchen exhaust fan.
Conclusion
Cleaning your kitchen exhaust fan is an essential task for maintaining a healthy and functional kitchen environment. By keeping the fan blades, housing, and cover clean, you can improve air quality, prevent fire hazards, enhance efficiency, and reduce odors. Regular maintenance ensures that your exhaust fan operates optimally, prolonging its lifespan and saving you energy and repair costs.
In this comprehensive guide, we have walked you through the step-by-step process of cleaning a kitchen exhaust fan, from turning off the power to reassembling and testing the fan. We have also provided valuable tips for regular maintenance to keep your exhaust fan in top shape.
Remember to gather the necessary tools and materials before starting the cleaning process, including a screwdriver, bucket or basin, all-purpose cleaner or degreaser, microfiber cloths, an old toothbrush, warm water, and protective gloves. By following each step carefully and being mindful of safety precautions, you can easily clean your kitchen exhaust fan and enjoy a fresh and clean cooking environment.
Don’t forget to incorporate regular maintenance tasks into your routine, such as wiping down the fan after each use, checking and cleaning the filter, and inspecting for obstructions. If you encounter any significant issues or are unsure about the cleaning process, it’s always a good idea to consult a professional.
Take pride in a clean and efficient kitchen exhaust fan and enjoy the benefits of improved air quality and a safer cooking environment. With consistent cleaning and maintenance, your kitchen exhaust fan will continue to work effectively and efficiently for years to come.
Thank you for joining us in this guide. Happy cleaning!
Frequently Asked Questions about How To Clean A Kitchen Exhaust Fan
Was this page helpful?
At Storables.com, we guarantee accurate and reliable information. Our content, validated by Expert Board Contributors, is crafted following stringent Editorial Policies. We're committed to providing you with well-researched, expert-backed insights for all your informational needs.


0 thoughts on “How To Clean A Kitchen Exhaust Fan”