Articles
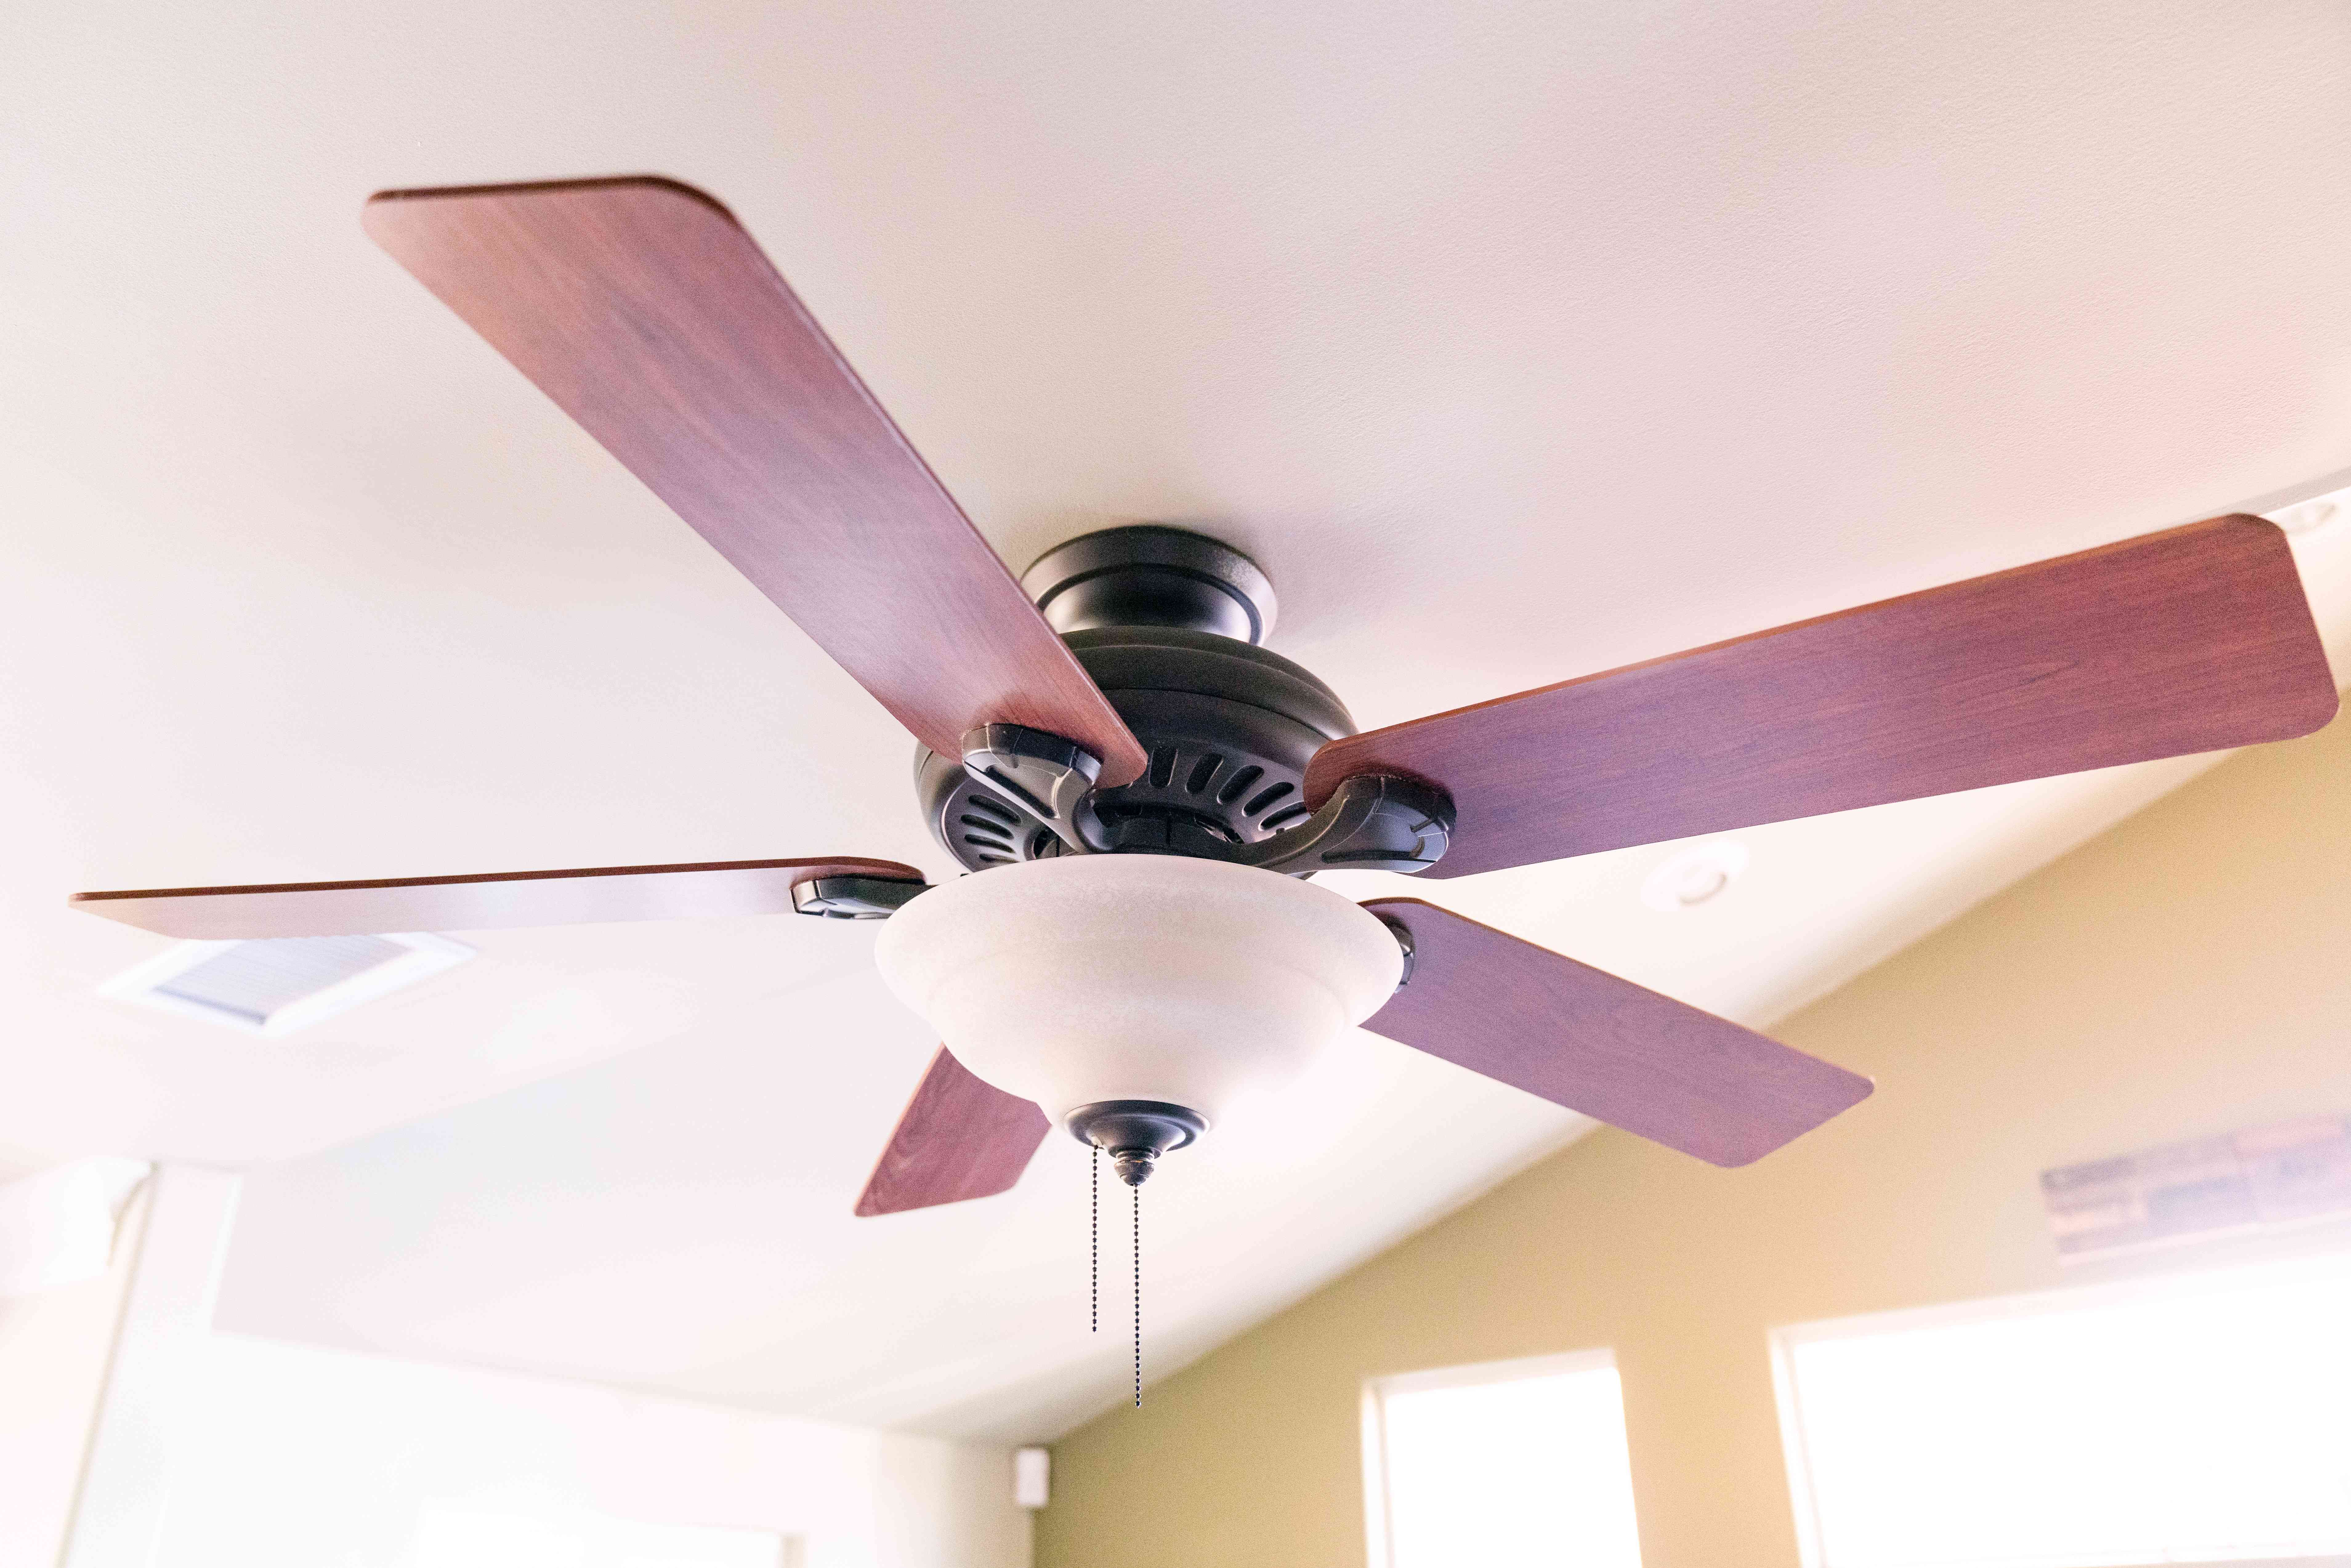
How To Install A Celing Fan
Modified: October 20, 2024
Learn how to install a ceiling fan with our informative articles. Get step-by-step instructions and expert tips for a smooth installation process.
(Many of the links in this article redirect to a specific reviewed product. Your purchase of these products through affiliate links helps to generate commission for Storables.com, at no extra cost. Learn more)
Introduction
Installing a ceiling fan is a great way to improve air circulation and add a stylish touch to any room. Whether you’re looking to keep cool during the hot summer months or simply want to enhance the aesthetic appeal of your space, a ceiling fan can be a practical and attractive addition to your home. In this article, we will guide you through the step-by-step process of installing a ceiling fan, from gathering the necessary materials to testing the fan’s functionality.
Before you begin installing your ceiling fan, it’s important to ensure that you have the proper tools and knowledge to complete the job safely. If you’re uncomfortable working with electrical components or unsure about any aspect of the installation process, it’s always best to consult a professional electrician. With that said, let’s dive into the materials you’ll need for the installation.
Key Takeaways:
- Prioritize safety by turning off the power at the circuit breaker and double-checking wiring connections. If in doubt, consult a professional electrician to ensure a safe and efficient ceiling fan installation.
- Enjoy the comfort and style of a newly installed ceiling fan by following the step-by-step process. With proper installation and maintenance, your ceiling fan will provide years of reliable service and enhance the ambiance of your home.
Read also: 8 Amazing Celing Fan for 2025
Materials Needed
Before you start installing your ceiling fan, gather the following materials:
- Ceiling fan
- Ceiling fan bracket
- Screwdriver or drill
- Wire stripper or cutter
- Wire connectors
- Electrical tape
- Ladder or step stool
- Safety glasses
- Voltage tester
- Installation manual (included with the ceiling fan)
Make sure you have all these materials on hand before you begin the installation process. This will ensure a smooth and efficient installation without any delays.
Step 1: Turn Off the Power
Before you begin installing your ceiling fan, it’s crucial to turn off the power to the room at the circuit breaker. This step is essential for your safety and to prevent any electrical accidents.
Start by locating the circuit breaker panel in your home. It is usually located in the basement, garage, or utility room. Open the panel door and locate the switch that controls the power to the room where you will be installing the ceiling fan. Flip the switch to the “off” position.
Once you have turned off the power, it’s recommended to test and make sure that there is no electricity flowing to the wires. You can do this by using a voltage tester. Simply touch the tester’s probes to the exposed wires to ensure that there is no electrical current running through them.
Remember, safety should always be your top priority when working with electrical components. If you’re unsure about turning off the power or testing for electricity, it’s best to seek the assistance of a professional electrician.
With the power turned off and confirmed, you can now move on to the next step of the installation process: assembling the fan.
Step 2: Assemble the Fan
Now that you have turned off the power and ensured your safety, it’s time to assemble your ceiling fan.
Start by carefully unpacking all the components of your ceiling fan. Lay them out on a clean and sturdy surface so you can easily access and organize them. Refer to the installation manual that came with your fan for specific instructions on how to assemble it.
Typically, the assembly process involves attaching the fan blades to the motor housing using screws or blade arms. Make sure to securely tighten the screws to ensure stability. Once the blades are attached, you can proceed to install any additional accessories or attachments, such as a light fixture or remote control module, if your fan includes these features.
During the assembly process, it’s important to pay attention to any specific instructions or warnings provided in the installation manual. This will help you avoid any potential mistakes or safety hazards.
Once you have successfully assembled your ceiling fan, you’re ready to move on to the next step: mounting the ceiling fan bracket.
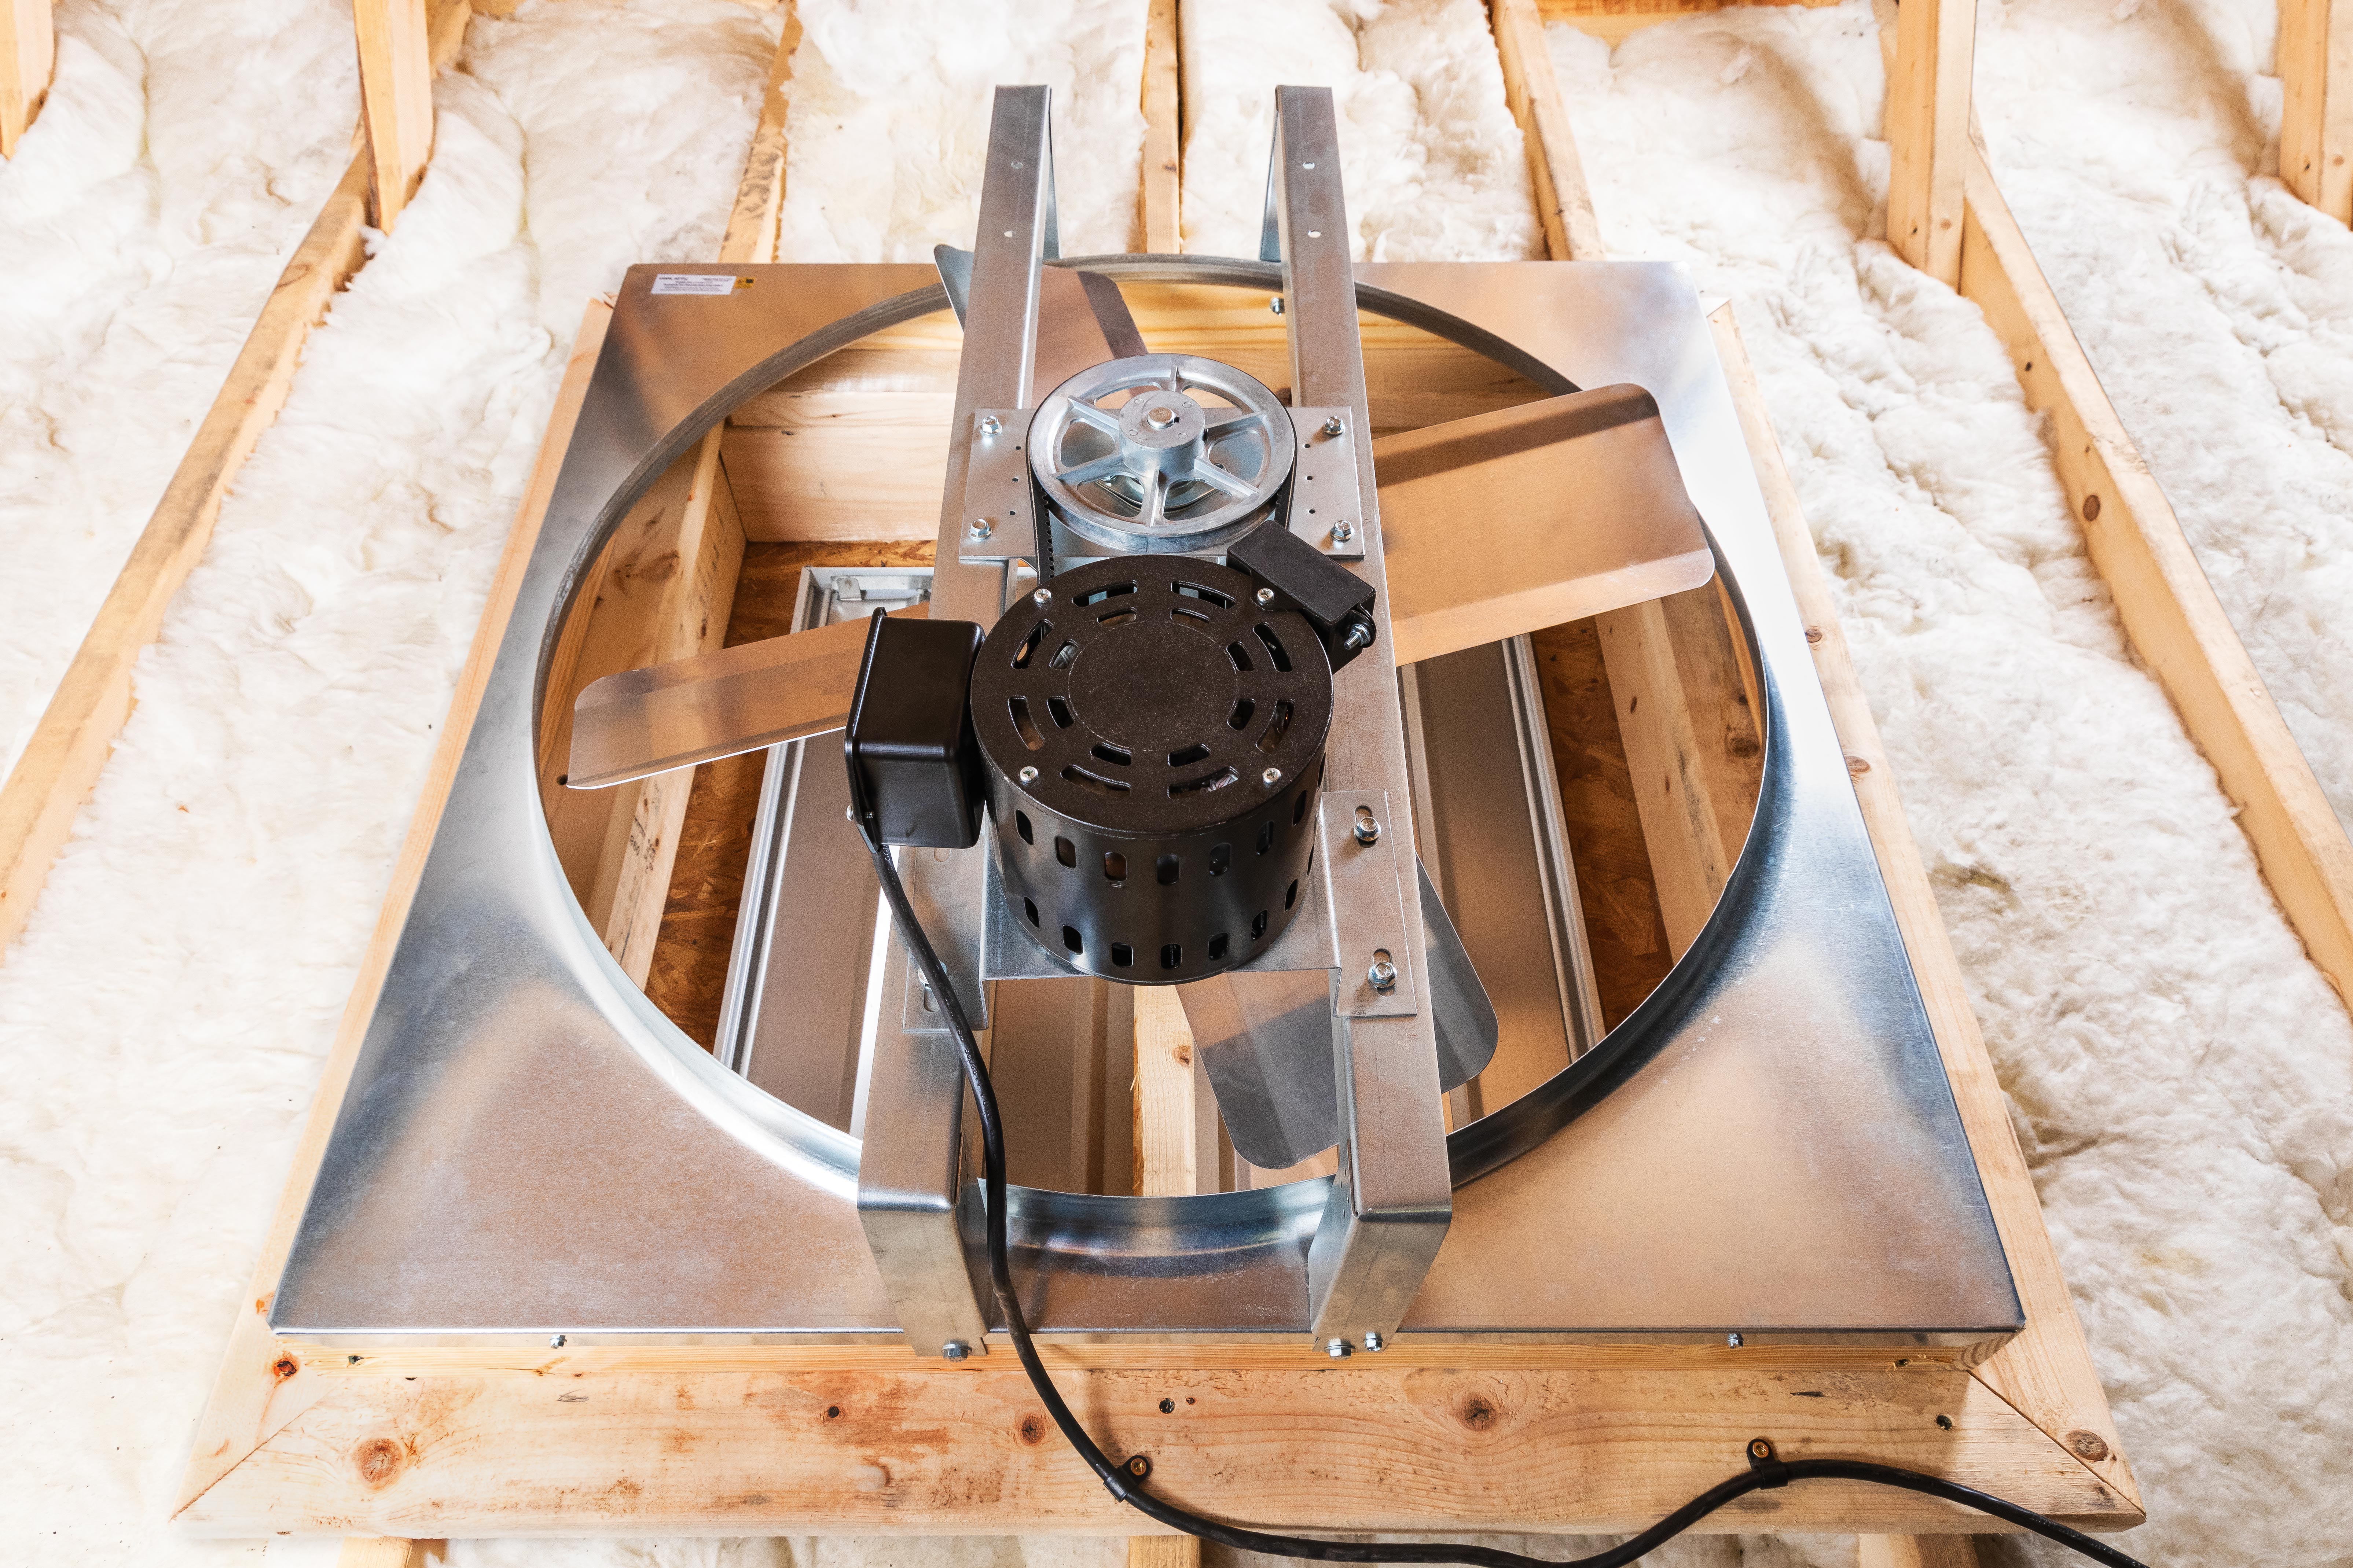
Step 3: Mount the Ceiling Fan Bracket
Now that you have assembled your ceiling fan, it’s time to mount the ceiling fan bracket onto the ceiling. The bracket is what holds the weight of the fan and ensures that it is securely attached.
Start by choosing the location where you want to install the ceiling fan. It’s important to select a spot that has proper ceiling support, such as a ceiling joist or a support brace. You can use a stud finder or inspect the ceiling for any visible support beams.
Mark the location for the bracket with a pencil or marker. Using a drill or screwdriver, attach the ceiling fan bracket to the ceiling using the provided screws. Make sure the bracket is level and firmly secured.
If your ceiling fan comes with a support brace, it may require some additional steps to install it properly. Follow the manufacturer’s instructions to attach the support brace securely to the ceiling joists.
Once the ceiling fan bracket is securely mounted, you’re ready to move on to the next step: connecting the wiring.
Note: If you’re unsure about how to locate and mount the ceiling fan bracket, or if you have any concerns about the stability or safety of the installation, it’s best to consult a professional electrician.
Read more: How To Install Radon Fan
Step 4: Connect the Wiring
Now that the ceiling fan bracket is securely mounted, it’s time to connect the wiring. This step involves connecting the wires from the ceiling to the wires on the fan.
Start by carefully untangling and separating the wires from both the ceiling and the fan. Typically, you will have a black wire (hot), a white wire (neutral), and a green or copper wire (ground) coming from the ceiling. The fan will also have similar colored wires.
Using wire strippers or cutters, remove the protective covering from the ends of each wire, exposing a small amount of bare wire. This will allow you to easily connect the wires together.
Next, match the corresponding colored wires from the ceiling and the fan. Connect the black wire to black, white wire to white, and green (or copper) wire to green (or copper). To secure the connection, twist the wires together clockwise and cover them with a wire connector. You may need to use electrical tape to further secure the connection.
Double-check that all connections are secure and tightly twisted. Additionally, ensure that none of the exposed wires are touching each other or any metal surfaces to prevent any potential electrical hazards.
Once the wiring is done and secure, you can proceed to the next step: attaching the fan blades.
Note: If you are not familiar or comfortable working with electrical wiring, it is highly recommended to consult a professional electrician to ensure a safe and proper installation.
Make sure to turn off the power to the existing light fixture before starting the installation process. Use a voltage tester to double-check that the power is off before proceeding.
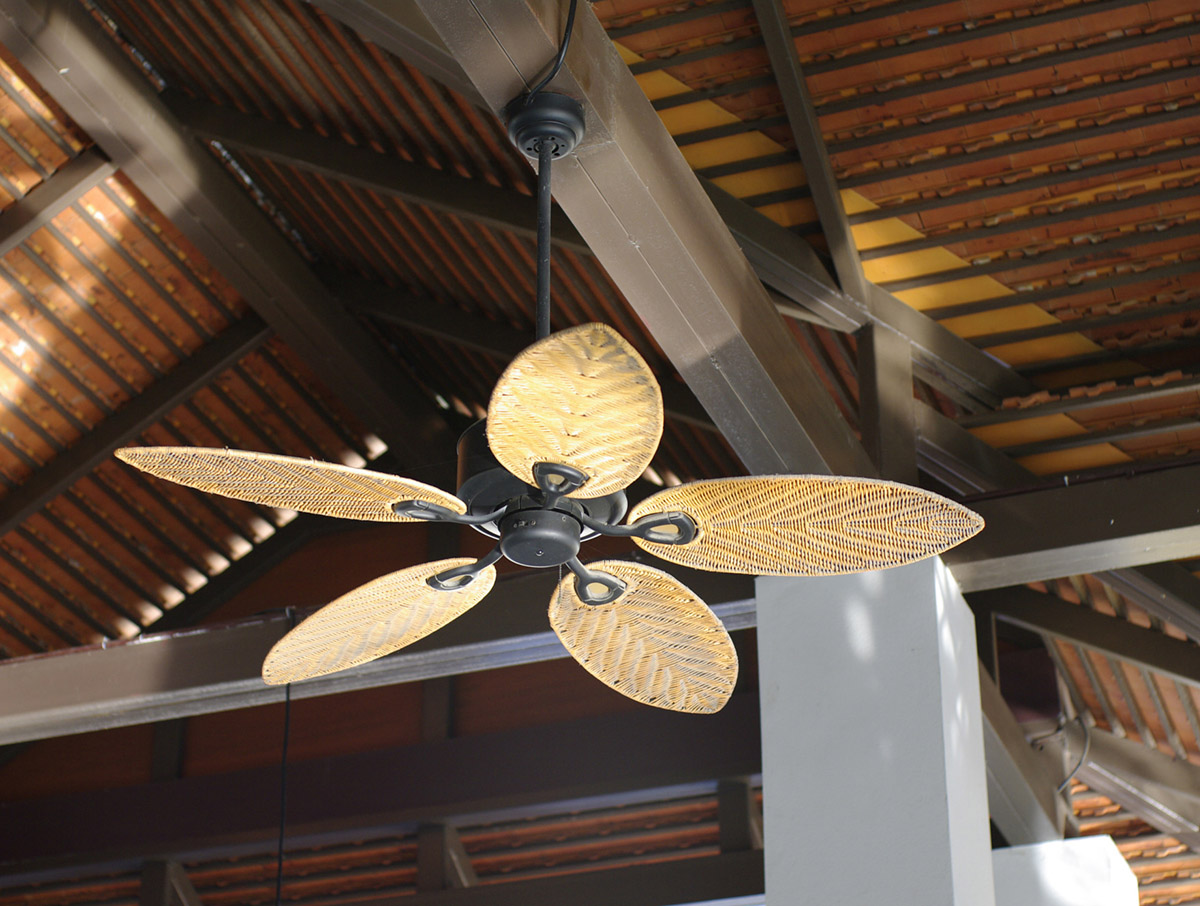
Step 5: Attach the Fan Blades
With the wiring securely connected, it’s time to attach the fan blades to your ceiling fan. The fan blades are what create airflow and circulation in the room.
Start by locating the blade arms on the motor housing of the fan. Each blade arm will have a corresponding slot or hole where the fan blade will attach.
Line up the holes or slots on the blade arms with the holes on the fan blades. Insert the screws provided into the holes and tighten them using a screwdriver or drill. Make sure to tighten the screws evenly to ensure that each blade is securely attached.
Repeat this process for each fan blade until all blades are attached to the motor housing. Again, double-check that all screws are tightened properly to ensure stability and safety.
Once all the fan blades are attached, give them a gentle tug to ensure that they are securely in place. You don’t want any loose or wobbly blades that could potentially detach while the fan is in operation.
Now that the fan blades are installed, you can move on to the next step: installing the light fixture (if applicable).
Note: Some ceiling fans do not come with detachable blades and may have a blade assembly already attached. In this case, your installation process for this step will be different.
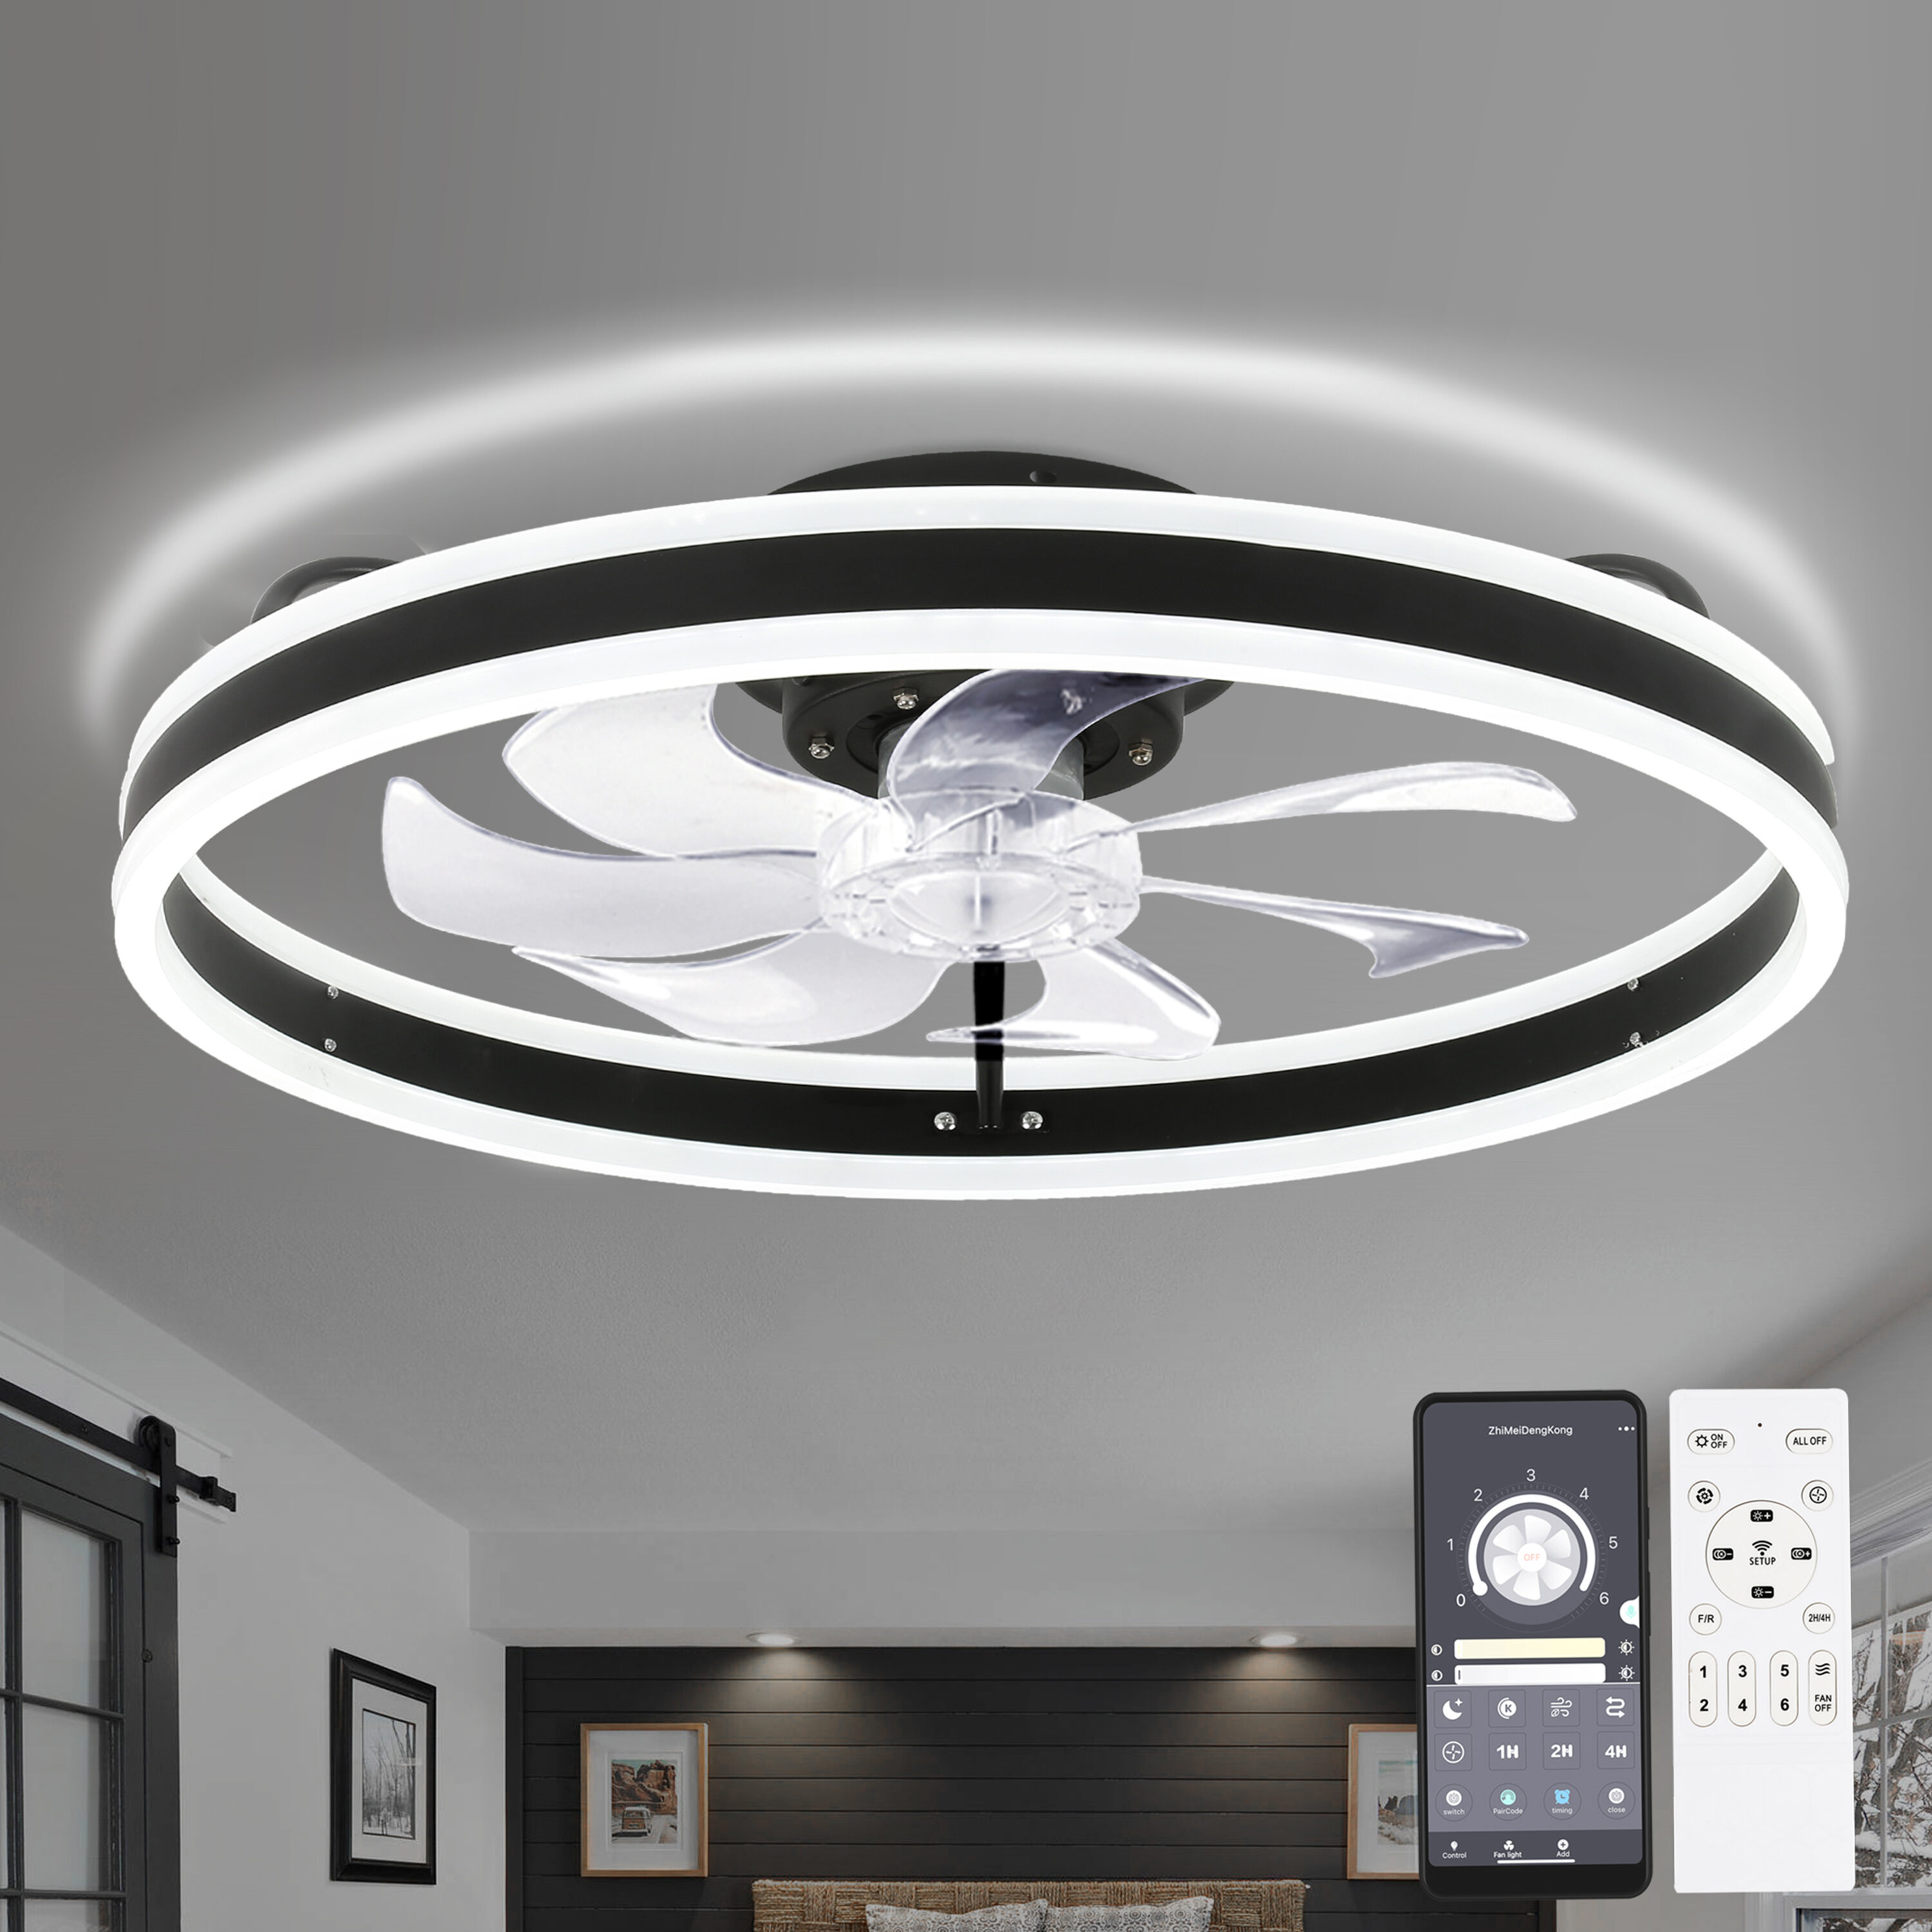
Step 6: Install the Light Fixture (if applicable)
If your ceiling fan includes a light fixture, you can now proceed with installing it. Not all ceiling fans come with a light fixture, so if yours doesn’t, you can skip this step.
Start by carefully unpacking the light fixture components and reading the instructions provided by the manufacturer. Make sure you have all the necessary parts, including the light kit, screws, and any additional wiring components.
Next, locate the light fixture housing on the bottom of the ceiling fan. It is usually a decorative cover or panel that will need to be removed to access the wiring area.
Once you have removed the housing, you will see the wiring connections for the light fixture. Connect the wires from the light fixture to the corresponding wires from the ceiling fan, just as you did in Step 4. Match the black wire to black, white wire to white, and green (or copper) wire to green (or copper).
Secure the wire connections with wire connectors and double-check that they are tightly connected. Use electrical tape to further secure the connections if needed.
After the wiring is complete, carefully fit the light fixture cover or panel back onto the ceiling fan and secure it with the provided screws or clips.
Once installed, turn on the power at the circuit breaker and test the functionality of the light fixture. If the light does not turn on or there are any issues, double-check the wiring connections and consult the manufacturer’s instructions for troubleshooting steps.
With the light fixture successfully installed and tested, you can now move on to the next step: attaching the fan to the bracket.
Note: If you are not comfortable working with electrical components or don’t have experience with light fixture installations, it’s best to seek the assistance of a professional electrician.
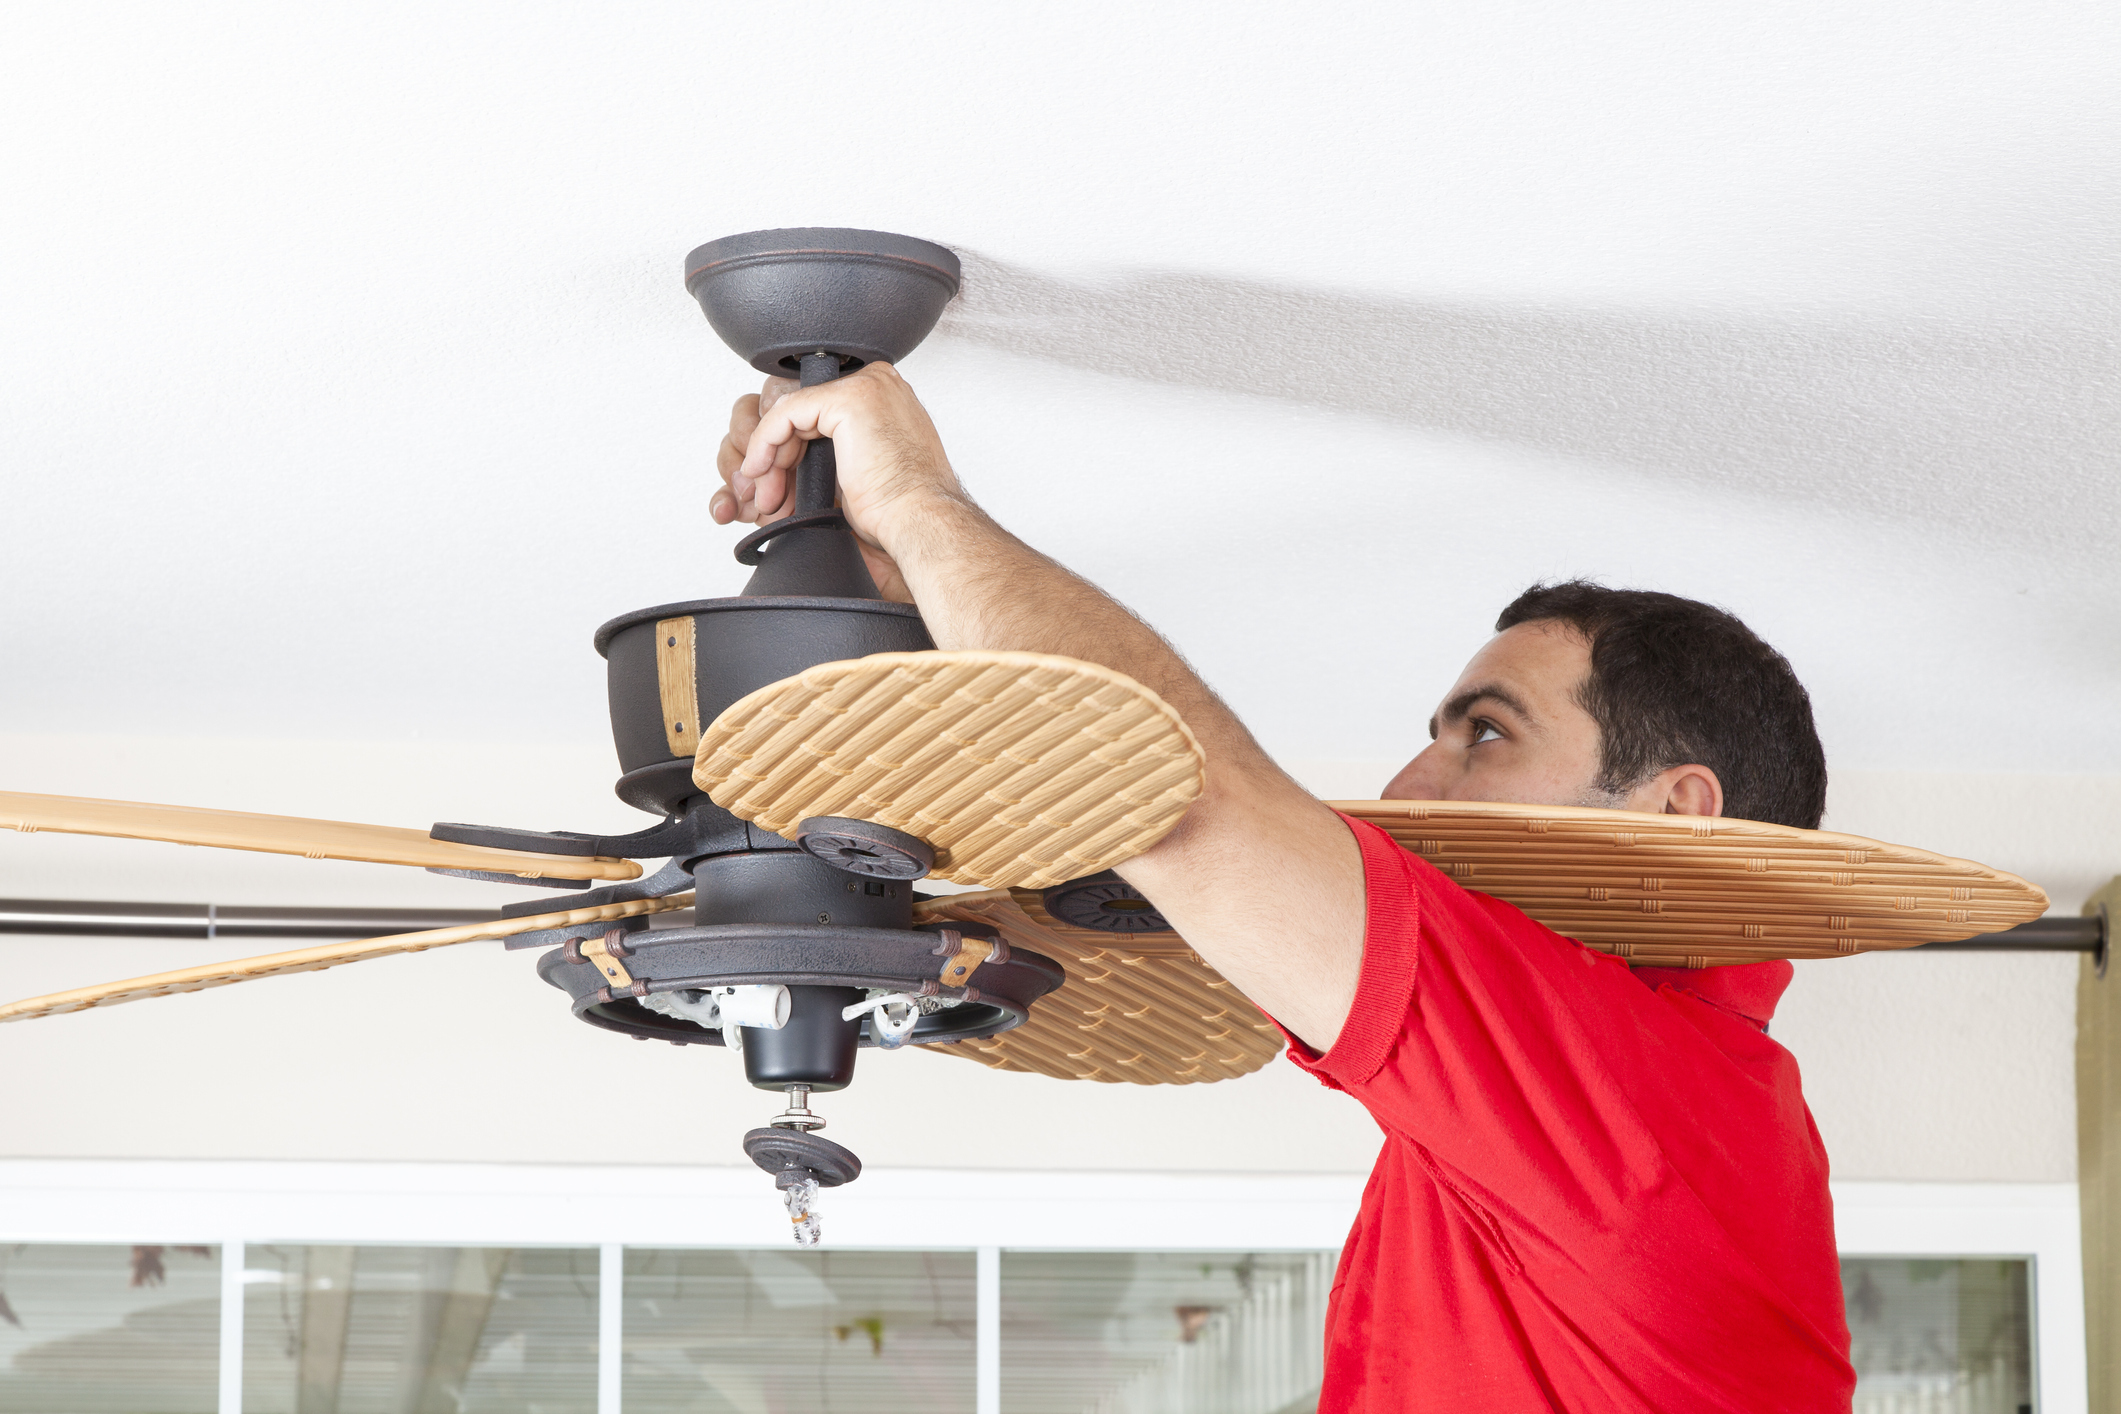
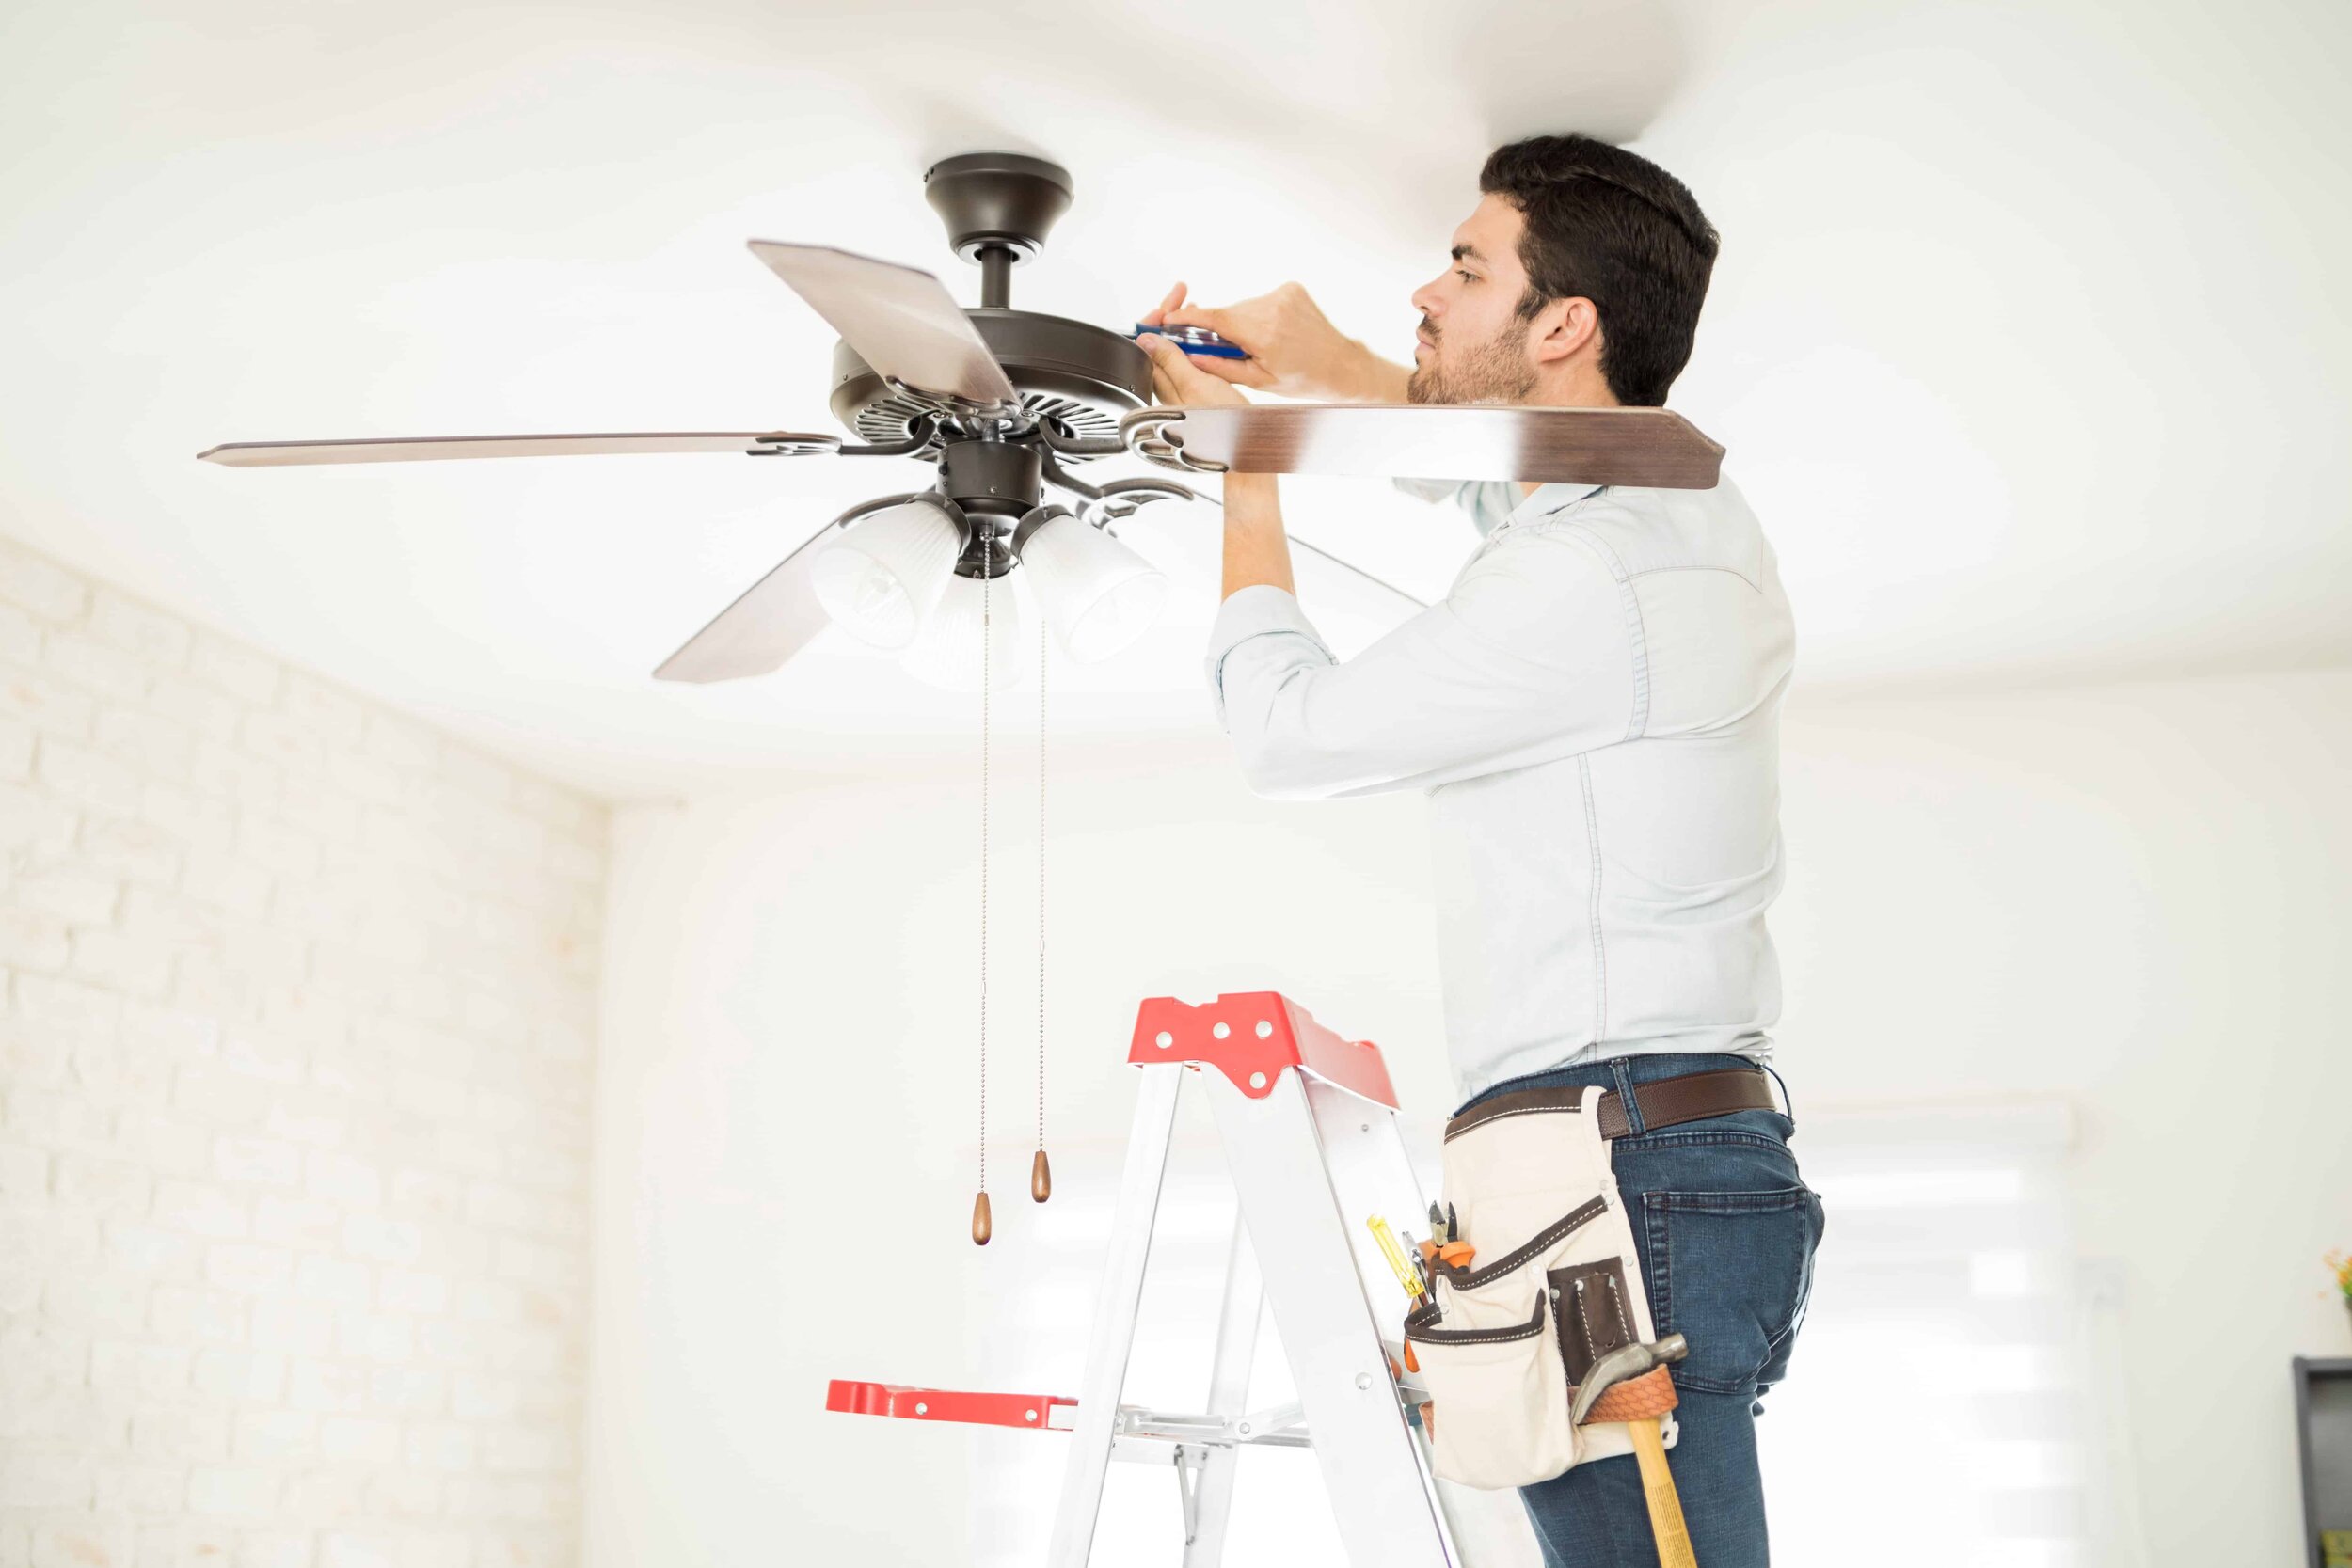
Step 7: Attach the Fan to the Bracket
Now that you have completed all the necessary wiring and installation steps, it’s time to attach the ceiling fan to the previously mounted bracket.
First, locate the mounting bracket on the ceiling fan. It is usually a metal plate or bracket that will align with the bracket attached to the ceiling.
Hold the fan up to the bracket and align the holes on the mounting bracket with the corresponding holes on the bracket attached to the ceiling. The fan should fit snuggly onto the bracket.
Once aligned, insert the screws provided into the holes and tighten them using a screwdriver or drill. Make sure that all the screws are securely fastened to ensure the fan is attached firmly to the bracket.
Give the fan a gentle tug to ensure that it is securely attached to the bracket and there is no wobbling or loose connections.
After attaching the fan to the bracket, double-check all the wiring connections and ensure that there are no exposed wires or loose connections.
Once everything is secured and in place, you’re almost done! The last step is to test your newly installed ceiling fan.
Note: If you are unsure about the attachment process or have any concerns about the stability or safety of the installation, it’s recommended to consult a professional electrician.
Read more: How Install Ceiling Fan
Step 8: Test the Fan
Congratulations on successfully installing your ceiling fan! The final step is to test the functionality and ensure that everything is working properly.
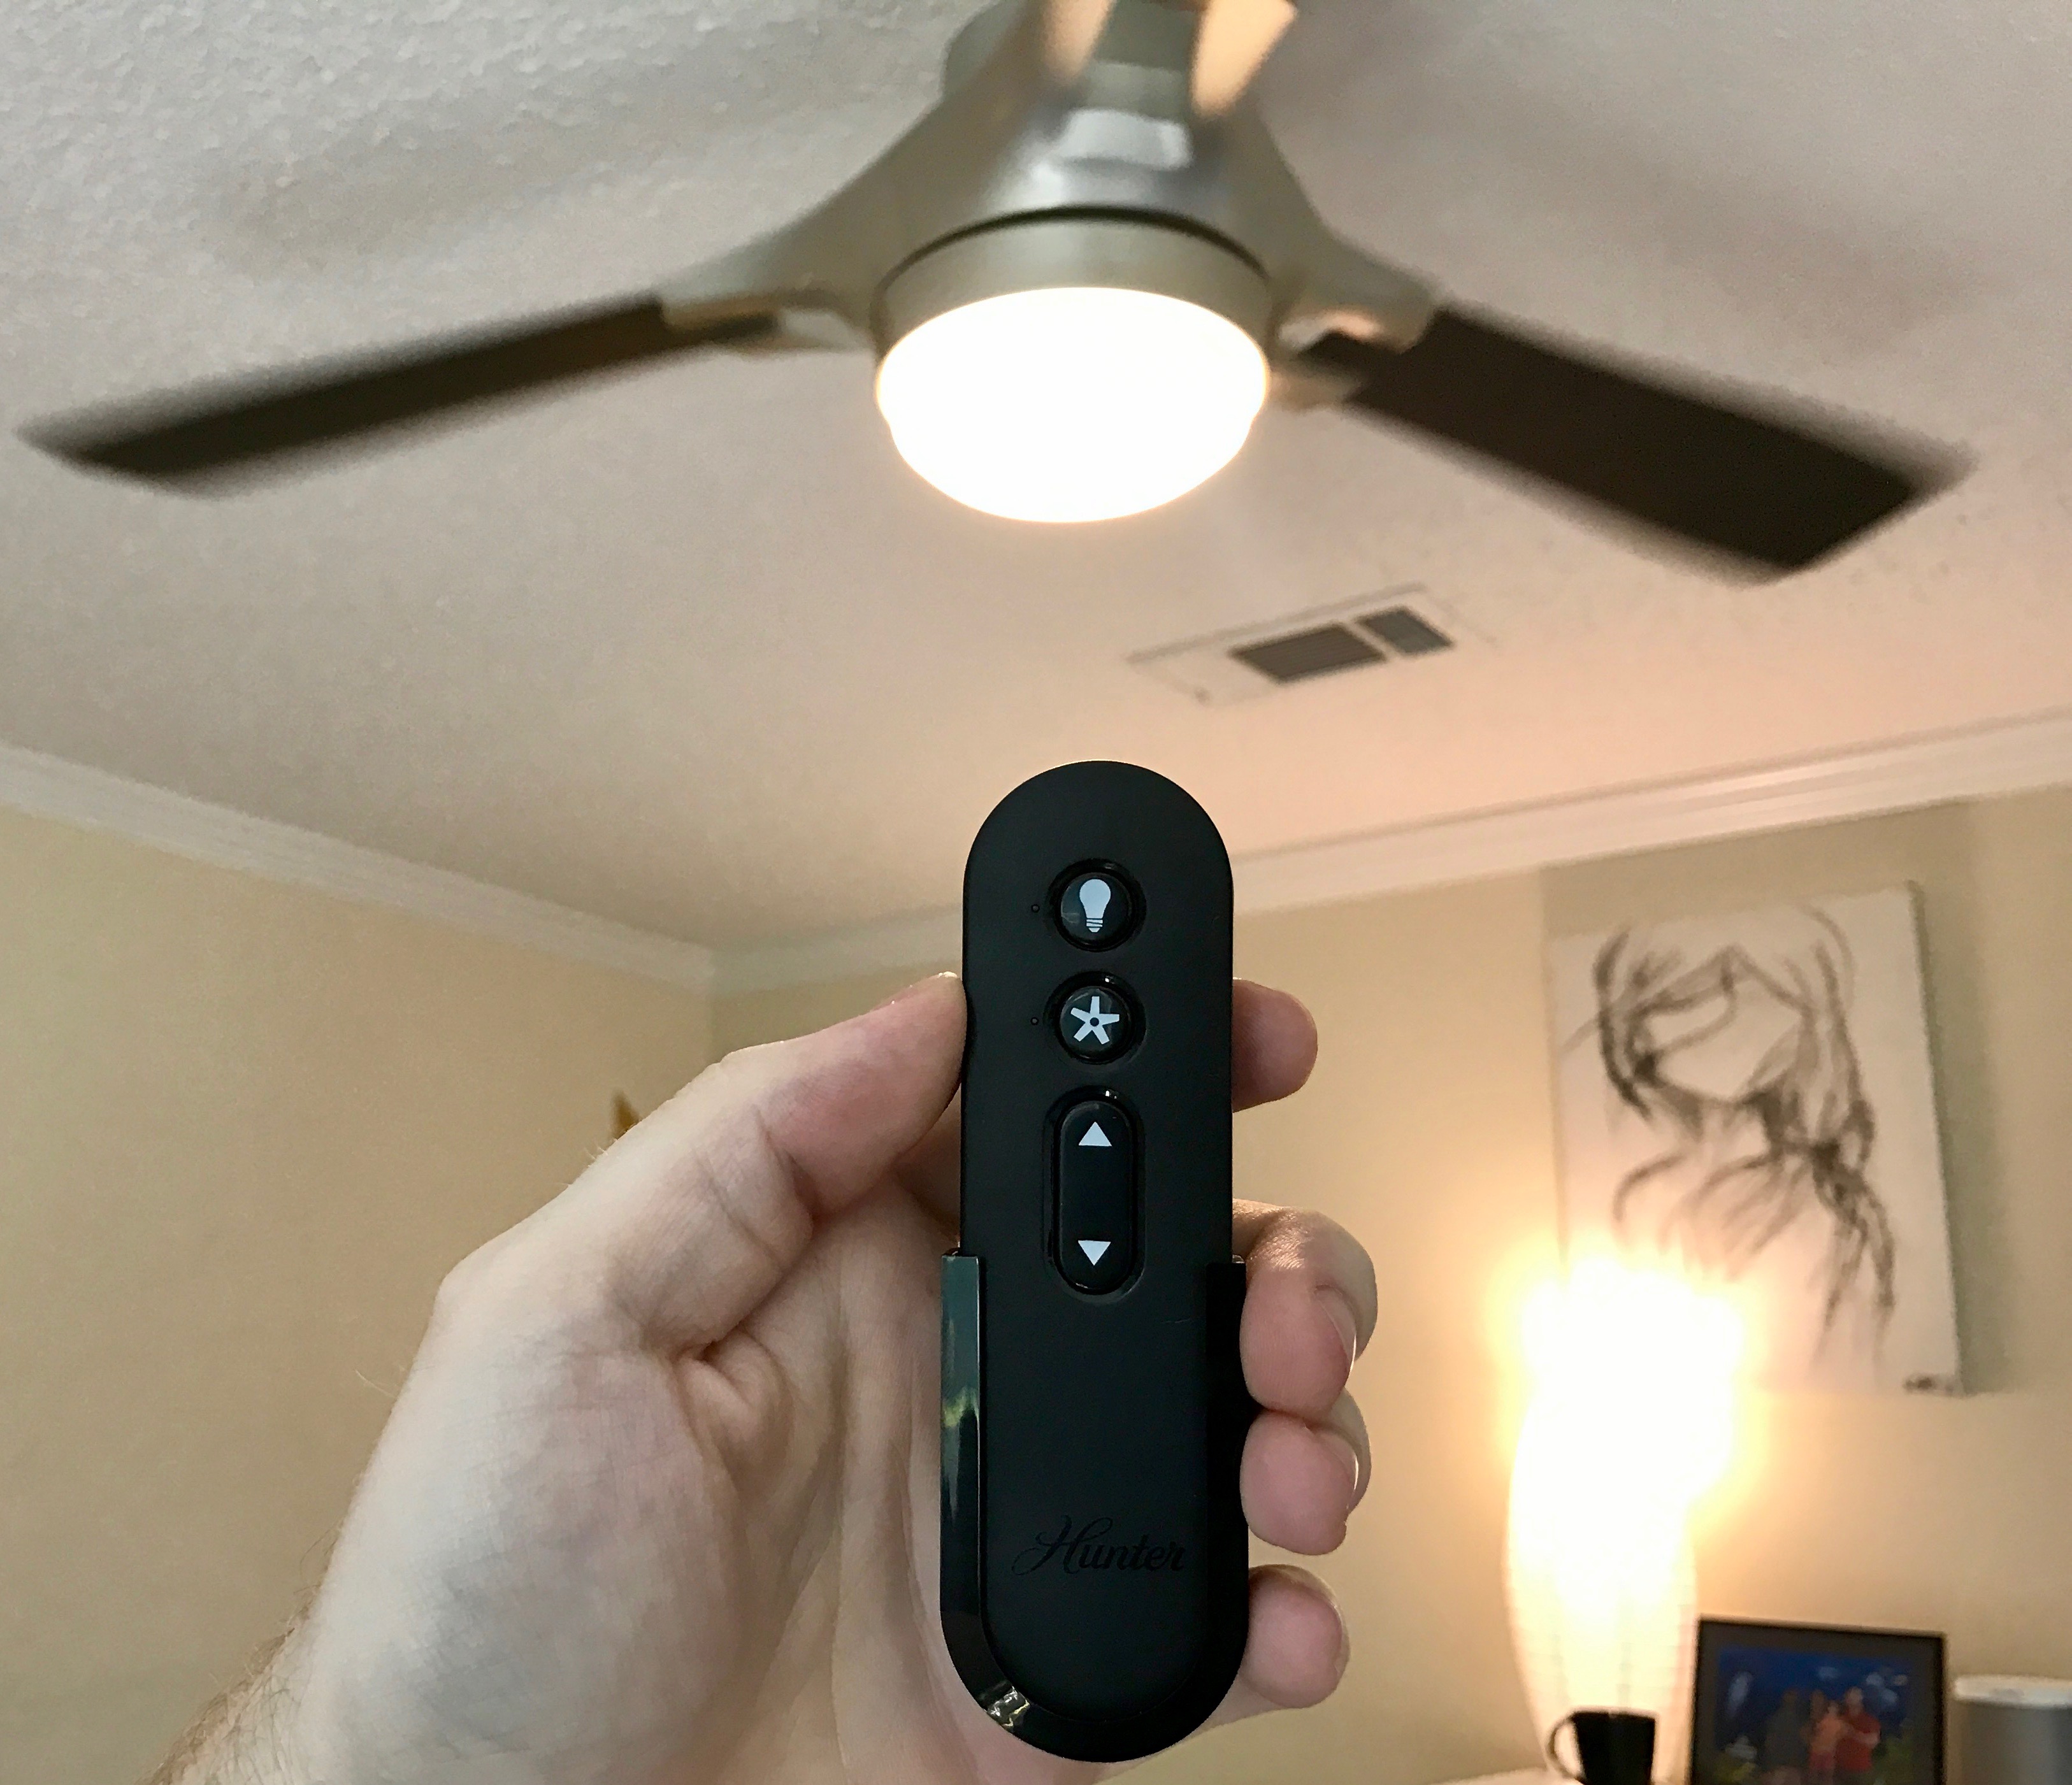
Start by turning on the power at the circuit breaker. Use the fan’s remote control or wall switch to activate the fan. You should hear the motor humming and feel the blades start to rotate.
Observe the fan as it operates. Make sure there is no wobbling or excessive noise coming from the motor or blades. If you notice any issues, such as a wobbly fan or strange noises, turn off the power immediately and double-check your installation to identify the problem.
Test the fan at different speeds to make sure all the settings are functioning correctly. Adjust the speed settings using the remote control or wall switch to see if the fan responds accordingly.
If your ceiling fan includes a light fixture, test the functionality of the light as well. Turn on the light using the remote control or wall switch and ensure that it illuminates properly.
During testing, pay attention to any unusual smells or signs of overheating. If you notice any burning smells or excessive heat coming from the fan, turn off the power immediately and consult a professional electrician.
Once you have confirmed that the fan and light (if applicable) are working correctly and there are no issues, you can consider your installation process complete!
Remember to keep the installation manual and any additional documentation for future reference. This will be helpful if you ever need to troubleshoot or make any adjustments to your ceiling fan in the future.
Enjoy the comfort and functionality of your newly installed ceiling fan!
Conclusion
Installing a ceiling fan can be a rewarding project that not only improves air circulation but also adds an aesthetic touch to your space. By following the step-by-step process outlined in this article, you can confidently install a ceiling fan in a safe and efficient manner.
Throughout the installation process, it is important to prioritize safety. Remember to turn off the power at the circuit breaker before starting any work, and always double-check your wiring connections. If you have any doubts or concerns, it is best to consult a professional electrician.
Additionally, make sure you have all the necessary materials and tools on hand before starting the installation. This will ensure a smooth and hassle-free process.
From turning off the power to mounting the ceiling fan bracket, connecting the wiring, attaching the fan blades, installing the light fixture (if applicable), and finally, testing the fan, each step plays a vital role in ensuring a successful installation.
Once your ceiling fan is installed and tested, sit back and enjoy the cool breeze and enhanced ambiance it brings to your room. Whether you’re using it to stay comfortable during hot summer months or to add a touch of style to your living space, a ceiling fan is a valuable addition to any home.
Remember to refer to the manufacturer’s instructions and follow any specific guidelines provided with your ceiling fan. Each fan may have slight variations in installation requirements.
With proper installation and regular maintenance, your ceiling fan will provide years of reliable service and enjoyment. So, take the time to install your ceiling fan correctly and savor the benefits it brings to your home.
Frequently Asked Questions about How To Install A Celing Fan
Was this page helpful?
At Storables.com, we guarantee accurate and reliable information. Our content, validated by Expert Board Contributors, is crafted following stringent Editorial Policies. We're committed to providing you with well-researched, expert-backed insights for all your informational needs.

0 thoughts on “How To Install A Celing Fan”