Home>Furniture & Design>Bathroom Accessories>How To Clean Out A Bathroom Exhaust Fan Duct
Bathroom Accessories
How To Clean Out A Bathroom Exhaust Fan Duct
Modified: March 25, 2024
Learn how to effectively clean out your bathroom exhaust fan duct to improve air quality and prevent mold growth. Follow these simple steps to maintain your bathroom accessories and ensure a healthy environment.
(Many of the links in this article redirect to a specific reviewed product. Your purchase of these products through affiliate links helps to generate commission for Storables.com, at no extra cost. Learn more)
Introduction
Cleaning out a bathroom exhaust fan duct is a crucial yet often overlooked task in home maintenance. Over time, dust, dirt, and moisture can accumulate in the fan and duct, leading to reduced efficiency and potential air quality issues. By regularly cleaning the exhaust fan and duct, you can ensure that your bathroom remains fresh and free of mold and mildew.
In this comprehensive guide, we will walk you through the step-by-step process of cleaning out your bathroom exhaust fan duct. Whether you are a seasoned DIY enthusiast or a novice homeowner, this guide will equip you with the knowledge and confidence to tackle this essential maintenance task.
A clean and well-maintained bathroom exhaust fan not only helps to eliminate odors and excess moisture but also contributes to a healthier indoor environment. Additionally, a properly functioning exhaust fan can prevent the buildup of mold and mildew, which can be detrimental to both your health and the structural integrity of your home.
By following the steps outlined in this guide, you will not only improve the performance and longevity of your bathroom exhaust fan but also contribute to a more comfortable and hygienic living space for you and your family. So, let's roll up our sleeves and dive into the process of cleaning out a bathroom exhaust fan duct, ensuring that your bathroom remains a clean and refreshing oasis within your home.
Key Takeaways:
- Regularly cleaning your bathroom exhaust fan and duct ensures a fresh and mold-free environment, promoting healthier indoor air quality and preventing potential air quality issues.
- Safety first! Always turn off the power before cleaning your bathroom exhaust fan to prevent electric shock and ensure a safe working environment.
Read more: How Long Can A Bathroom Exhaust Fan Duct Be
Step 1: Turn off the power
Before embarking on the task of cleaning out your bathroom exhaust fan duct, it is crucial to ensure the safety of the electrical system. Turning off the power supply to the fan will prevent the risk of electric shock and allow you to work on the unit without any hazards.
-
Locate the Circuit Breaker: Begin by identifying the circuit breaker that controls the power supply to the bathroom exhaust fan. In most homes, the circuit breaker panel is located in the basement, utility room, or garage. Once you have located the panel, open the door to reveal the array of circuit breakers.
-
Identify the Correct Breaker: Look for the breaker labeled "Bathroom" or "Exhaust Fan." If the breakers are not clearly labeled, you may need to enlist the help of a family member to assist you in identifying the correct one. Alternatively, you can turn on the fan and switch off each breaker until the fan stops running.
-
Switch Off the Breaker: Once you have identified the correct breaker, switch it to the "off" position. You can double-check that the power is off by attempting to turn on the fan switch in the bathroom. If the fan does not start, you have successfully cut off the power supply.
-
Secure the Breaker: For added safety, you can place a small piece of tape over the breaker switch and label it with a reminder not to turn it back on. This precaution can prevent accidental power restoration while you are working on the fan.
By following these steps to turn off the power supply to your bathroom exhaust fan, you can ensure a safe working environment as you proceed with the cleaning process. Remember, safety should always be the top priority when performing any maintenance tasks in your home.
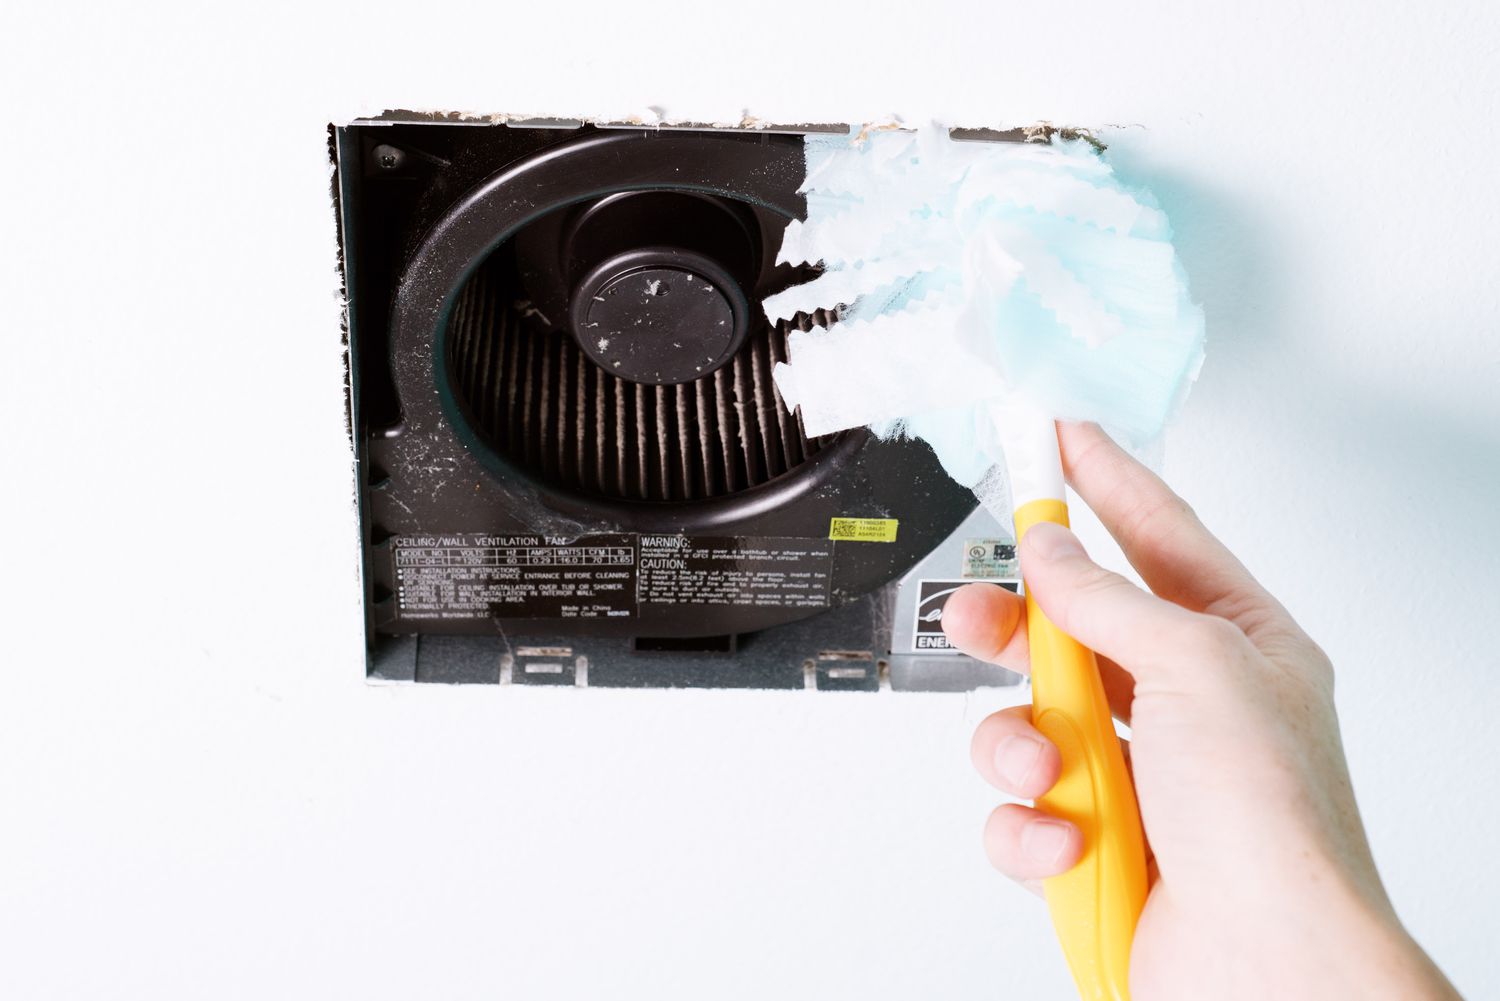
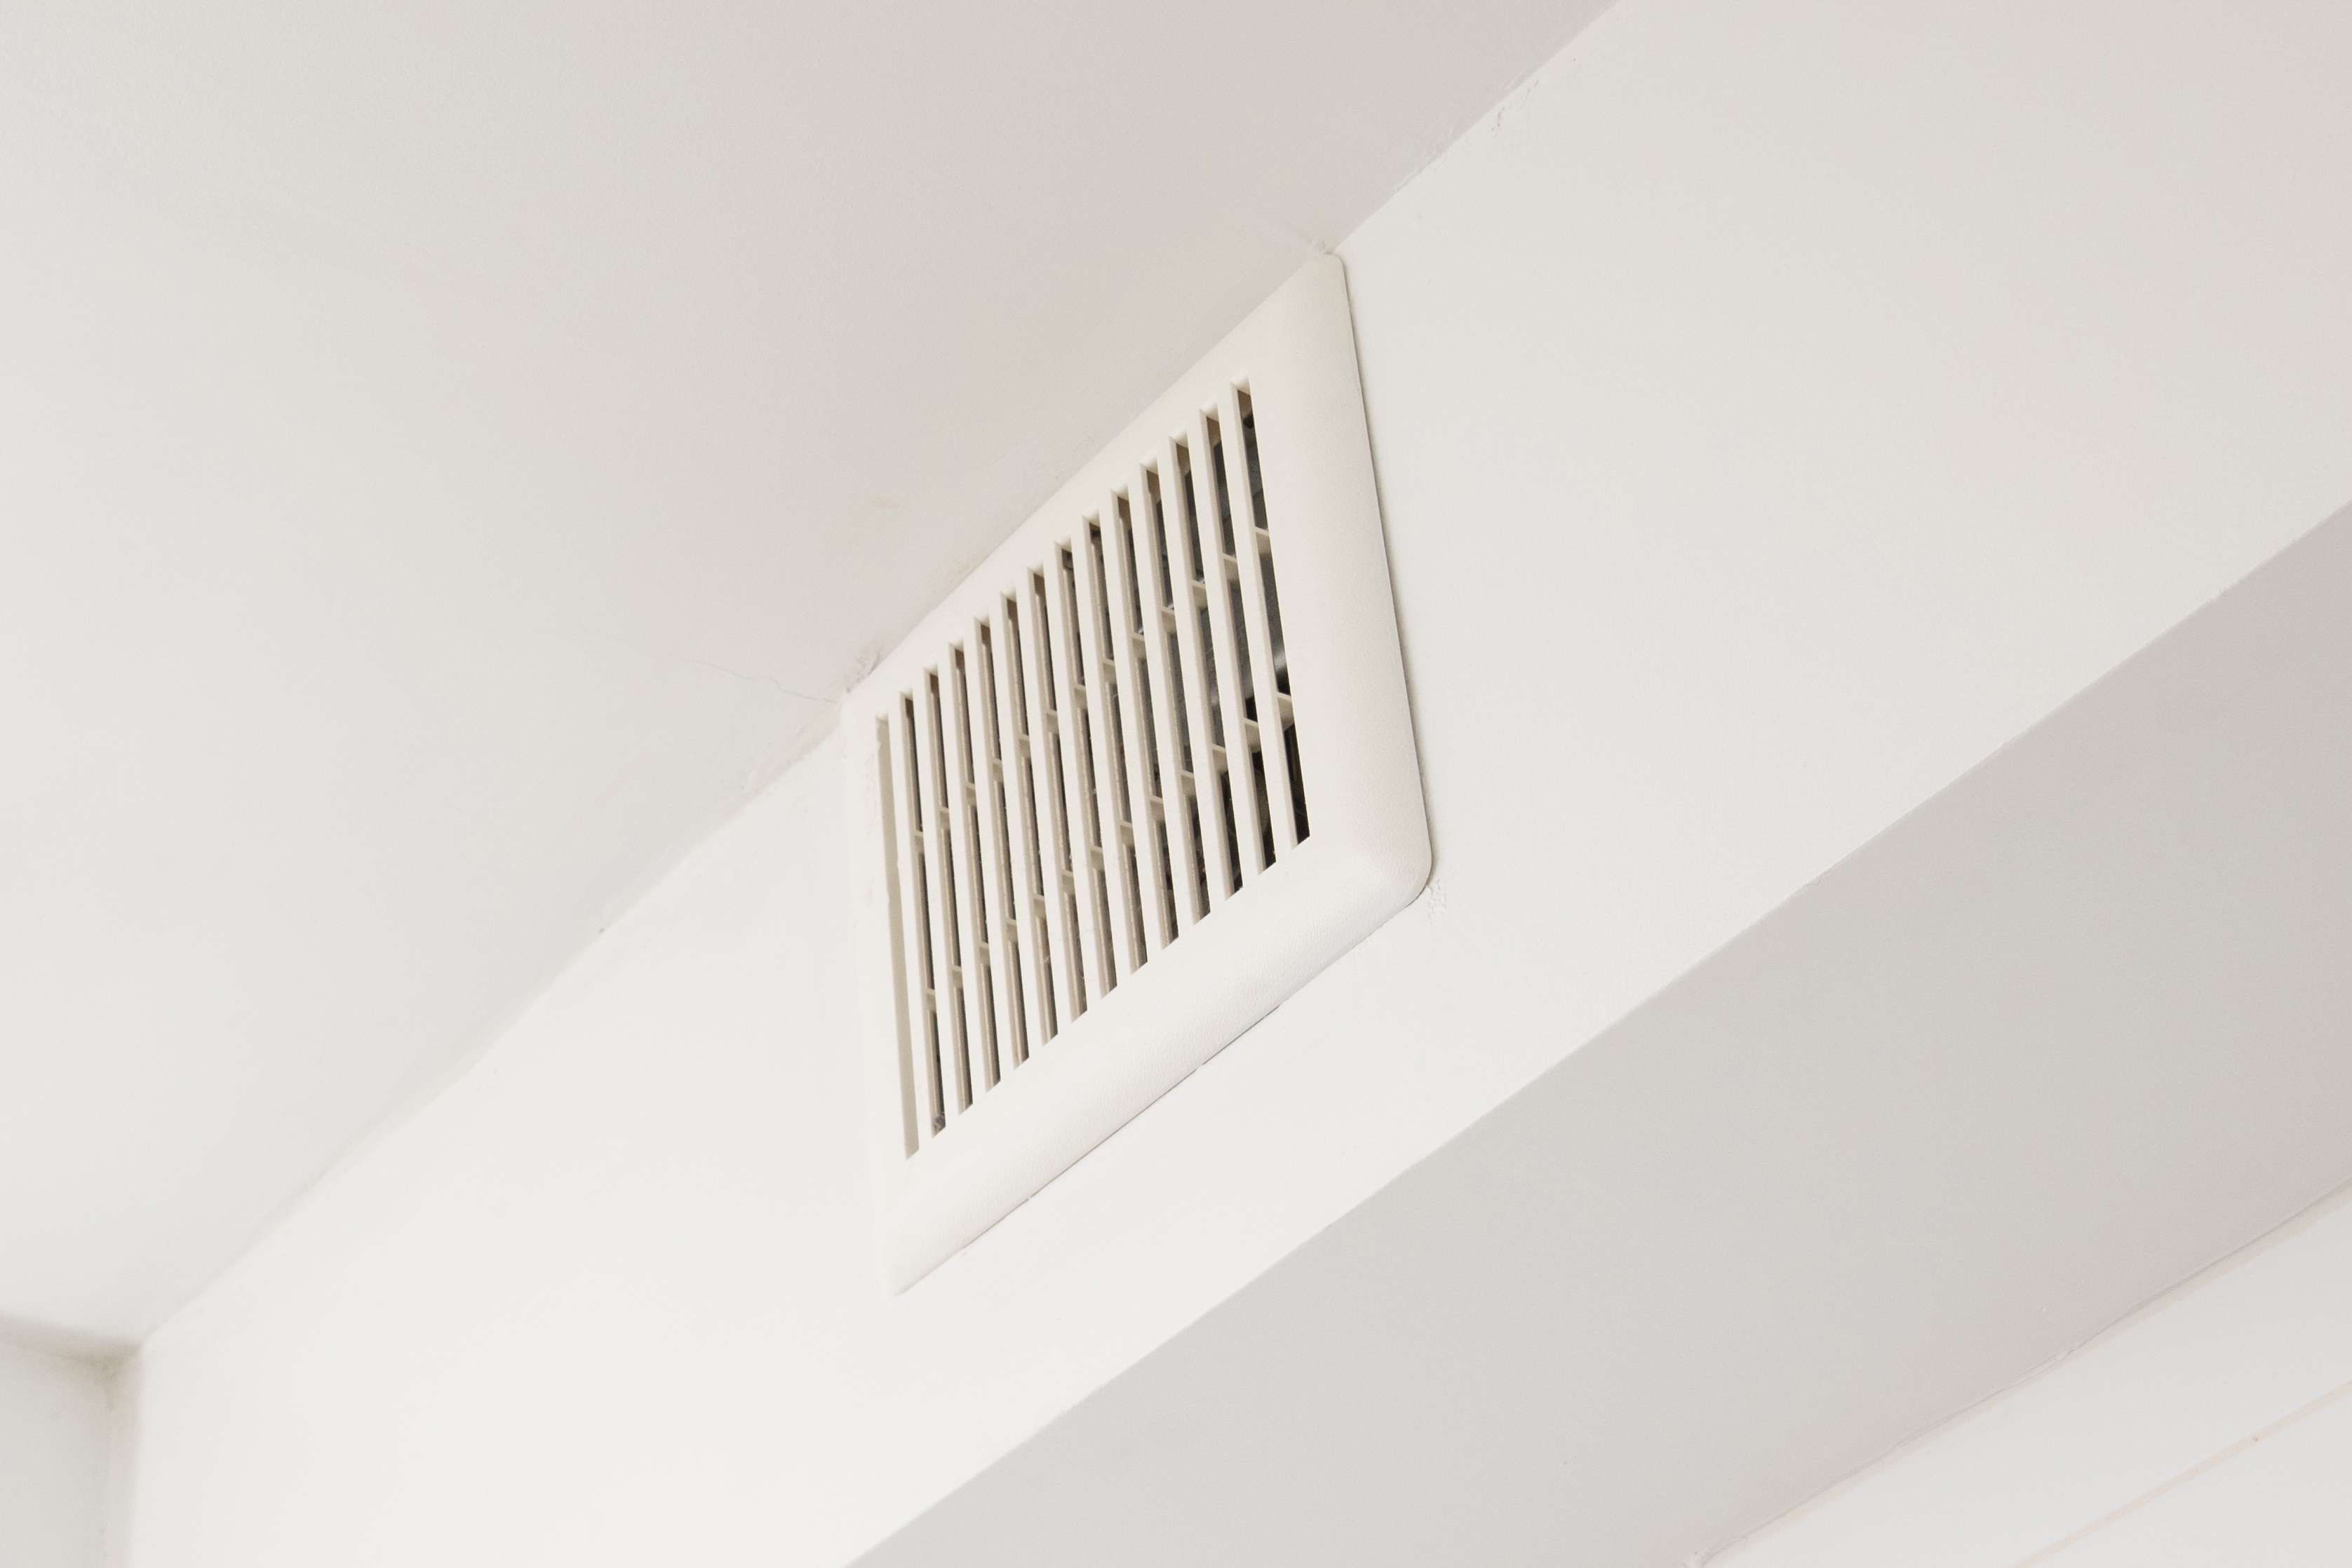
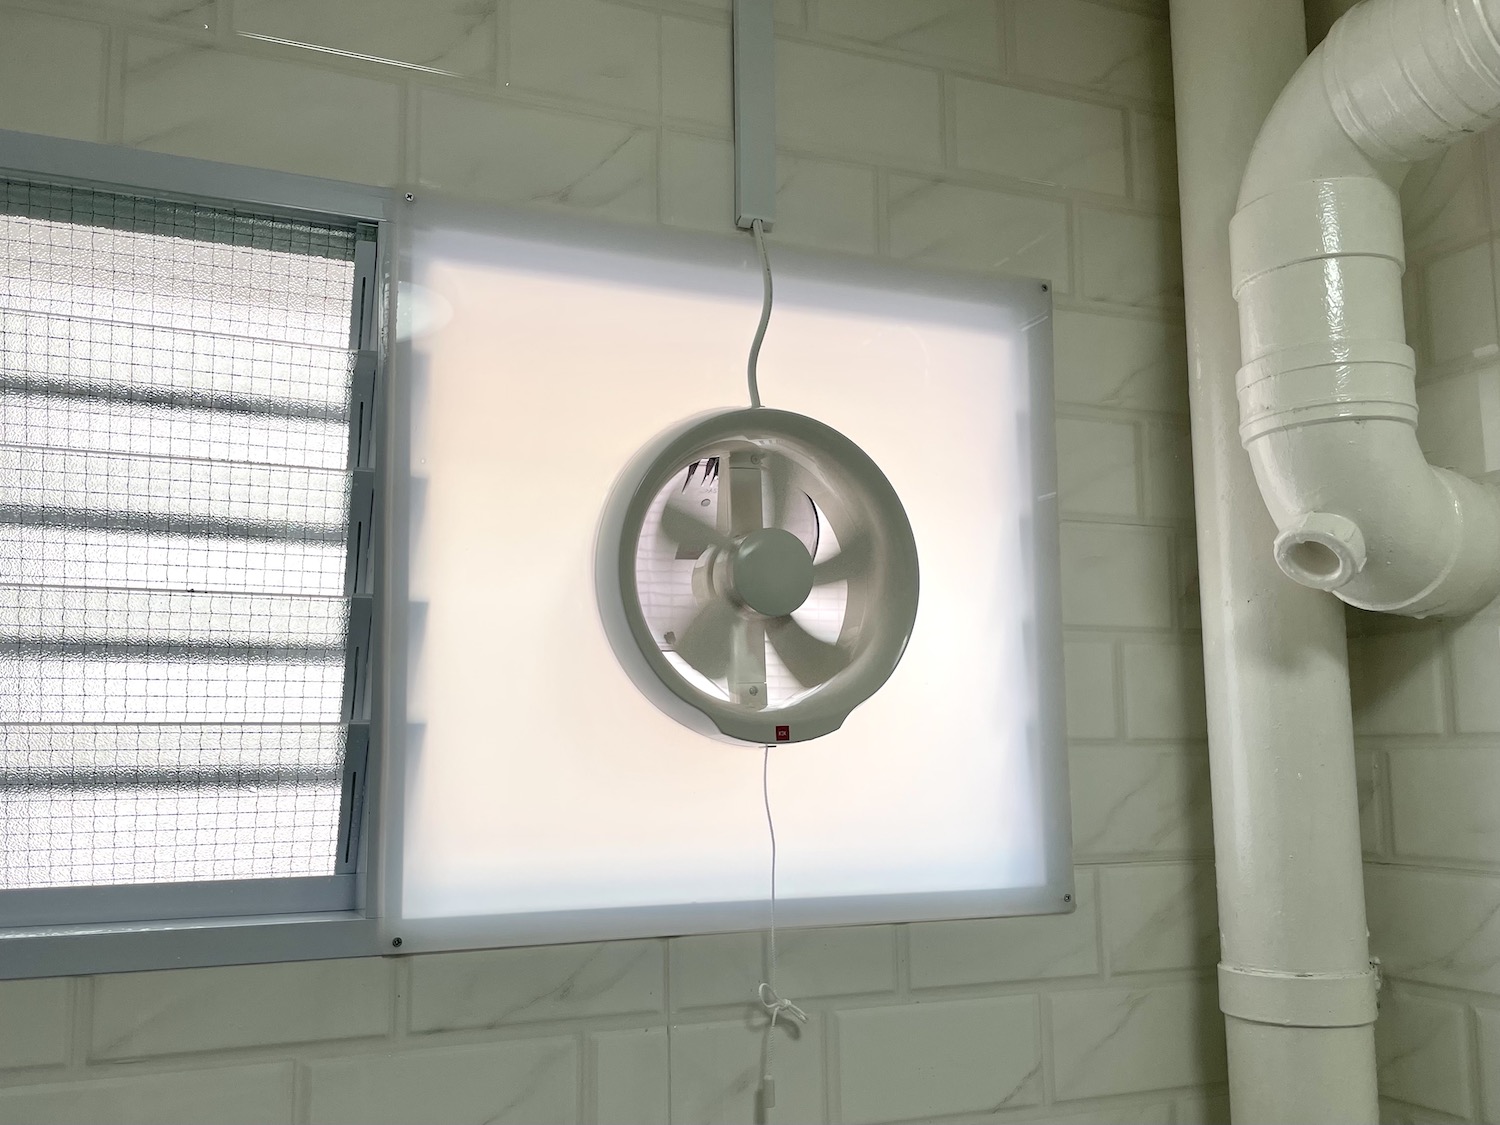
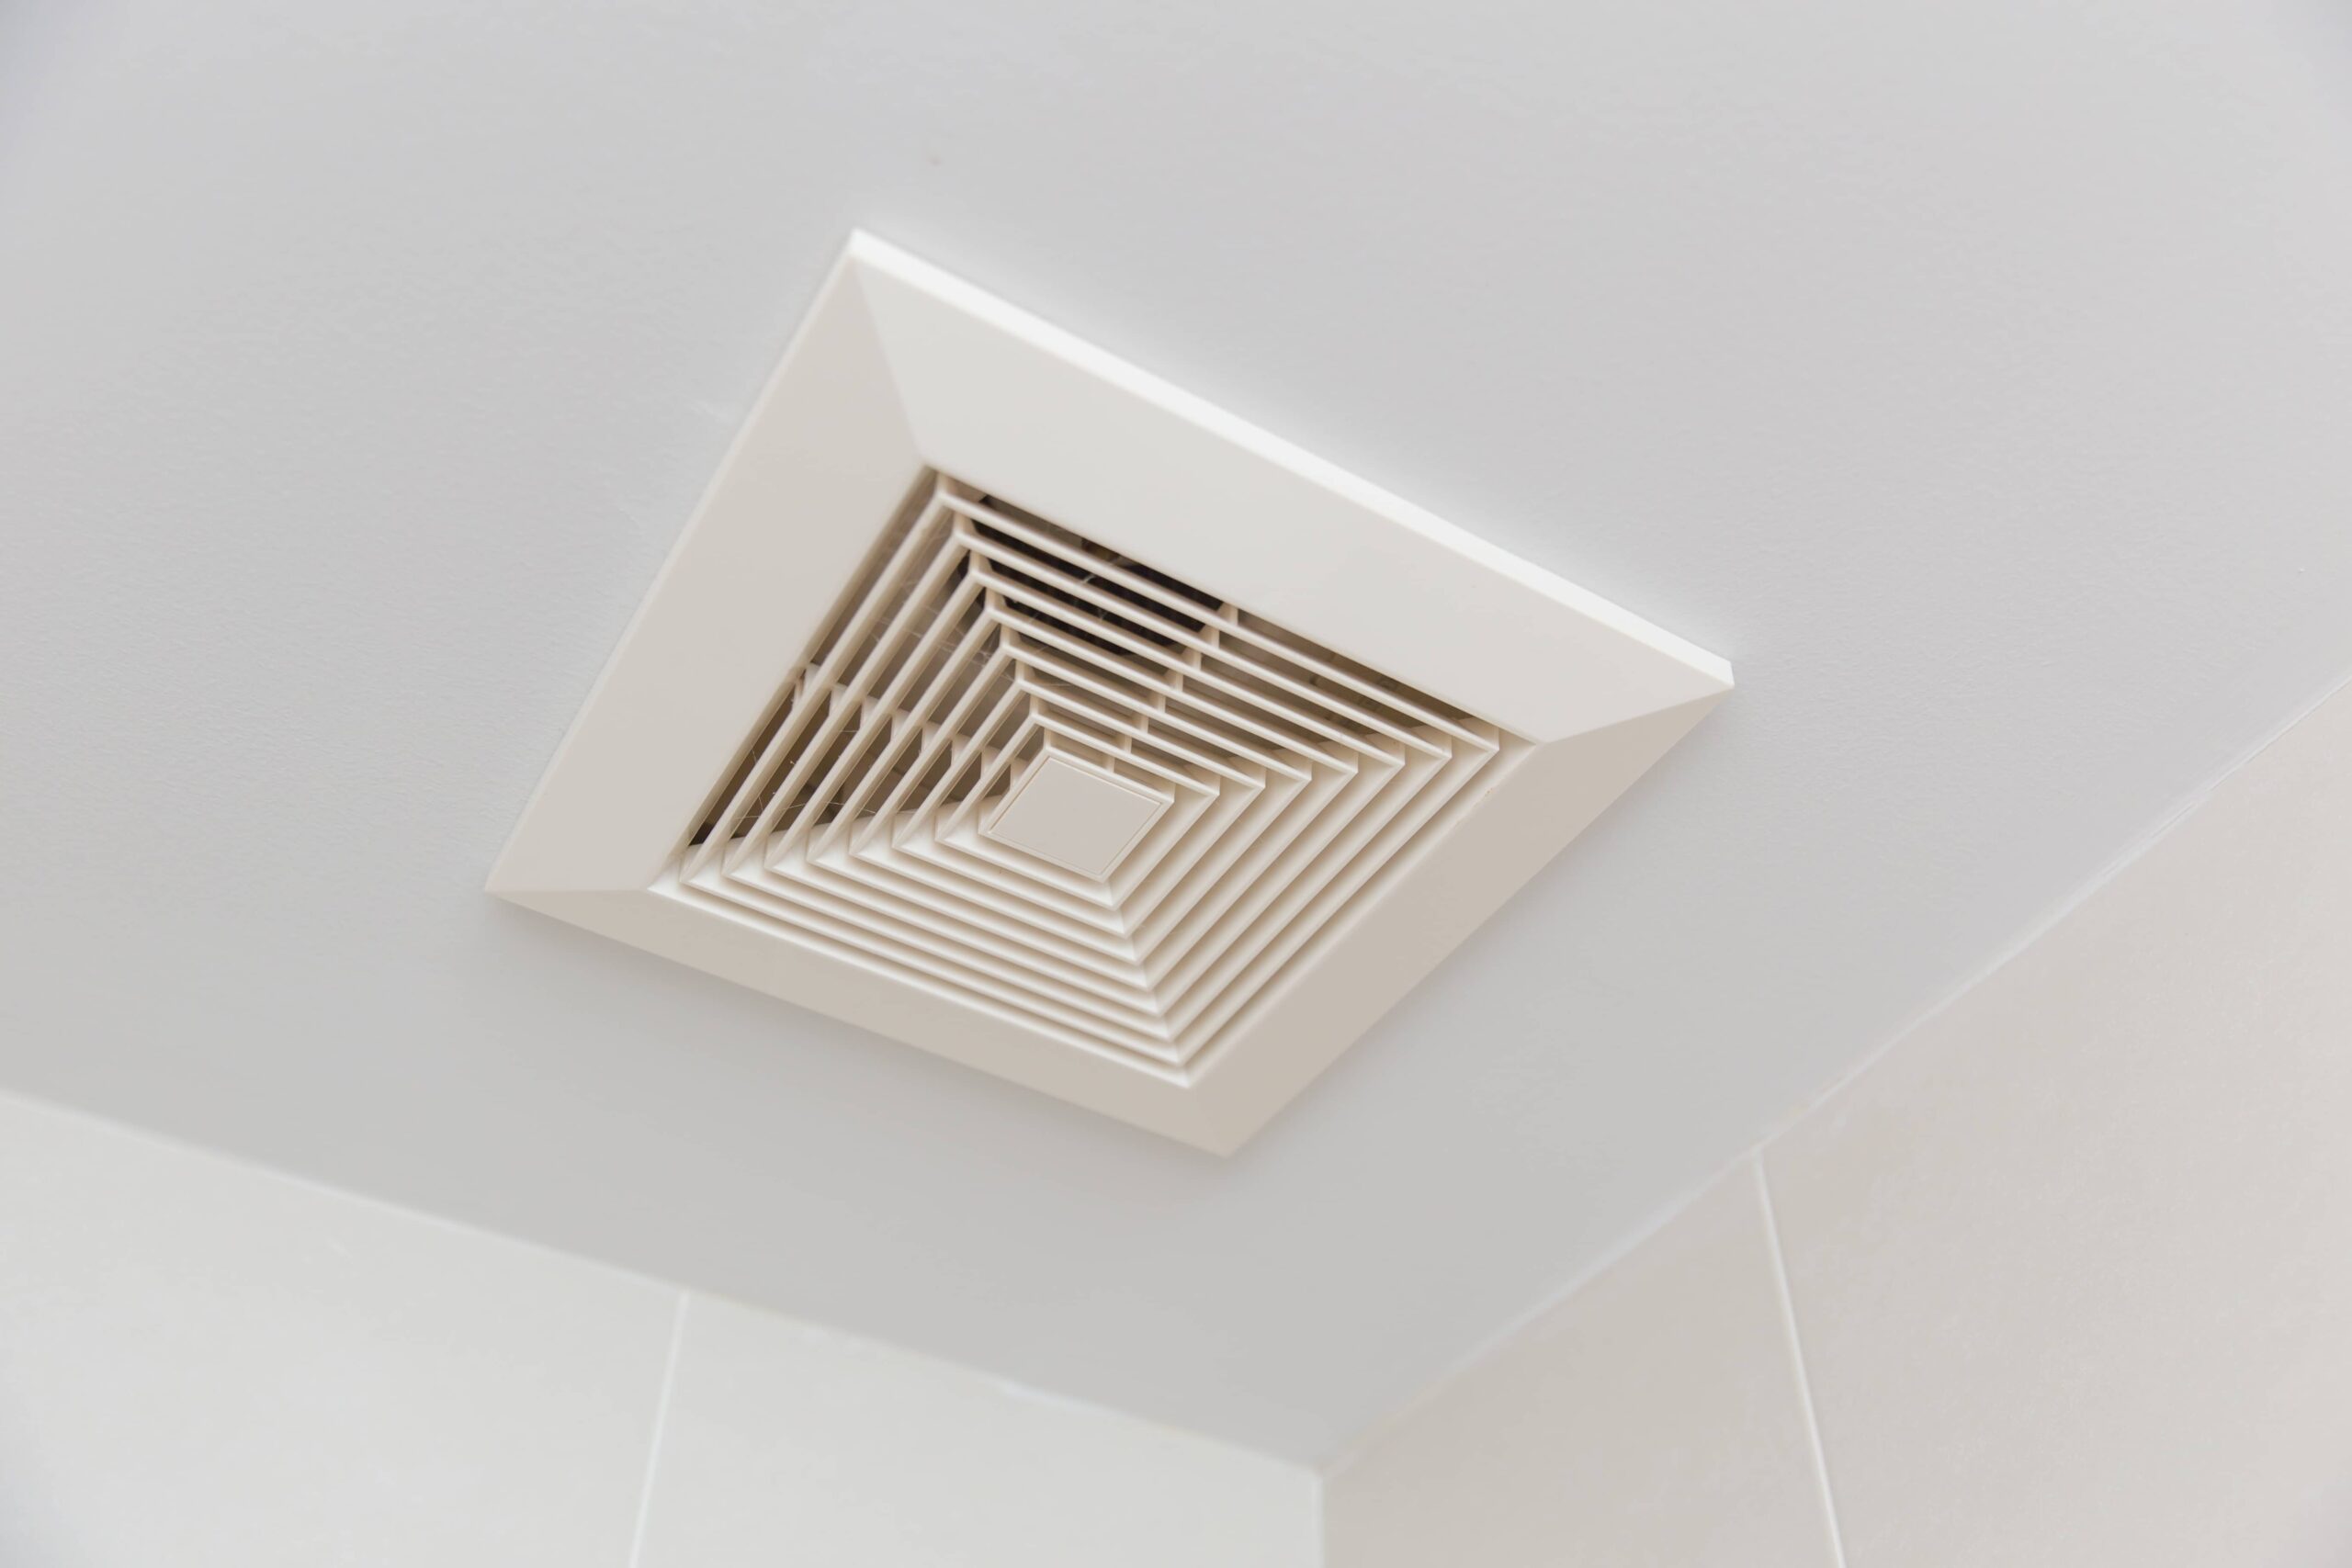
Step 2: Remove the cover
Removing the cover of your bathroom exhaust fan is the next crucial step in the process of cleaning out the fan and duct. The cover not only protects the internal components of the fan but also serves as a barrier for dust and debris. Here's a detailed guide on how to safely remove the cover of your bathroom exhaust fan:
-
Locate the Screws: Most bathroom exhaust fan covers are secured in place by screws. Using a step ladder, carefully position yourself to access the fan. Inspect the perimeter of the cover to identify the screws holding it in place. In some models, the screws may be hidden under a cover or grille, so be thorough in your examination.
-
Use the Correct Tools: Once you have located the screws, use the appropriate screwdriver to loosen and remove them. It's essential to use a screwdriver that fits the screw heads snugly to avoid stripping the screws. If the screws are rusted or difficult to remove, applying a small amount of penetrating oil can help loosen them.
-
Gently Remove the Cover: With the screws removed, carefully lift the cover away from the fan housing. Be mindful of any electrical connections or wiring that may be attached to the cover. If the cover is connected to the fan via a wiring harness, gently disconnect it by releasing the clips or connectors.
-
Inspect the Cover: While the cover is removed, take the opportunity to inspect it for any signs of damage or excessive dirt buildup. Wipe the cover with a damp cloth to remove dust and grime. If the cover is excessively dirty or damaged, consider cleaning it thoroughly or replacing it with a new one for optimal performance.
By following these steps, you can safely remove the cover of your bathroom exhaust fan, setting the stage for the subsequent cleaning and maintenance tasks. With the cover removed, you gain access to the fan blades and internal components, allowing for thorough cleaning and inspection to ensure the efficient operation of your bathroom exhaust fan.
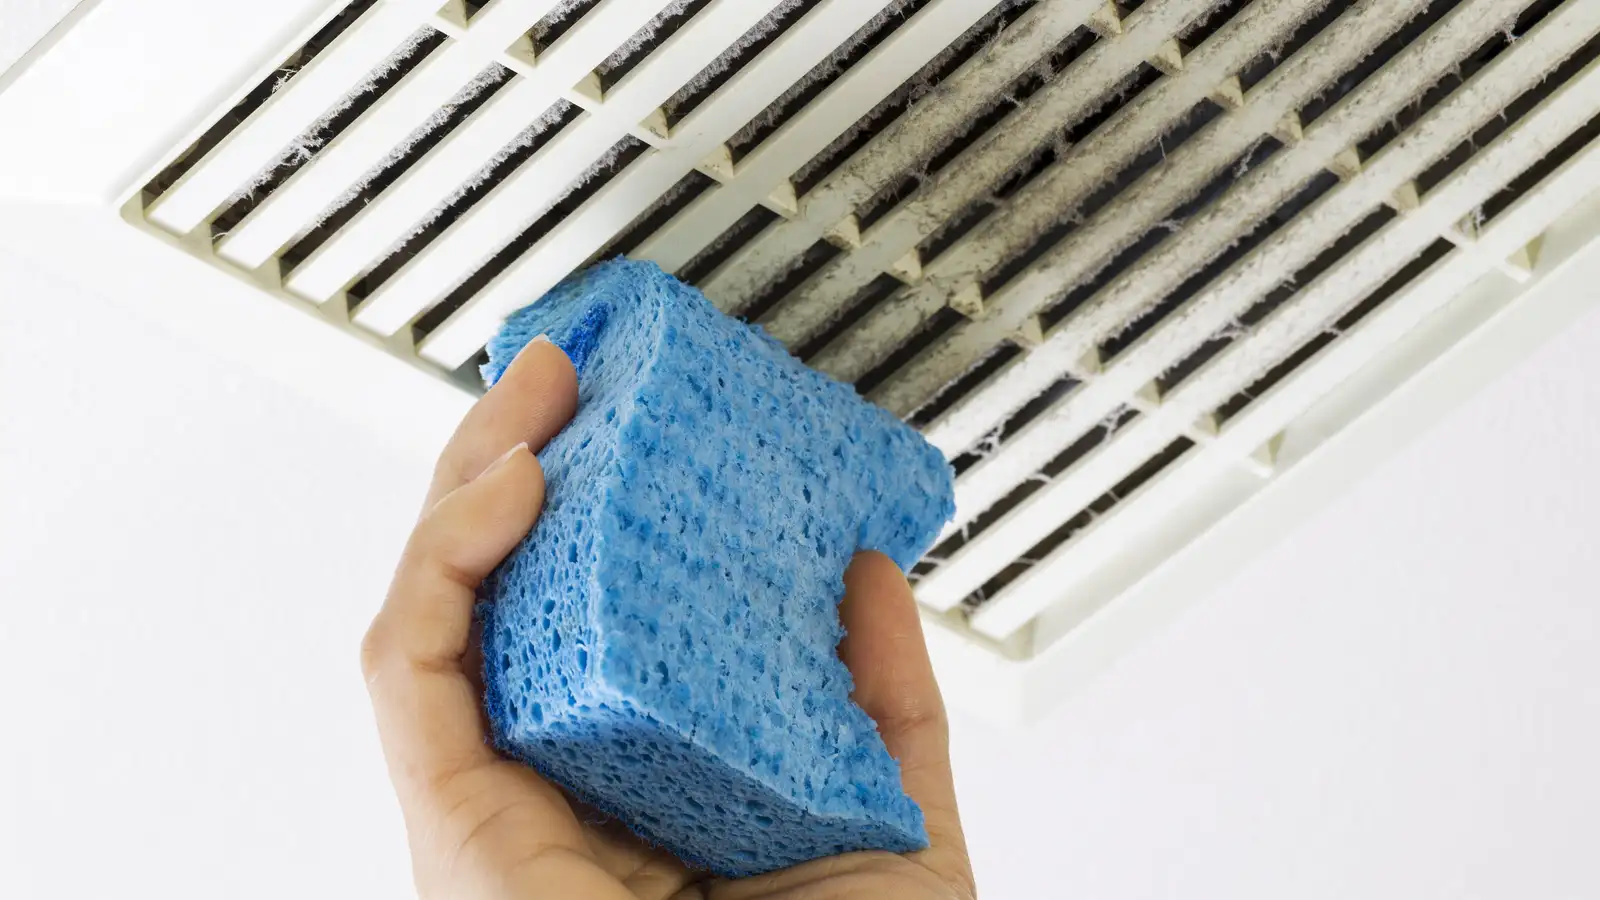
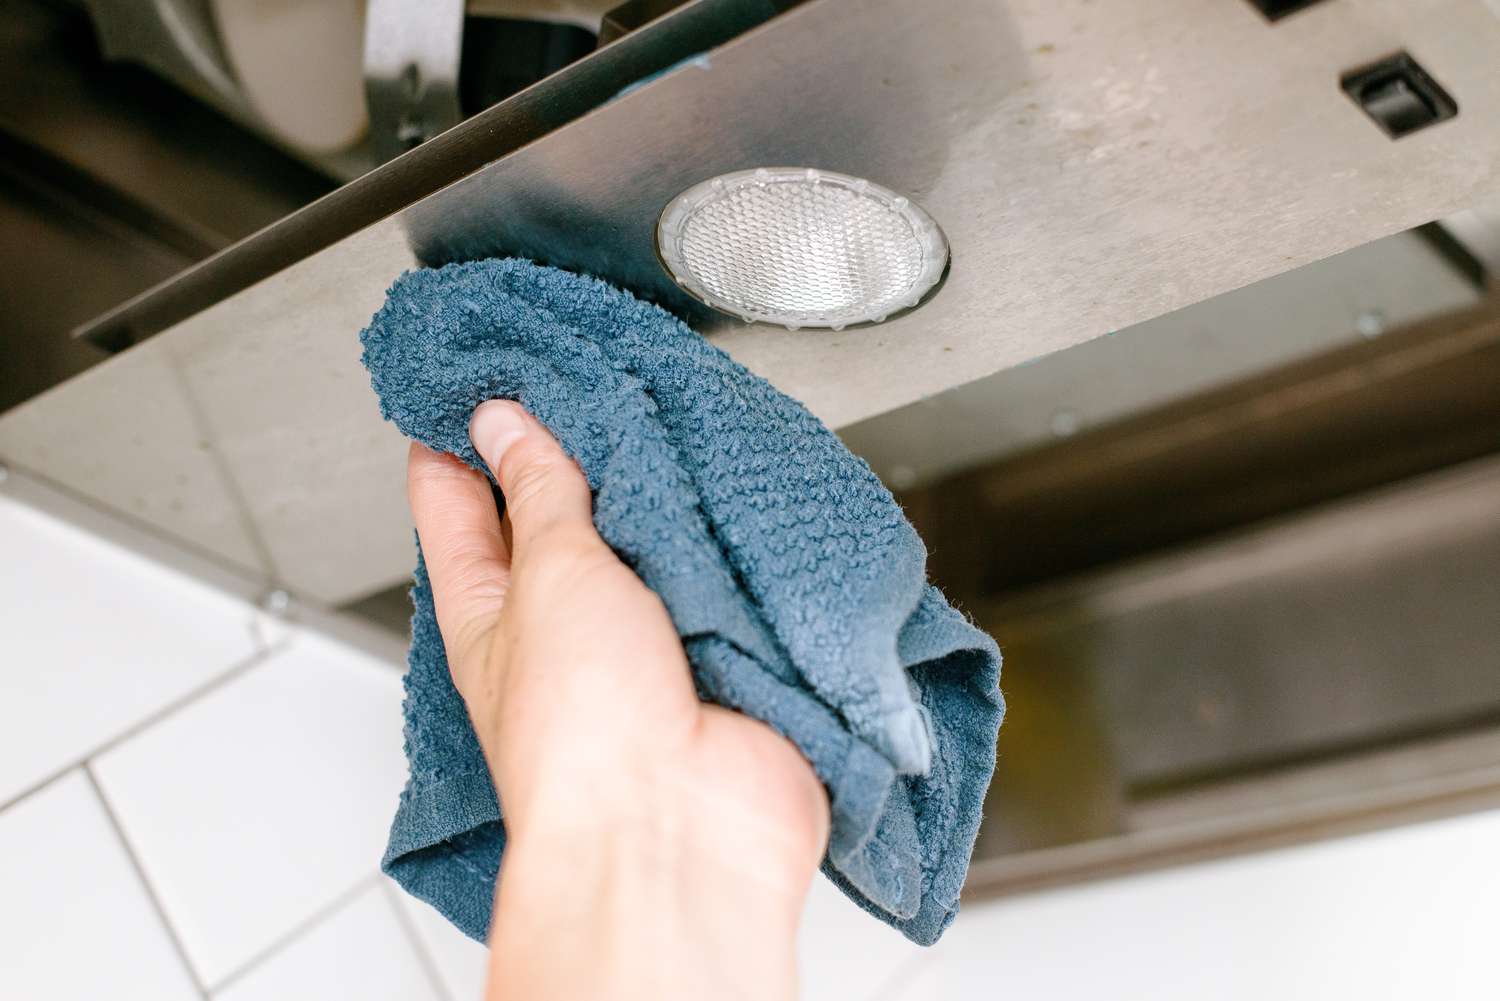
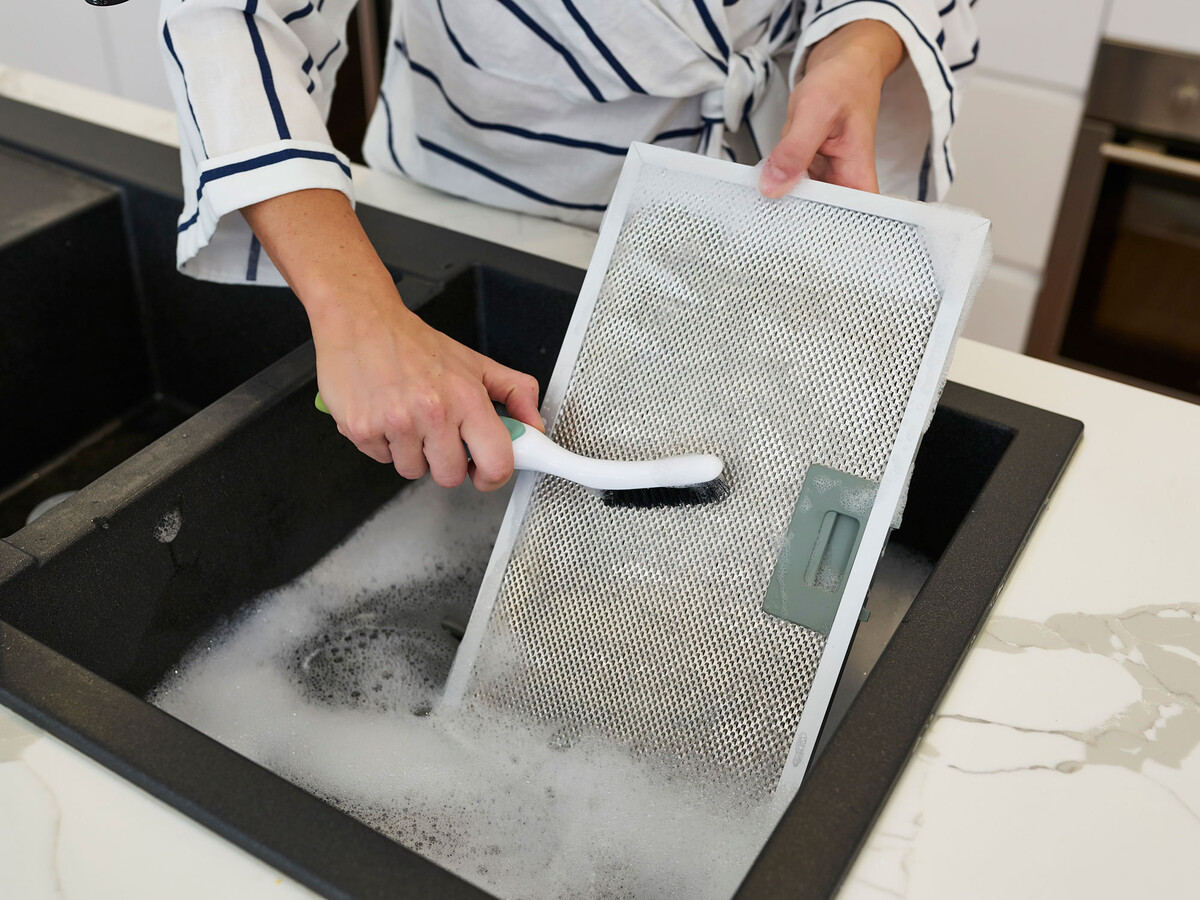
Step 3: Clean the cover and fan blades
With the cover of your bathroom exhaust fan removed, you now have access to the fan blades and the interior surface of the cover. Cleaning these components is essential to ensure optimal airflow and efficient operation of the fan. Here's a detailed guide on how to clean the cover and fan blades effectively:
Cleaning the Cover:
-
Dust Removal: Begin by using a soft-bristled brush or a vacuum cleaner with a brush attachment to gently remove any accumulated dust and debris from the interior and exterior surfaces of the cover. Pay close attention to the grille or vent openings to ensure that they are free from obstructions.
-
Washing the Cover: If the cover is washable, prepare a solution of mild detergent and warm water. Use a soft cloth or sponge to gently wash the cover, paying special attention to any stubborn dirt or stains. Avoid using harsh chemicals or abrasive cleaners, as they can damage the finish of the cover.
-
Rinsing and Drying: After washing, thoroughly rinse the cover with clean water to remove any soapy residue. Allow the cover to air dry completely before reinstallation. Ensure that the cover is completely dry to prevent the growth of mold or mildew.
Read more: How To Fix Bathroom Exhaust Fan
Cleaning the Fan Blades:
-
Dust and Debris Removal: Use a soft-bristled brush or a vacuum cleaner with a brush attachment to carefully remove dust and debris from the fan blades. Gently brush or vacuum both sides of the blades to ensure thorough cleaning.
-
Wiping the Blades: Dampen a soft cloth with a mild cleaning solution and gently wipe the fan blades to remove any remaining dirt or grime. Take care not to bend or damage the blades during the cleaning process.
-
Inspecting for Damage: While cleaning the fan blades, inspect them for any signs of damage, such as warping or excessive wear. If any damage is detected, consider replacing the fan blades to maintain the optimal performance of the exhaust fan.
By following these steps to clean the cover and fan blades of your bathroom exhaust fan, you can ensure that the components are free from obstructions and dirt, allowing for efficient airflow and effective moisture removal. A clean cover and fan blades contribute to the overall performance and longevity of your bathroom exhaust fan, promoting a healthier and more comfortable bathroom environment.
Step 4: Clean the duct
Cleaning the duct of your bathroom exhaust fan is a critical step in ensuring optimal airflow and efficient moisture removal. Over time, dust, lint, and moisture can accumulate within the duct, leading to reduced performance and potential air quality issues. Here's a detailed guide on how to effectively clean the duct of your bathroom exhaust fan:
-
Accessing the Duct: Begin by locating the access point to the duct. In some cases, the duct may be connected to the fan housing via a removable vent cover or grille. Carefully remove the cover or grille to gain access to the interior of the duct. If the duct is concealed within the ceiling or wall, you may need to access it from the attic or crawl space.
-
Inspecting for Debris: Using a flashlight, visually inspect the interior of the duct for any signs of debris, dust, or blockages. Pay close attention to any areas where the duct may bend or curve, as these areas are prone to accumulating debris. If you notice significant buildup or obstructions, it's essential to address them to ensure unrestricted airflow.
-
Removing Debris: Once you have identified any debris or blockages, use a vacuum cleaner with a flexible hose attachment to carefully remove the accumulated dust and lint from the interior of the duct. Gently maneuver the hose to reach as much of the duct as possible, ensuring thorough removal of debris. Alternatively, a specialized duct cleaning brush can be used to dislodge and remove stubborn debris.
-
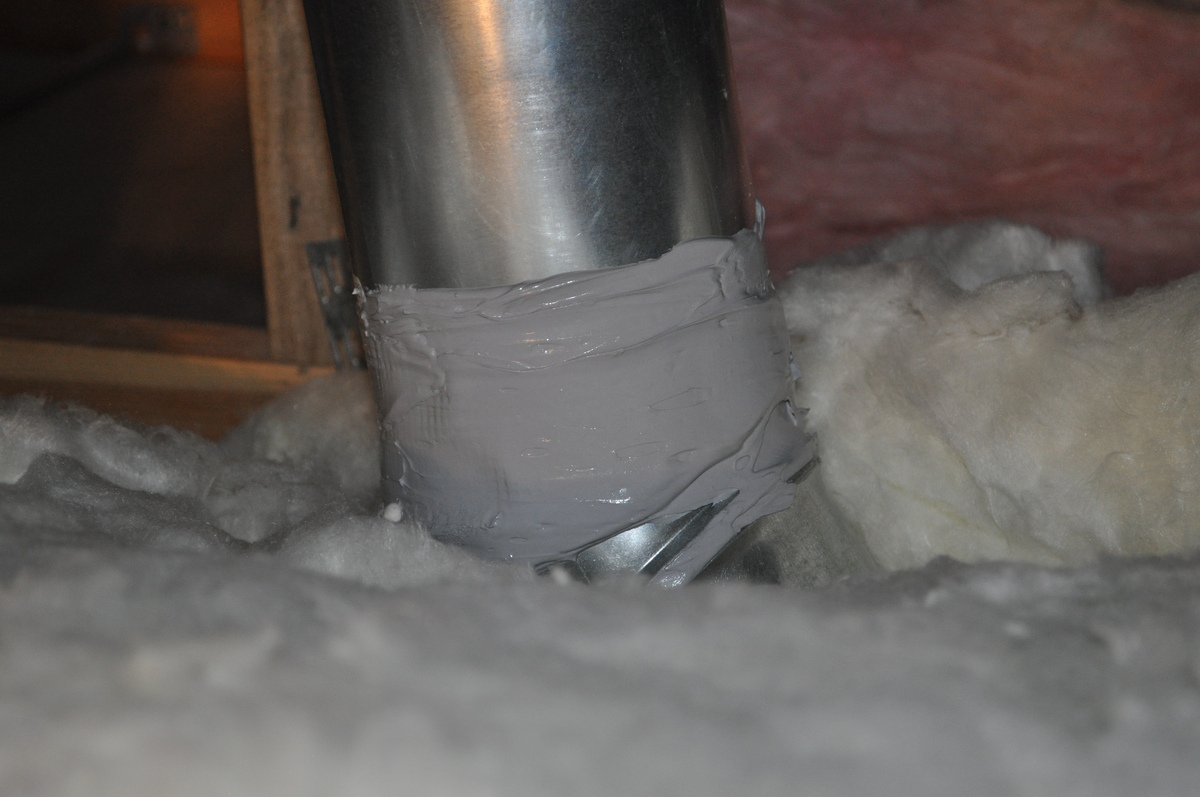
Cleaning the Exterior: In addition to cleaning the interior of the duct, it's important to address the exterior surfaces as well. Use a damp cloth or sponge to wipe down the exterior of the duct, removing any dust or grime that may have accumulated. Pay attention to the vent cover or grille, ensuring that it is free from obstructions and dirt.
-
Sanitizing the Duct (Optional): To further enhance the cleanliness of the duct and inhibit the growth of mold and mildew, consider using a specialized duct sanitizing spray. These sprays are designed to neutralize odors and kill mold spores and bacteria, promoting a healthier indoor environment. Follow the manufacturer's instructions when using a duct sanitizing spray.
By following these steps to clean the duct of your bathroom exhaust fan, you can ensure that the airflow remains unobstructed and that moisture and odors are effectively removed from your bathroom. A clean and well-maintained duct contributes to the overall performance and longevity of your bathroom exhaust fan, allowing you to enjoy a fresher and more comfortable bathroom environment.
Use a vacuum with a brush attachment to clean the exhaust fan duct. Remove the cover, vacuum the fan blades and inside the duct. Wipe the cover before reattaching.
Step 5: Reassemble the fan and duct
After completing the essential cleaning tasks, reassembling the fan and duct is the final step in the process of maintaining your bathroom exhaust system. Proper reassembly ensures that the fan operates efficiently and effectively, contributing to a fresh and healthy bathroom environment. Here's a detailed guide on how to reassemble the fan and duct with precision and care:
-
Replace the Cover: Begin by carefully positioning the cover back onto the fan housing. Ensure that the cover aligns properly with the housing and any electrical connections or wiring are reattached as per the manufacturer's instructions. Use the previously removed screws to secure the cover in place, tightening them evenly to ensure a snug fit.
-
Secure the Duct Connections: If the duct is connected to the fan housing via a removable vent cover or grille, reattach the cover securely, ensuring a tight seal. This step is crucial in preventing air leaks and maintaining optimal airflow through the duct. If the duct is concealed within the ceiling or wall, ensure that any access panels or openings are properly closed and sealed.
-
Restore Power: Once the fan and duct are reassembled, return to the circuit breaker panel and switch the breaker for the bathroom exhaust fan back to the "on" position. Test the fan by turning it on from the bathroom switch. Listen for smooth and quiet operation, indicating that the fan is functioning as intended.
-
Final Inspection: Take a moment to visually inspect the reassembled fan and duct. Ensure that the cover is securely in place, the duct connections are sealed, and the fan operates smoothly. Address any issues or concerns promptly to guarantee the optimal performance of your bathroom exhaust system.
By following these steps to reassemble the fan and duct of your bathroom exhaust system, you can complete the maintenance process with confidence and precision. A properly reassembled fan and duct contribute to efficient airflow, effective moisture removal, and a healthier bathroom environment for you and your family. Regular maintenance and cleaning of your bathroom exhaust fan and duct will help ensure long-term performance and peace of mind, knowing that your bathroom remains a clean and refreshing space within your home.
Conclusion
In conclusion, maintaining a clean and well-functioning bathroom exhaust fan duct is essential for promoting a healthy and comfortable indoor environment. By following the step-by-step process outlined in this guide, you can ensure that your bathroom remains free from excess moisture, odors, and potential air quality issues. Regular cleaning and maintenance of the exhaust fan and duct not only contribute to a fresher bathroom environment but also help prevent the buildup of mold and mildew, which can have detrimental effects on both health and home integrity.
The thorough cleaning of the fan cover and blades ensures that airflow remains unobstructed, allowing the fan to effectively remove moisture and odors from the bathroom. Additionally, cleaning the duct prevents the accumulation of dust, lint, and moisture, which can impede the fan's performance and lead to potential air quality concerns. By reassembling the fan and duct with care and precision, you can ensure that the system operates efficiently, promoting a healthier and more comfortable bathroom environment for you and your family.
It's important to emphasize the role of safety in the maintenance of a bathroom exhaust fan duct. Turning off the power supply and exercising caution when working with electrical components are crucial steps to ensure a safe cleaning process. Additionally, regular inspection and cleaning of the exhaust fan and duct contribute to the longevity of the system, reducing the risk of malfunctions and costly repairs in the future.
By incorporating the maintenance of the bathroom exhaust fan duct into your regular home care routine, you can enjoy the benefits of a clean, fresh, and comfortable bathroom environment. Whether you are a seasoned DIY enthusiast or a homeowner looking to take proactive steps in home maintenance, the process of cleaning out a bathroom exhaust fan duct is an achievable and rewarding task that contributes to the overall well-being of your home.
In conclusion, a clean and well-maintained bathroom exhaust fan duct not only enhances the air quality and comfort of your bathroom but also contributes to a healthier living environment for you and your loved ones. With the knowledge and confidence gained from this guide, you are well-equipped to tackle the maintenance of your bathroom exhaust fan duct, ensuring that your bathroom remains a clean and refreshing oasis within your home.
Frequently Asked Questions about How To Clean Out A Bathroom Exhaust Fan Duct
Was this page helpful?
At Storables.com, we guarantee accurate and reliable information. Our content, validated by Expert Board Contributors, is crafted following stringent Editorial Policies. We're committed to providing you with well-researched, expert-backed insights for all your informational needs.


0 thoughts on “How To Clean Out A Bathroom Exhaust Fan Duct”