Articles
How To Clean Ulit Ice Maker
Modified: October 18, 2024
Learn effective techniques for cleaning your Ulit ice maker with these informative articles. Maintain optimal performance and extend the lifespan of your ice maker.
(Many of the links in this article redirect to a specific reviewed product. Your purchase of these products through affiliate links helps to generate commission for Storables.com, at no extra cost. Learn more)
Introduction
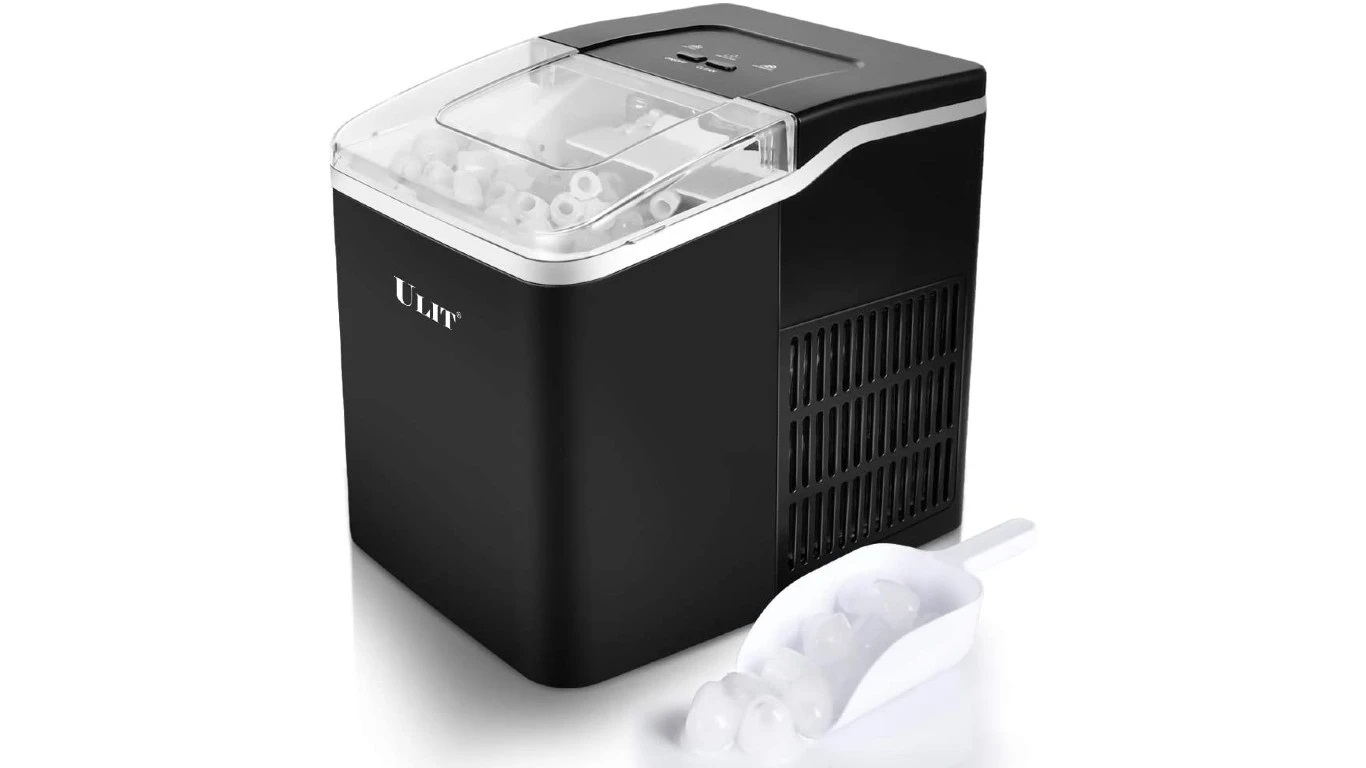
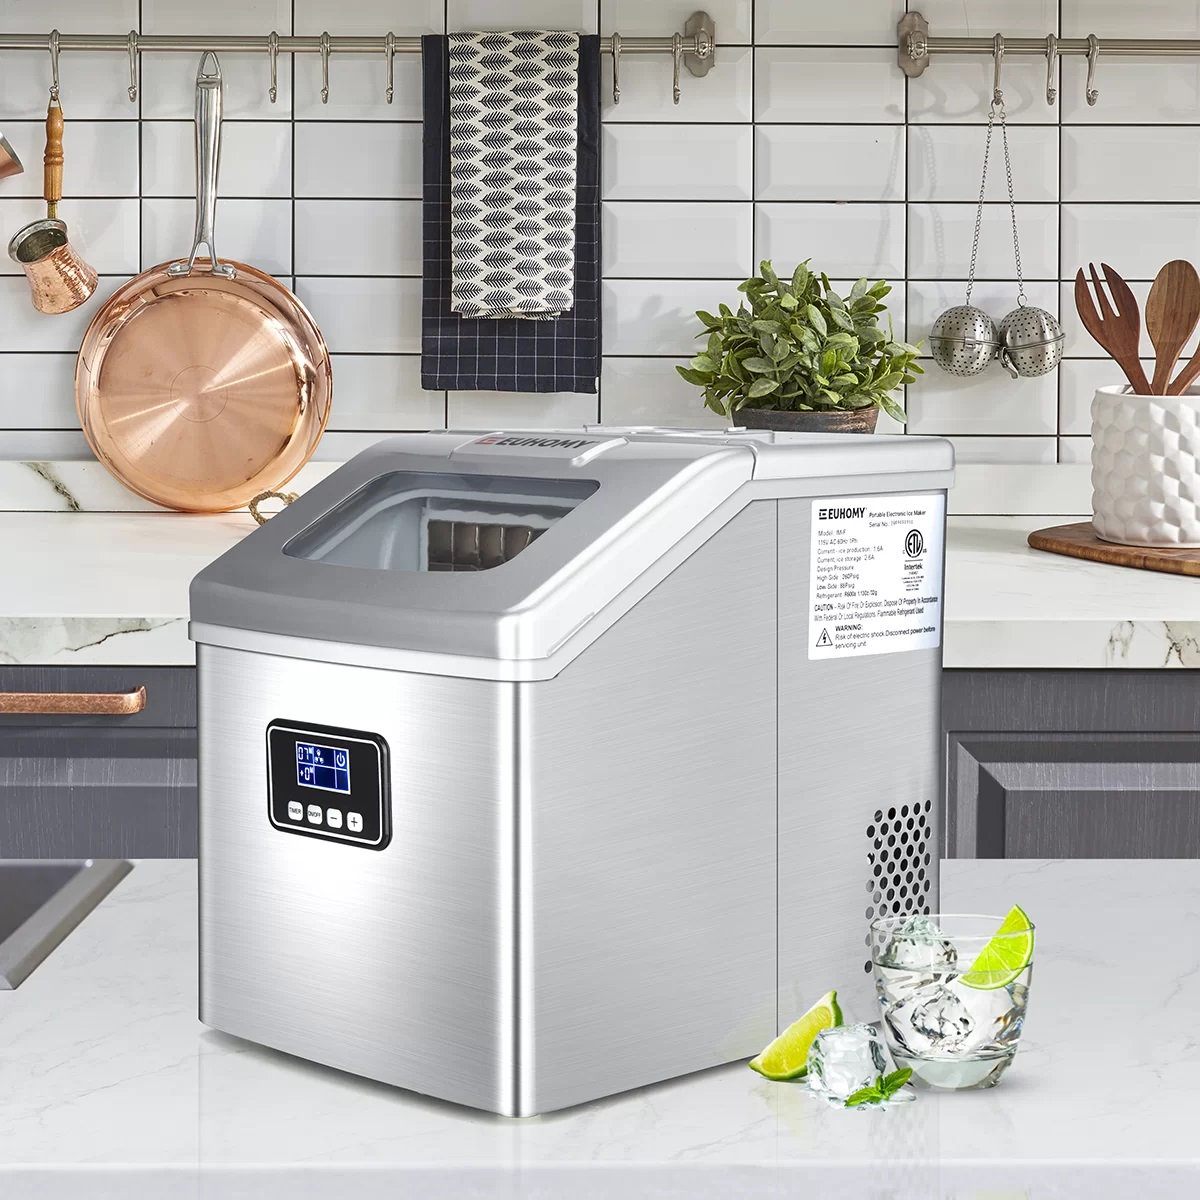
Welcome to our guide on how to clean your Ulti Ice Maker! Keeping your ice maker clean is essential to maintain its efficiency and ensure that the ice it produces is safe for consumption. Over time, mineral deposits, bacteria, and other impurities can build up, affecting the quality and taste of the ice. Regular cleaning not only extends the lifespan of your ice maker but also ensures that you always have clean and fresh ice on hand.
In this article, we will provide you with a step-by-step process to clean your Ulti Ice Maker effectively. We will also cover some essential safety precautions to keep in mind during the cleaning process. So, let’s get started and learn how to keep your Ulti Ice Maker sparkling clean!
Key Takeaways:
- Regularly cleaning your Ulti Ice Maker is crucial for maintaining its efficiency, longevity, and the quality of the ice it produces. Follow the step-by-step guide to ensure a constant supply of clean and refreshing ice cubes.
- Prioritize safety, use recommended materials, and test the functionality of your Ulti Ice Maker after cleaning to ensure it continues to produce high-quality ice cubes. Regular maintenance will prolong its lifespan and keep your beverages refreshing.
Read more: How To Clean A Igloo Ice Maker
Safety Precautions
Before you embark on cleaning your Ulti Ice Maker, it’s crucial to prioritize safety. Here are some safety precautions to follow:
- Disconnect the Power: Always unplug the ice maker from the power source before starting the cleaning process. This will prevent any risk of electric shock or damage to the appliance.
- Protective Gear: Wear gloves and safety goggles to shield your hands and eyes from any chemicals or debris that may come in contact during the cleaning process. Safety should always be a priority.
- Read the Manufacturer’s Instructions: Familiarize yourself with the specific cleaning instructions provided by the manufacturer for your Ulti Ice Maker. Different models may have slightly different cleaning requirements, so be sure to follow the guidelines provided.
- Use Approved Cleaning Agents: Only use cleaning agents recommended by the manufacturer or specifically designed for ice maker cleaning. Avoid using harsh chemicals or abrasive materials that could damage the internal components of the ice maker.
- Follow Proper Disposal Methods: If you come across any water or debris while cleaning the ice maker, dispose of it properly. Do not pour it down the sink or leave it lying around, as it may contain bacteria or contaminants.
- Keep Children and Pets Away: While you are cleaning the ice maker, ensure that children and pets are kept at a safe distance. This will prevent any accidental injuries and keep them away from any hazardous materials.
- Allow Proper Ventilation: If you are using any cleaning agents that emit fumes, make sure you have adequate ventilation in the area. Open windows and turn on fans to circulate fresh air and prevent inhalation of harmful fumes.
By following these safety precautions, you can ensure a safe and efficient cleaning process for your Ulti Ice Maker. Let’s move on to the materials you will need for the cleaning process.
Materials Needed
Before you begin cleaning your Ulti Ice Maker, gather the following materials:
- Mild Cleaning Solution: Choose a non-abrasive cleaning solution that is safe for use on ice makers. You can either purchase a commercial ice maker cleaner or create your own by mixing mild dish soap with warm water.
- Clean Cloth or Sponge: Use a soft, lint-free cloth or sponge to clean the exterior and interior surfaces of the ice maker.
- Toothbrush or Soft Brush: A toothbrush or soft brush will help you scrub hard-to-reach areas and remove any stubborn residue from the ice maker components.
- Vinegar: Vinegar is a natural cleaner that can effectively remove mineral deposits and scale from the ice maker. It is particularly useful for cleaning the water lines.
- Water: You will need clean water for rinsing the ice maker and components after cleaning.
- Bucket or Sink: A bucket or sink can be used to collect water and cleaning solution during the cleaning process.
- Towel or Drying Rack: Have a towel or drying rack ready to dry the ice maker and components after cleaning.
- Owner’s Manual: Keep the owner’s manual handy for reference, as it may provide specific instructions or additional tips for cleaning your Ulti Ice Maker.
- Gloves and Safety Goggles: Protect your hands and eyes by wearing gloves and safety goggles throughout the cleaning process.
Having these materials prepared in advance will make the cleaning process smoother and more efficient. Now that you have everything you need, let’s move on to the step-by-step instructions to clean your Ulti Ice Maker.
Step 1: Disconnect the Ice Maker
The first step in cleaning your Ulti Ice Maker is to disconnect it from the power source. This ensures your safety and prevents any accidental activation of the ice maker during the cleaning process. Here’s how you can do it:
- Locate the power cord of your Ulti Ice Maker. It is usually located at the back or bottom of the appliance.
- Gently unplug the power cord from the electrical outlet. Make sure to handle the cord carefully to avoid any damage.
- Verify that the ice maker is completely disconnected by checking that the control panel and lights are turned off.
Once you have disconnected the ice maker, you can proceed with the next step of removing and cleaning the ice bin. Remember to prioritize your safety throughout the cleaning process by wearing gloves and safety goggles. Let’s move on to step 2.
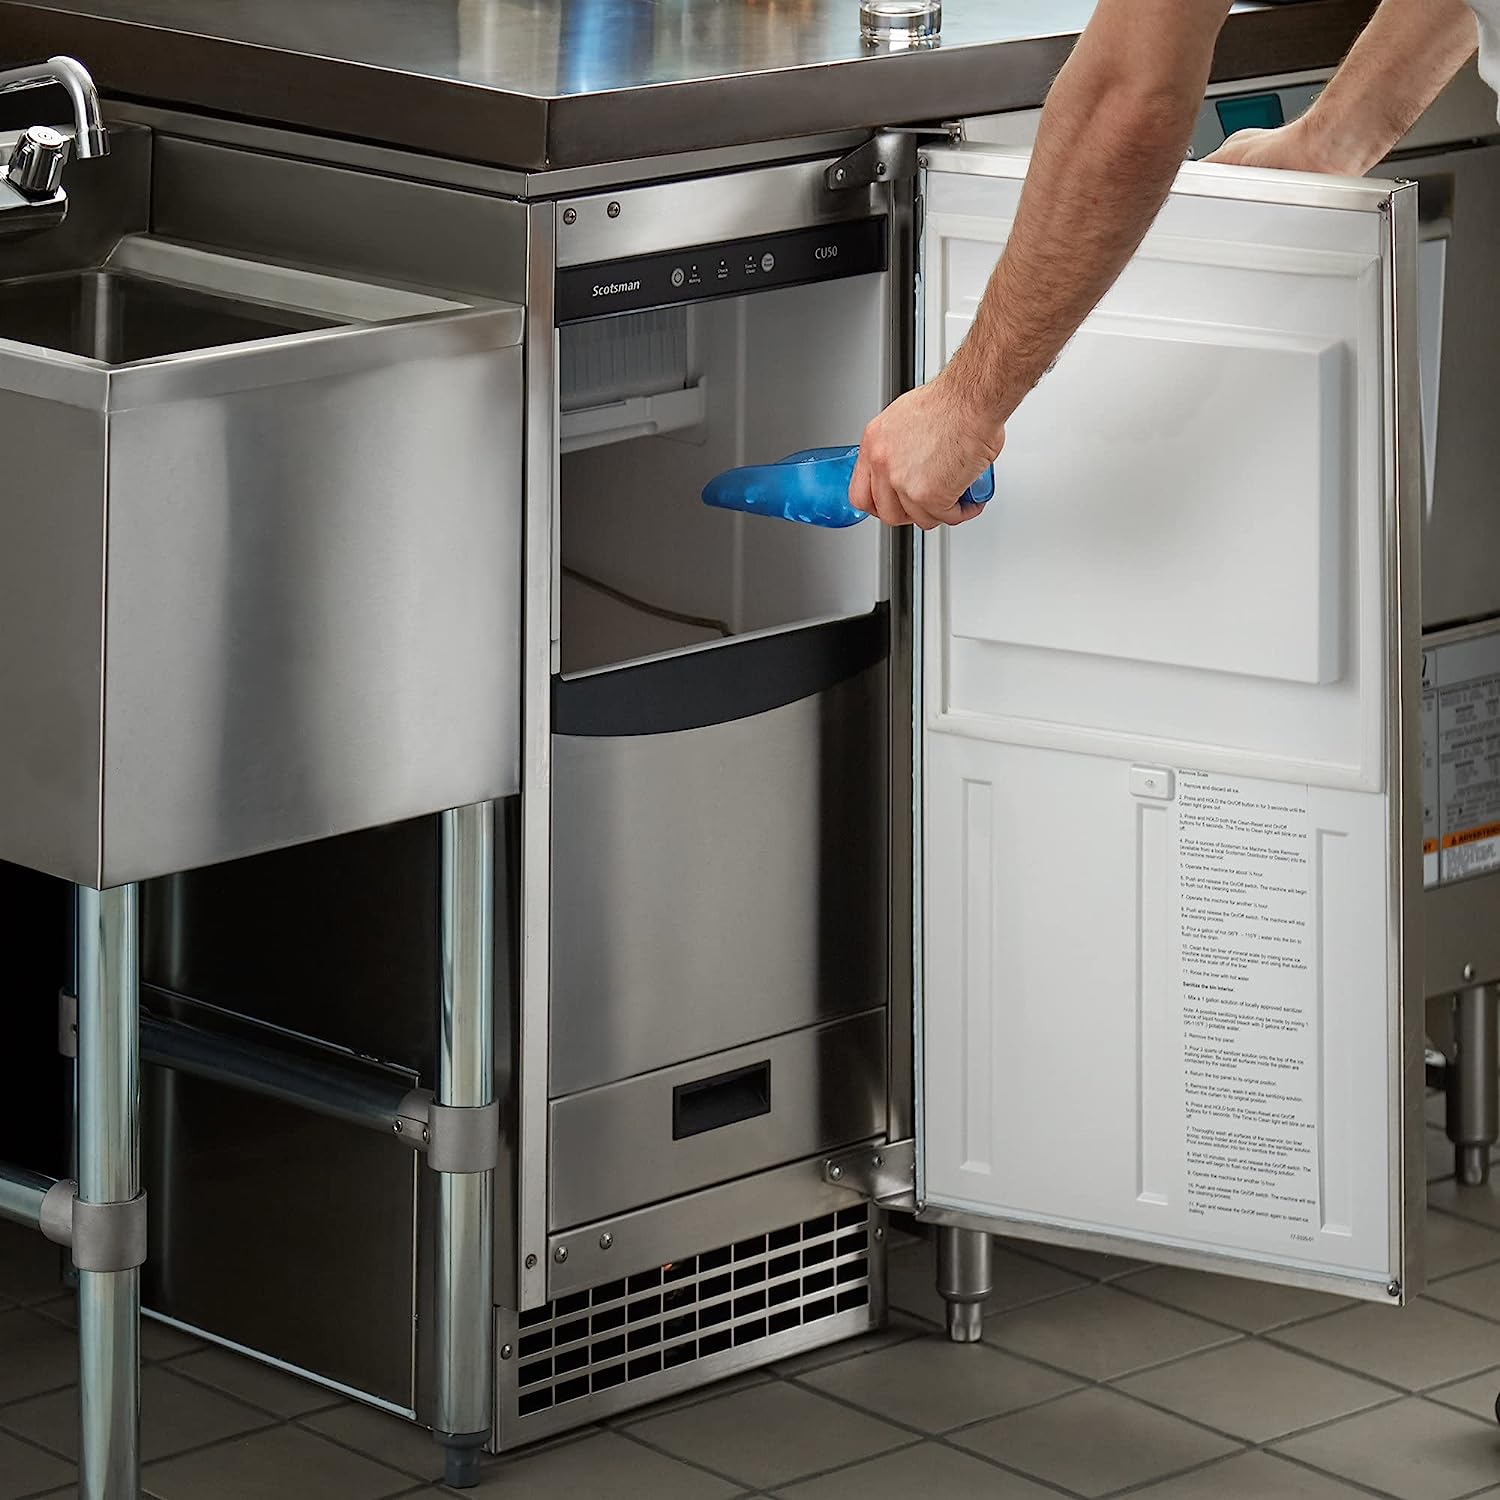
Step 2: Remove and Clean the Ice Bin
Now that you have disconnected the ice maker, it’s time to remove and clean the ice bin. The ice bin is where the ice cubes are stored, and it can accumulate dirt, debris, and even mold over time. Follow these steps to clean the ice bin:
- Locate the ice bin in your Ulti Ice Maker. It is usually located at the top or front of the appliance.
- Gently slide the ice bin out from its slot. Be careful not to spill any ice cubes or water during this process.
- Empty the contents of the ice bin into a sink or bucket. Dispose of any melted ice and rinse away any dirt or debris.
- Prepare a mild cleaning solution by mixing warm water with a small amount of dish soap.
- Dip a clean cloth or sponge into the cleaning solution and scrub the interior and exterior surfaces of the ice bin. Pay special attention to any areas with visible stains or build-up.
- Rinse the ice bin thoroughly with clean water to remove any soap residue.
- Allow the ice bin to air dry completely or wipe it dry with a clean towel.
- Once the ice bin is dry, slide it back into its original position in the ice maker.
By following these steps, you will effectively clean the ice bin and remove any dirt or contaminants. The next step involves cleaning the components of the ice maker itself. Let’s move on to step 3.
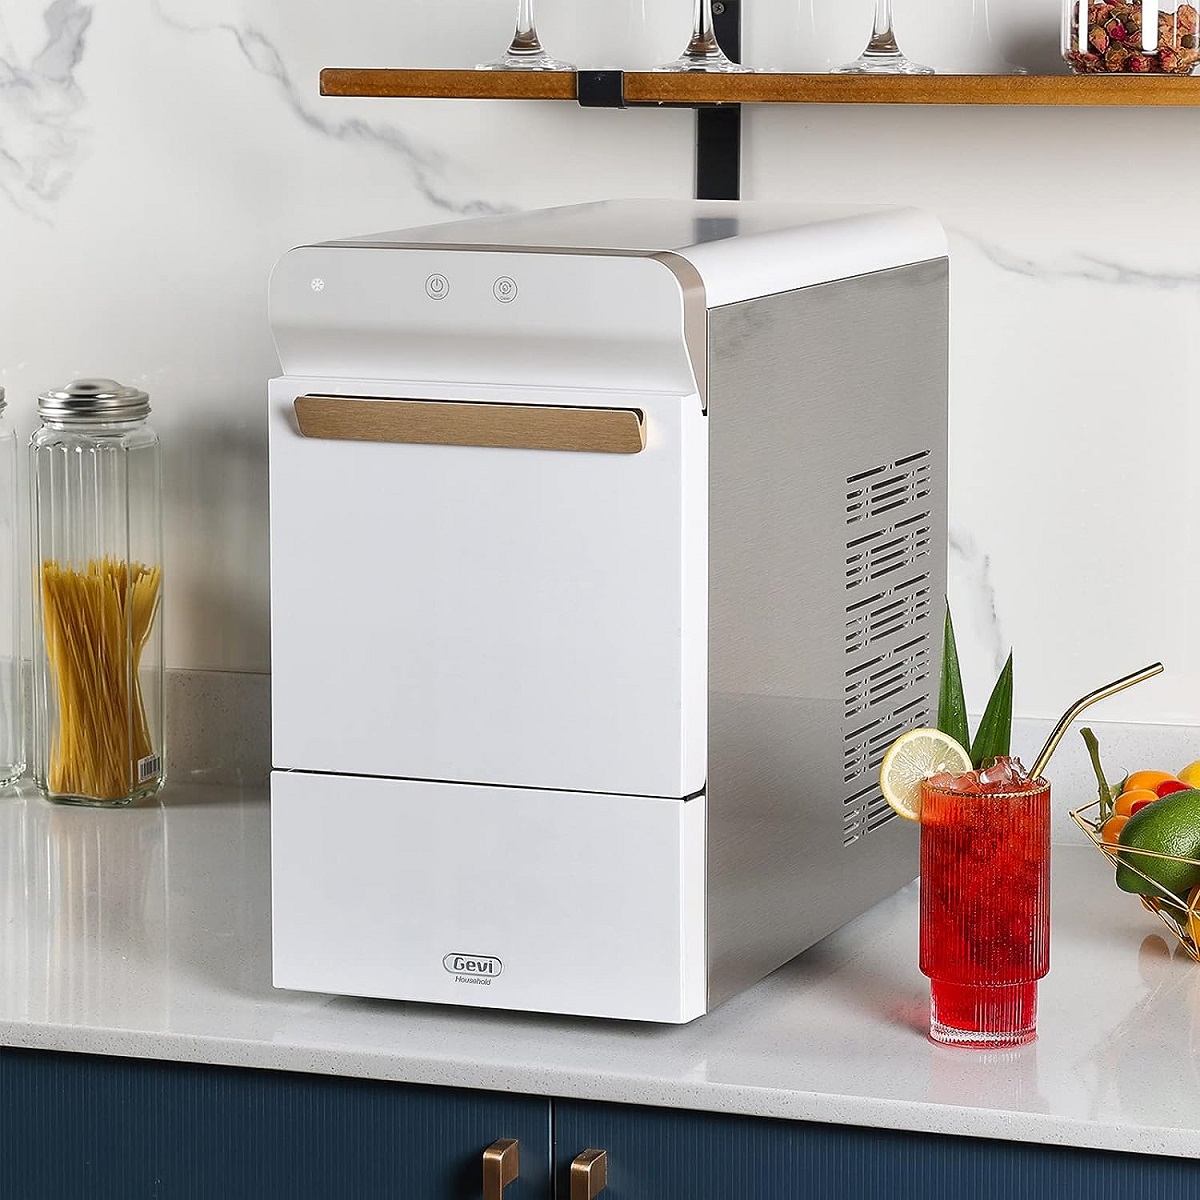
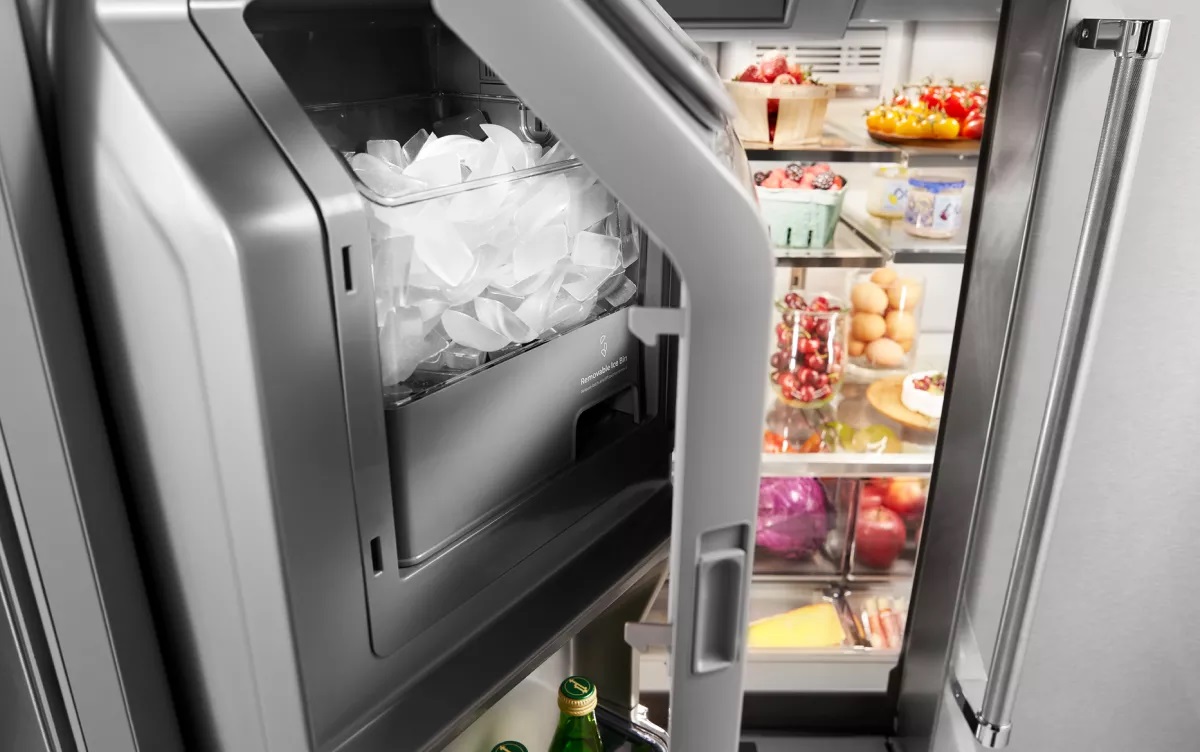
To clean a built-in ice maker, start by turning it off and emptying the ice bin. Then, use a mixture of warm water and mild detergent to clean the interior and exterior surfaces. Be sure to rinse thoroughly and dry before turning it back on.
Read more: How To Clean Out An Ice Maker
Step 3: Clean the Ice Maker Components
After cleaning the ice bin, it’s time to focus on cleaning the components of your Ulti Ice Maker. These components include the ice maker tray, ice chute, and other internal parts. Follow these steps to clean the ice maker components:
- Refer to your Ulti Ice Maker’s owner’s manual to locate the specific components that need cleaning. The manual will provide detailed instructions on how to access the internal parts.
- If necessary, remove the ice maker tray from the ice maker. This is typically done by gently lifting or twisting the tray to release it from its position.
- Prepare a mild cleaning solution by mixing warm water with a small amount of dish soap.
- Using a cloth or sponge soaked in the cleaning solution, wipe down the ice maker tray, ensuring to remove any residue or build-up.
- Take a toothbrush or soft brush and scrub any hard-to-reach areas or stubborn deposits on the ice maker components. Be gentle to avoid damaging the parts.
- Rinse the ice maker components with clean water to remove any soap residue.
- Allow the components to air dry completely or use a clean towel to dry them thoroughly.
- Once the components are fully dry, carefully reassemble the ice maker tray and place it back into the ice maker.
Cleaning the ice maker components ensures that they are free from any build-up or impurities that may affect the ice-making process. In the next step, we will focus on cleaning the water lines to maintain the cleanliness of your Ulti Ice Maker. Let’s proceed to step 4.
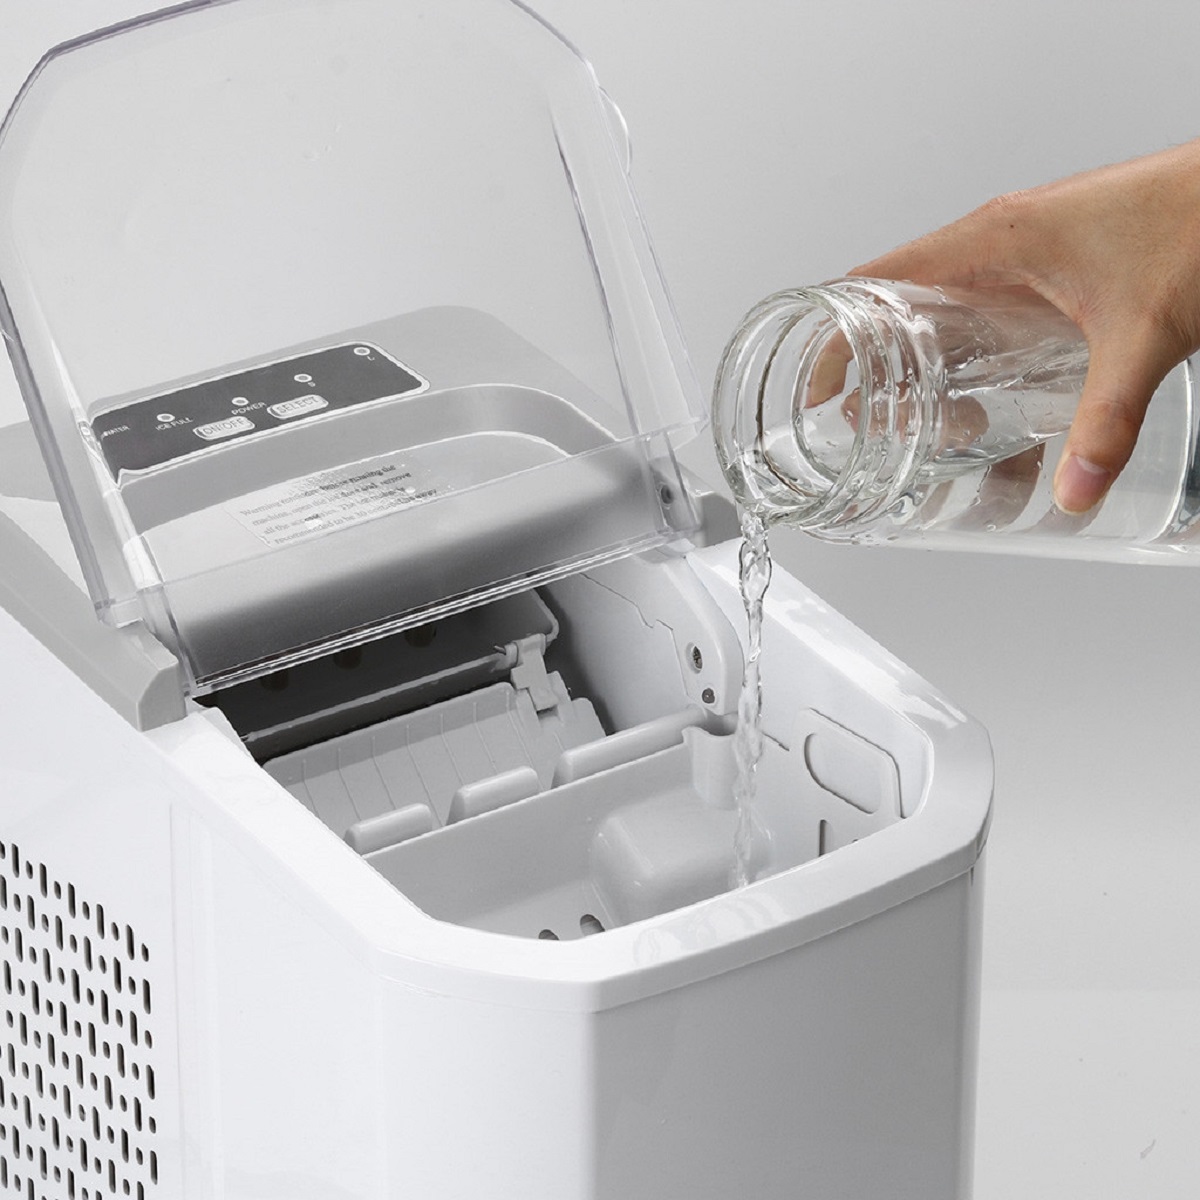
Step 4: Clean the Water Lines
Cleaning the water lines of your Ulti Ice Maker is an essential step in ensuring the production of clean and fresh ice. Over time, mineral deposits and bacteria can accumulate in the water lines, affecting the taste and quality of the ice. Follow these steps to clean the water lines:
- Prepare a mixture of equal parts water and vinegar. Vinegar is an effective natural cleaner that can help remove mineral deposits.
- Locate the water supply line connection on your Ulti Ice Maker. It is usually located at the back of the appliance.
- Disconnect the water supply line from the ice maker. Be cautious and use pliers if necessary to loosen any tight connections.
- Immerse the disconnected end of the water supply line into the vinegar and water mixture.
- Allow the water supply line to soak in the mixture for at least 15 minutes. This will help dissolve any mineral deposits or bacteria.
- While the water supply line is soaking, use a toothbrush or soft brush to gently scrub the water inlet valve and any other accessible areas where the water flows into the ice maker.
- After soaking, remove the water supply line from the vinegar and water mixture.
- Rinse the water supply line thoroughly with clean water to remove any vinegar residue.
- Reconnect the water supply line to the ice maker, ensuring a secure and tight connection.
By following these steps, you will clean the water lines of your Ulti Ice Maker, removing any mineral deposits or bacteria that may affect the quality of the ice. With the water lines cleaned, we can now move on to reassembling and reconnecting the ice maker in the next step.
Step 5: Reassemble and Reconnect the Ice Maker
Now that you have cleaned the ice bin, ice maker components, and water lines, it’s time to reassemble and reconnect your Ulti Ice Maker. Follow these steps to complete the process:
- Ensure that all the cleaned components of the ice maker are completely dry. Use a clean towel or allow them to air dry for some time.
- Carefully reassemble the ice maker components, including the ice bin and any removable trays or parts that were taken out during the cleaning process. Follow the instructions provided in the owner’s manual if you’re unsure about the correct assembly.
- Once the ice maker is fully reassembled, reconnect the ice maker to the power source by plugging in the power cord into the electrical outlet.
- Allow the ice maker some time to reset and resume its regular operation. Refer to the owner’s manual for specific instructions on how long this process may take.
- Verify that the ice maker is functioning properly by checking if it starts to produce ice cubes. If not, double-check the connections and make sure the water supply is adequately connected.
By reassembling and reconnecting your Ulti Ice Maker correctly, you can ensure that it is ready to produce clean and fresh ice cubes. Before wrapping up, let’s move on to the final step of this cleaning process, which involves testing the ice maker’s functionality.
Step 6: Test the Ice Maker
After cleaning and reassembling your Ulti Ice Maker, it’s important to test its functionality to ensure that it is working properly and producing clean ice cubes. Follow these steps to test the ice maker:
- Ensure that the water supply line is properly connected and turned on.
- Allow the ice maker to run for a few hours to produce a batch of ice cubes. This will help flush out any remaining cleaning residue from the internal components.
- Inspect the ice cubes produced by the ice maker. They should be clear, odorless, and taste-free.
- If the ice cubes have any unusual odor, taste, or discoloration, repeat the cleaning process to ensure that all contaminants have been removed.
- If the ice maker is functioning properly and producing clean ice cubes, you can now safely start using it to meet your ice needs.
By thoroughly testing the ice maker, you can ensure that it is in optimal working condition and producing high-quality ice cubes. Regular cleaning and maintenance of your Ulti Ice Maker will help prolong its lifespan and ensure that you have a constant supply of clean and refreshing ice.
Congratulations! You have successfully cleaned your Ulti Ice Maker. Remember to follow the manufacturer’s recommended cleaning schedule to maintain the cleanliness and efficiency of your ice maker.
For any specific instructions or additional tips, always refer to the owner’s manual provided with your Ulti Ice Maker. Enjoy the benefits of clean ice cubes and stay refreshed!
Read more: How To Clean A Silonn Ice Maker
Conclusion
Cleaning your Ulti Ice Maker is crucial for maintaining its efficiency, longevity, and the quality of the ice it produces. By following the step-by-step guide outlined in this article, you can effectively clean your ice maker and ensure that it continues to provide you with clean and refreshing ice cubes.
Throughout the cleaning process, it is essential to prioritize safety by disconnecting the ice maker from the power source, wearing protective gear, and following the manufacturer’s instructions. Using the recommended materials, including mild cleaning solutions and soft brushes, will help prevent any damage to the ice maker’s components.
Remember to clean both the ice bin and the internal components of the ice maker, such as the ice tray, ice chute, and water lines. By doing so, you remove any mineral deposits, bacteria, or impurities that can affect the taste and quality of the ice cubes.
After reassembling and reconnecting the ice maker, it is crucial to test its functionality. This ensures that it is working properly and producing clean ice cubes. If you notice any unusual odor, taste, or discoloration in the ice cubes, repeat the cleaning process to ensure all contaminants are removed.
Maintaining a regular cleaning schedule for your Ulti Ice Maker will help prolong its lifespan and ensure that you always have a supply of clean and refreshing ice cubes at your disposal. Refer to the owner’s manual for any specific instructions or recommendations provided by the manufacturer.
By following the guidelines outlined in this article and taking proper care of your Ulti Ice Maker, you can enjoy the benefits of clean ice cubes and elevate your cold beverage experience. Cheers to maintaining a clean and efficient ice maker!
Frequently Asked Questions about How To Clean Ulit Ice Maker
Was this page helpful?
At Storables.com, we guarantee accurate and reliable information. Our content, validated by Expert Board Contributors, is crafted following stringent Editorial Policies. We're committed to providing you with well-researched, expert-backed insights for all your informational needs.
0 thoughts on “How To Clean Ulit Ice Maker”