Articles
How To Clean Kegerator Freon
Modified: September 1, 2024
Learn the step-by-step process of cleaning your kegerator's freon in this informative article. Discover expert tips and tricks to keep your kegerator running smoothly.
(Many of the links in this article redirect to a specific reviewed product. Your purchase of these products through affiliate links helps to generate commission for Storables.com, at no extra cost. Learn more)
Introduction
Welcome to the world of kegerators, where you can have your favorite draft beer on tap right in the comfort of your own home. Kegerators have gained popularity among beer enthusiasts who enjoy the freshness and convenience of pouring their own pints.
When it comes to kegerator maintenance, one important aspect is cleaning the Freon system. Freon is a crucial component that helps regulate the temperature inside the kegerator, ensuring your beer stays cold and refreshing. Regular cleaning of the Freon system is necessary to maintain its efficiency and prevent any unwanted flavors from affecting your beer.
In this article, we’ll guide you through the process of cleaning kegerator Freon. We’ll explain what kegerators are, what role Freon plays, and then provide a step-by-step guide on how to clean the Freon system safely and effectively.
Note: Before diving into the cleaning process, it’s essential to check the manufacturer’s instructions for your specific kegerator model. The guidelines provided here are general and may vary depending on the brand and type of kegerator you own.
Key Takeaways:
- Keep your kegerator running smoothly by cleaning the Freon system regularly. Follow safety precautions and a step-by-step guide to ensure a safe and effective cleaning process.
- Regular maintenance, including cleaning beer lines and monitoring temperature, is essential for a well-functioning kegerator. Enjoy fresh, delicious draft beer at home with a clean and well-maintained system.
Read more: How Do I Refill Freon In My Kegerator
Understanding Kegerators and Freon
What is a kegerator?
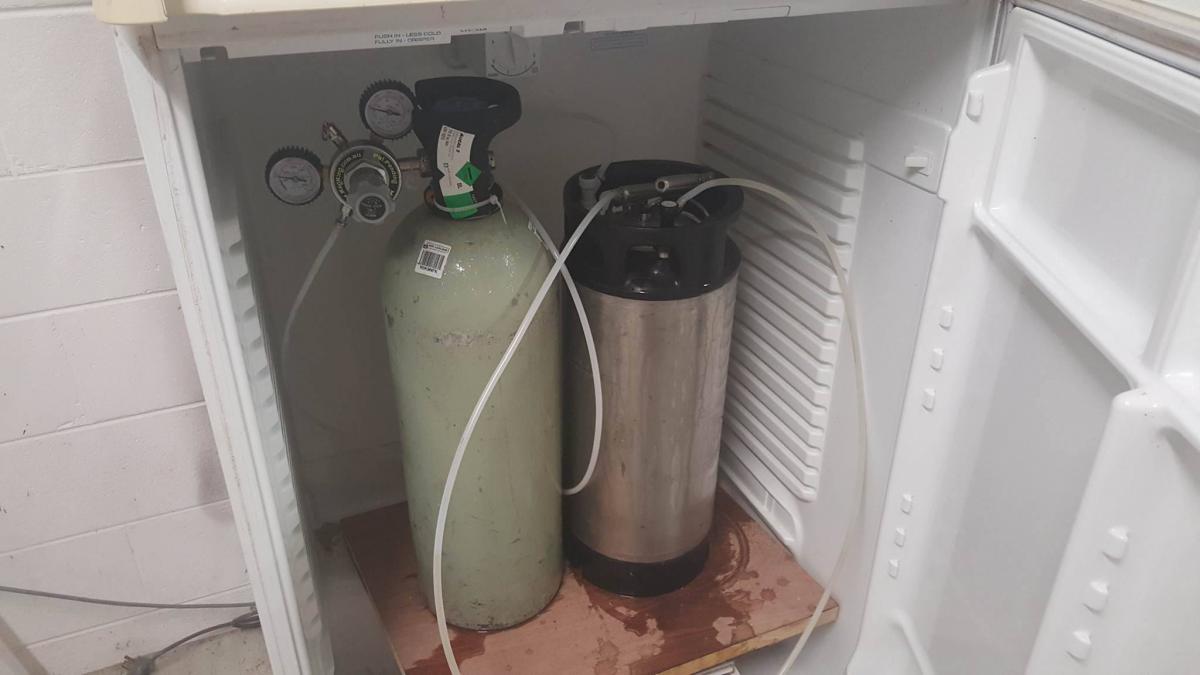
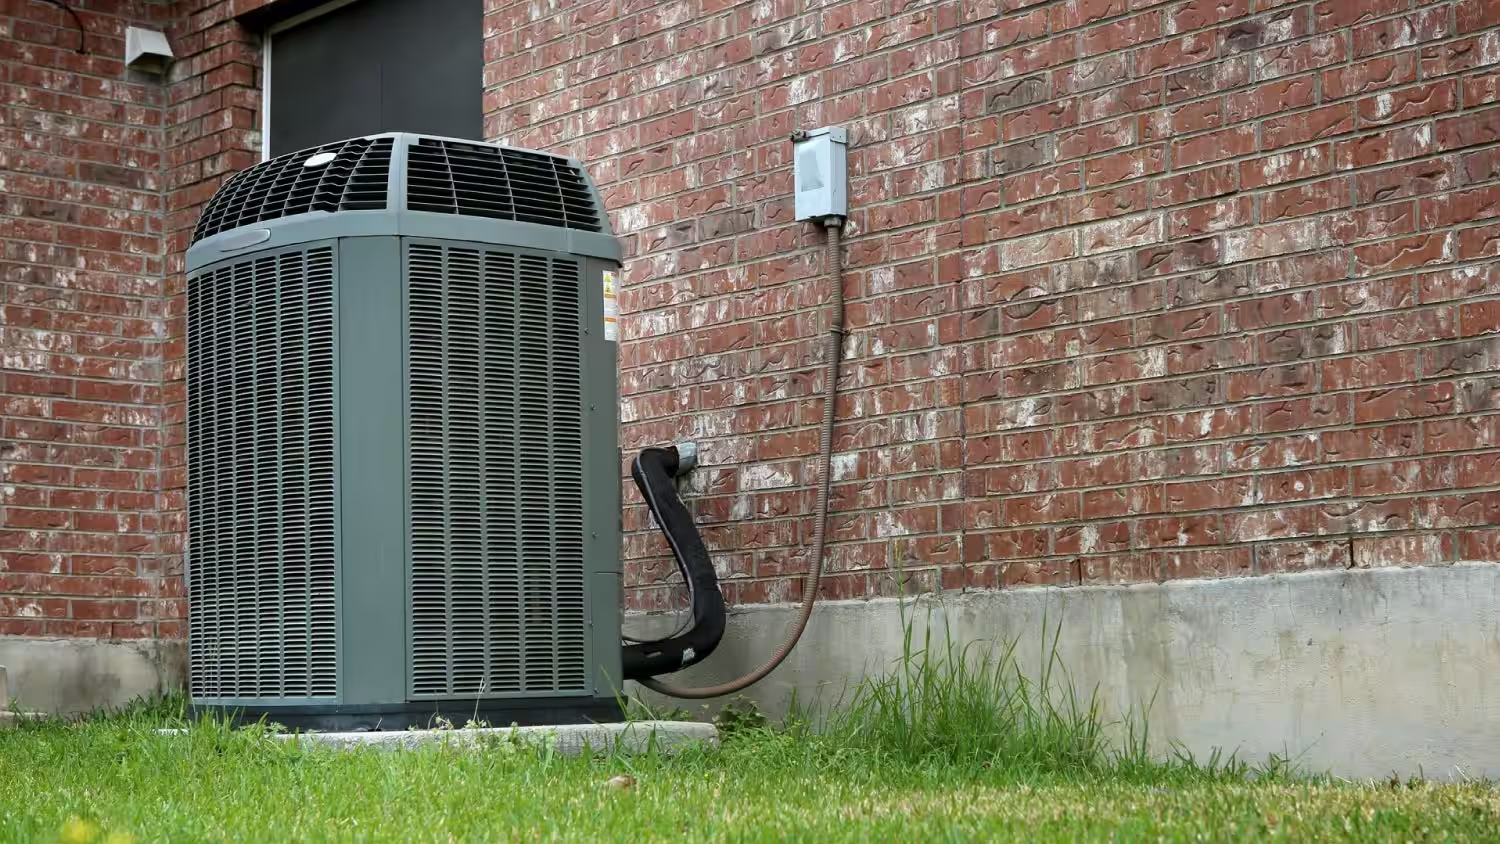
A kegerator is a specialized appliance designed to store and dispense draft beer. It consists of a refrigeration unit, a CO2 tank, beer lines, a tap handle, and a keg coupler. Kegerators come in various sizes and configurations, ranging from small countertop models to large freestanding units that can accommodate multiple kegs.
The primary advantage of owning a kegerator is the ability to enjoy fresh, cold draft beer at any time without the need for bottles or cans. It offers the convenience of having your favorite beer on tap whenever you want, eliminating the hassle of stocking and chilling individual beer containers.
What is Freon and its role in a kegerator?
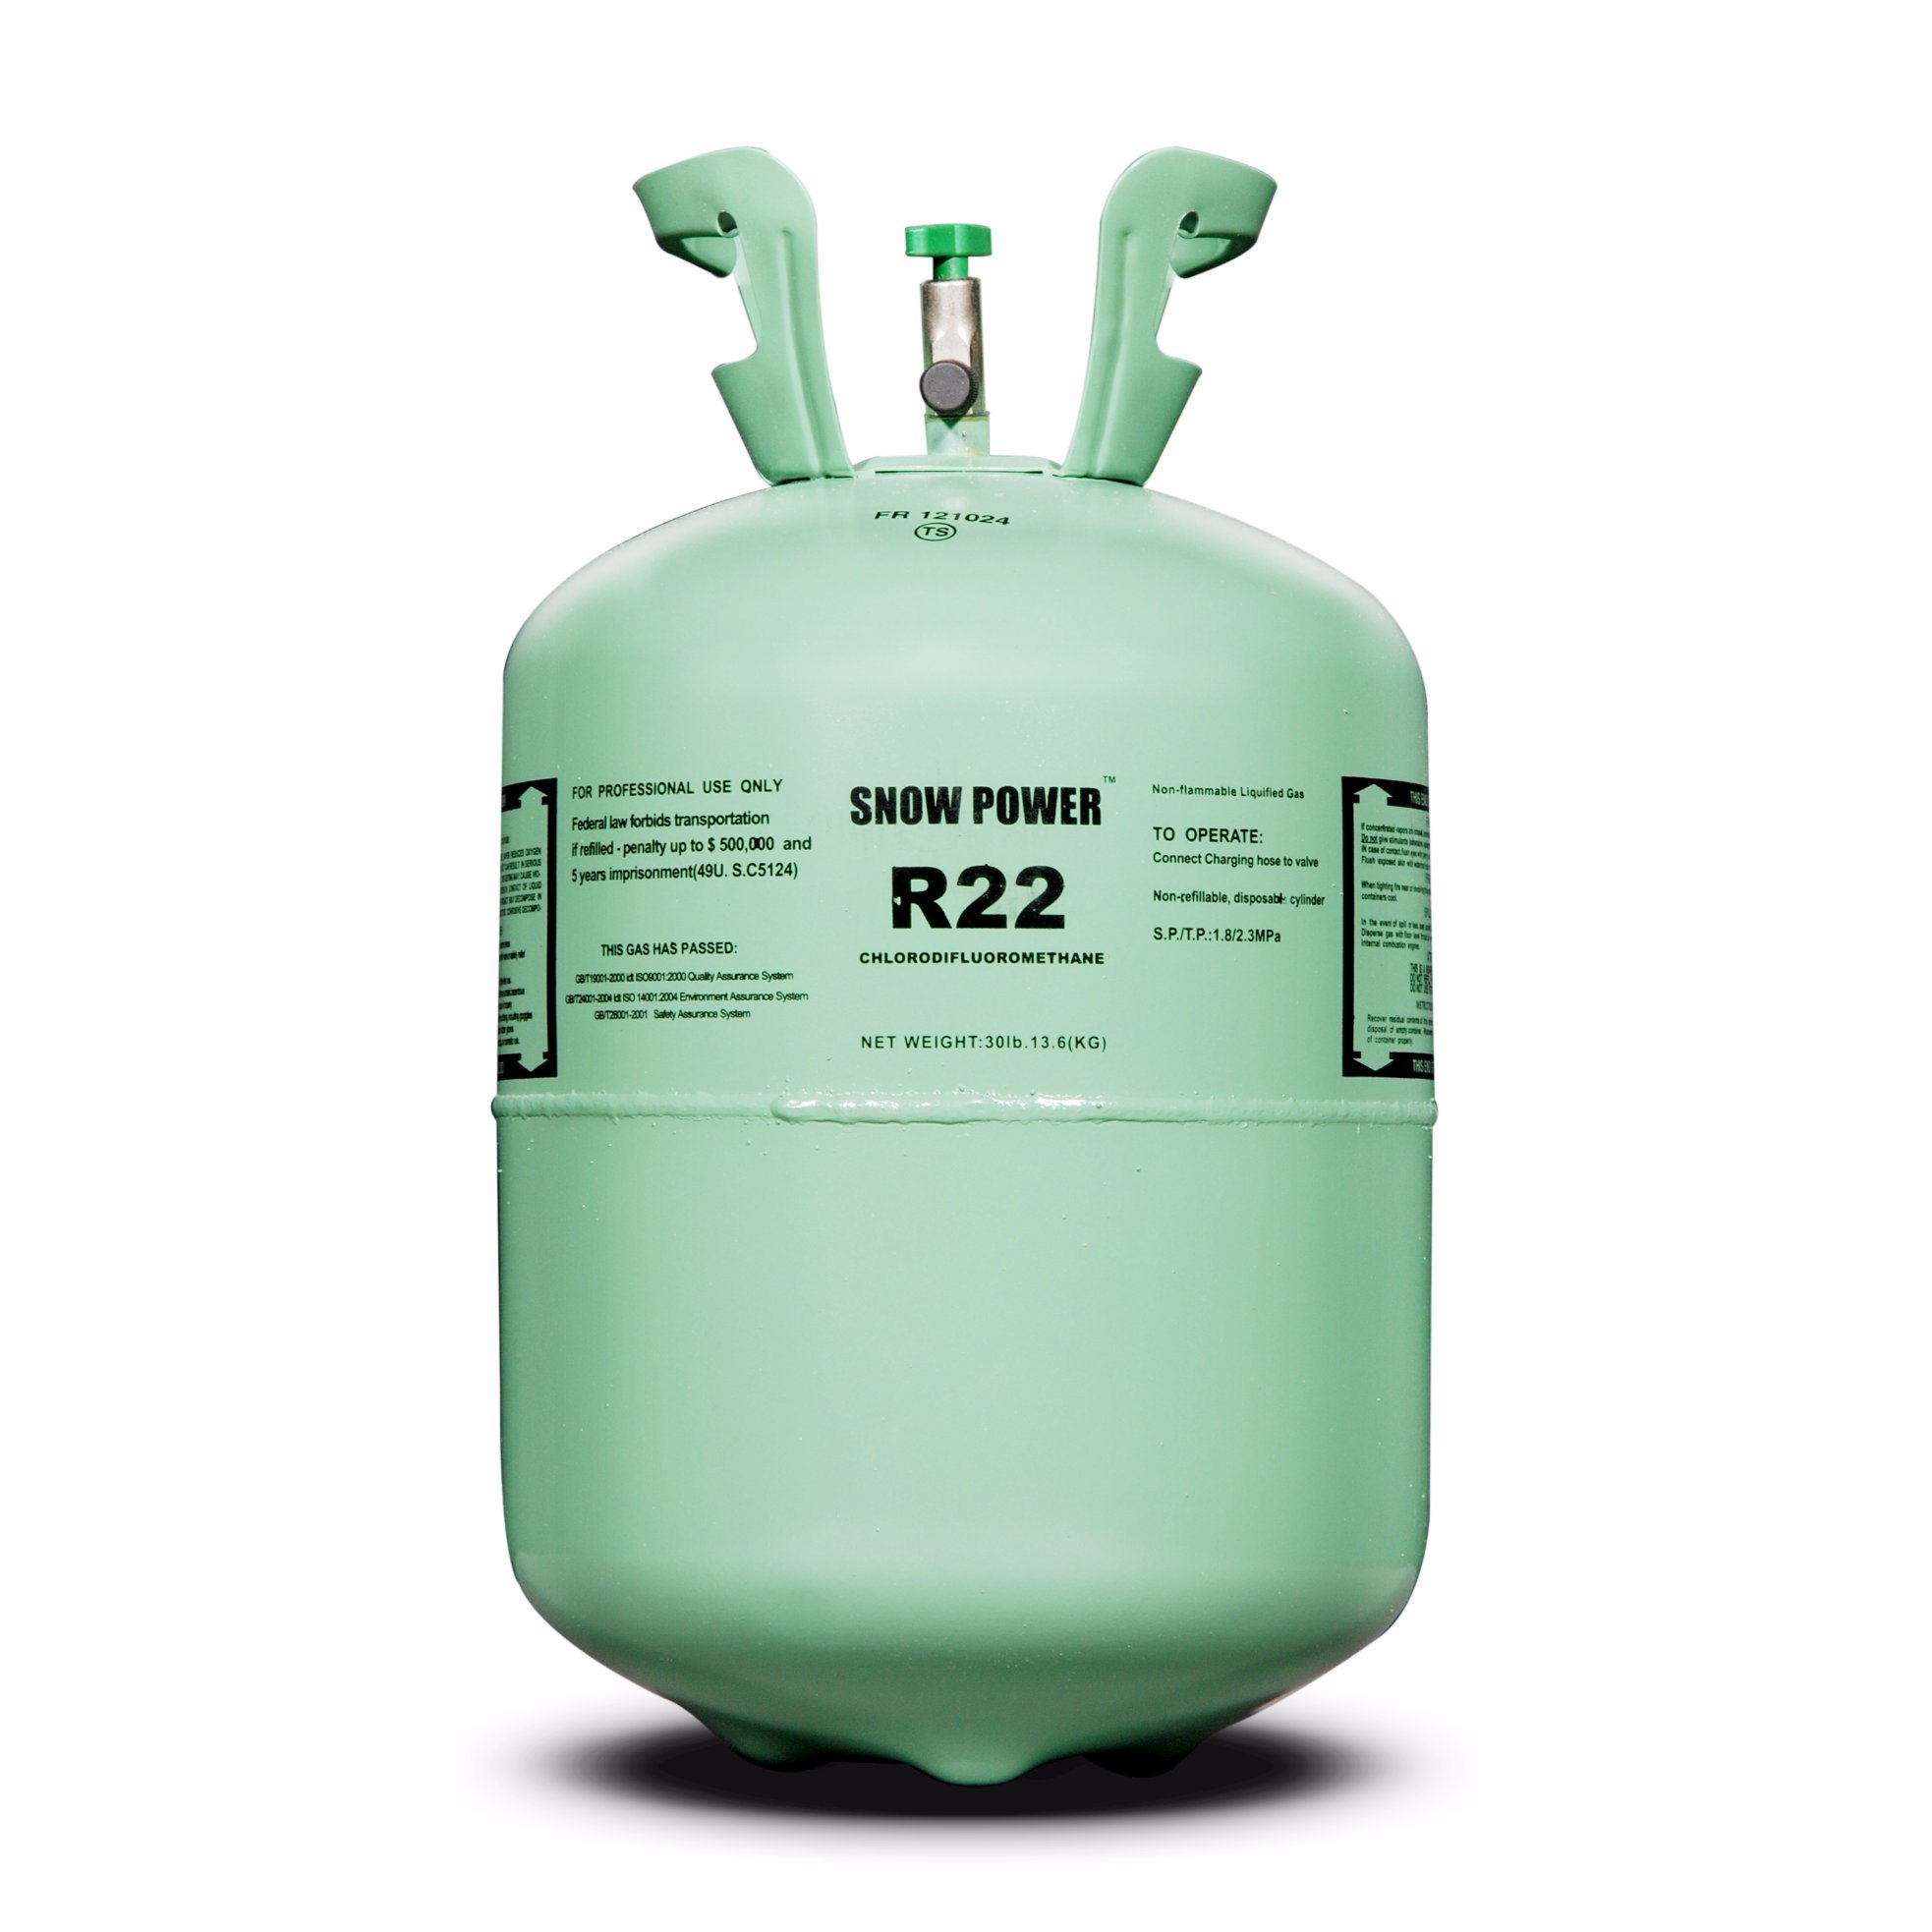
Freon is the common term used to refer to a group of refrigerants that are used in cooling systems, including kegerators. It is a colorless, odorless, and non-toxic gas that has excellent thermodynamic properties, making it ideal for maintaining the temperature inside your kegerator.
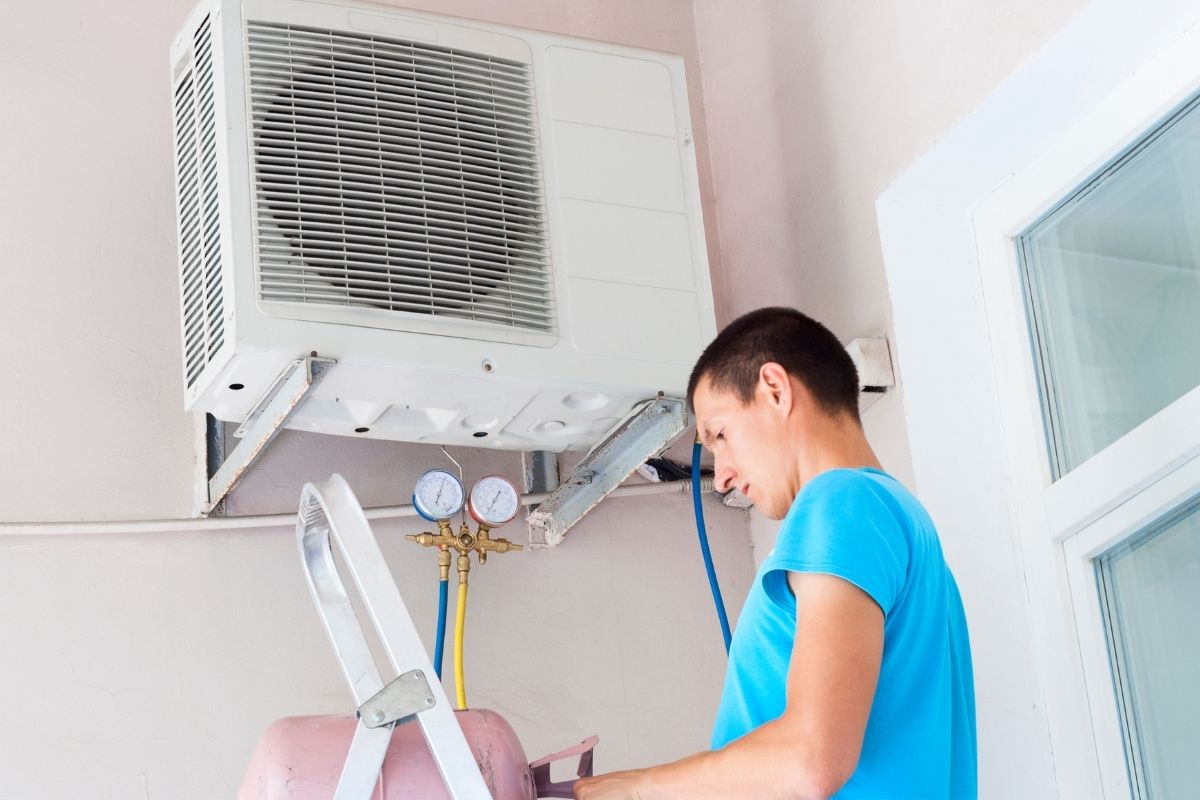
The main role of Freon in a kegerator is to absorb heat from the air inside the unit and transfer it to the outside environment. It does this by passing through a series of coils known as the evaporator and condenser. As the Freon absorbs heat from the kegerator’s interior, it evaporates into a gas. This gas is then compressed by the compressor, which further increases its temperature. Finally, it passes through the condenser coils, releasing the heat into the surrounding air and returning to its liquid state.
By continuously cycling through this process, the Freon helps to maintain a consistent and cold temperature inside the kegerator, keeping your beer at its optimal drinking temperature.
Understanding the basics of kegerators and the role of Freon will help you appreciate the importance of keeping the Freon system clean. By ensuring proper maintenance, you can enjoy the perfect pint of draft beer with every pour.
Safety Precautions
Importance of safety when working with Freon
Working with Freon requires caution and adherence to safety guidelines. Freon is a refrigerant gas that can be harmful if not handled properly. It’s important to understand the potential risks associated with Freon and take necessary precautions to ensure your safety.
One of the most significant risks when working with Freon is the potential for inhalation. Freon is an asphyxiant, which means it can displace oxygen in the air, leading to suffocation. Therefore, it’s crucial to work in a well-ventilated area when cleaning the kegerator’s Freon system. Open windows and doors to promote airflow and avoid confined spaces.
Protective gear required
To protect yourself while working with Freon, it is essential to wear the appropriate safety gear. Here’s a list of protective equipment you should have on hand:
- Safety goggles or glasses: Shield your eyes from any potential splashes or accidents that could occur during the cleaning process.
- Gloves: Wear a pair of chemical-resistant gloves to protect your hands from direct contact with Freon or any cleaning agents.
- Respirator or face mask: Use a respirator or face mask designed for chemical fumes to prevent inhaling any harmful vapors released during the cleaning process.
- Protective clothing: Consider wearing long sleeves and pants to minimize skin exposure and reduce the risk of any accidental spills or splashes.
By taking these safety precautions and wearing the necessary protective gear, you can minimize the risks associated with working with Freon and ensure a safe cleaning process.
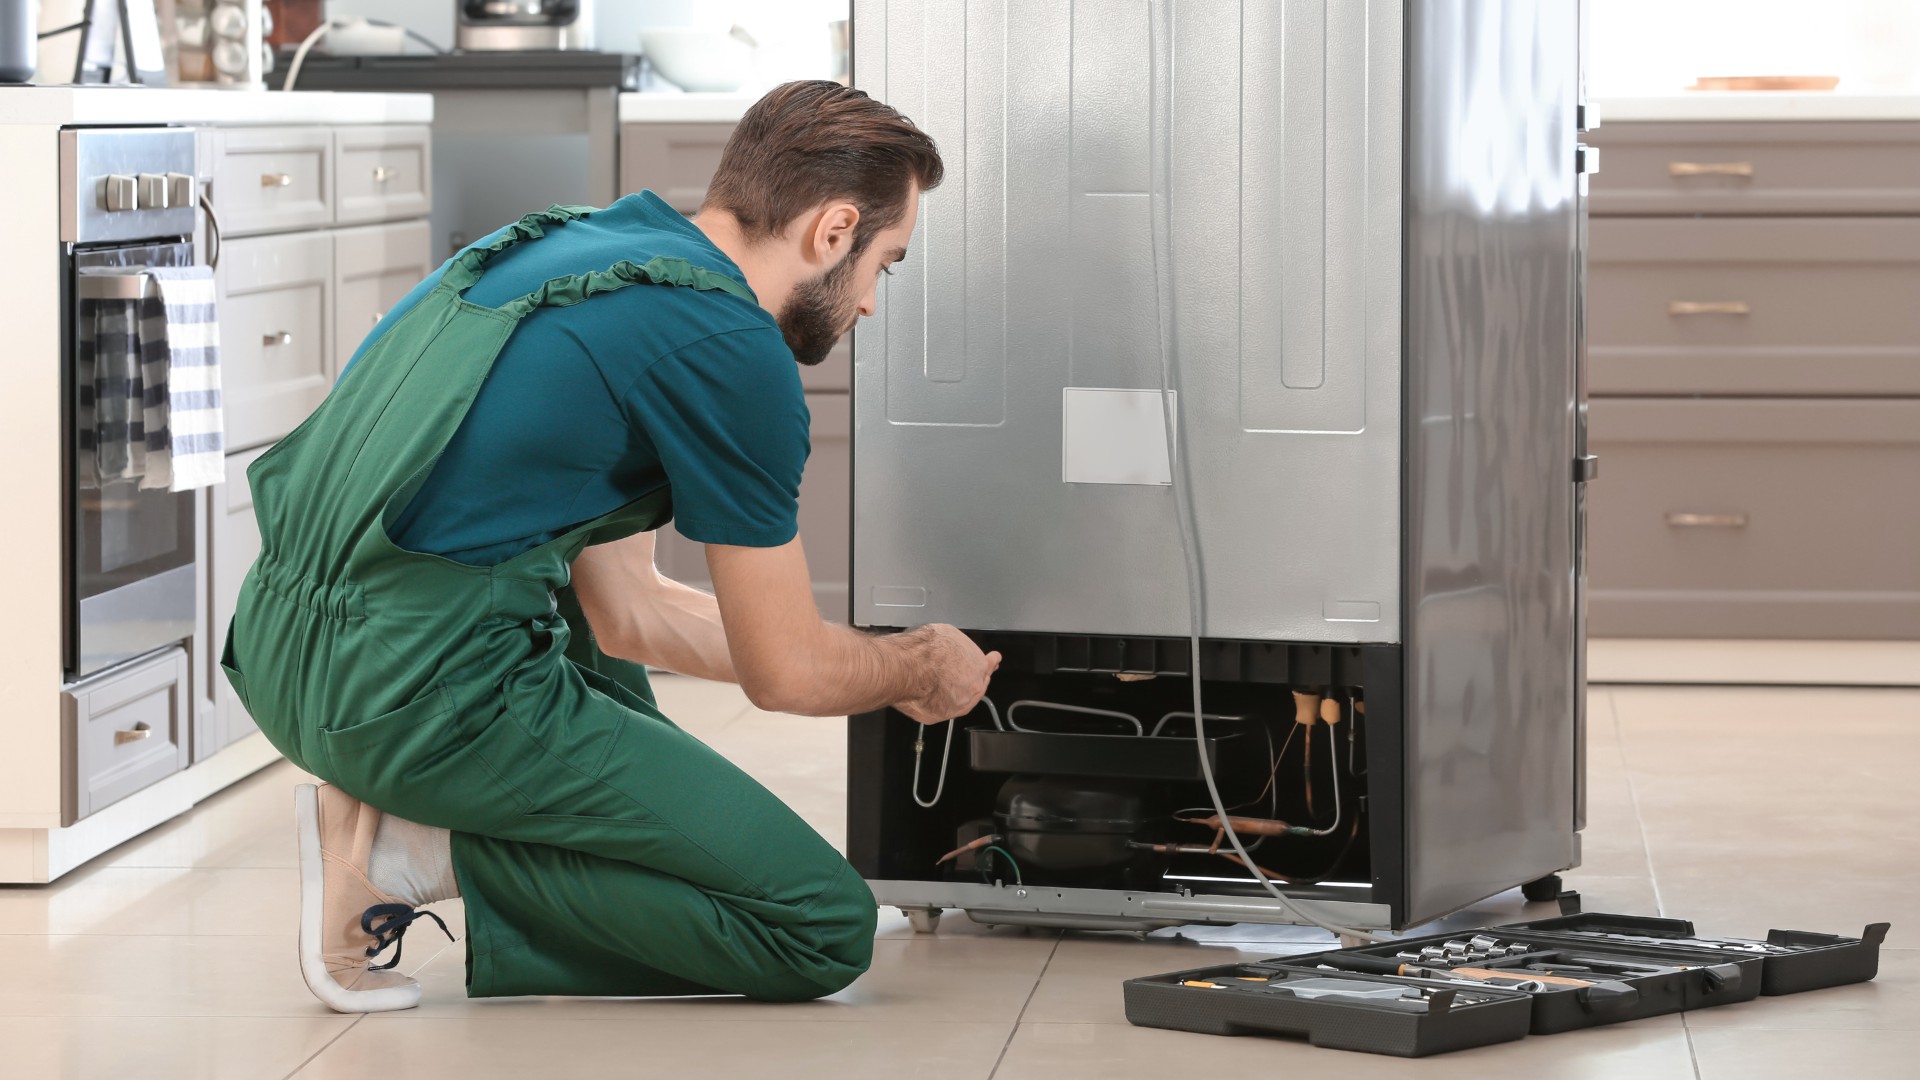
Note: If you are not confident or comfortable working with Freon, it’s recommended to seek professional assistance to clean your kegerator’s Freon system. They have the expertise and equipment to handle the task safely and effectively.
Gathering the Necessary Tools
List of tools needed for cleaning the kegerator Freon
Before you begin cleaning the Freon system of your kegerator, it’s important to gather all the necessary tools. Having the right tools on hand will ensure a smooth and efficient cleaning process. Here’s a list of tools you’ll need:
- Wrenches: You’ll need adjustable wrenches to disconnect and reconnect the Freon lines from the kegerator. Make sure you have the appropriate size wrenches to fit the connections on your specific kegerator model.
- Bucket or container: Prepare a bucket or container to collect any cleaning solution or excess liquid that may be drained from the system during the cleaning process.
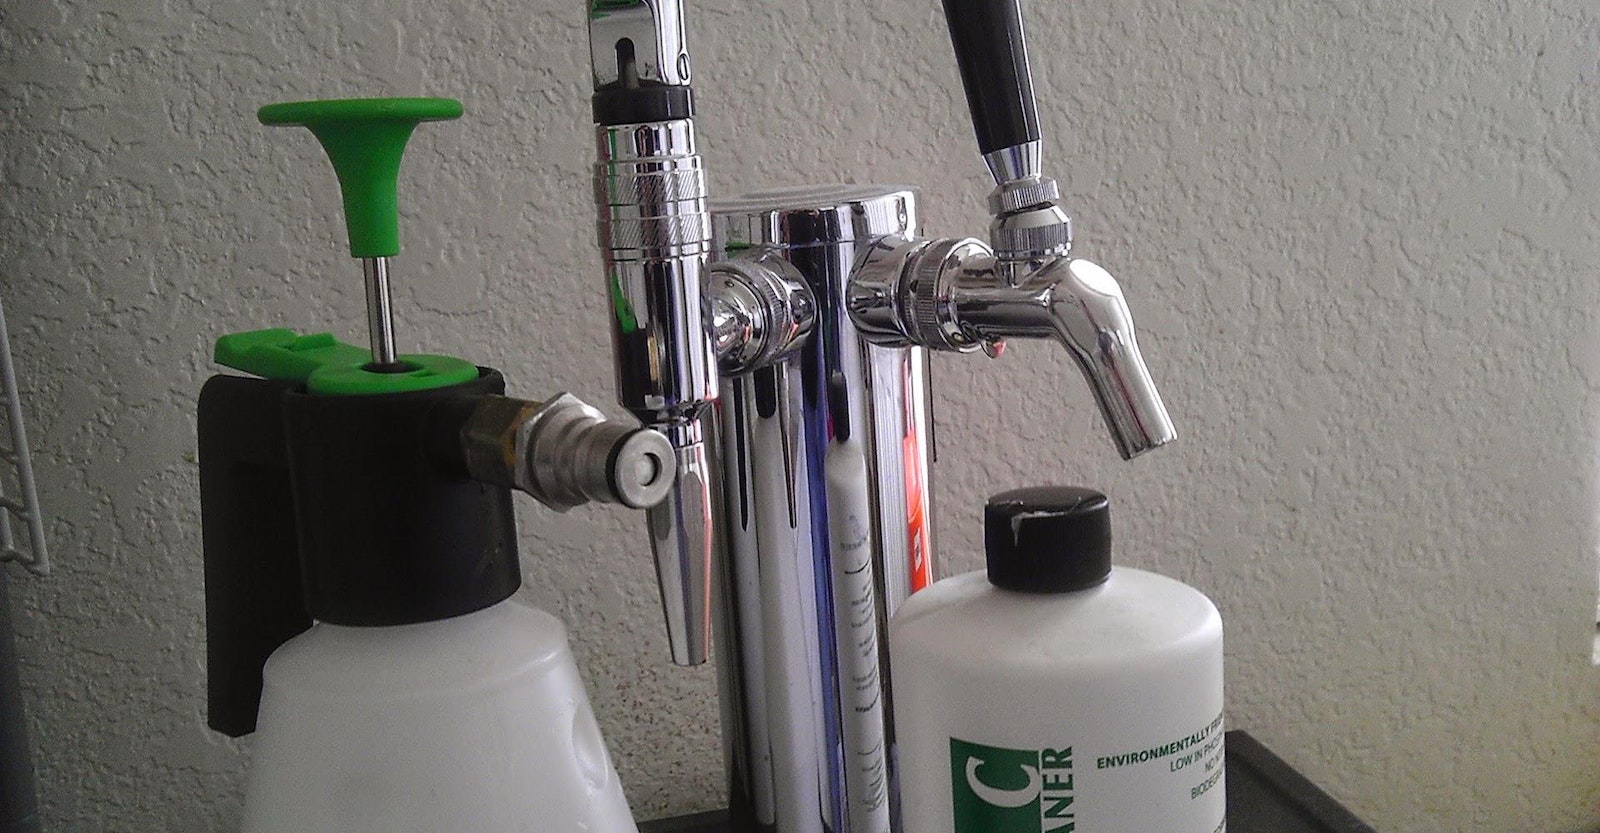
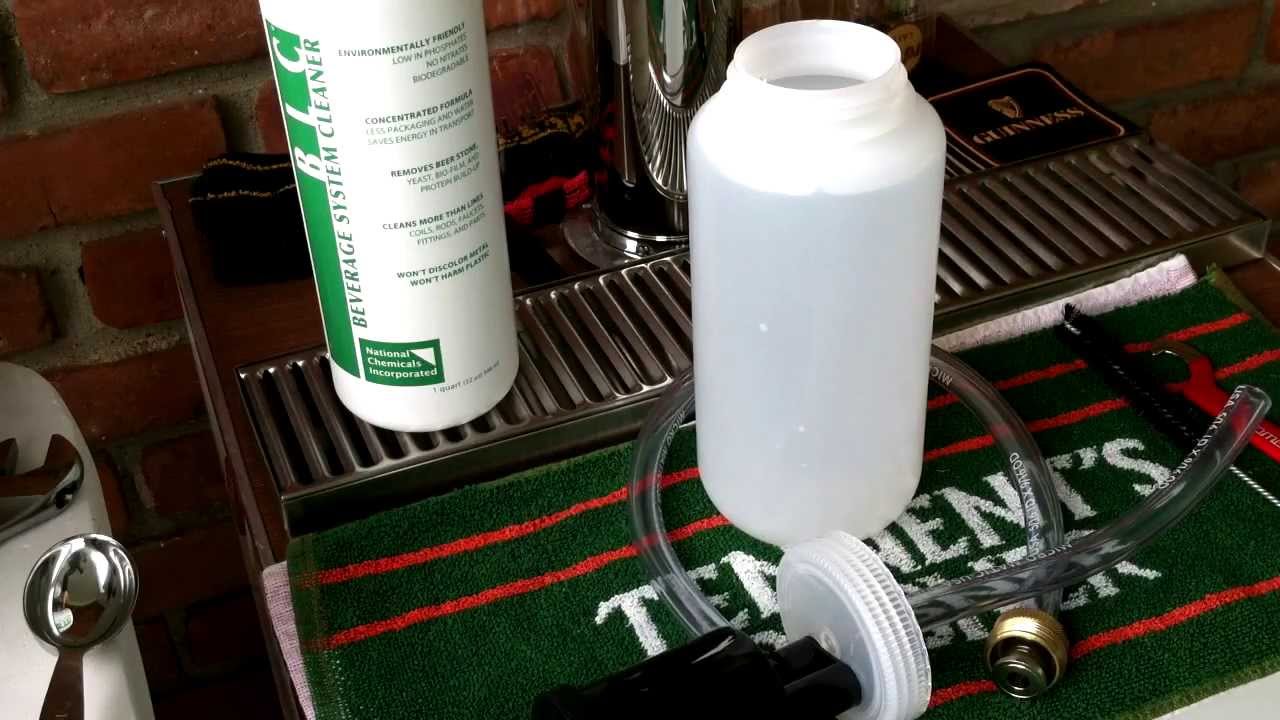
- Cleaning solution: Choose a suitable cleaning solution specifically designed for cleaning kegerator systems. It’s important to follow the manufacturer’s instructions and use a solution that is safe for use with Freon components.
- Brushes: Have a set of brushes, such as bottle brushes or pipe brushes, to effectively clean the inside of the Freon lines and remove any buildup or residue.
- Clean towel or cloth: Keep a clean towel or cloth on hand to wipe down any surfaces or components that may come into contact with the cleaning solution.
- Plastic caps or plugs: It’s a good idea to have plastic caps or plugs to seal the open ends of the Freon lines and prevent any debris or contaminants from entering the system during the cleaning process.
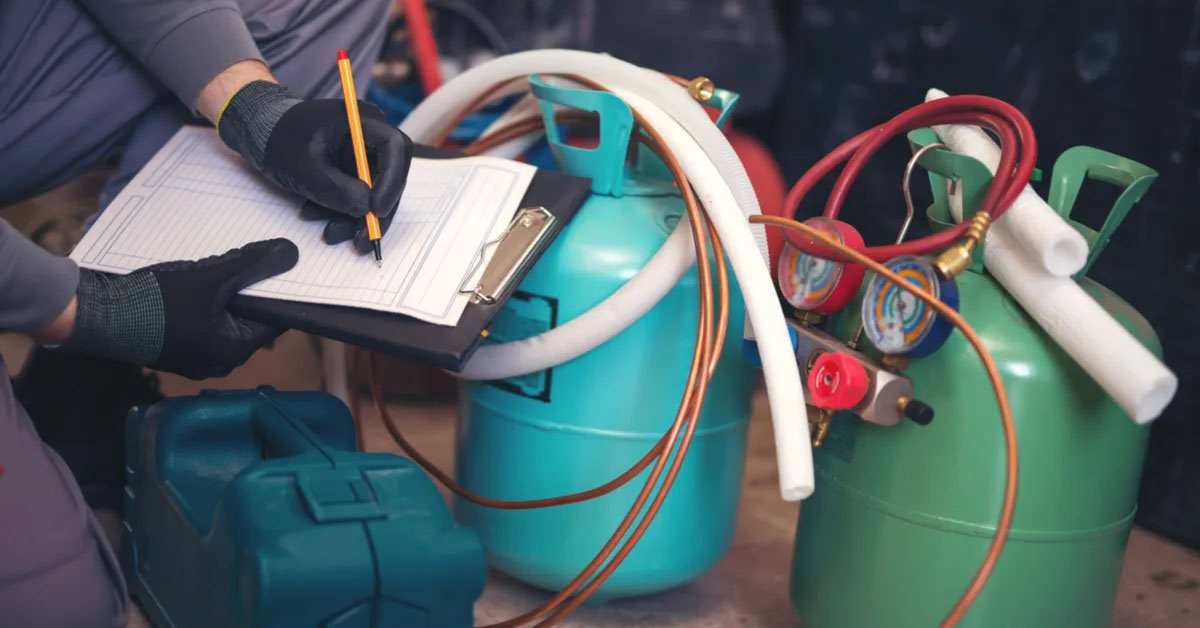
- Freon disposal container: If your kegerator requires the removal of Freon, you’ll need a suitable container for safe disposal. Check with your local waste management facility for proper Freon disposal procedures in your area.
By having these tools readily available, you’ll be well-prepared to commence the cleaning process and ensure that your kegerator’s Freon system is properly maintained and functioning optimally.
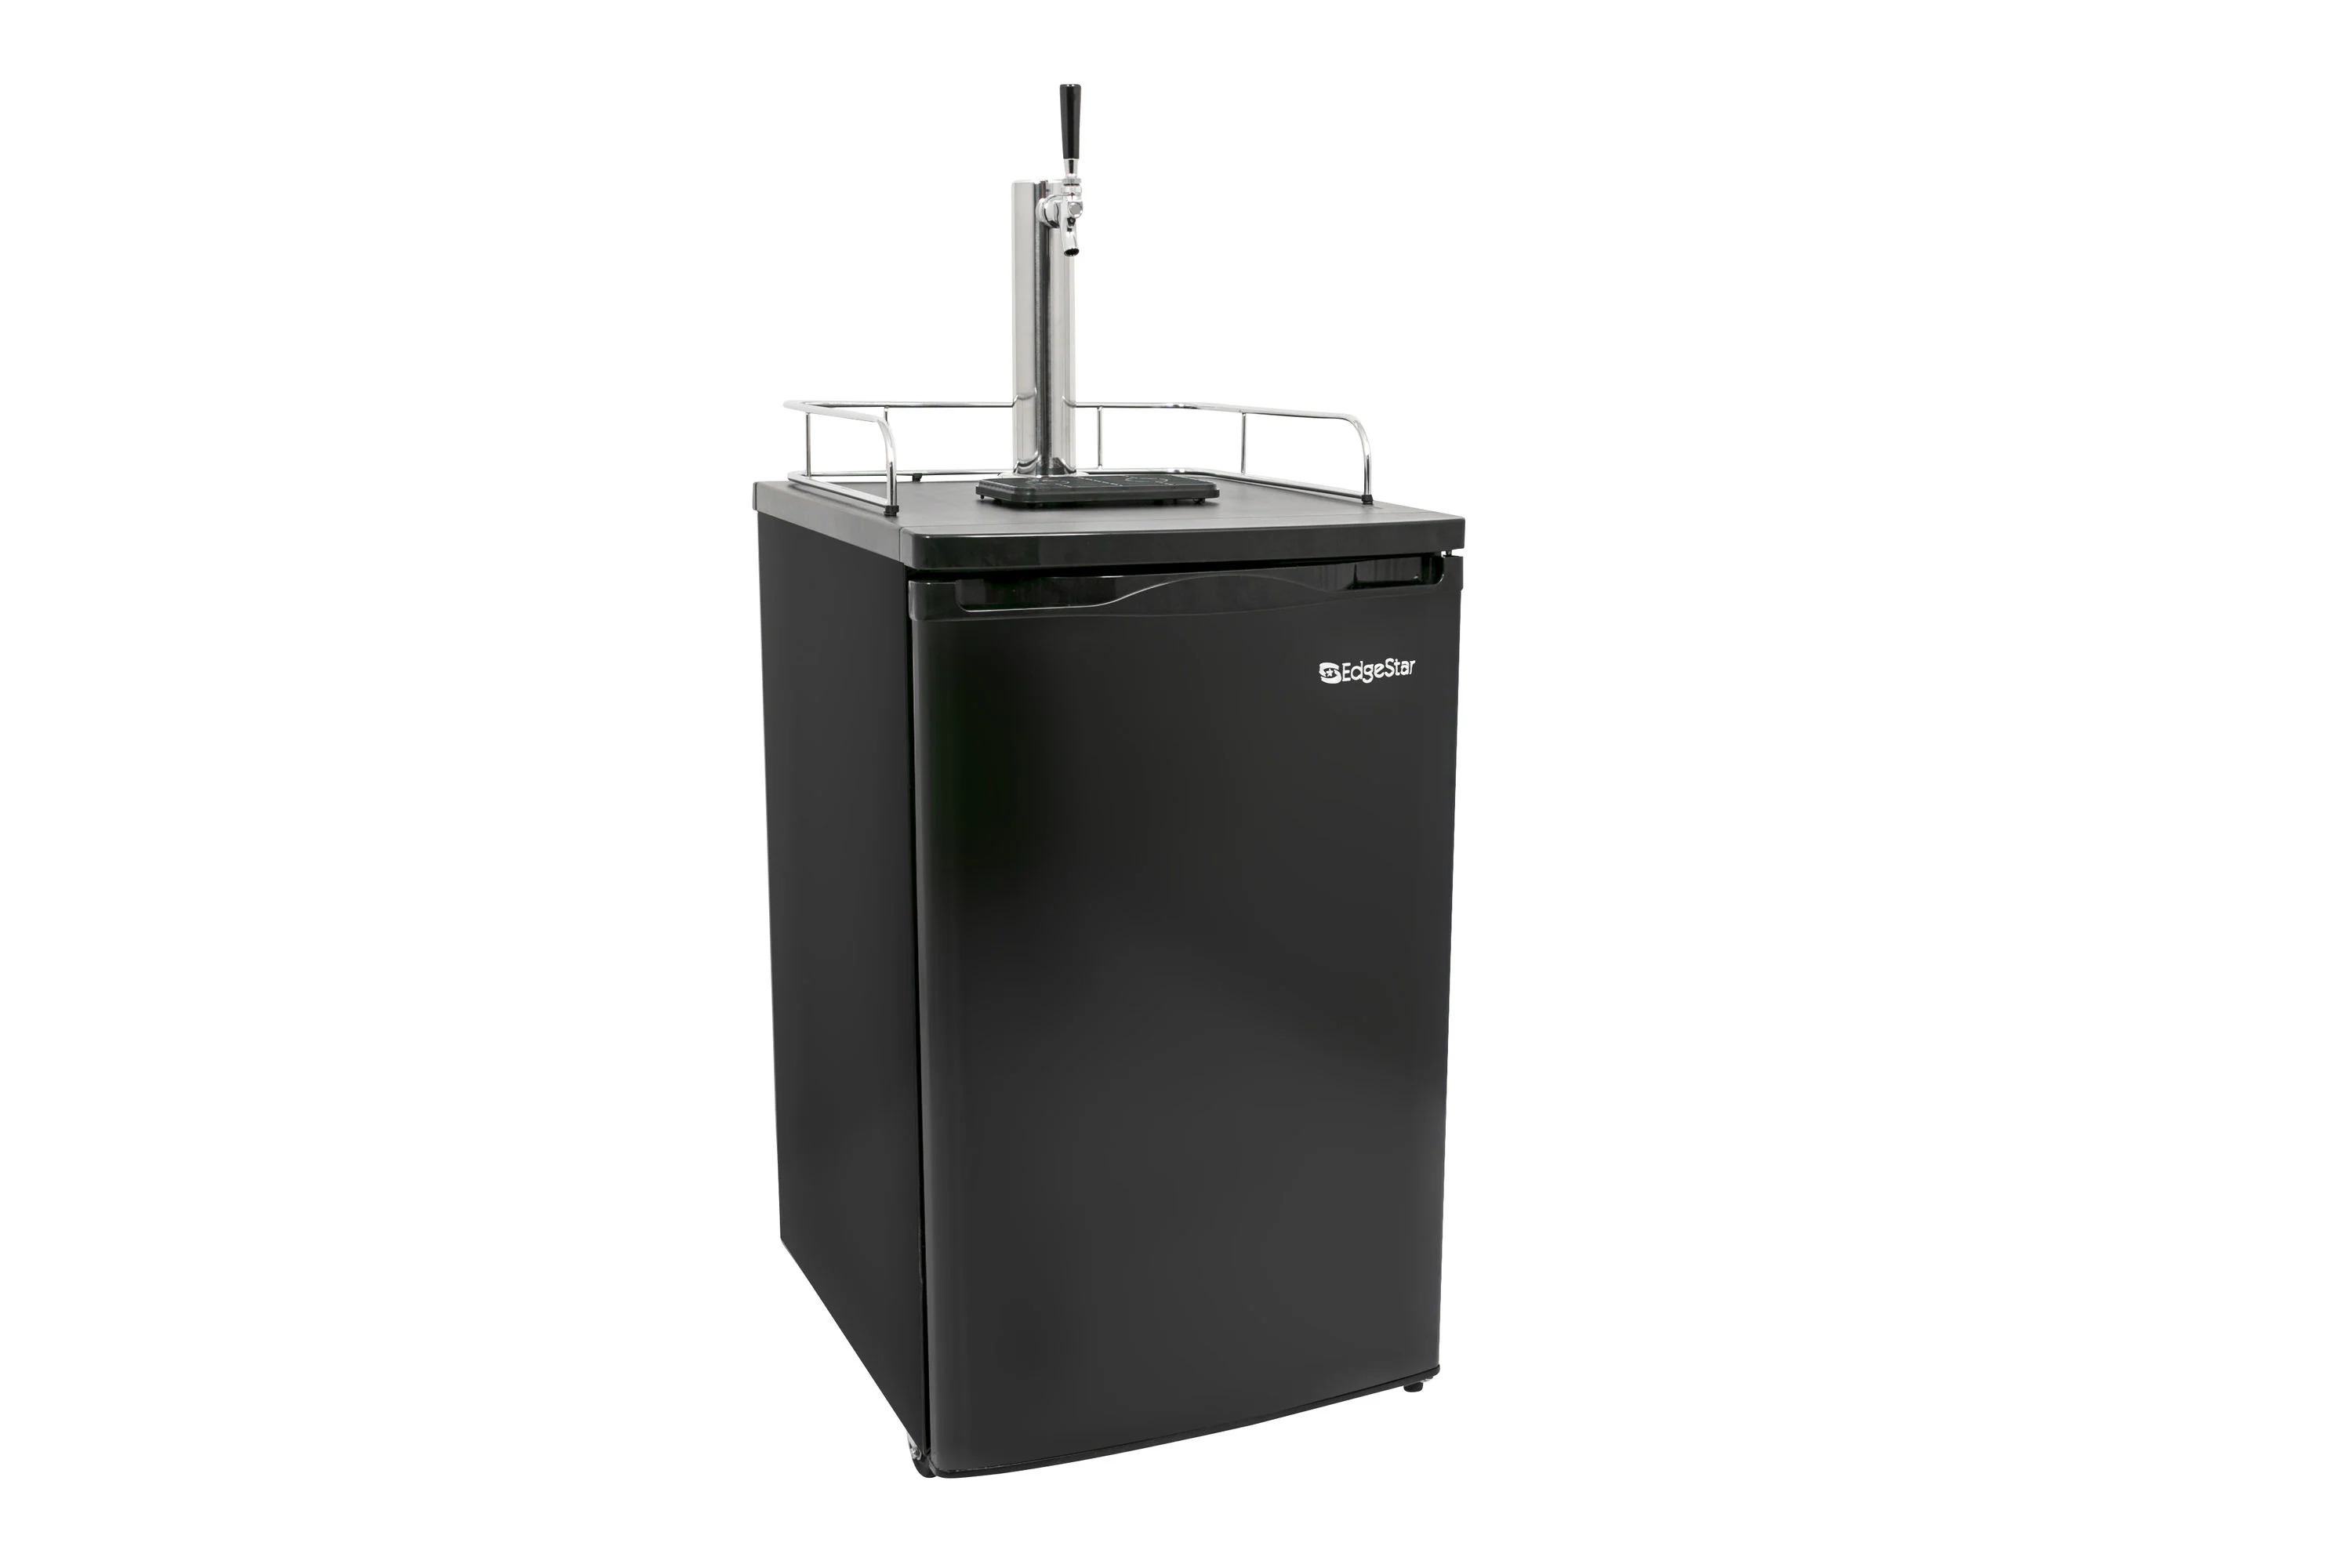
Before cleaning the kegerator’s Freon, make sure to turn off and unplug the unit. Use a soft cloth and mild detergent to wipe down the exterior. Do not attempt to clean the Freon system yourself, as it requires a professional technician.
Step-by-Step Guide to Cleaning Kegerator Freon
Now that you have gathered all the necessary tools, it’s time to dive into the step-by-step process of cleaning your kegerator’s Freon system. Following these instructions will help ensure a thorough and effective cleaning:
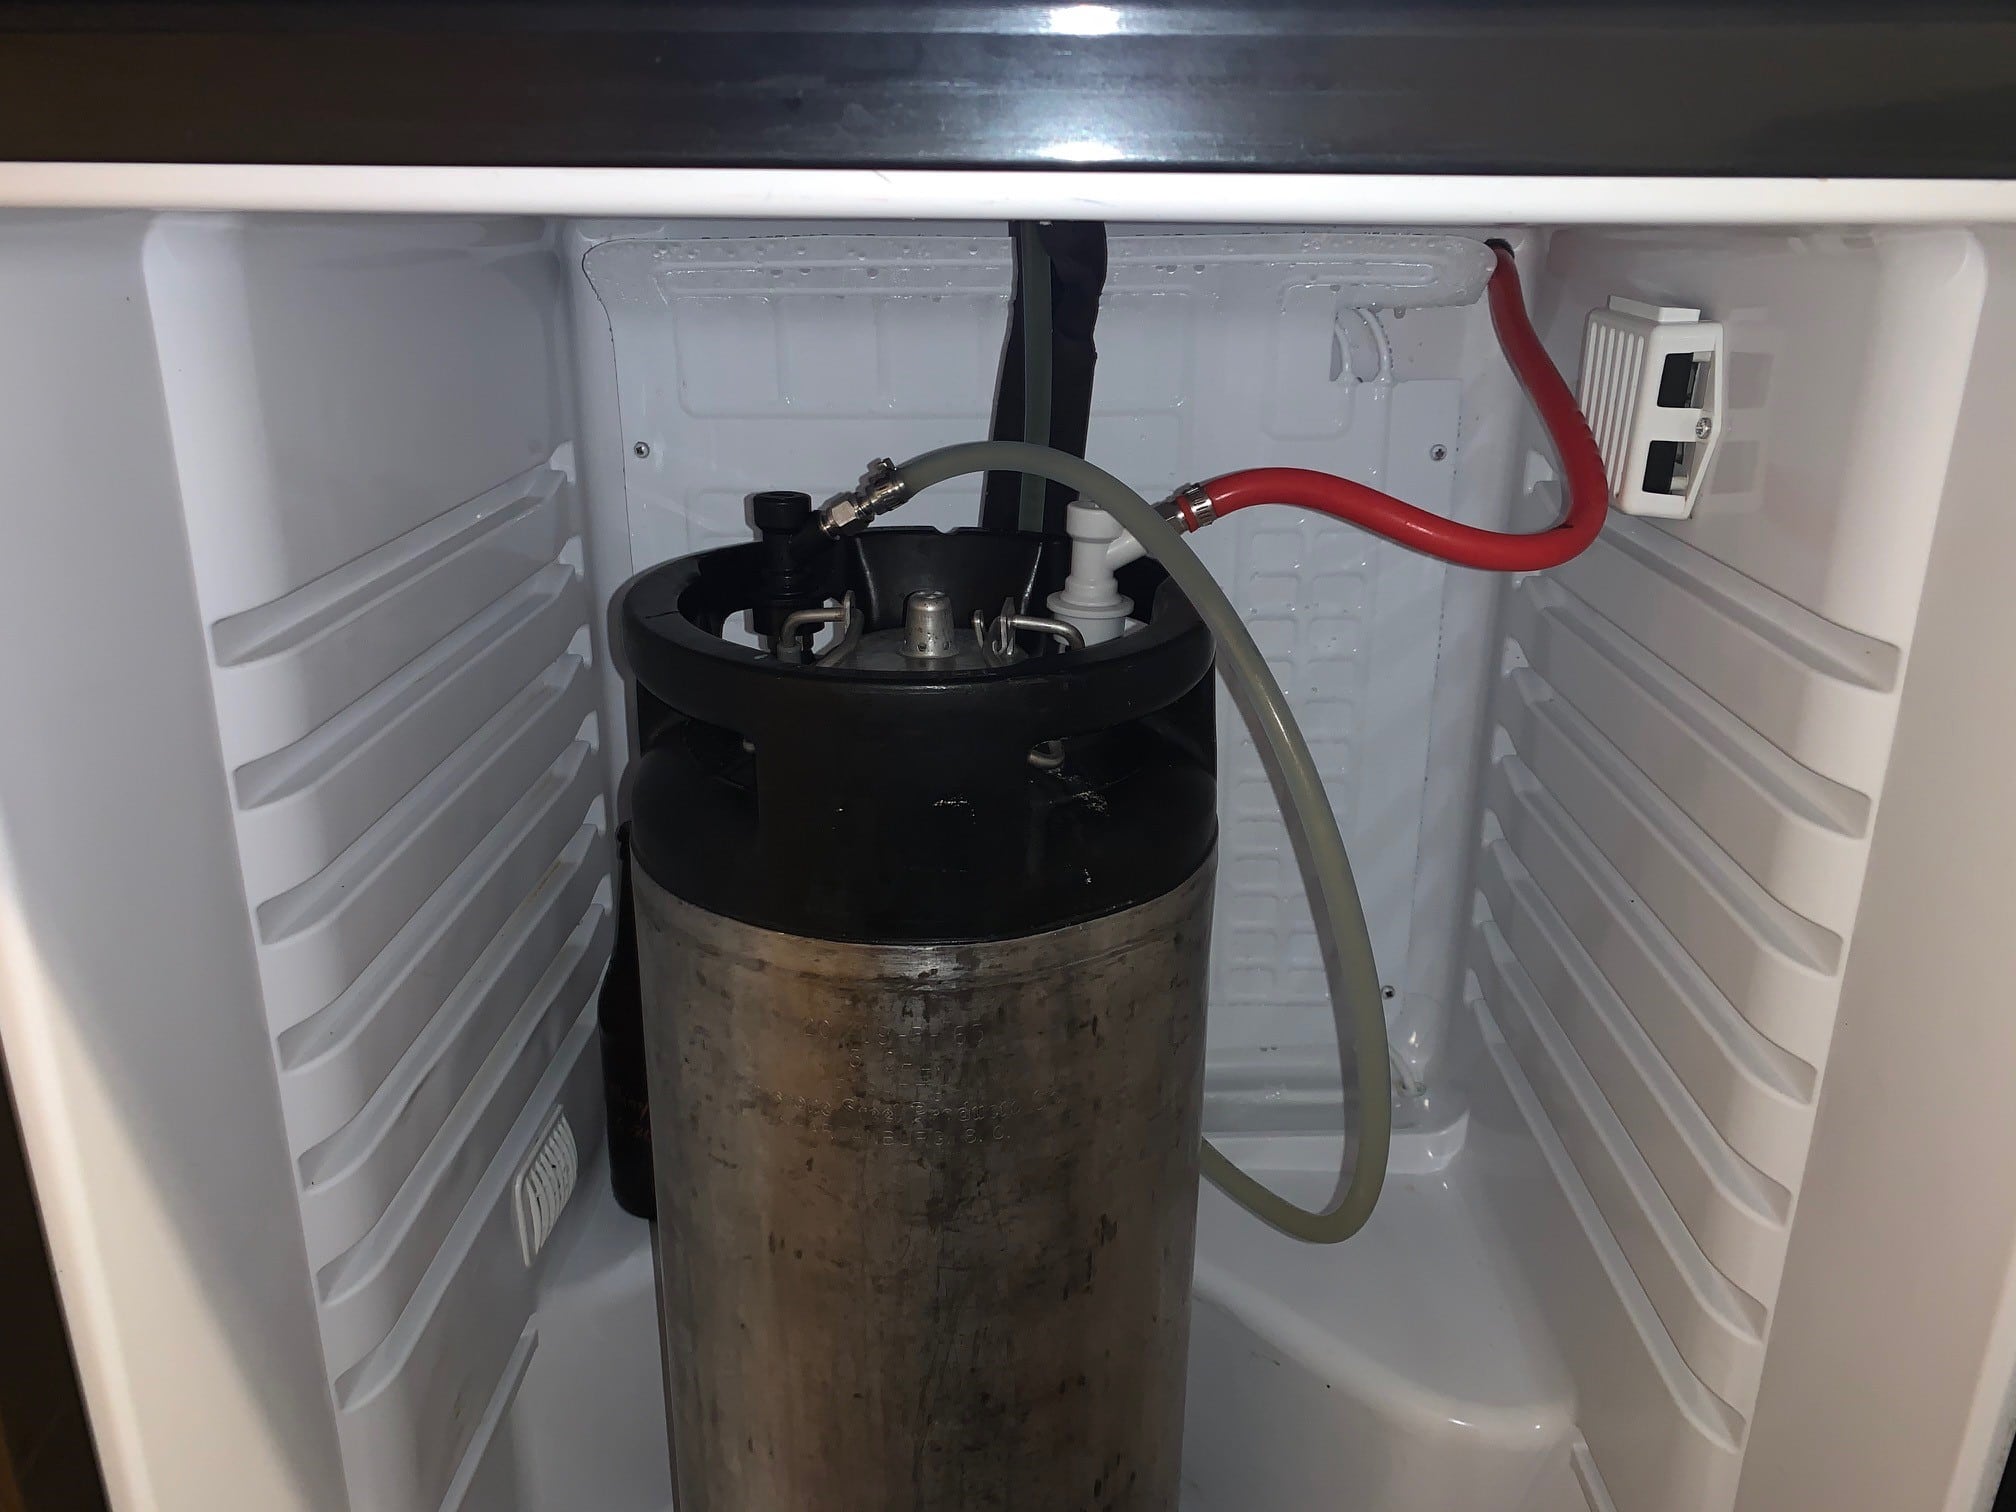
- Emptying the kegerator: Begin by removing all kegs, beer lines, and any other items stored inside the kegerator. Make sure the kegerator is completely empty before proceeding with the cleaning process.
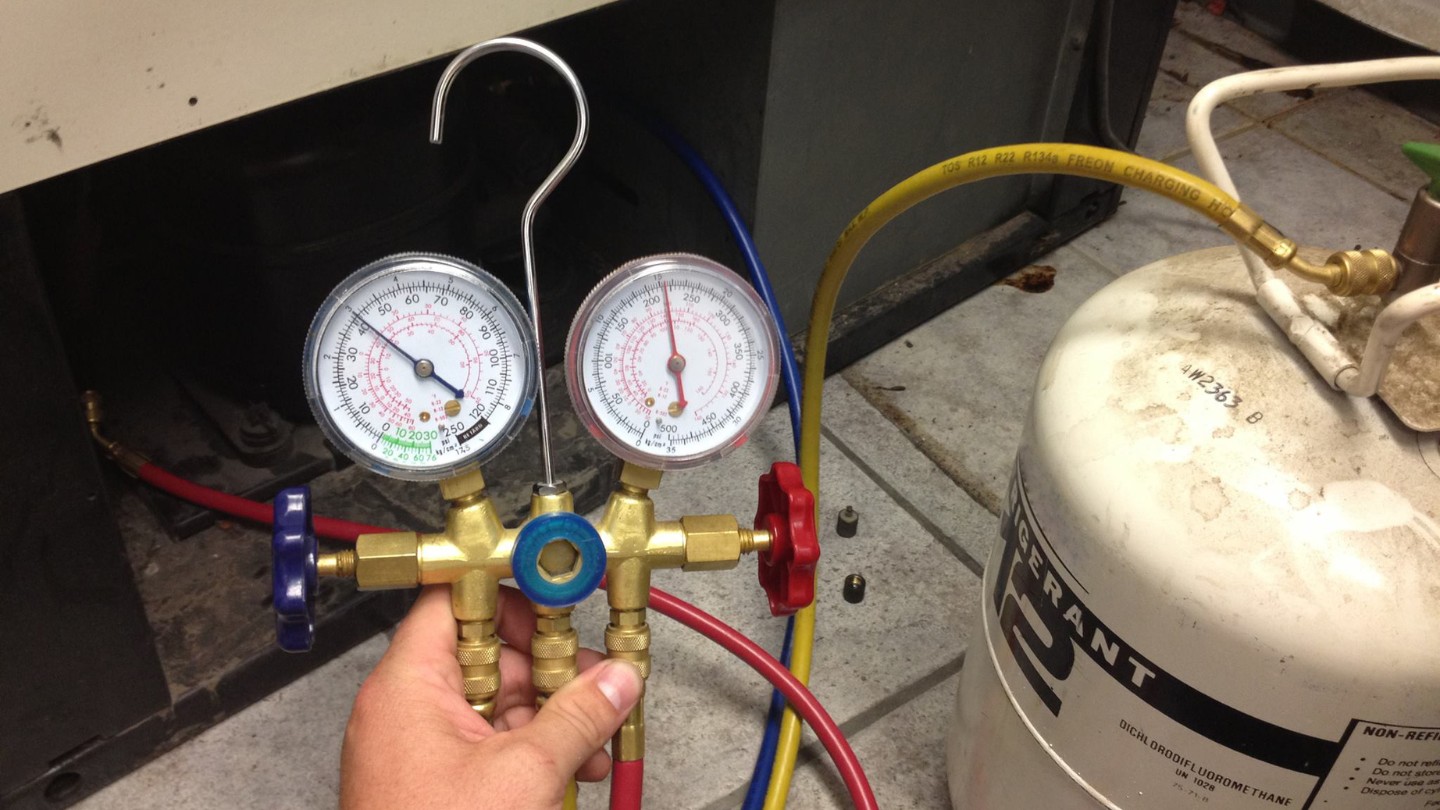
- Disconnecting the Freon lines: Locate the Freon lines connecting the kegerator’s refrigeration unit to the CO2 tank and beer lines. Using the appropriate wrench, carefully disconnect the Freon lines from the kegerator. Ensure that you have a container ready to collect any liquid that may be drained from the system during the disconnection process.
- Proper disposal of Freon: If your kegerator requires the removal of Freon, you must dispose of it properly and in accordance with local regulations. Transfer the collected Freon into a designated container for safe disposal. Contact your local waste management facility to learn about the specific procedures for Freon disposal in your area.
- Cleaning the Freon lines: After disconnecting the Freon lines, it’s time to clean them thoroughly. Prepare the cleaning solution according to the manufacturer’s instructions. Use a brush dipped in the cleaning solution to scrub the inside of the Freon lines, removing any residue, mold, or buildup. Repeat the cleaning process until the lines are clean and free from any contaminants. Rinse the lines with clean water to remove any excess cleaning solution.
- Reconnecting the Freon lines: Once the Freon lines are clean and dry, carefully reconnect them to the kegerator using the wrench. Ensure that the connections are tight and secure to prevent any leaks. If necessary, use Teflon tape on the threads to create a tight seal. Take extra care not to over-tighten the connections, as it may cause damage.
By following these step-by-step instructions, you can effectively clean your kegerator’s Freon system and ensure that it operates at peak performance, providing you with the ultimate draft beer experience.
Read more: How To Clean A Haier Kegerator
Final Steps and Maintenance
After cleaning your kegerator’s Freon system, there are a few final steps to take and ongoing maintenance tips to keep your kegerator in top-notch condition:
Properly disposing of cleaning materials:
Dispose of any cleaning materials used during the process in a responsible manner. Empty the bucket or container used to collect the cleaning solution and rinse it thoroughly before storing it for future use. Ensure that any cleaning solution or residue is disposed of according to local regulations, avoiding any environmental harm.
Regular maintenance tips for a clean kegerator:
Maintaining the cleanliness of your kegerator is crucial for optimal performance and the quality of your beer. Here are some maintenance tips to keep your kegerator clean:
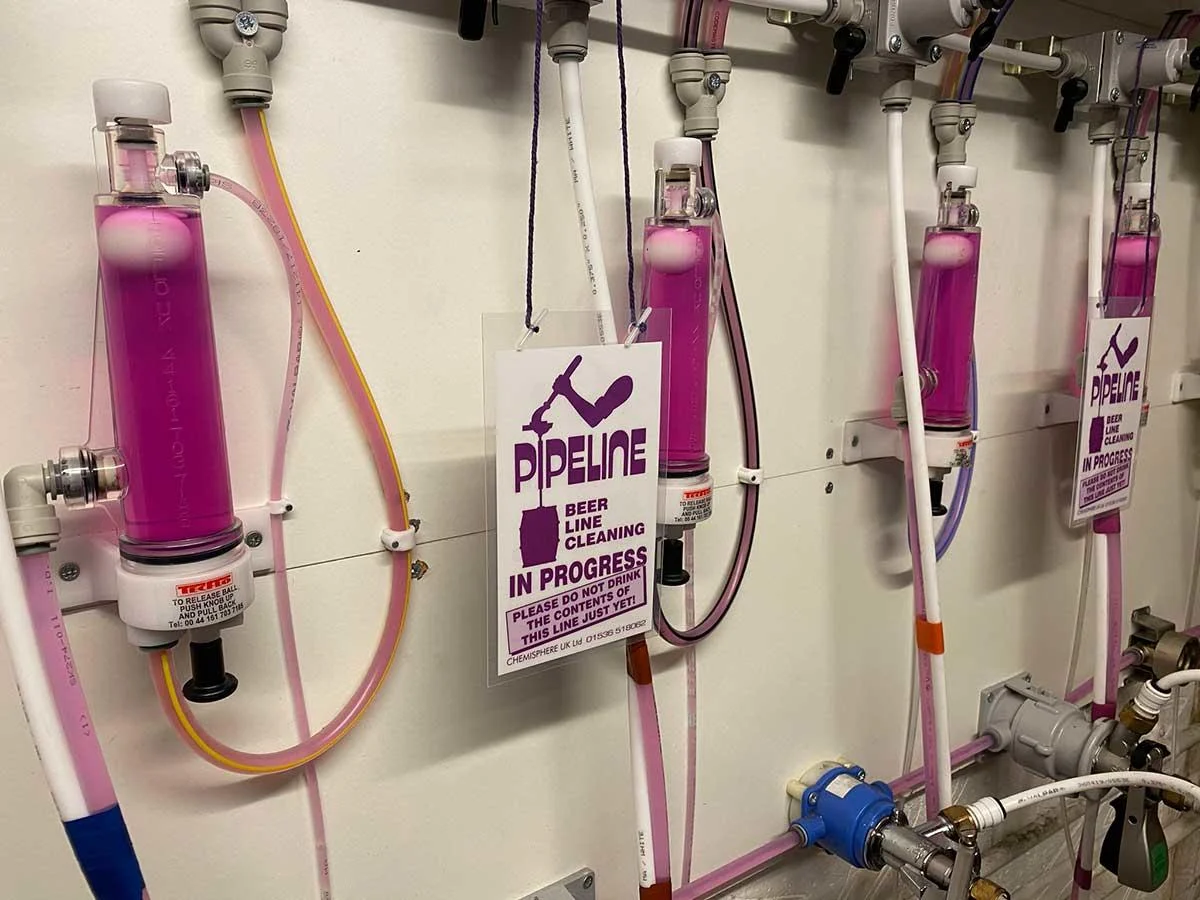
- Regularly clean the beer lines: In addition to cleaning the Freon system, it’s essential to clean the beer lines regularly. Follow the manufacturer’s instructions for removing and cleaning the beer lines separately.
- Clean the drip tray and keg couplers: Remove the drip tray and keg couplers from the kegerator and clean them thoroughly using warm, soapy water. Rinse and dry them before placing them back in the kegerator.
- Keep the kegerator interior clean: Wipe down the interior of the kegerator regularly to remove any spills, condensation, or debris. Use a damp cloth and mild detergent if necessary.
- Monitor the temperature: Make sure to monitor and maintain the proper temperature inside the kegerator. Too high or too low temperatures can affect the quality of your beer. Refer to the manufacturer’s guidelines for the recommended temperature range.
- Check for leaks: Periodically inspect the Freon lines and other connections for any signs of leaks. Leaks can lead to inefficient cooling and potential damage to the kegerator. If you notice any leaks, address them promptly, either by tightening connections or seeking professional repairs.
- Replace air and water filters (if applicable): If your kegerator has air or water filters, refer to the manufacturer’s instructions for replacing them regularly. This helps to maintain clean air circulation and water quality.
By following these maintenance tips and making regular cleaning a part of your kegerator routine, you can ensure a clean and well-functioning system that keeps your beer tasting fresh and delicious.
Remember to always refer to your specific kegerator’s manual for any manufacturer-specific instructions or recommendations regarding cleaning and maintenance.
Conclusion
Cleaning the Freon system of your kegerator is an essential part of maintaining its performance and ensuring the quality of your draft beer. By following the step-by-step guide provided in this article and taking proper safety precautions, you can effectively clean the Freon system and keep your kegerator in optimal condition.
Understanding the role of Freon and the importance of regular cleaning allows you to appreciate the significance of this maintenance task. By removing any residue, mold, or buildup from the Freon lines, you can ensure that your beer flows smoothly, untainted by any unwanted flavors or contaminants.
Remember to gather all the necessary tools before starting the cleaning process and properly dispose of any cleaning materials used. Regular maintenance, including cleaning the beer lines, the drip tray, and the interior of the kegerator, is crucial for ensuring the longevity and cleanliness of your kegerator.
By following the maintenance tips outlined in this article, you can enjoy a consistently refreshing and enjoyable draft beer experience from the comfort of your own home.
Keep in mind that if you are unfamiliar or uncomfortable working with Freon, it is always advisable to seek professional assistance to clean your kegerator’s Freon system.
Now, grab your favorite pint and raise a glass to your clean and well-maintained kegerator!
Frequently Asked Questions about How To Clean Kegerator Freon
Was this page helpful?
At Storables.com, we guarantee accurate and reliable information. Our content, validated by Expert Board Contributors, is crafted following stringent Editorial Policies. We're committed to providing you with well-researched, expert-backed insights for all your informational needs.
0 thoughts on “How To Clean Kegerator Freon”